Model Monet, Go for Van Gogh to Drive Your DIY Direction
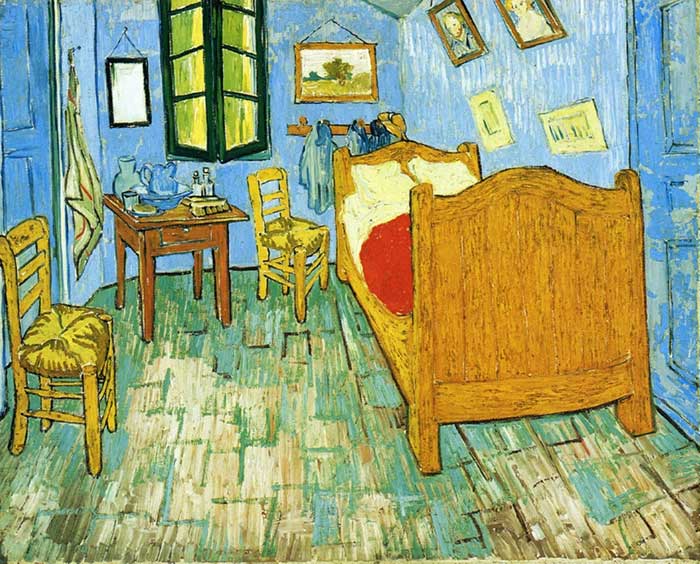
April in Paris is romantic and something that has inspired artists and travelers from all backgrounds and places for centuries. Claude Monet and Vincent Van Gogh are likely the most well-known French painters who spent time there during their remarkable careers. This week’s blog taps into a little bit from both of them to turn a sorry side table into a blooming beauty. Monet’s water lilies paintings have lovely blues, purples, greens, and teal tones so those were used for this project. Van Gogh’s bold brush strokes showed his brilliance and are borrowed here, too.
Follow these simple steps to create a masterpiece of your own, and get ready to say, “Bonjour belle!”
`1. Map out your next journey to Goodwill
You won’t need a compass or travel agent when you plan an excursion to Goodwill, especially as the organization opens new stores near you. They always have donated furniture in good shape at wonderfully low prices.
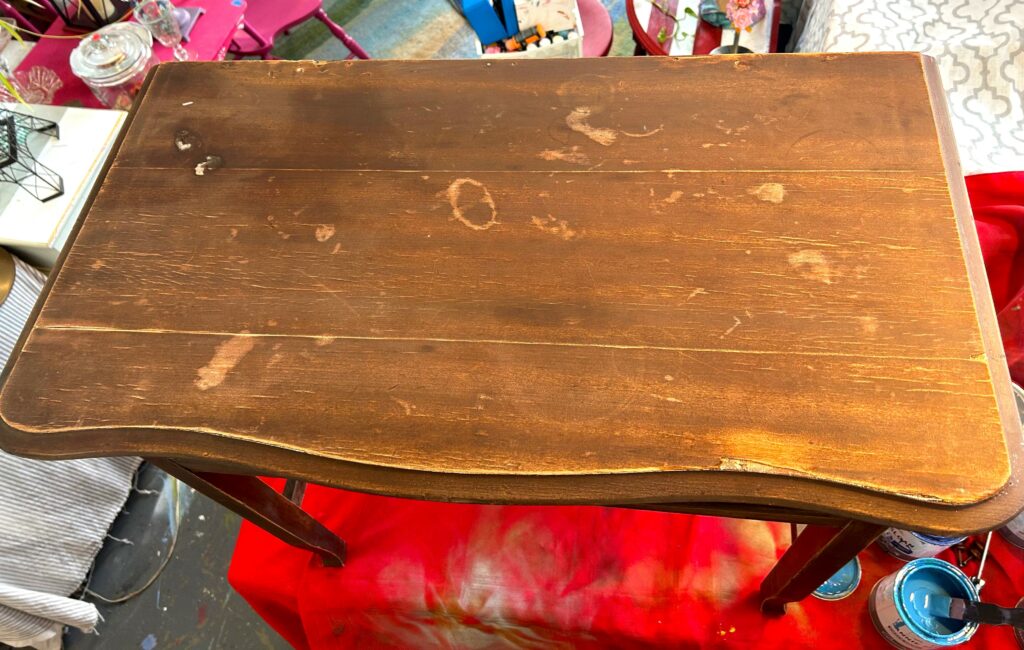
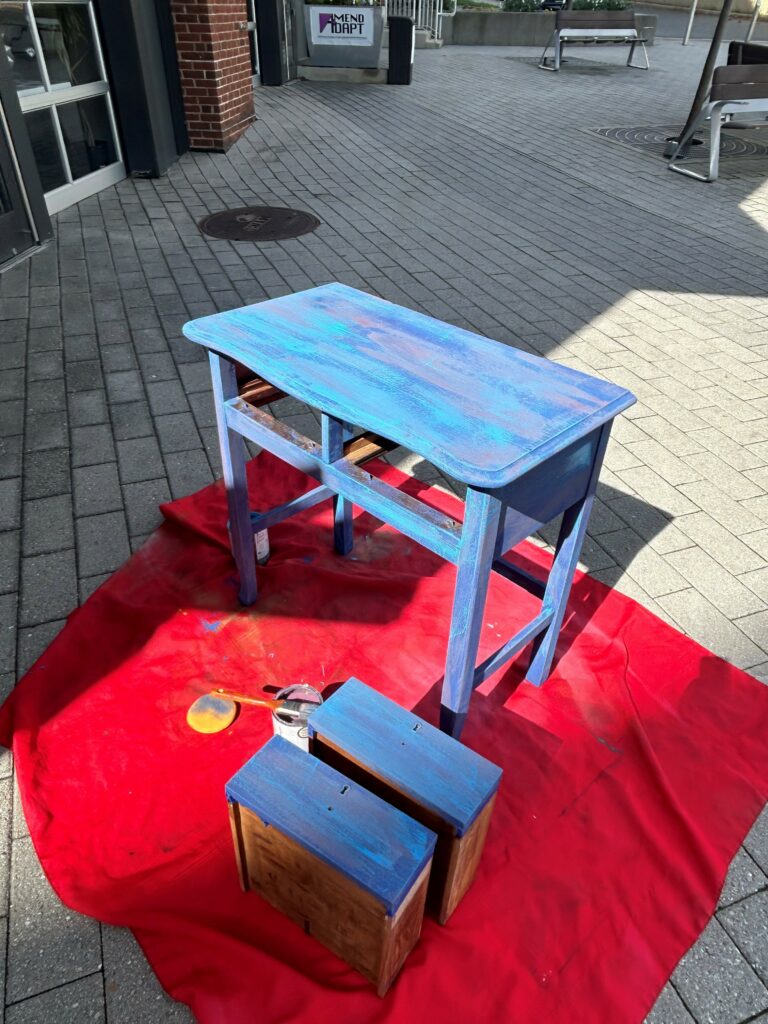
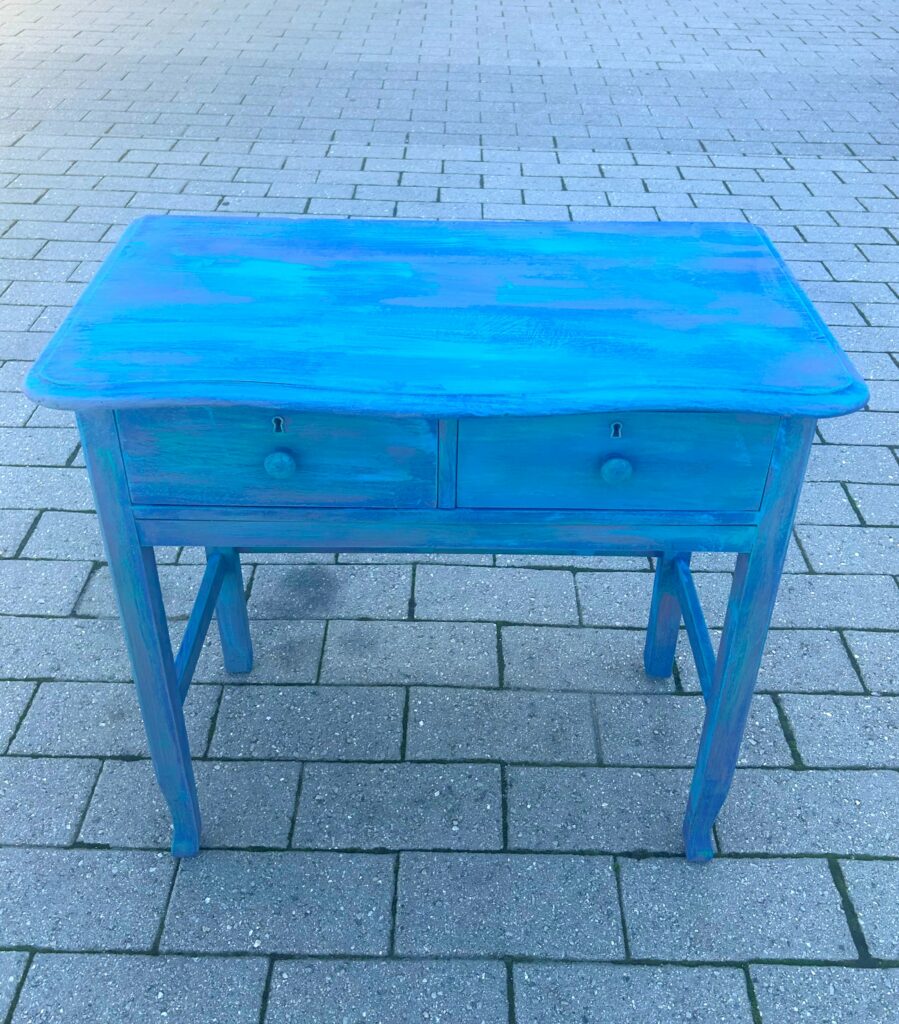
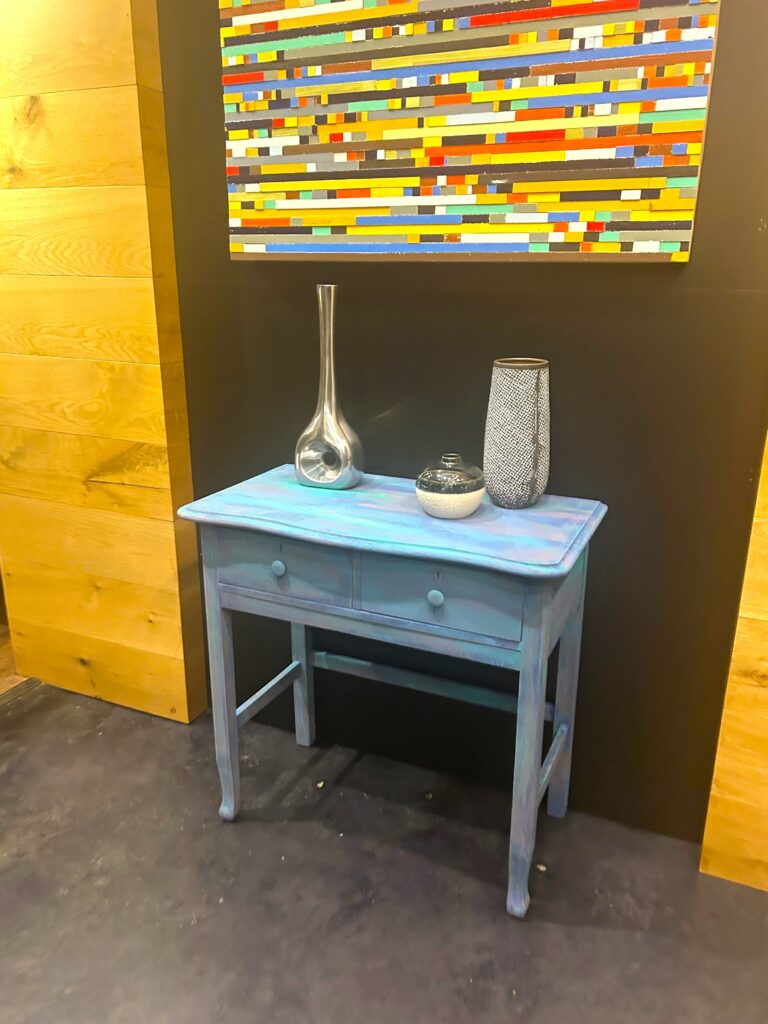
The side table here was prime to get upcycled due to its elegantly shaped top and the helpful functionality of its drawers. While its solid wood construction has stood up to the test of time, its finish has seen better days.
Look for furniture pieces at Goodwill that are made of solid wood rather than particle board or plastic. They will take painting much better and are sturdier, so will serve you well for years to come.
2. Sand up your surfaces
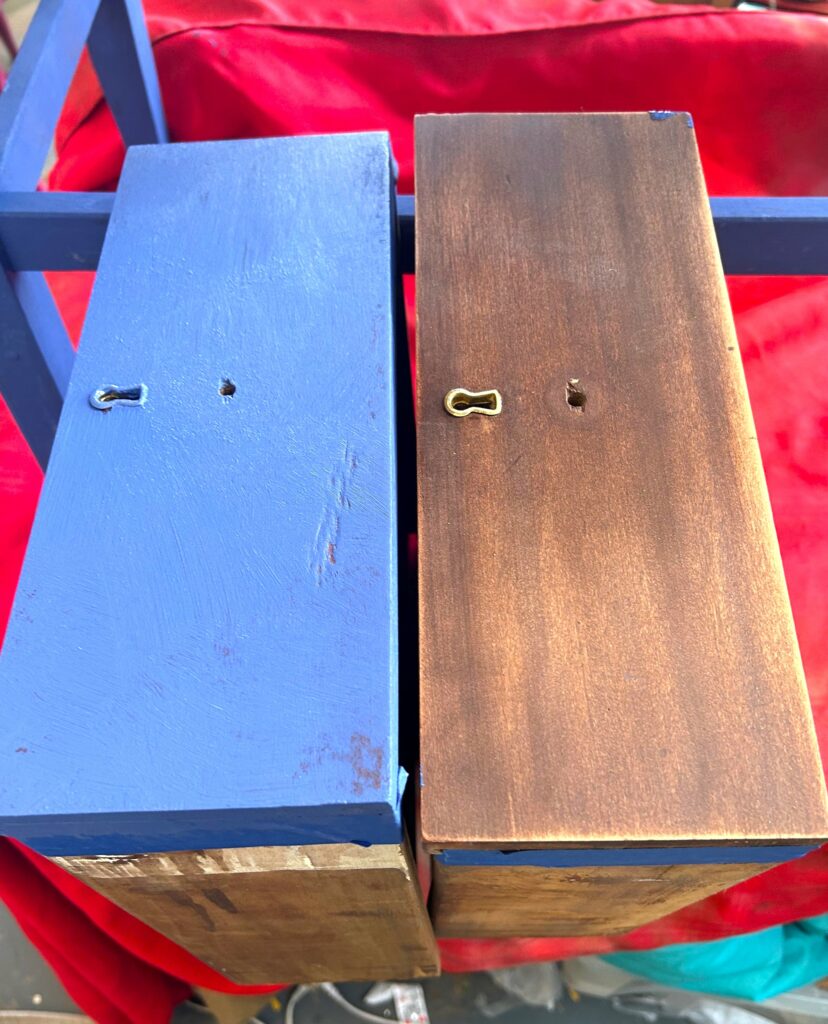
Does your piece have drawers, knobs, handles or shelves which are easily removed? If so, dismantle your piece to start the transformation process. If you have lots of drawers or bunches of knobs, consider adding a small piece of painter’s tape with a number on it so you can easily return them to their original spots.
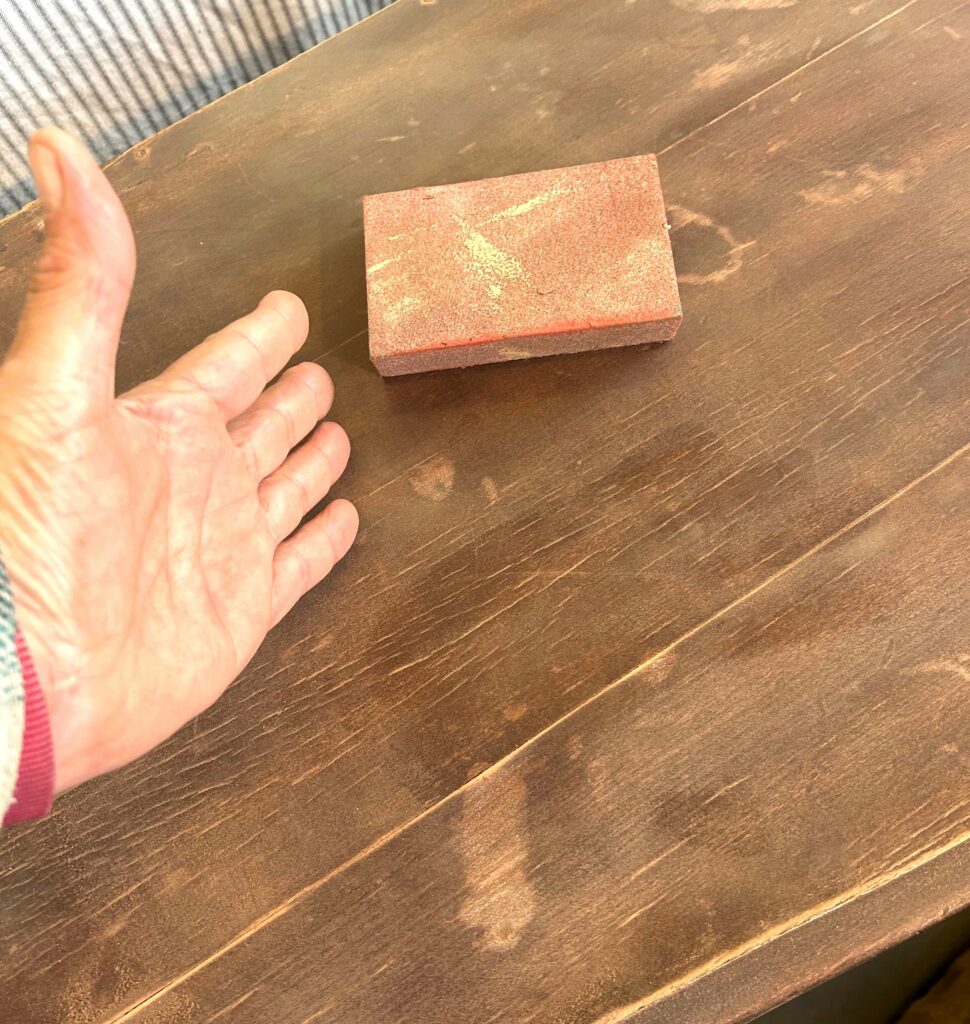
- With a medium—to coarse-grain sanding block or sanding paper, give your piece a good once-over to prep the surfaces for paint. The varnish or shiny finish needs to get roughed up a bit to give the paint layers a place to grab and hold onto. There is no need to strip off the entire existing finish; simply go over each part with your sanding block.
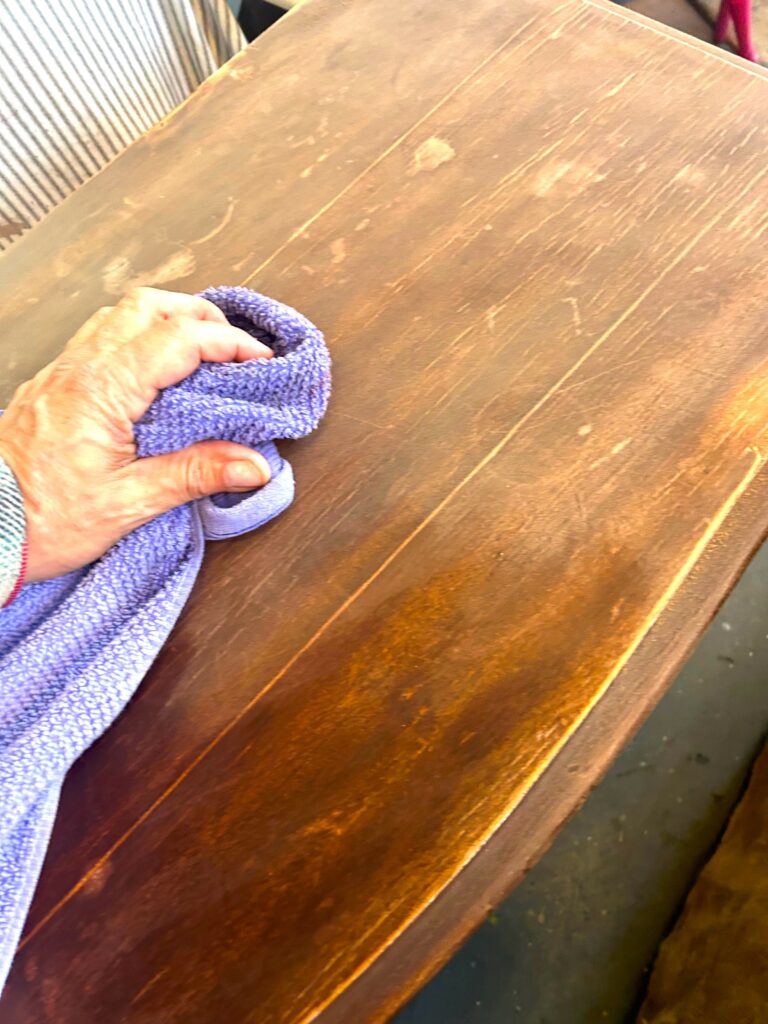
- This is a very dusty step, so do it outdoors if possible or consider wearing a protective mask.
- When finished, use a damp cloth or rag to wipe away both the dust caused from sanding as well as any dirt or fingerprints. Viola! You now have a piece ready for the Paris prettying up!
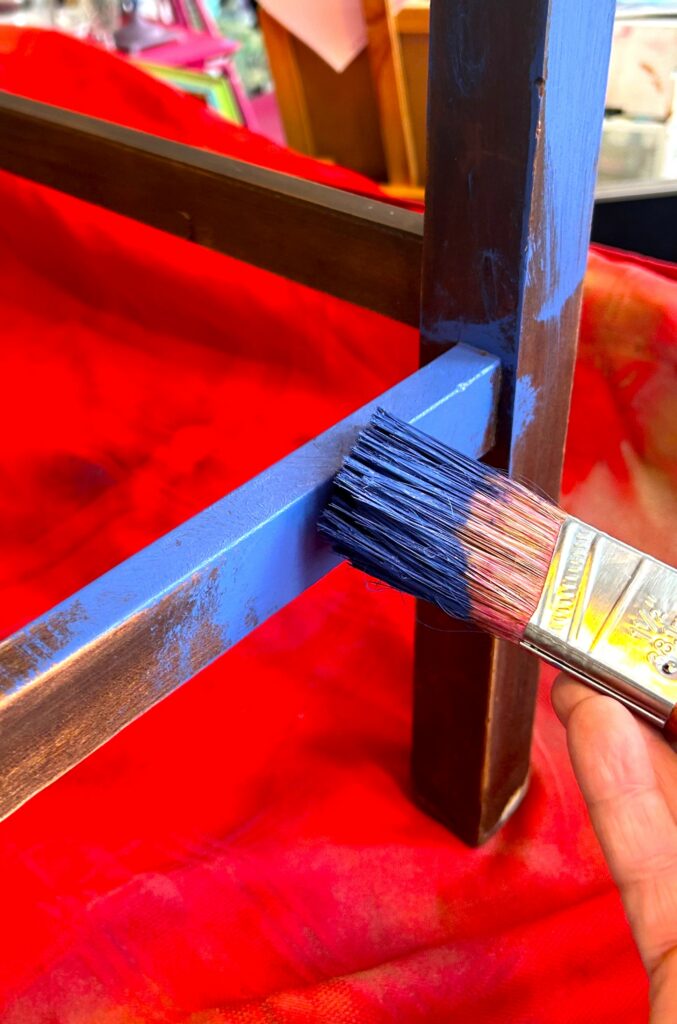
3. Brush on your base
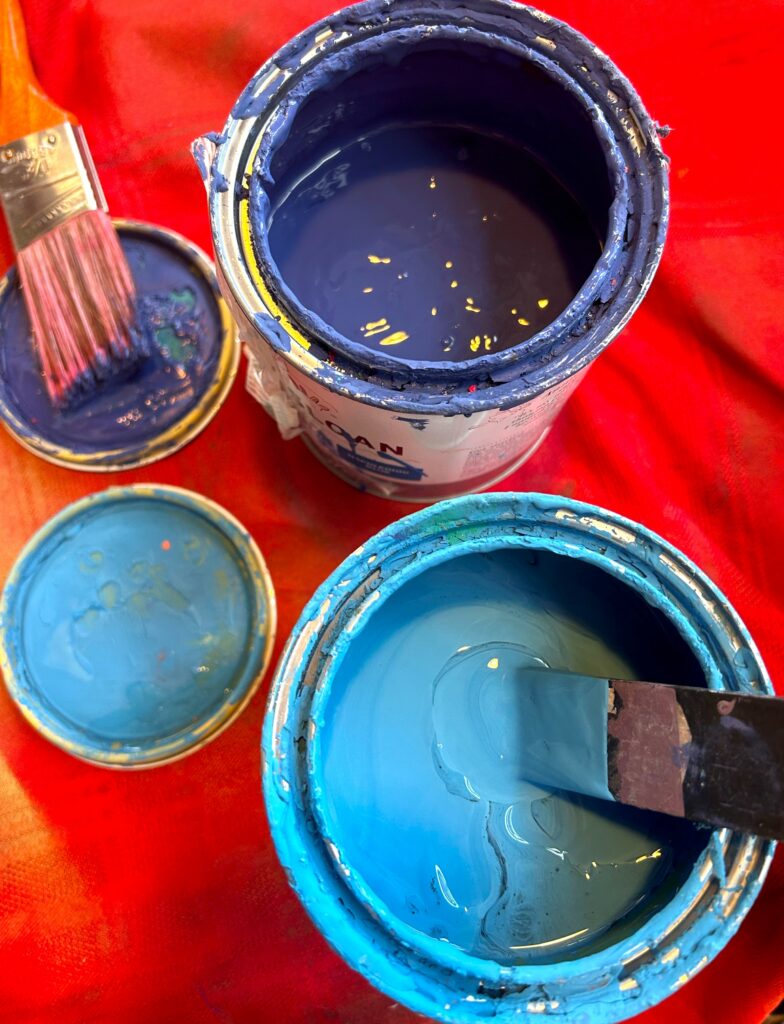
- Use a paint brush to apply a light and solid layer of your first Monet-inspired paint palette.
- As you are able to see, I started with an indigo blue shade which made me think of the deeper waters of his famous pond.
- Cover your entire piece well with paint, but keep the layers light.
- Move around your piece to get a variety of perspectives of it to ensure all edges, sides, parts, nooks and crannies are painted with the base color.
- Place your piece on its side to allow you to reach all places.
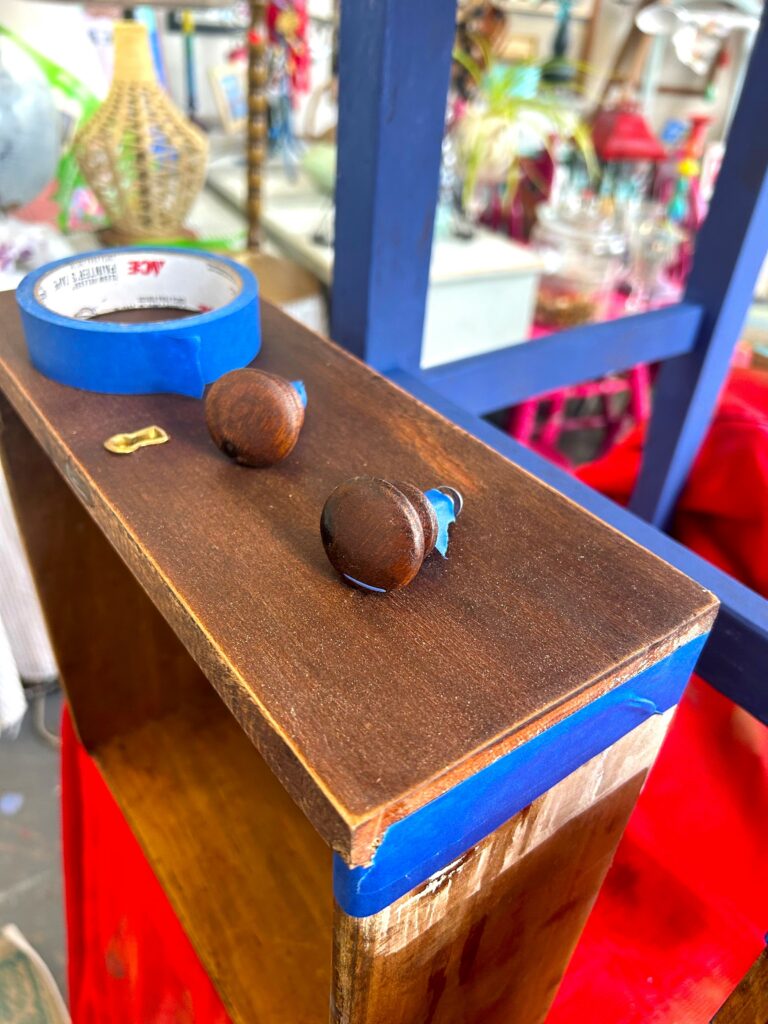
- Use painter’s tape to protect any parts you want to keep paint-free. For this project, painter’s tape was used on the drawer’s sides and knobs’ screws.
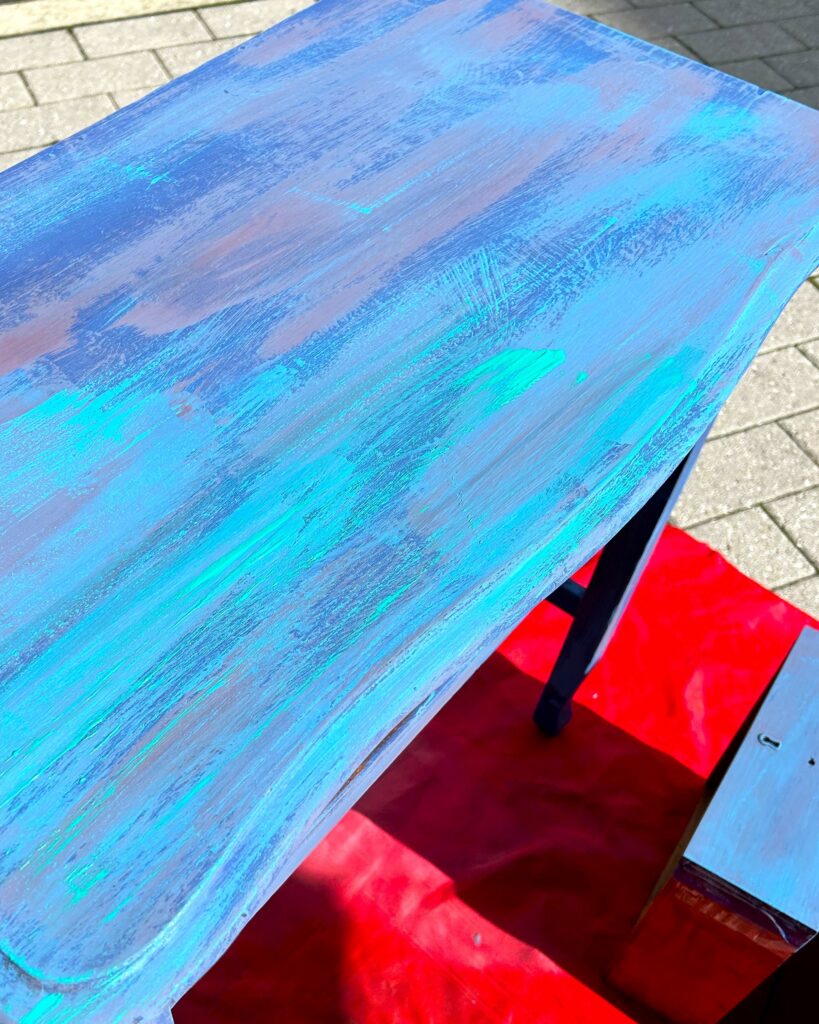
4. “Dry brush” on more delight and more layers
To give your piece some depth and visual interest while using Van Gogh’s bold strokes as inspiration, apply your second paint color.
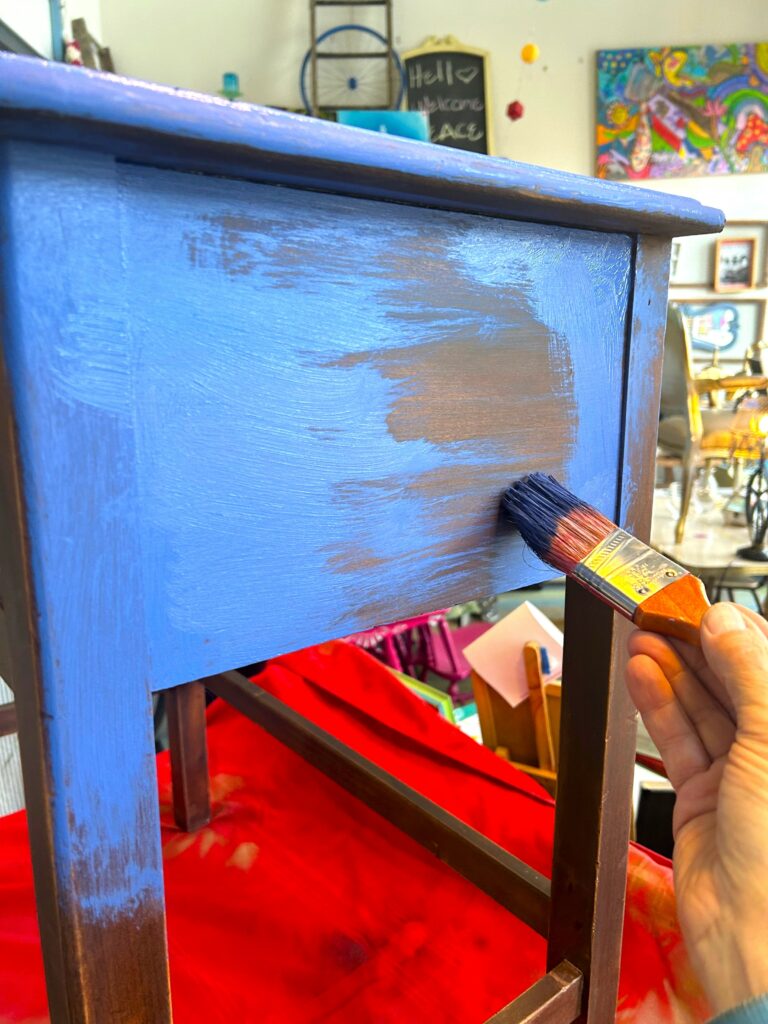
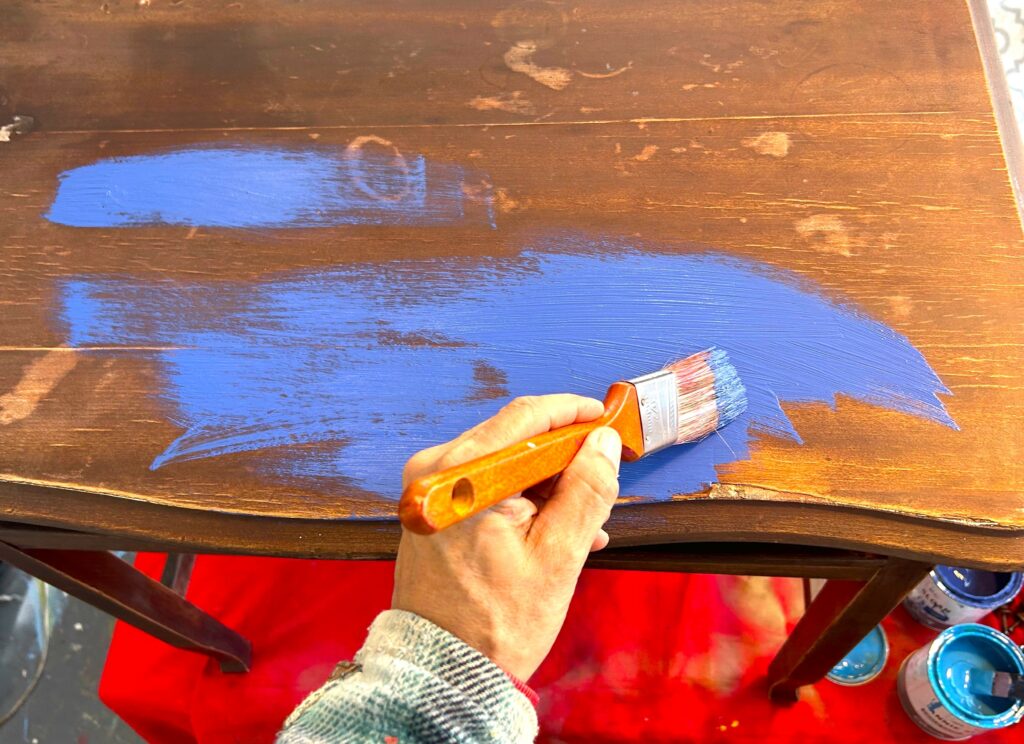
The dry brush approach is a more lightly coated brush and a lightly applied stroke. Your goal is to allow the first layer to show through the second layer.
As with layer one, move around your piece to ensure each part gets some of color two; in this case it was the bright blue. And unlike layer one, you are not going for a solid second coat or layer rather you are building on it and allowing the first one to show through between brush strokes.
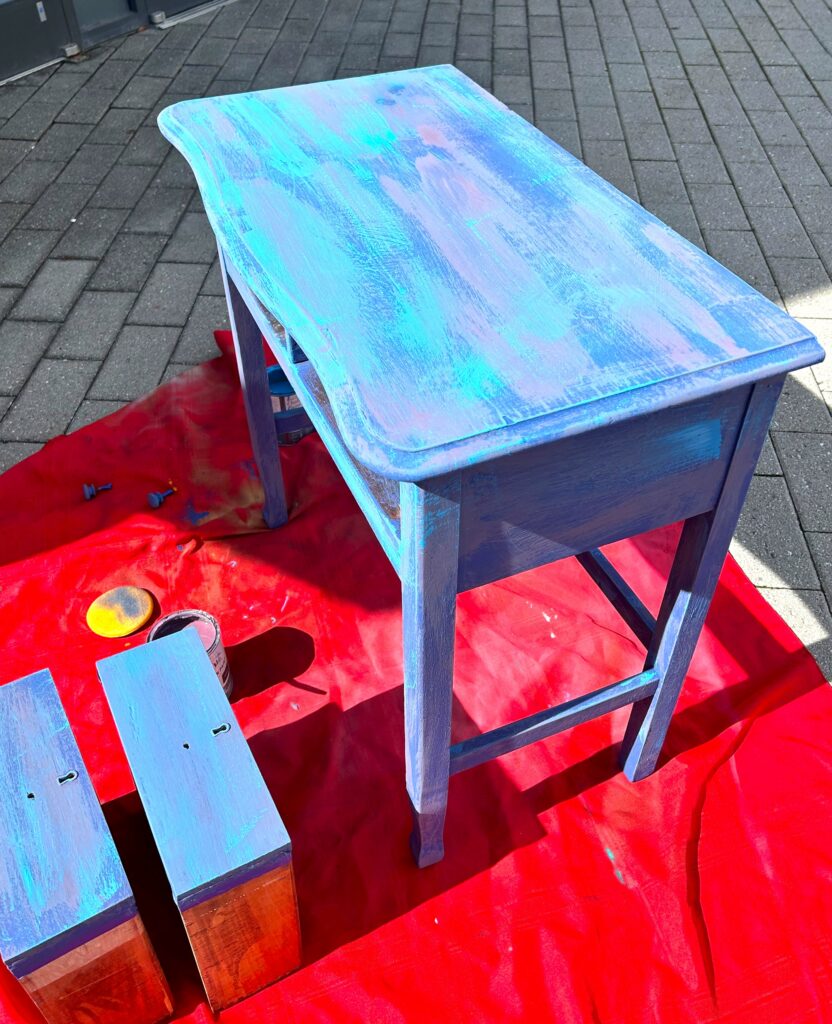
Monet-inspired color choice three was a dark, almost grayish purple color. With a new and clean brush, another light layer was applied to various parts of the table. Not solid but enough to ensure the color was throughout the piece and you could see the other layers. As you go, you will want to place your piece on its side to ensure you get all surfaces that will be visible when done.

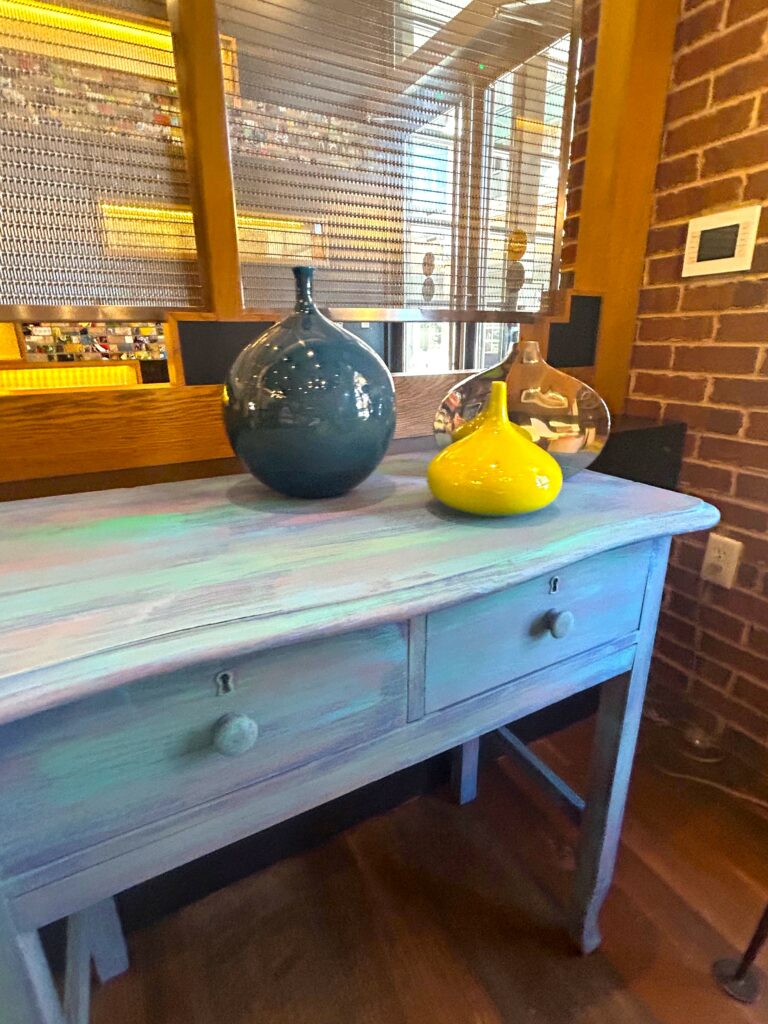
And last but not least, repeat this step with a favor tone of Monsieur Monet: a bright greenish teal. This was the most vibrant color of the four and certainly made the piece sing!
Follow the other color layers by lightly brushing on the teal on various parts but not a solid layer. This will help the piece feel very organic, too, and feel like his famous pond’s surface.
Expert Tip:
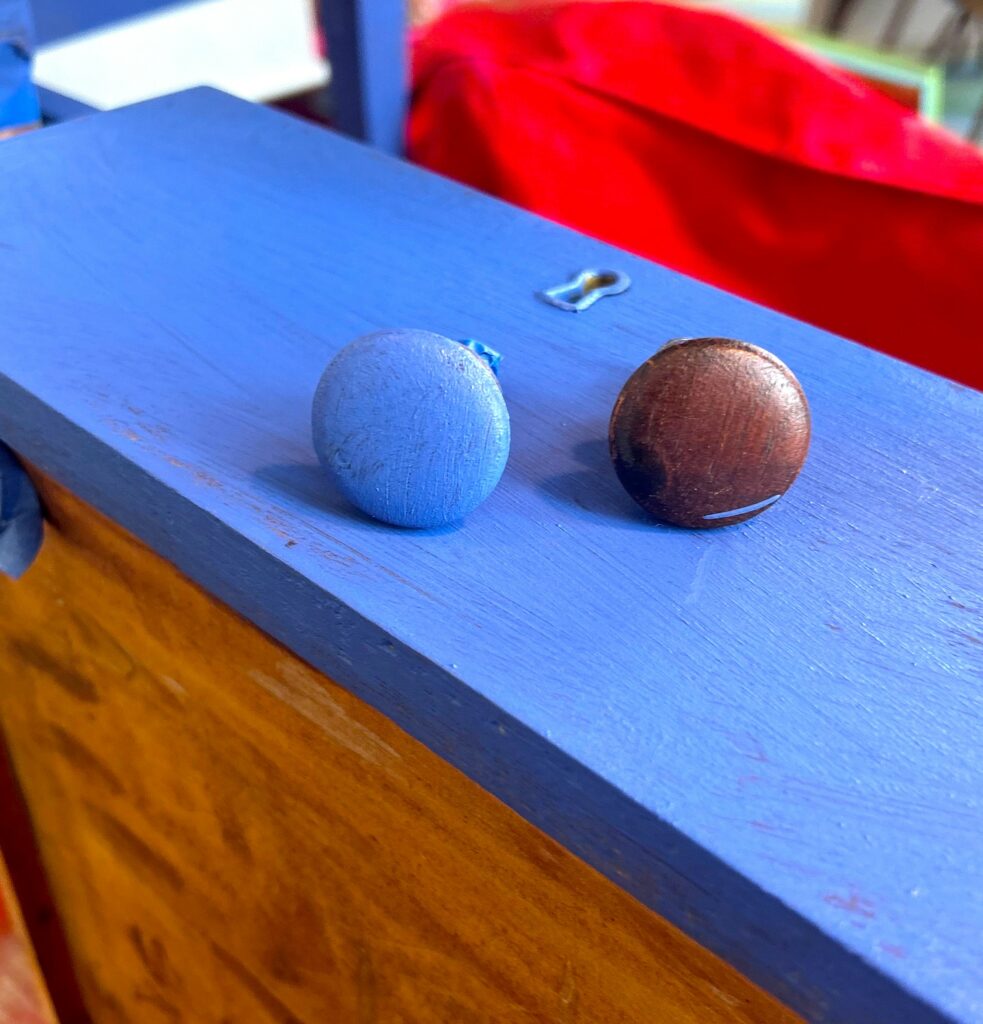
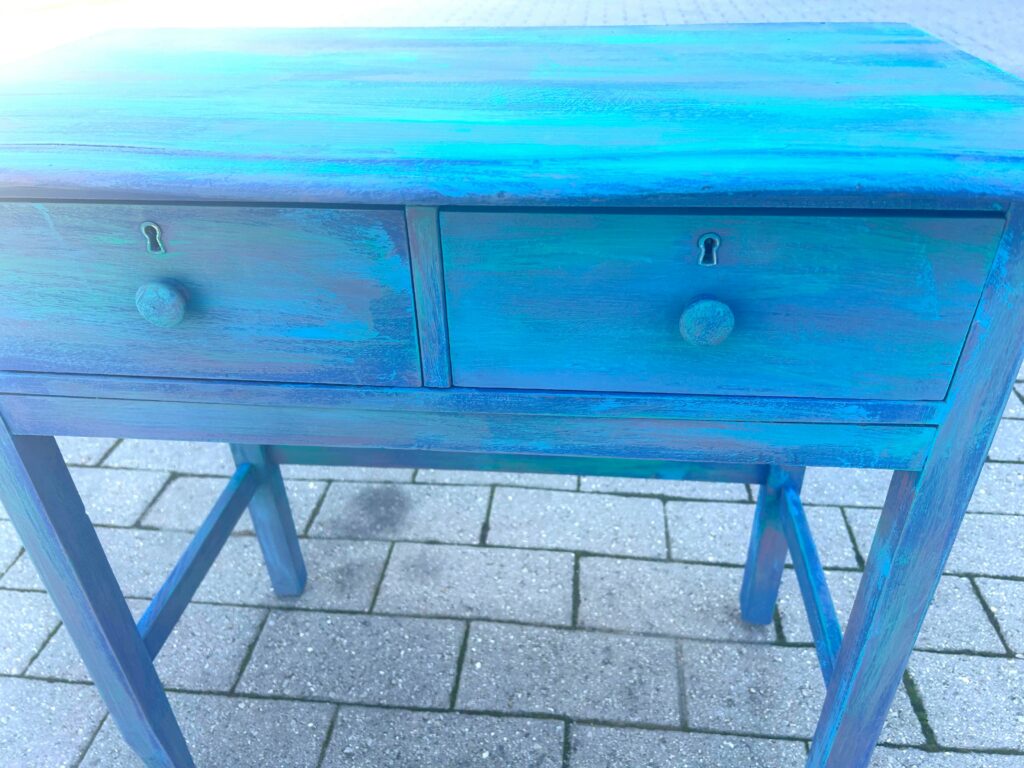
Remember to follow the same layering approach on your piece’s drawer fronts, knobs and shelves so they match and feel connected. Remove any painter’s tape one the paint has dried completely.
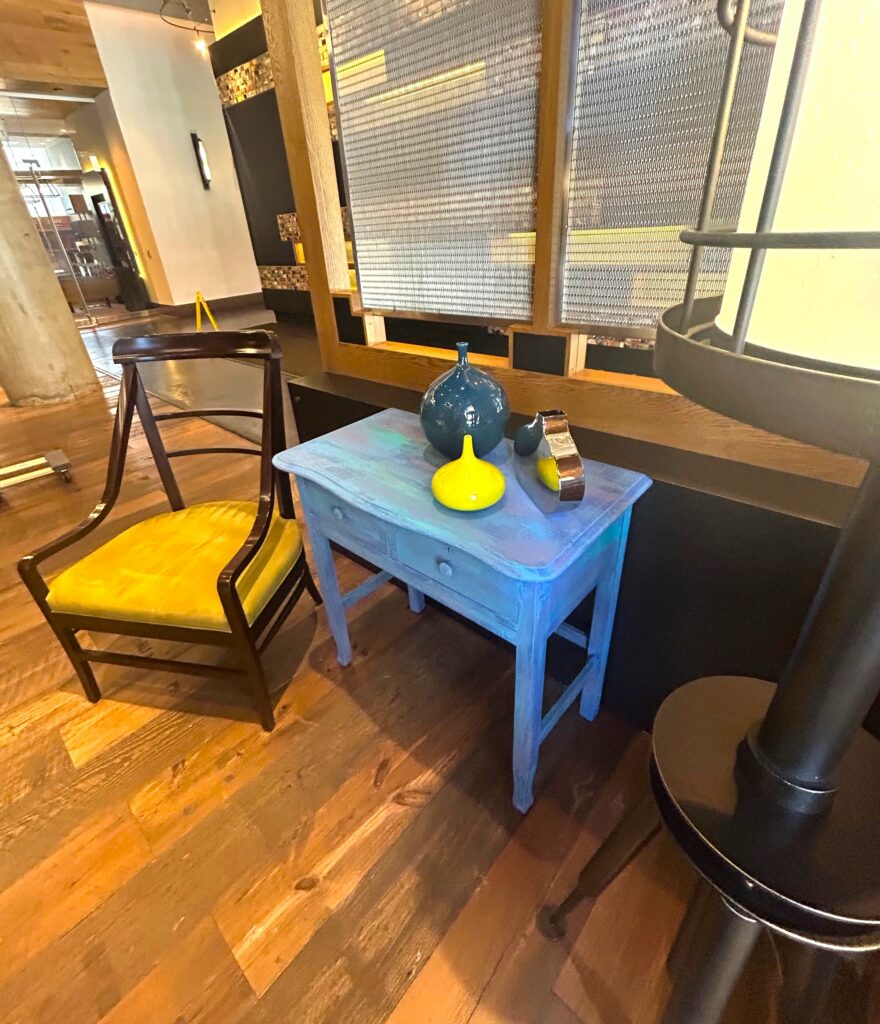
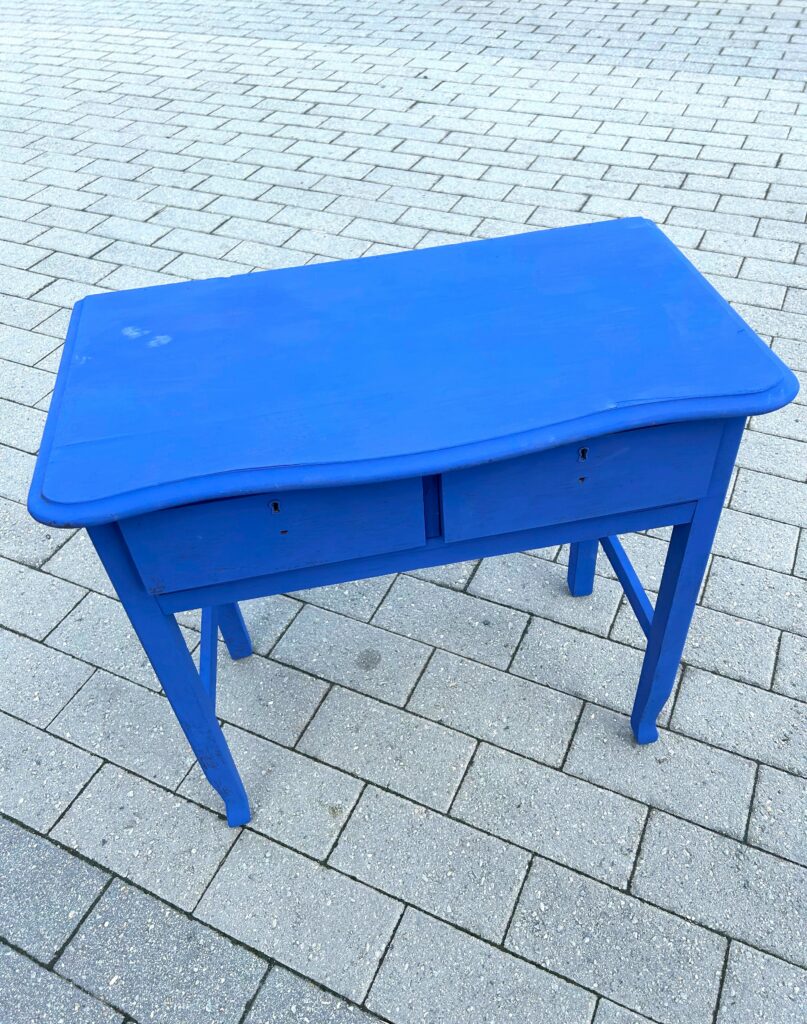
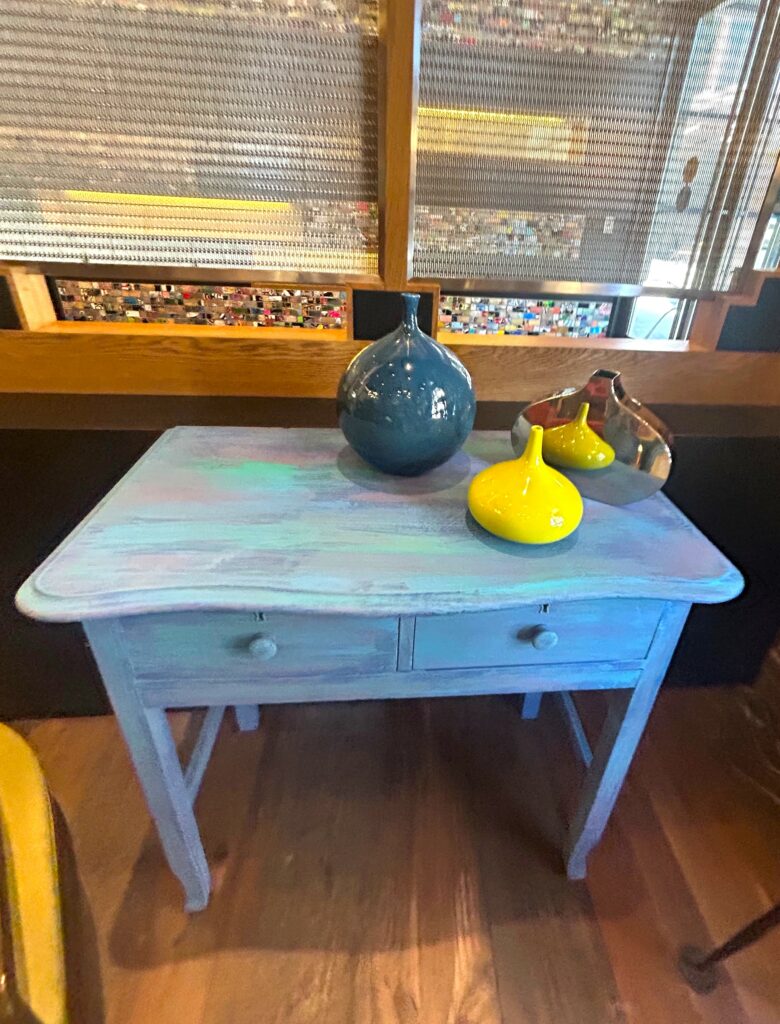
5. Reassemble it, place it, accessorize it then say, “Oh-la-la!” about it
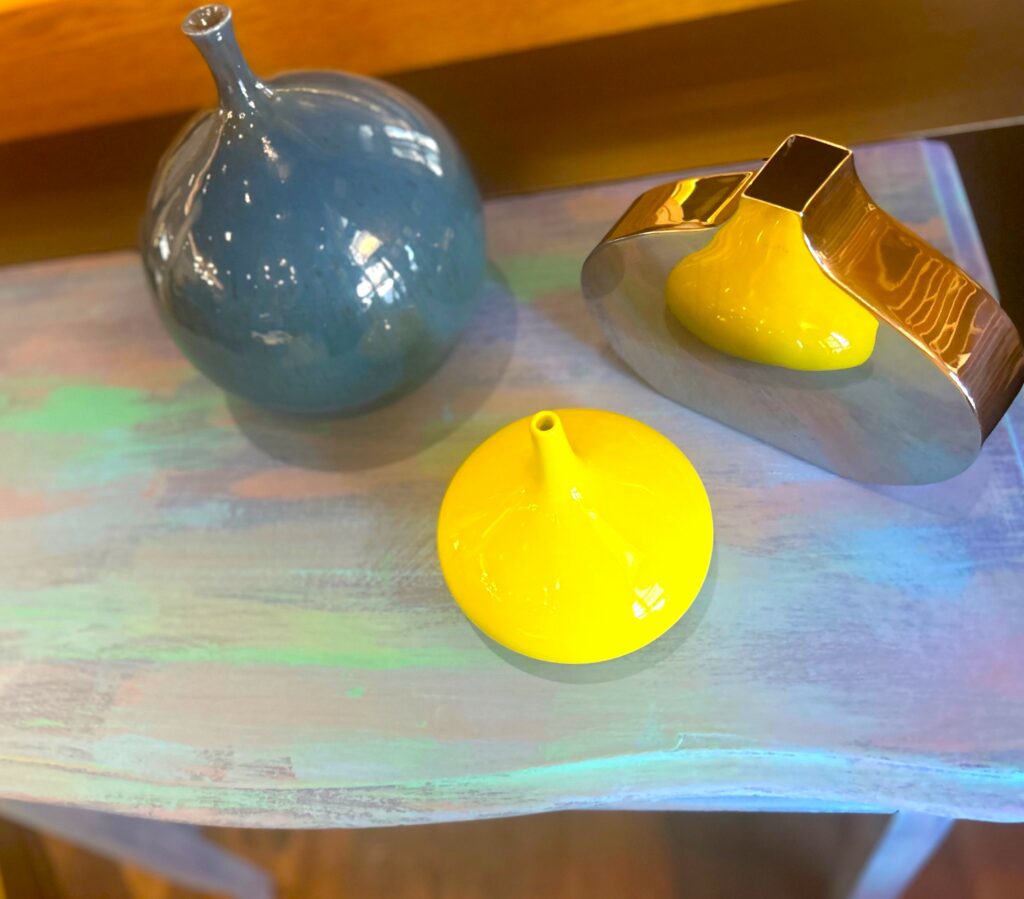
Reassemble your piece by putting your knobs back in place and inserting the drawers back into their home positions. Place this vibrant piece in your home by a chair and with good lighting nearby. Accessorize with colorful vases and decorative items also found at Goodwill for only a buck (or should I say Euro?) or two. Invite a friend or family member to join you then say, “Oh-la-la!” at how wonderful it all looks together.
A big “Merci Beaucoup” to Goodwill of Greater Washington and Finding Your Good for the many ways you inspire our creativity and DIY efforts. Your efforts to make our communities thrive are so exciting and meaningful, too!
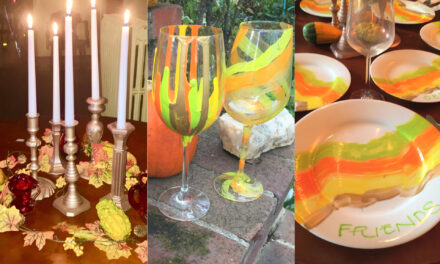
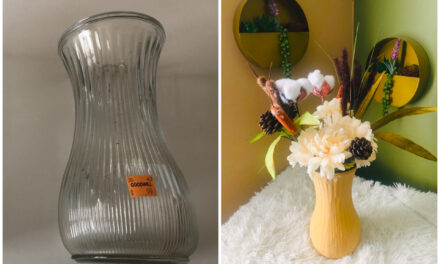
Similar Reads:
- DIY: How to Transform a Garden Flamingo into a Statement Piece
- Make a Roar with Rainbow-Ringed Lamp Shades
- Quick & Inexpensive DIY: My Thrifted Lamp Makeover
- How to Make a Colander Lamp

Tim Kime
Artist, Motivational Speaker, Life Coach

