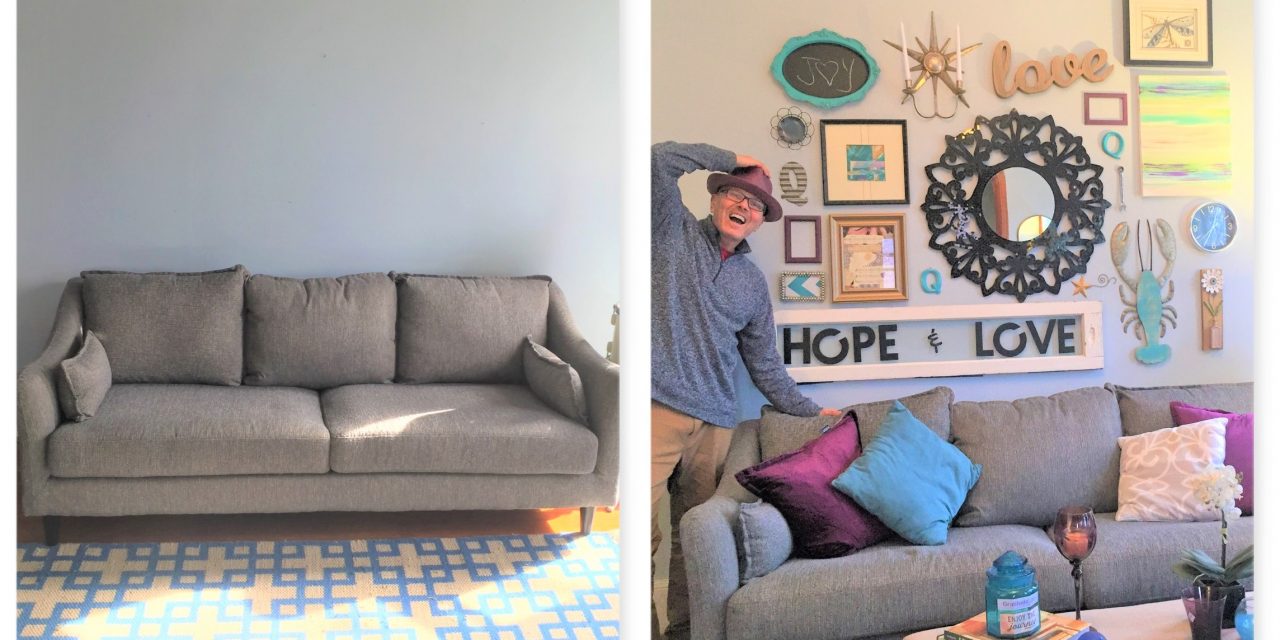
Give a wall the chance to make a bold statement with an eye-catching arrangement of your artwork, framed pieces and other decorative items.
Here are five simple steps to guide you as you create a gallery wall of your belongings that will look make them look Smithsonian-worthy, no matter the price of your collection. And you don’t have to be an artist to have a display fit for Picasso, just the willingness to try this impactful DIY project!
Age: Older kids and adults
Ability: Pretty easy when you follow these simple tips
Items needed:
1. Collection of frame prints, artwork, other pieces like letters, clocks, mirrors
2. Flip chart, craft, or news paper
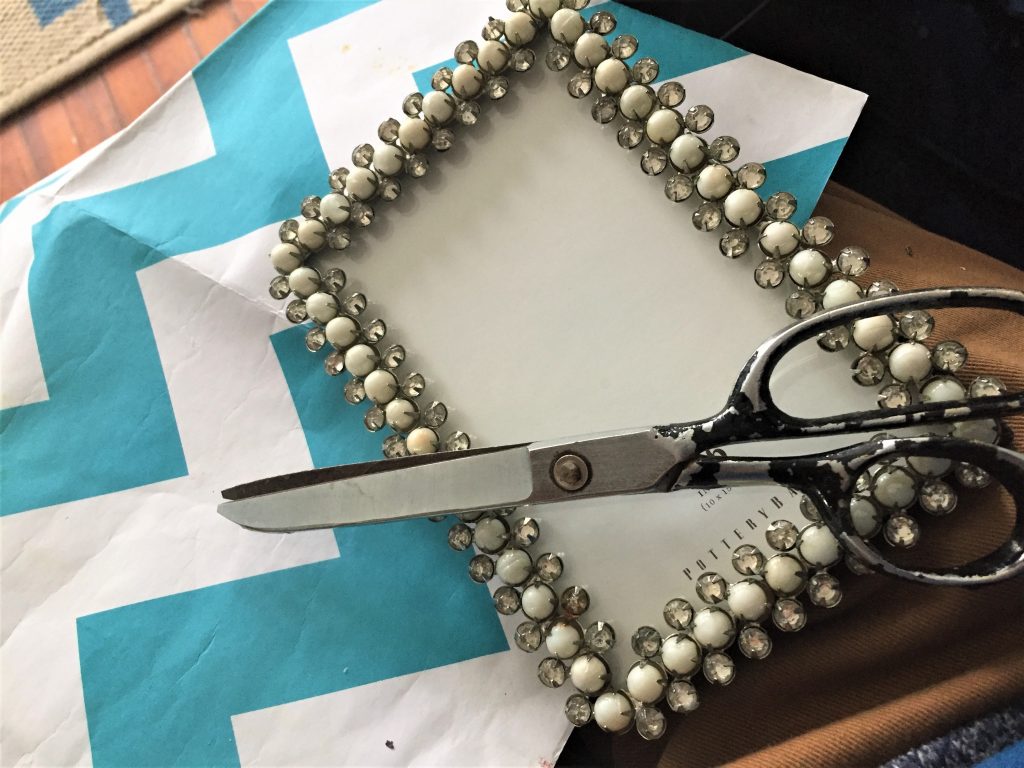
3. Scissors
4. Painter’s tape
5. Leveler
6. Nails or picture hangers
7. Hammer
Cost: $0 if you use art and items you already have
- Painter’s tape: $5
- Nails: $2
- Paper: $0 if you use newspaper or old wrapping paper
Time: Two and a half hours
1. Consider these three C’s: Collect, Color, Connection
This easy and so rewarding DIY project helps you to present your artwork in a thoughtful and truly wonderful way. So after you determine the wall that will receive this transformation, gather your collection.
What do you currently have around your place that can be used as part of this totally fab display?
What art do you currently have handing up that you could move?
Do you have pieces that have faded in the background?
What about rescuing a piece from the back of the closet, the basement or the attic?
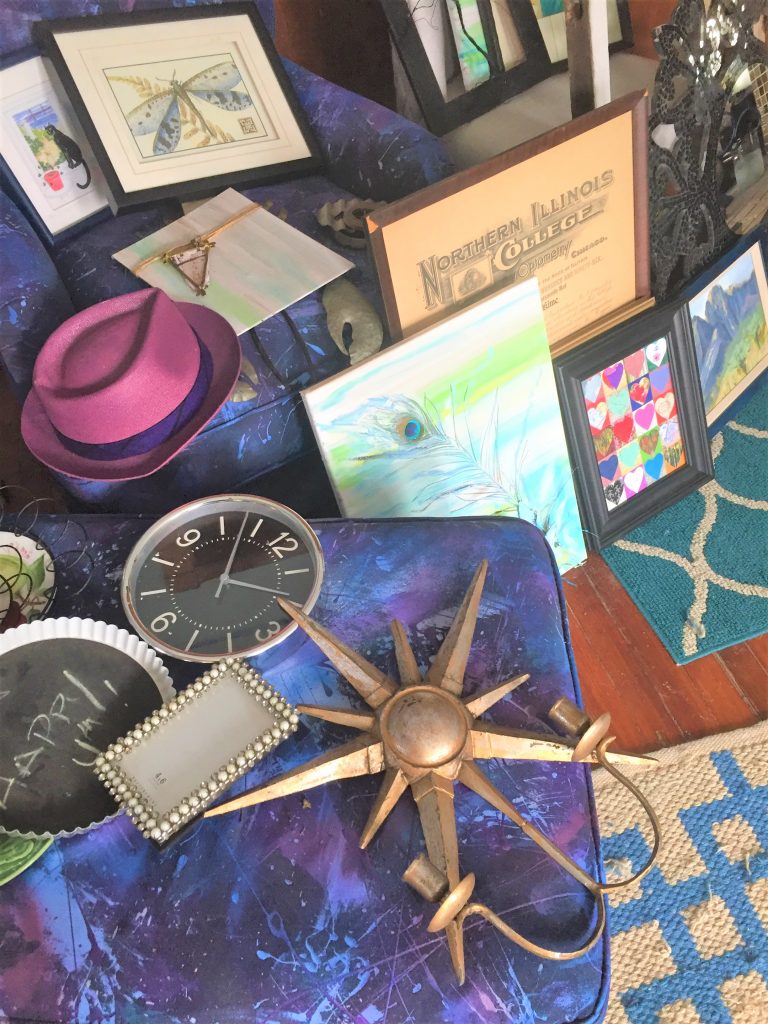
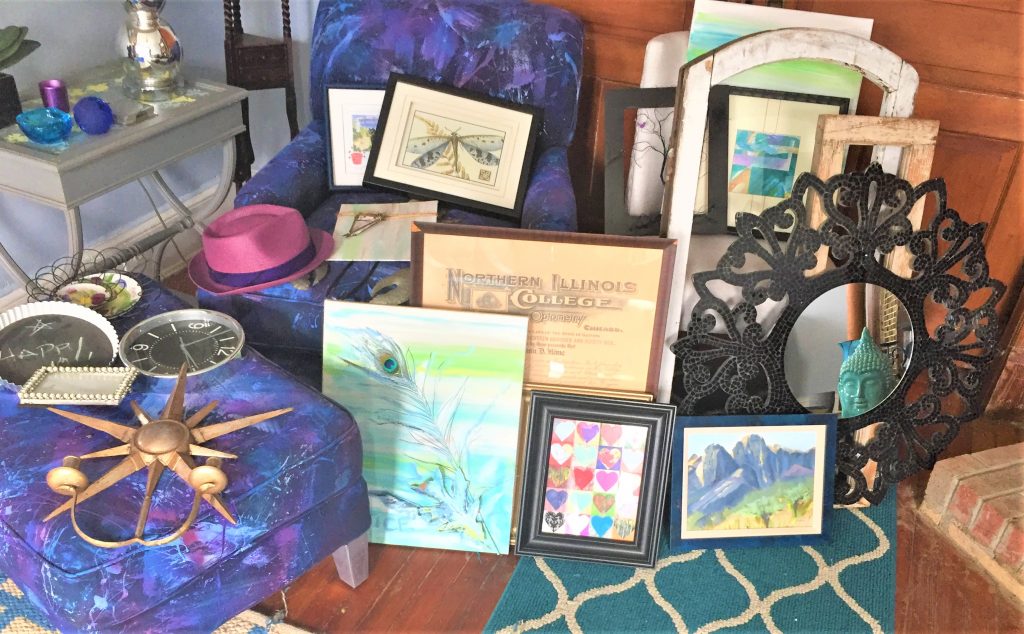
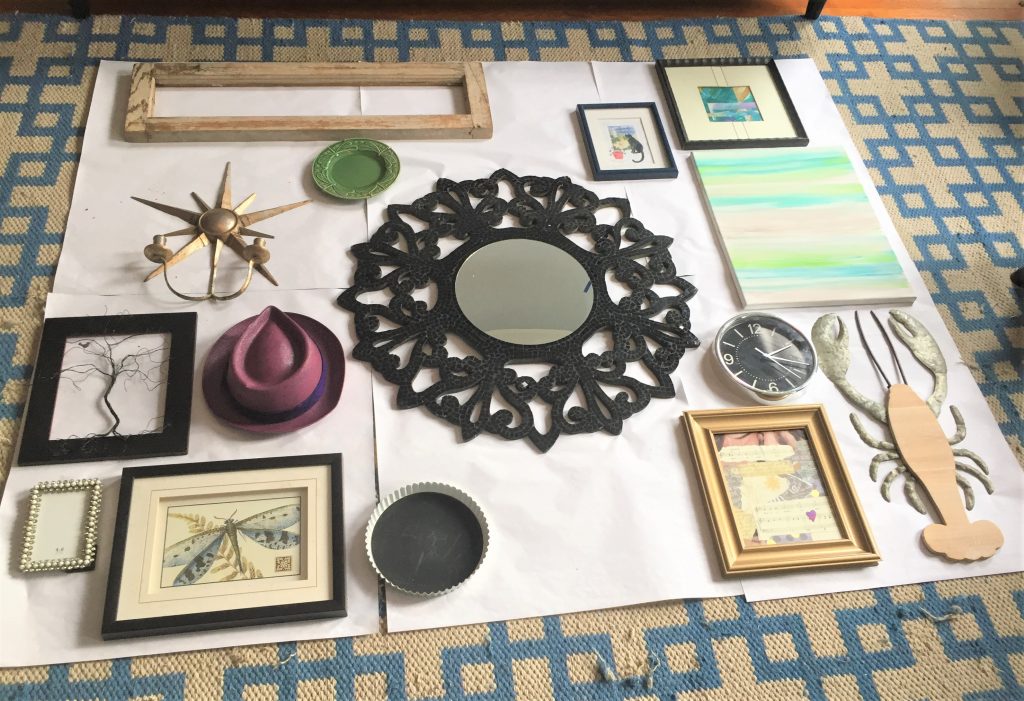
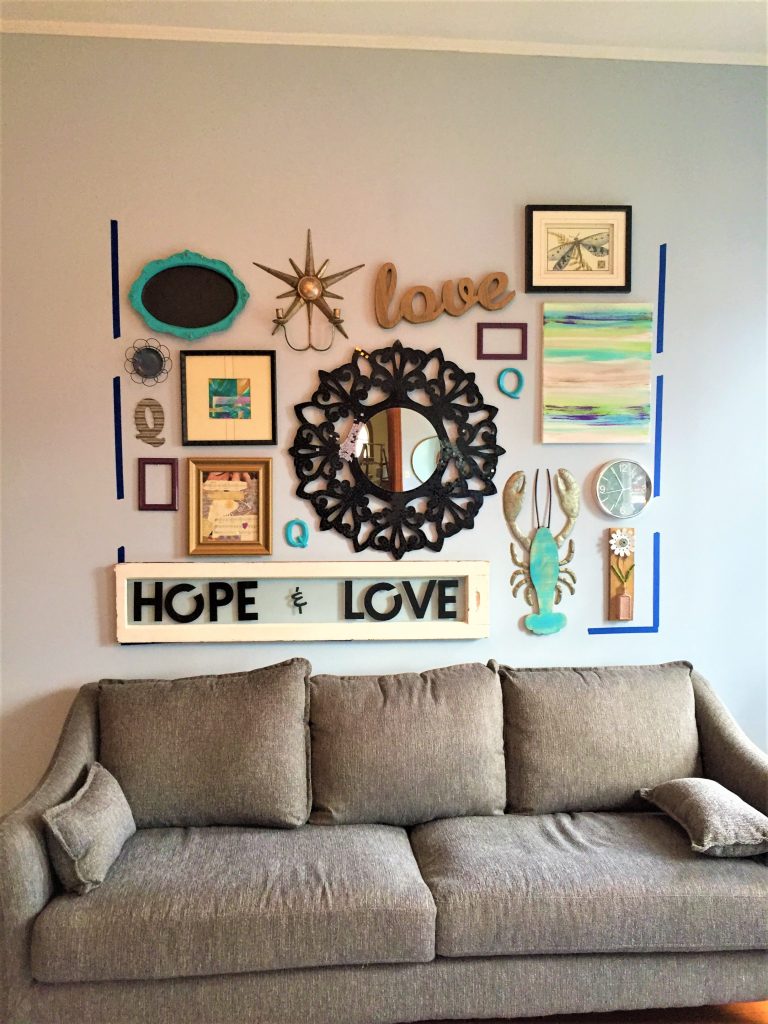
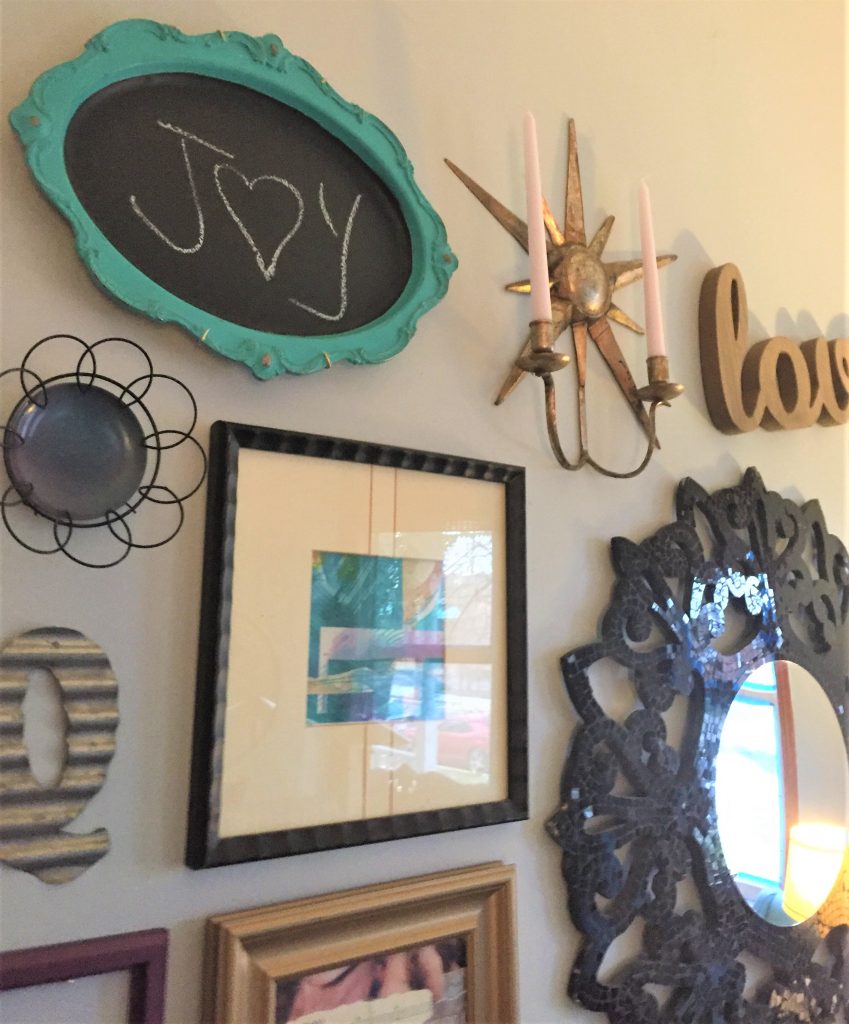
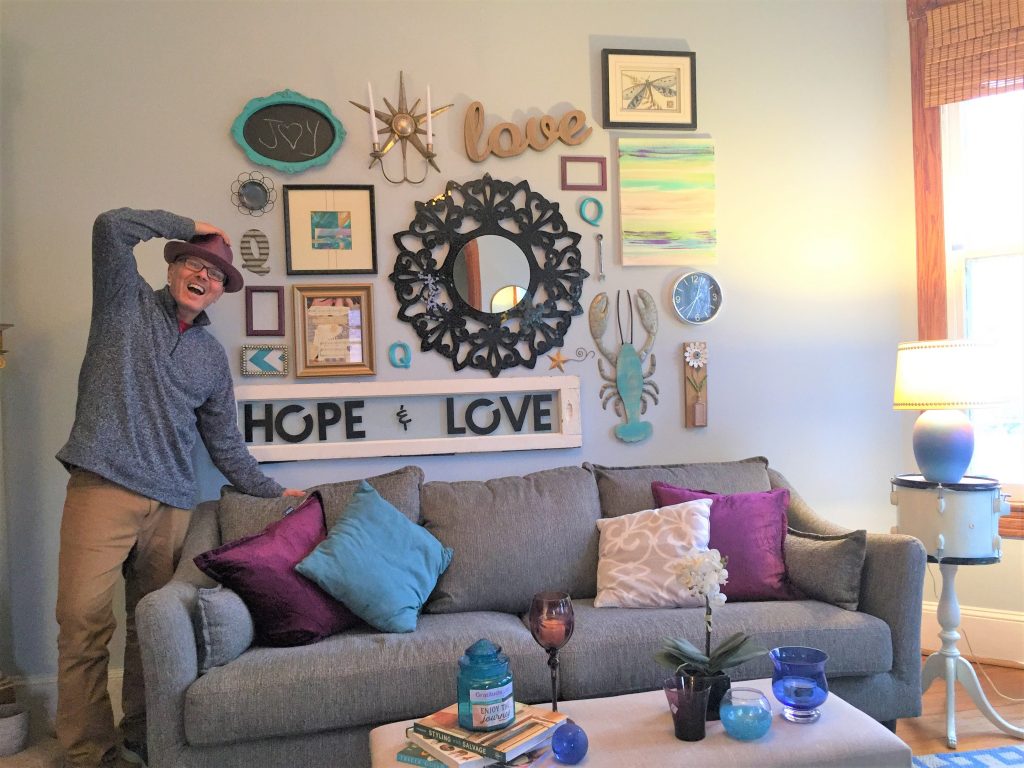
After you have gathered what you have at your fingertips, make a field trip to your nearby Goodwill store, which is always filled to the brim with great pieces to add to your collection and at prices that won’t break the bank. For the gallery wall for my living room, I found a beautiful round mirror with black tiles on its frame that had an exotic feel to it. A framed print of a dragon fly, a silver clock with a black face, a gold toned sconce and a small place in a flowery wire setting where among the many treasures found at Goodwill, all under $10 each! What good will you find there?
To give your final gallery wall an intentional look, consider the colors of each item. I wanted to have plum purples, teal, along with black and silver items. By seeking out artwork, prints and items with these colors, it helped to give a cohesive feel to the project and play up those colors throughout the space.
Consider selecting items that have a theme too. Maybe all your items have a floral connection, so you select items from Mother Nature like leaves and flowers and landscapes? What about a travel themed gallery wall with images, maps and postcards from your favorite destinations? Do you have a favorite animal? If so, a collection of art with dogs, birds or safari creatures would look welcoming and whimsical. Are you a fashionista? Then frame covers of vintage magazines along with artwork featuring clothing, shoes and hats. This would be a totally awesome project for a sports lover, too!
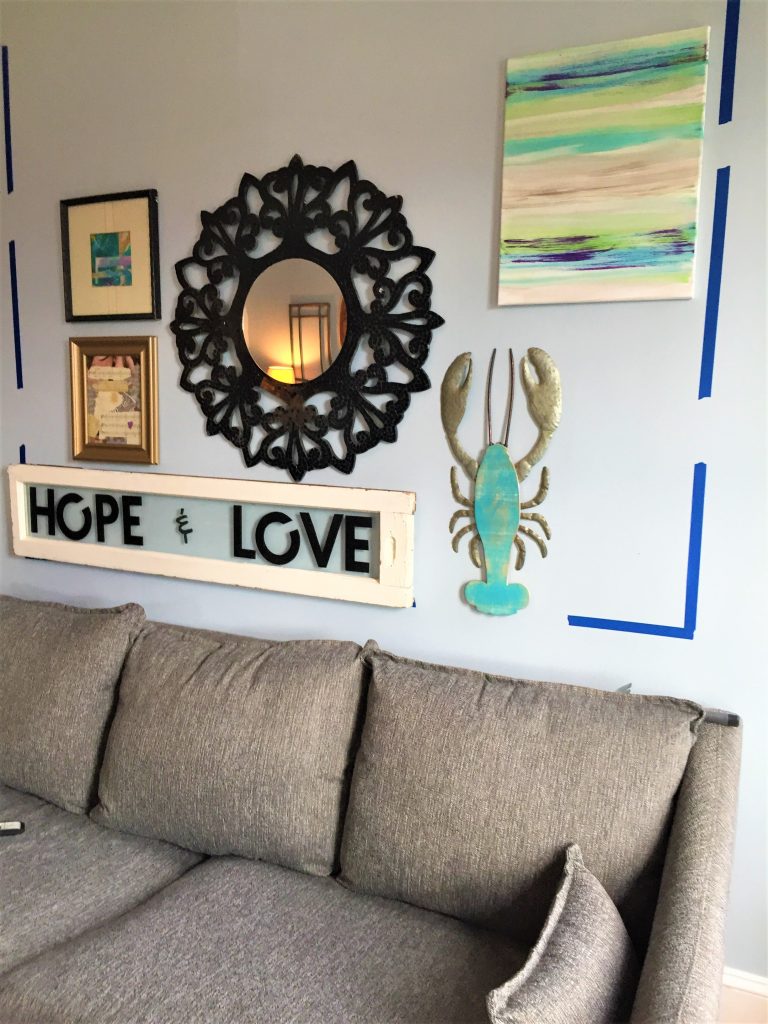
Given my love of creating and upcycling, I knew I would include some of my own original artwork with transformed pieces like the window sash with “hope & love” and my grandmother’s old silver serving tray turned funky chalk board. I combined them with a lobster from my sister, several letter Q’s (my middle initial) from my mother and a shiny silver wrench from a friend.
Okay, I could go on and on I am so excited about this project. Now that you have your collection, get ready for step 2.
2. Map & measure out your wall space
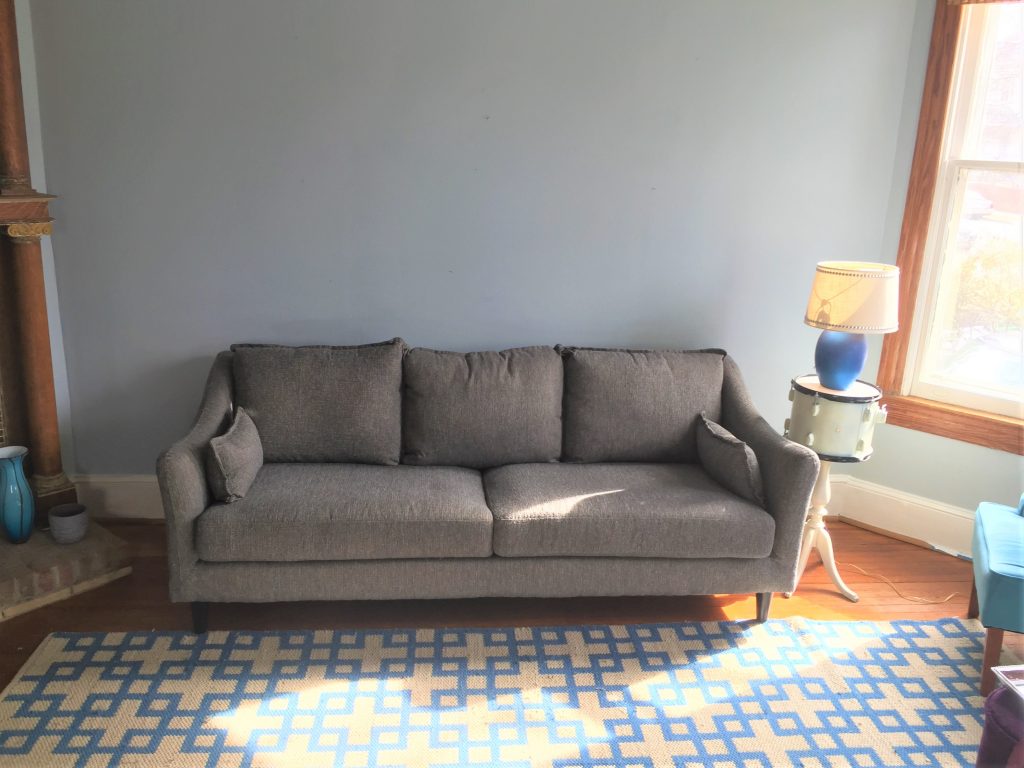
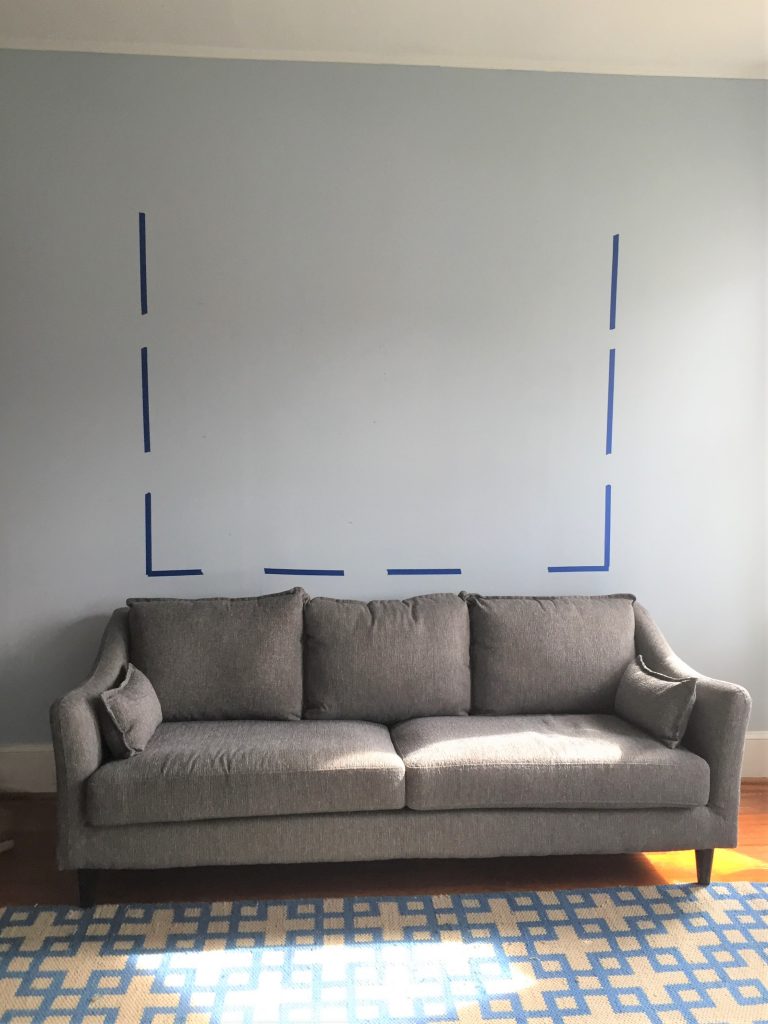
You will now need to determine the space you will work with to create your galley wall. Since mine would be going above the couch, I gave myself a bottom border of six inches so that artwork wouldn’t impact folks seated on it. So that the display wouldn’t feel overpowering or out of balance, I kept the side border inside the couch’s arms. Given my high ceilings, I wasn’t worried about how far up the wall to go. Use your tape measurer and pieces of painter’s tape to help frame that area in which the art will be displayed. Remember, the blank wall space around the items will help to frame the display.
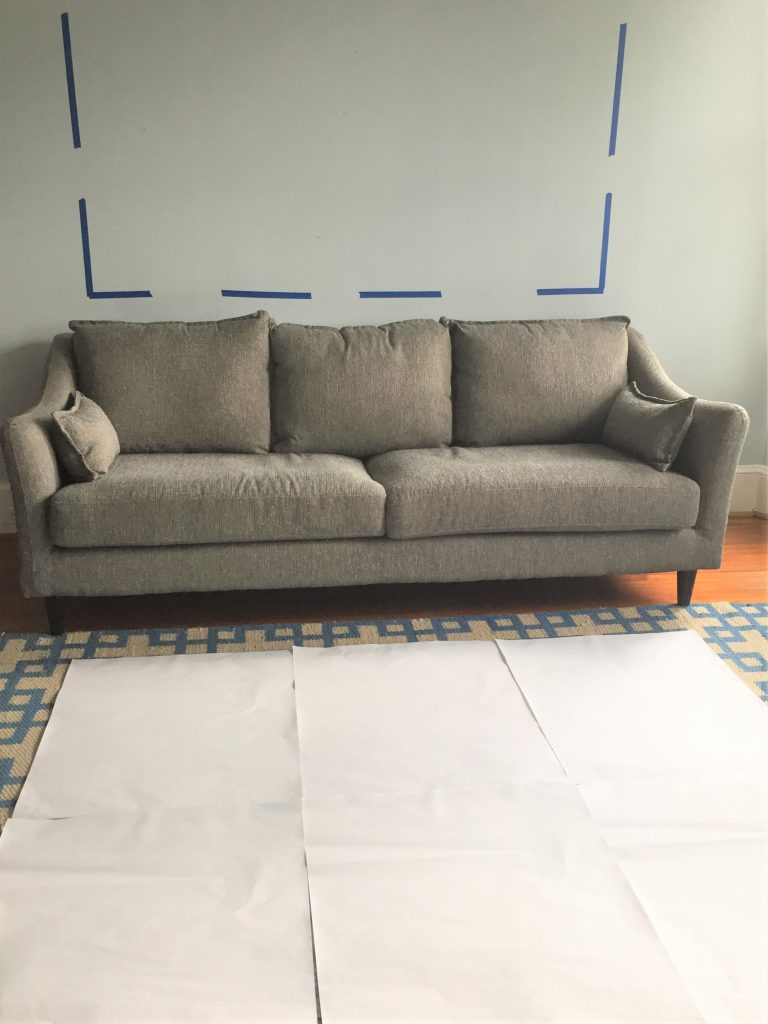
With those measurements, cut your paper and lay it on the floor in front of your sofa so the paper could cover the entire area if hung on the wall.
3. Lay out, position items on the floor
Now comes the most fun and most difficult part of the project: deciding where items should go. You will be laying them on the paper as though the paper were the wall. This will allow you to easily keep moving things around without putting all sorts of holes in the wall.
Start with your biggest pieces and put them in place. I knew I wanted the black frame mirror to be the centerpiece of the display so positioned in pretty much in the center of things. Secondly, the window sash was placed on the bottom to help anchor the overall look.
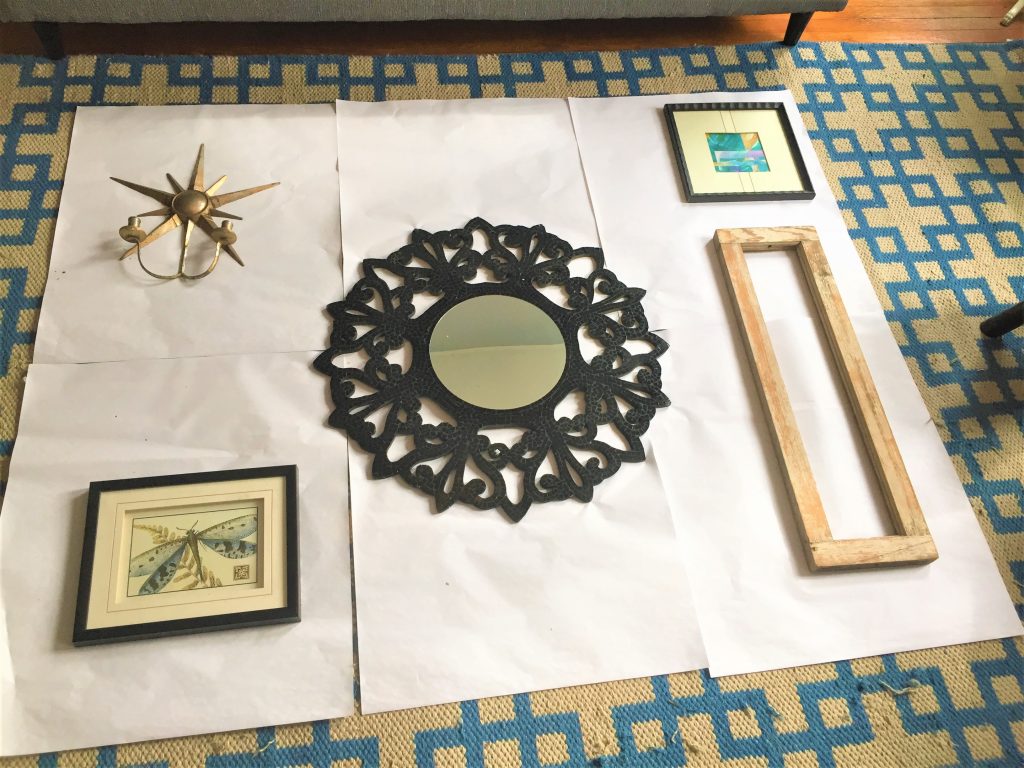
Continue to fill in the gaps and spaces with art continuing to move down in size.
Candidly, this part took much longer than anticipated AND was well worth the time to position things, step back and try again. Give yourself the okay to try laying things out in a number of ways and to hit pause, take a break and return with fresh eyes. Keep tweaking until you find a look that feels right. Trust your inner Martha Stewart! Once done, take a photo of your display so you will remember where each piece will go.
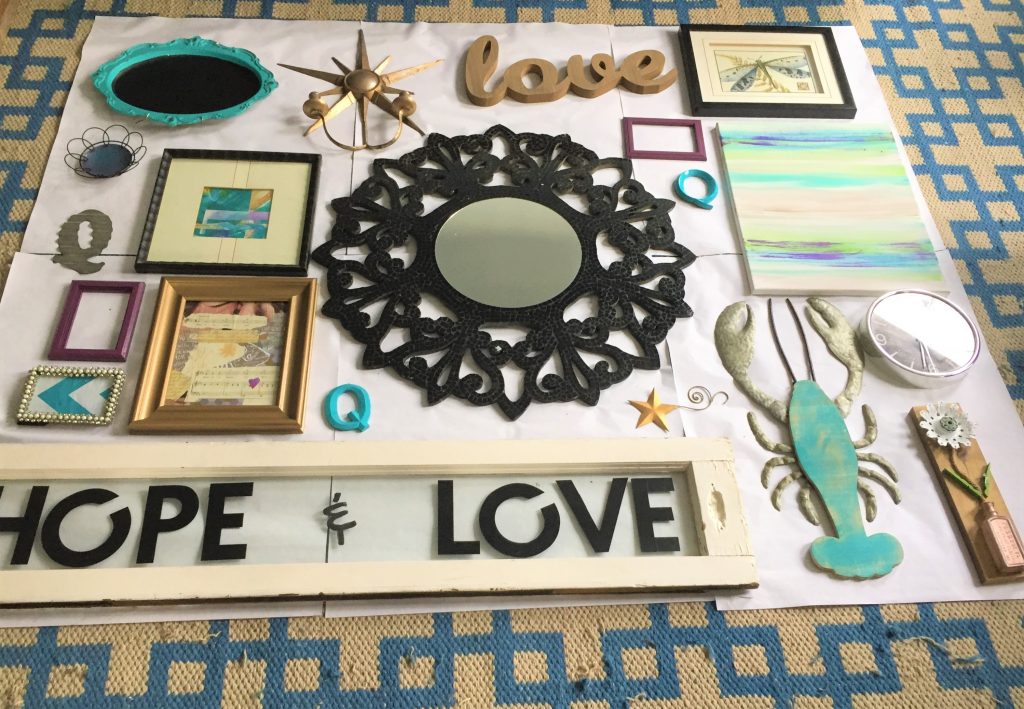
Expert tip: As you look at your display, are different tones balanced throughout? Don’t place the same colors next to each other. This goes the same with shapes, too. I had a variety of circles in my display (the mirror, the clock, the sconce) so I wanted to ensure two circles were not right next to each other but positioned throughout to add visual interest. Same with the various frames; I ensured black frames weren’t always next to black items. The warmer tones of the wooden pieces were blended in, too.
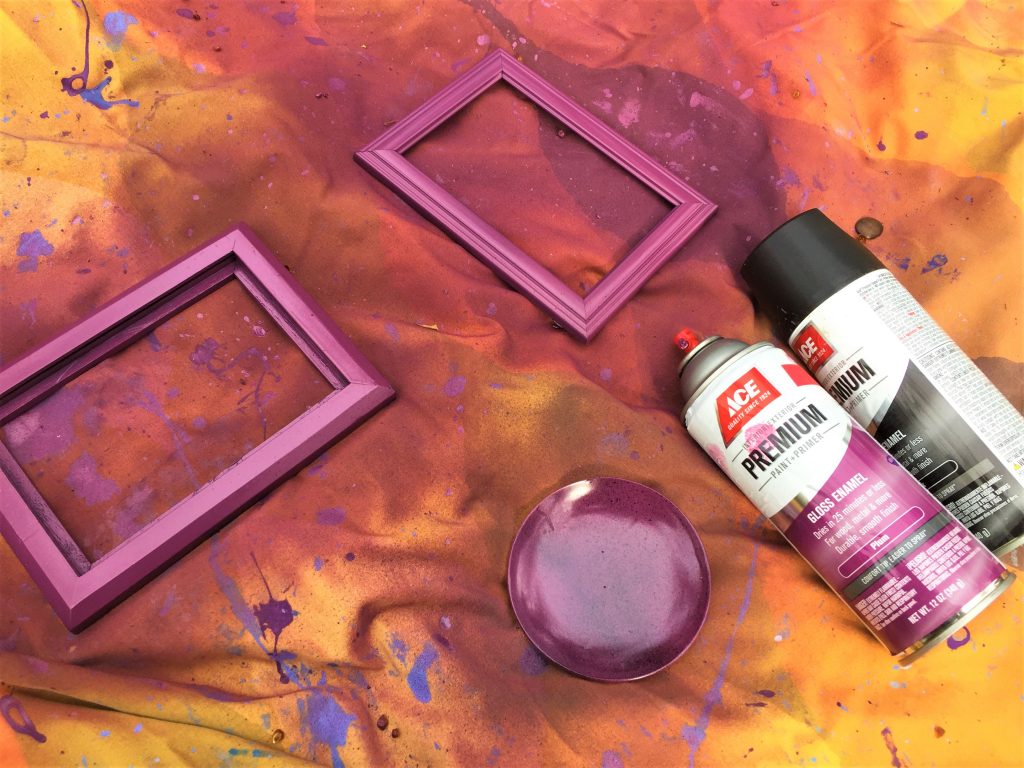
To provide pops of color, I spray painted several small, empty frames in my plum purple shade. The letter Qs got a transformation, too, when I sprayed them with teal. Again, ensure your colors show up in a variety of places and not clustered together. The silver frame of the clock matches the silver wrench and the silver lobster claws.

4. Move to the walls!
- Modeling the way you laid things out on the paper, start with your biggest pieces and secure them in place with nails or picture hangers.
- Use your level as needed to ensure a perfectly position piece.
- Look at the picture you took of the overall final look then move from item to item. You will want to replicate the layout of look of your mapped out, pre-positioned pieces. This step was so, so easy and so, so fun as you can see how your pre-planning and thoughtful positioning pays off.
- Remove the painter’s tape border.
5. Add other accent items
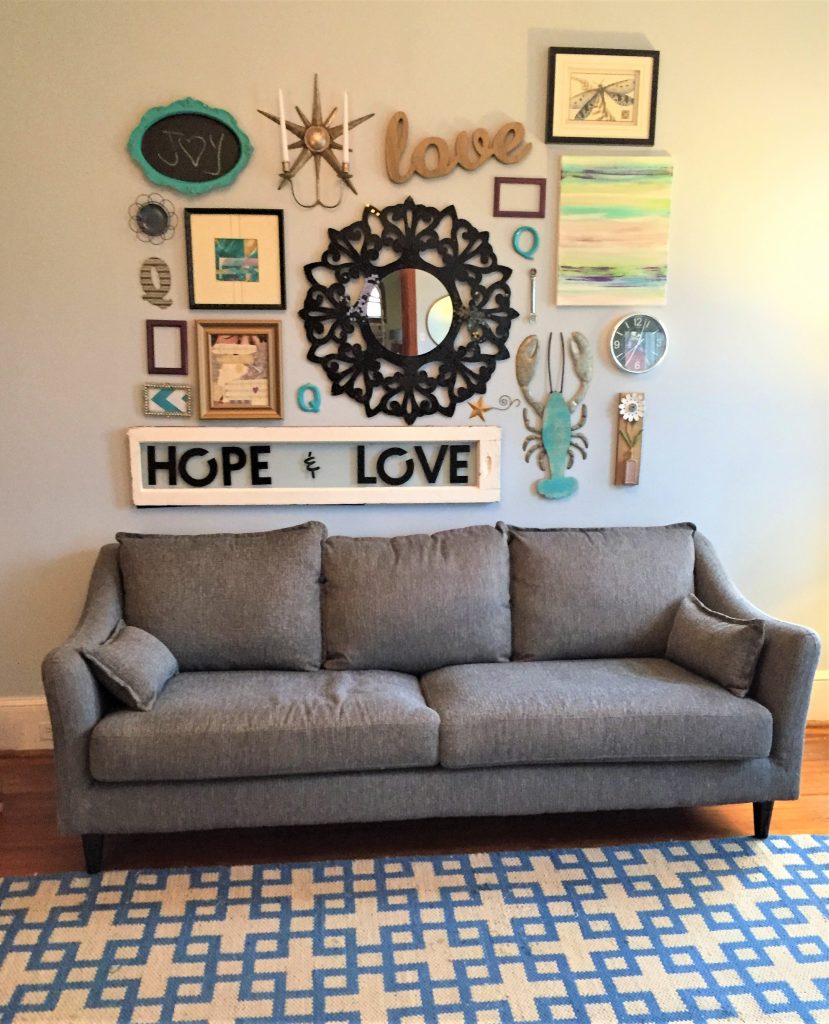
With your totally picture-perfect gallery wall in place, the good times continue as you move to the other items around the wall. Add colorful pillows to your couch. Place books, candles, vases and plants in your coffee table and side tables that continue the colors and feel of the wall.

Step back and admire!
You won’t look like the serious Mona Lisa because you will have a huge smile on your face as you think about hosting family and friends soon in your beautiful space!


Tim Kime
Artist, Motivational Speaker, Life Coach