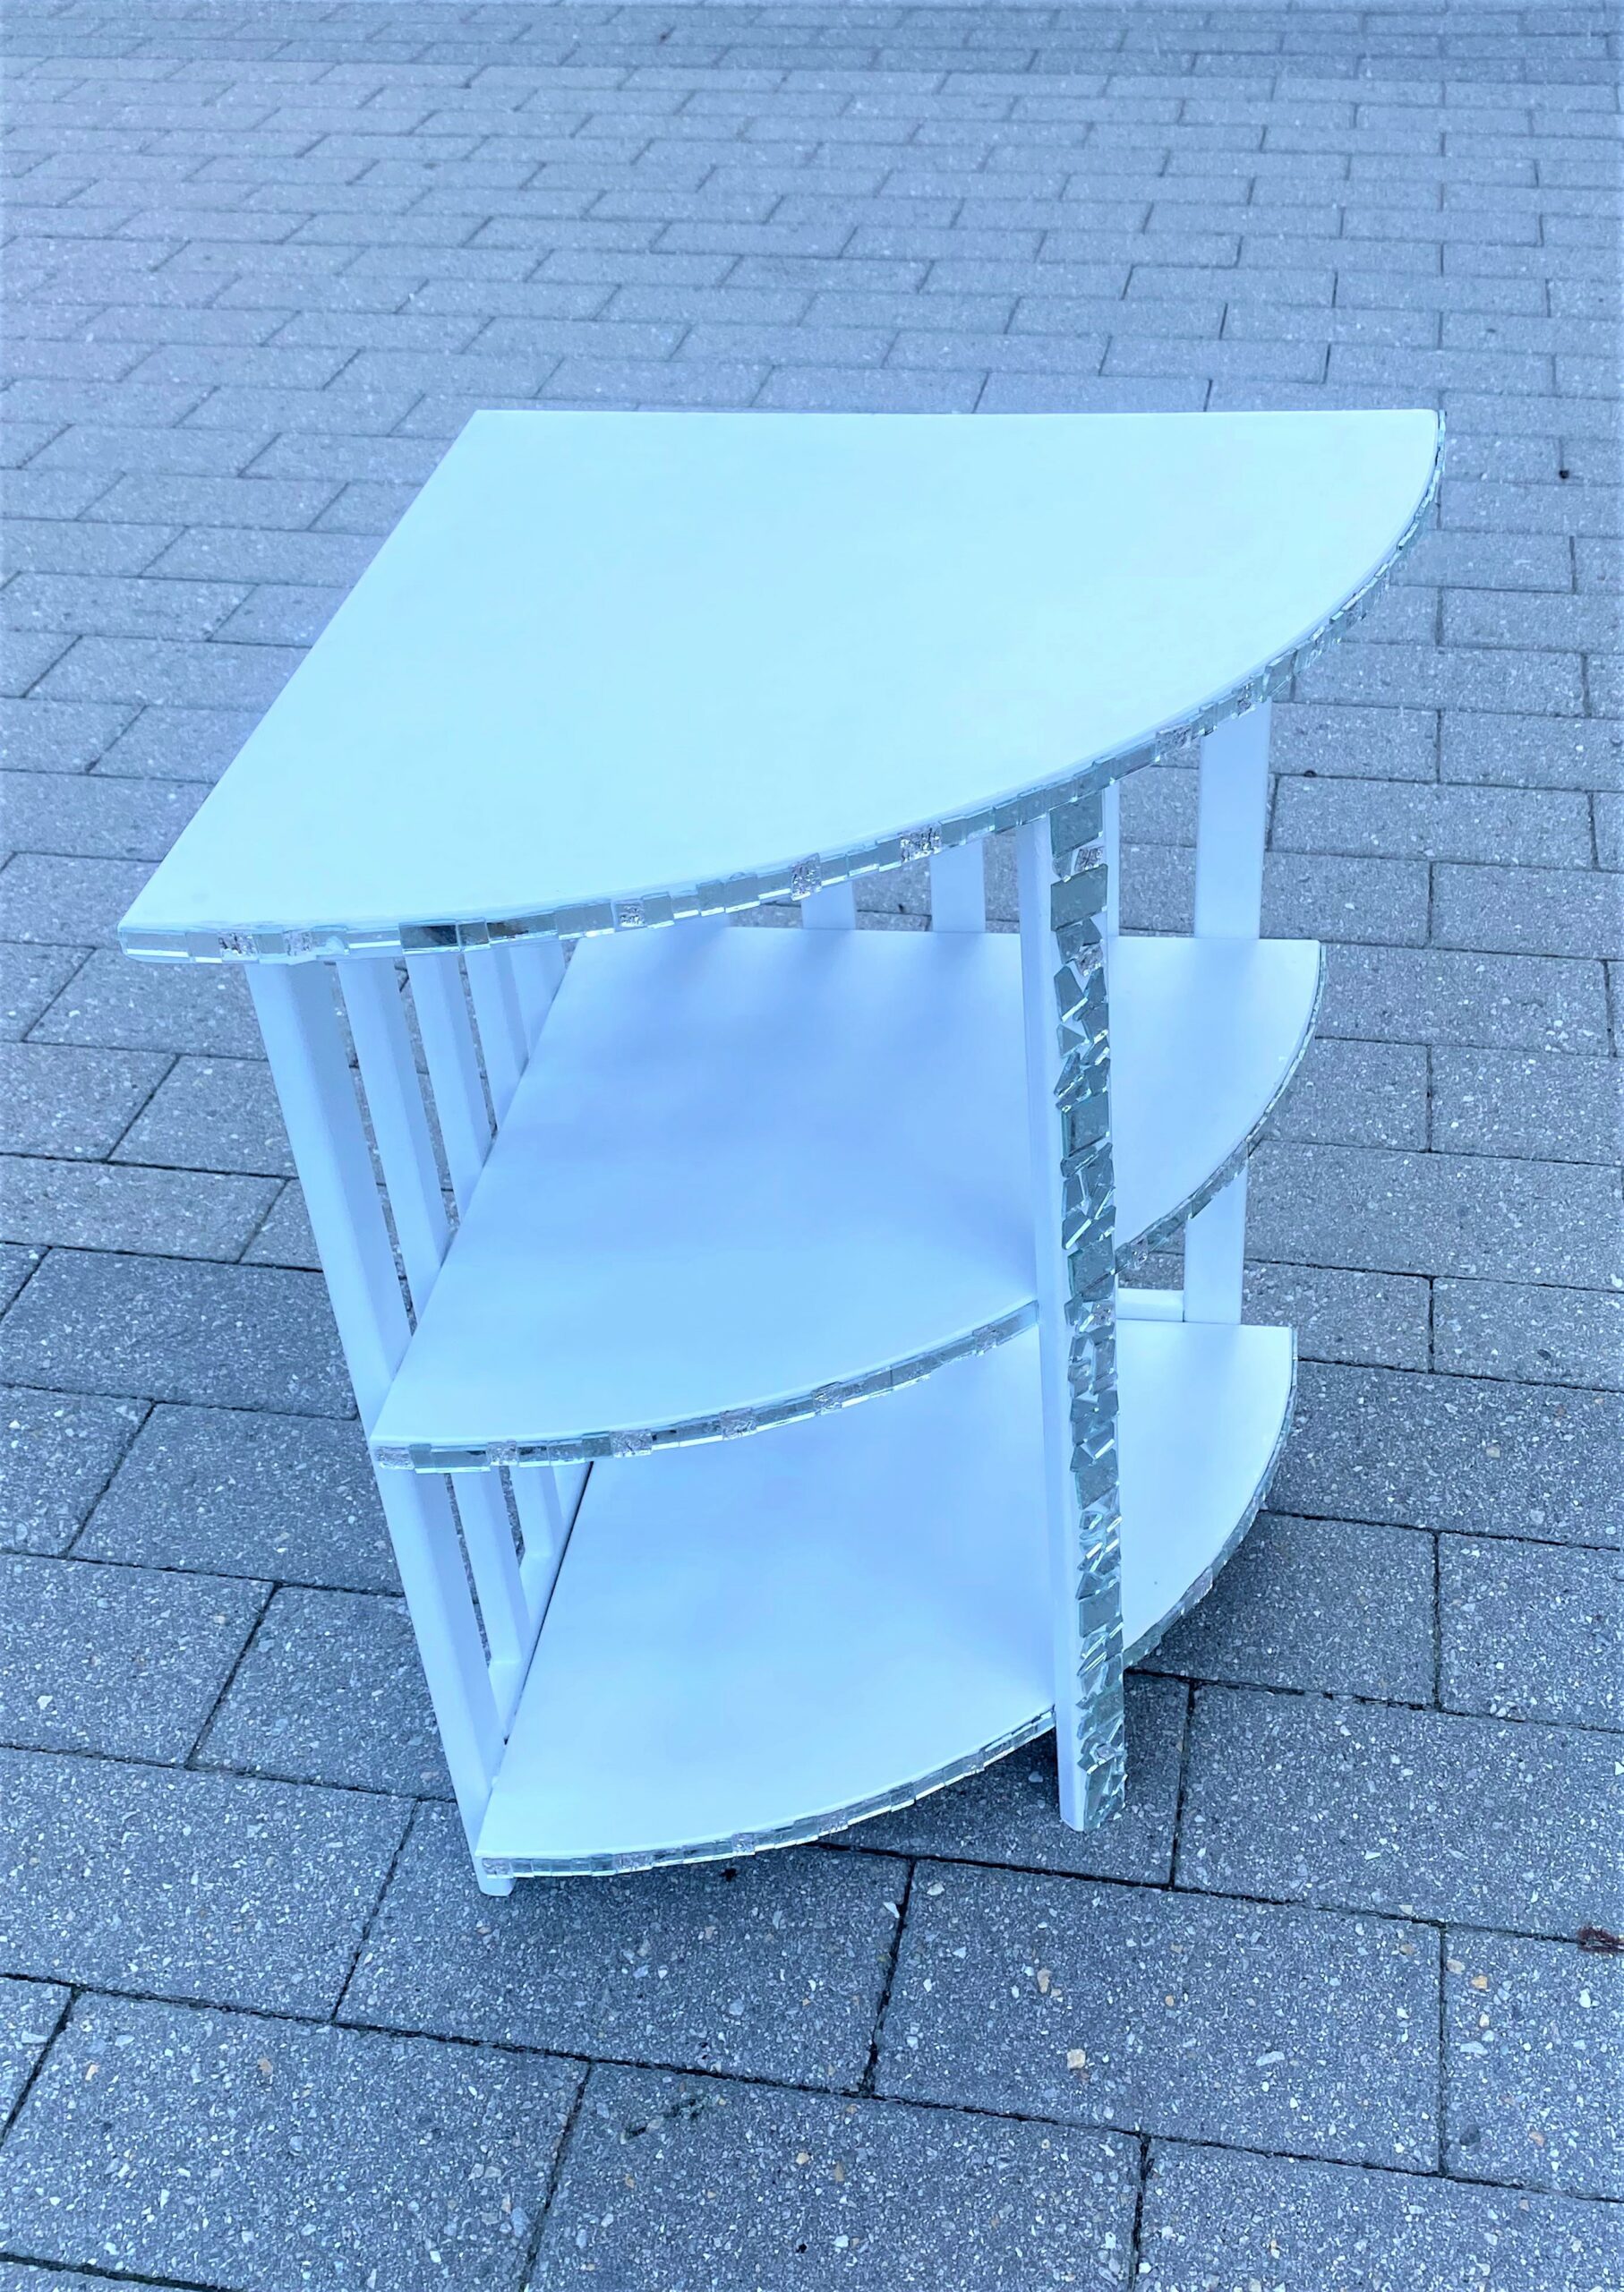
Part bling, part sparkle, part Disco ball—all fun!
Upcycle a boring and blah side table into a shimmering and shiny masterpiece! This week’s DIY blog project illustrates the impact of paint and embellishments to totally transform a piece from ho-hum to heavenly.
Thanks to Annette for the chance to transform her table and add some glamour to her space.
Supplies needed:
· Wooden side table
· Small mirror tiles
· White paint
· Epoxy glue, clear & fast drying
· Paint brush and small paint brush roller
· Polyurethane, semi-gloss
1. Shopping at Goodwill will make you shine (and your wallet, too)
Bright smiles await you when you pop into your nearby Goodwill store to do some shopping.
You will see the smiles on the great staff who are there to assist you, and you’ll see smiles from the happy shoppers, like you, who are getting great deals on unique items.
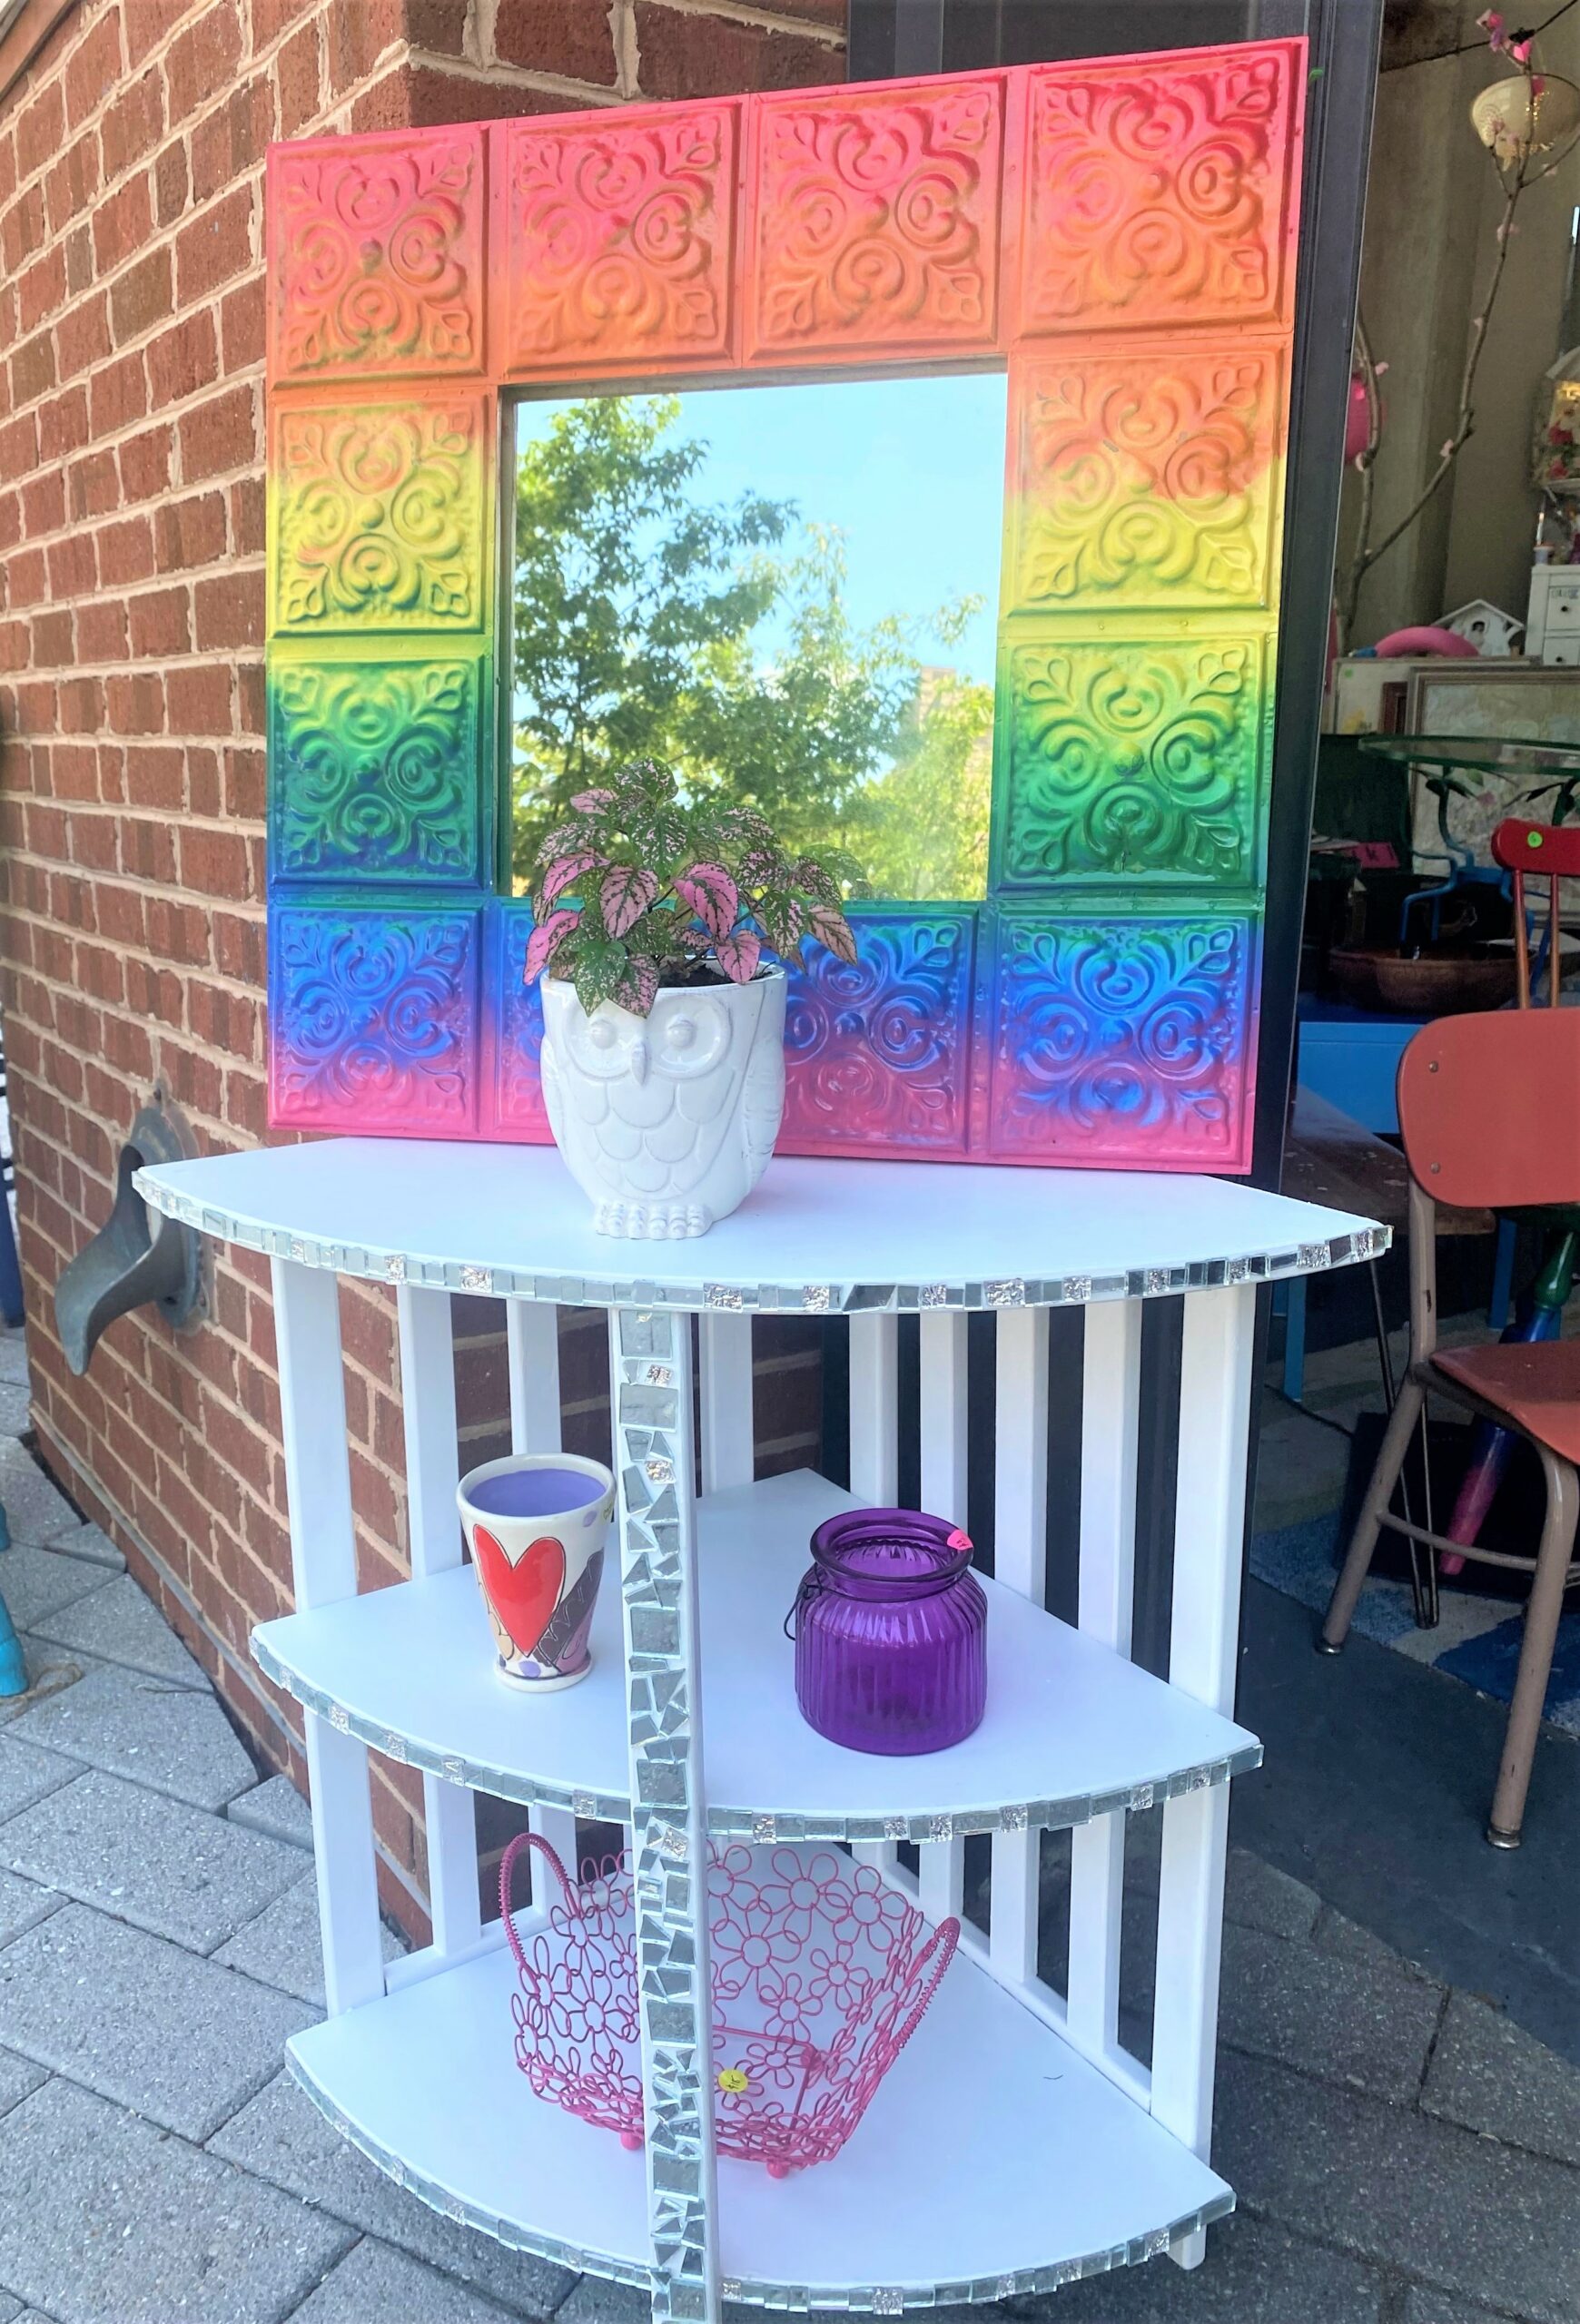
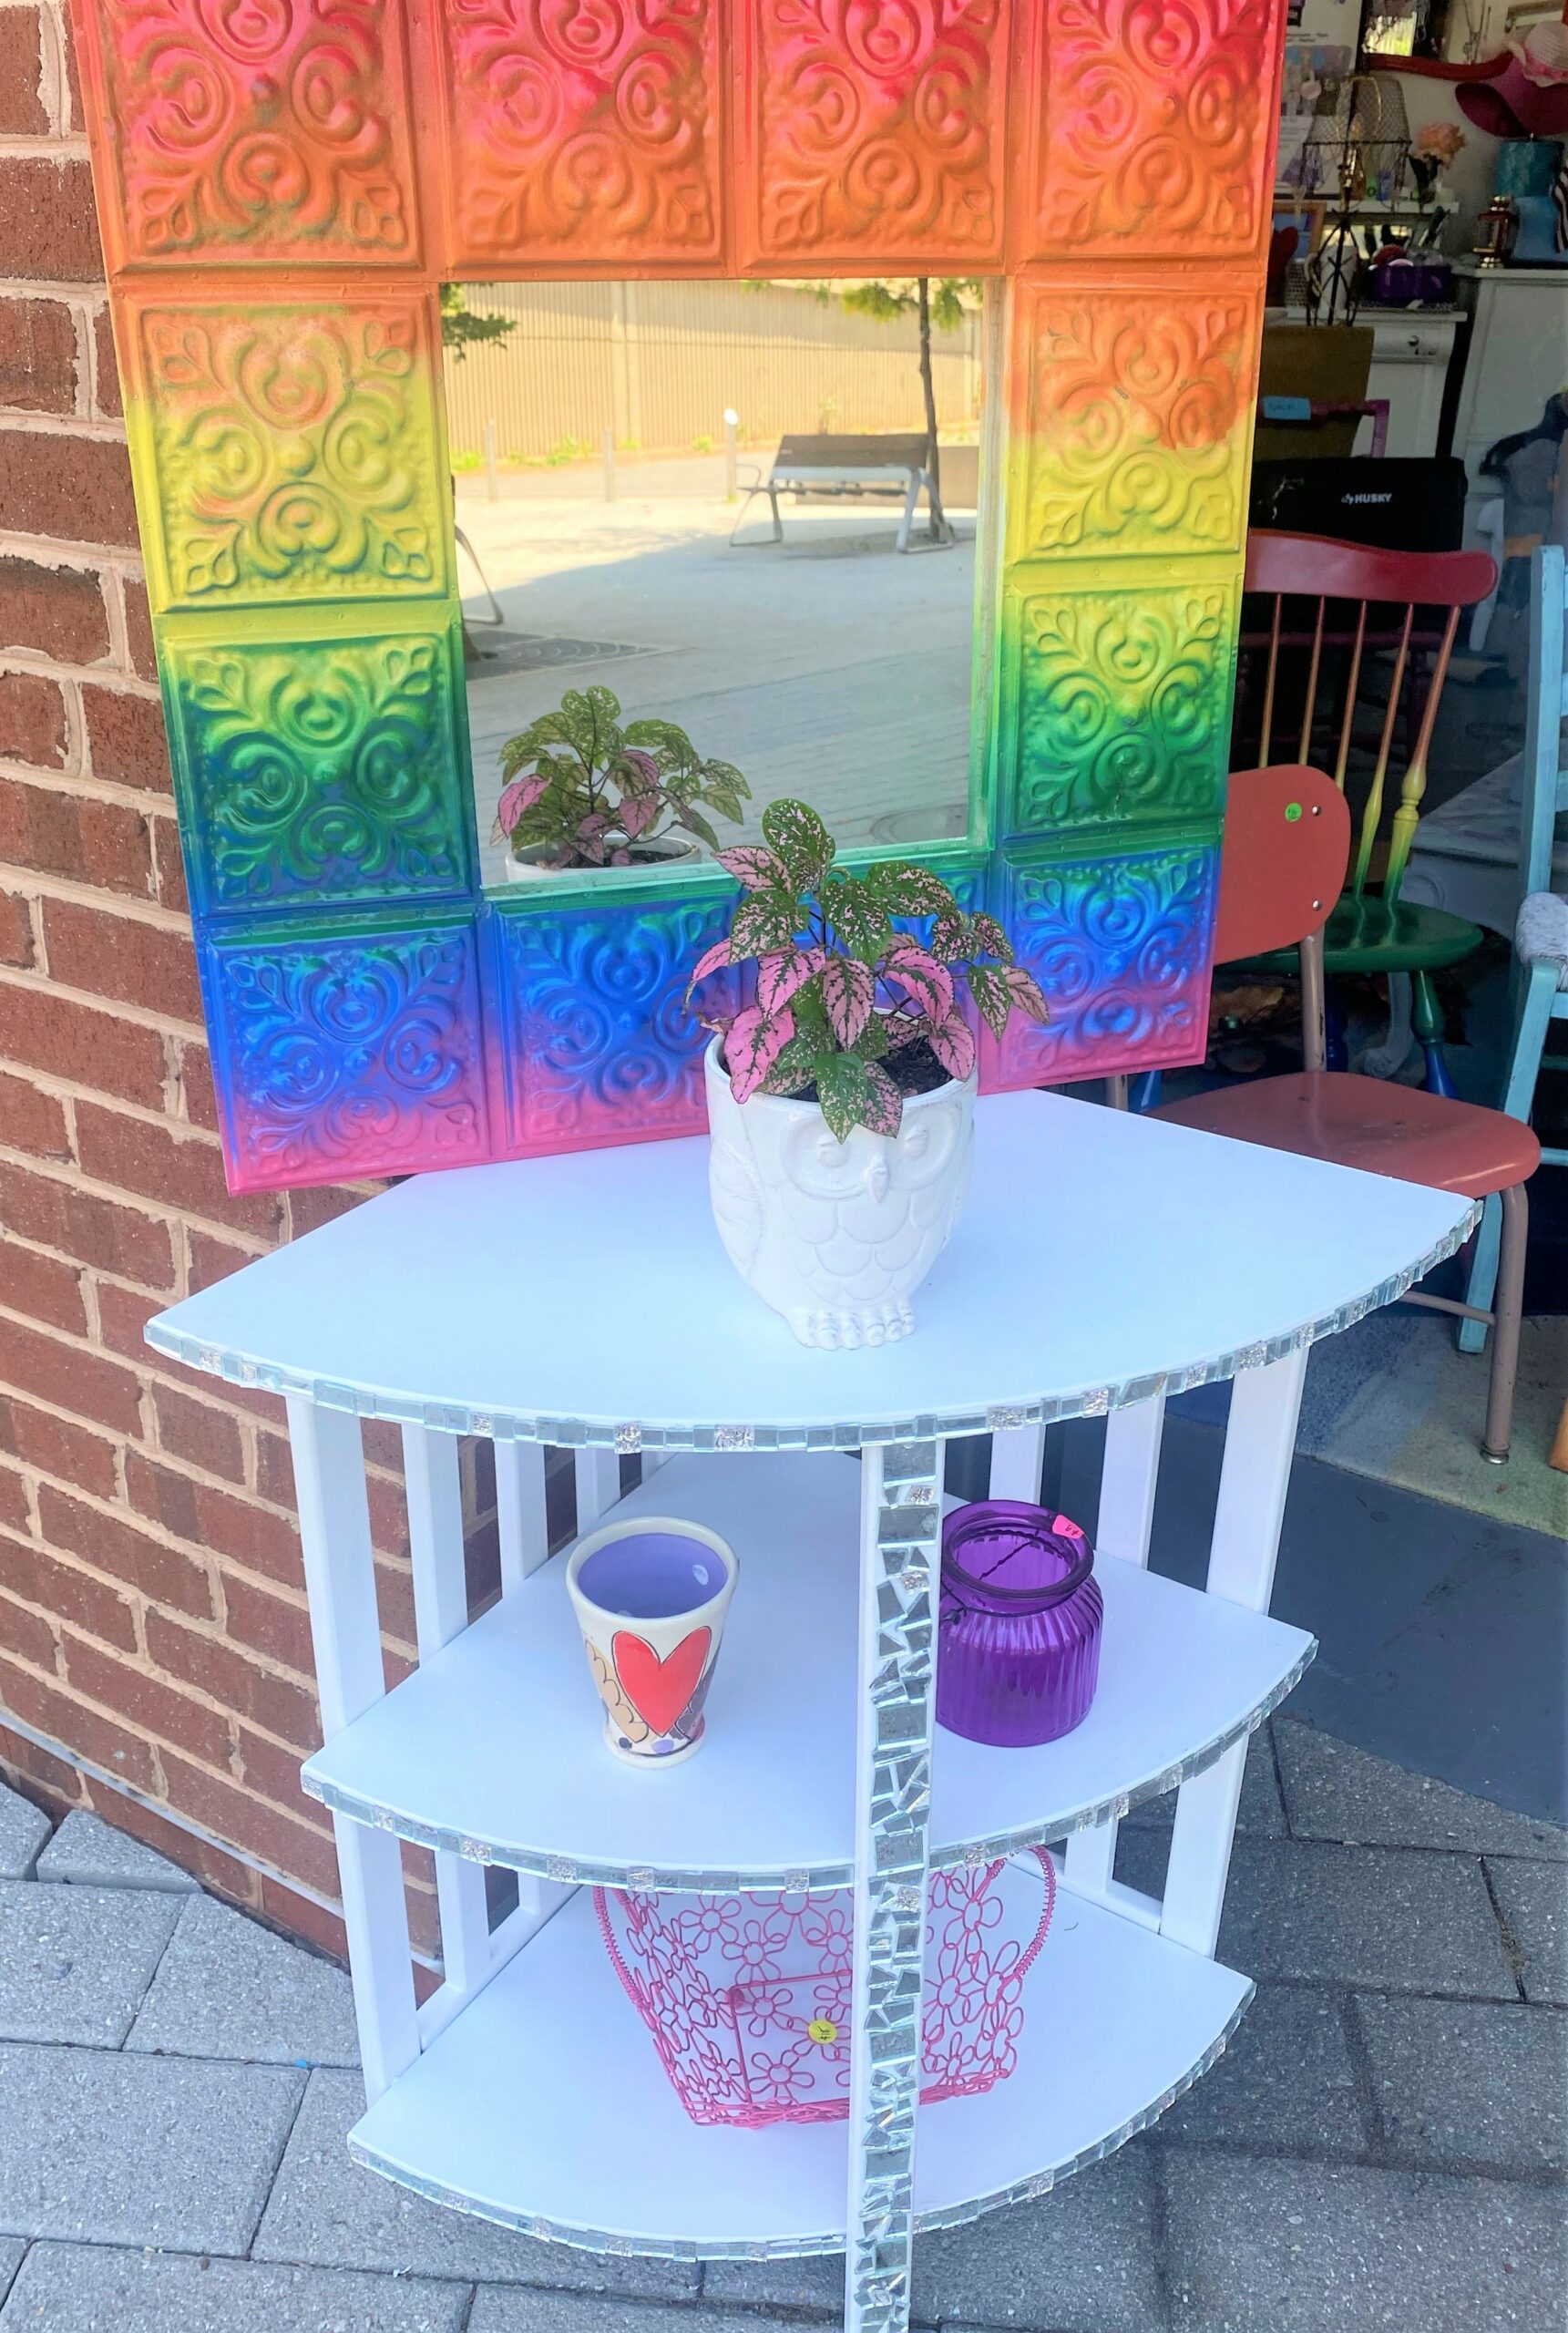
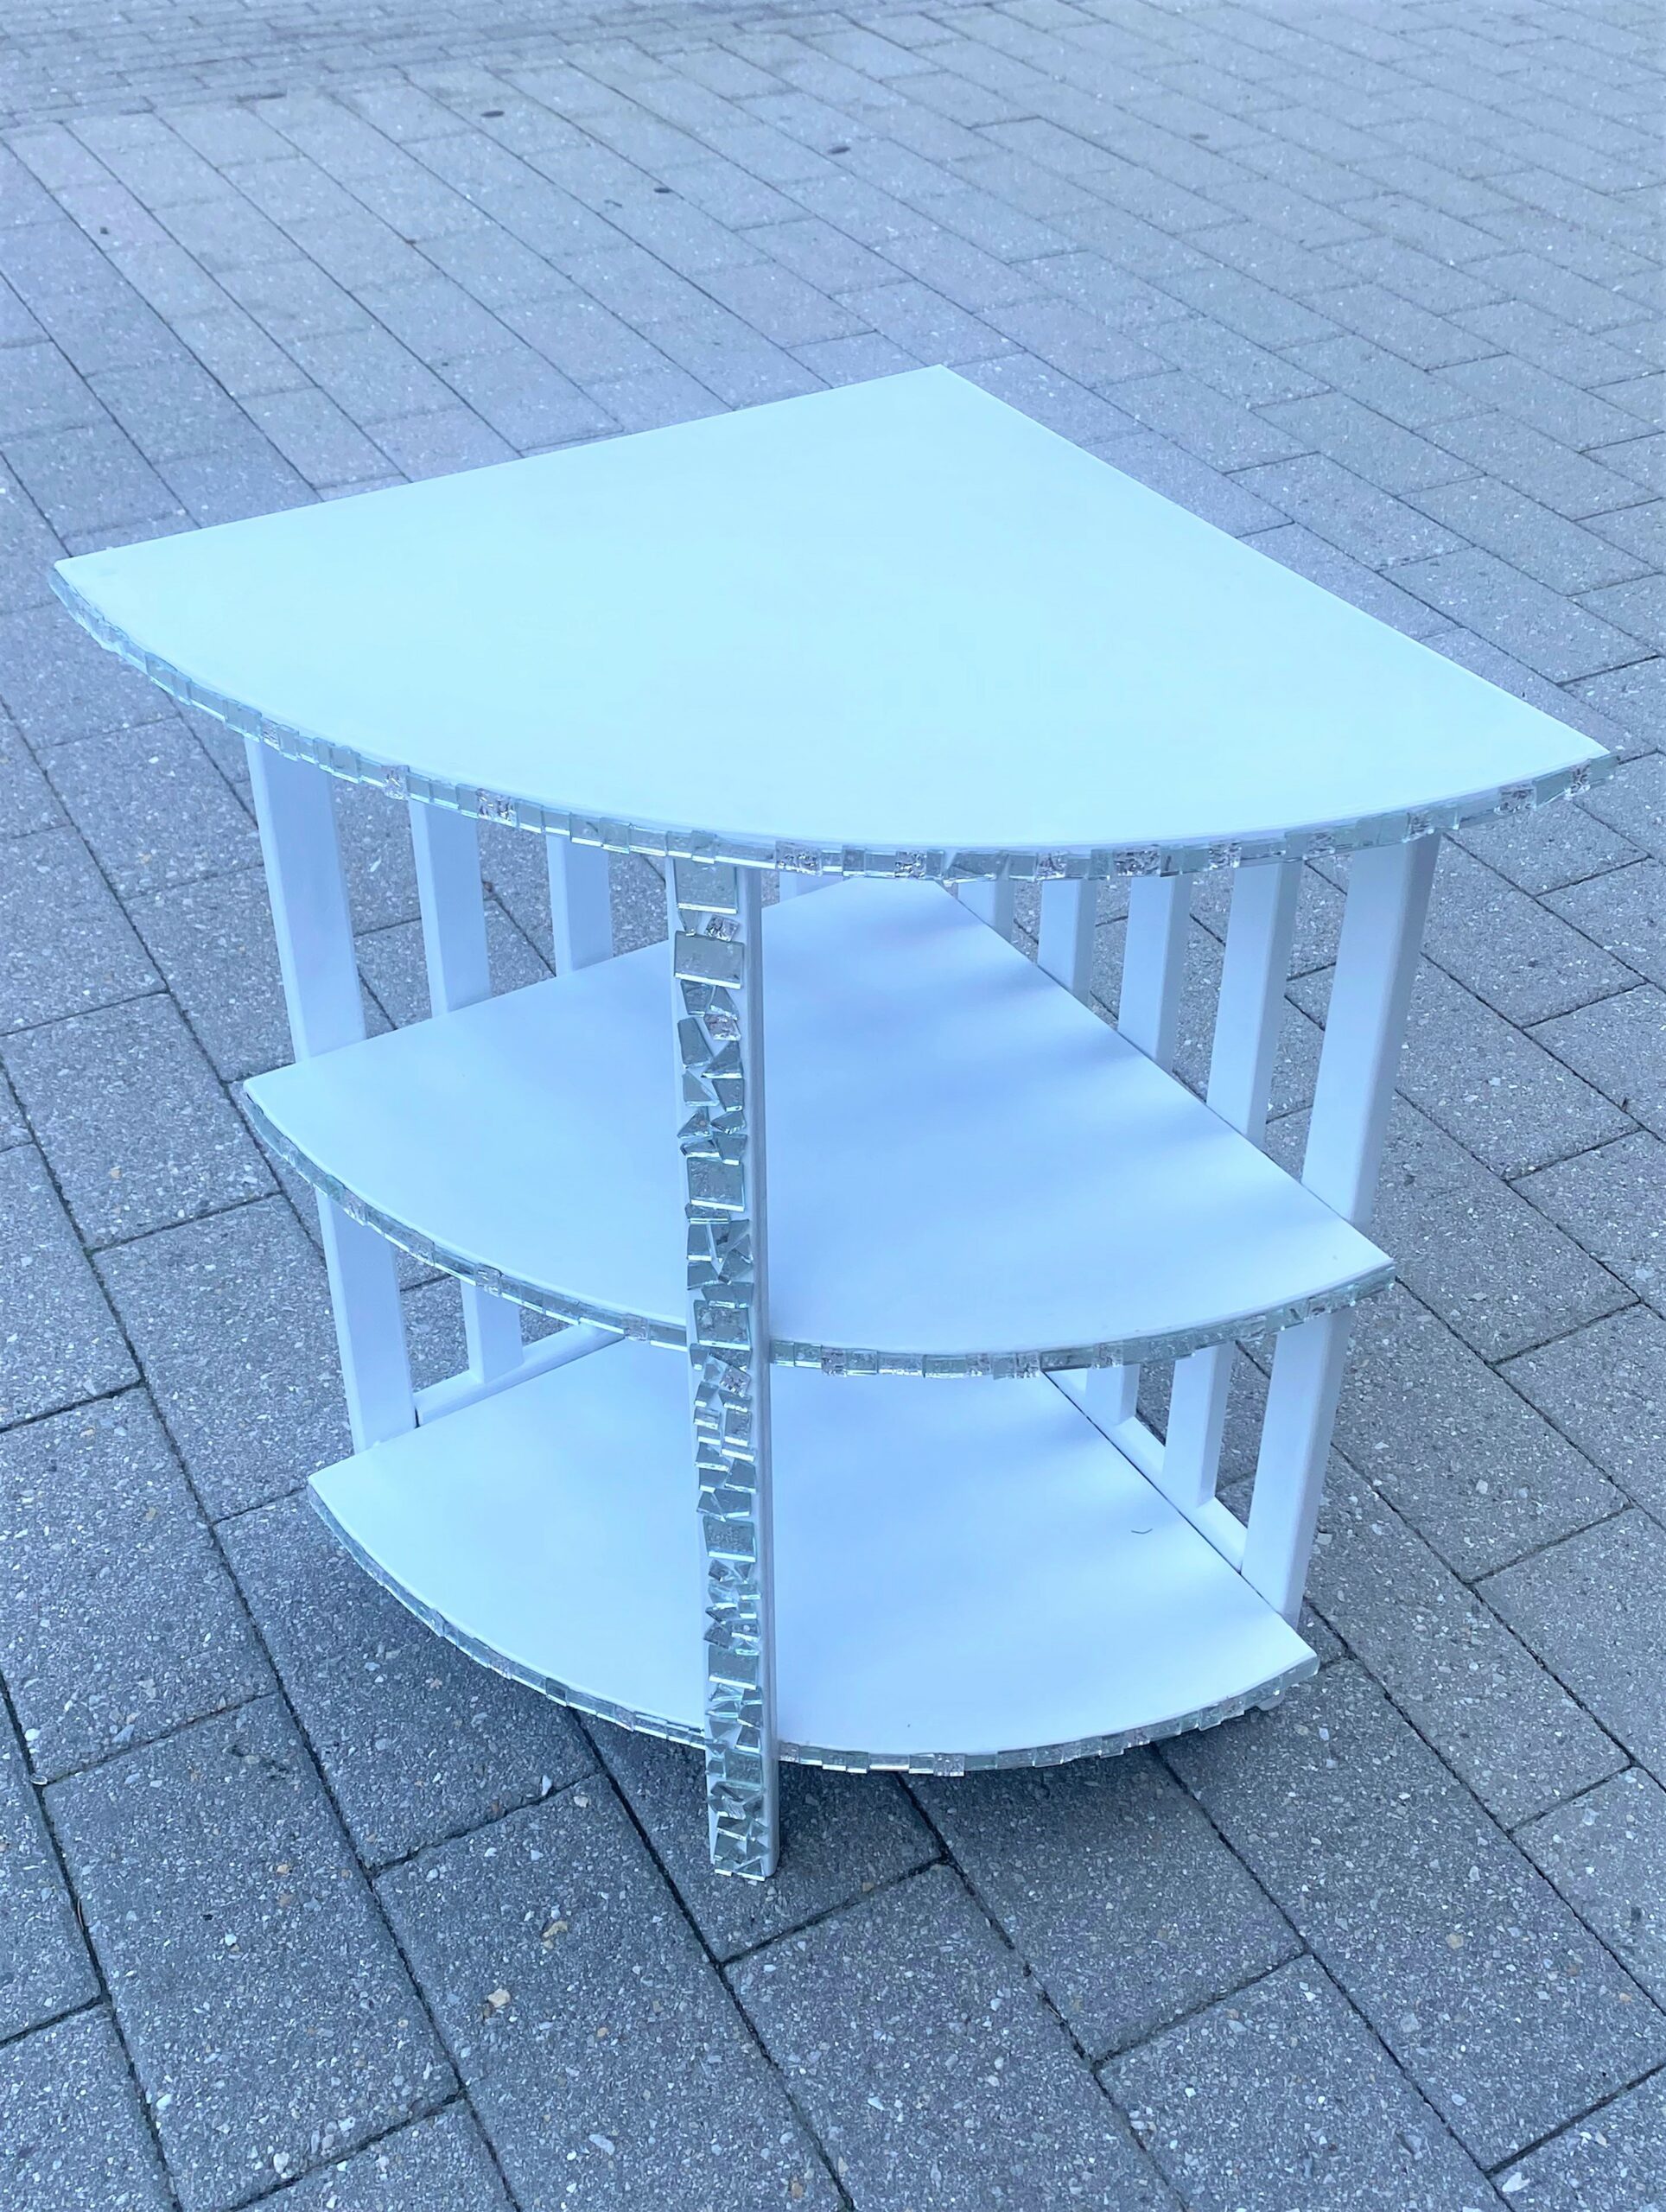
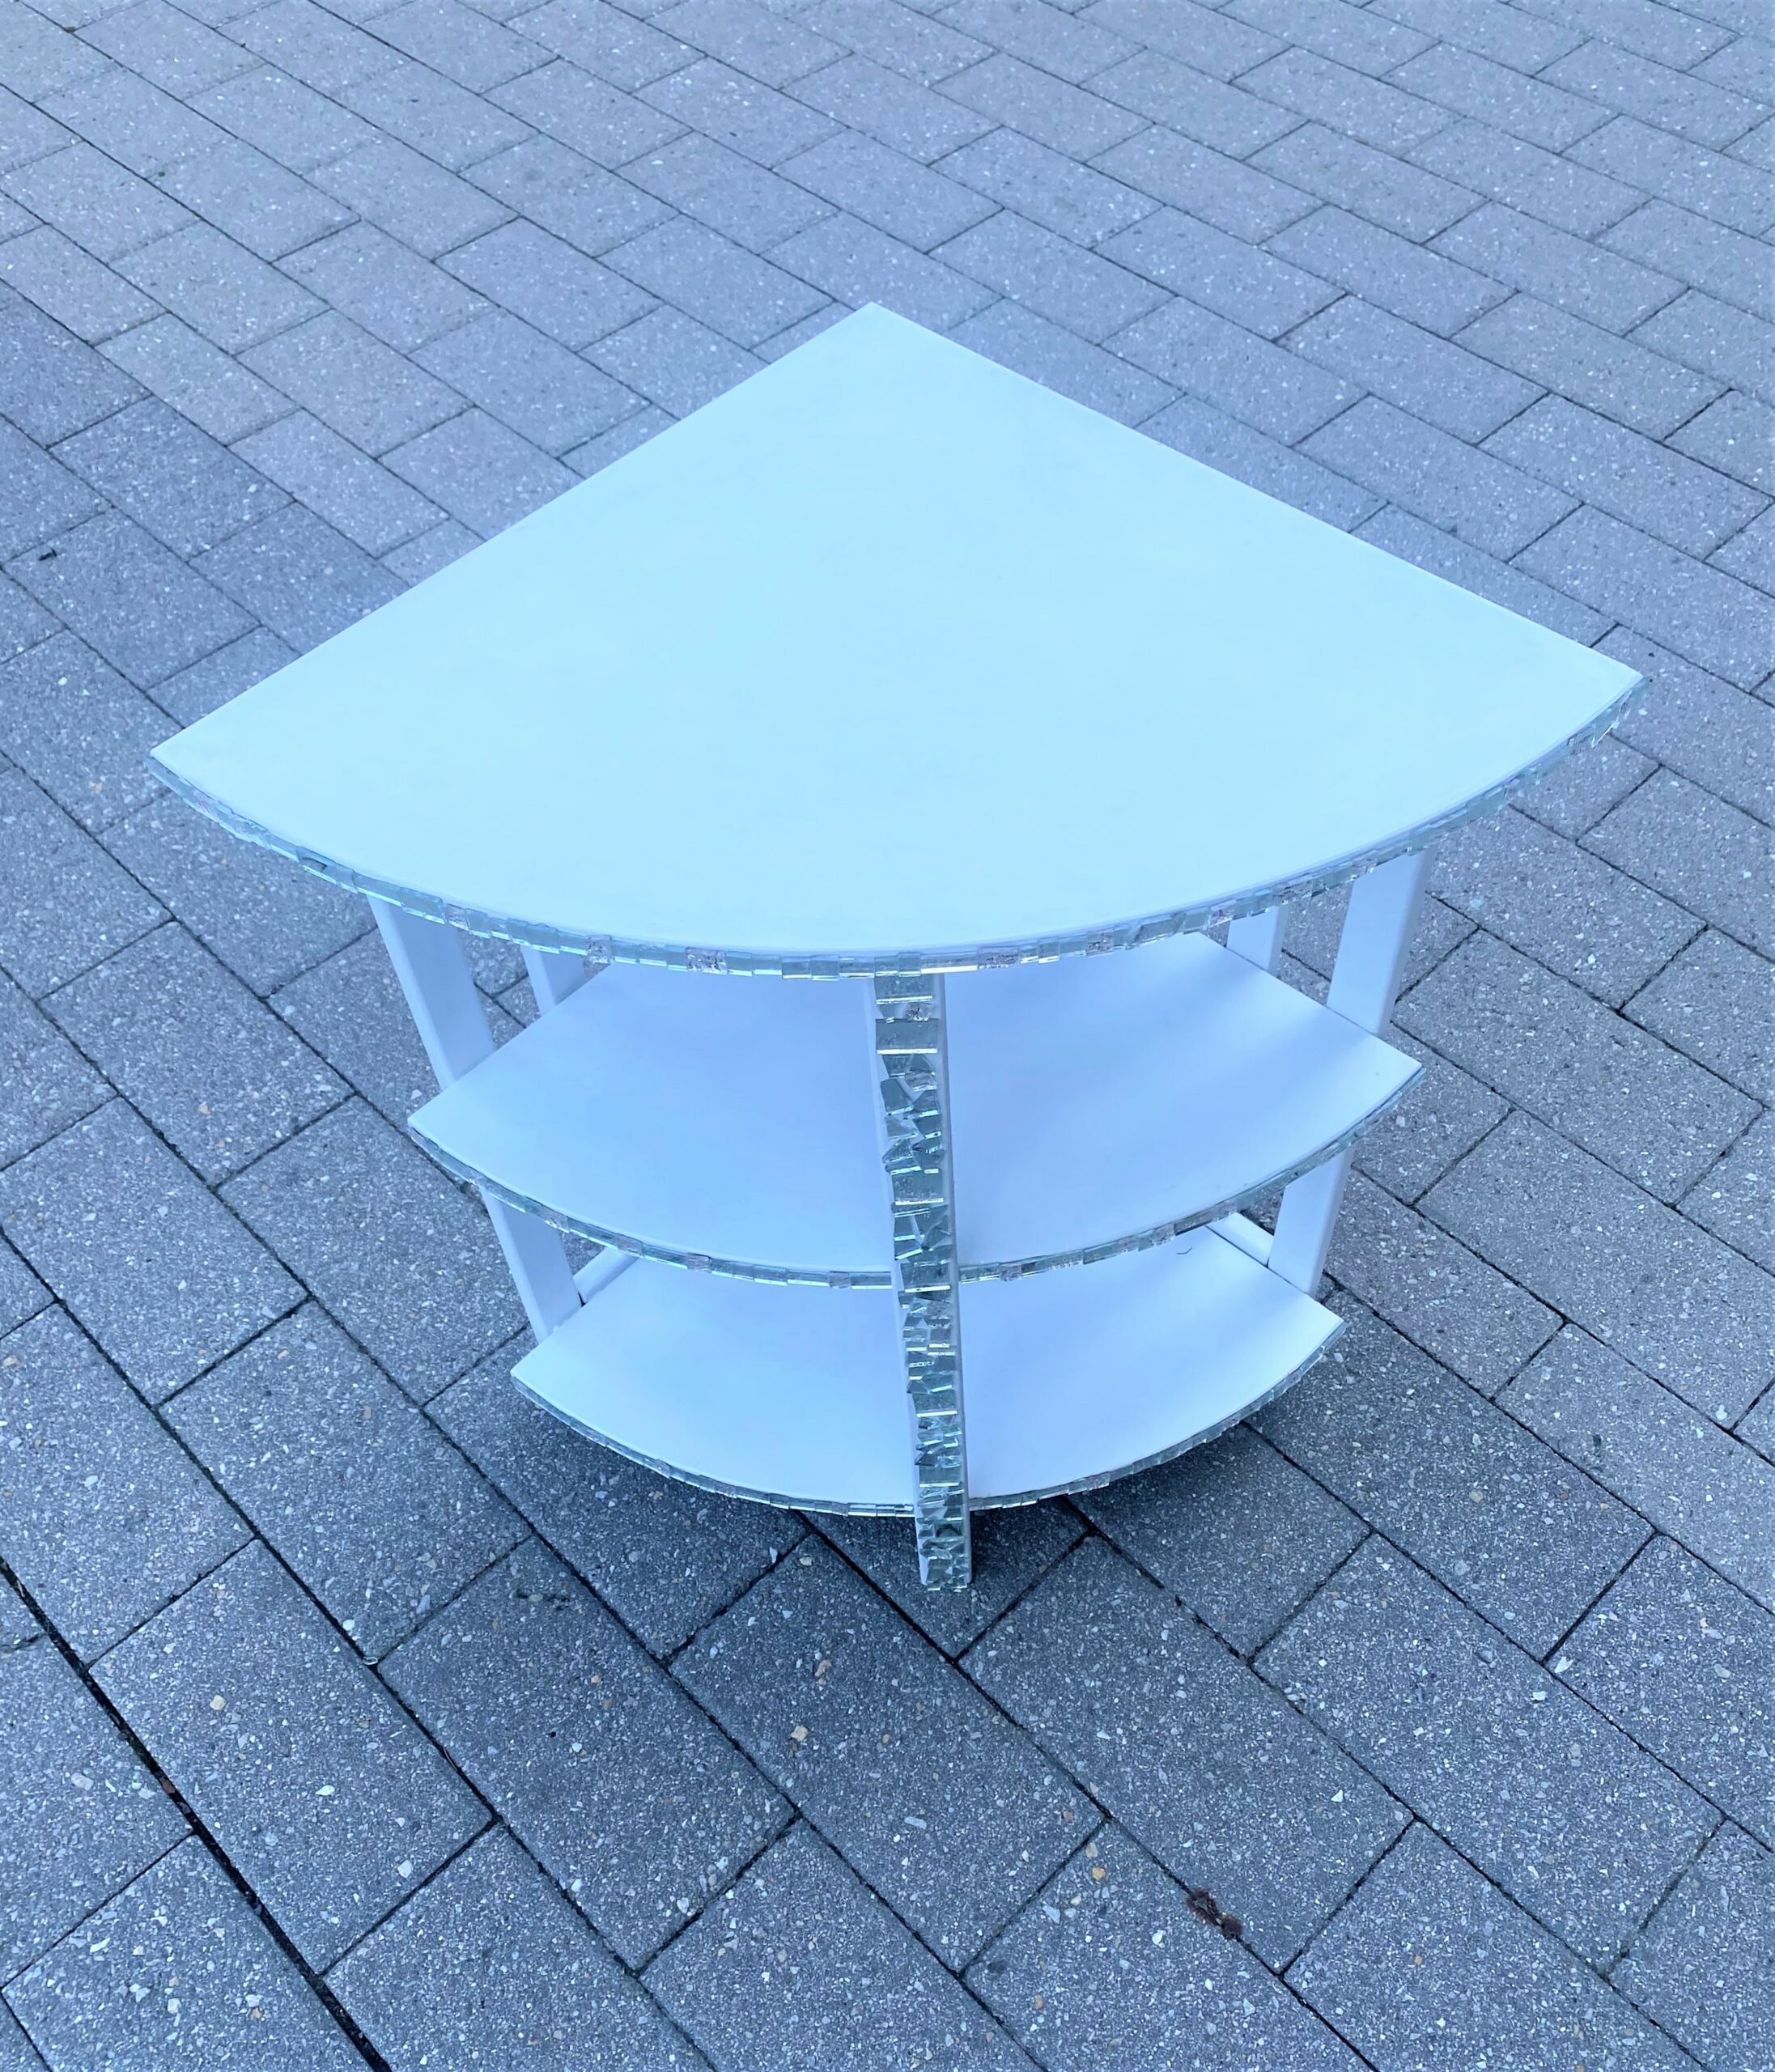
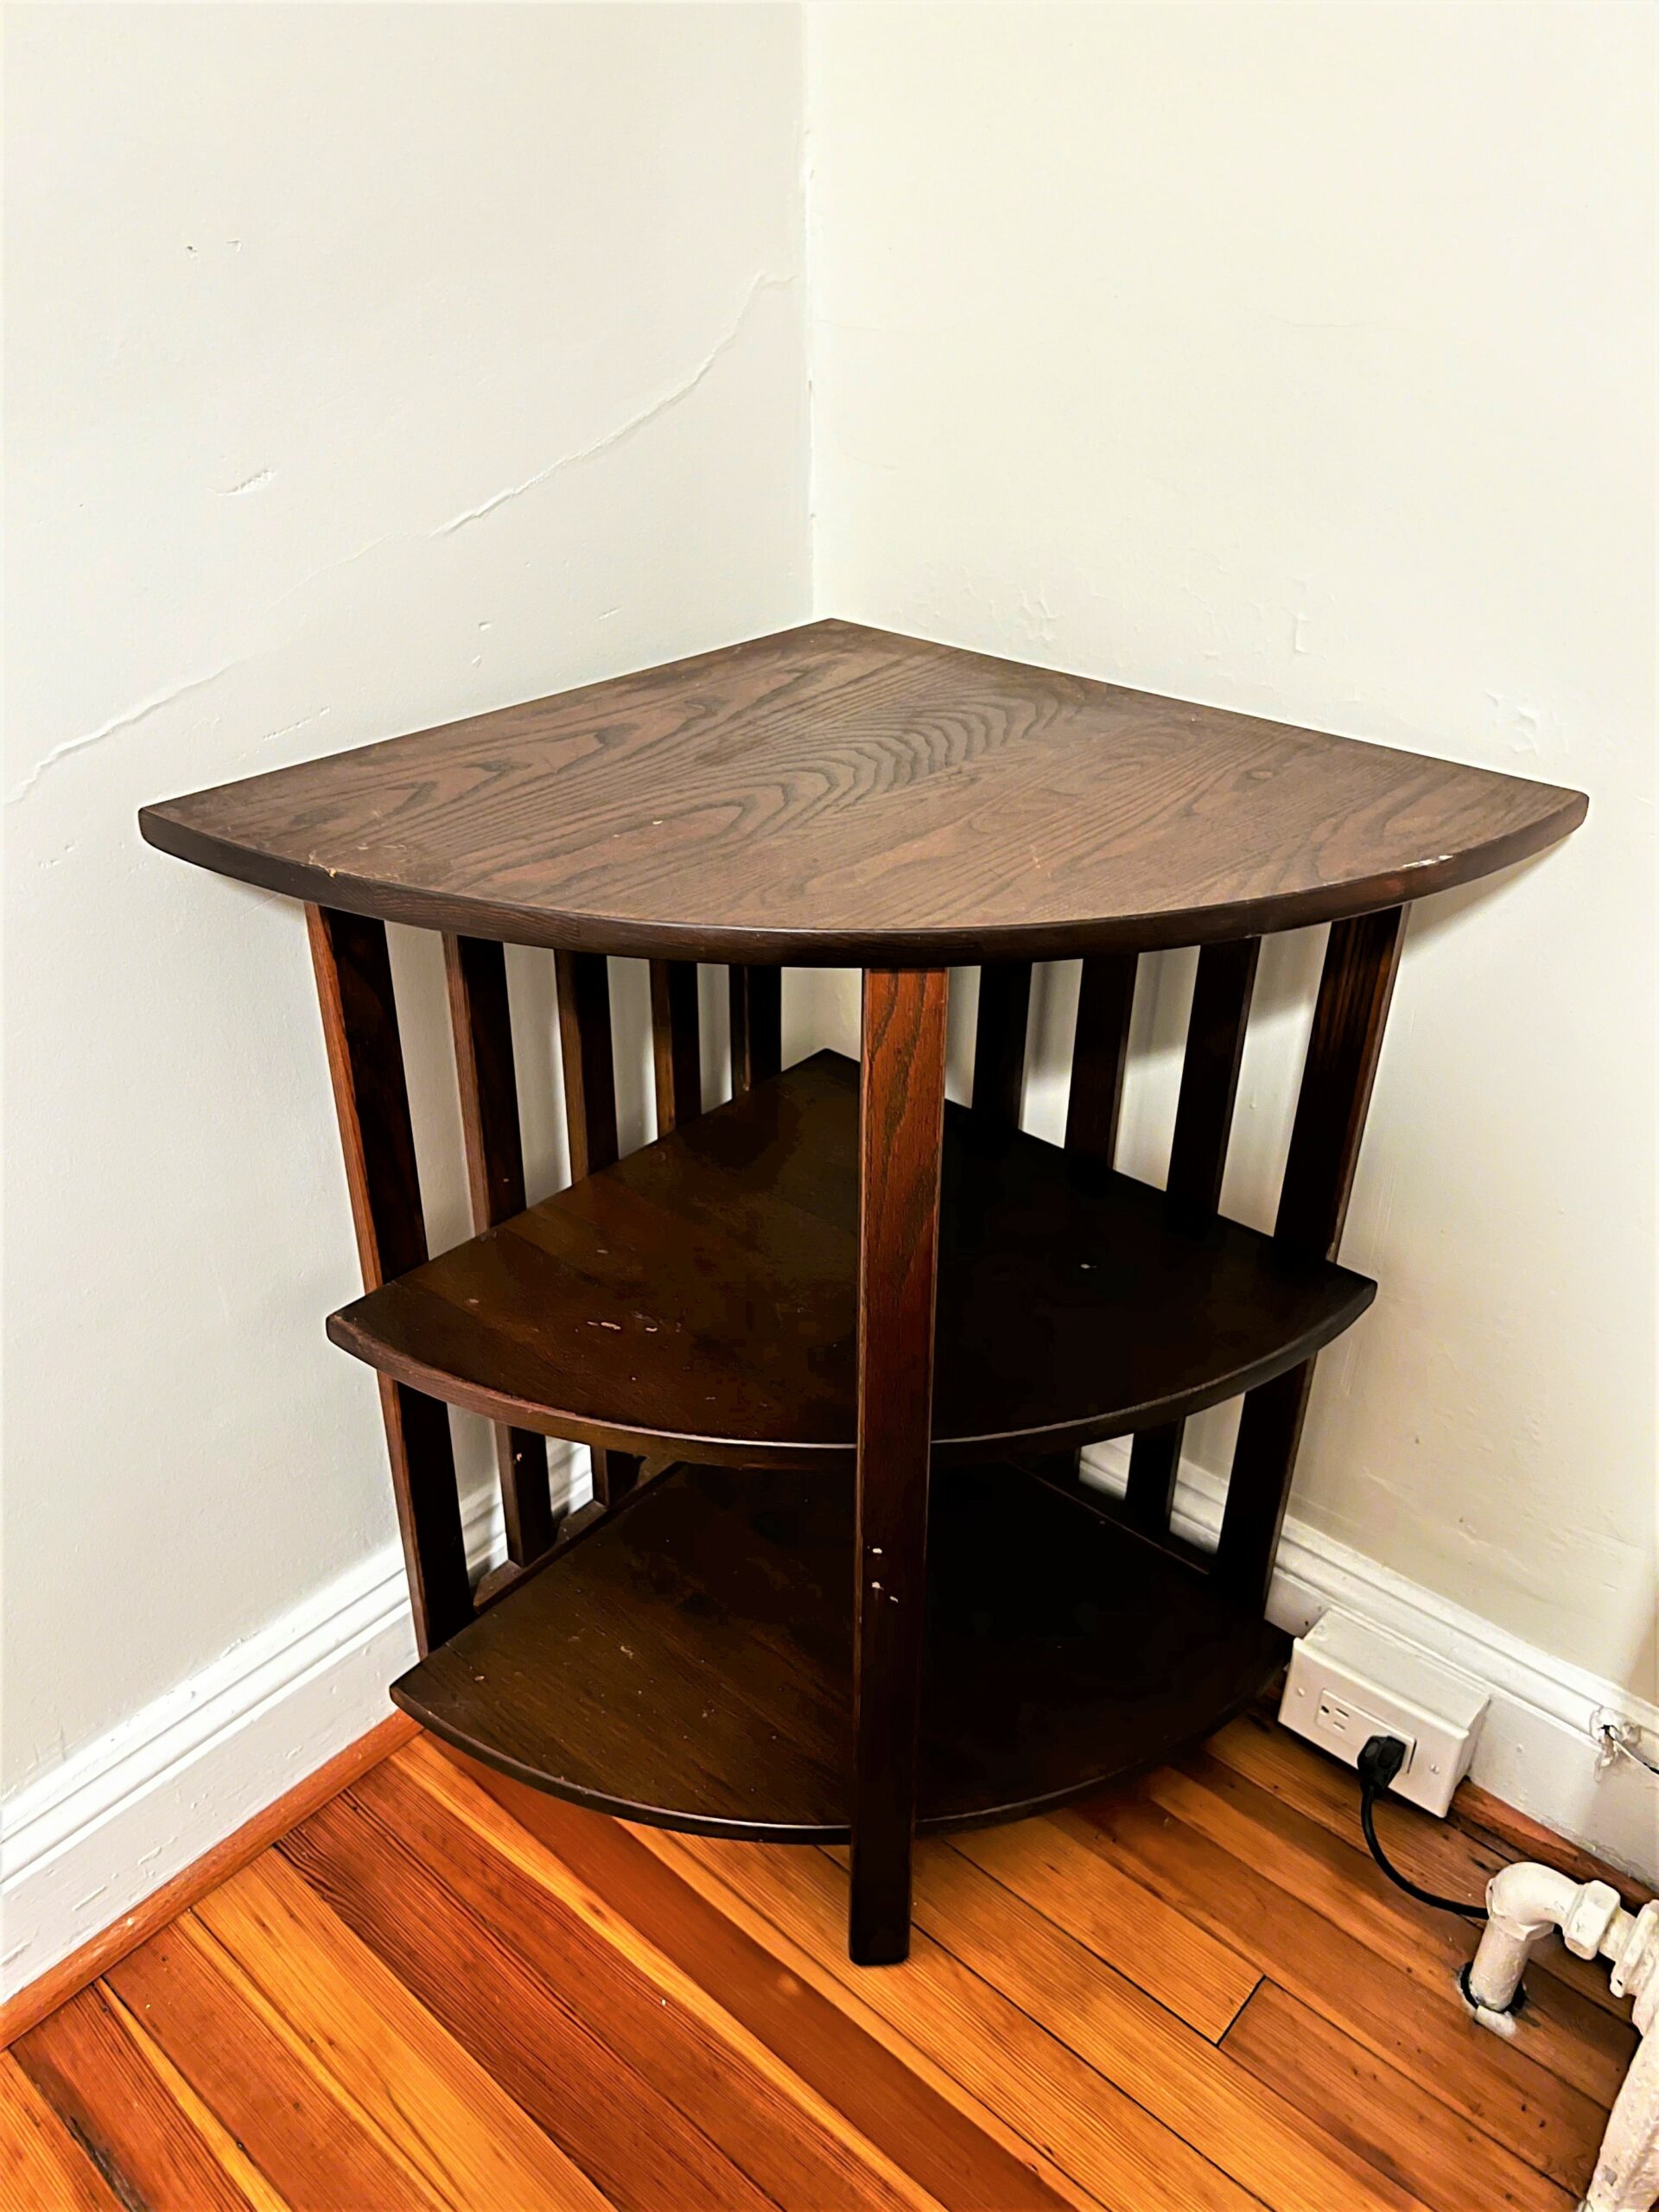
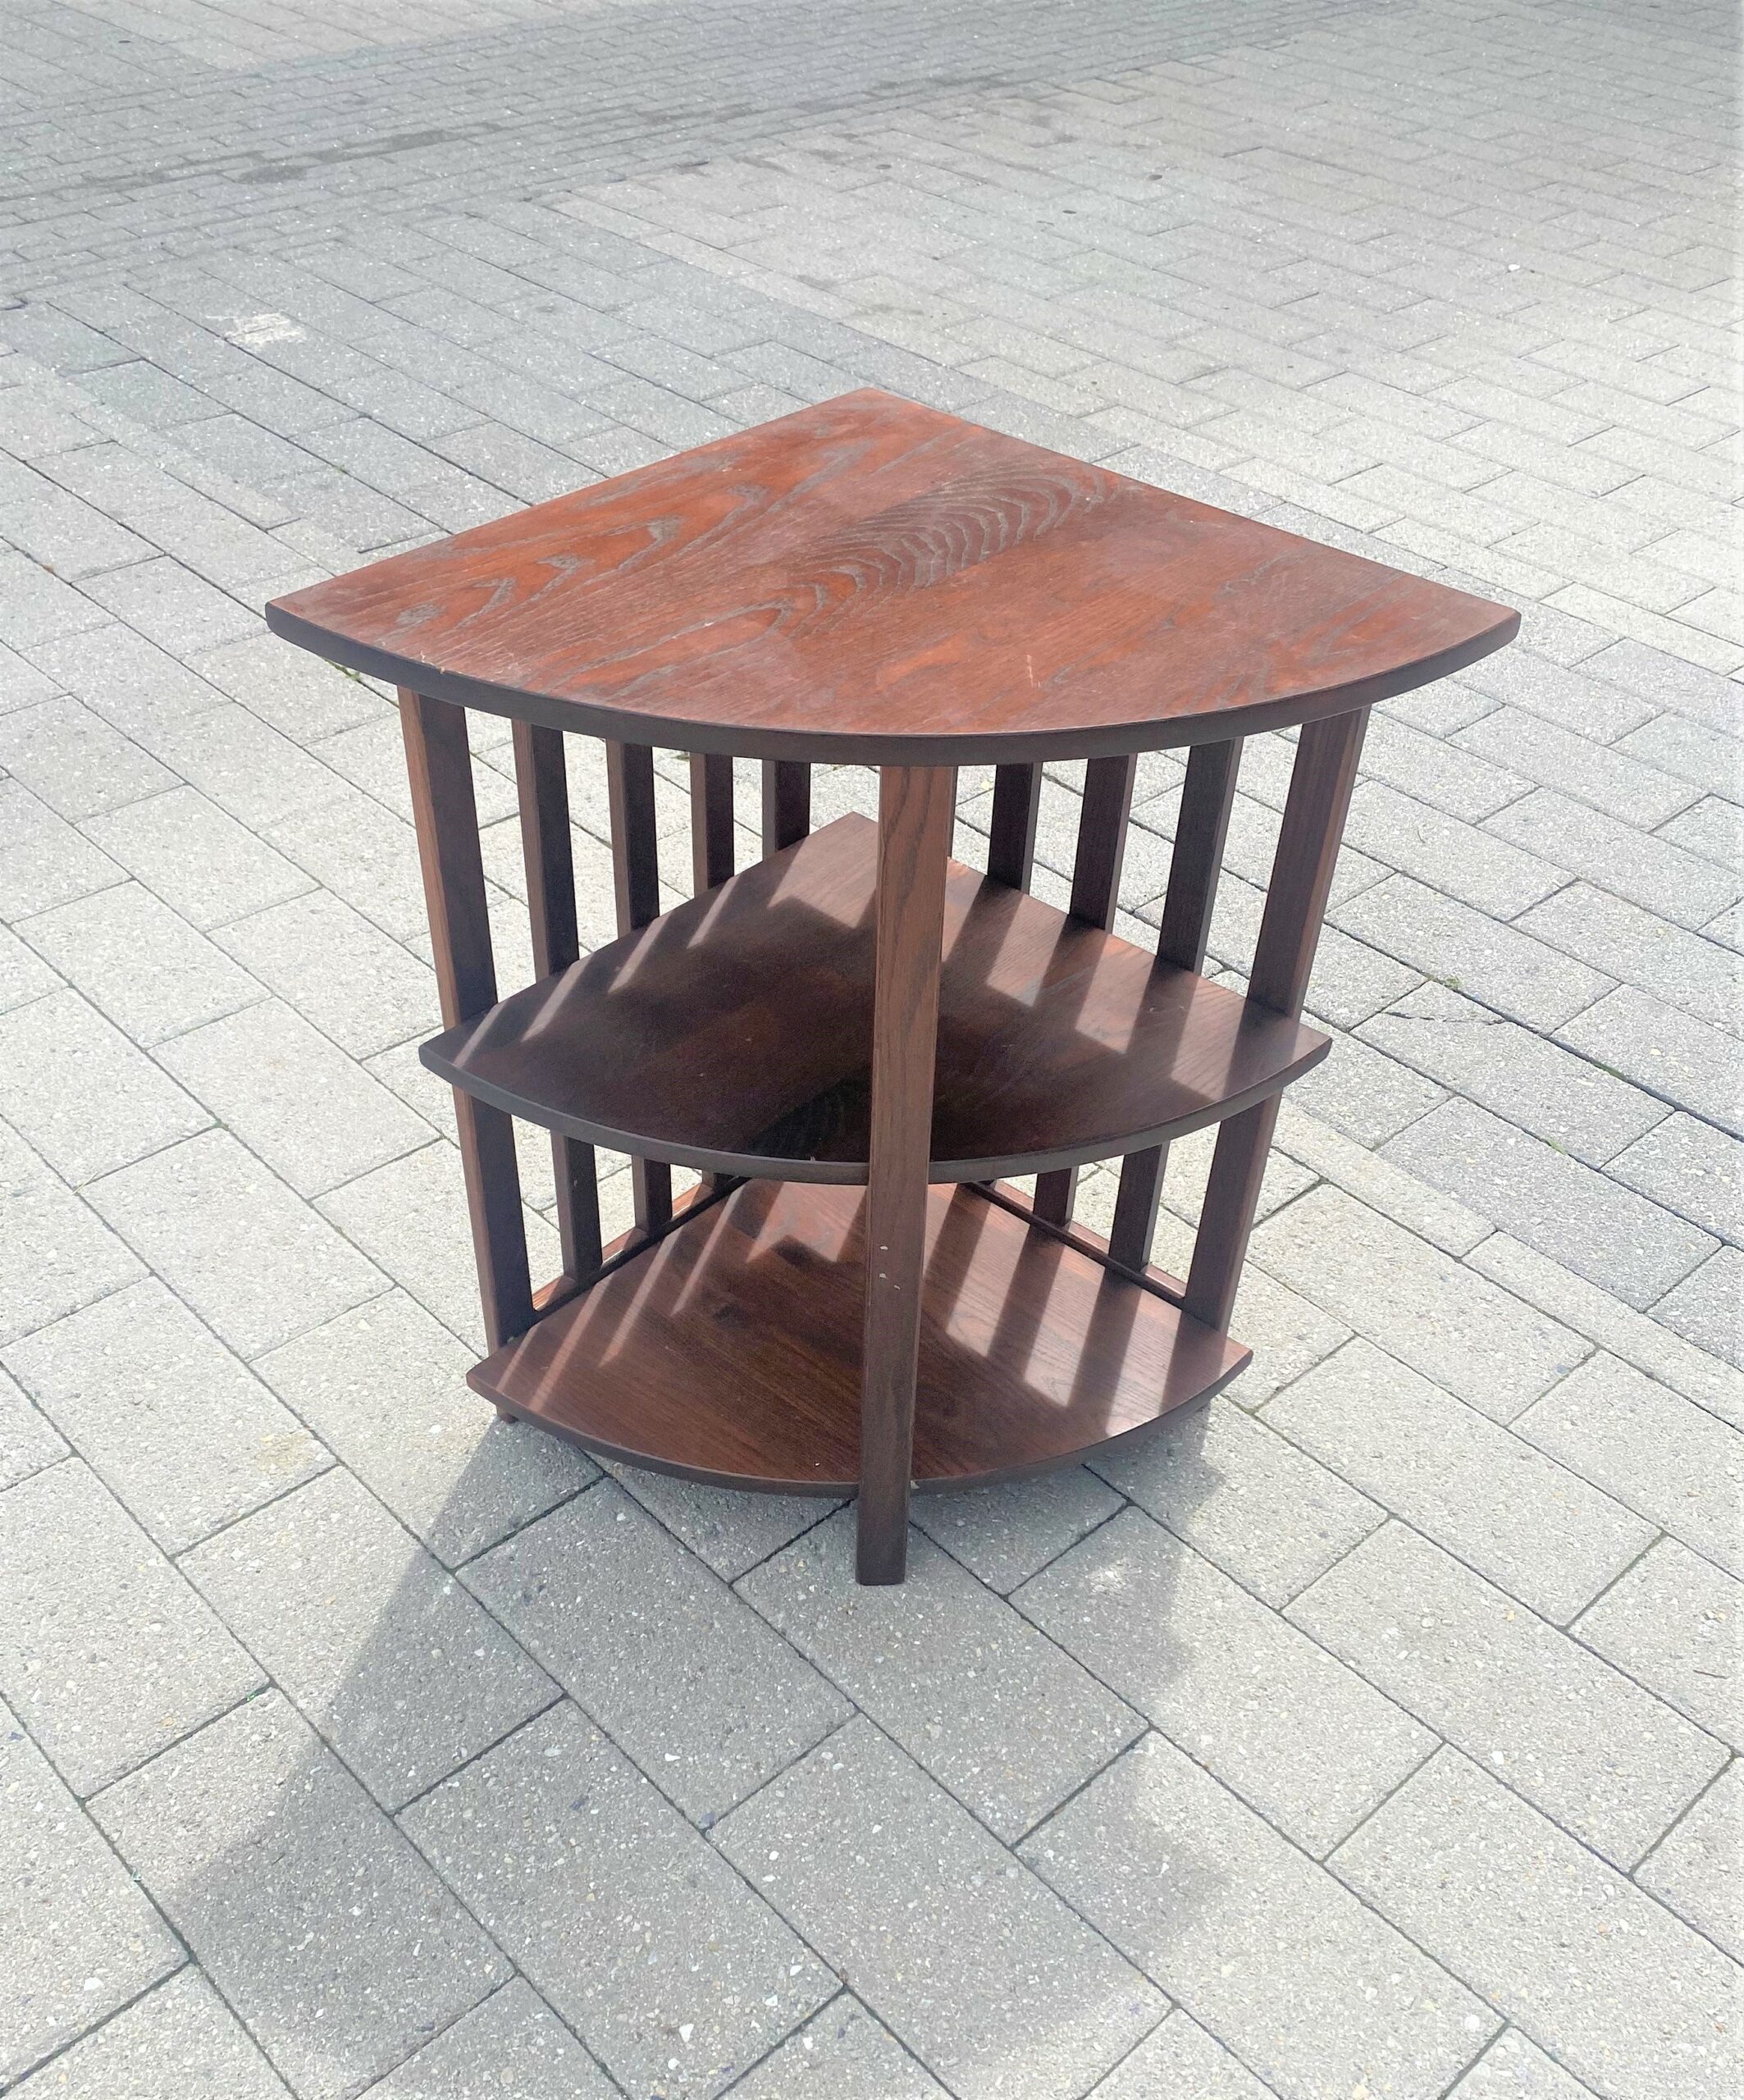
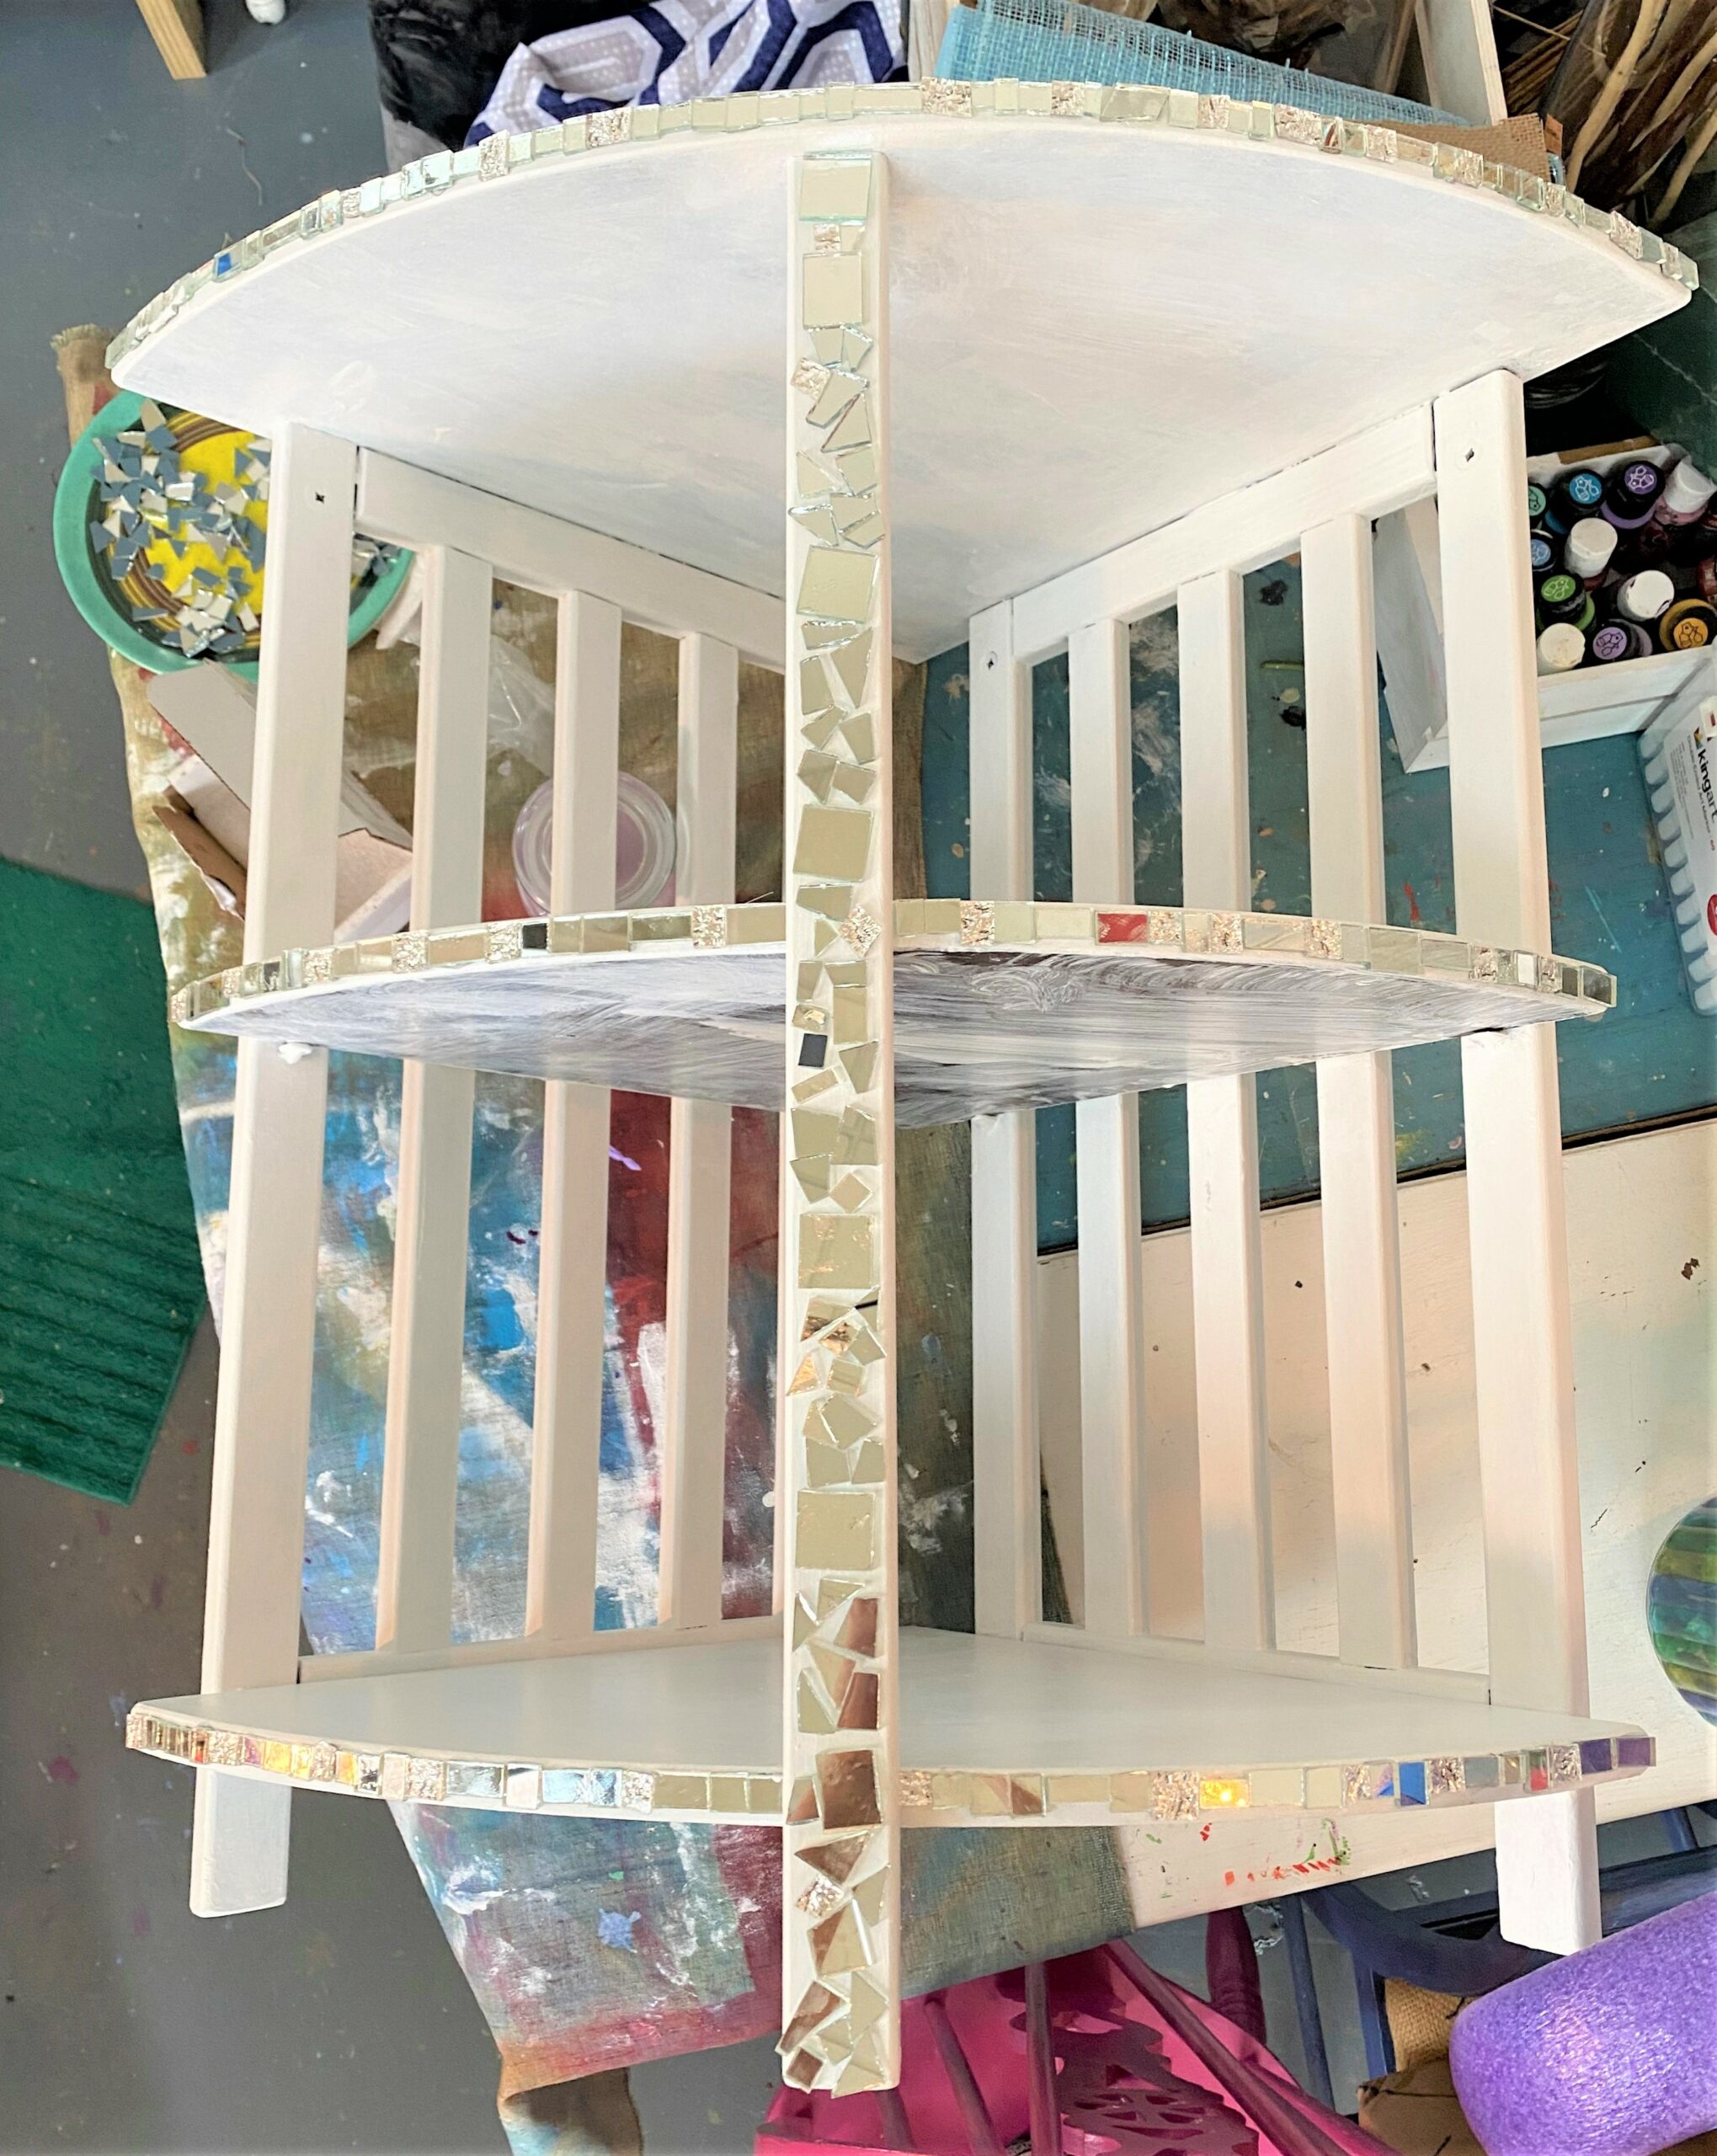
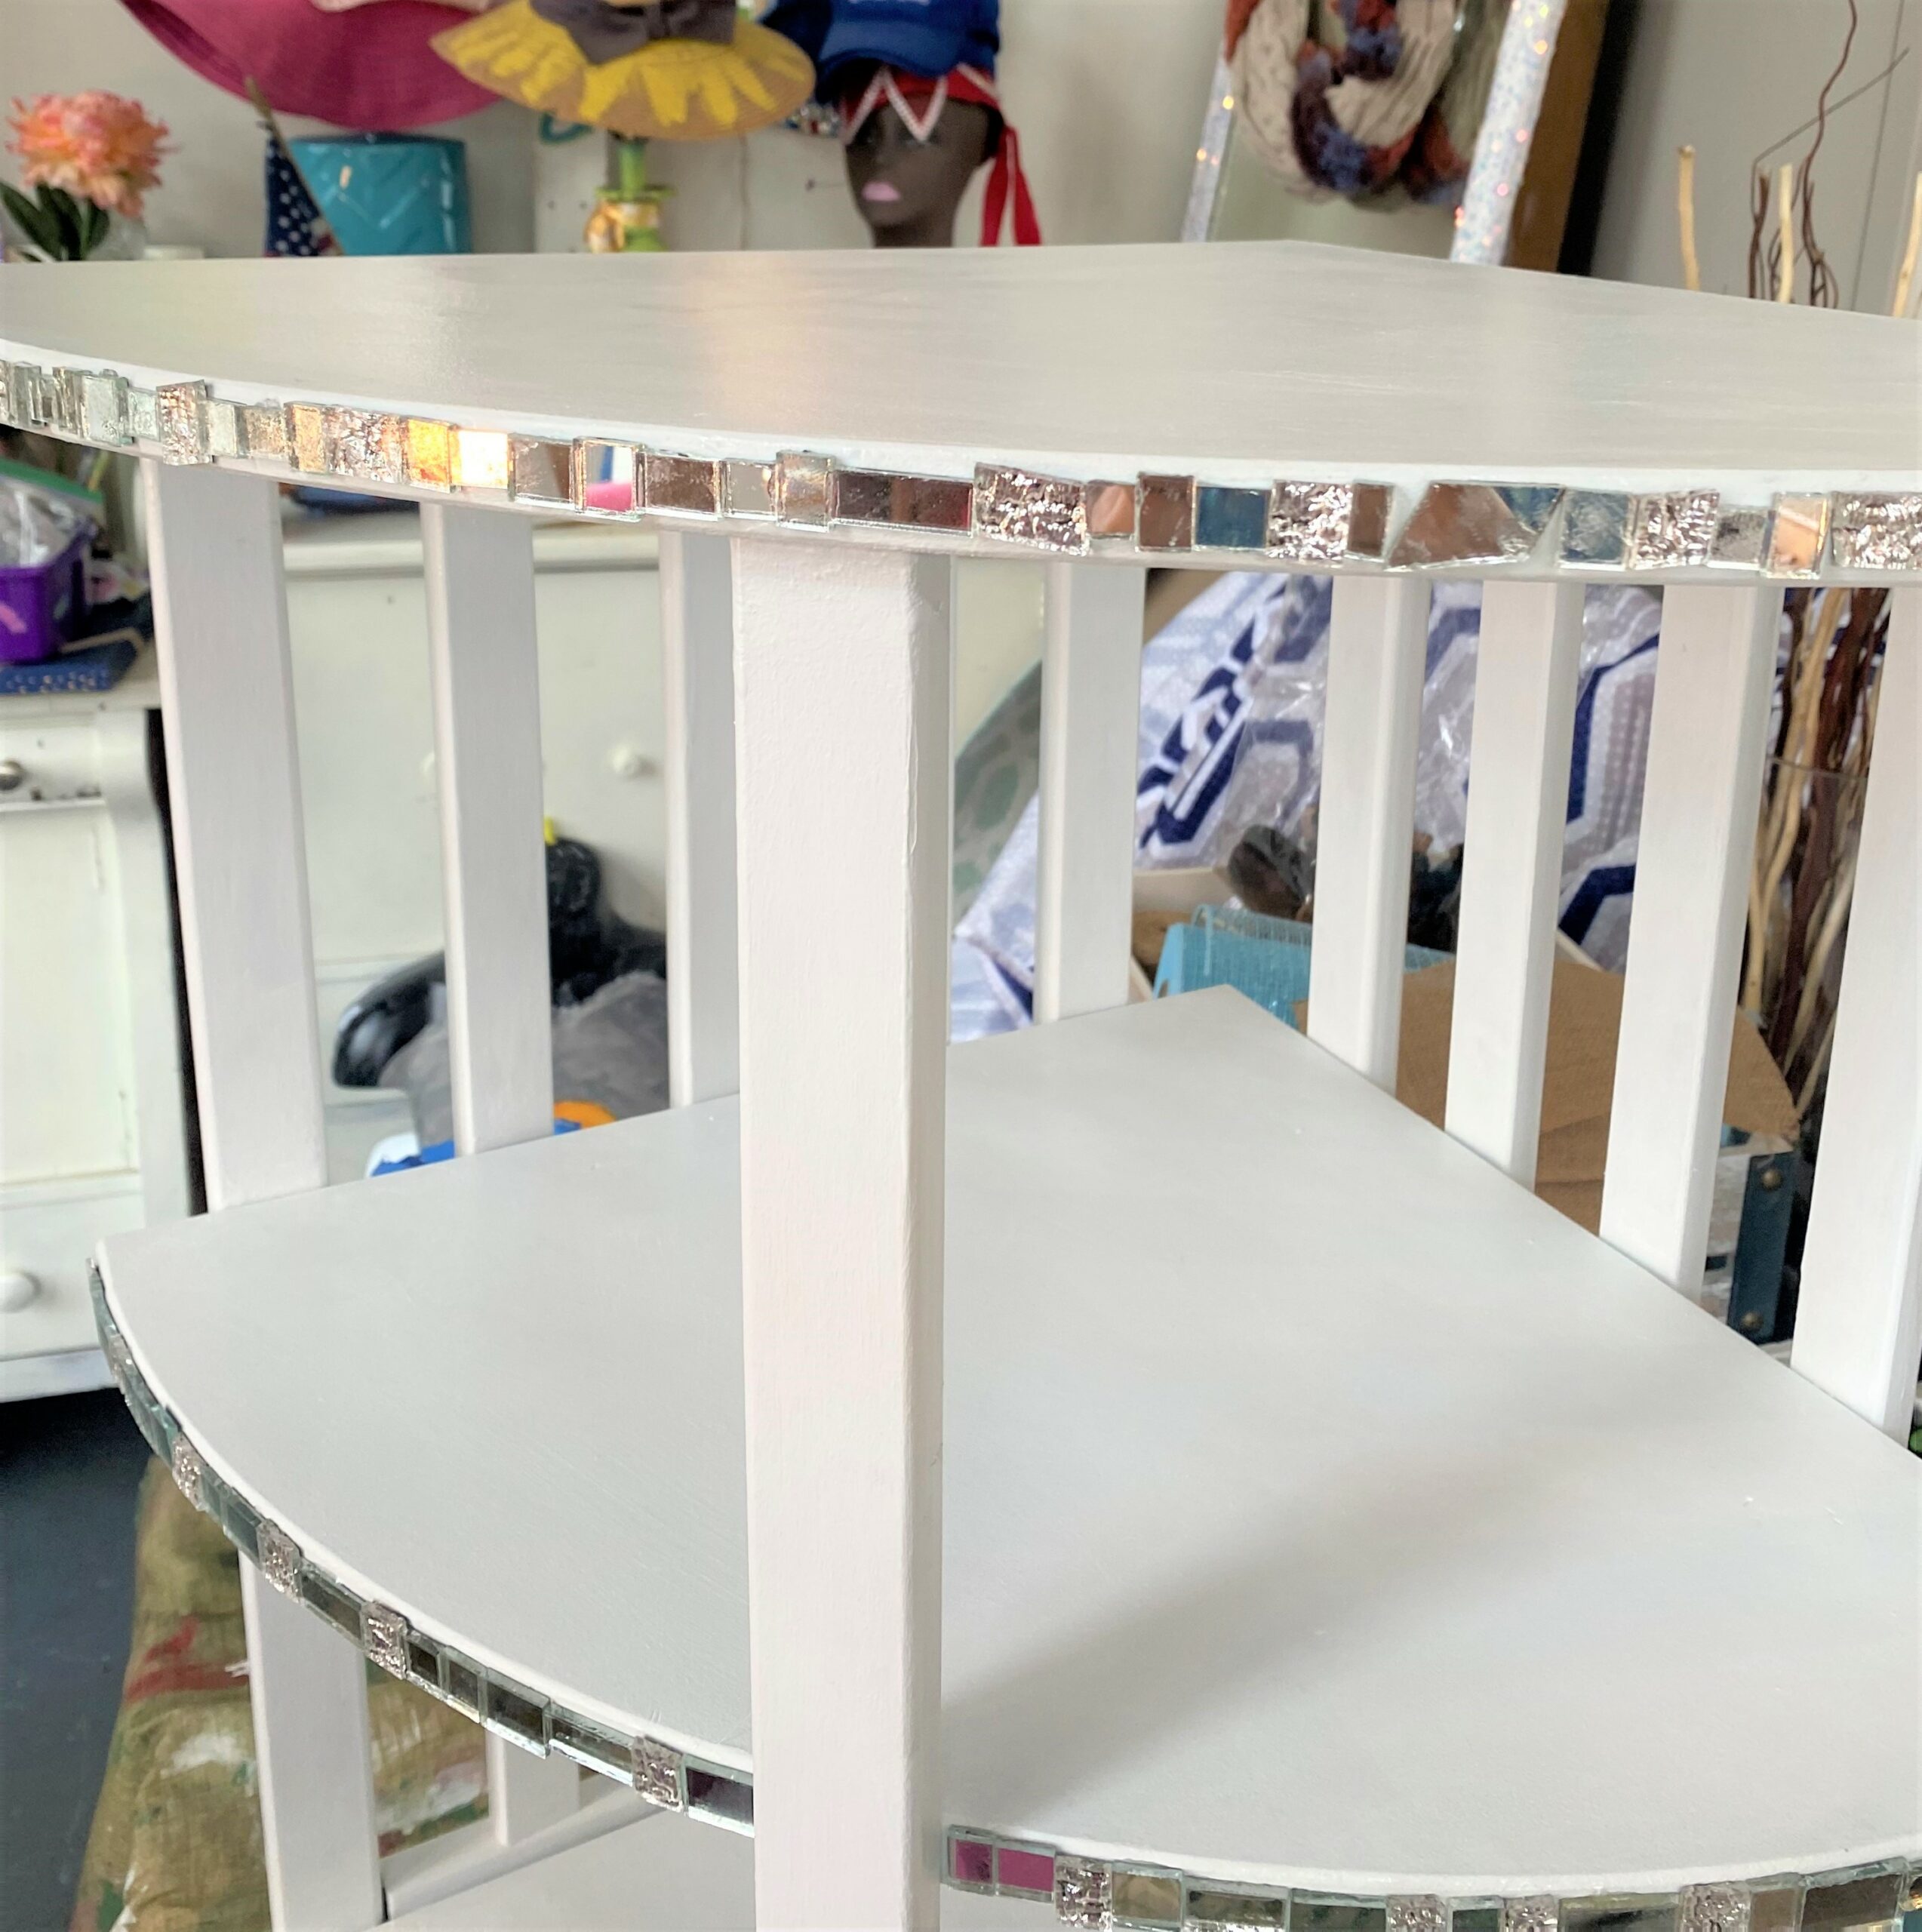
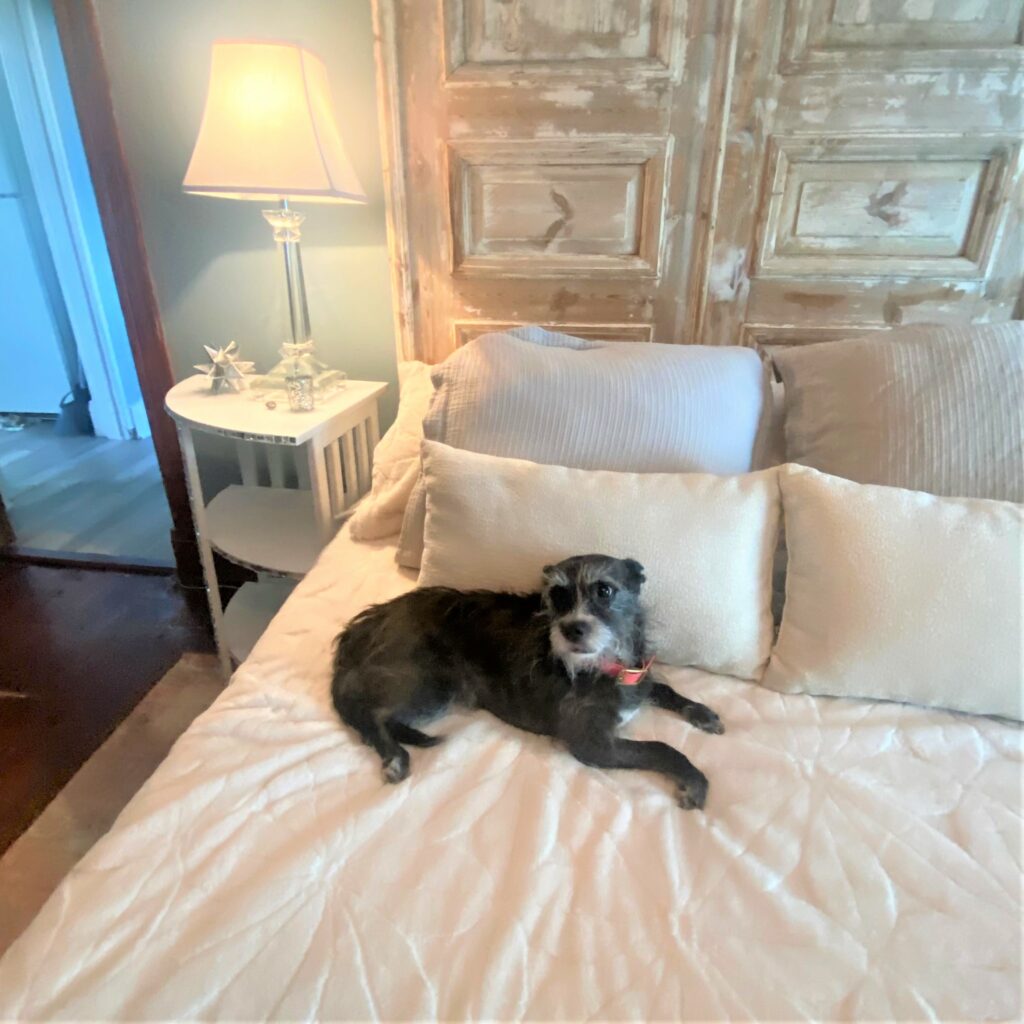
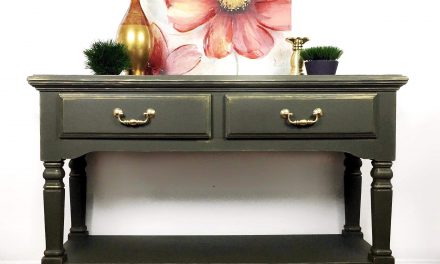
Look for a side table with unique details to upcycle this way. The table featured here fit perfectly, size-wise, in Annette’s room, so thankfully, she enlisted me to transform it rather than donating it or giving it away. It is a solid piece with a unique shape and shelves for storage. Also, it had some nice edges, which were ideal to receive this sparkling detail.
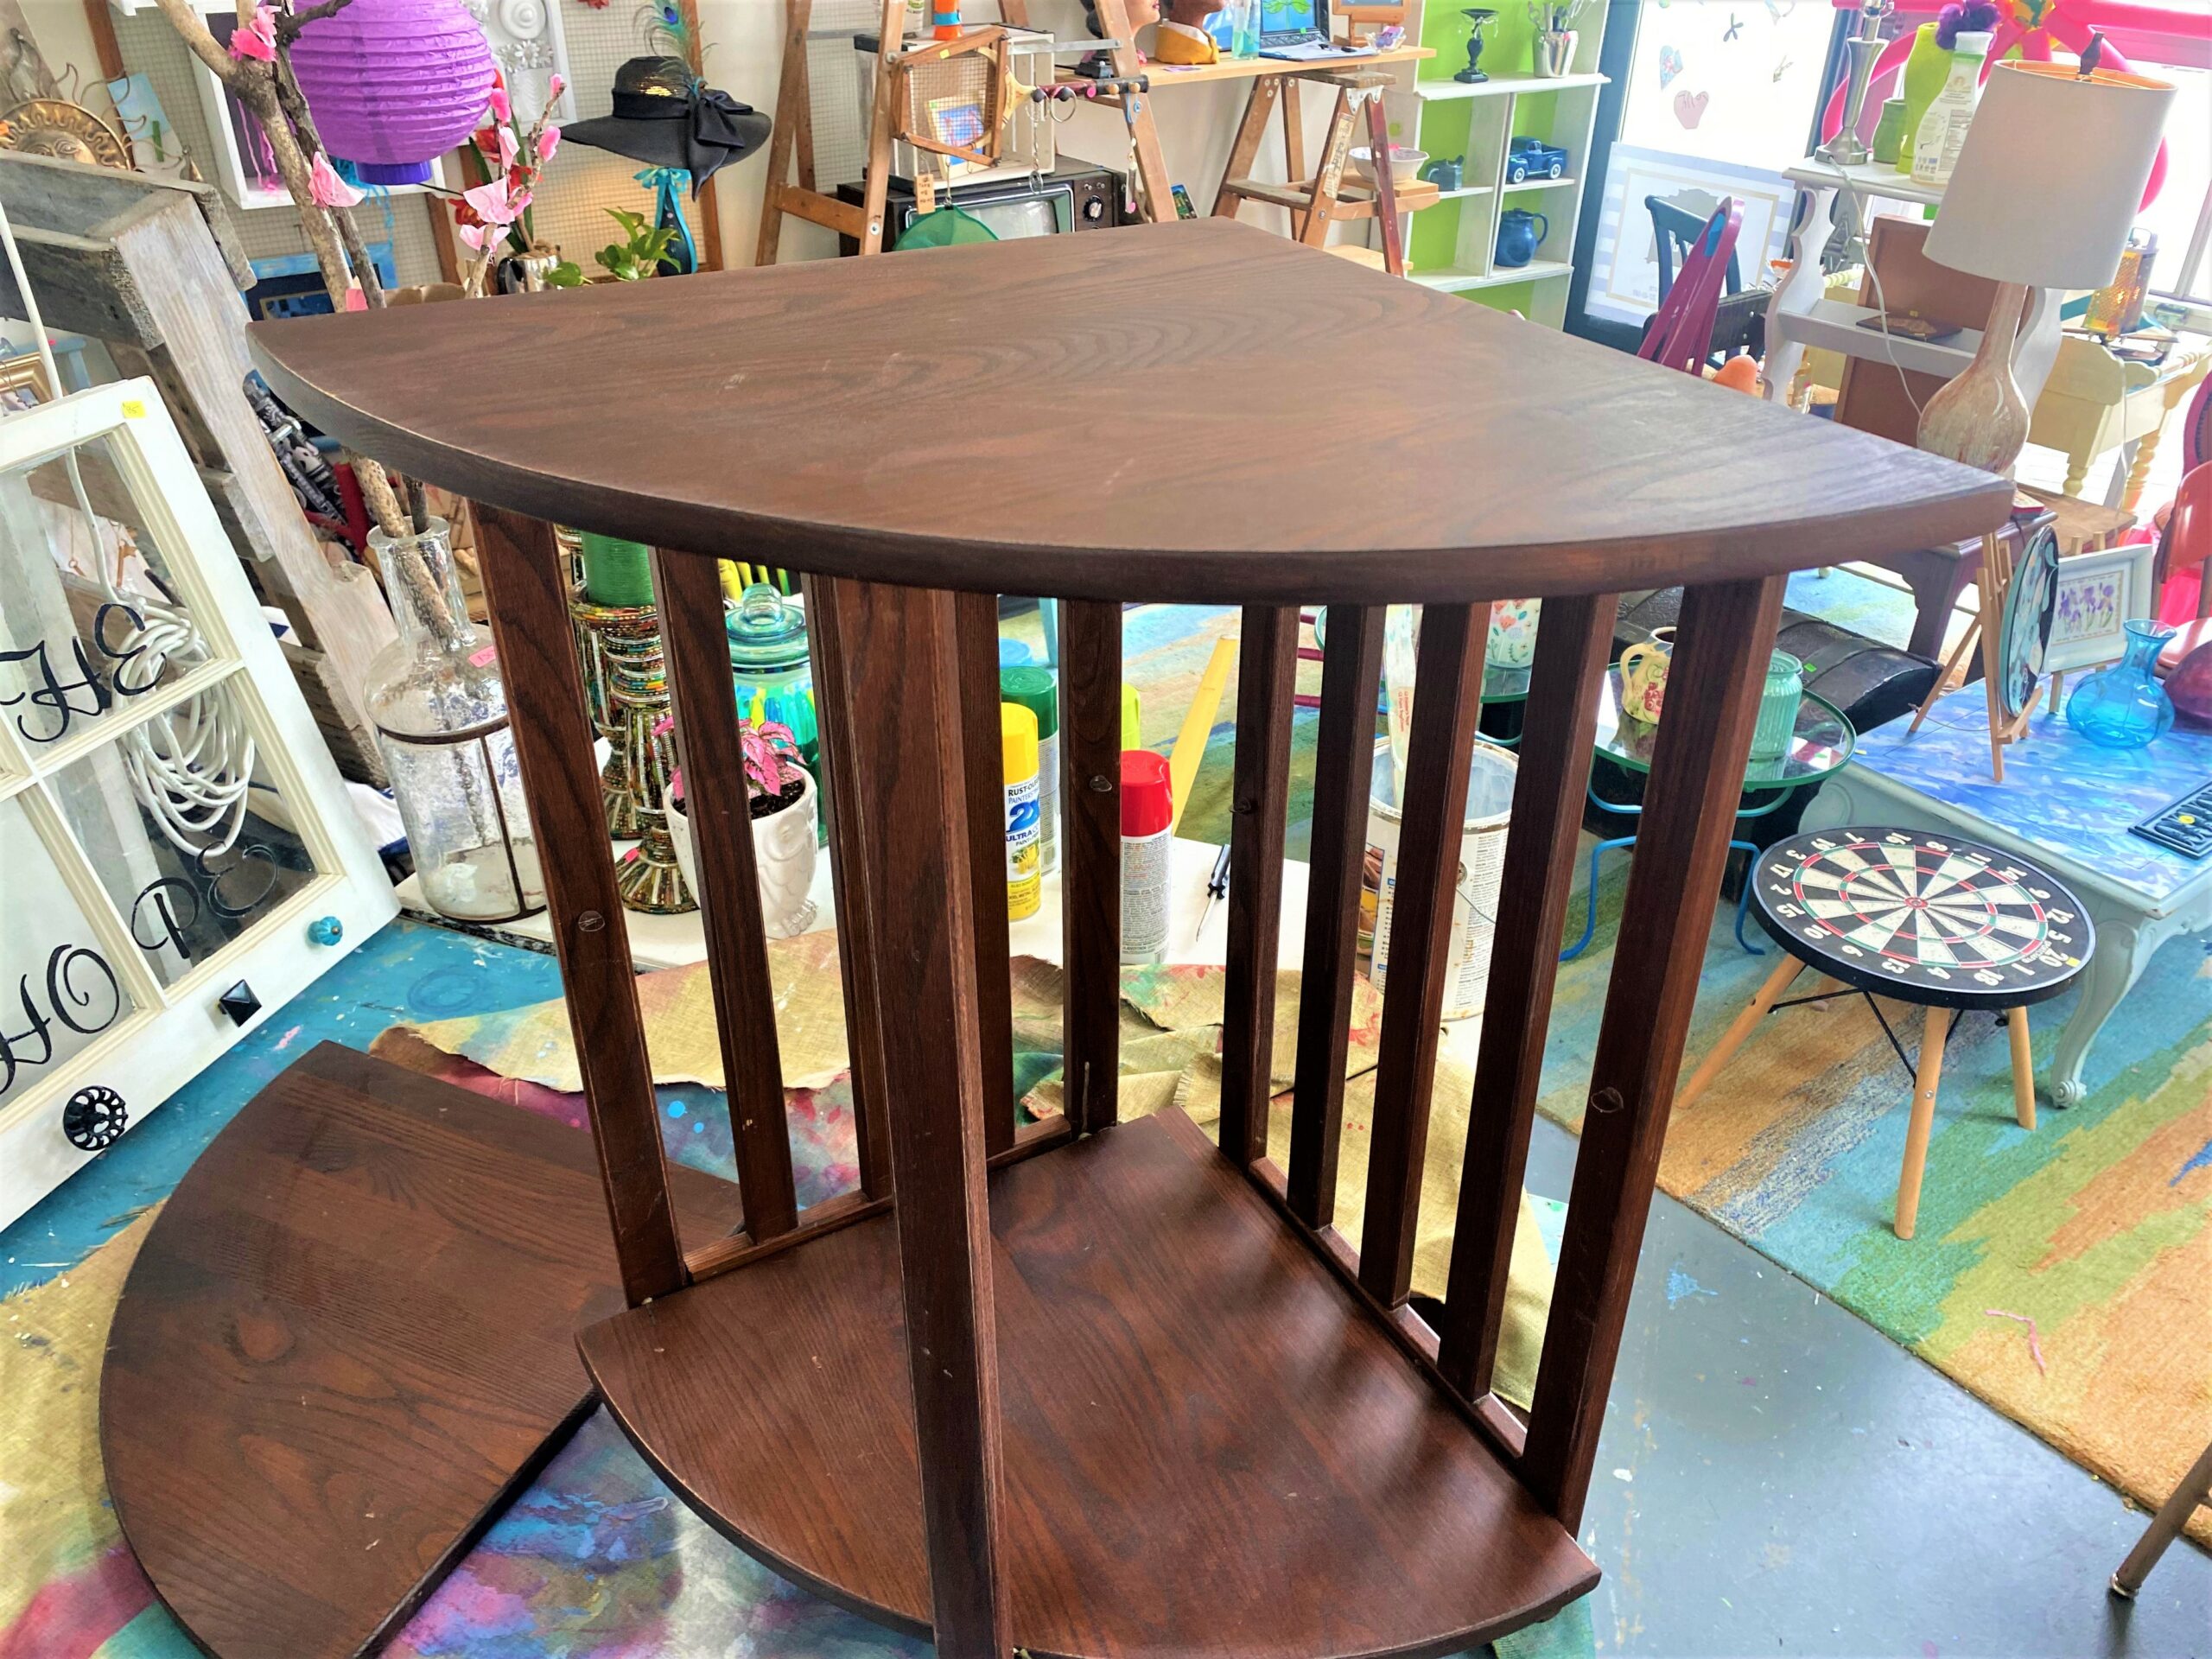

A small shelving unit, mirror, or picture frame would all look great following the steps provided here. What item at Goodwill inspires you to give it the bling treatment?
2. Prep for paint
For a wooden table like this, do a quick tightening up of screws and bolts which sometimes get loosened over time and with moving it from place to place.
- With a medium or coarse-grade sanding paper or sanding block, give your table a good going over to buff up the finish.
- You want the paint to have more places to hold on tight. After sanding, use a clean, damp cloth to remove the dust created and remove any dirty fingerprints.
- Let it dry, of course!
3. Roll, brush on the transformation
To match Annette’s recently redone bedroom, a bright white paint color was selected to match the other whites, silvers, and light grays.
- Place your table on a drop cloth and use a small roller or medium-sized paintbrush to apply paint.
- Add a light layer to all surfaces and edges and let dry.
- Place the table on its side and add another light layer; by putting it on its side, you will see areas that need painting.
- Continue placing your table on its various sides and adding light layers.
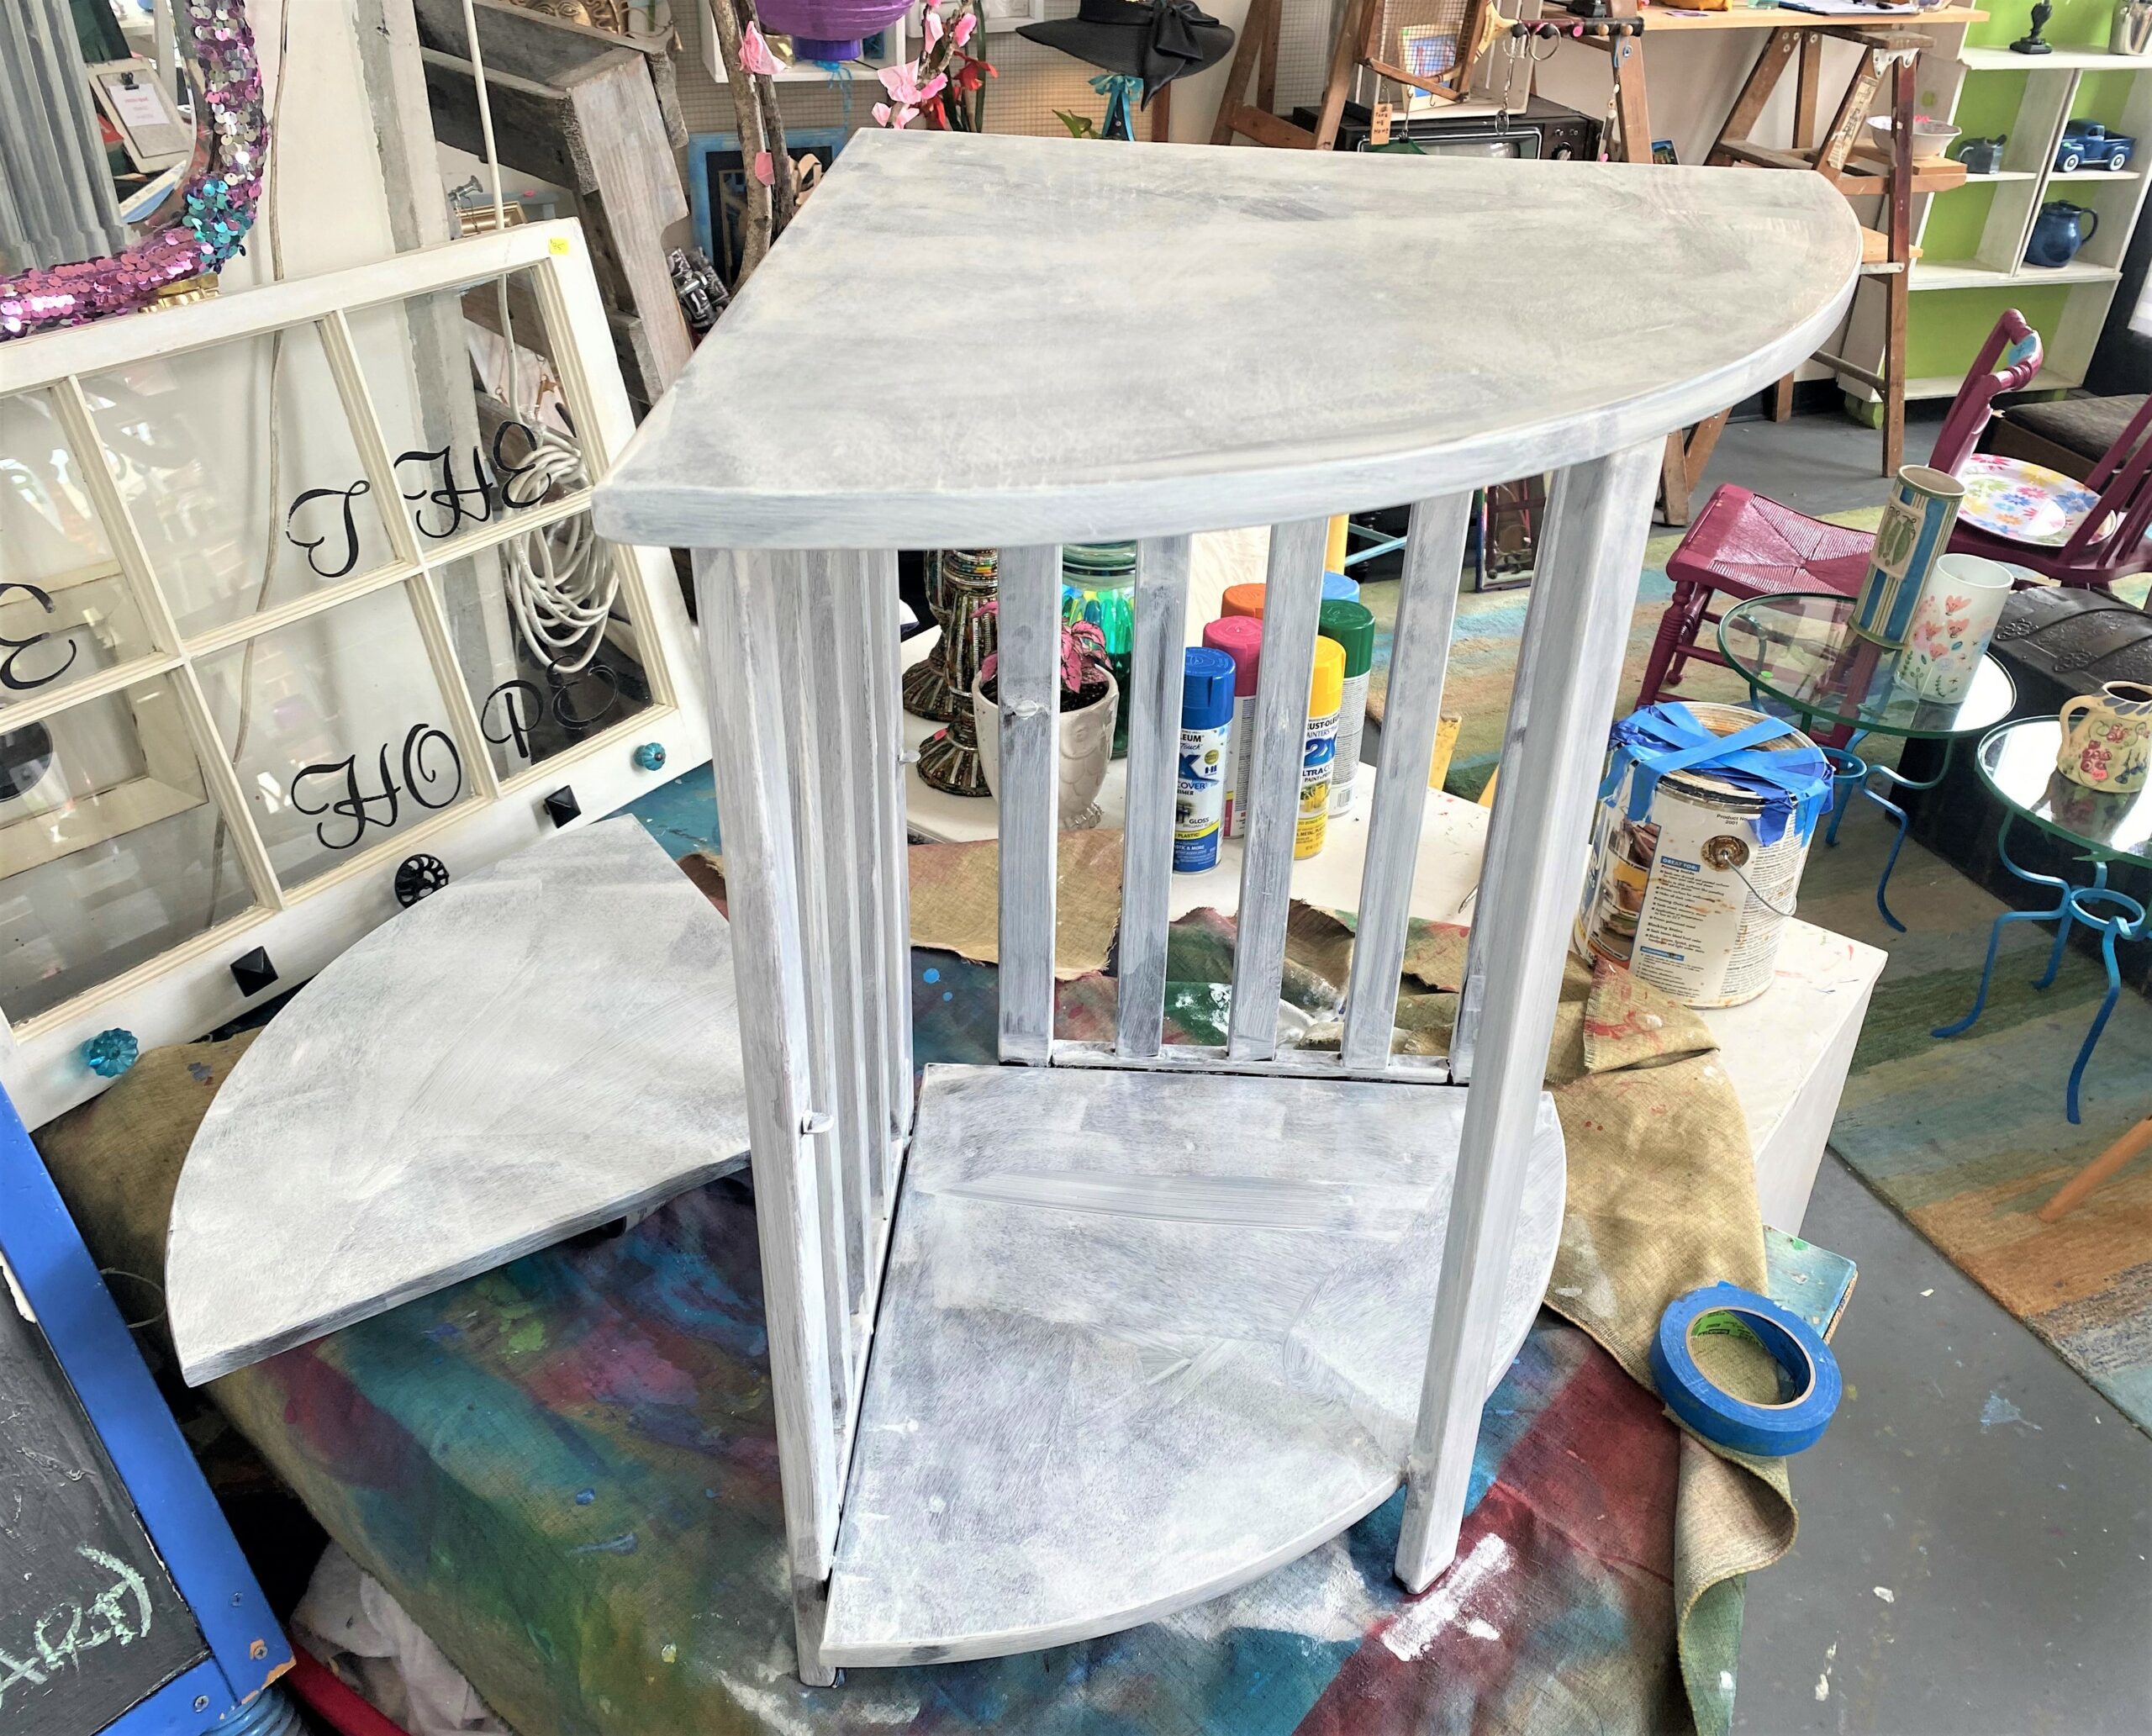
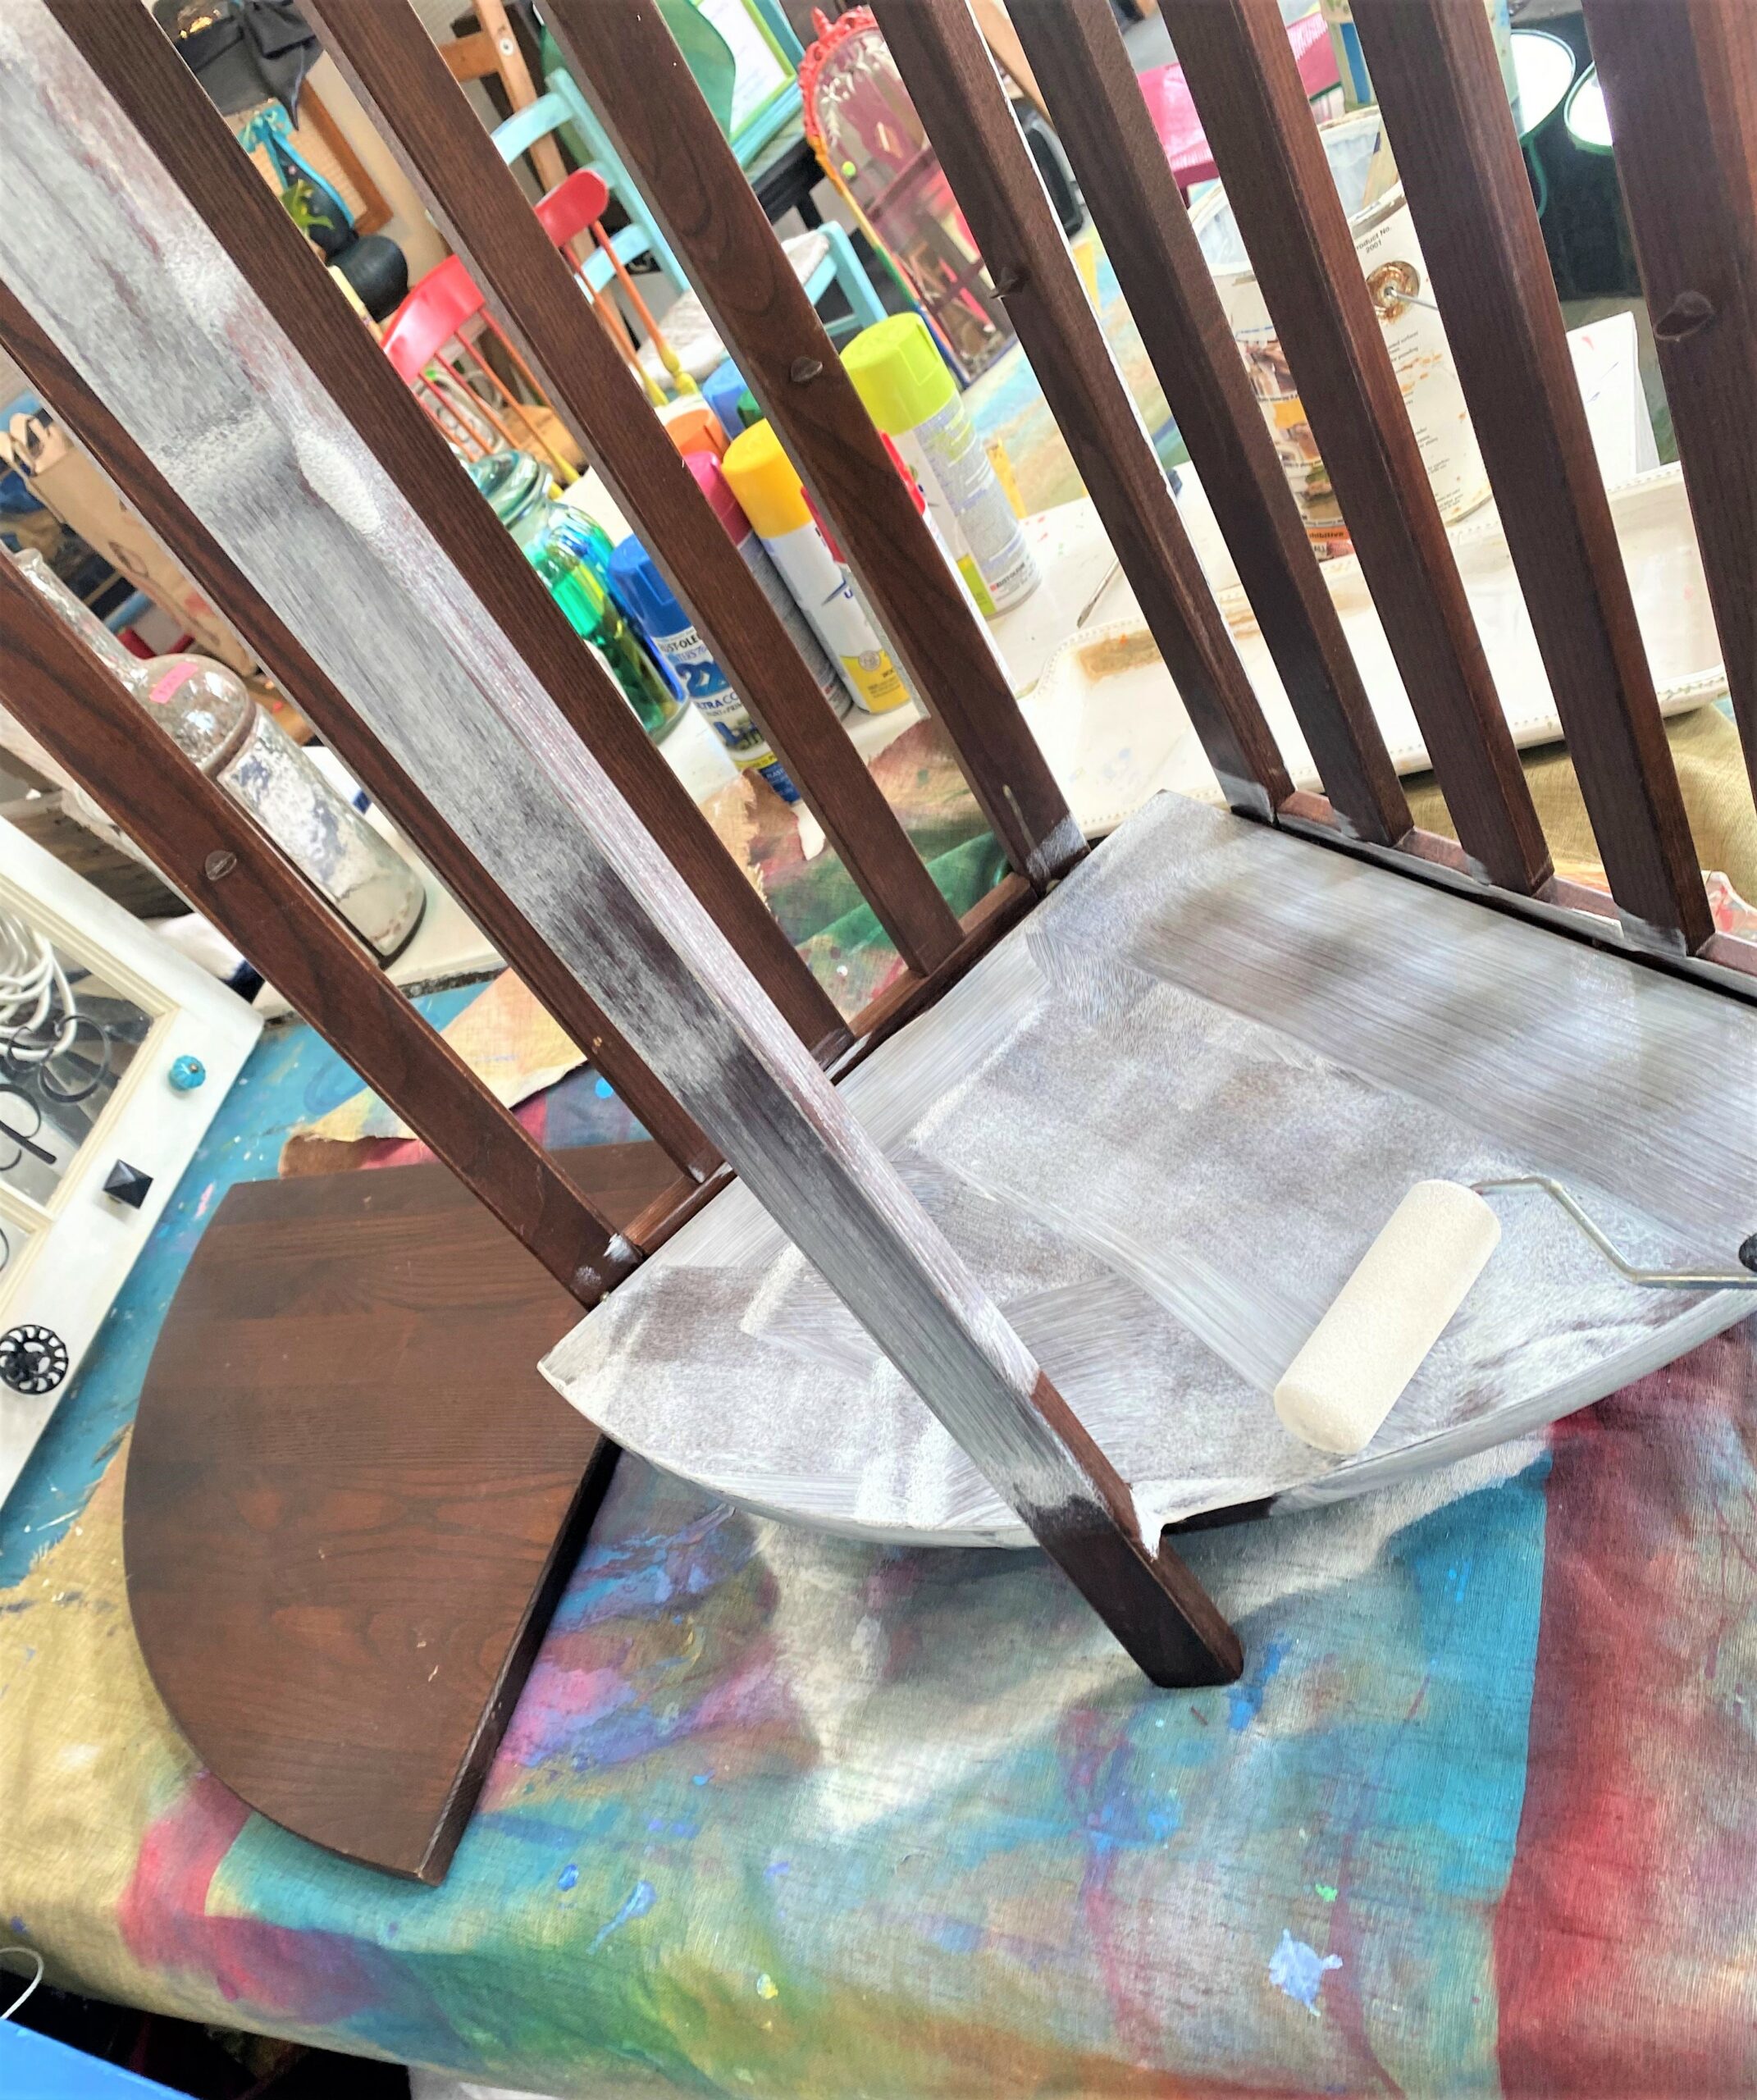
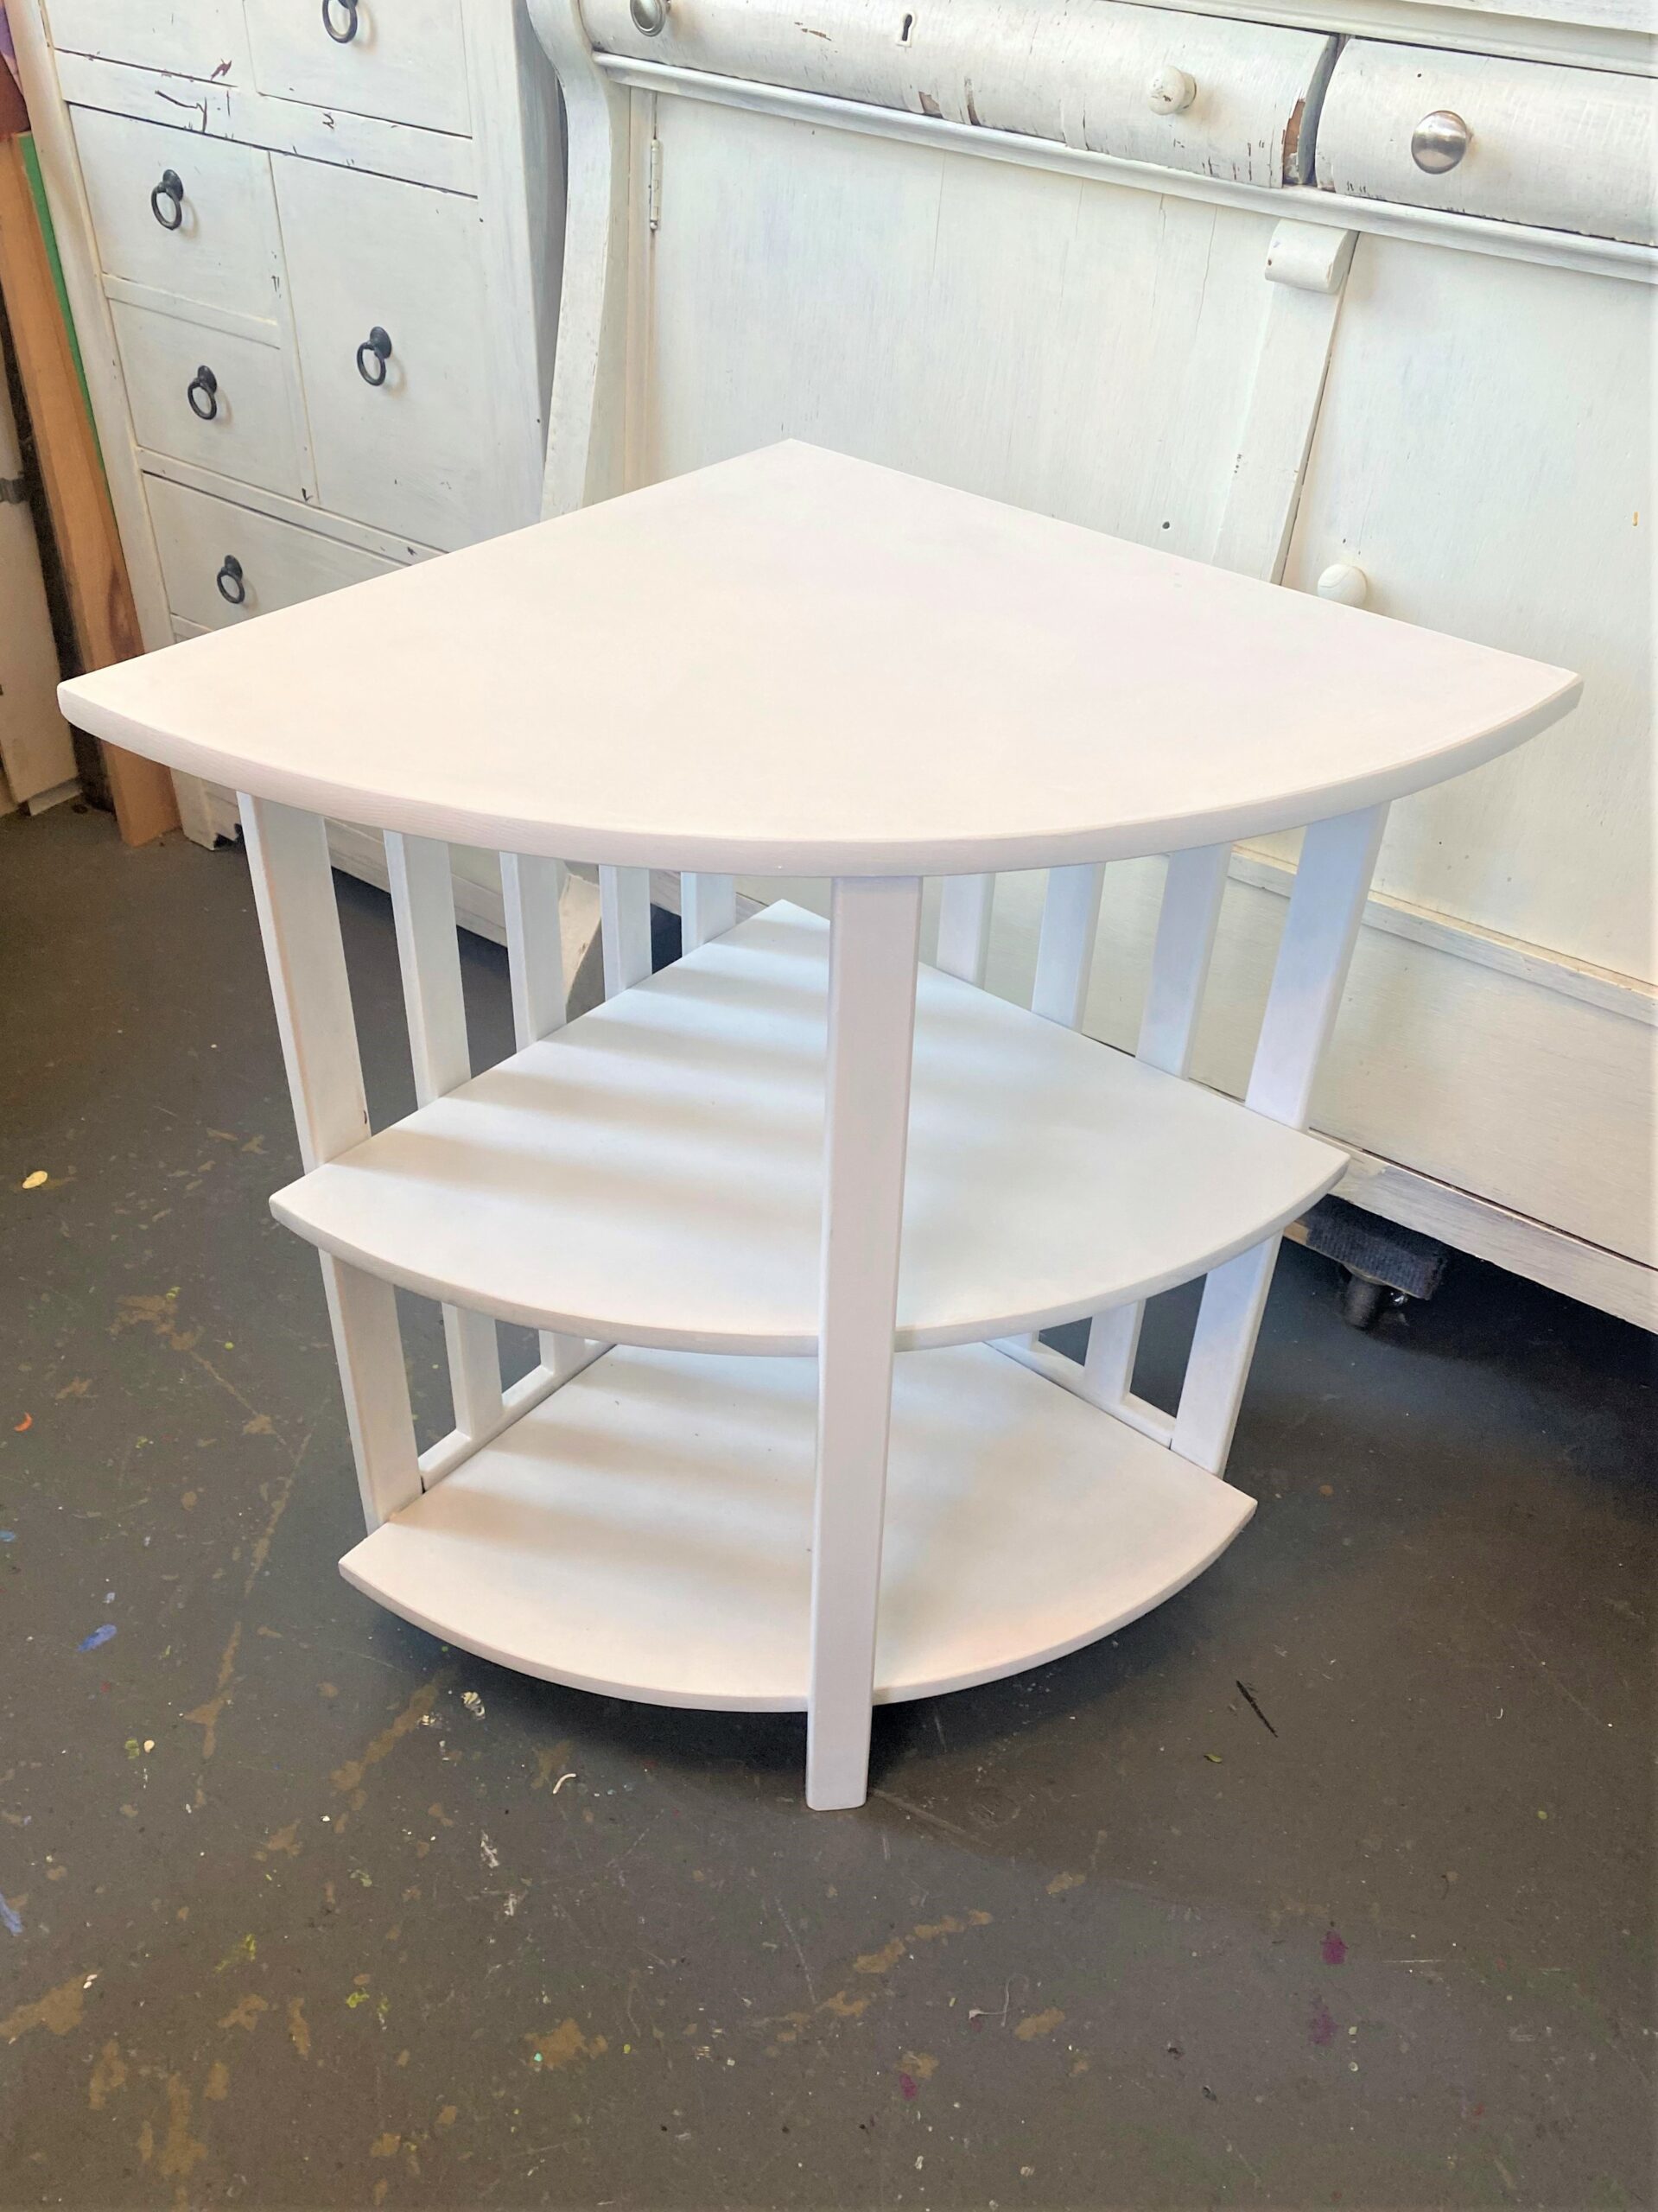
This piece took a little time for two reasons: the side pieces had many edges, AND the dark color showed through even after several layers. No worry, a couple of more layers did the trick!
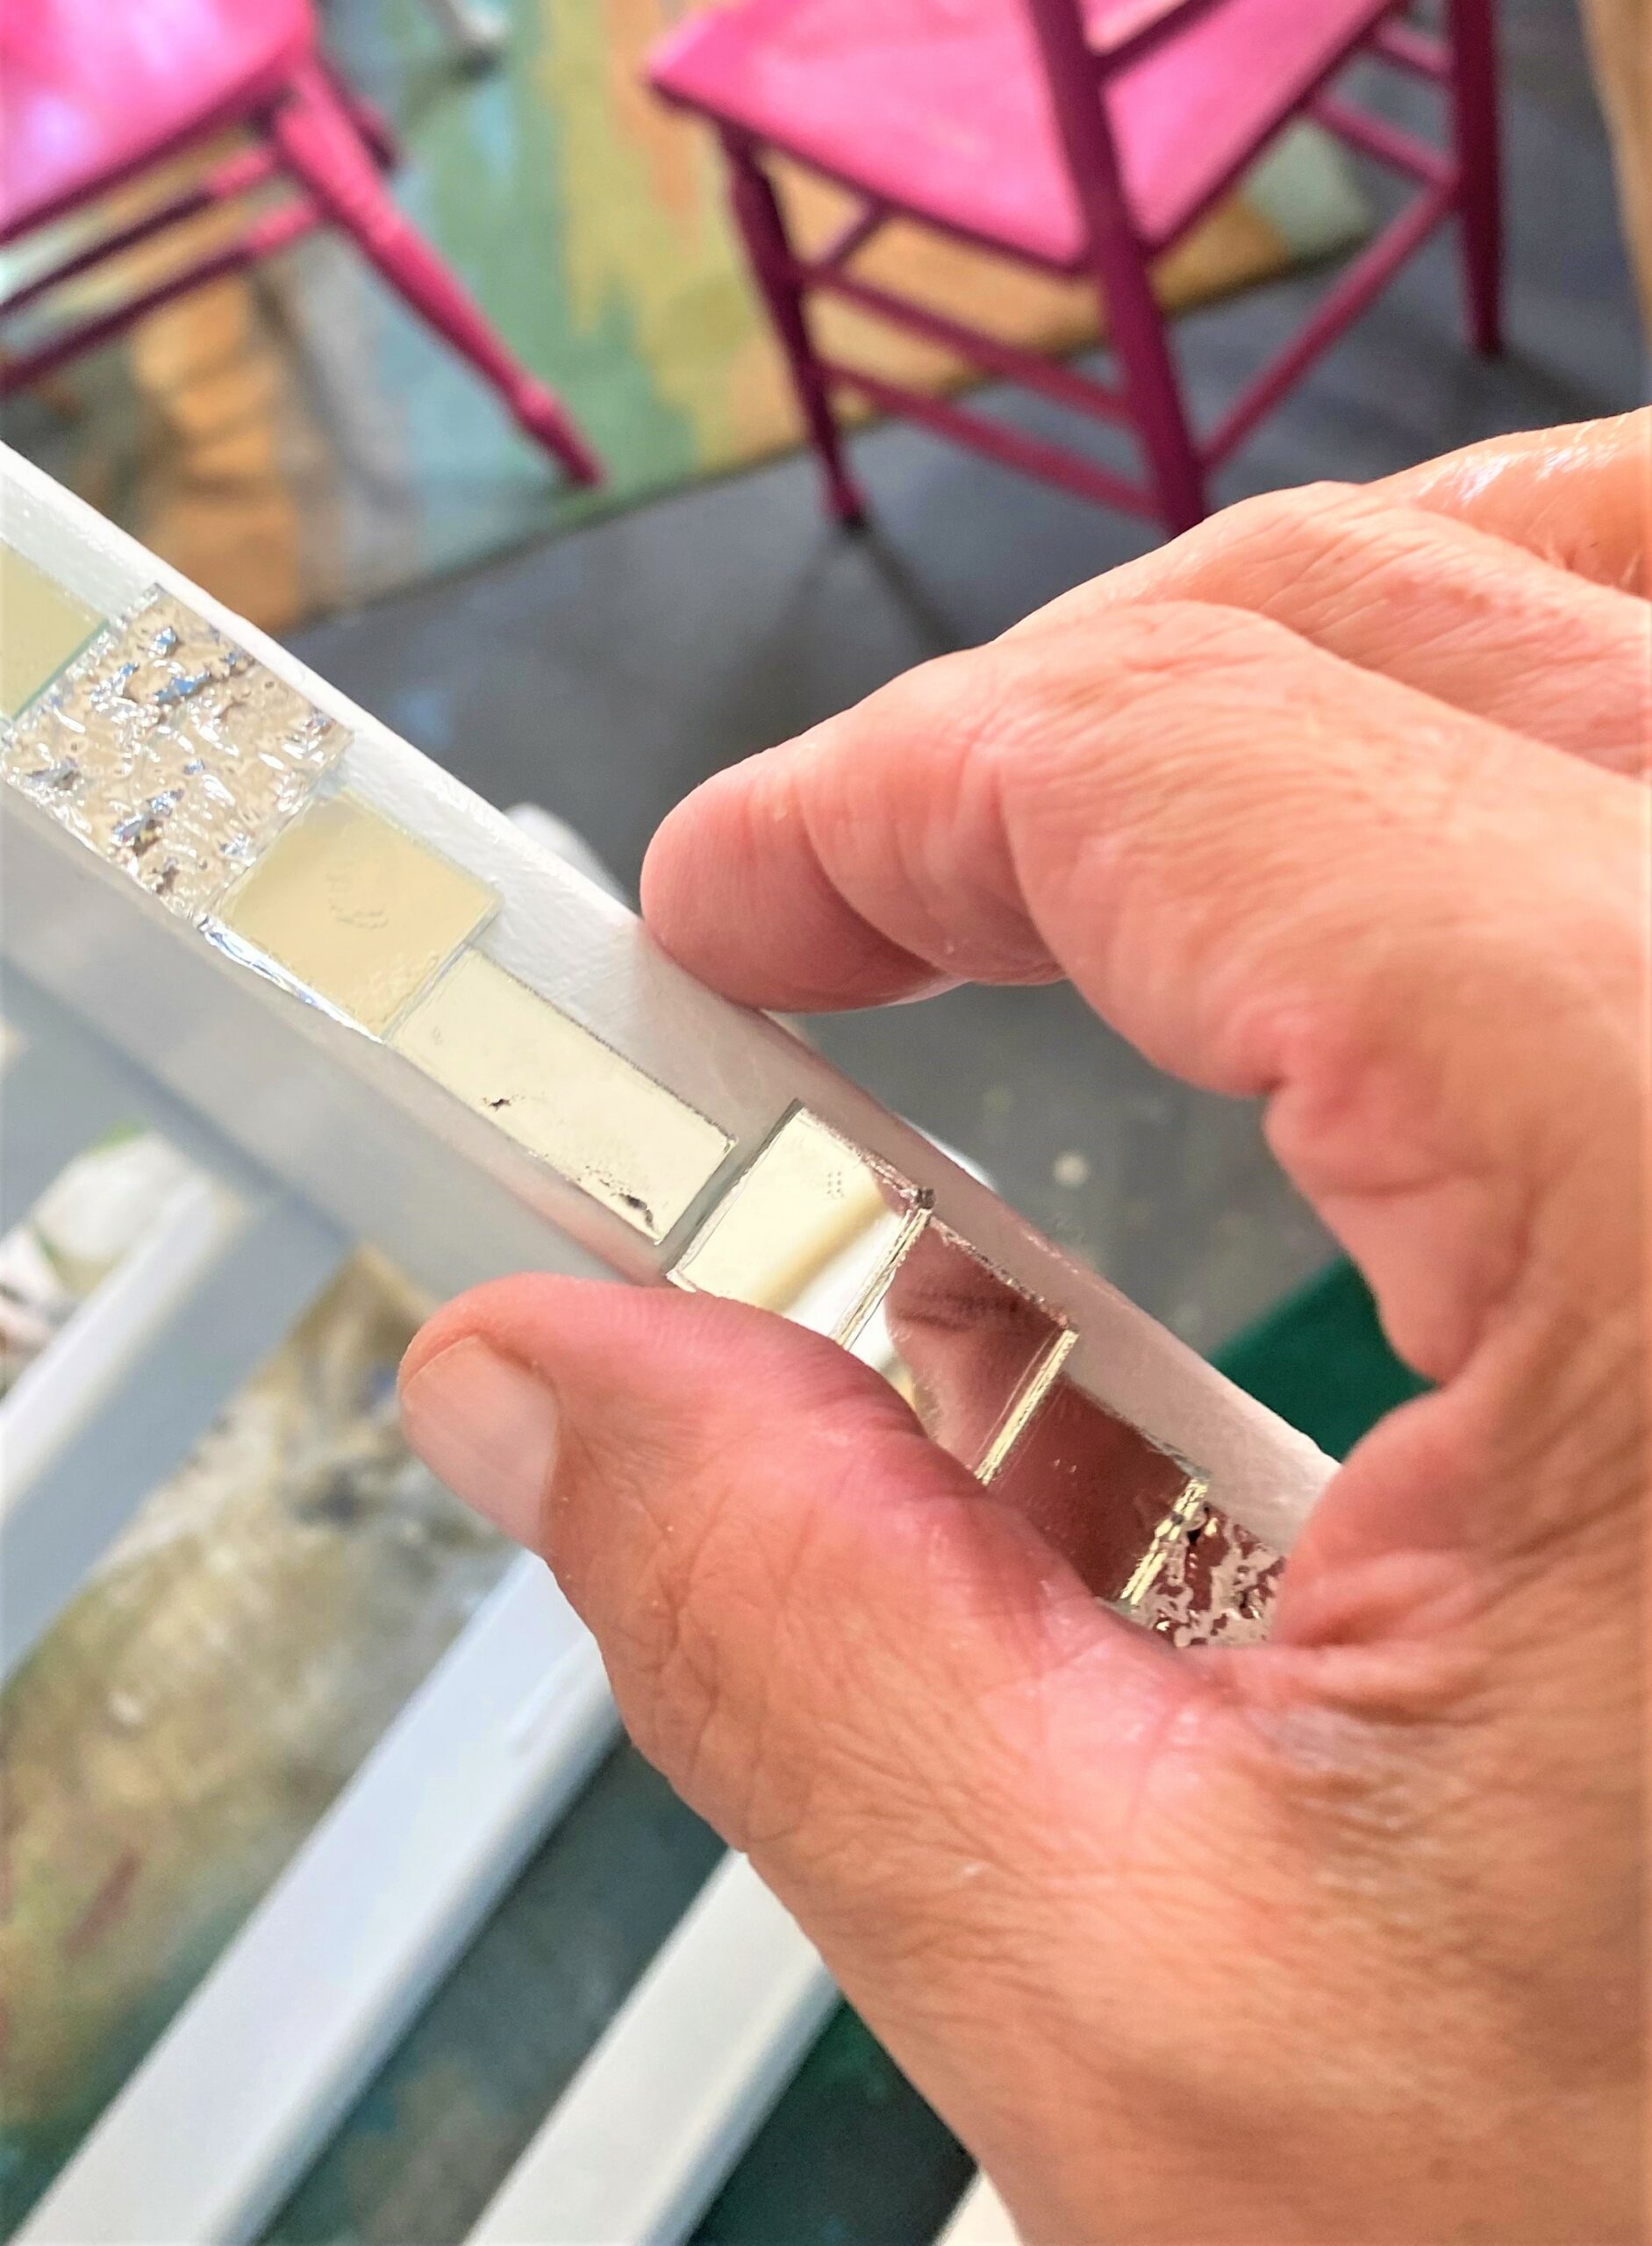
4. Glue on the glam
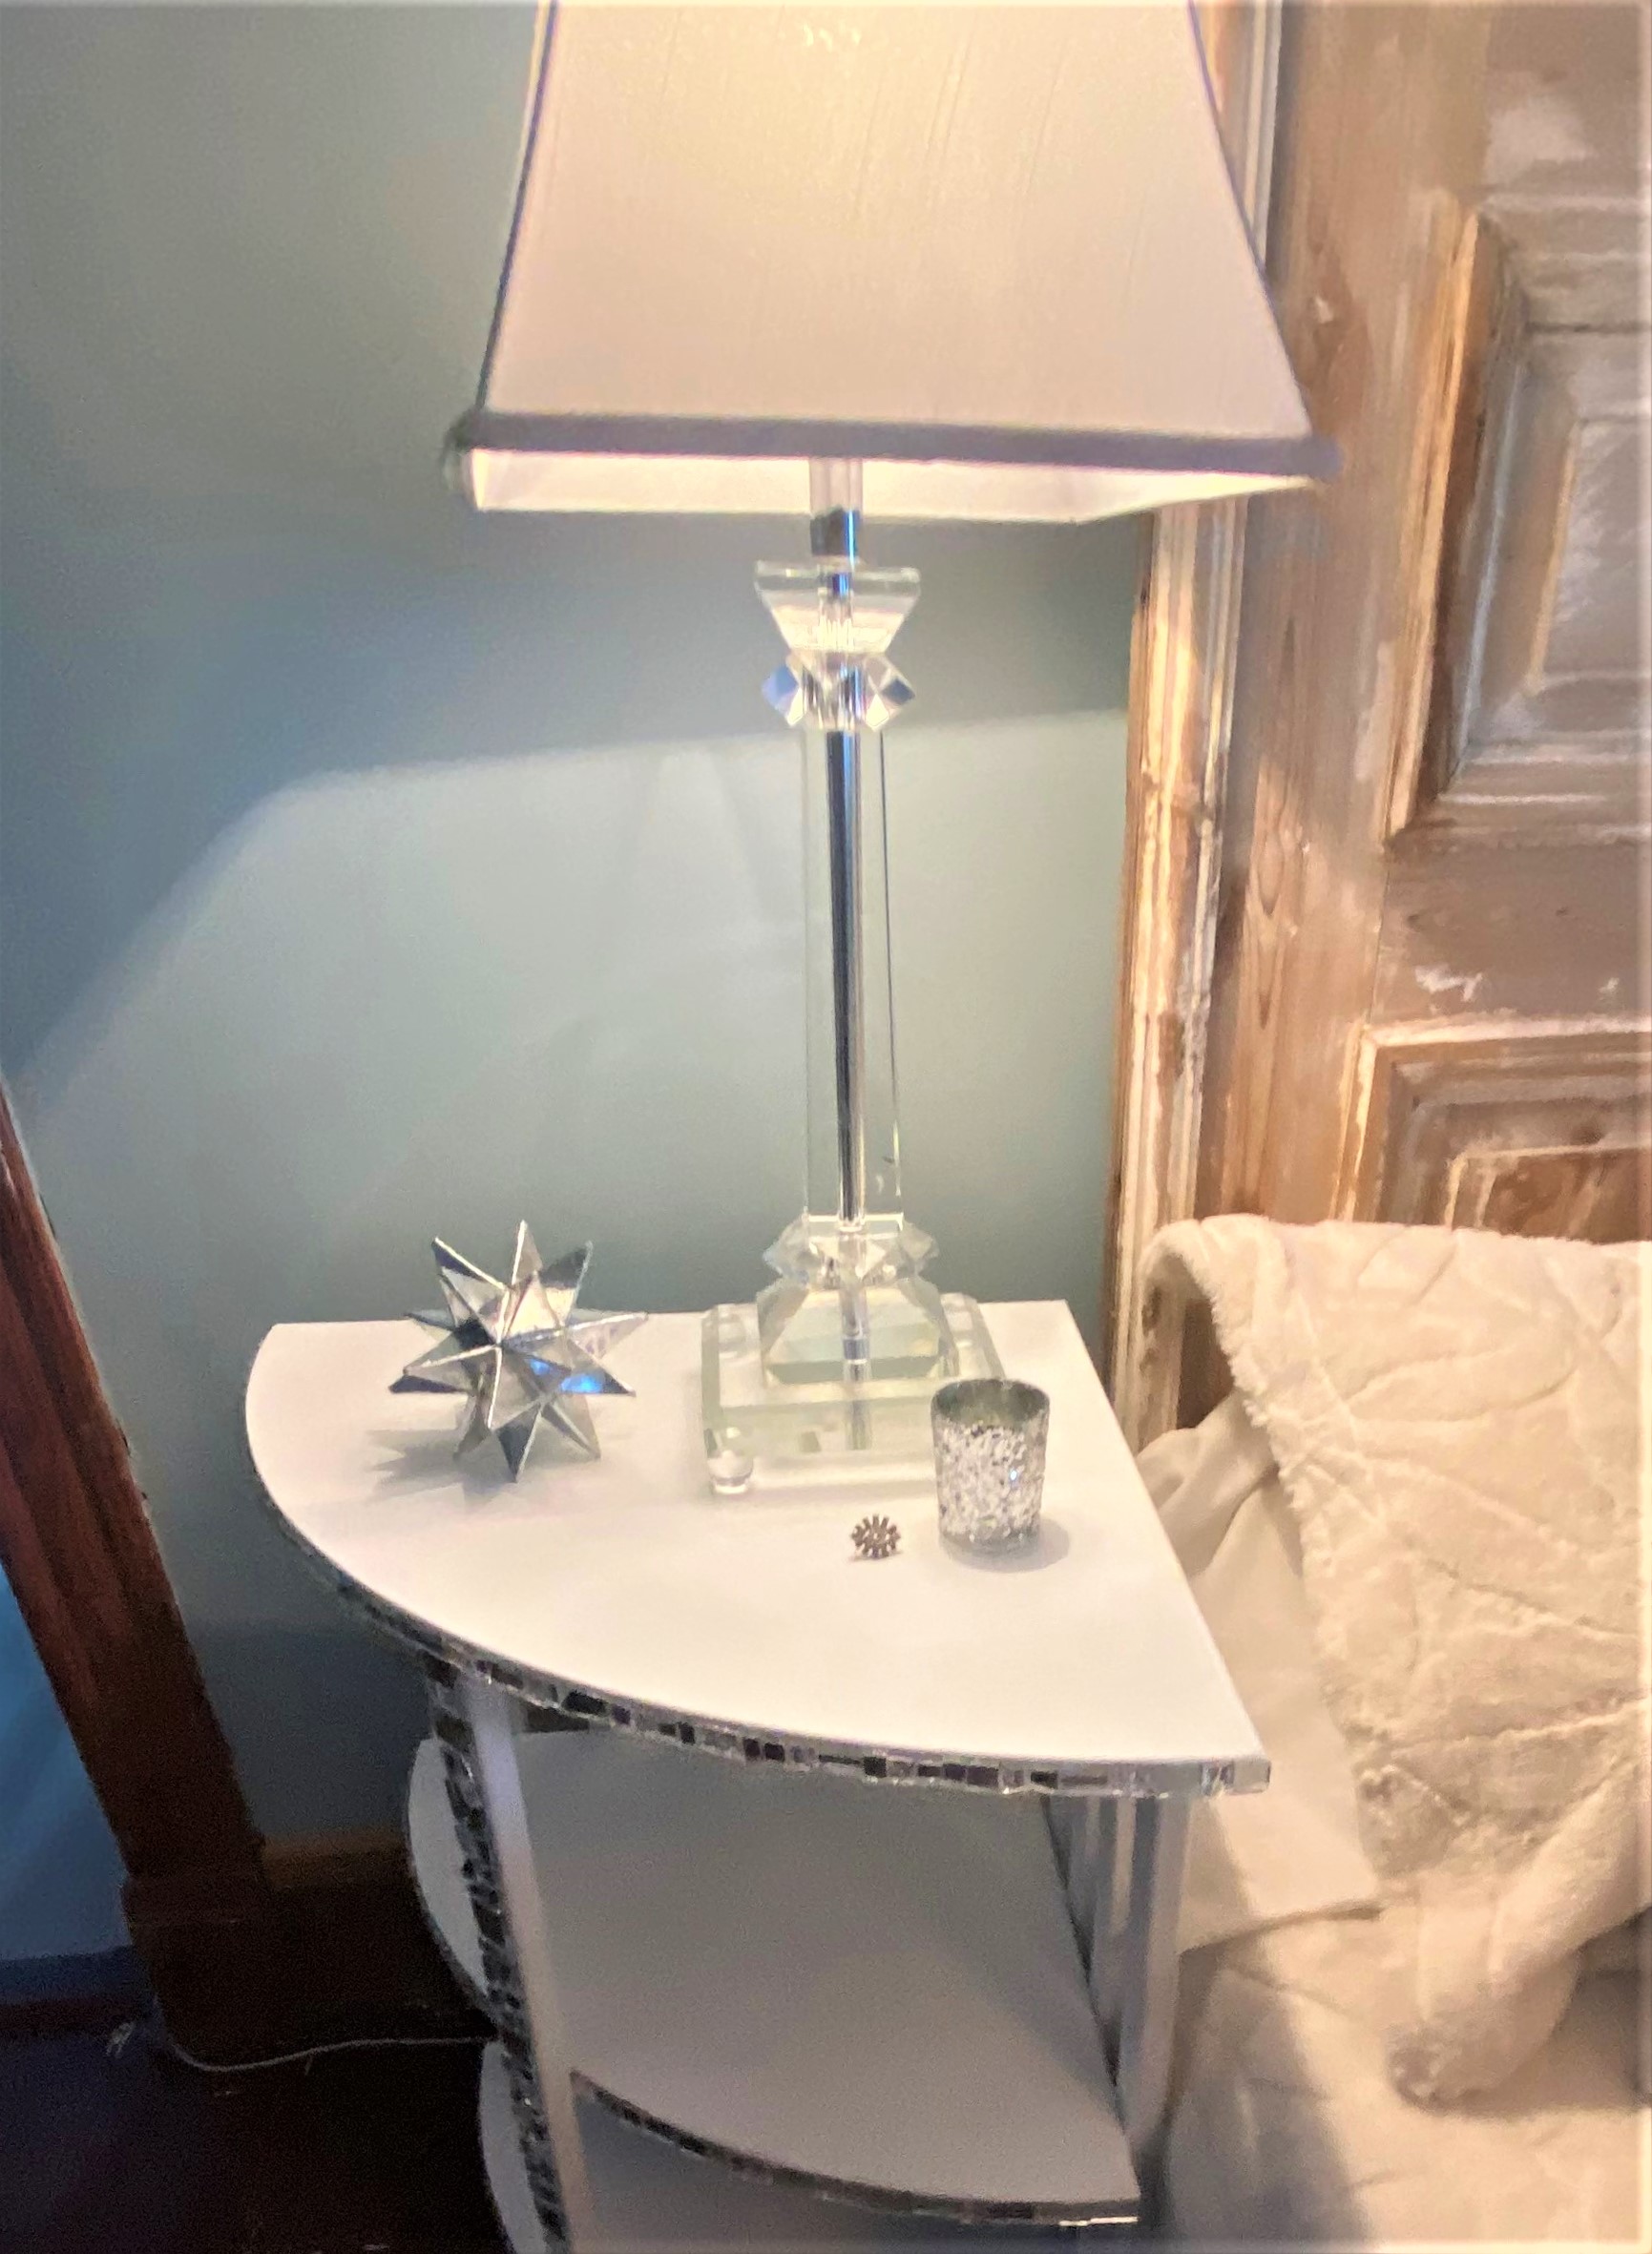
The little mirror tiles were ordered online from a craft store and were the perfect size to add to the table’s front edges.
- The table was placed on its side so that the curved edge faced upward.
- Epoxy glue was applied to the back of each mirror piece with a small, detailed paintbrush. This step took a little effort and was so much fun because it makes this table a one-of-a-kind piece.
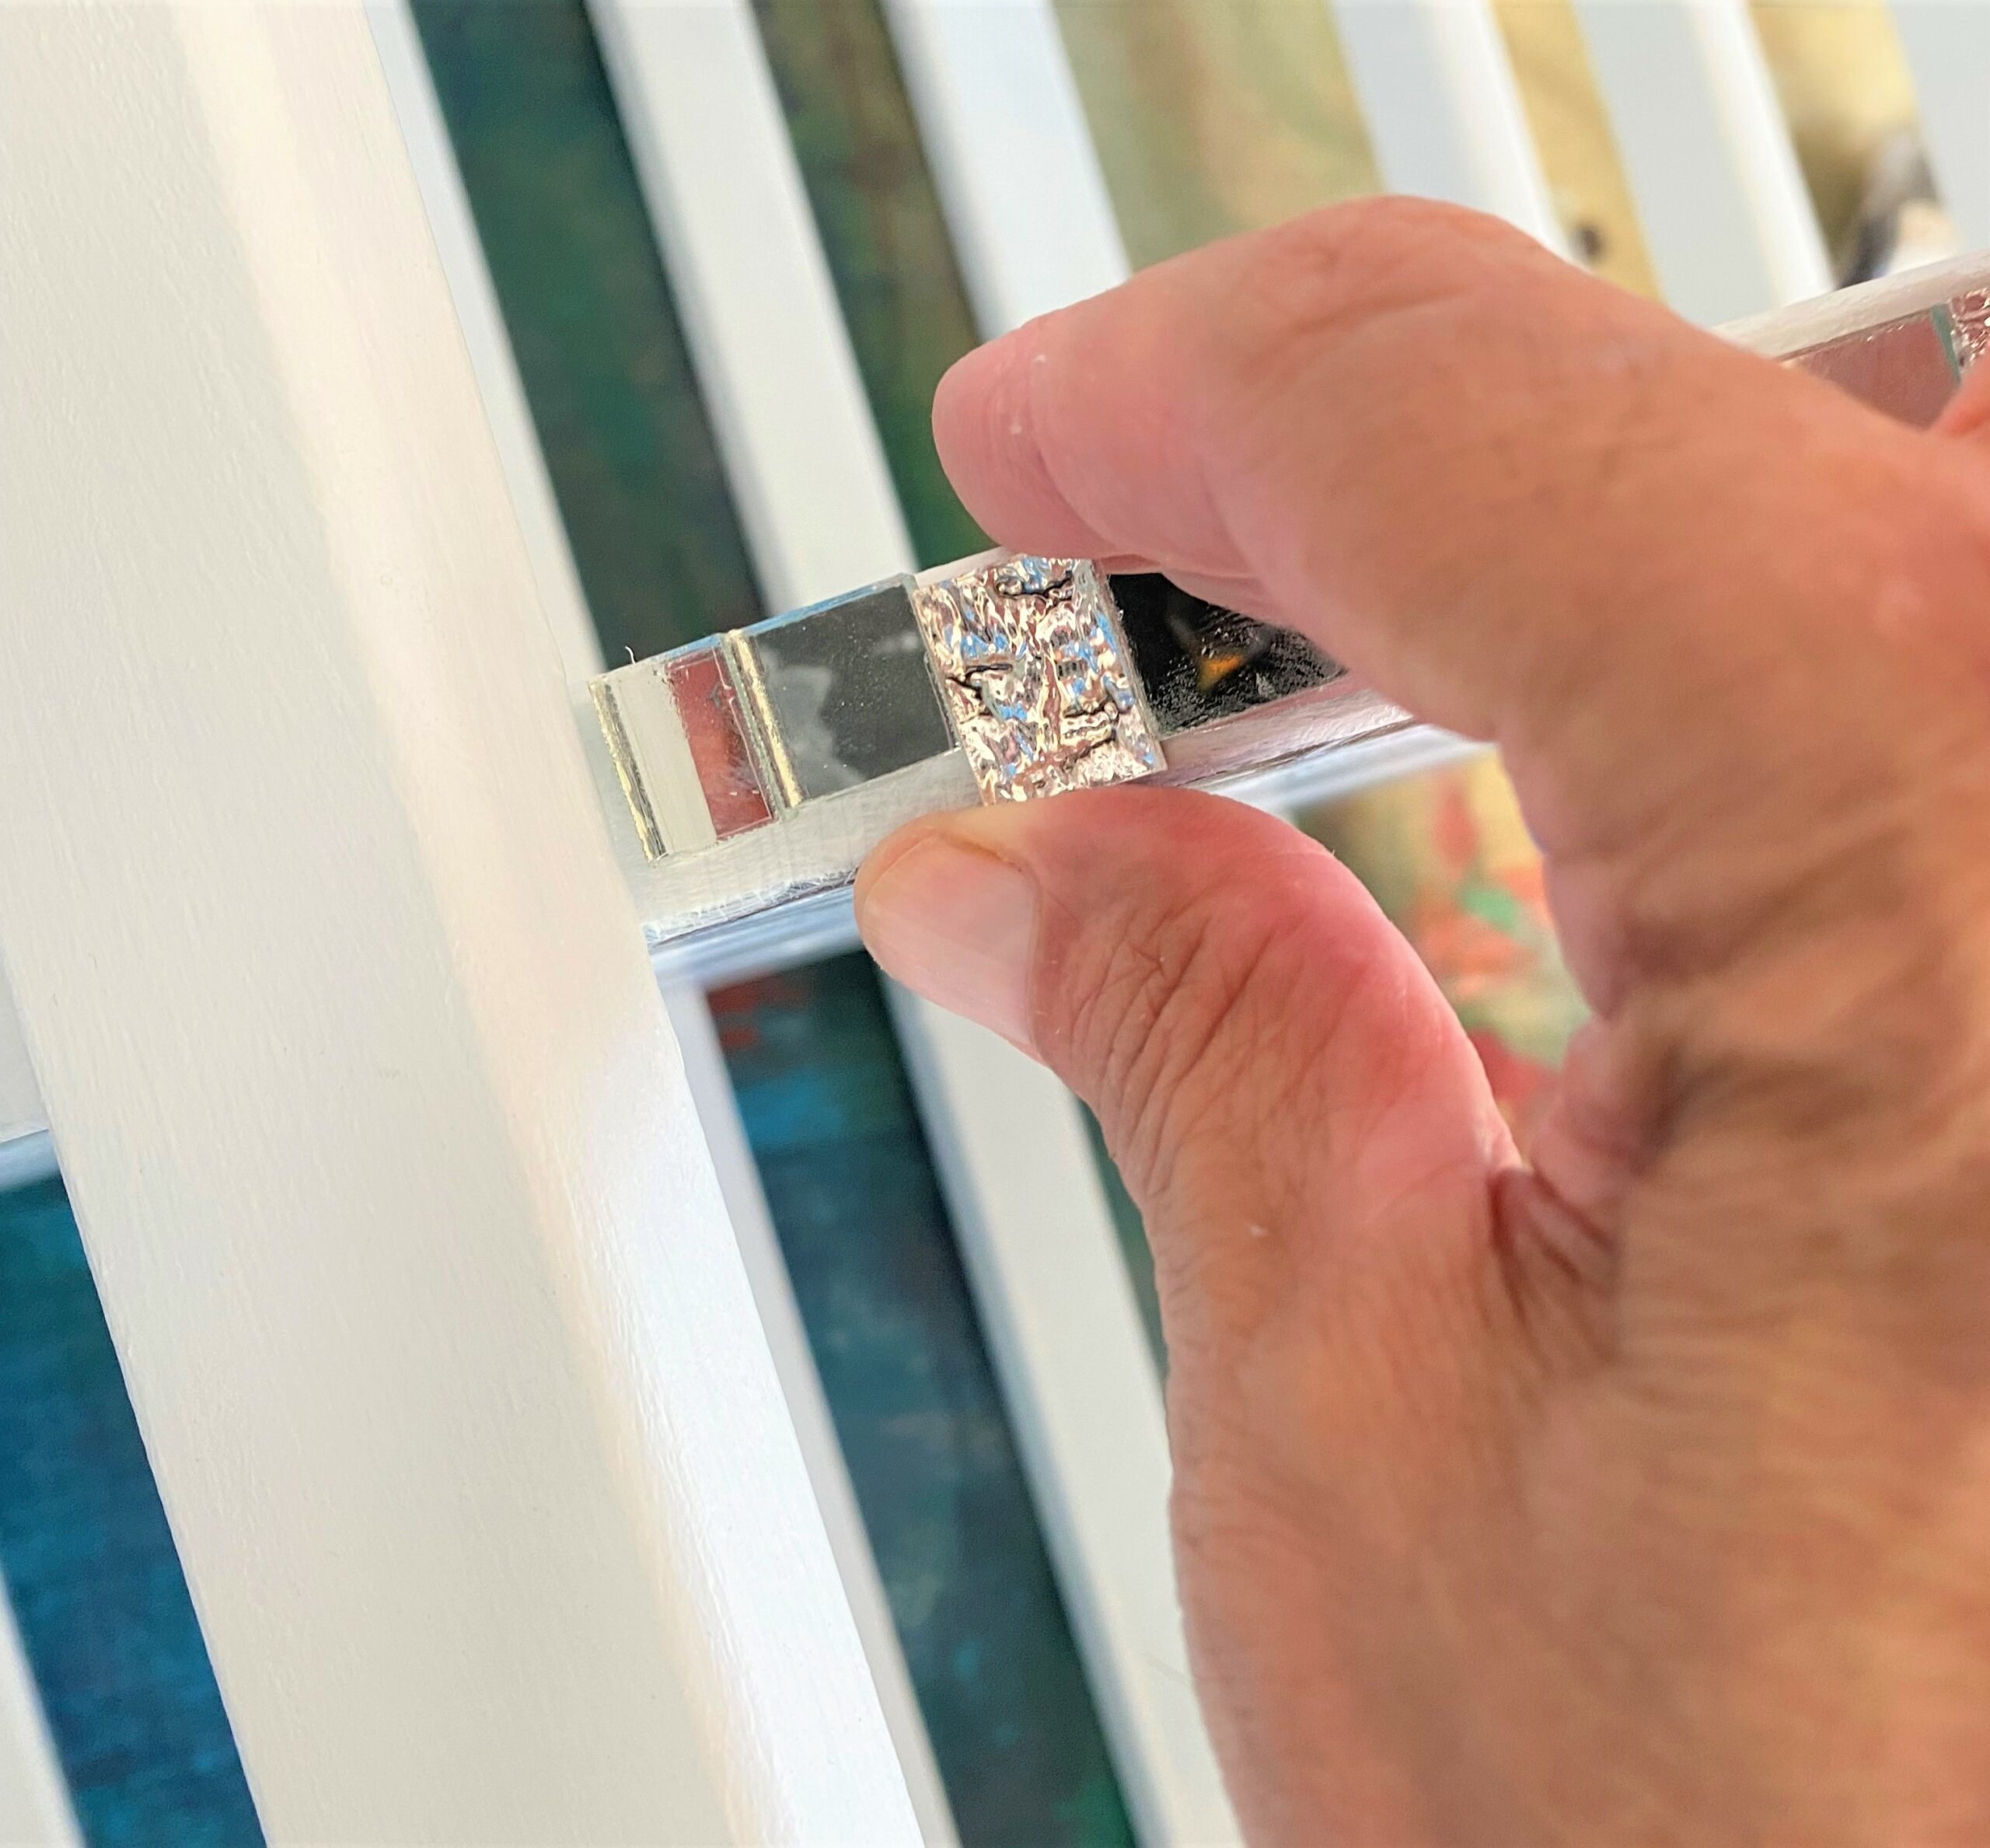
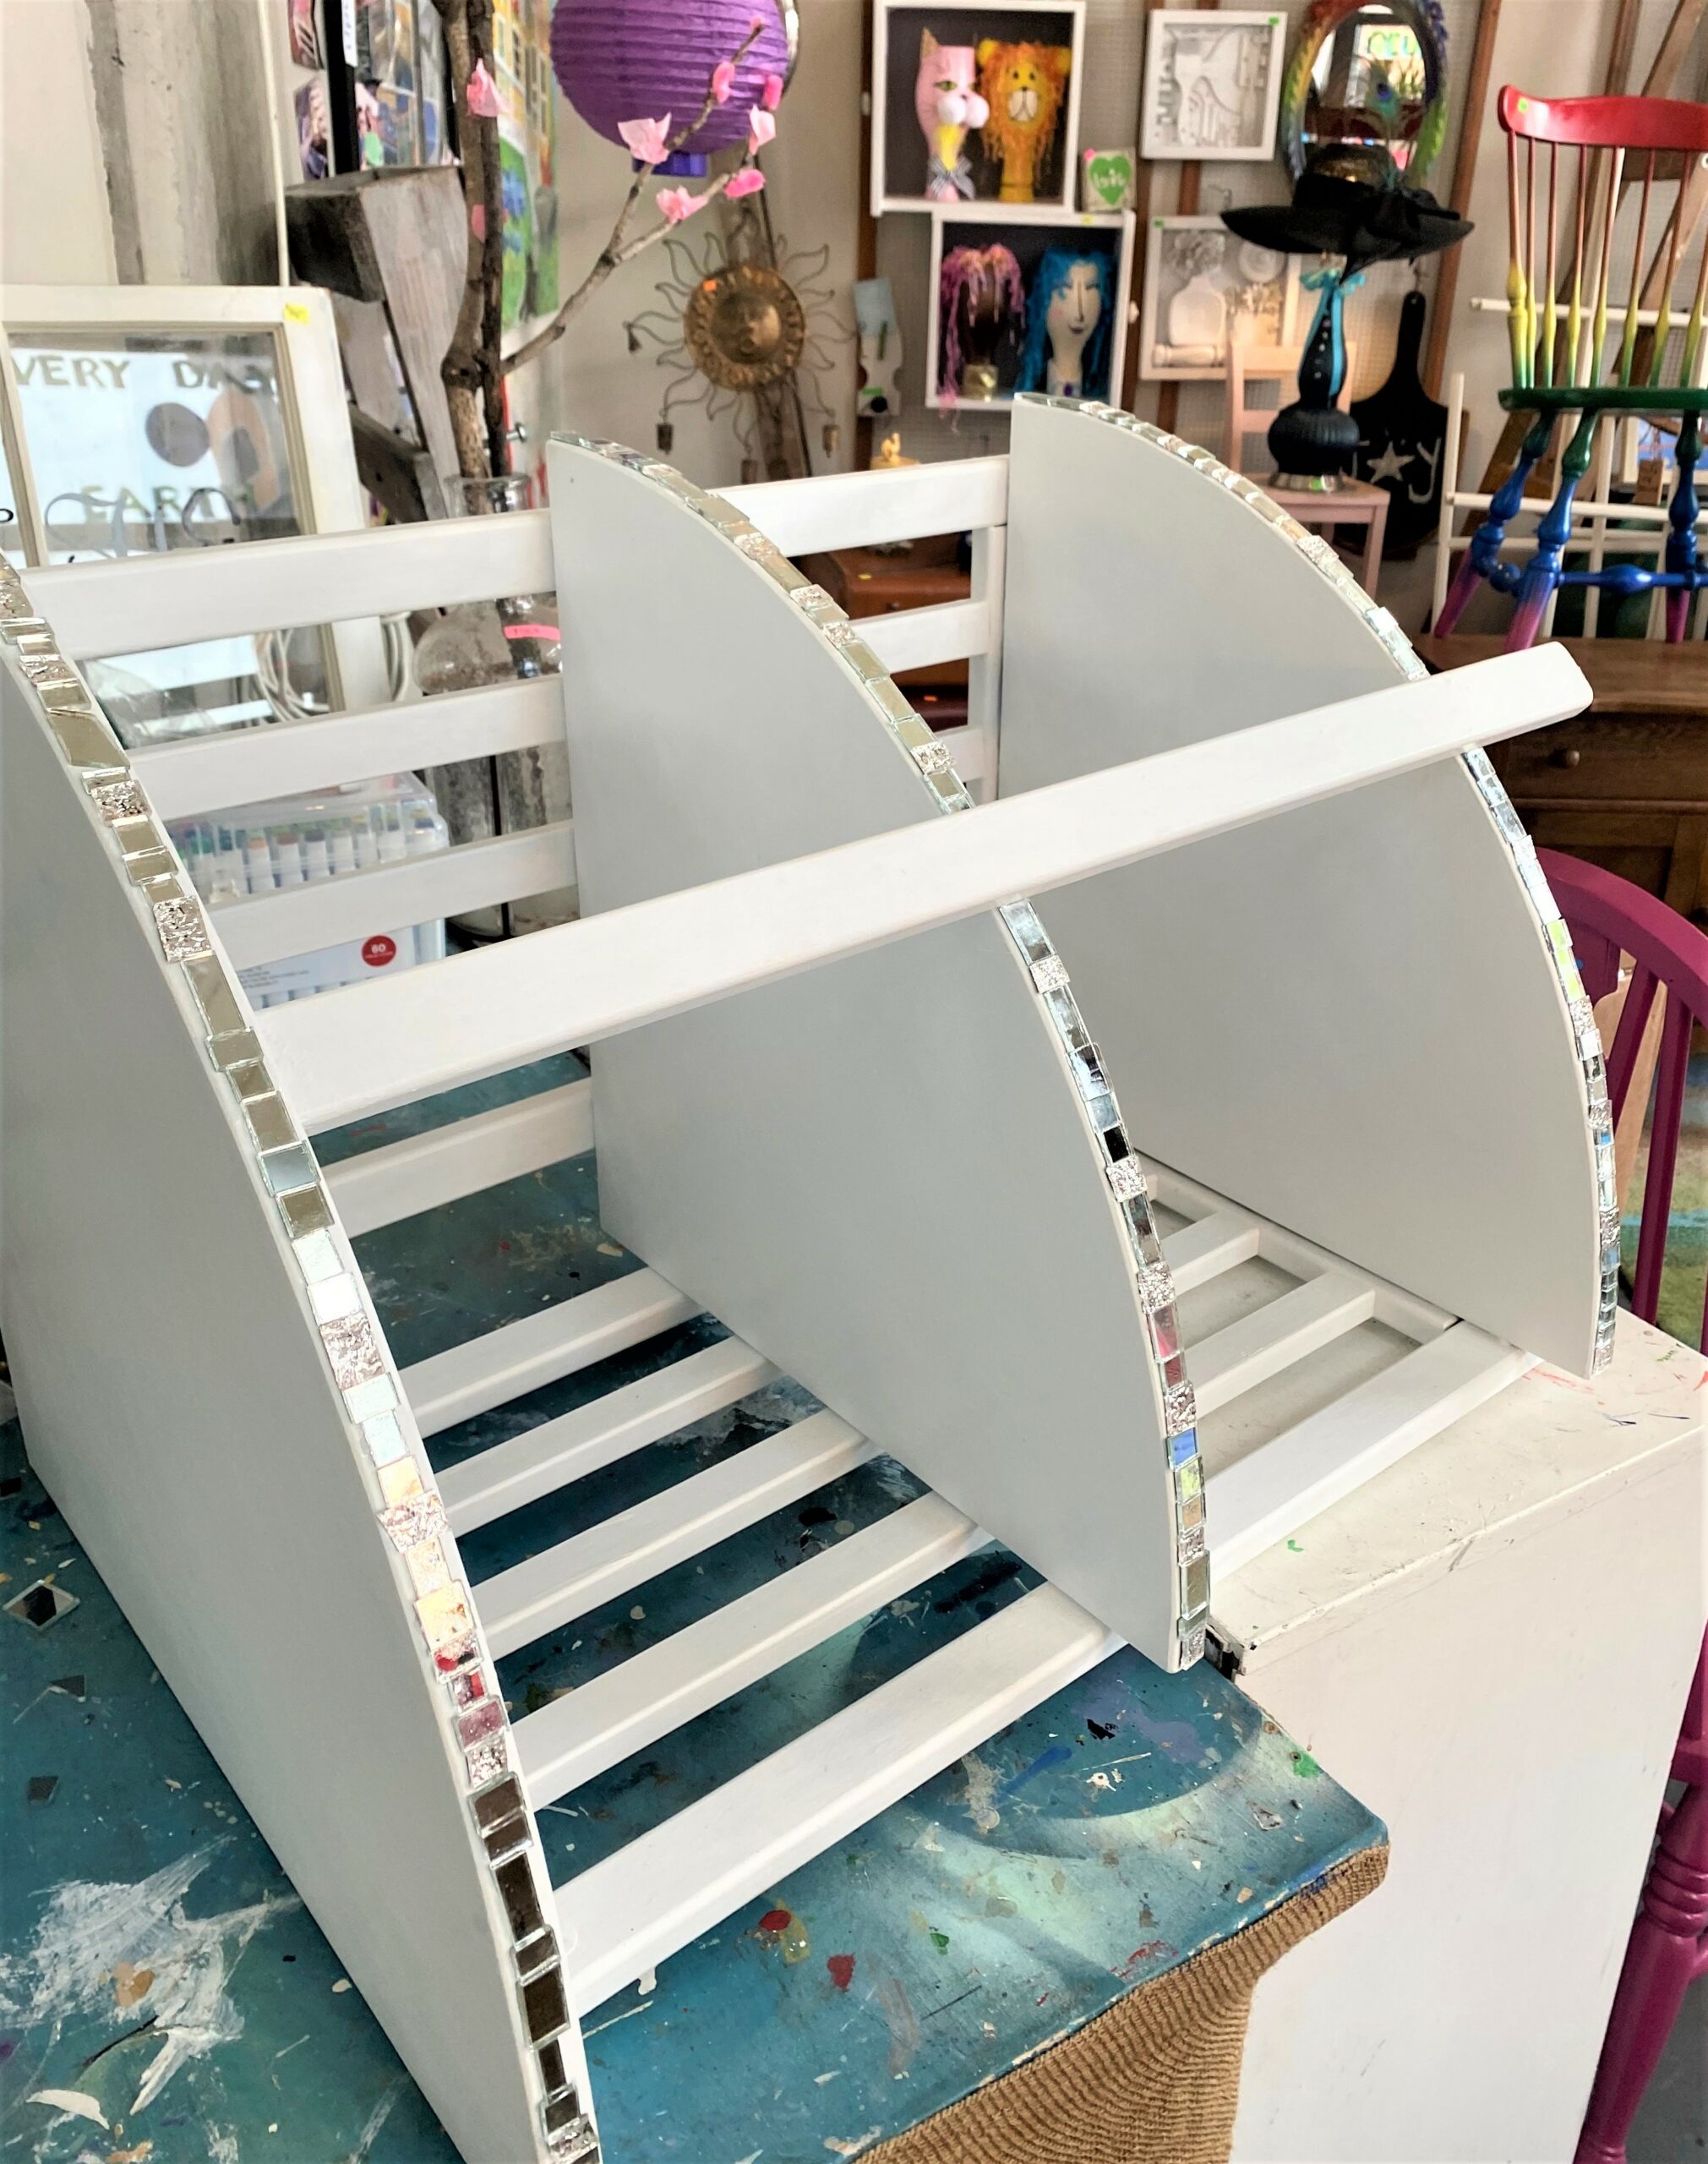
Design idea: Rather than doing the table’s top with the mirrored tile, the blinged edges add a line of sparkle, which looks great. The solid white top looks lovely with silver and glass accessories (also picked up for very little money at Goodwill). Also, a mirrored top would not have been smooth, given the tile, so items would not have set as nicely on it. The side edges will not get spilled on or as dusty over time, too.
5. Protect your prize with poly
To make this sparkling beauty function well, the final step was to brush on a couple of layers of polyurethane in a semi-gloss finish. This will help seal the paint and allow easy cleaning up as needed.
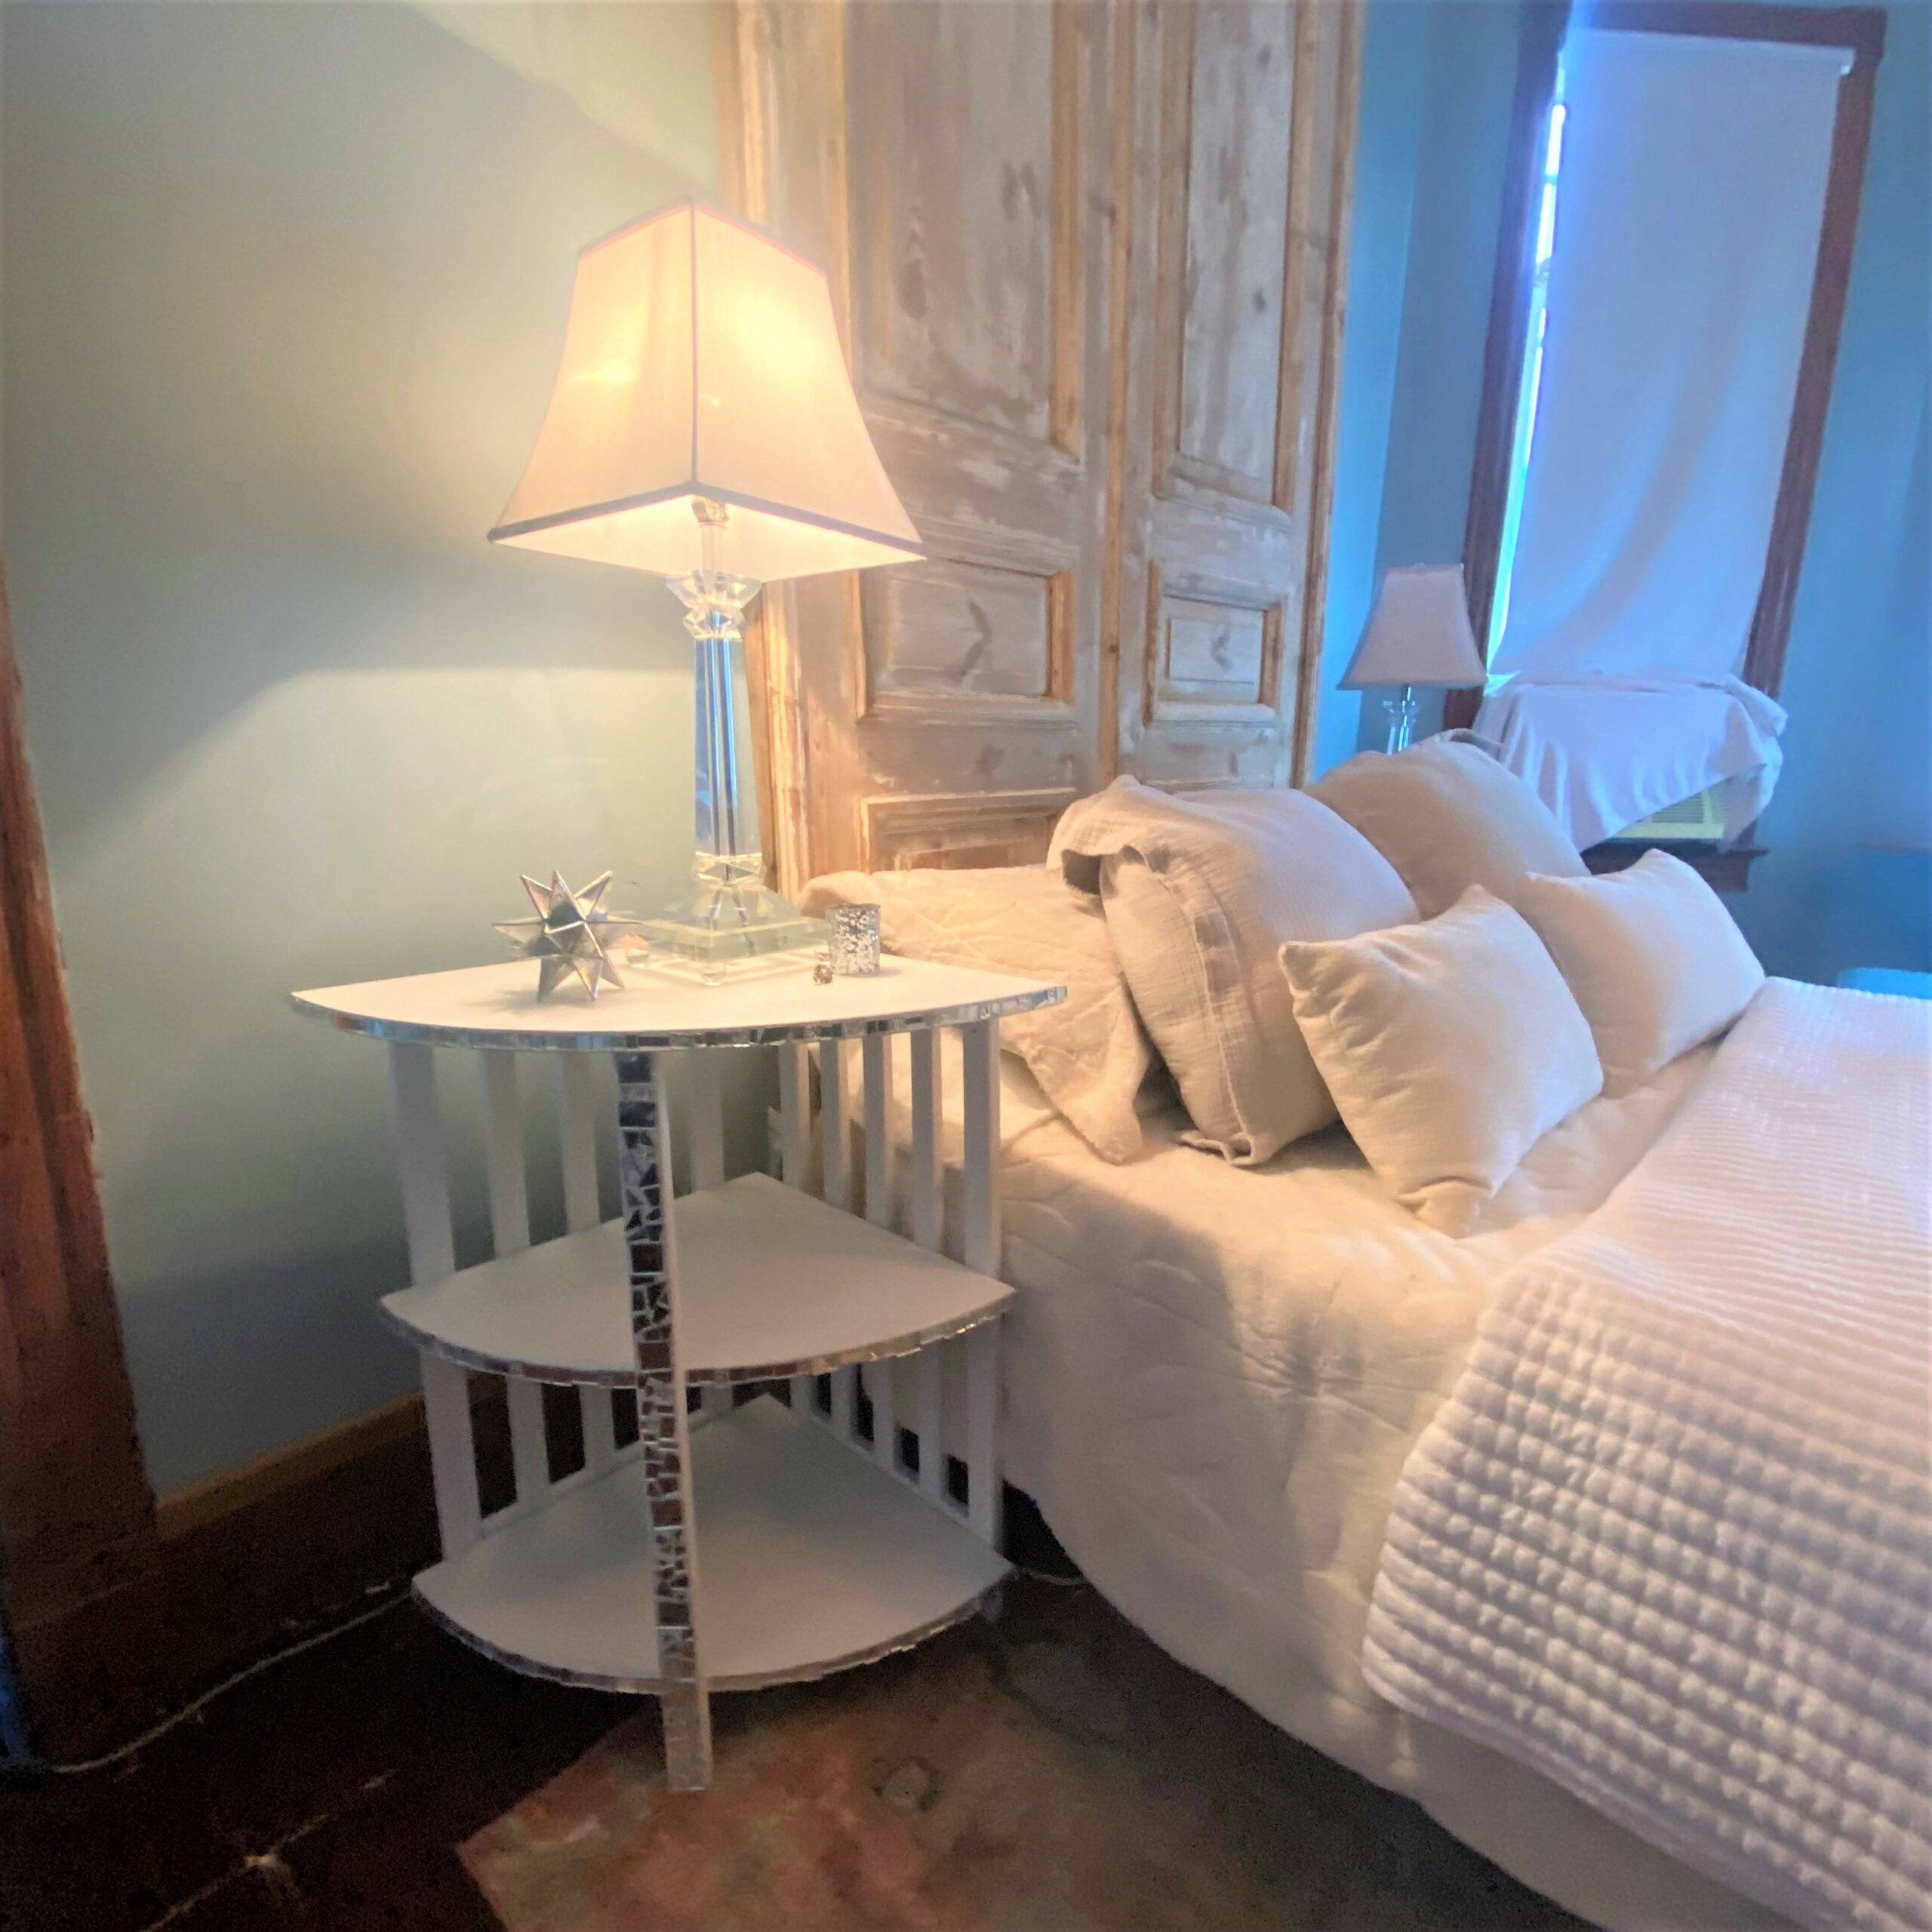
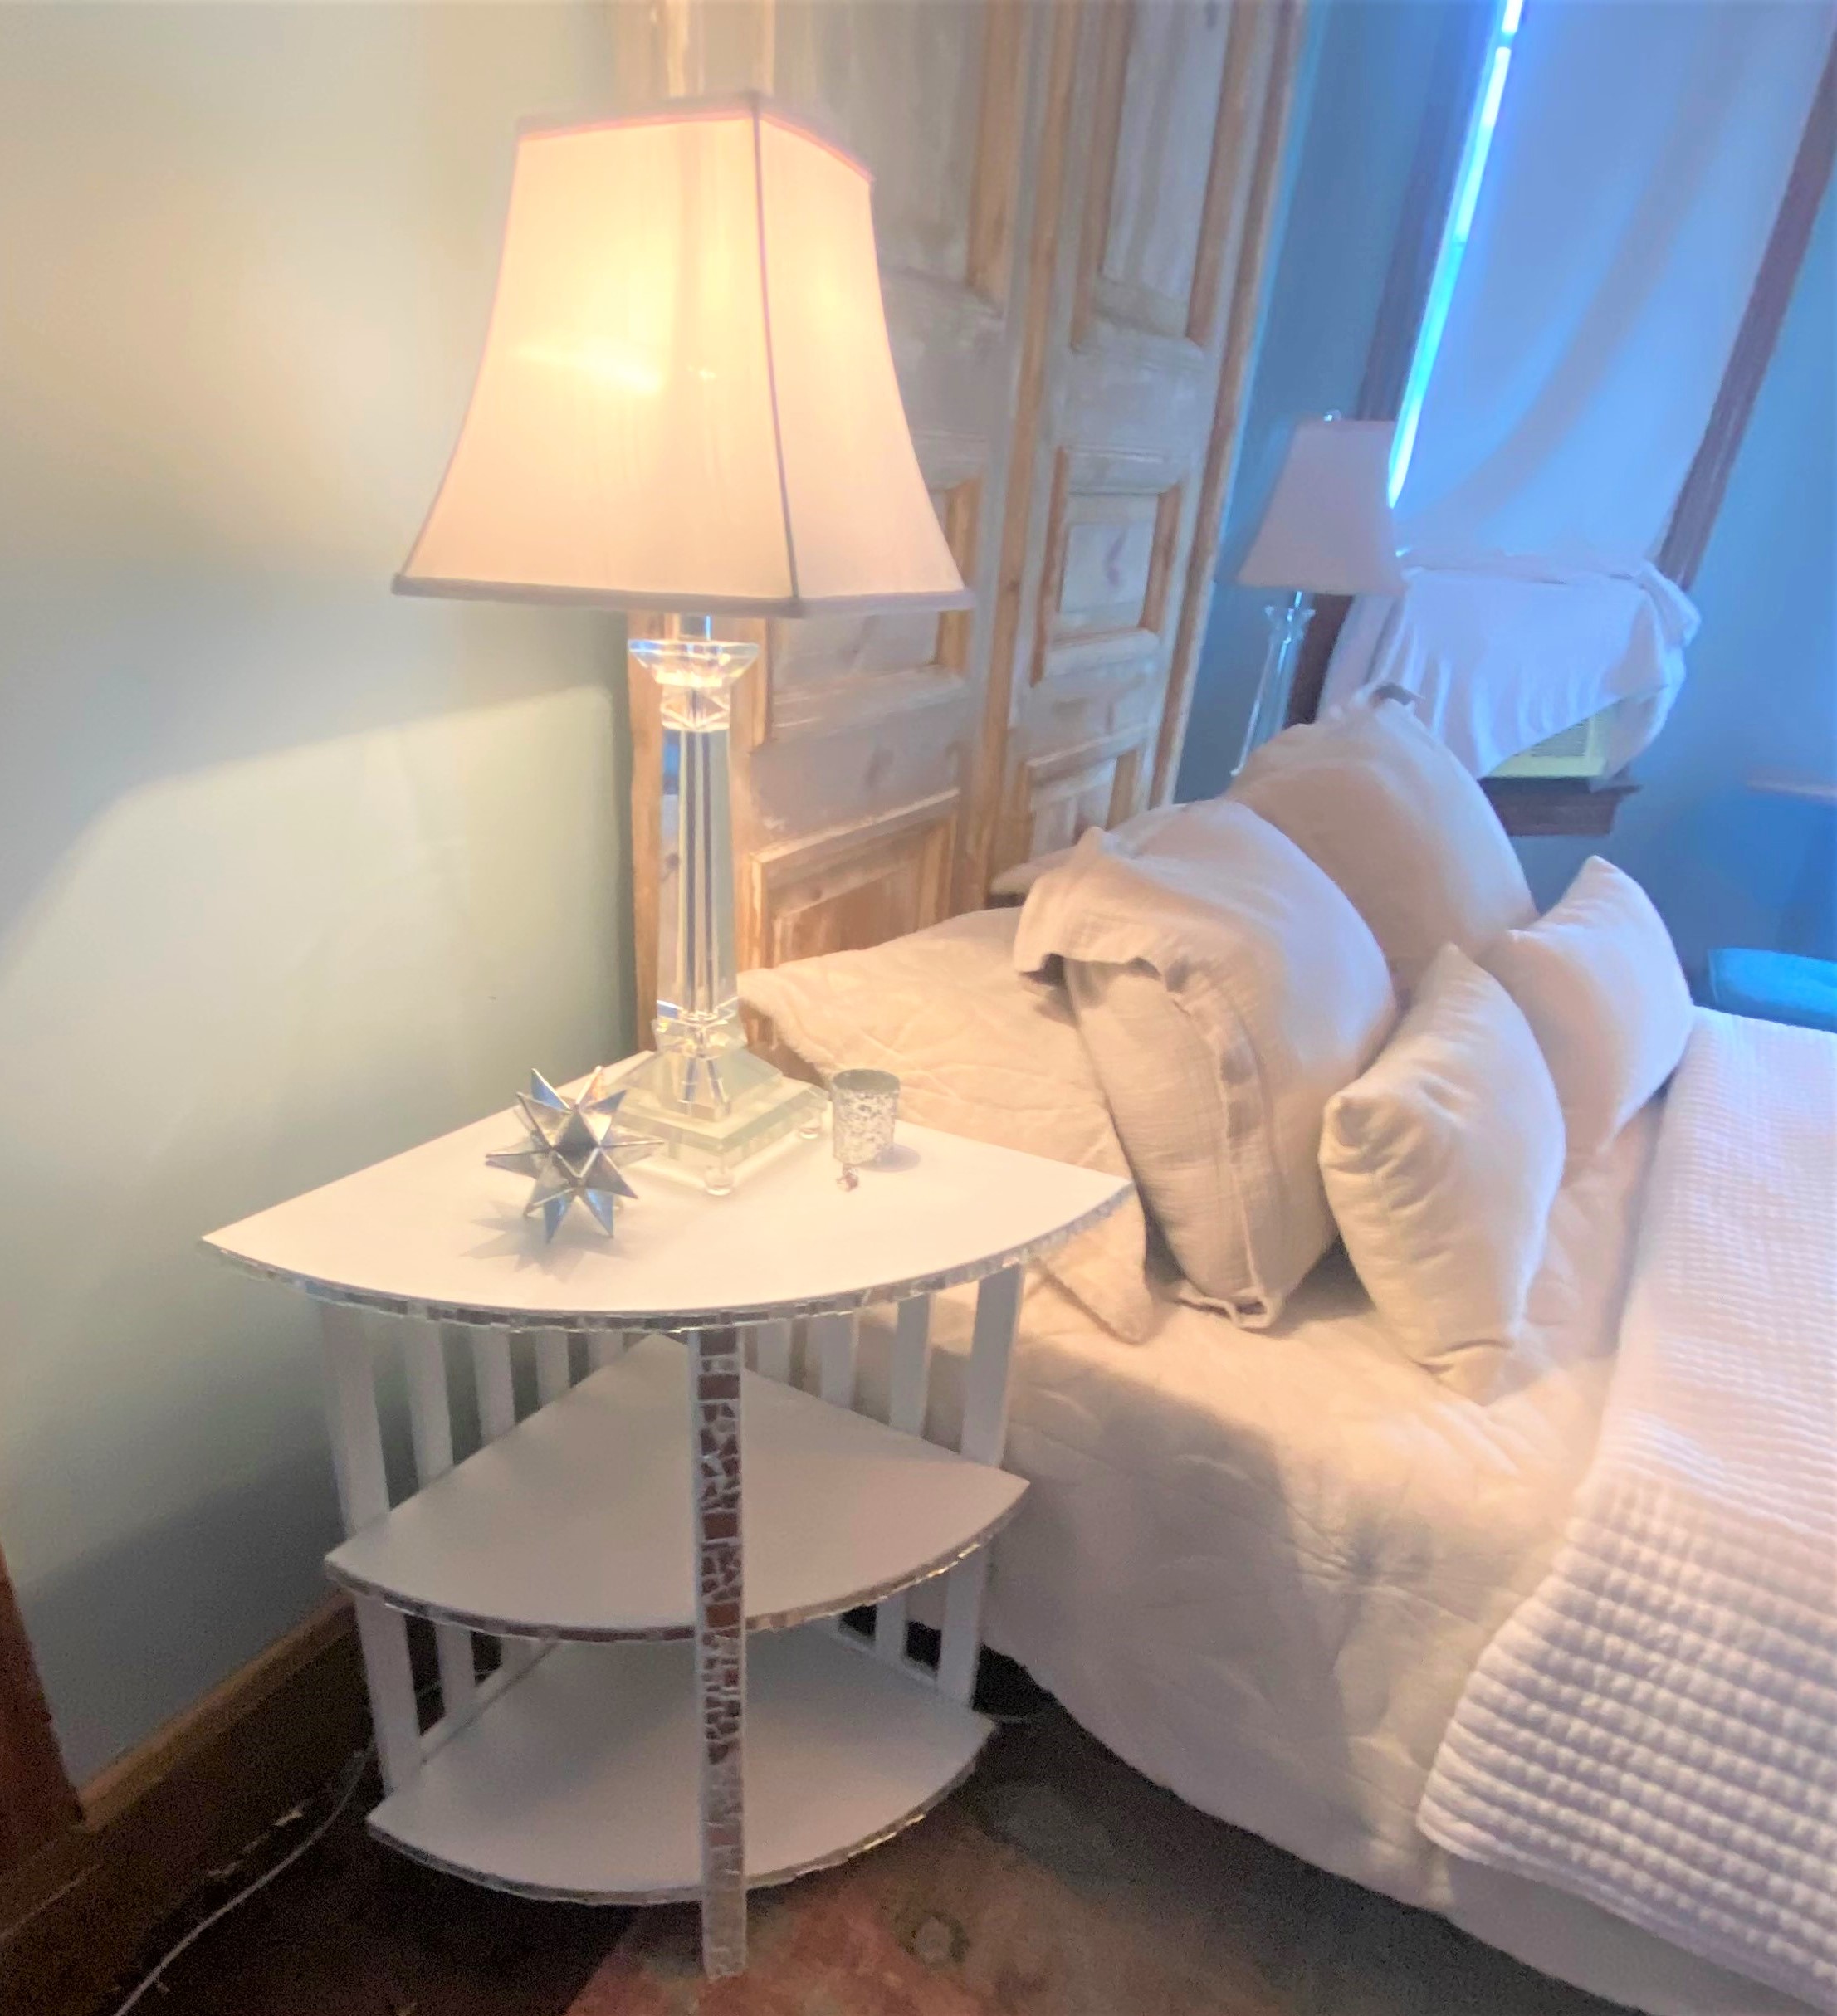
6. Place and pretty it up
Put your bright and blingy table next to your bed and add a glass-based lamp and decorative items. Or put it in the corner and add a tall silver vase with white flowers. Position it next to your sofa, and add an elegant coaster to set a wine glass or coffee mug.
Wherever your transformed piece calls home, it will undoubtedly be an eye-catching addition!
Thanks again, Annette, for the opportunity to add a little beauty to your world, the way you add beauty to others’ lives!

Tim Kime
Artist, Motivational Speaker, Life Coach
