Can we talk? During this unusual time, one thing some people have an abundance on hand are leftover bottles of all kinds. Not all businesses are struggle as reports say beverage sales are up.
Some creative and funny wine brands are Mad Housewife, Running with Scissors, Bohemian Highway and Marilyn Merlot. During the current stay at home order, are appropriately named wines are Full House and Mommy’s Time Out.
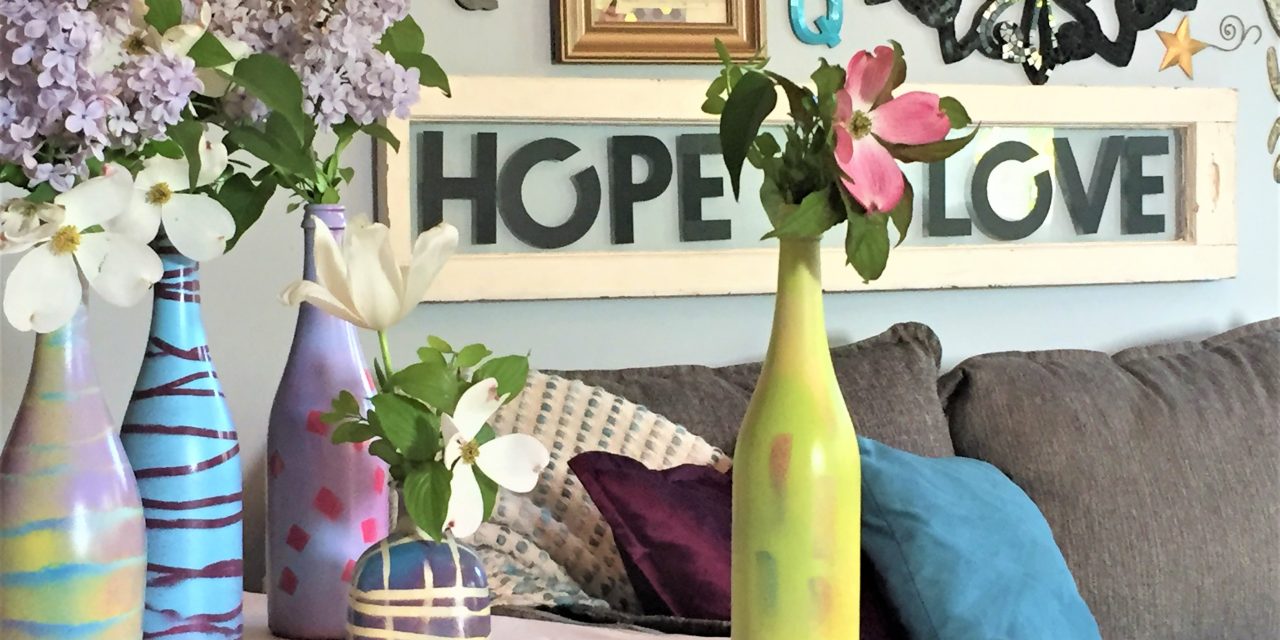
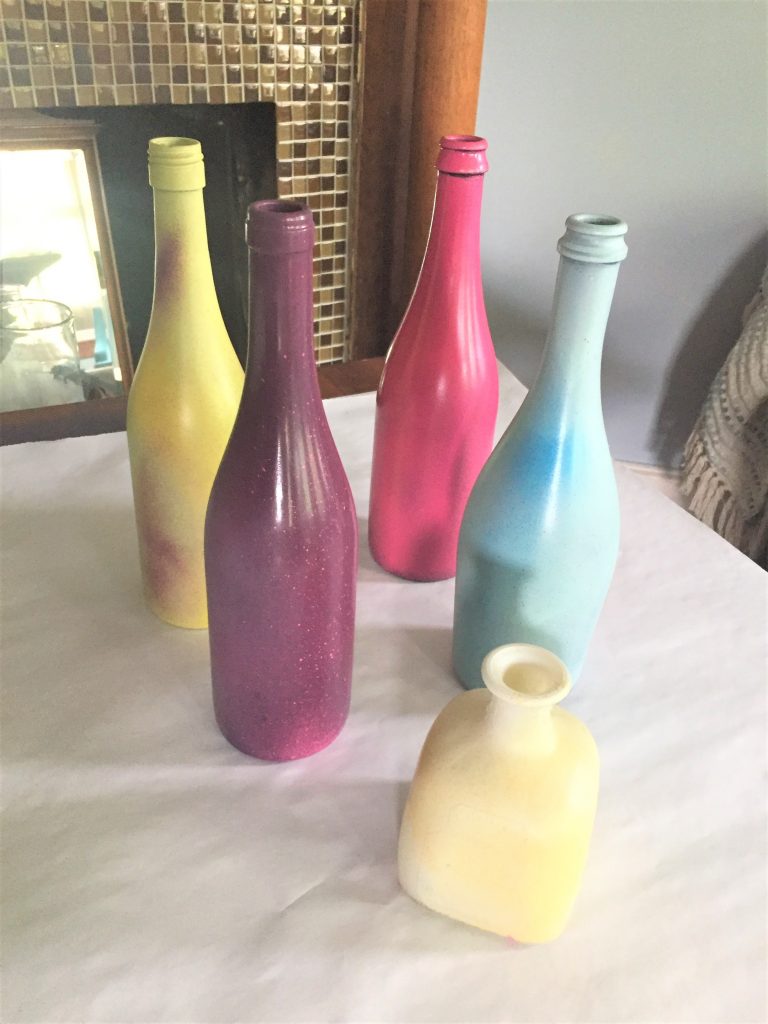
So, what to do with all these bottles? Upcycle them into colorful, friendly vases to hold Spring flowers—blooming now and a very positive thing happening this time of year.
Every day, we are looking for and finding THE good in all kinds of places. This easy project will have you finding the good in such a simple way!
Ability Level: Perfect for beginners (So incredibly easy!)
Age: Kids of all ages, with some supervision for younger ones
Supplies Needed:
1. Empty bottles
2. Ideally, leftover spray paint in Spring colors
3. Rubber bands
4. Small post-it notes
5. Twine
6. Scissors
7. Painter’s tape
8. Drop cloth
9. Flowers
Cost: Free or $3 each if you need to buy paint or post-its
Time: 15 minutes each (not including paint drying time)
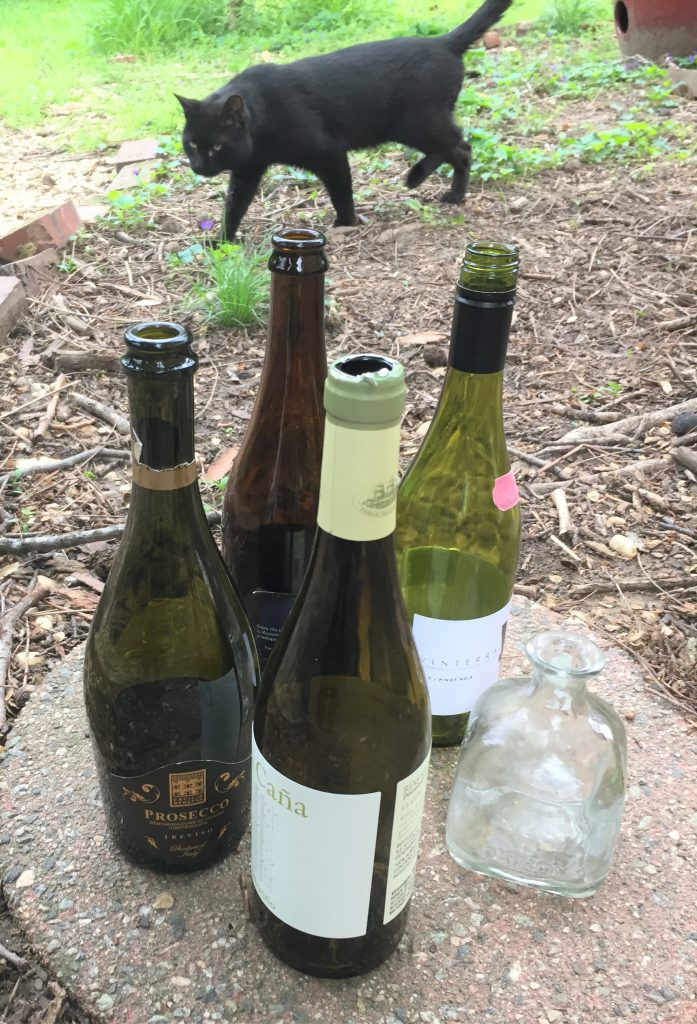
Step 1: Wash & remove labels
- When you have a small collection of bottles, you will want to rinse them out, so they are clean on the inside.
- Next, soak them in warm, soapy water to remove the labels so that you may start this easy DIY project with a clean and smooth slate. Based on the glue used by the manufacturer, you may need to use a small, sharp knife to scrap it off the bottle. (Please be very careful if you need to use a knife.)
Ironically, this step was the most time consuming. If you are able to do so, I encourage you to soak the bottles overnight.

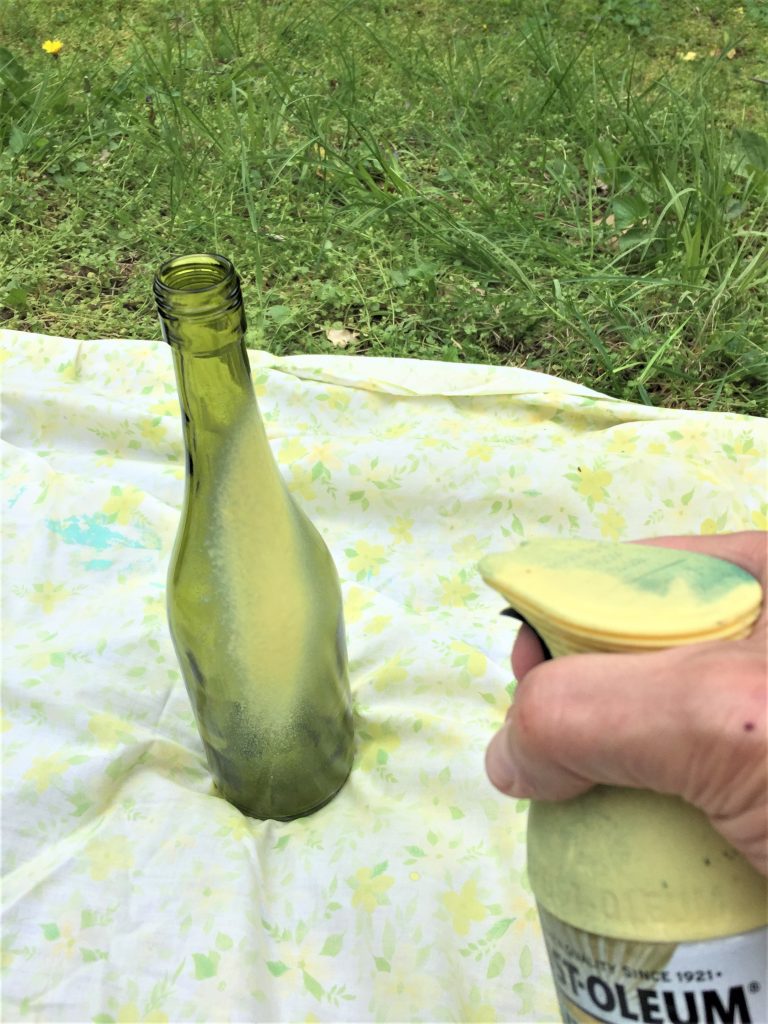
Step 2: Spray on first layer
- Place your label-free and dry bottles outside on a drop cloth.
- Based on the number of spray paint cans you have on-hand, you may want to give each bottle its own base color. If you go this route, then give your bottles plenty of room on the drop cloth.
- Lightly spray each bottle, then let dry.
- Turn each bottle on its side and then add another layer to get all sides and edges.
- Again, let dry.
- Most spray paints dry in less than a half hour, so consider taking a quick walk around the block to get some fresh air or do a Zoom call with someone who needs some company.
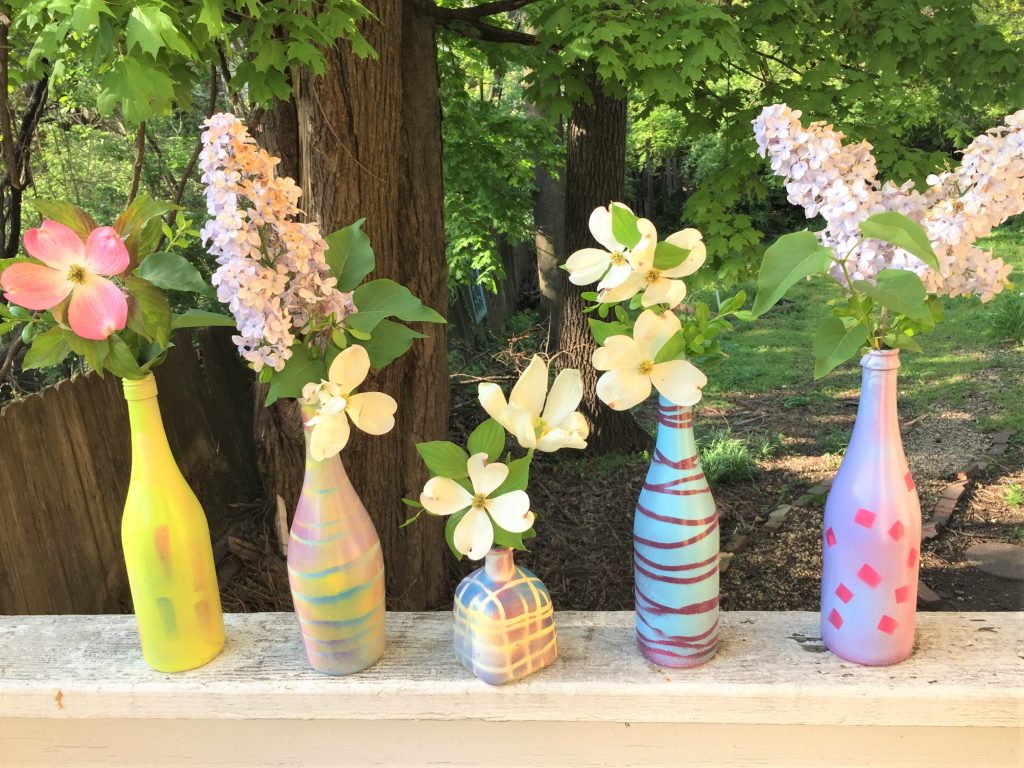
Design tip: While a solid base coat of one color will look great, consider lightly spraying on a second color at this time, too, to give your soon-to-be vases some additional depth and visual interest. Also, all the colors chosen for this project were ones found this season: pinks, light purples, blues, yellows, greens and even bright pink (like an Azalea’s hue). They will all blend well and look lovely together.
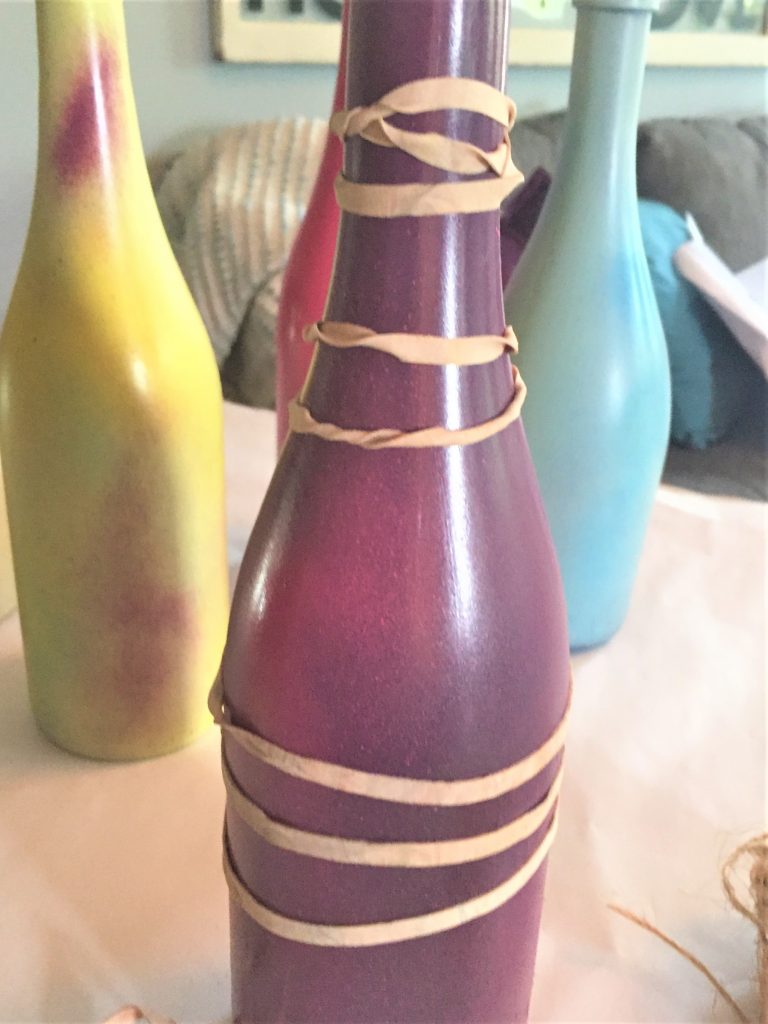
Step 3: Wrap with rubber bands, twine or stick on post-it notes
Look at what you currently have at your place for this next step.

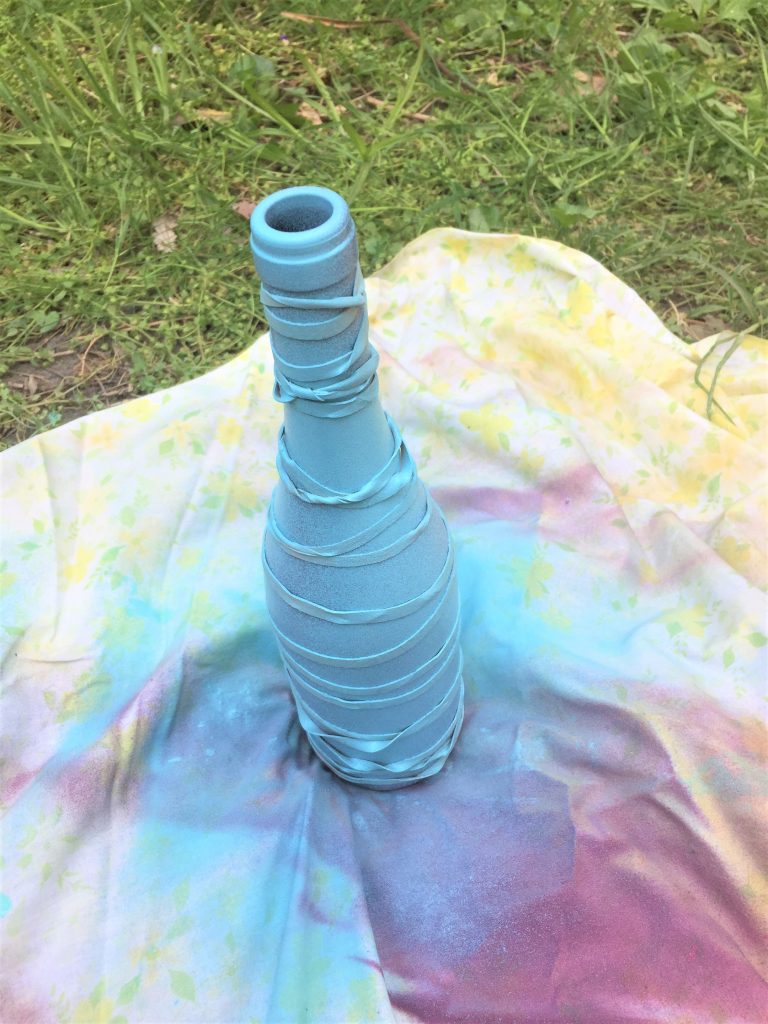
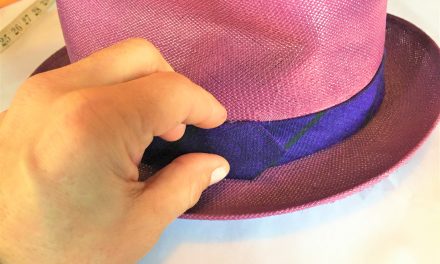
Rubber bands: If you have rubber bands, place a bunch of them around the bottle, from top to bottom, leaving space between each band. Given the square and squatty shape of the smaller bottle, I was able to position the bands perpendicular to one another which resulted in a woven look when done—which I love!
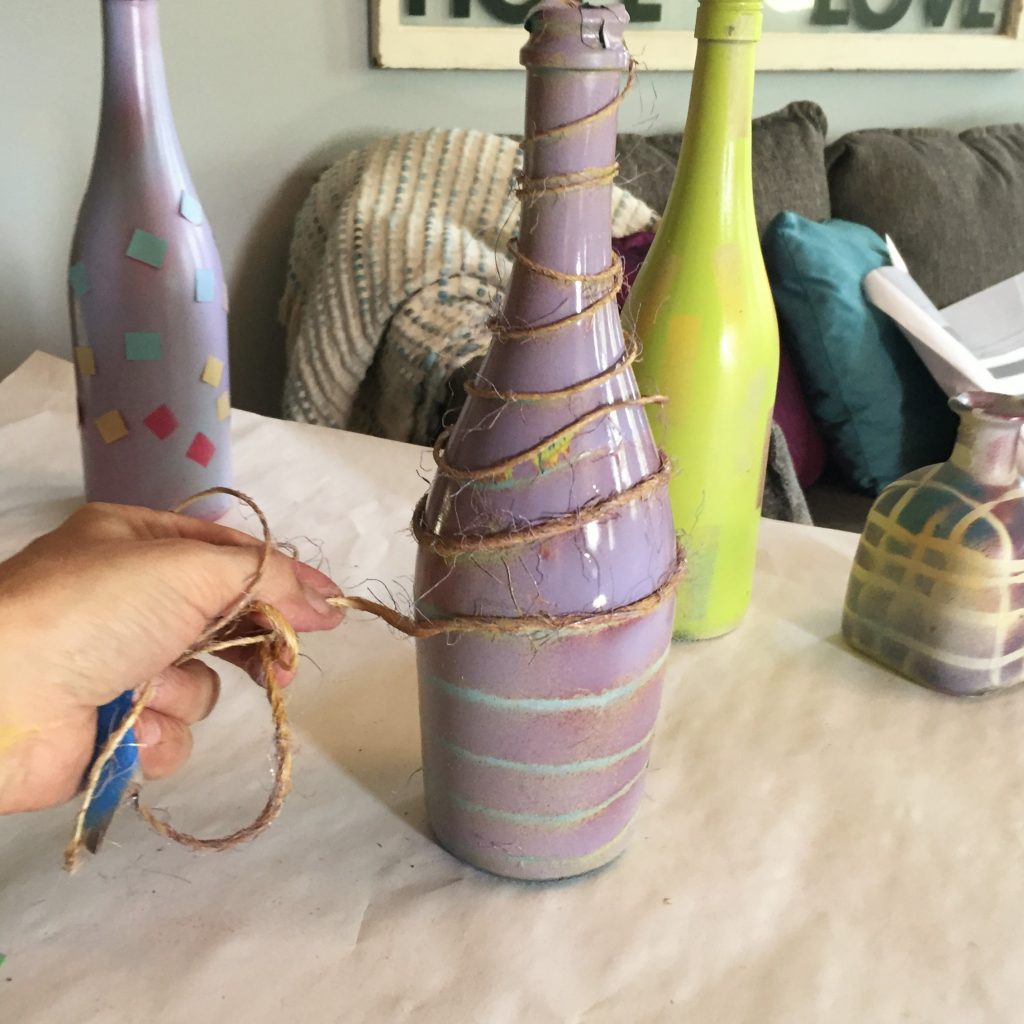
Twine: You could enlist twine, too, for this project. With a small piece of painter’s tape, secure one end of the twine on the top of your bottle. Holding the twine in one hand, twist and turn your bottle with the other so that it wraps about the bottle, getting lower and lower each time. With another piece of painter’s tape, secure the twine under the bottle then cut the twine. You may need to go back and slightly reposition the twine so that it doesn’t overlap on itself.
Post-it notes: These small sticky pieces of paper were used two ways with two different results. Option A: Place the sticky edge of the post-it on the bottle facing up and so that the un-sticky portion hangs down with the bottom edge sort of floating away from the bottle. Option B: Cut off the sticky part and add it to the bottle so it all edges are stuck to the bottle.
What else do you have at your fingertips that you could use for this step?
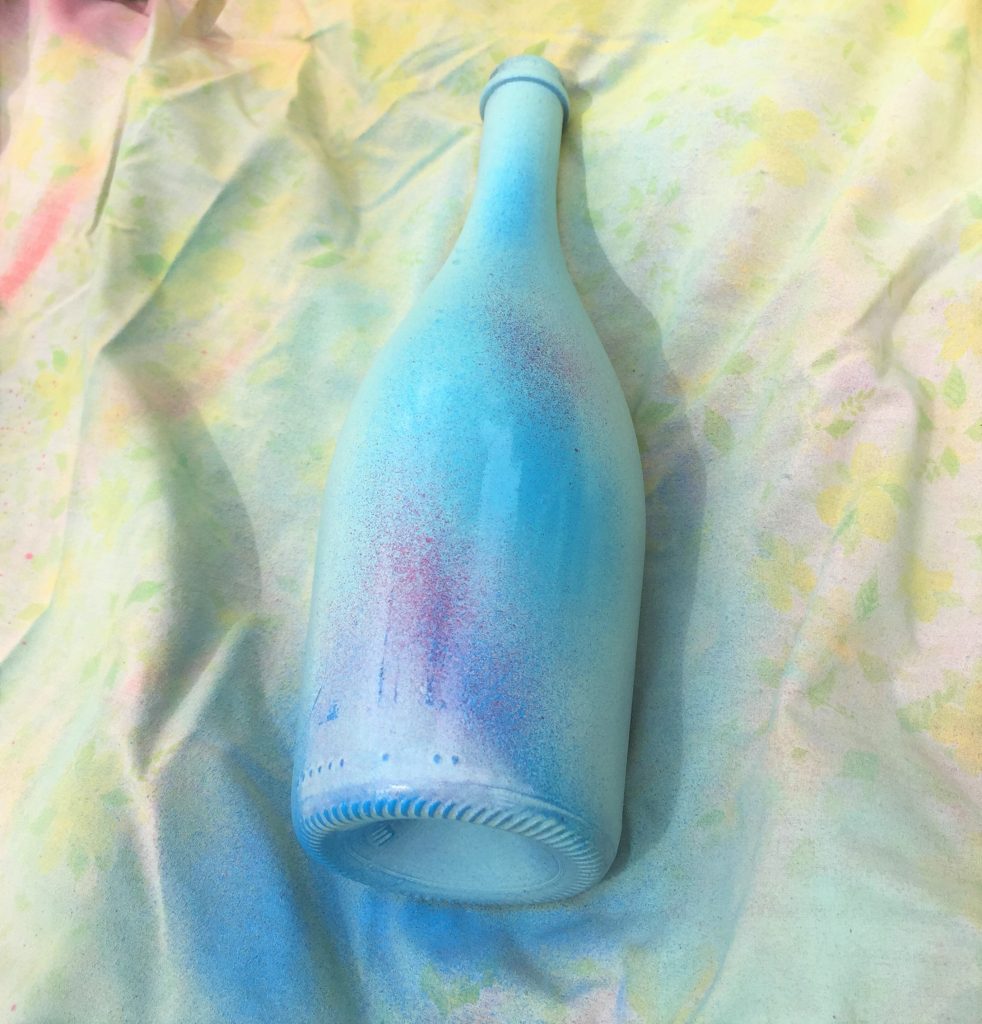
Step 4: Spritz on second layer(s)
Return your bottles back outside and on the drop cloth. Spray on a new layer on the bottle and on top of the rubber bands/twine/post-its. Again, consider using several different second layer colors on each bottle if you have them. For additional artistic flair, consider lightly spraying—almost “spritzing” on two colors. Don’t worry about the various layers showing through as it will add to the beauty of the final look. Again, let dry and, while doing so, build community by checking on your neighbor to see if he or she needs anything.
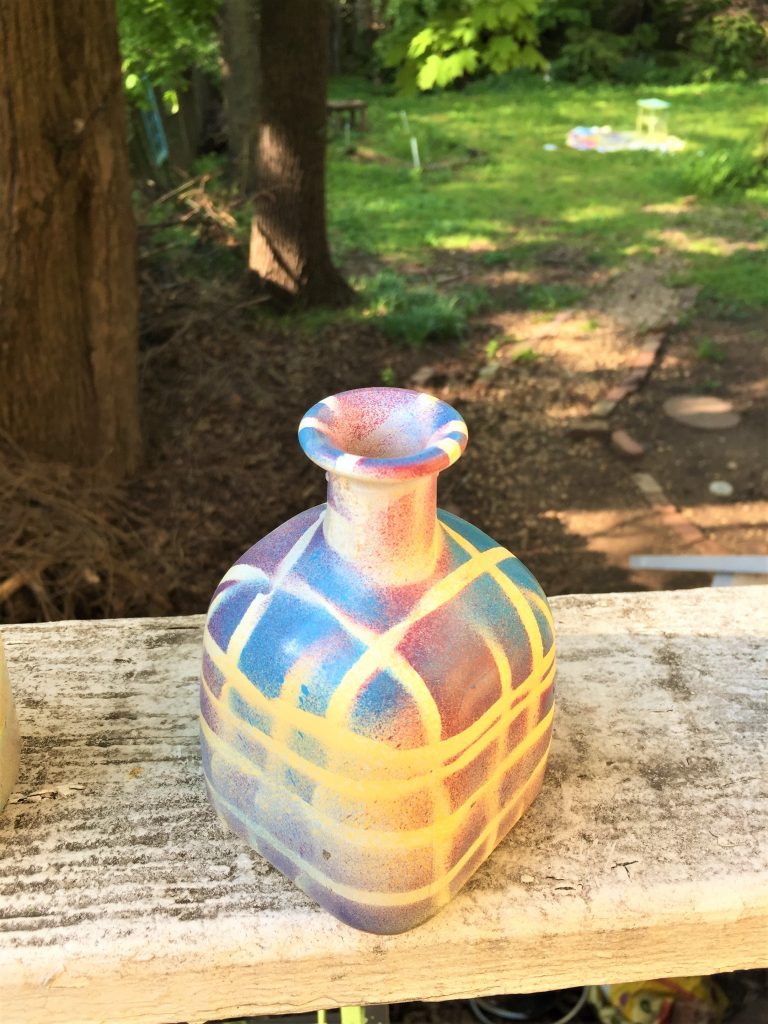
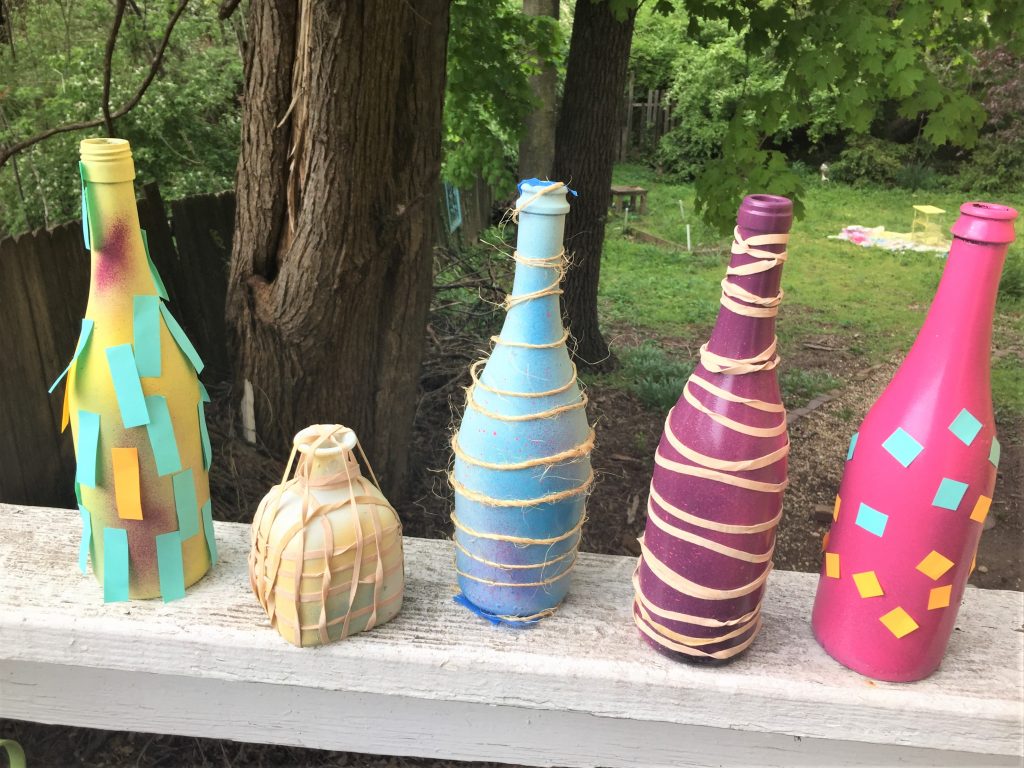
Step 5: Remove to unveil
When dried, gently remove the rubber bands/twine/post-it notes to reveal the first layer of color underneath. This is such a fun and exciting step as you will when you see the colors show through and how they make the bottles looks so creative and colorful!
Step 6: Add flowers
- Pour in fresh water.
- Clip some greenery from your bushes or add small branches with leaves from a tree.
- Then add flower, which are like the jewel of this project. If you are lucky like me, you have some in your yard or have very nice neighbors who will share some with you.
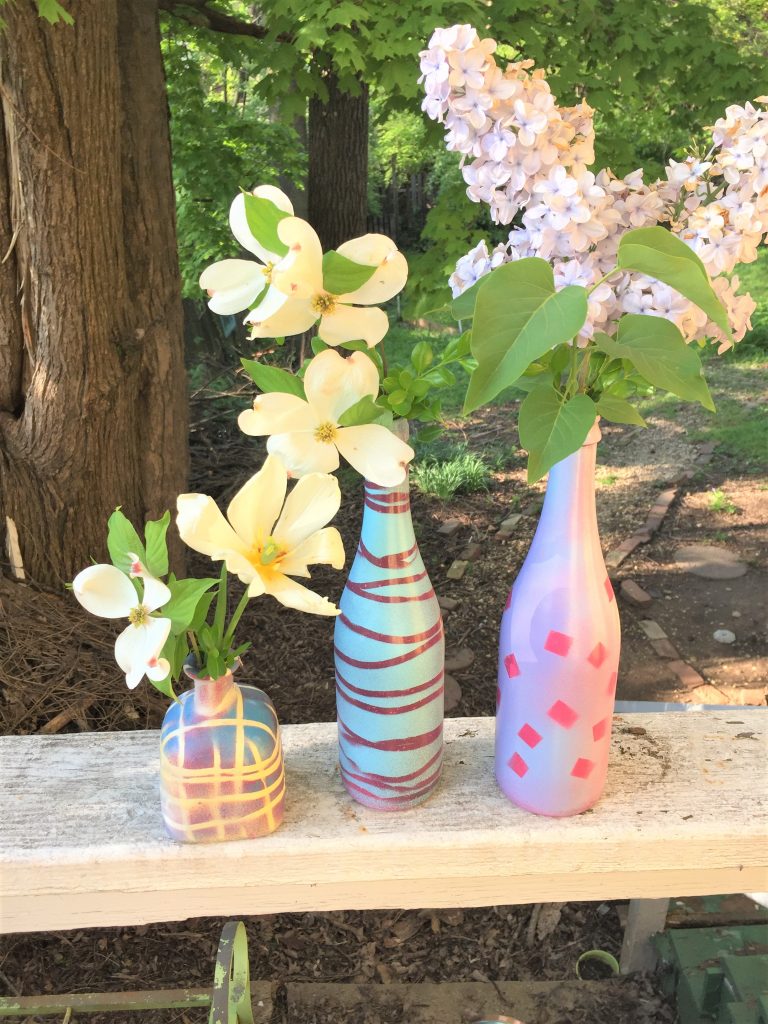
Step 7: Display or give away
Your old bottles transformed into fresh vases are perfect to fill with flowers and displayed in a place that you will see them often.
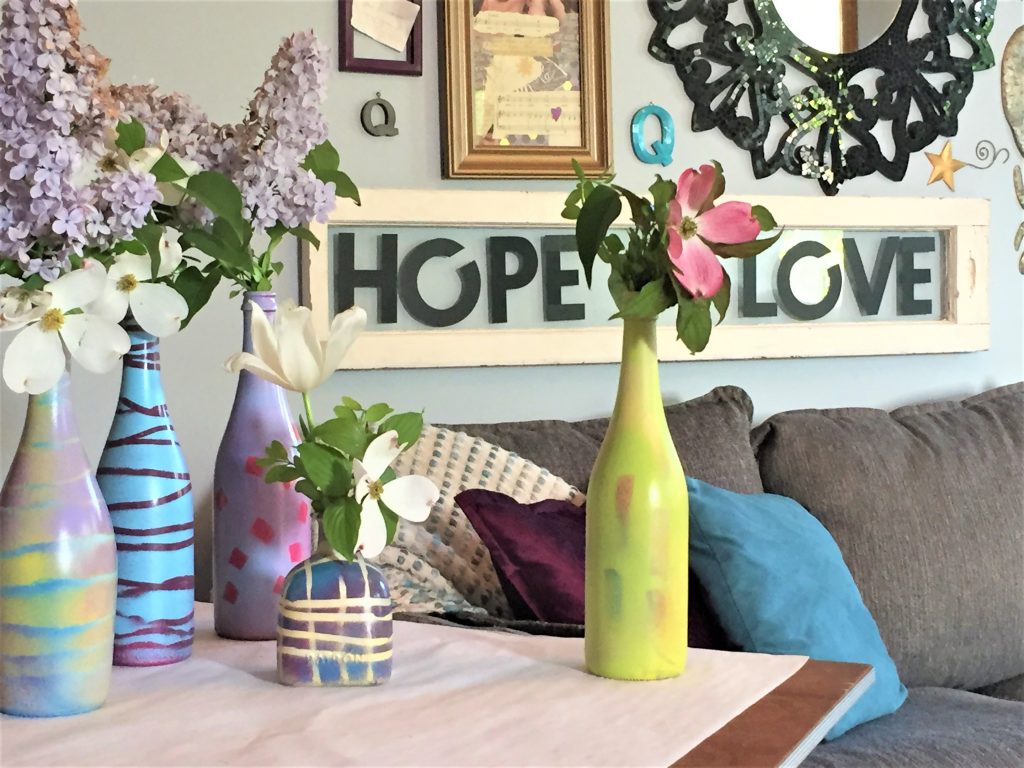
And with Mother’s Day around the corner, these make ideal gifts to give to Mom. Or make someone’s day by sharing with a friend who will smile with your thoughtfulness and ingenuity by taking things you had on-hand and transforming them into something beautiful. You, too, will say, “I am finding the good in every situation!”
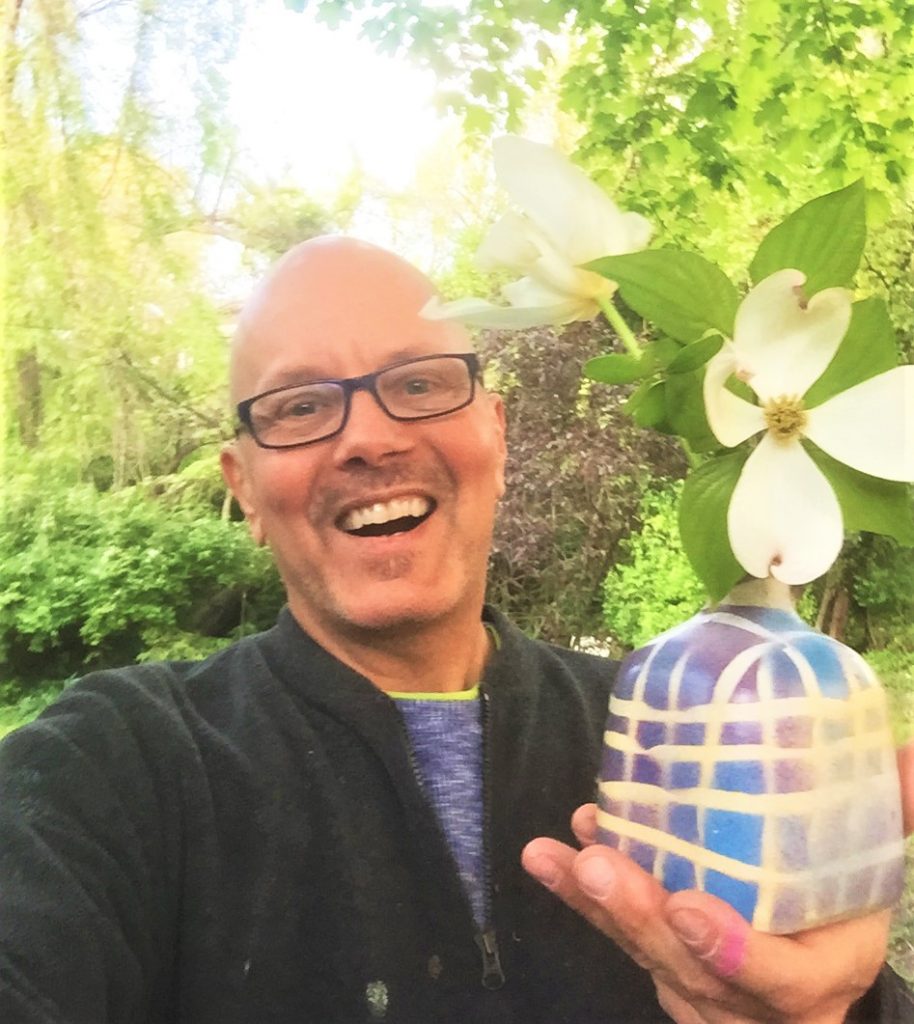

Tim Kime
Artist, Motivational Speaker, Life Coach
