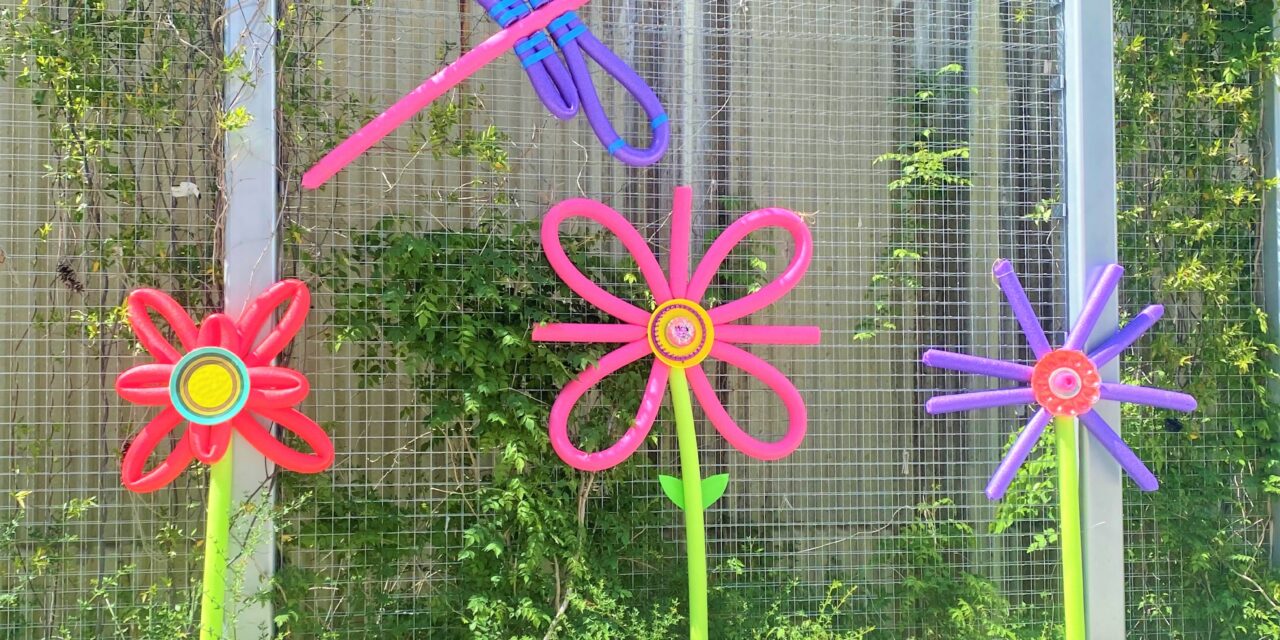
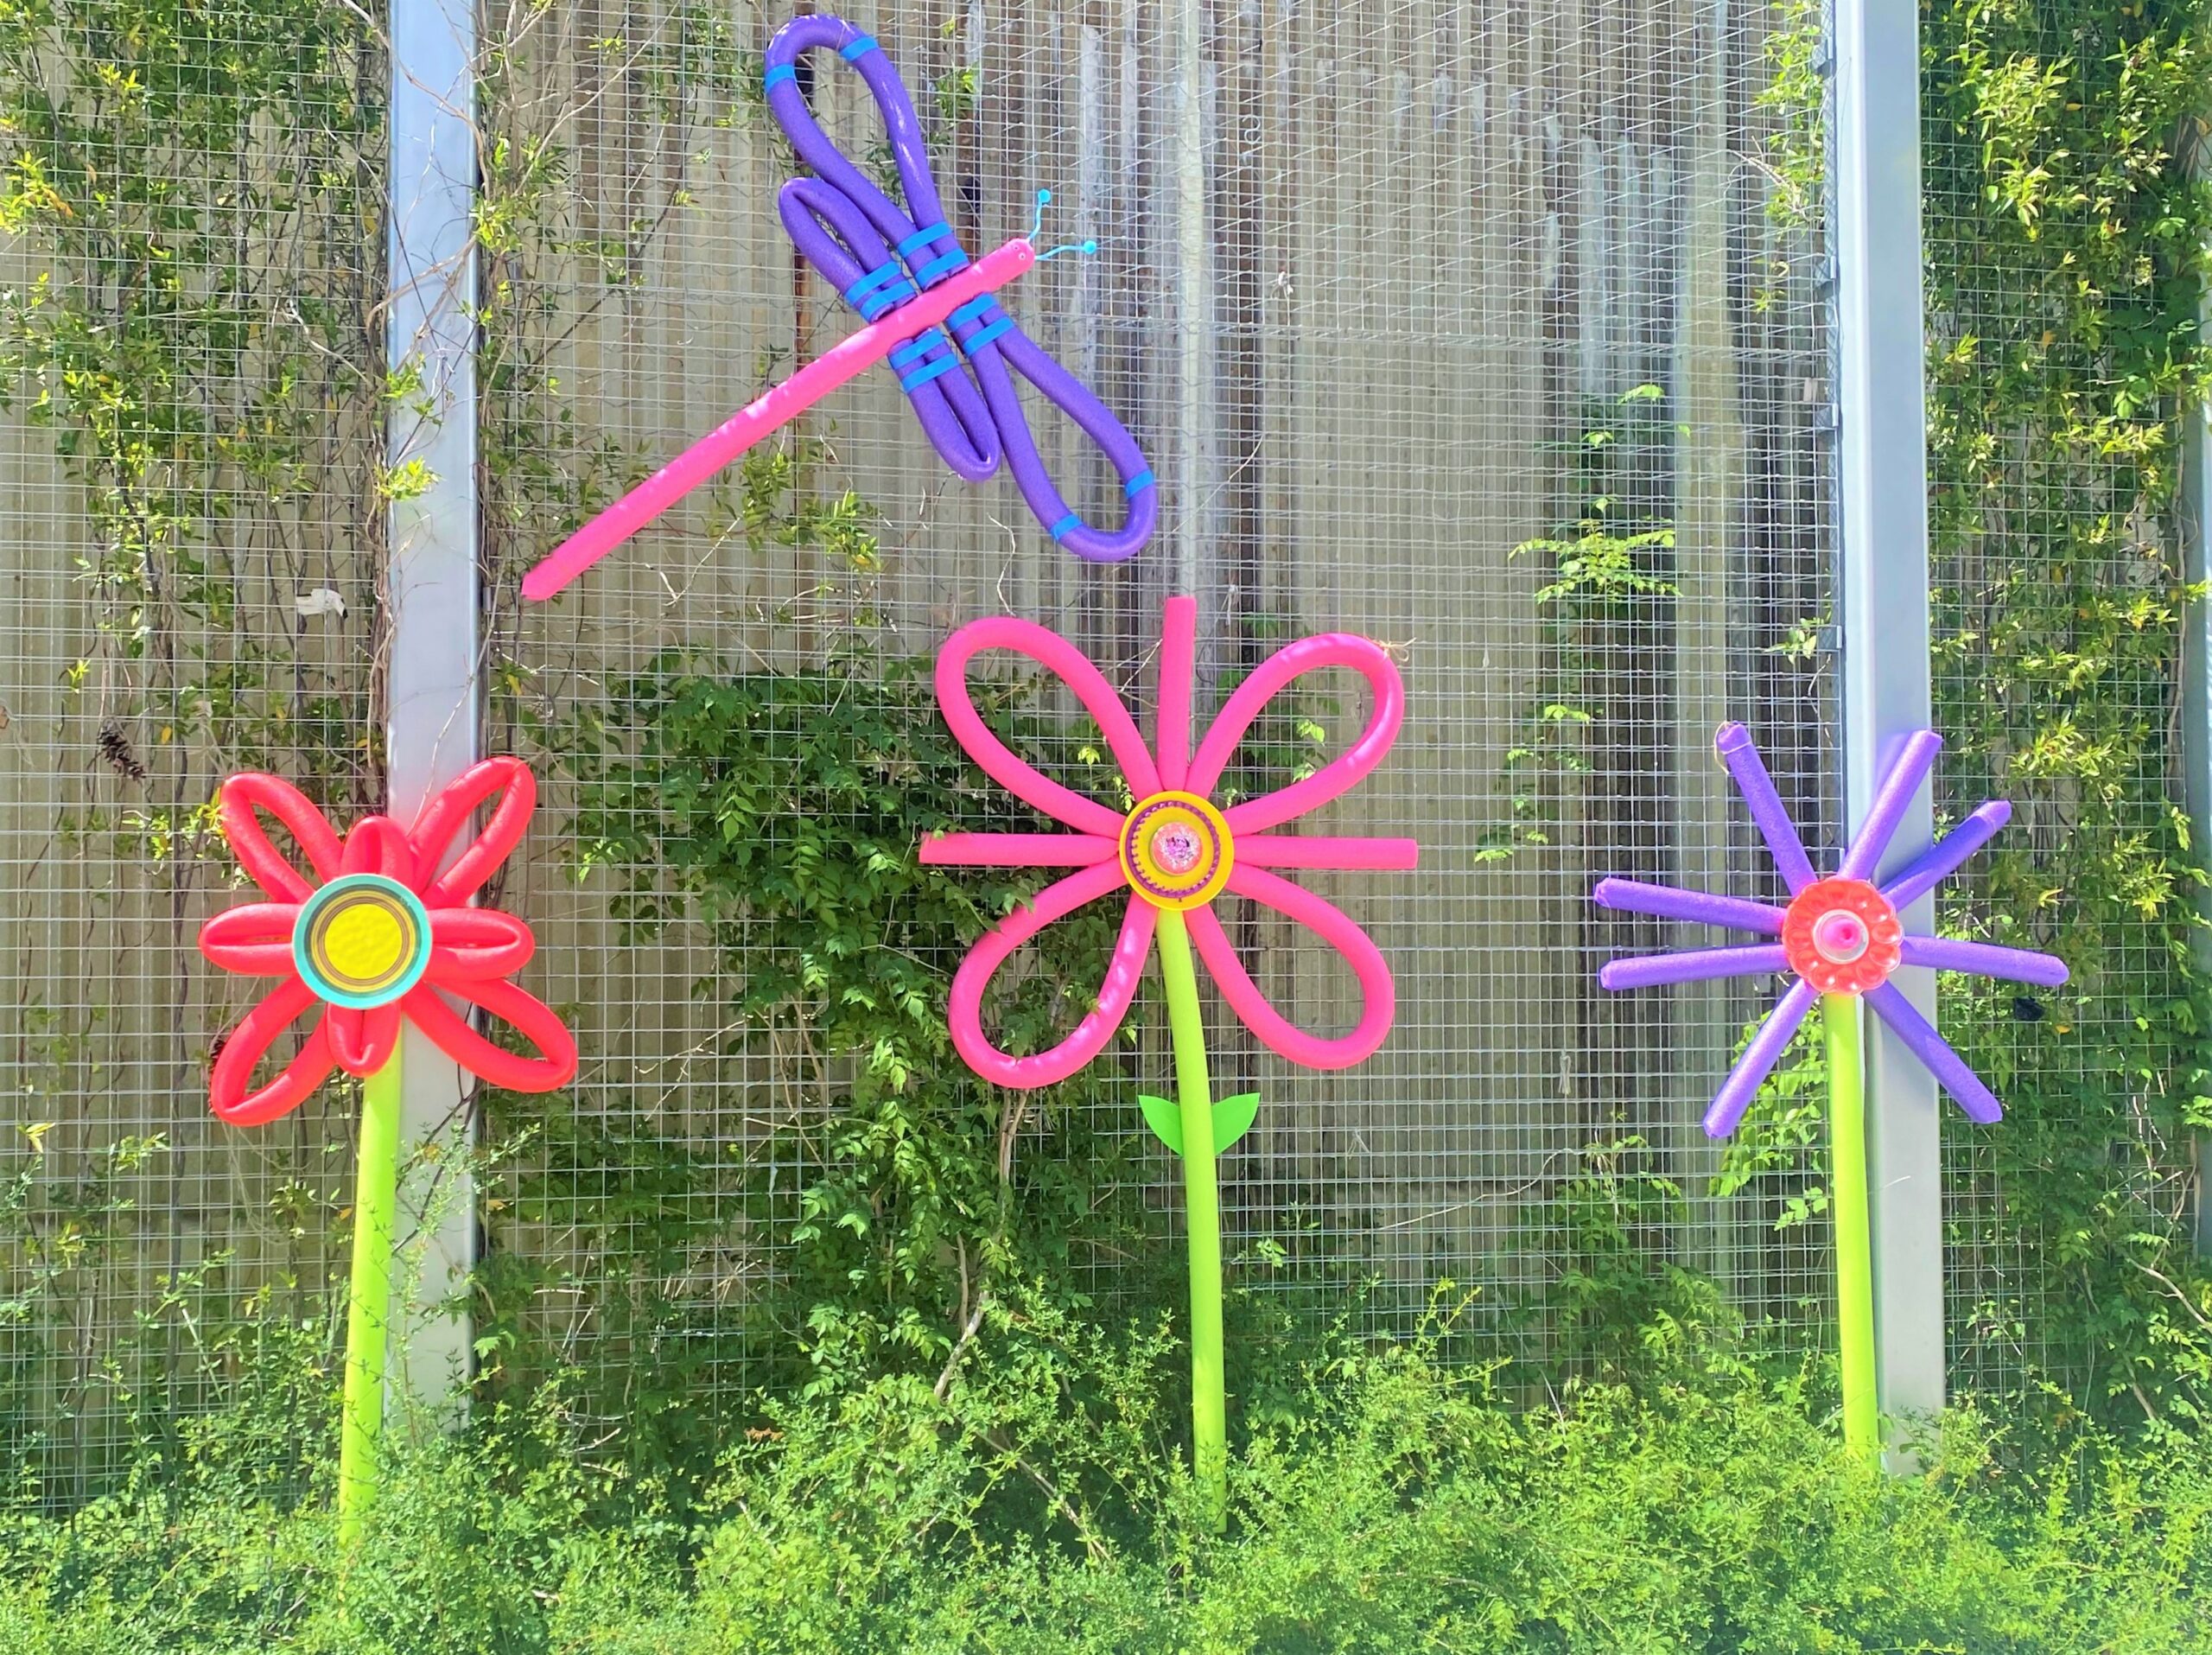
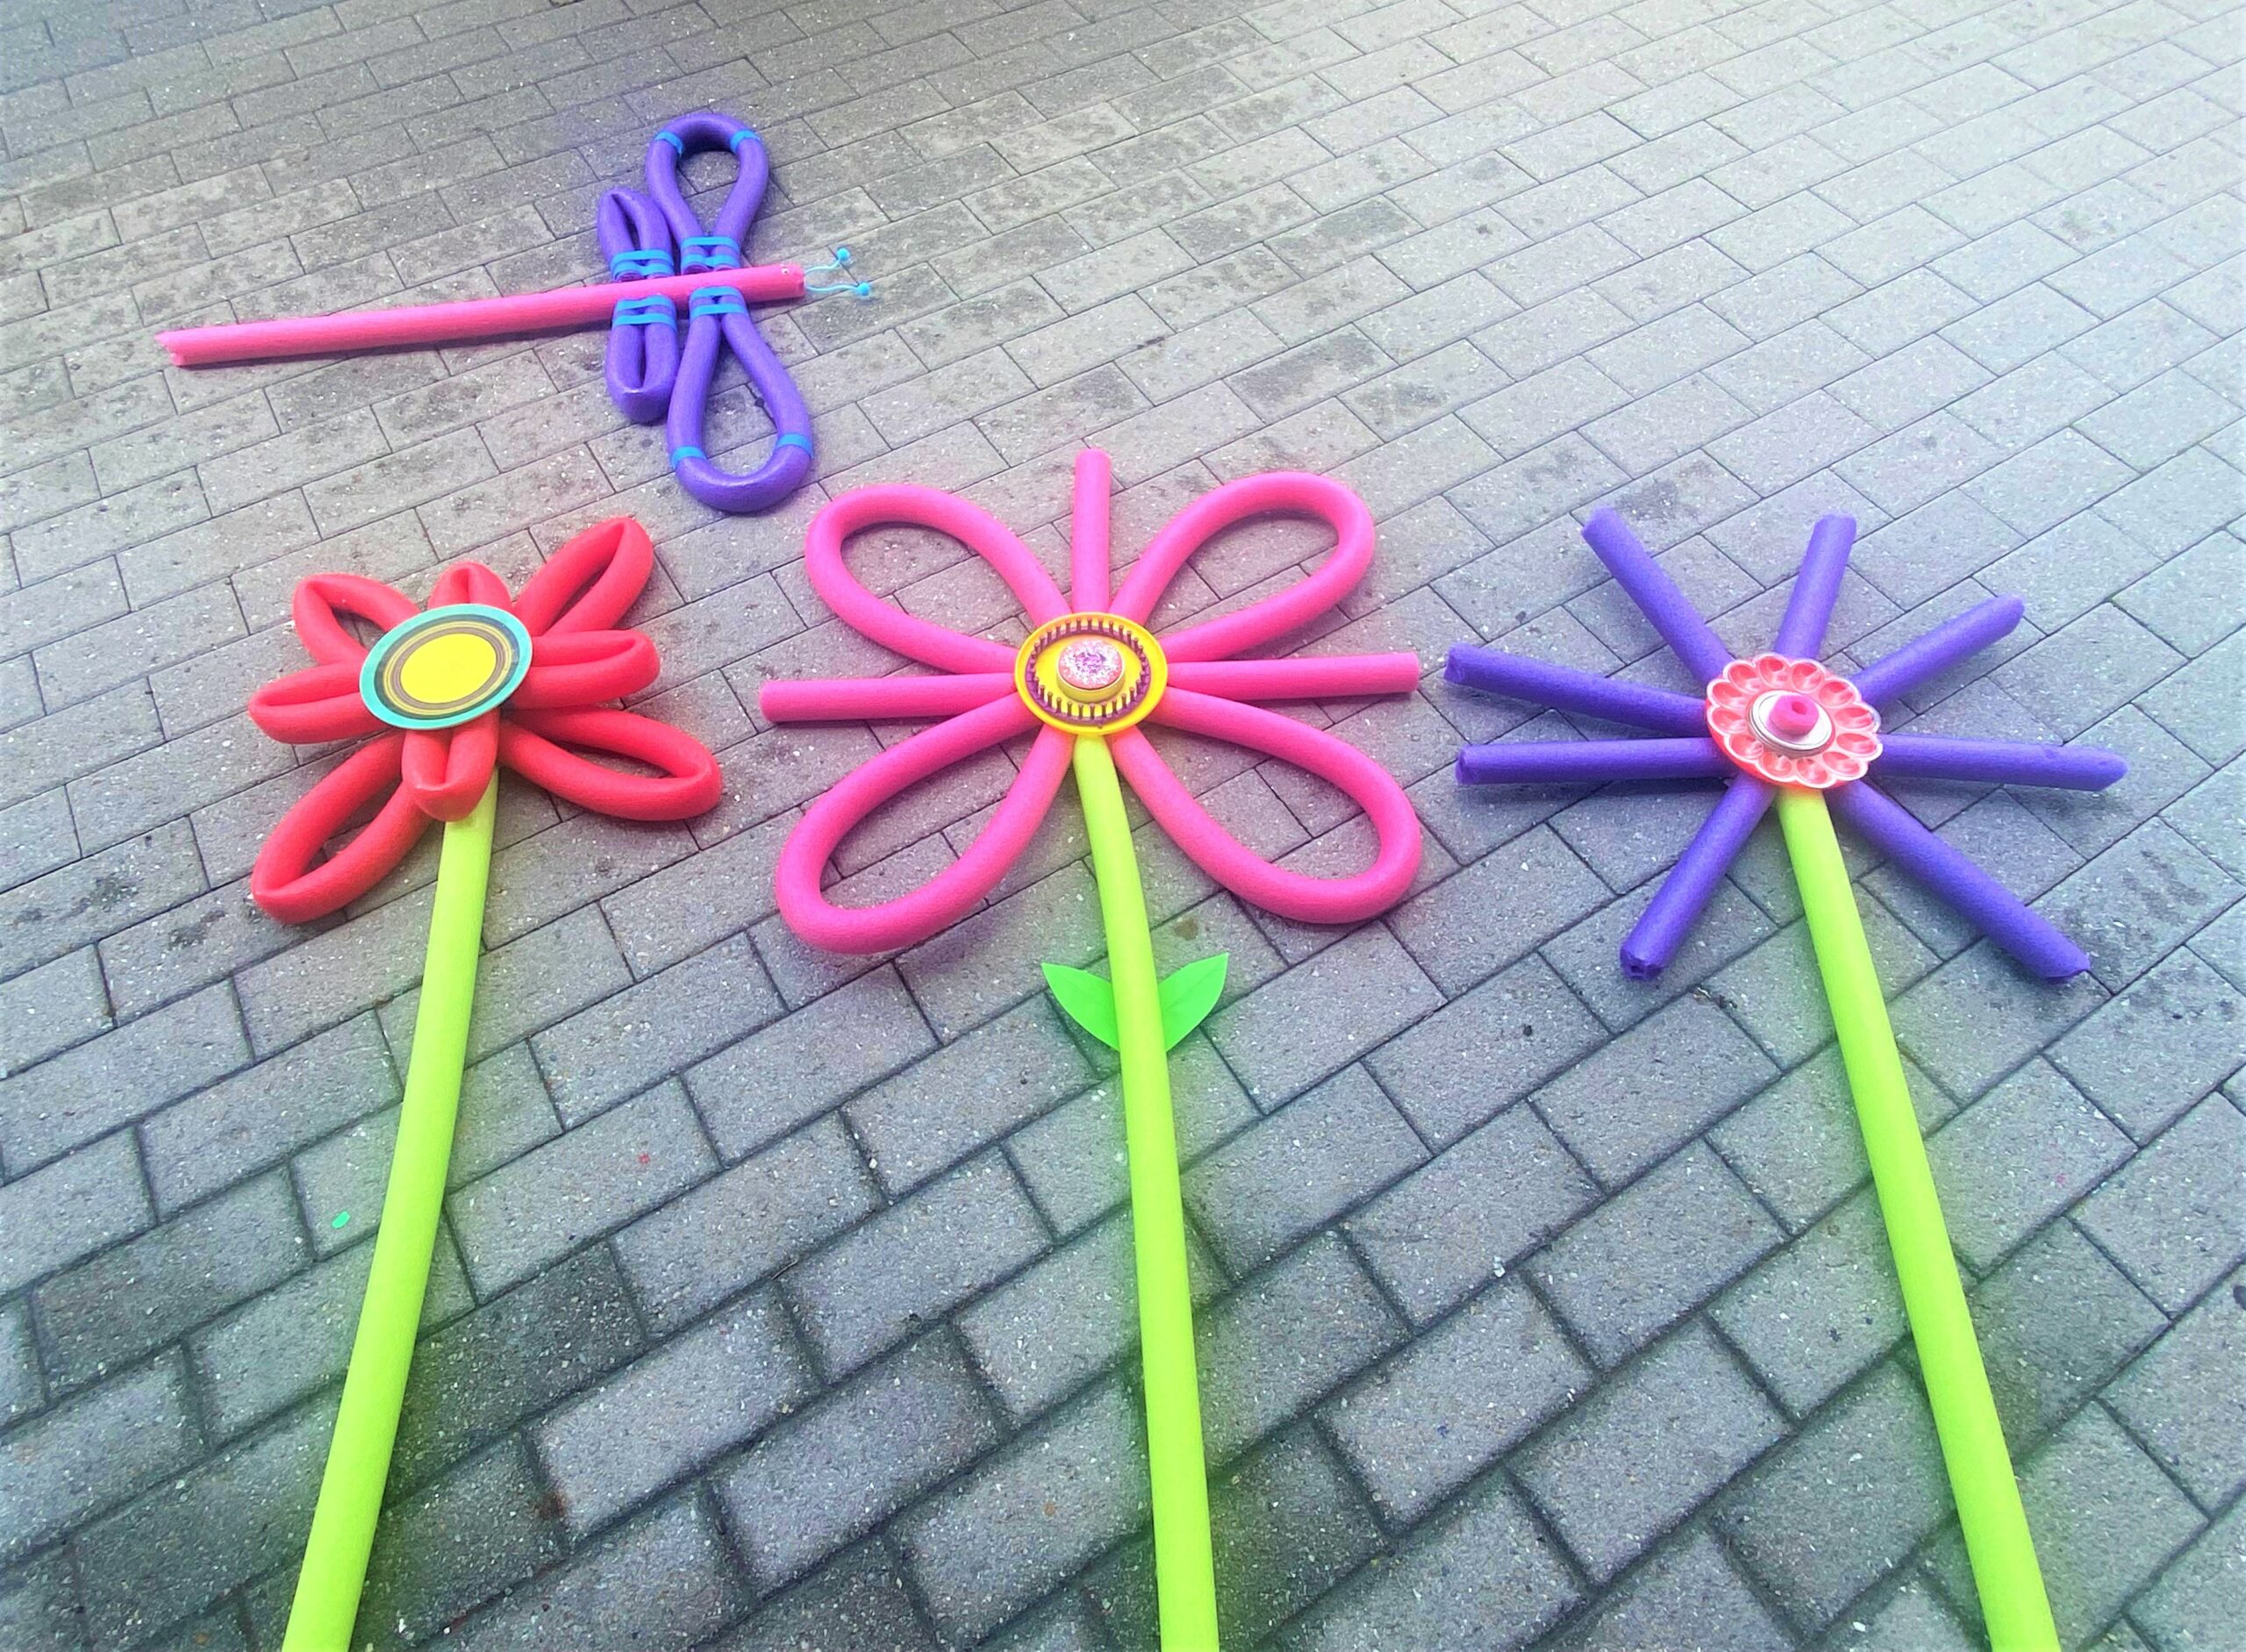
Here’s a DIY project to ponder and noodle on for a moment: transform those foam floaties into fun flowers for your next family function or neighborhood gathering! You won’t need to think about it too long before you start because they are so easy to create and add a pop of color to any space—indoors or out!
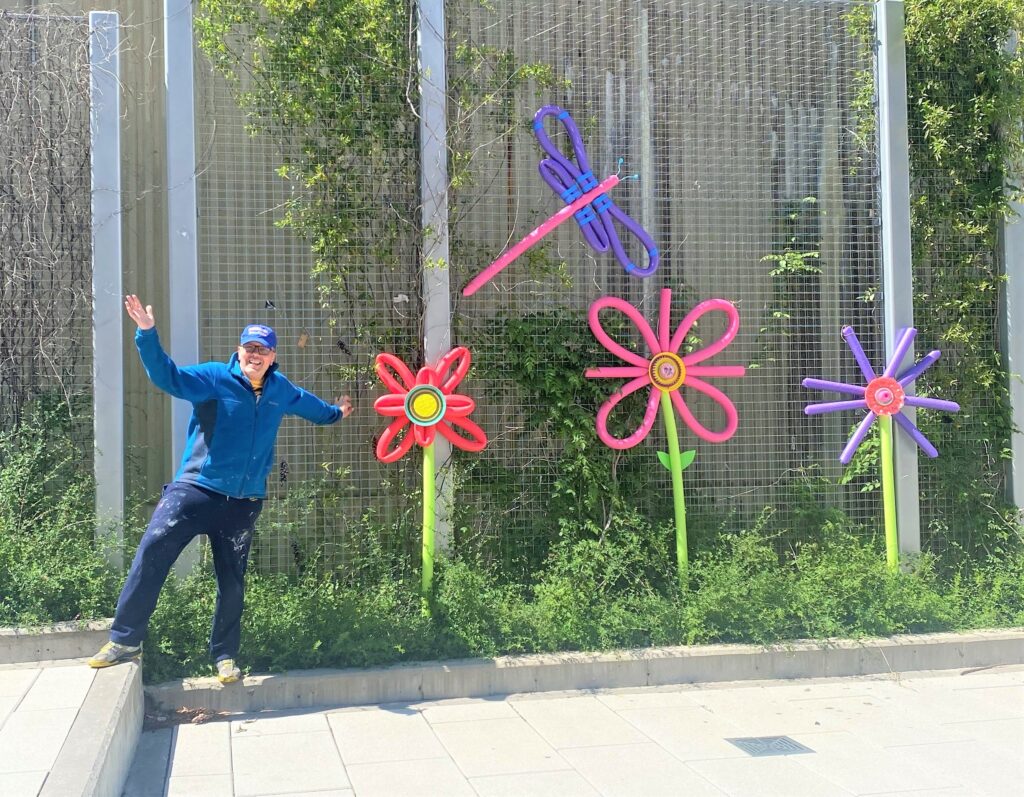
For next to nothing, you can make these larger-than-life flowers—and dragonfly—which are embellished with items picked up at Goodwill.
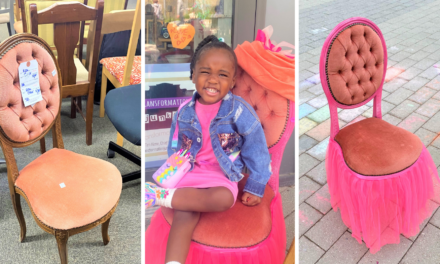
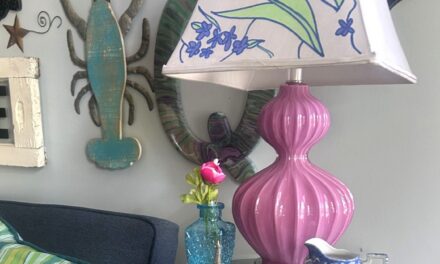
As long as the ideas are blooming, be sure to check out this blog by fellow Finding Your Good blogger Courtney Mickalonis, who upcycled thrift store finds into totally charming flowers, too!
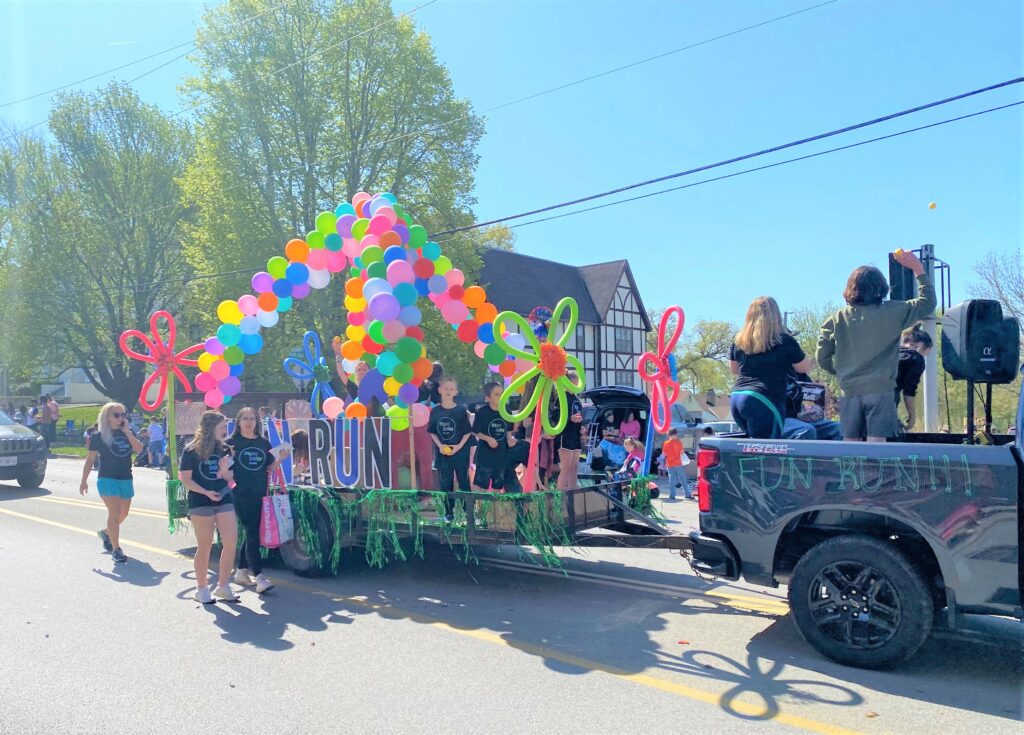
This project was inspired by a recent trip to St. Joseph, MO with my parents to see my sister Tammy, We attended their annual community parade which had a float with flowers like the ones featured here. Thanks St. Joe’s–and Tammy–for the great idea!
Supplies Needed:
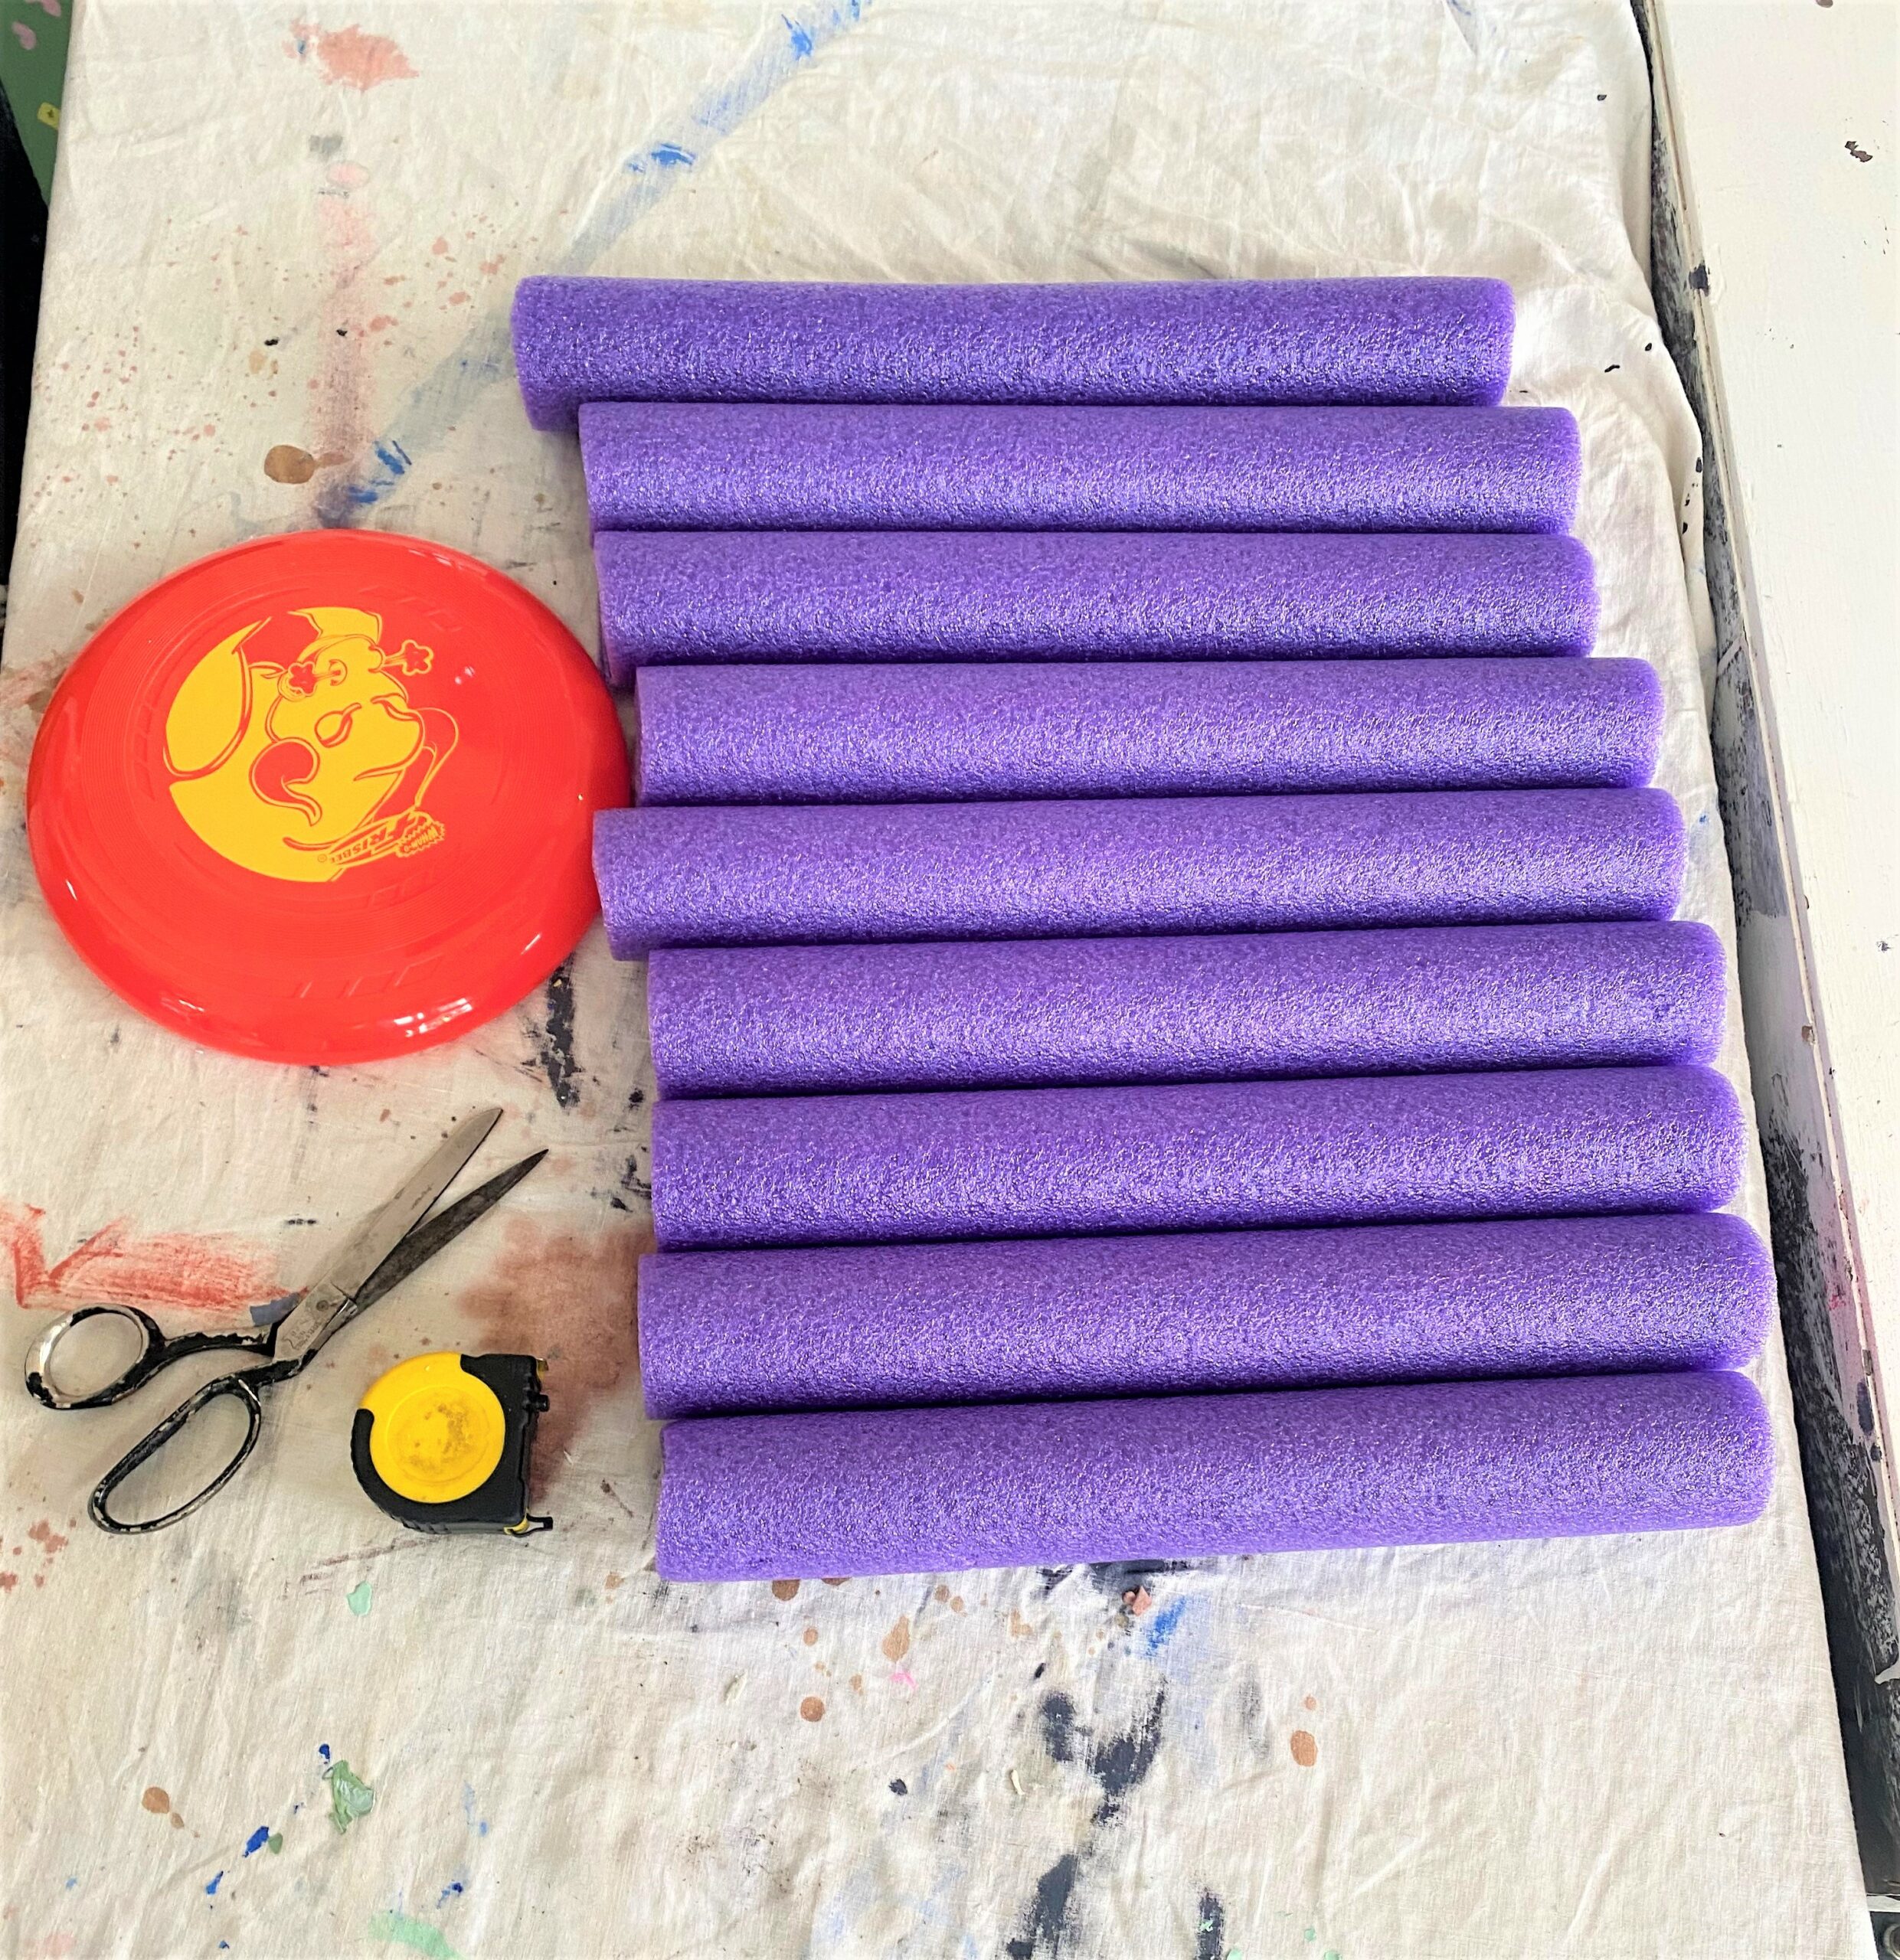
1. Colorful foam pool noodles (picked up at the dollar store)
2. Thrift store items like frisbees, plastic plates, round knitting tool, jar lids and more
3. Pipe cleaner, plastic “googly” eyes
4. Scissors
5. Glue gun & lots of glue sticks
6. Painter’s tape
7. Paper plates or cardboard
8. Tape measure
9. Twine, string or wire for hanging
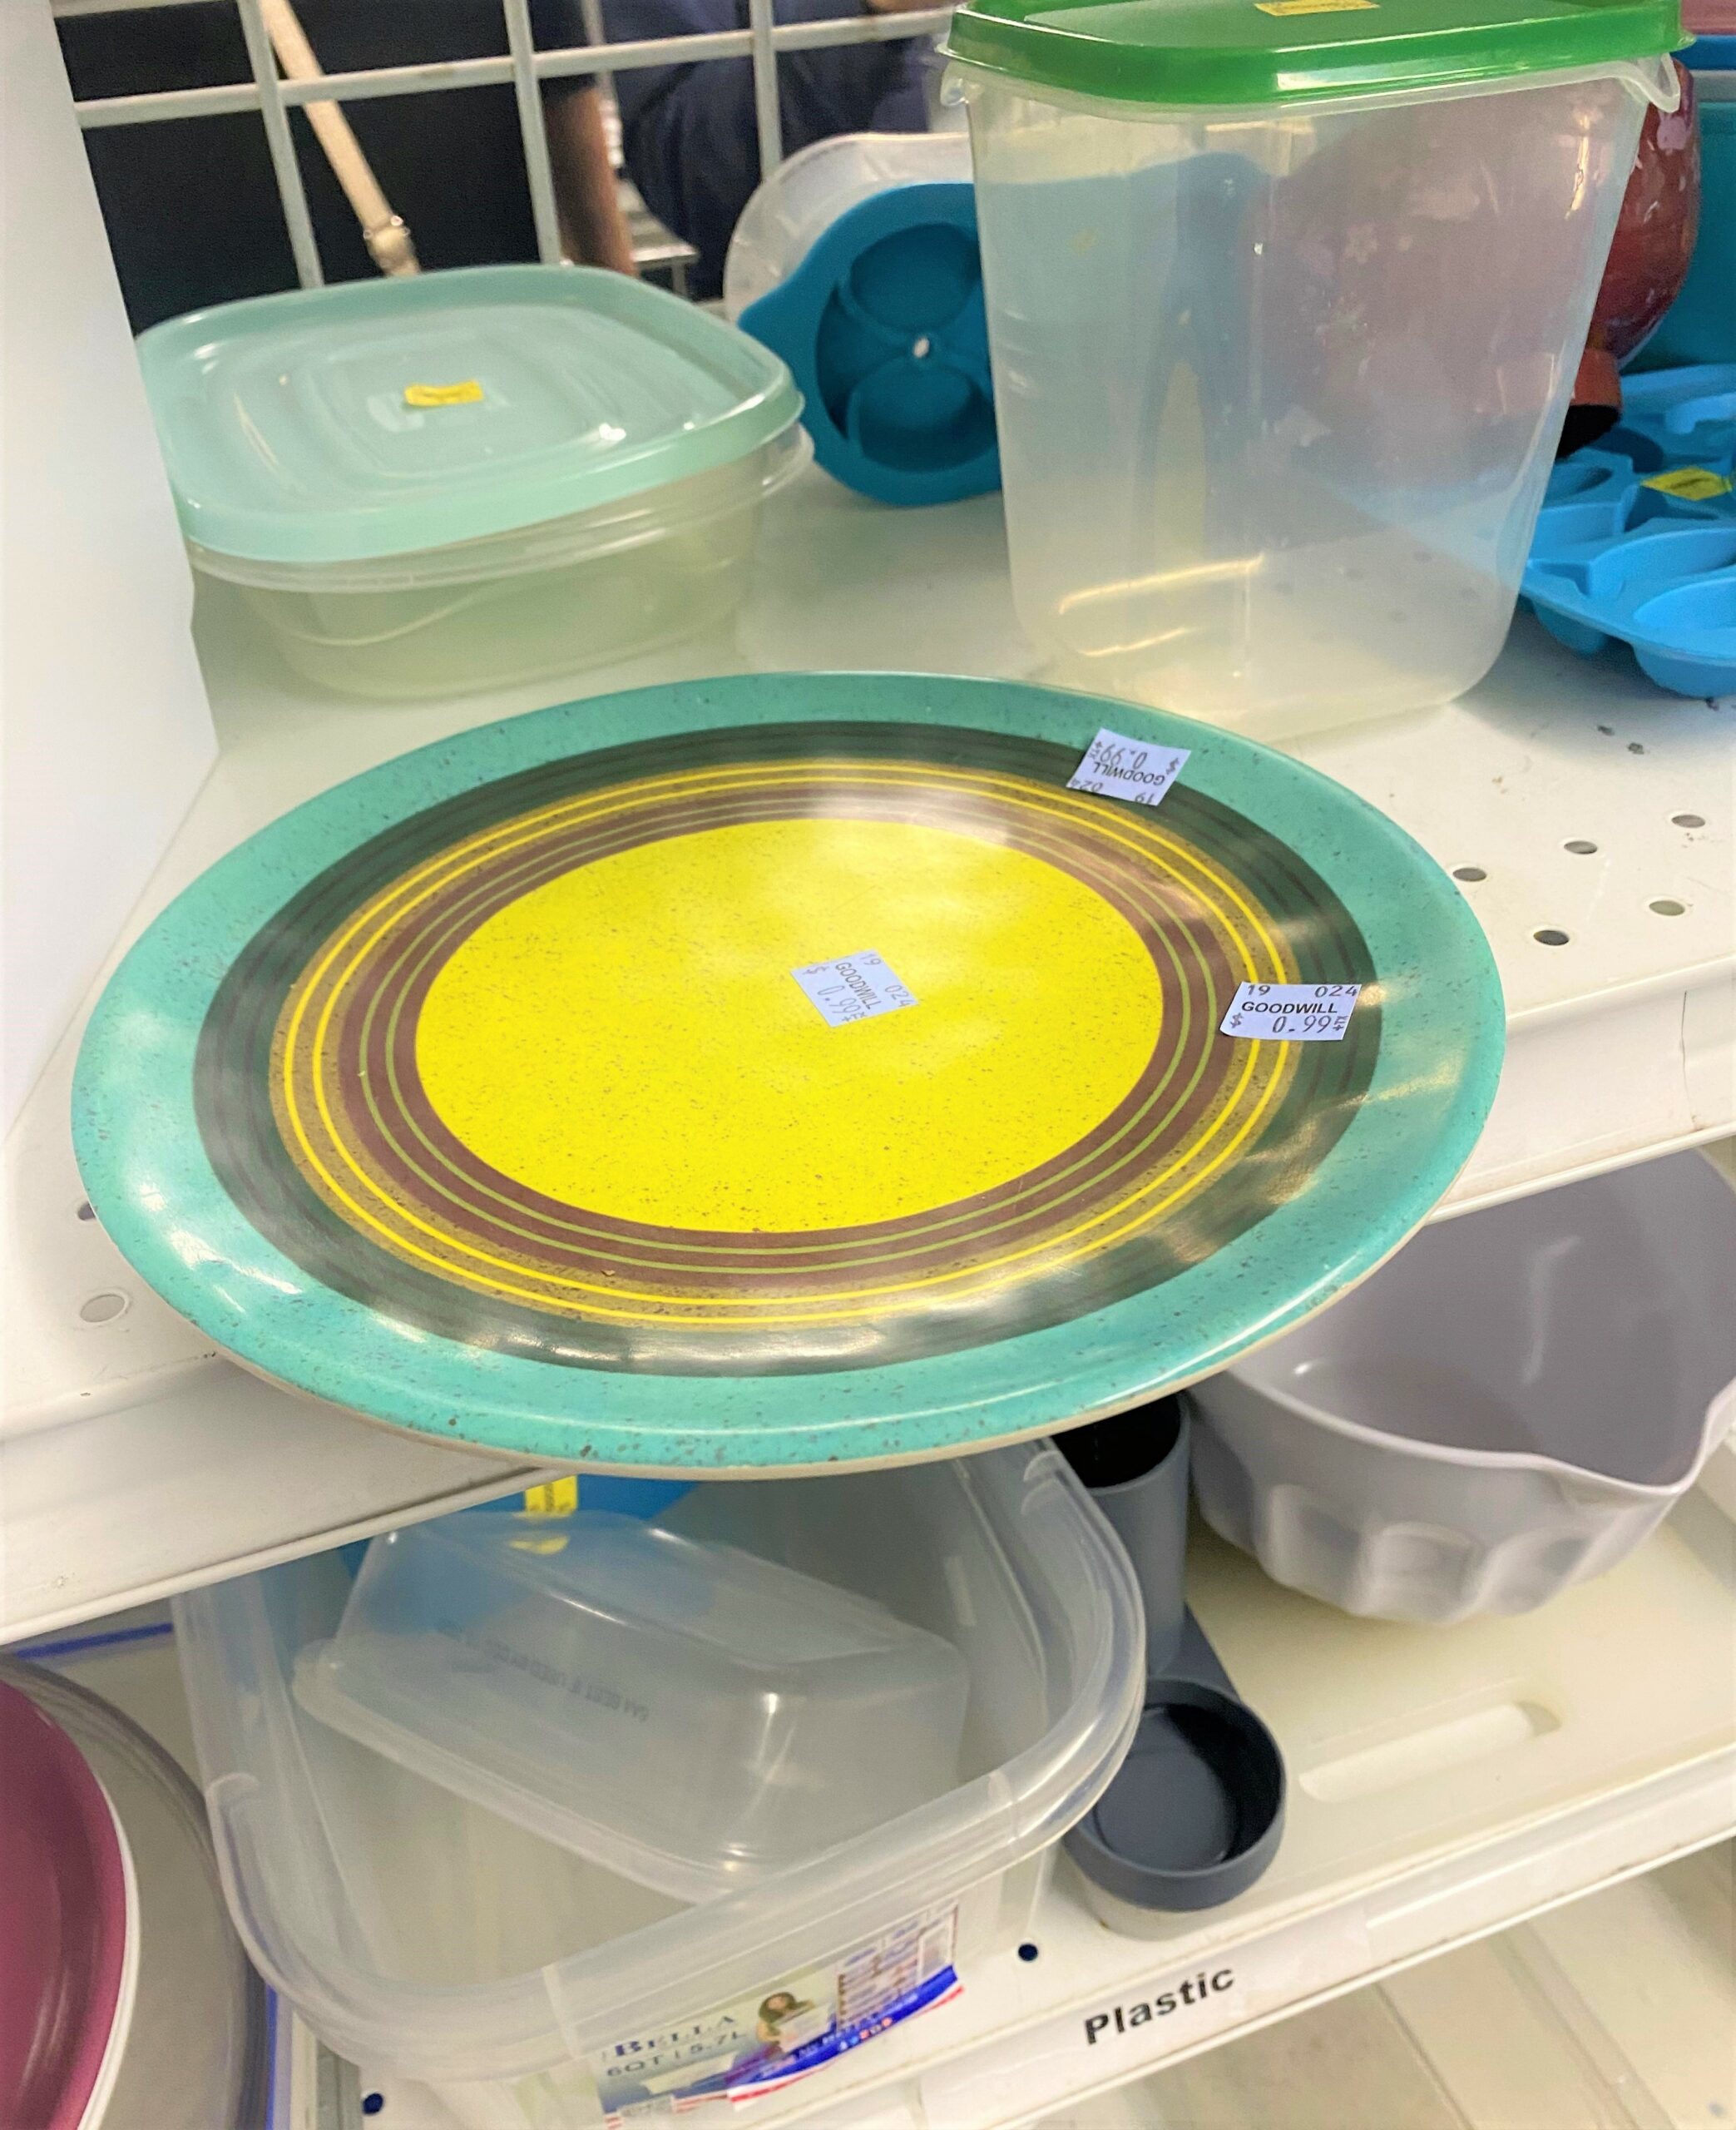
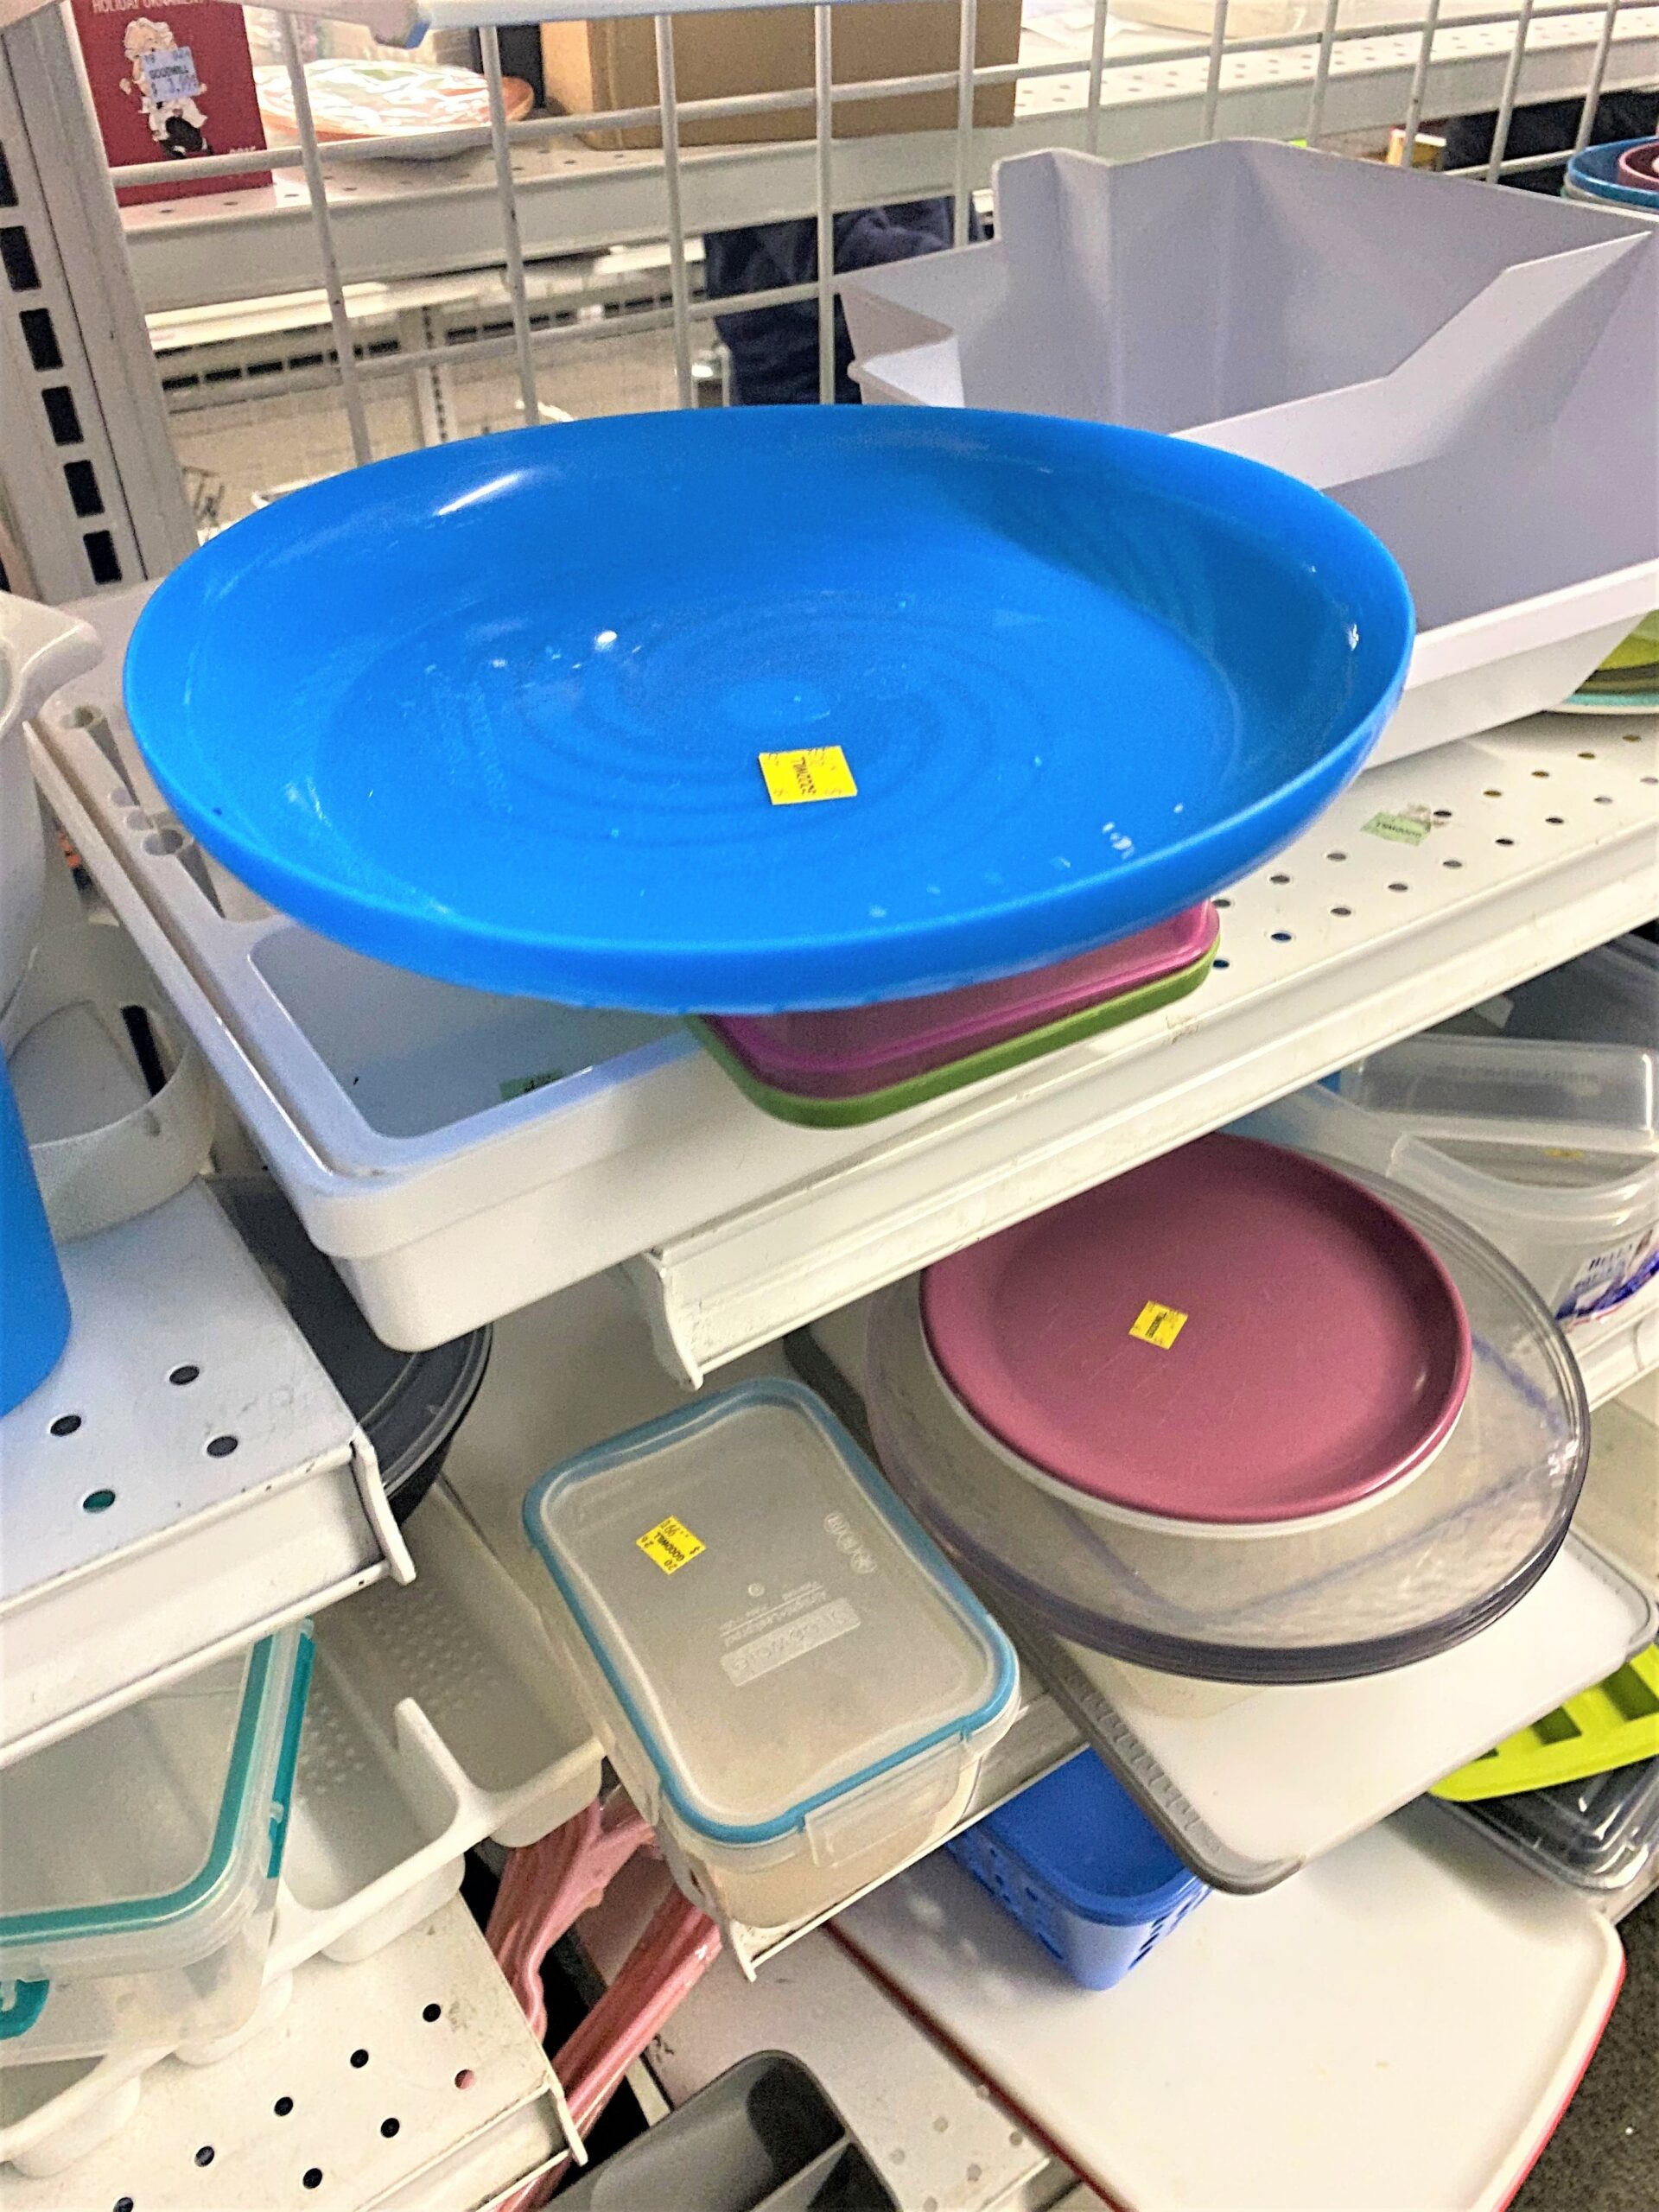
Go “Gardening” at Goodwill for Flower Accessories
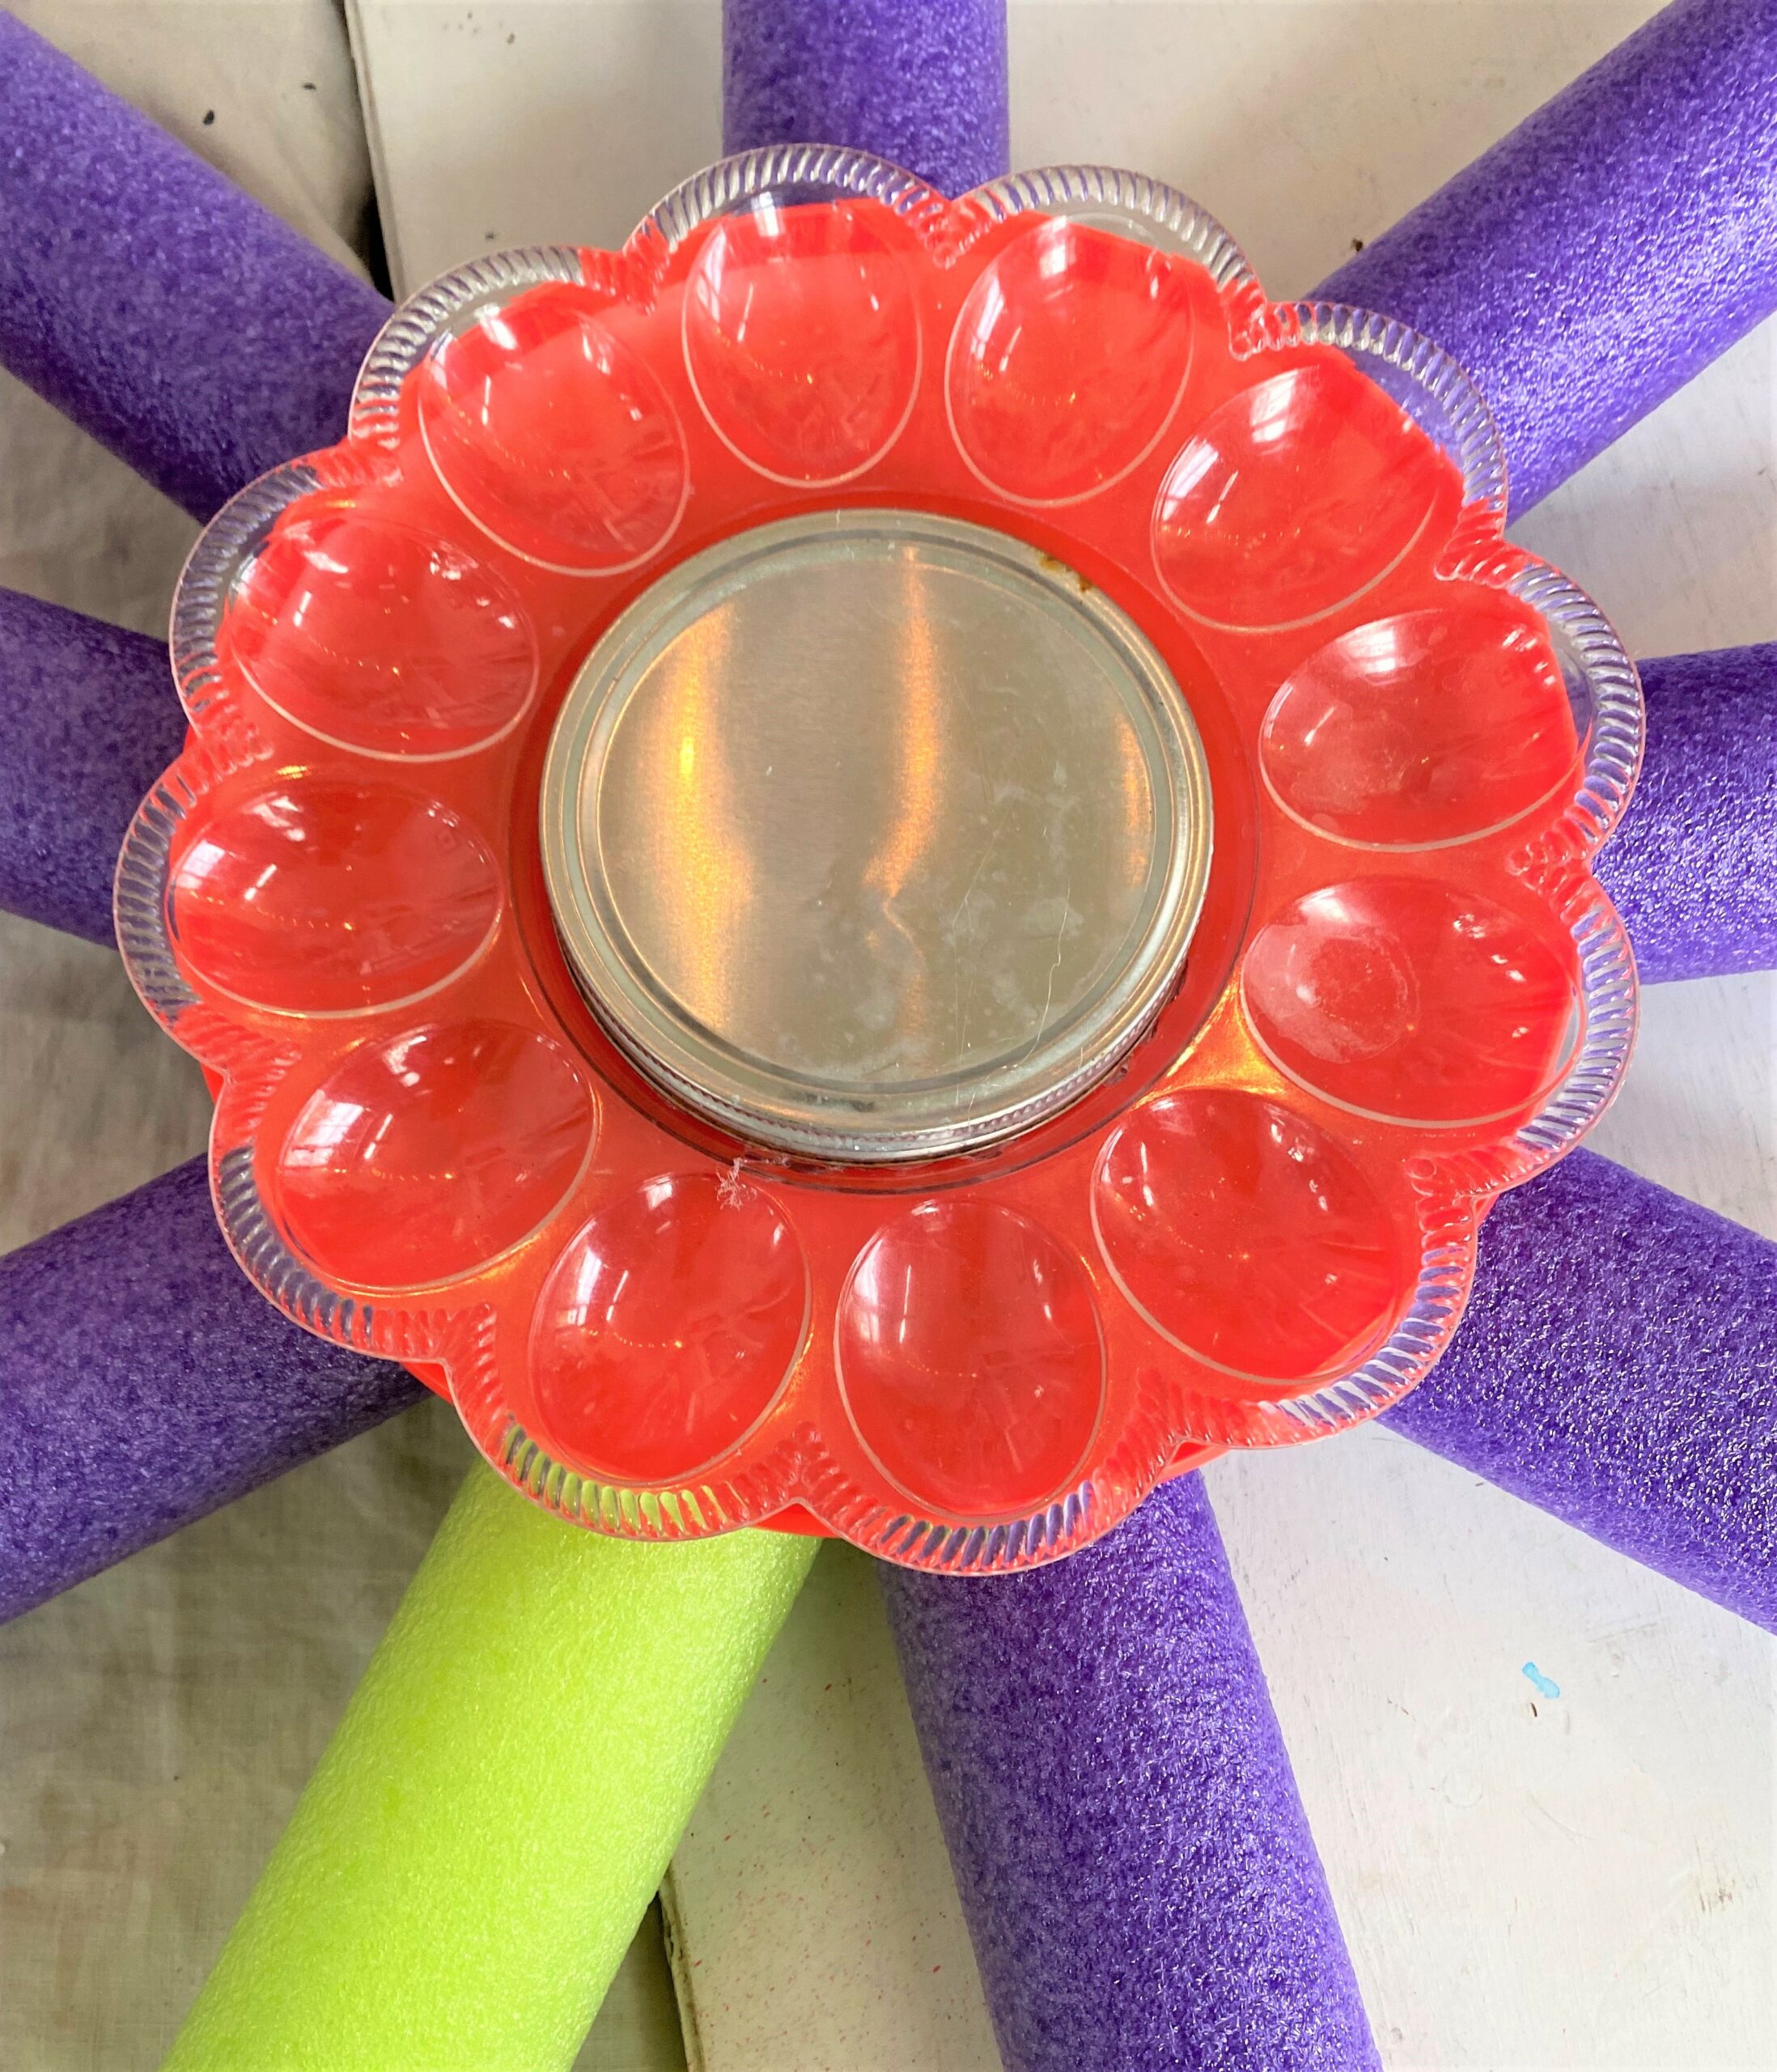
Your creativity will flourish when you shop at Goodwill and hunt for items to be transformed or repurposed into your flowers’ centers. The best place to start is the Housewares section that has plastic items. Look for lightweight and colorful pieces which are round and flat. A deviled egg dish already looked very floral in design so that was a must have. Several frisbees, bright plates and a set of cork coasters were all ideal to reuse for this charming and eye-catching project.
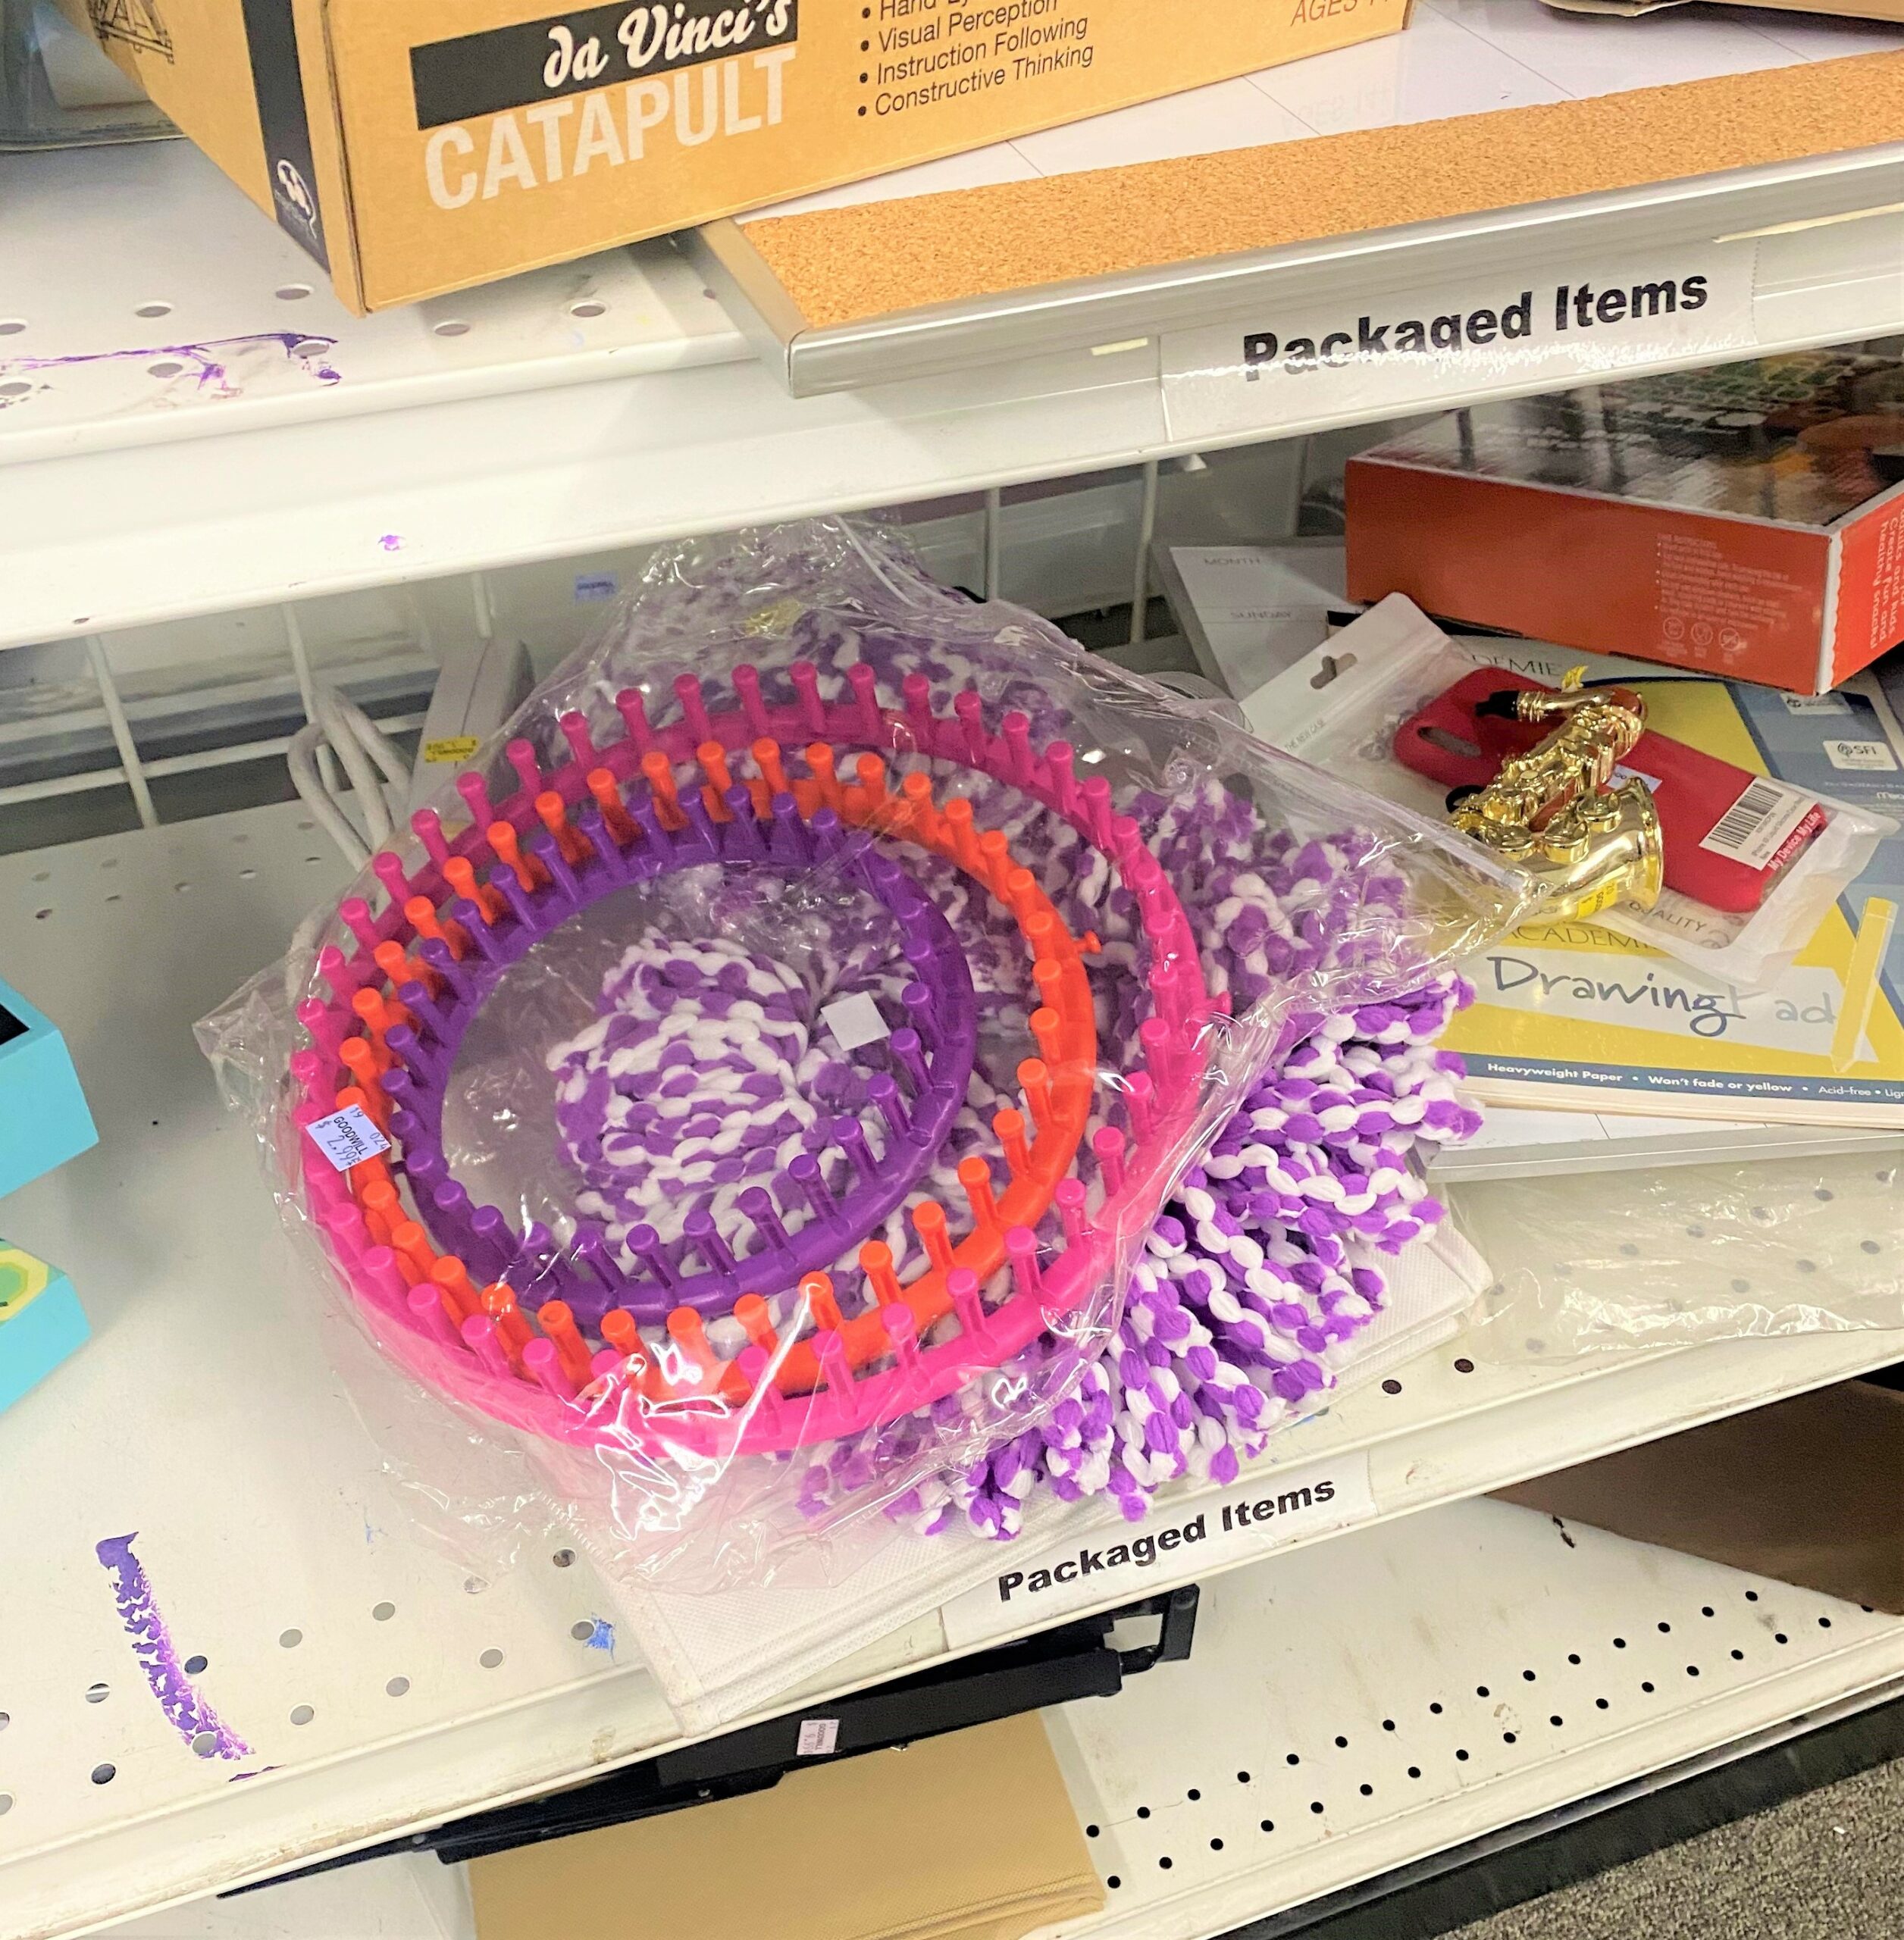
Also, while you are perusing Goodwill, stop by the section where office supplies and paper products are available for sale. You might find pipe cleaners, those plastic googly eyes (which kids love for arts and craft projects!) and other lightweight items to add to the final bouquet.
What have you seen at Goodwill which can be reused for this garden delight?
Flowers: Three Designs
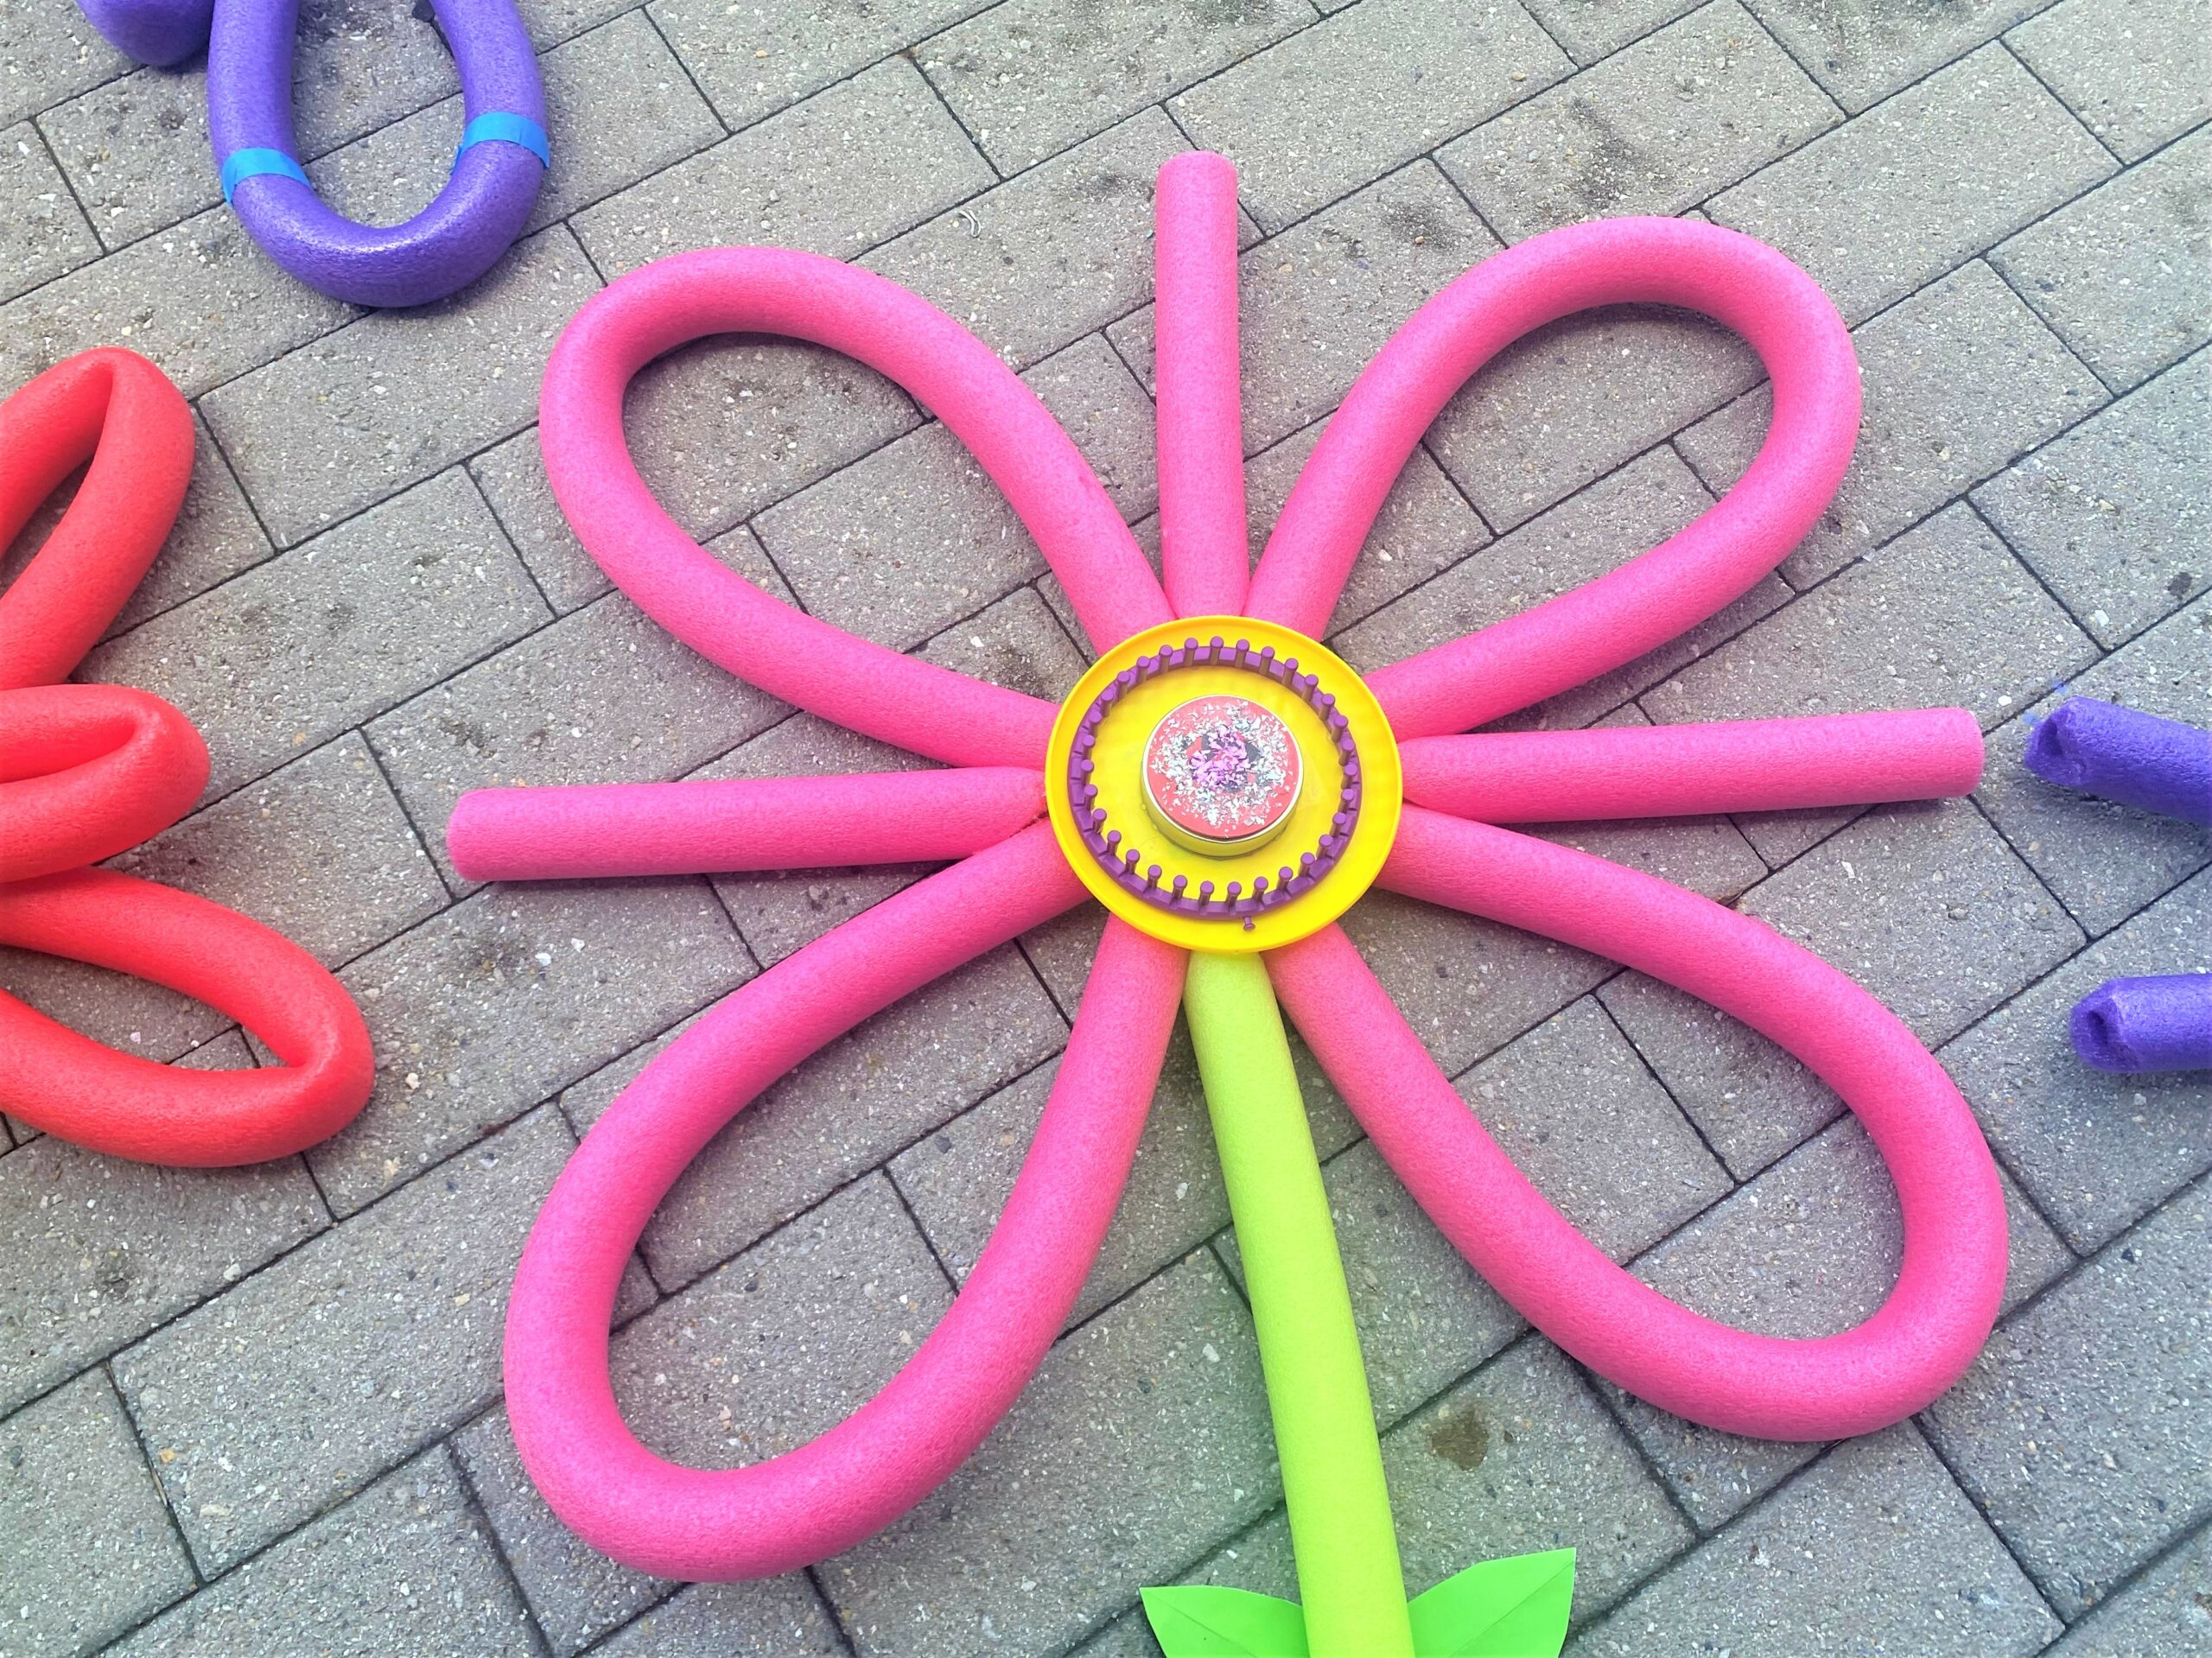
Pink Pansy
- On your work surface, place one of your round objects in the flower’s center. The one featured here started with a yellow frisbee.
- Place it right side up so that the curves face down and you have a flat surface on which to build your flower.
- Take one of your pink noodles and bend it, so one end touches the other end making a loop. This will become its petal.
- With your hot glue gun, add glue to secure the two touching ends. Place this loop or petal with the ends on the frisbee and secure it in place with more hot glue.
- As always, be careful with the hot glue, especially if little hands are helping. Repeat this step four times to create four petals.
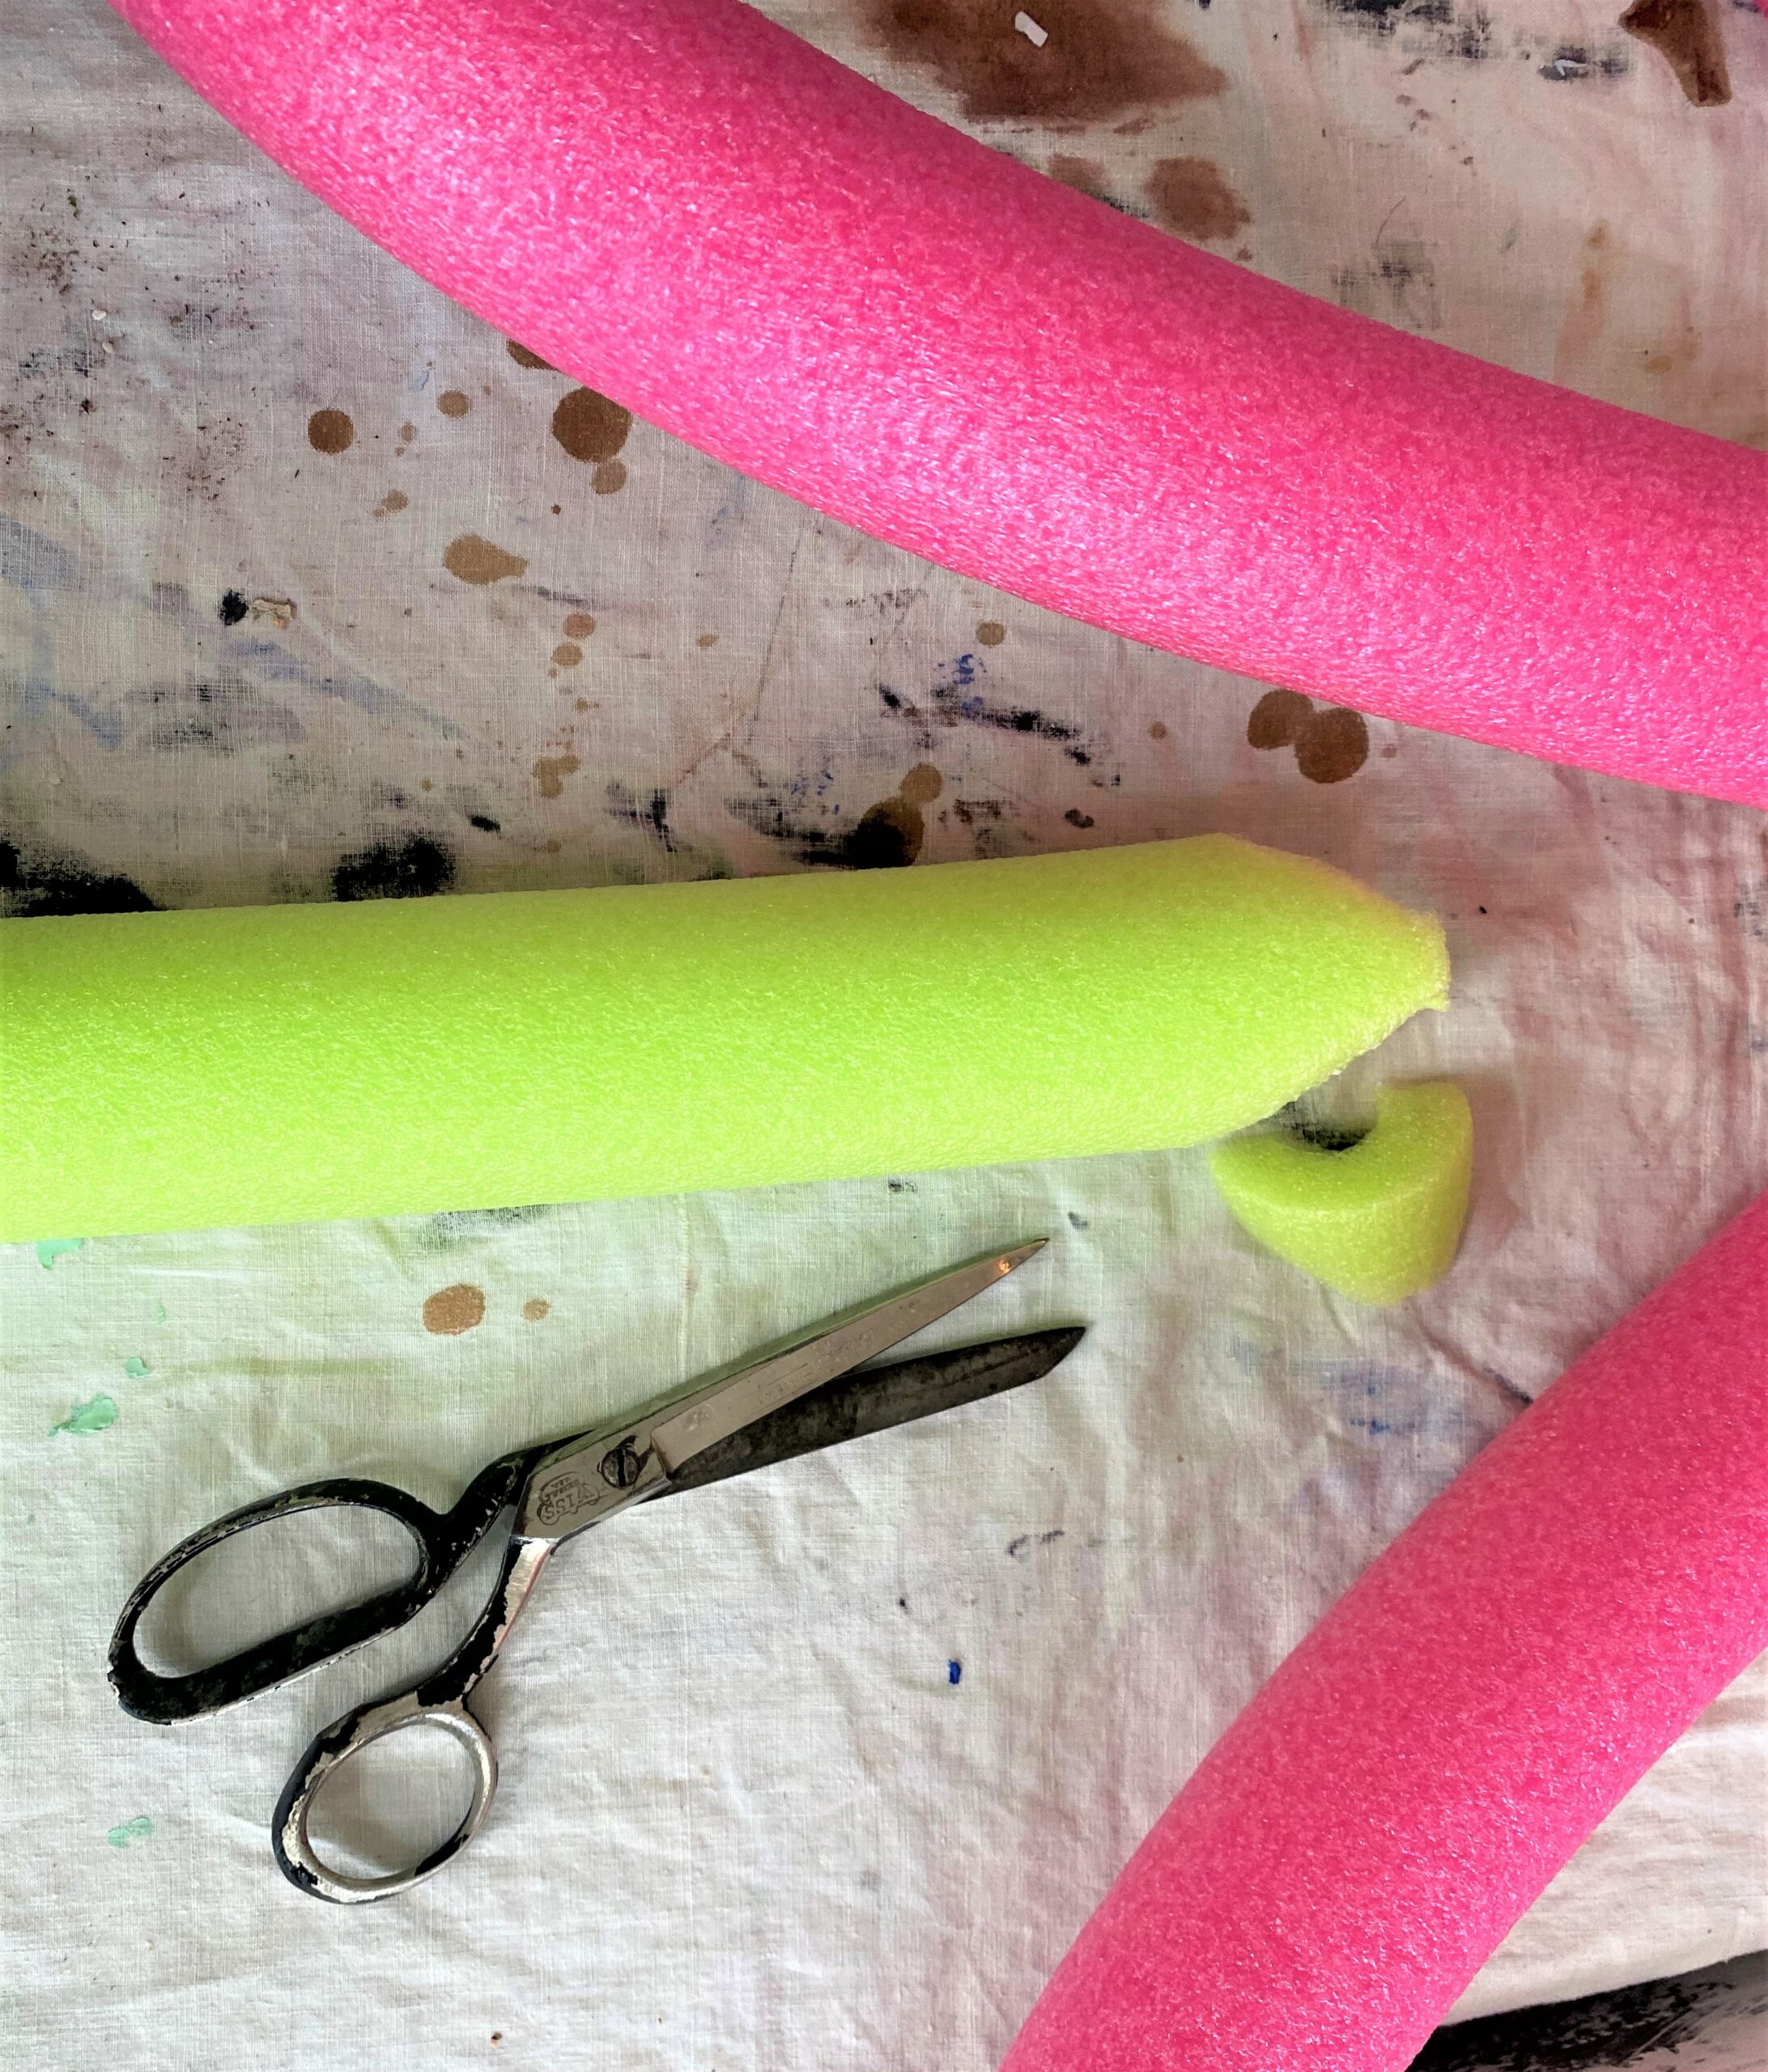
- Cut a pink noodle in half, trim the end to make it pointed, add glue and place it between two of the looped ones. Repeat two additional times for three petals, inserting the noodle part between the loops. In the fourth opening, add a green noodle (also cutting the end to a point) and glue it so it becomes your flower’s stem.
- Flip over your flower and glue a paper plate on the back and in the center. Add hot glue to all petals and the stem. The paper plate will add extra support. You could also cut out a cardboard circle, tracing a place, to use if you don’t have a paper plate handy.
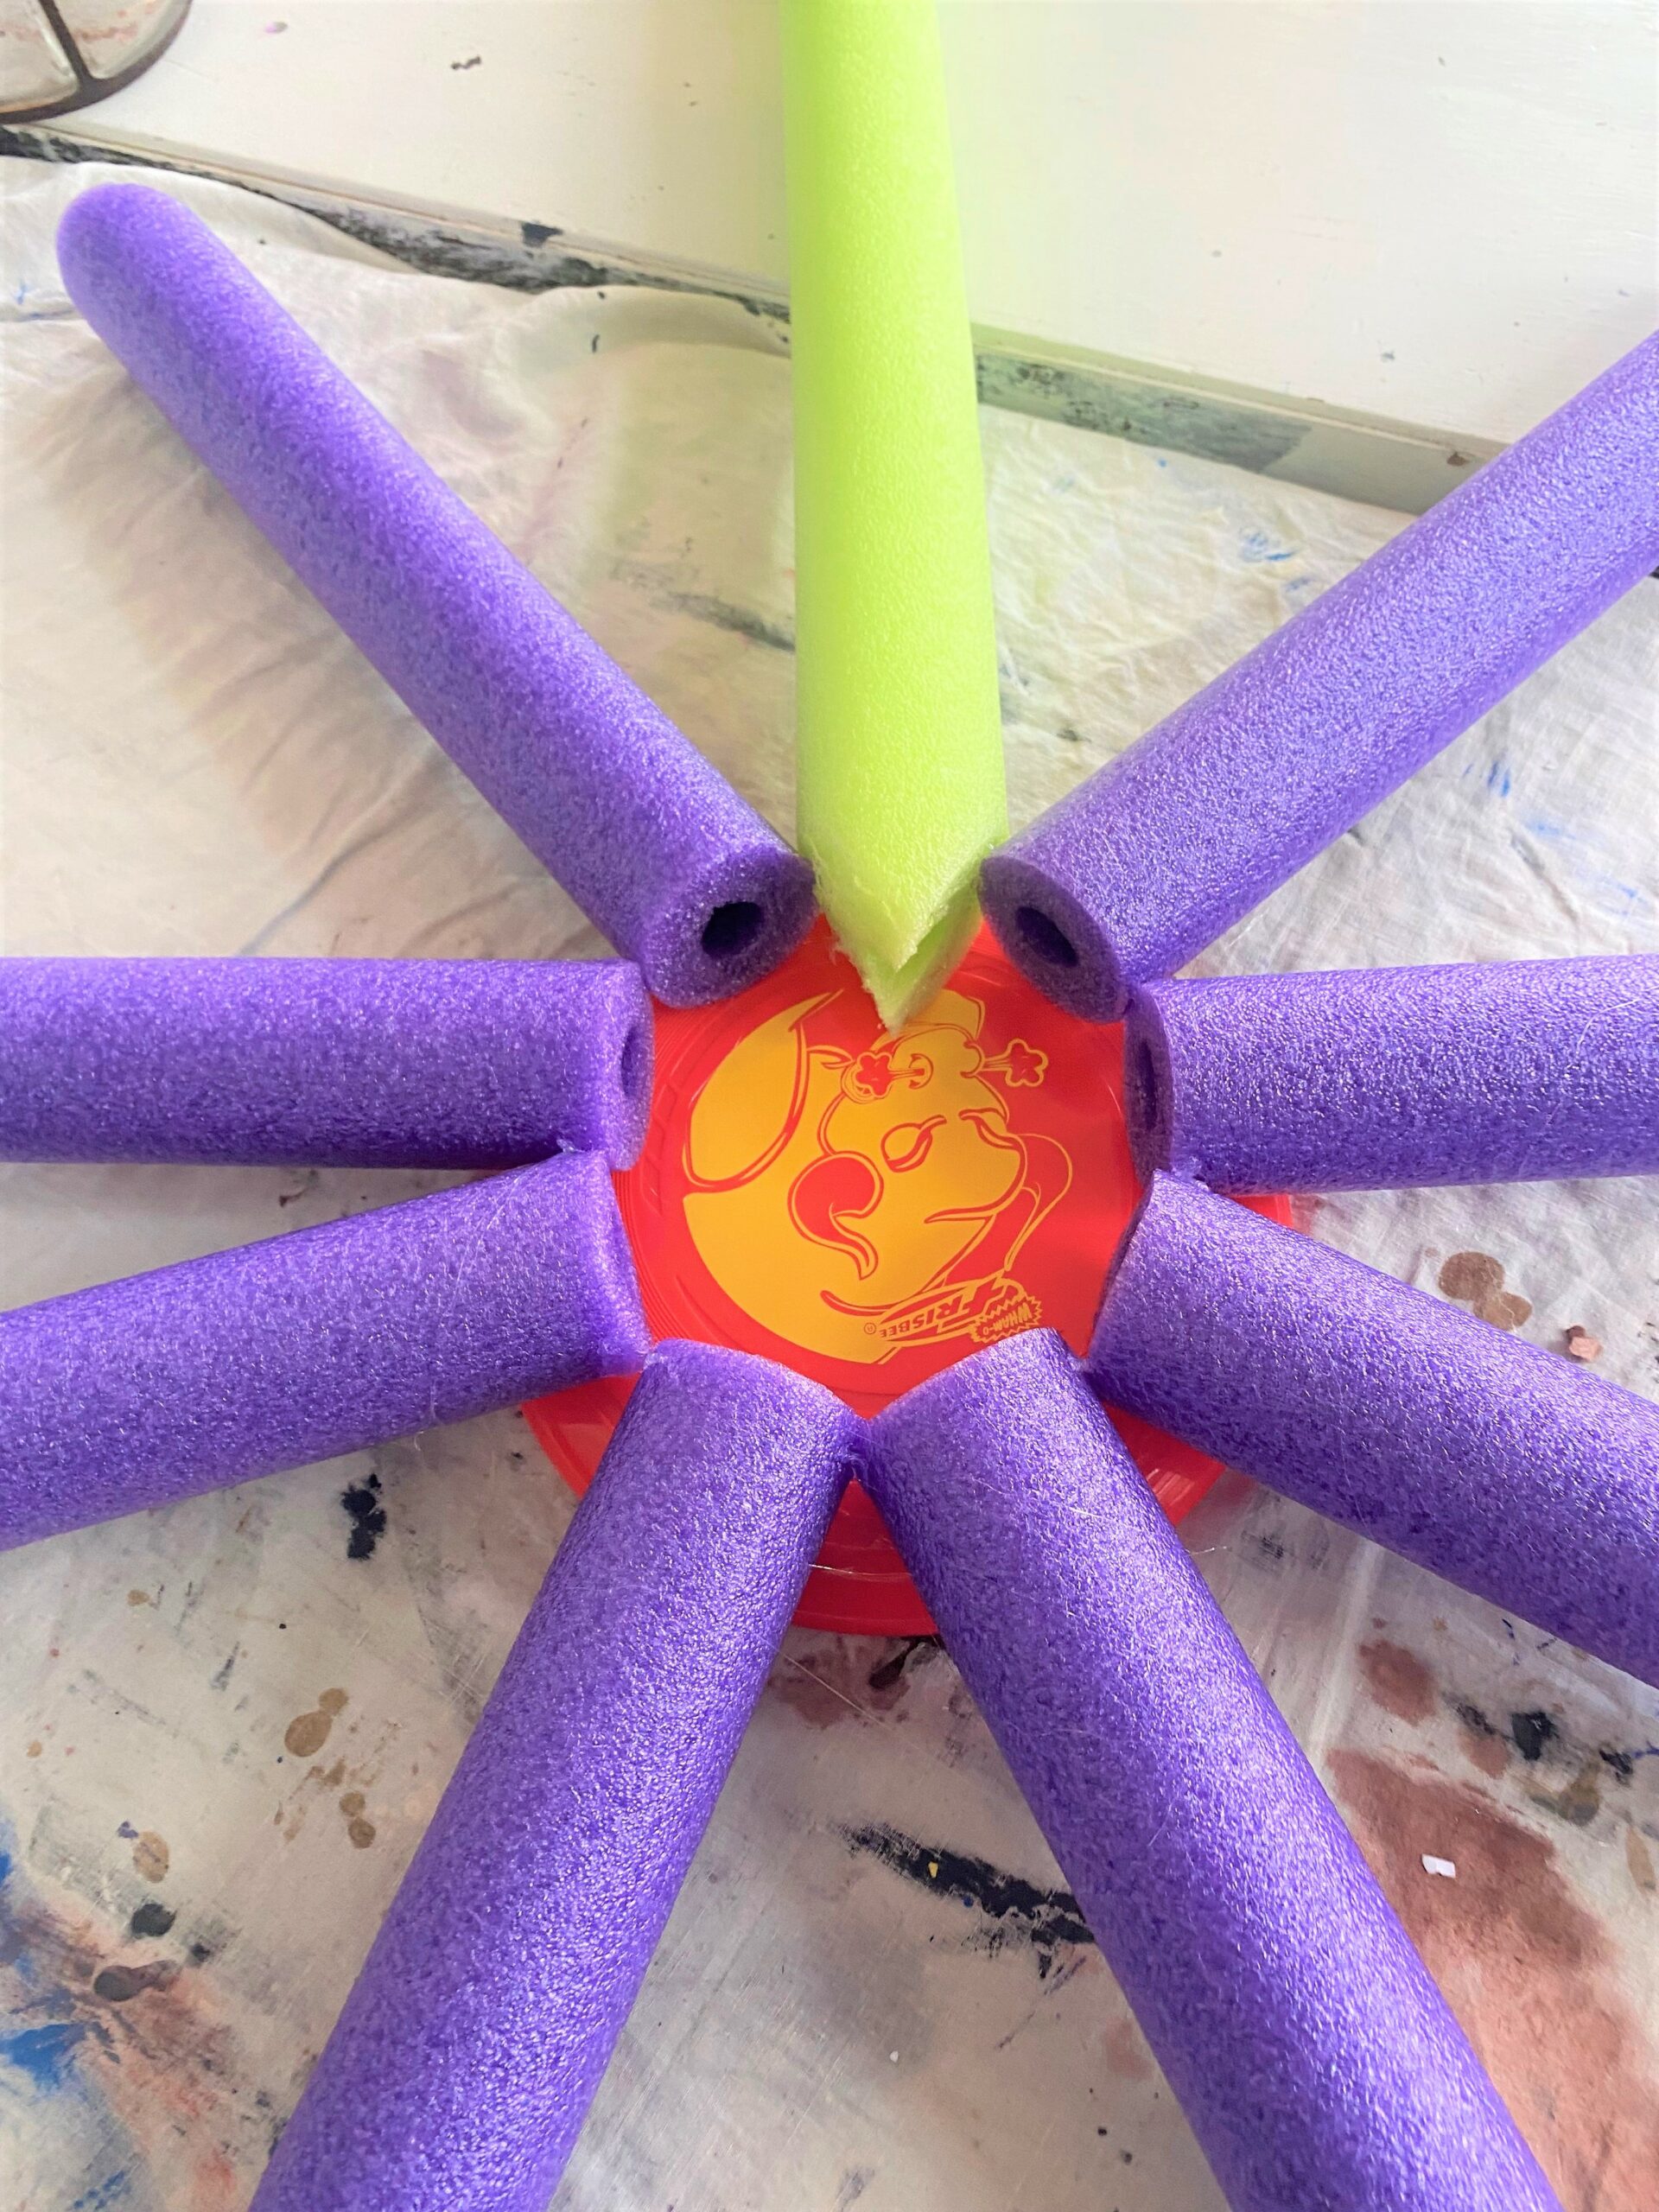
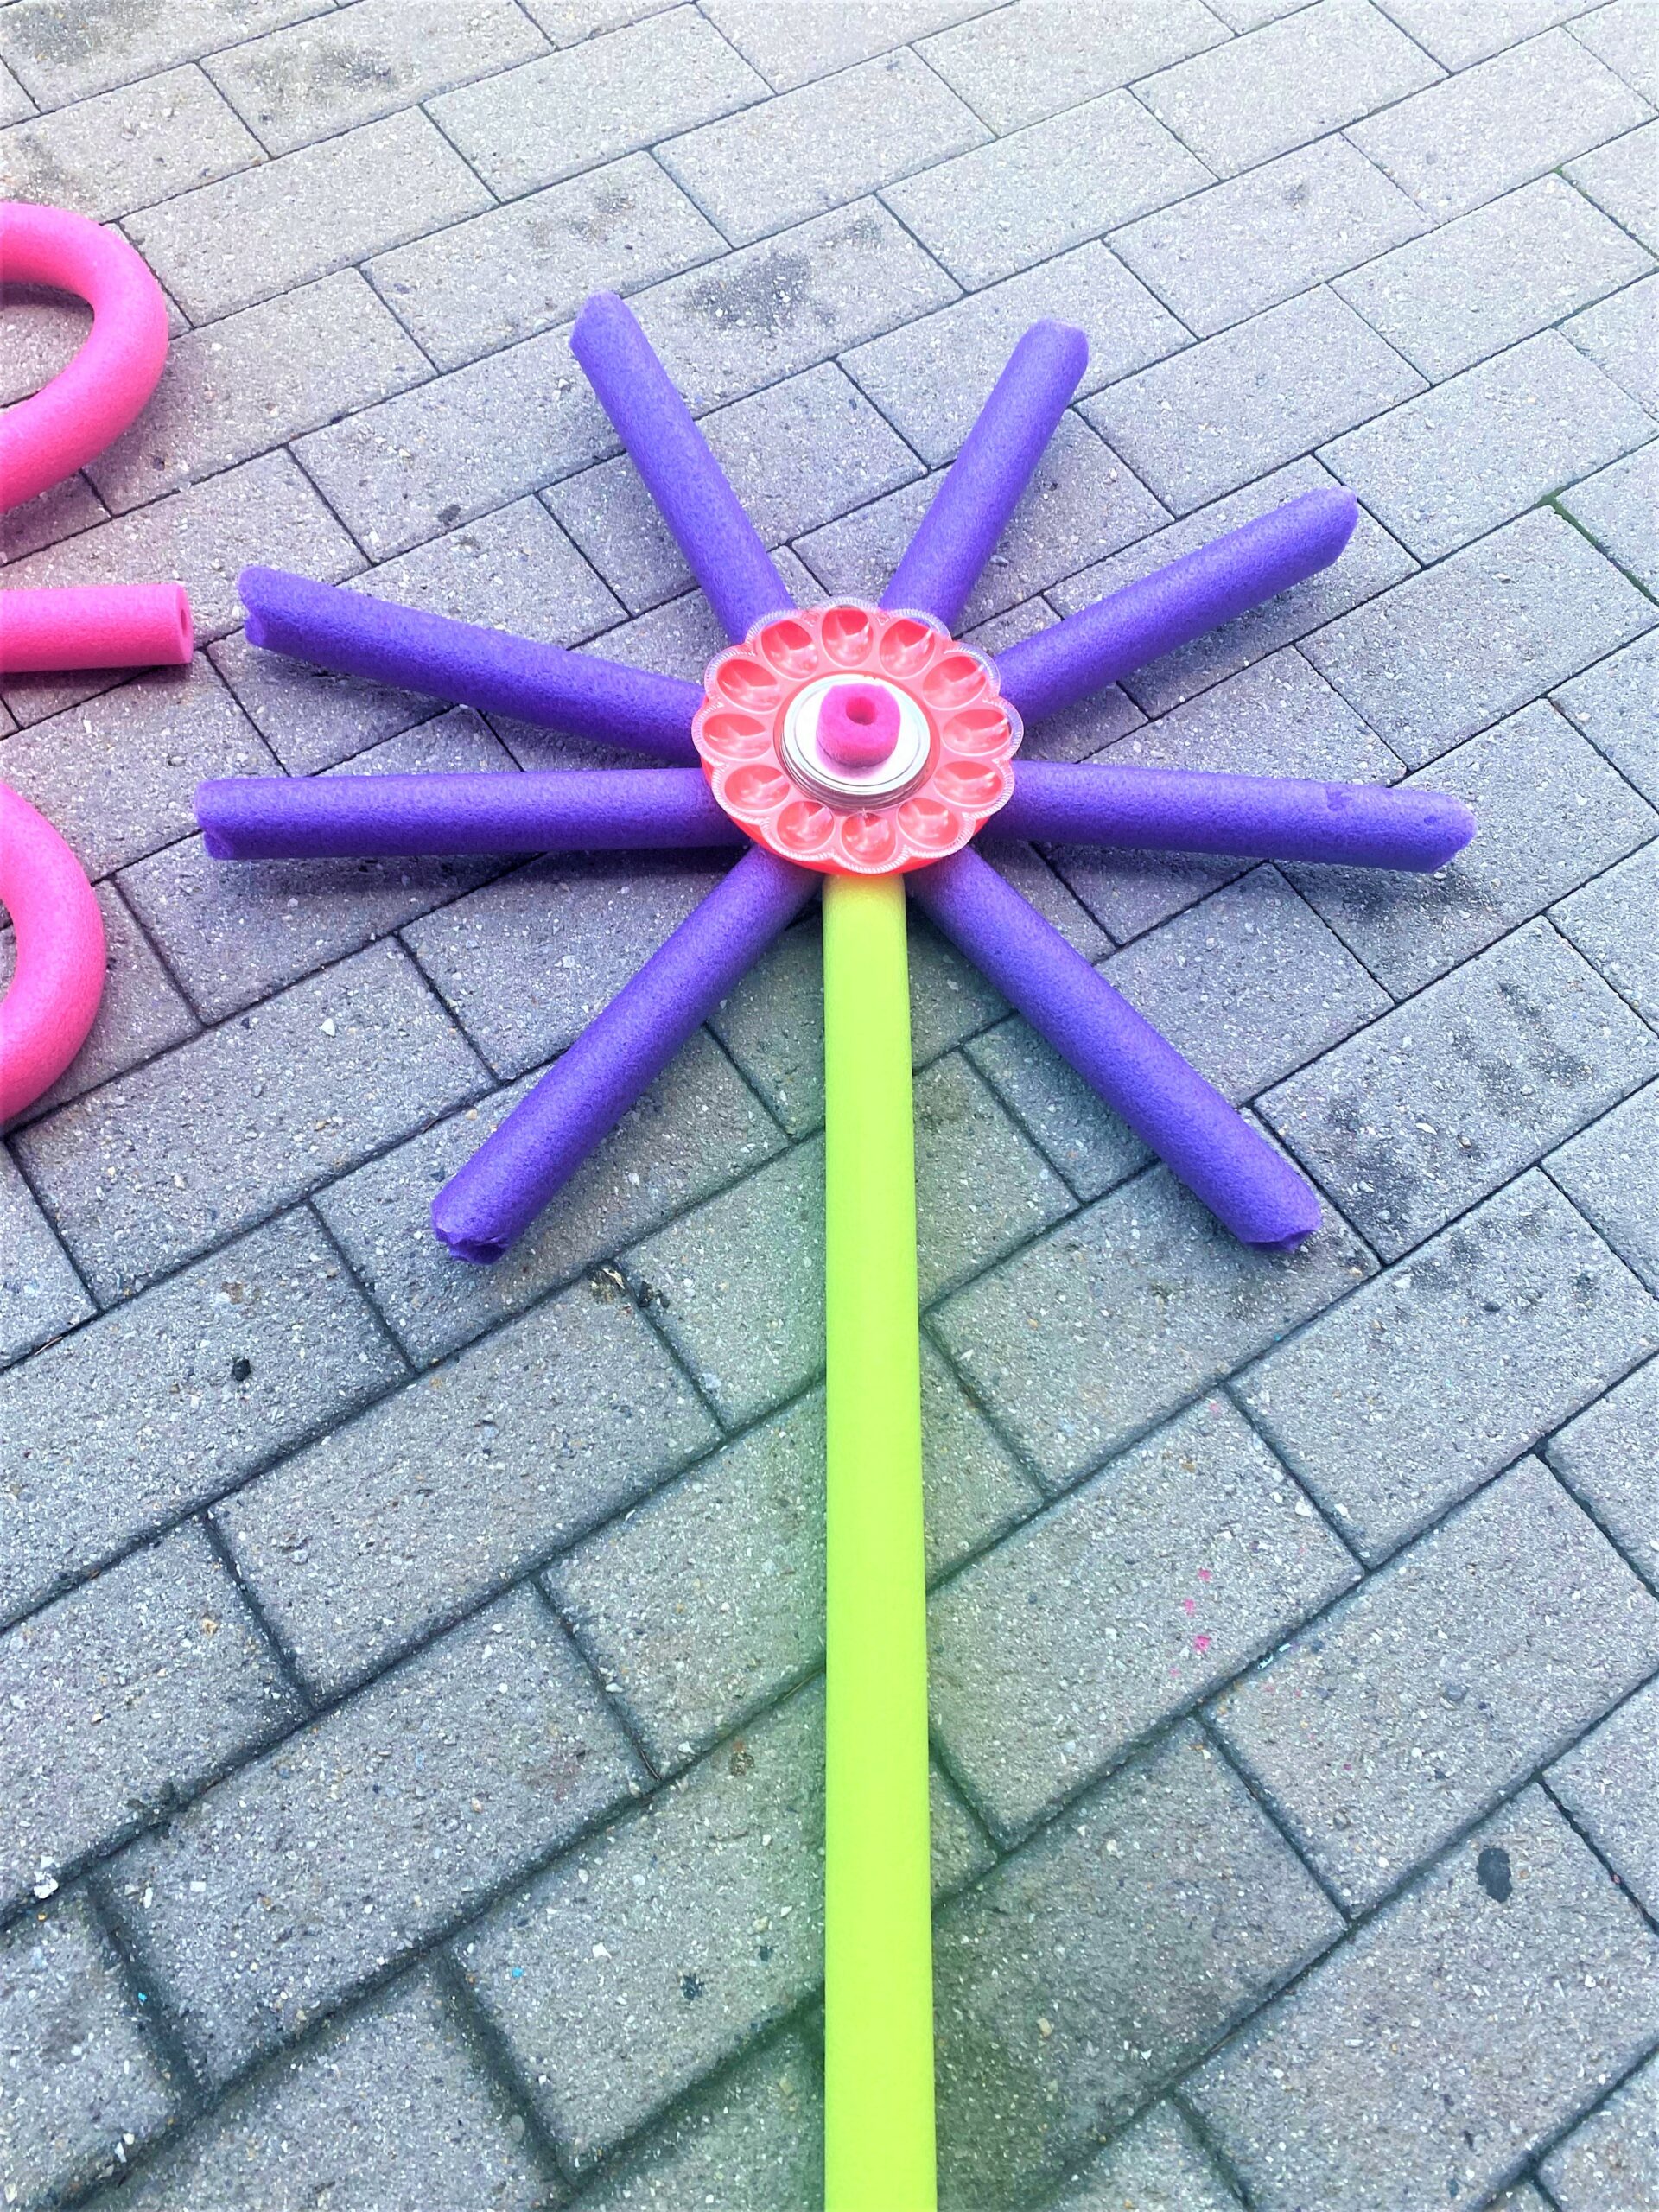
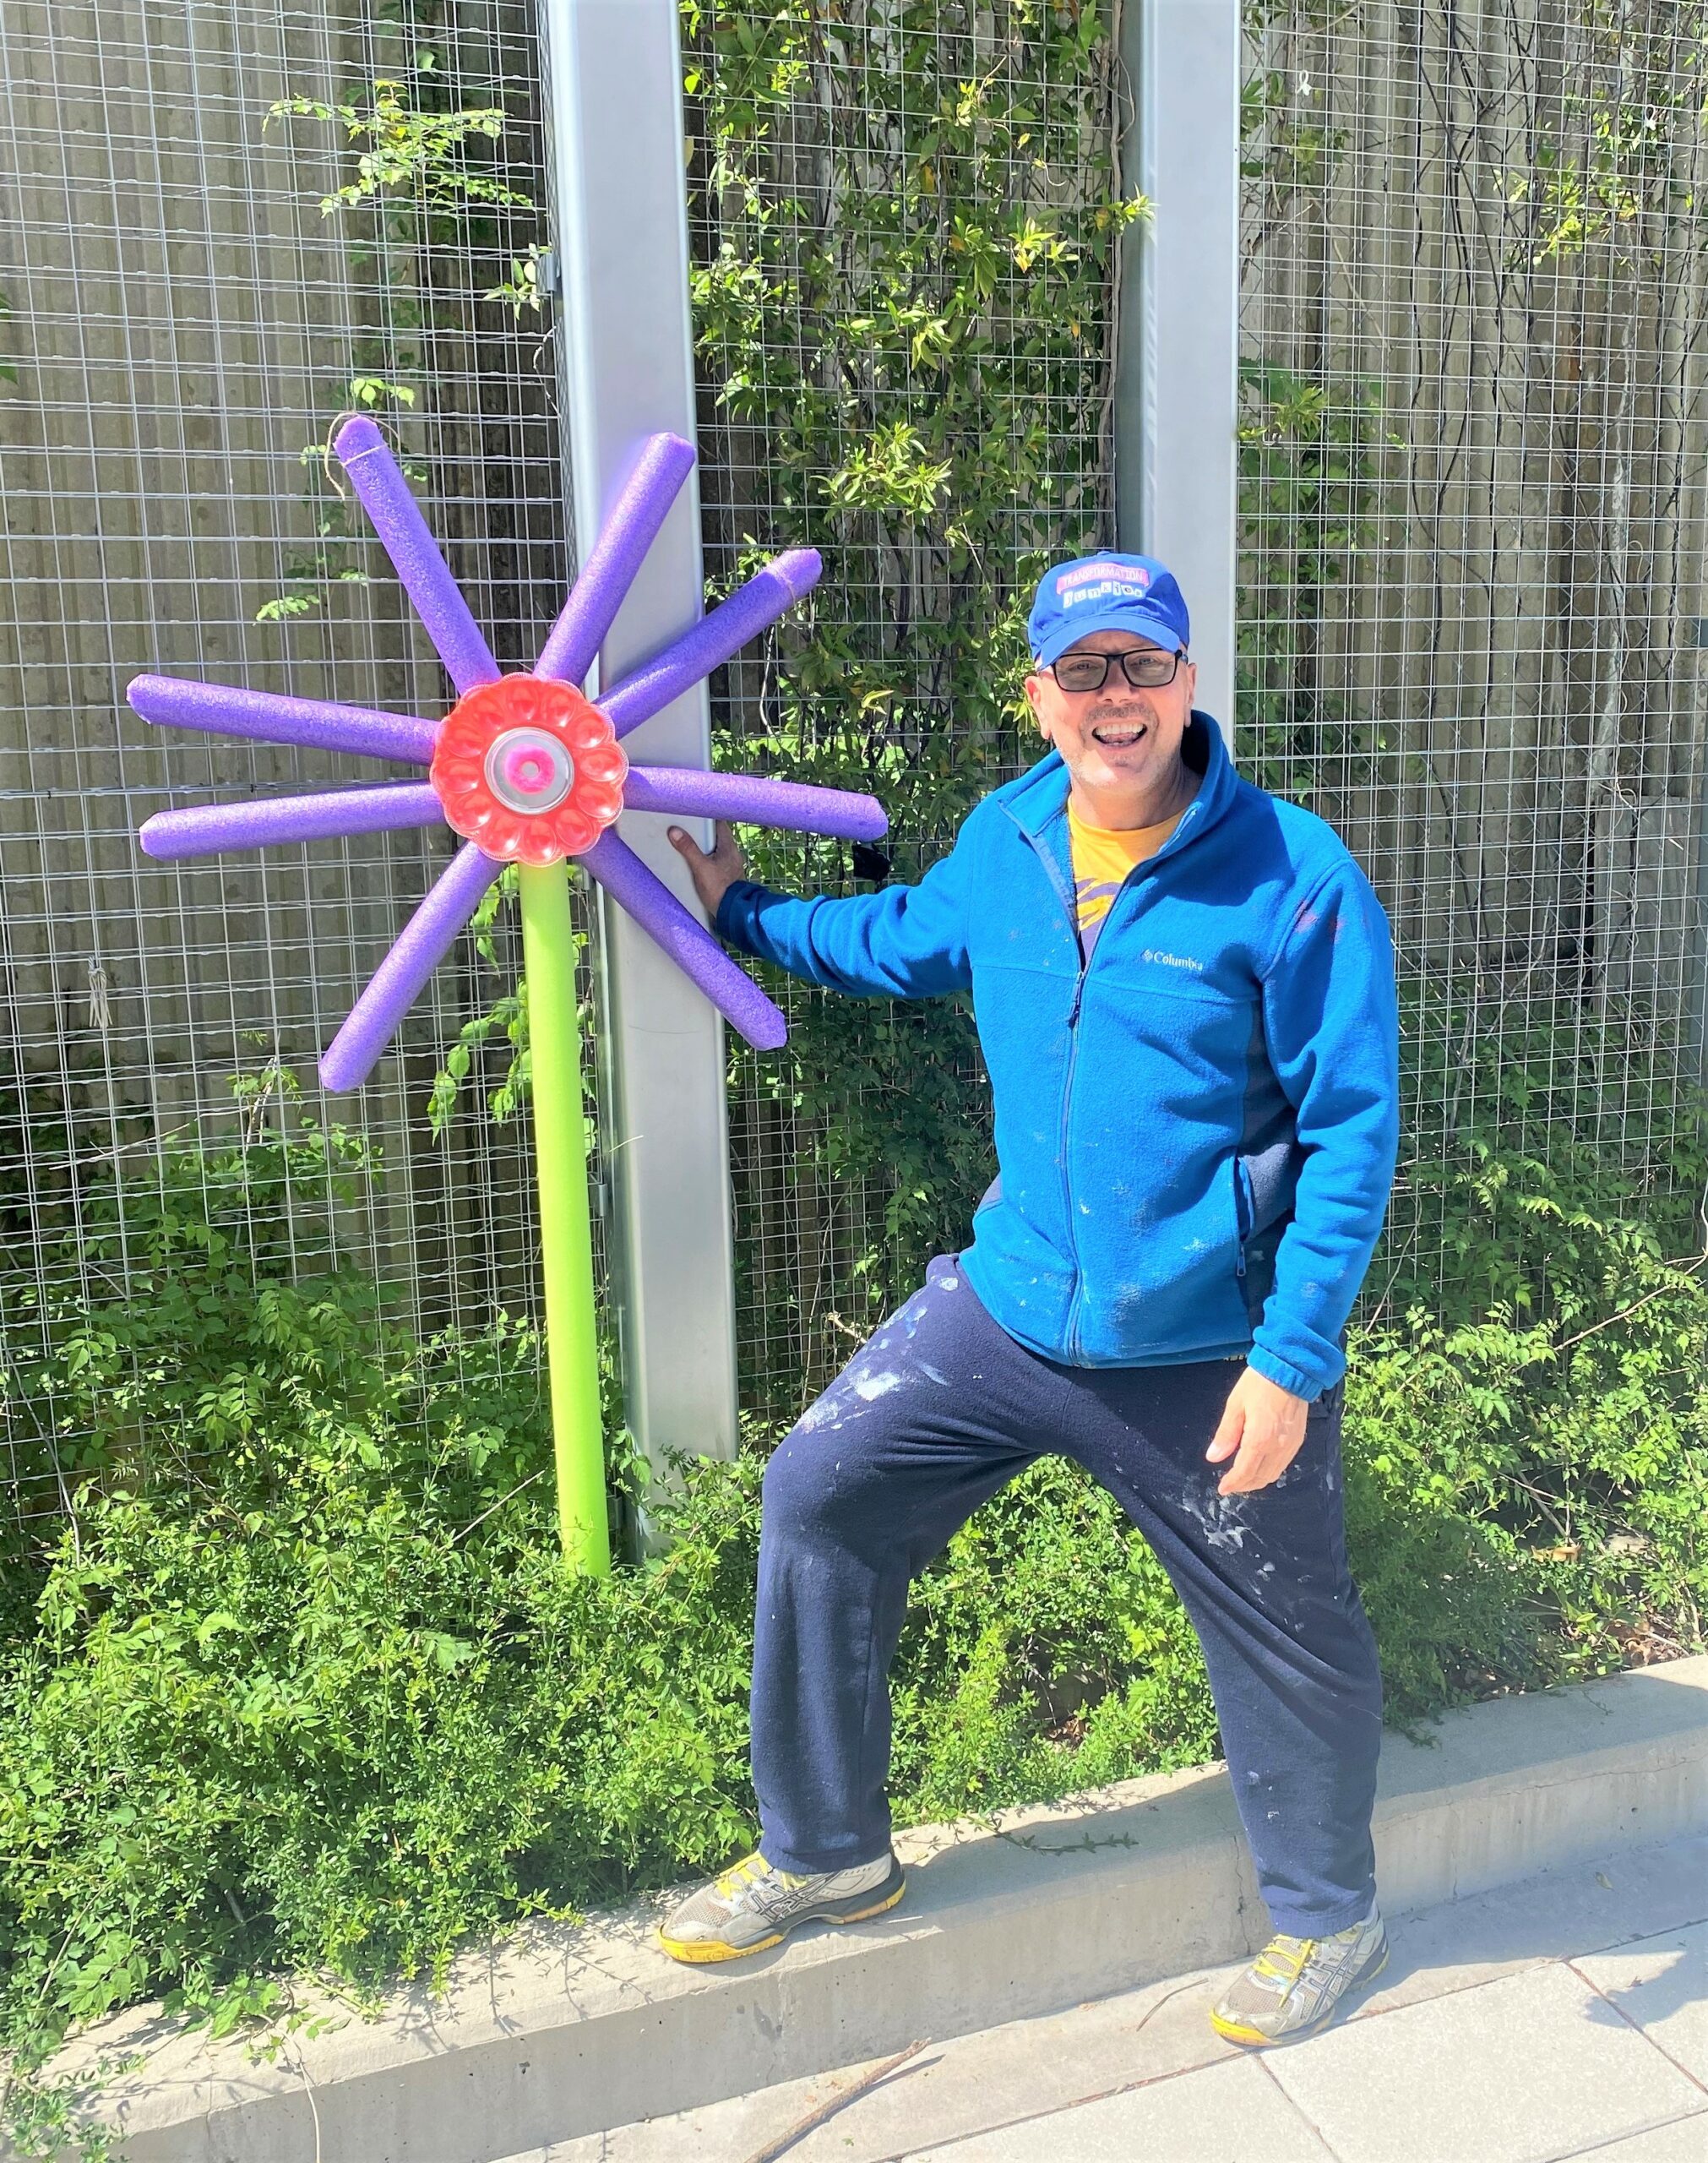
Purple Daisy
- Cut four purple noodles in half.
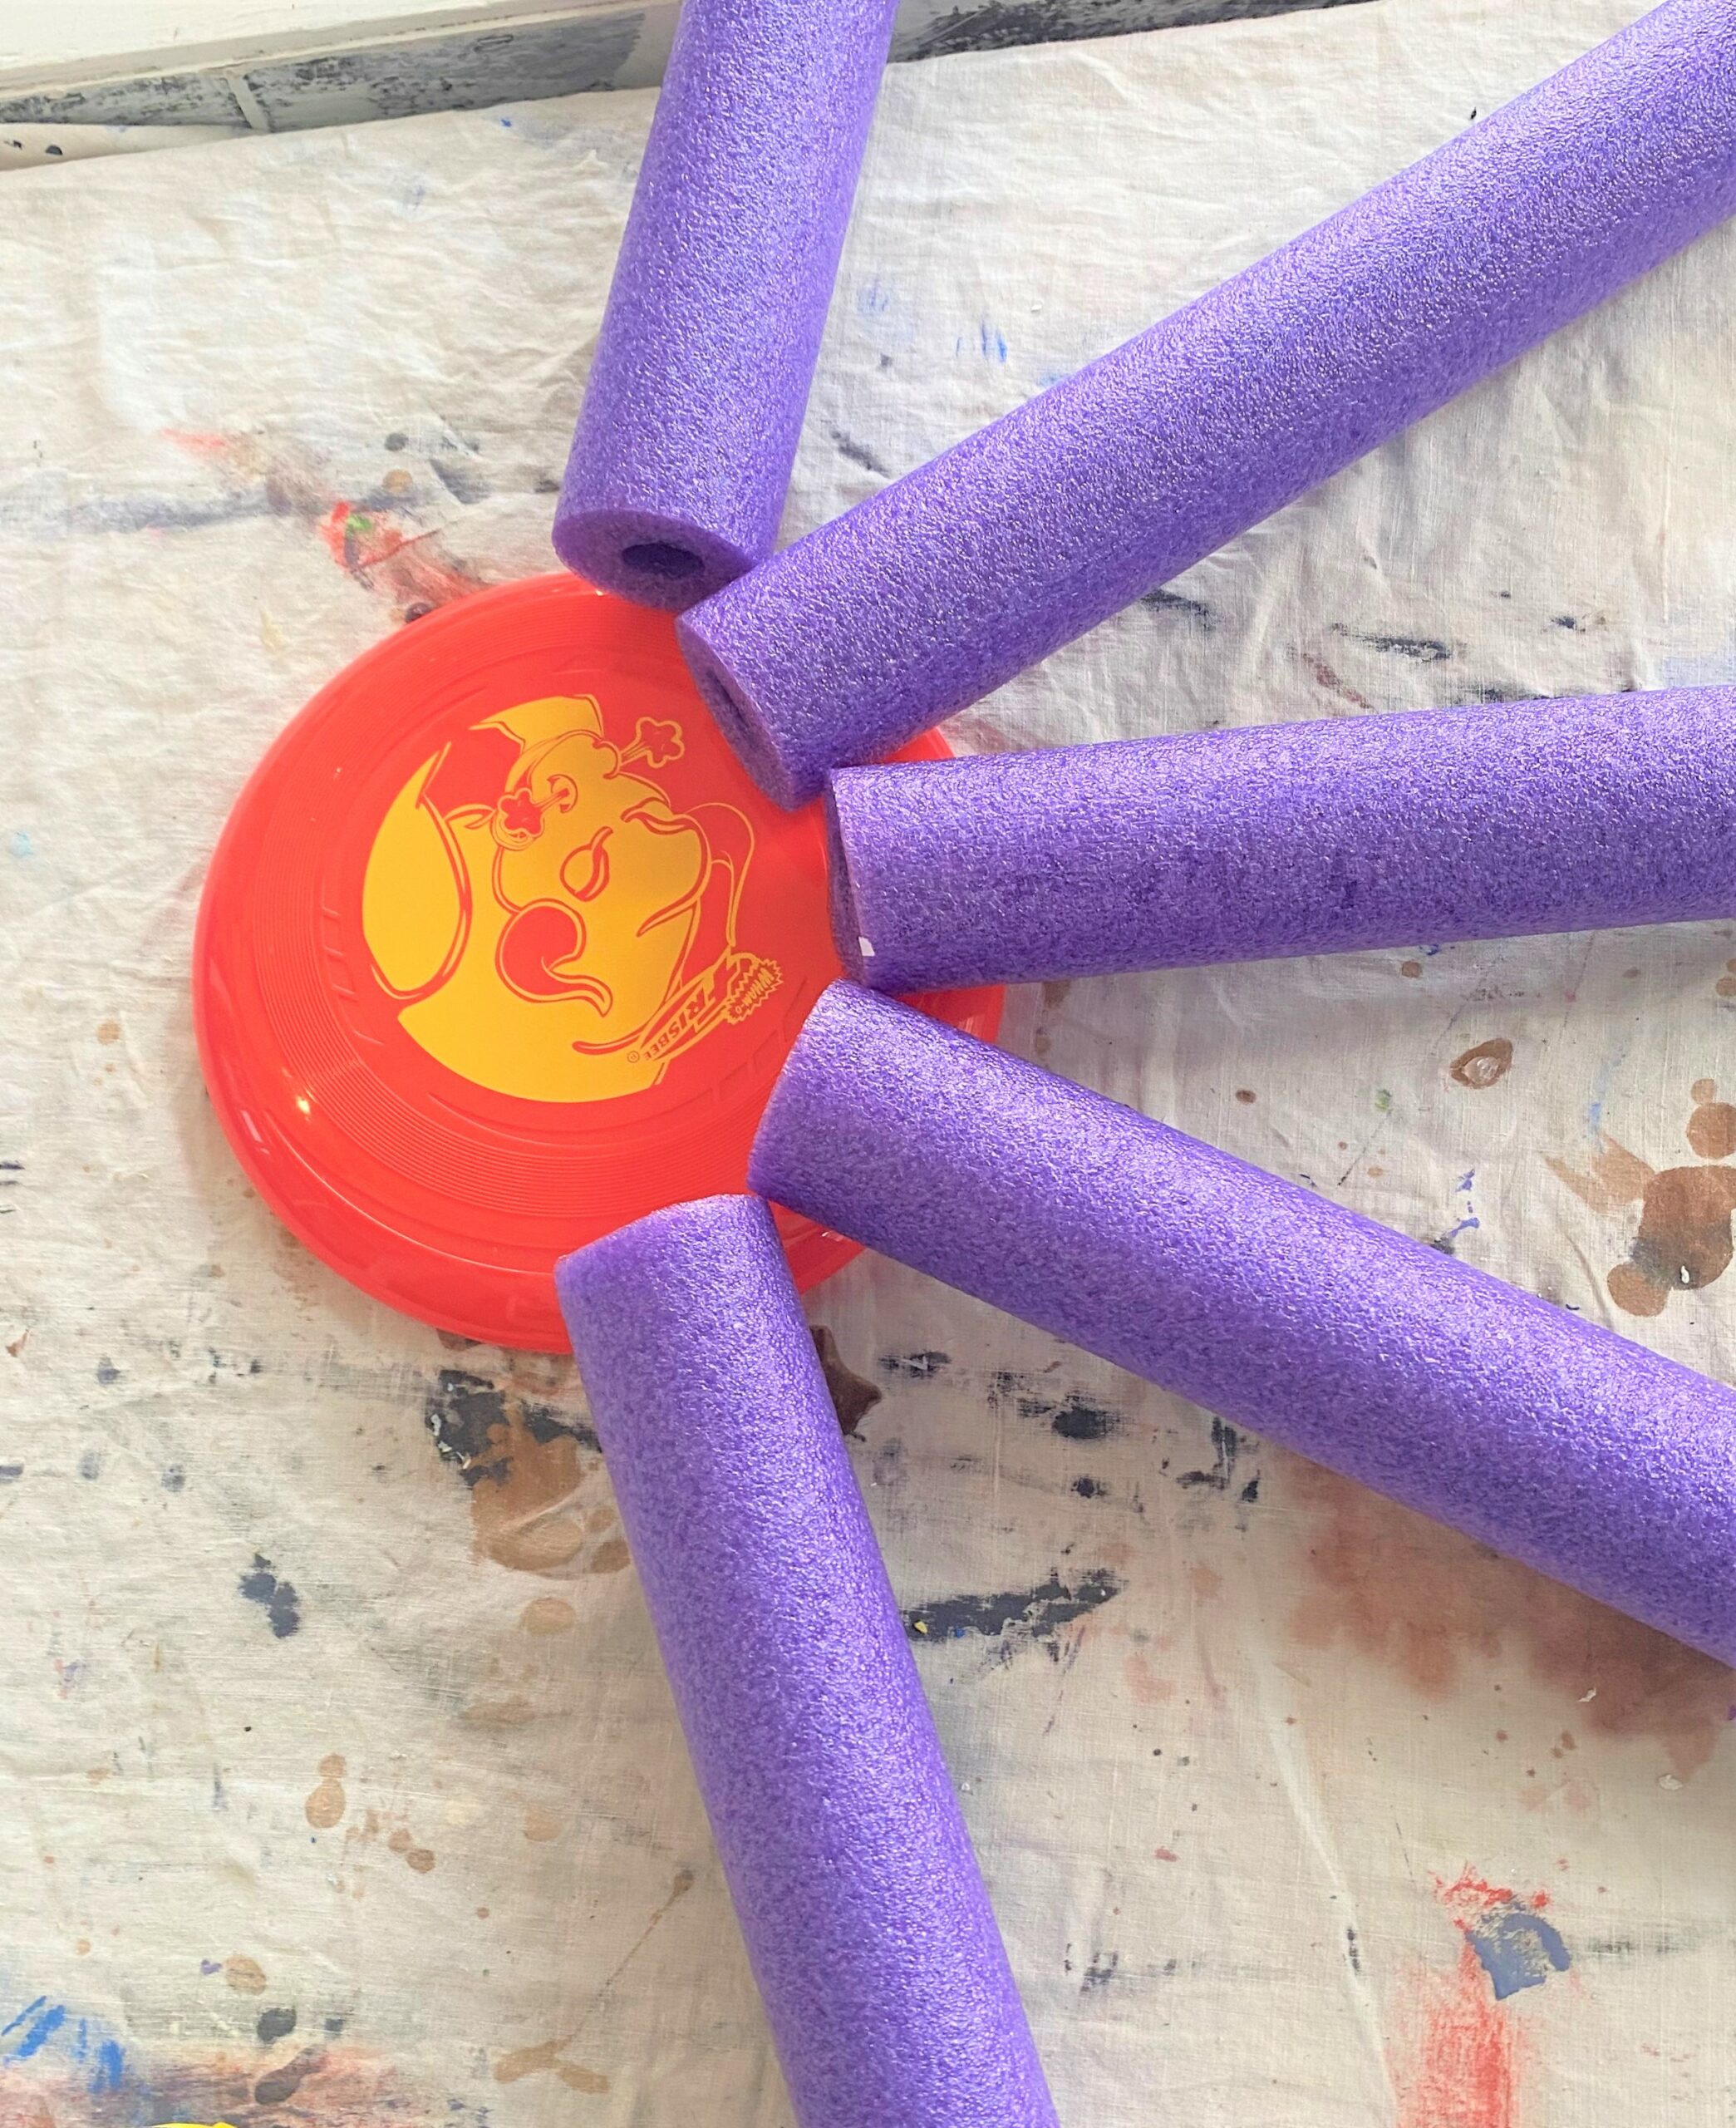
- On another one of your circular pieces (again a frisbee was used), glue one end of the noodle to the frisbee, not right at the edge but close. You want to ensure you give the noodle a little bit of the frisbee’s surface on which to be secured with the hot glue.
- Repeat this step until seven of the purple noodle parts have been attached; be sure to space things out so you leave space for an eighth noodle; secure a green one as the stem here. Give the ends of the purple petals a round touch by cutting away the sharp edge.
- Also, flip it over and glue a paper plate (or cardboard piece) to the back center for support.
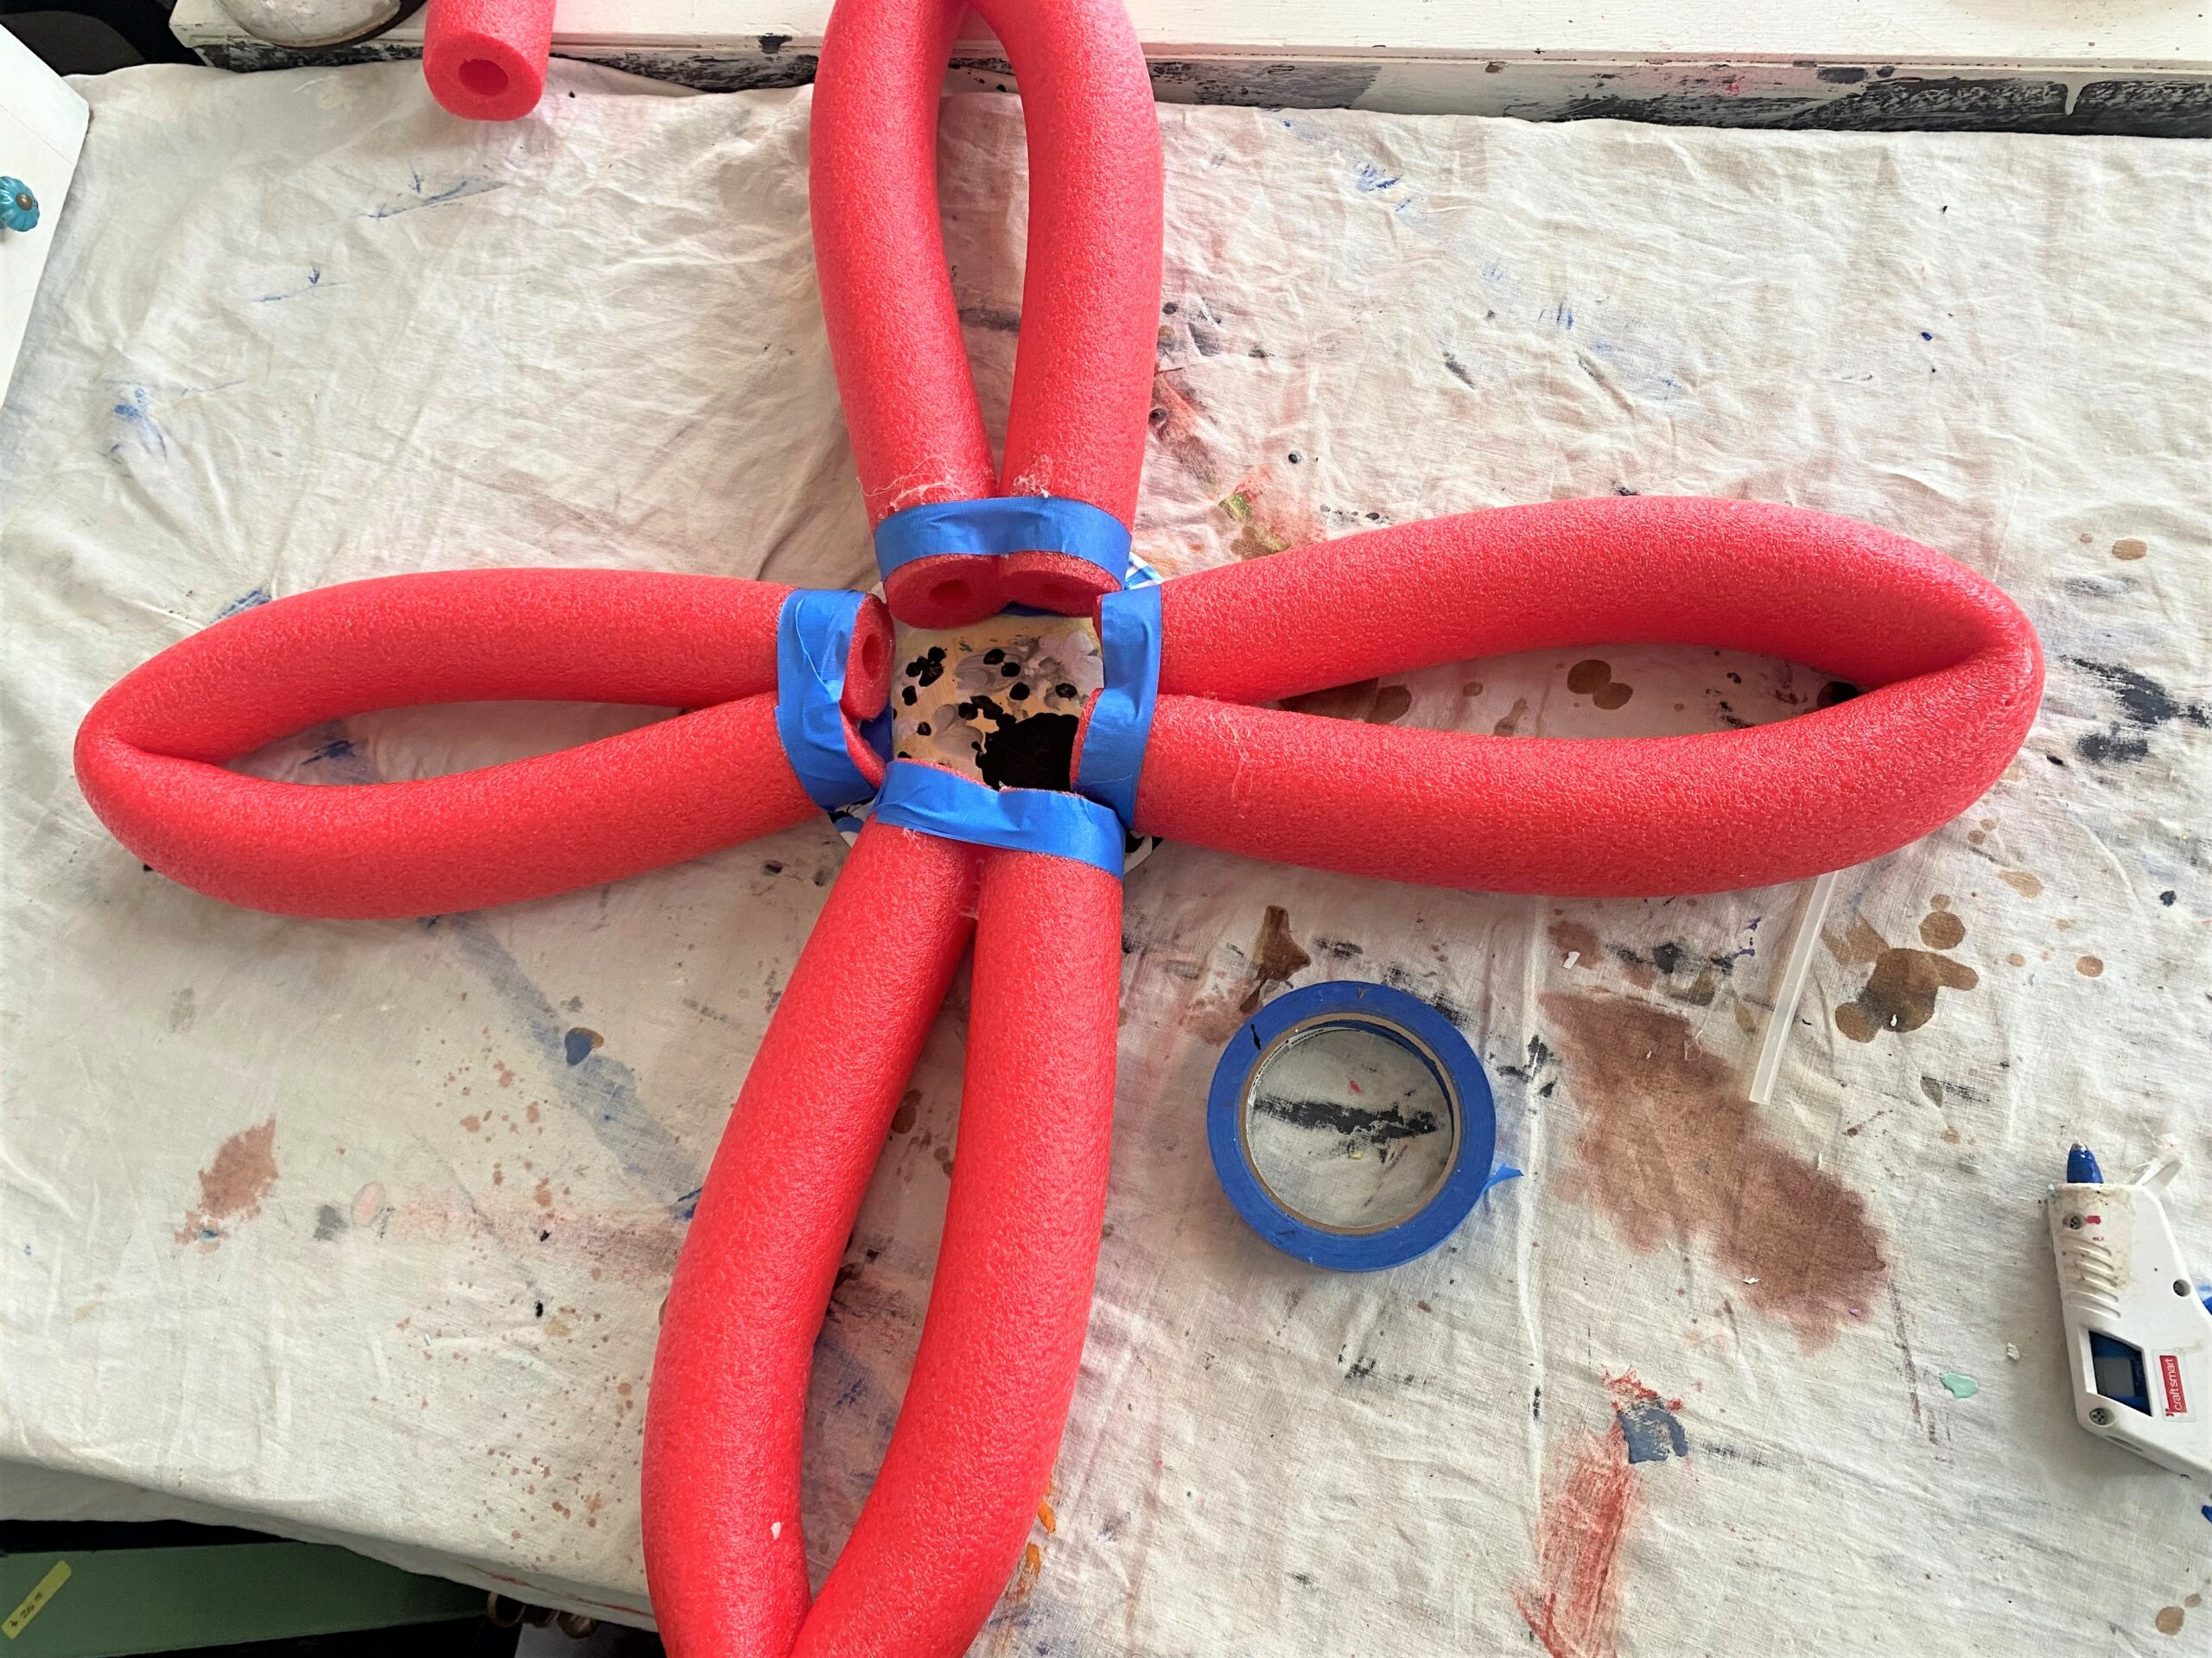
Red Posie
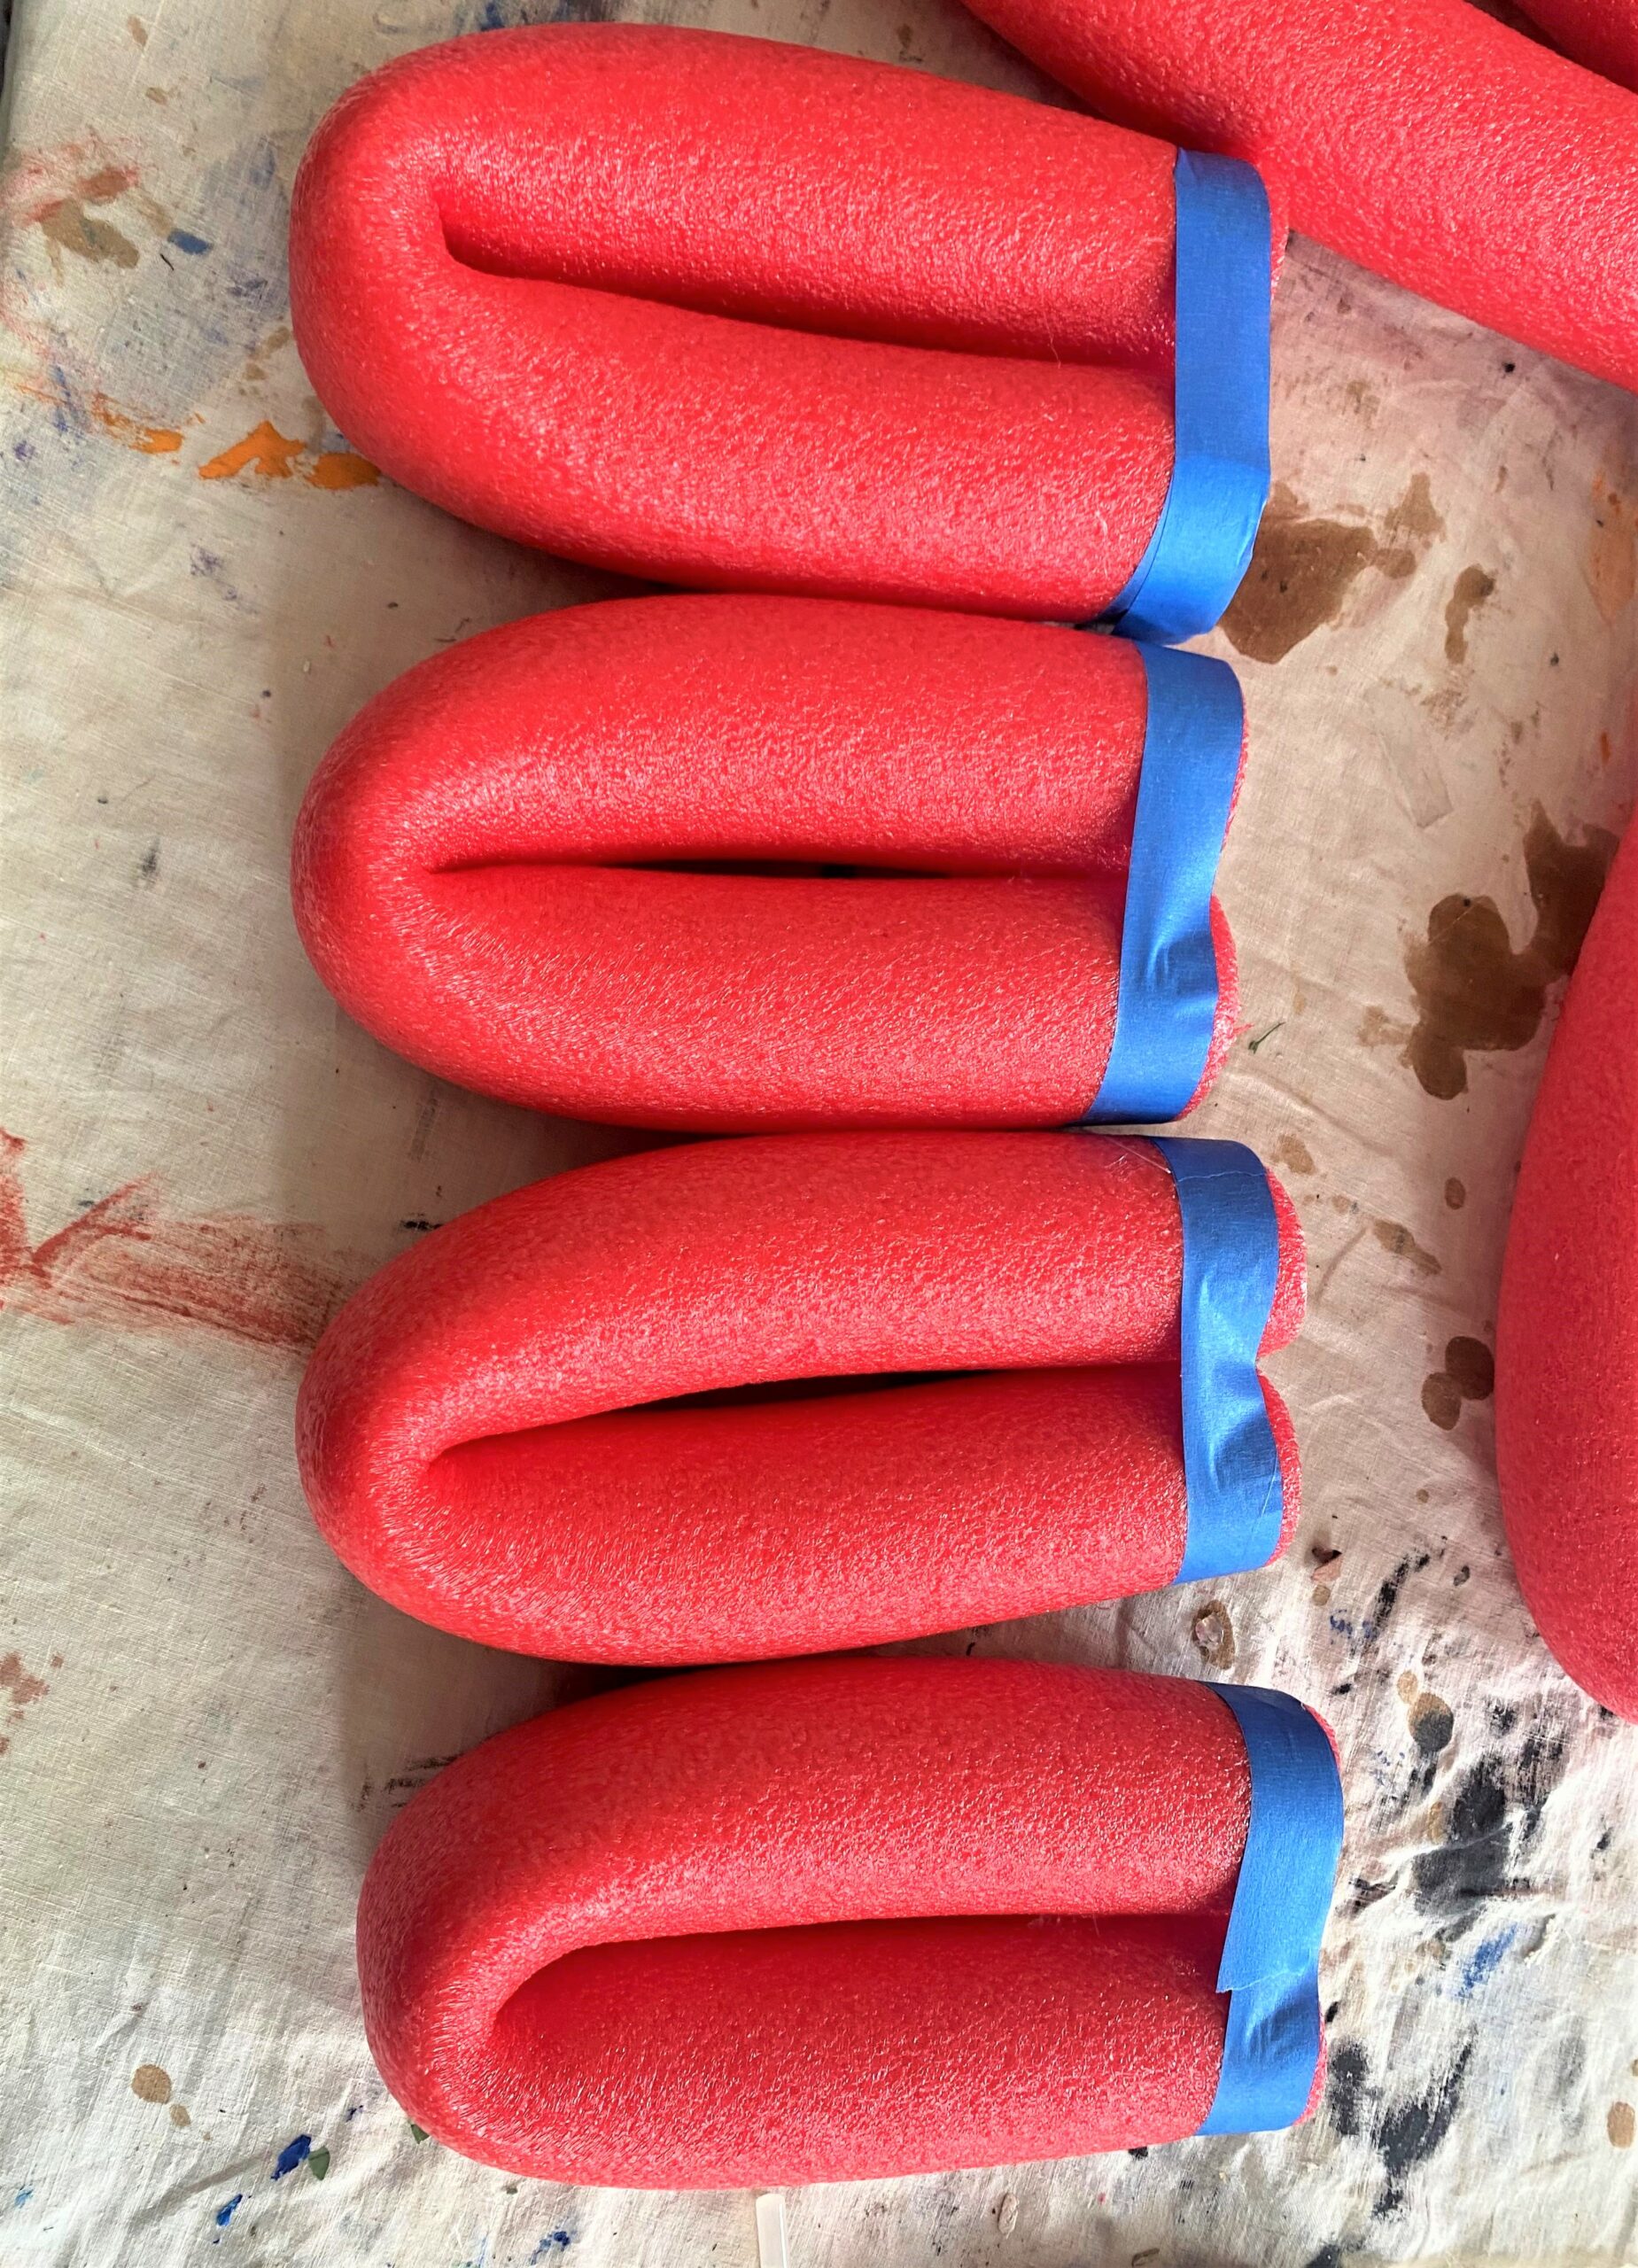
- Start by measuring one of your red noodles to determine where two thirds of it is then cut off one third.
- Bend the bigger piece in half, creasing it in the middle.
- Glue to the two ends together then wrap them with your painter’s tape to hold in place. Repeat this step so you have four petals created from the two-thirds section of the noodle.
- To make the smaller petals, do the same with the remaining third piece, bending it in half, adding glue where the ends touch and wrapping with some painter’s tape.
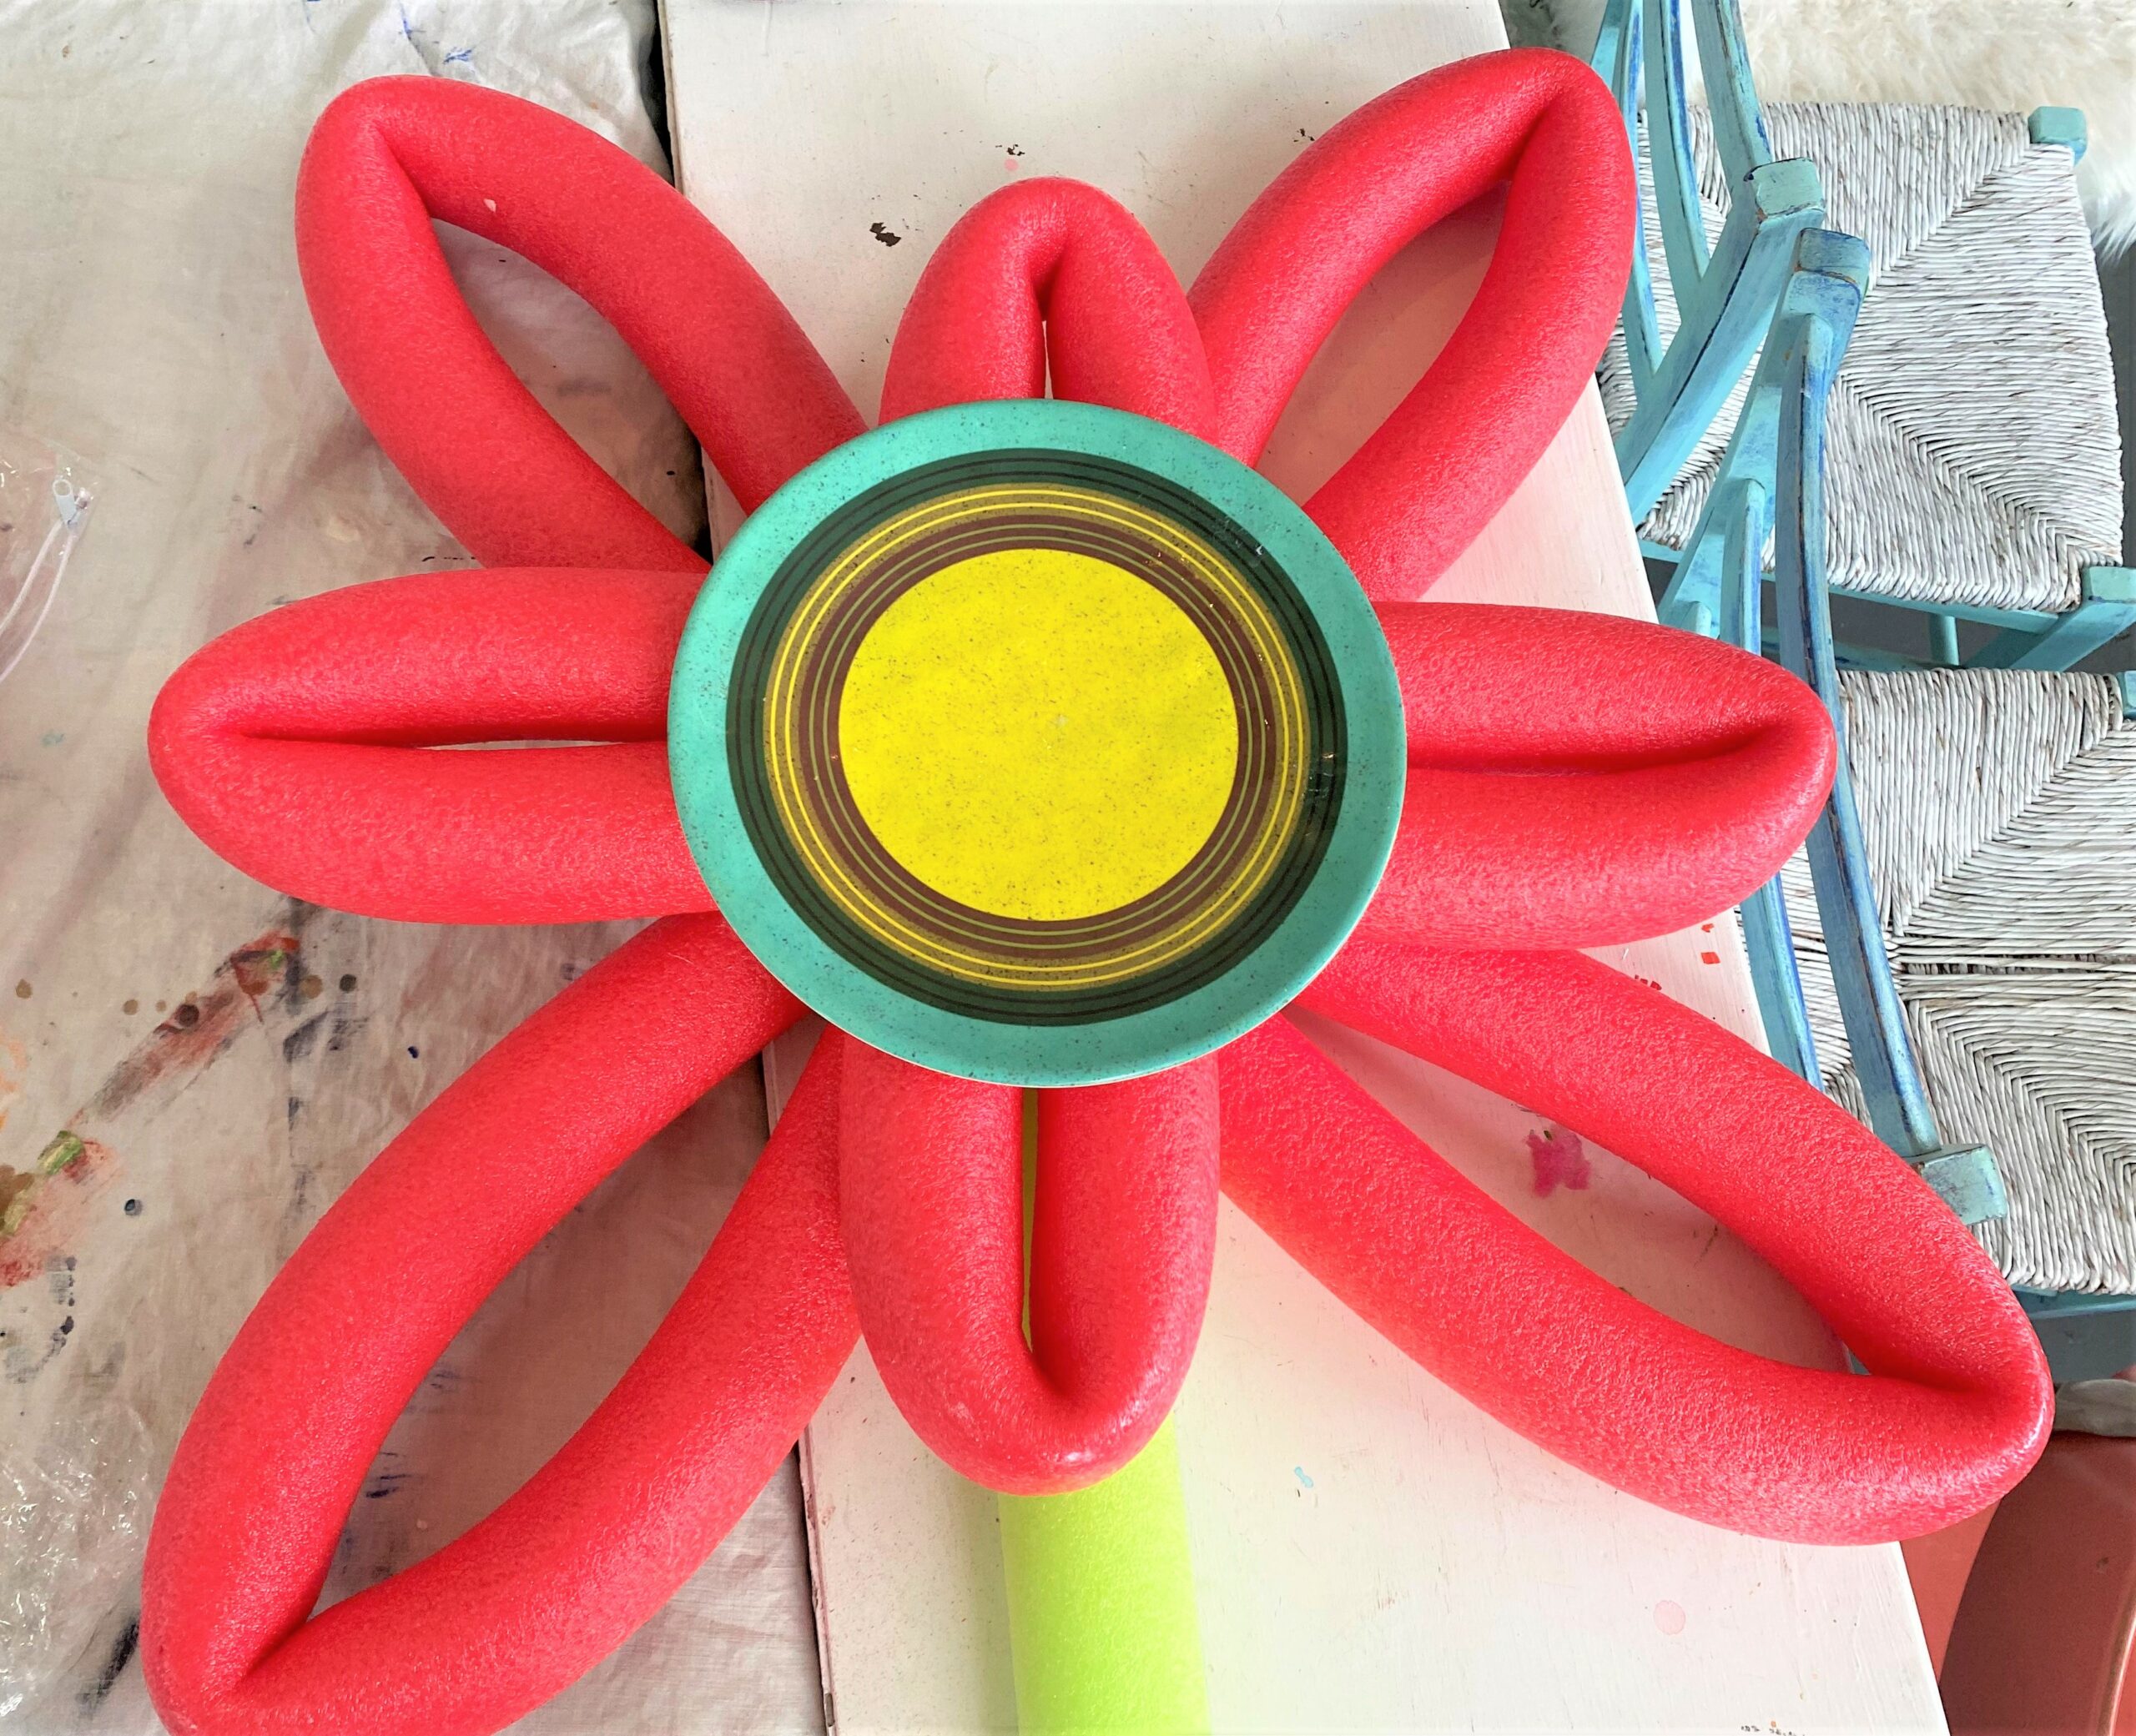
- On your paper plate base or cardboard circle, glue the four larger petals first, adding glue to the cut end.
- Follow the same process by securing the four smaller petals on top and in the open spaces.
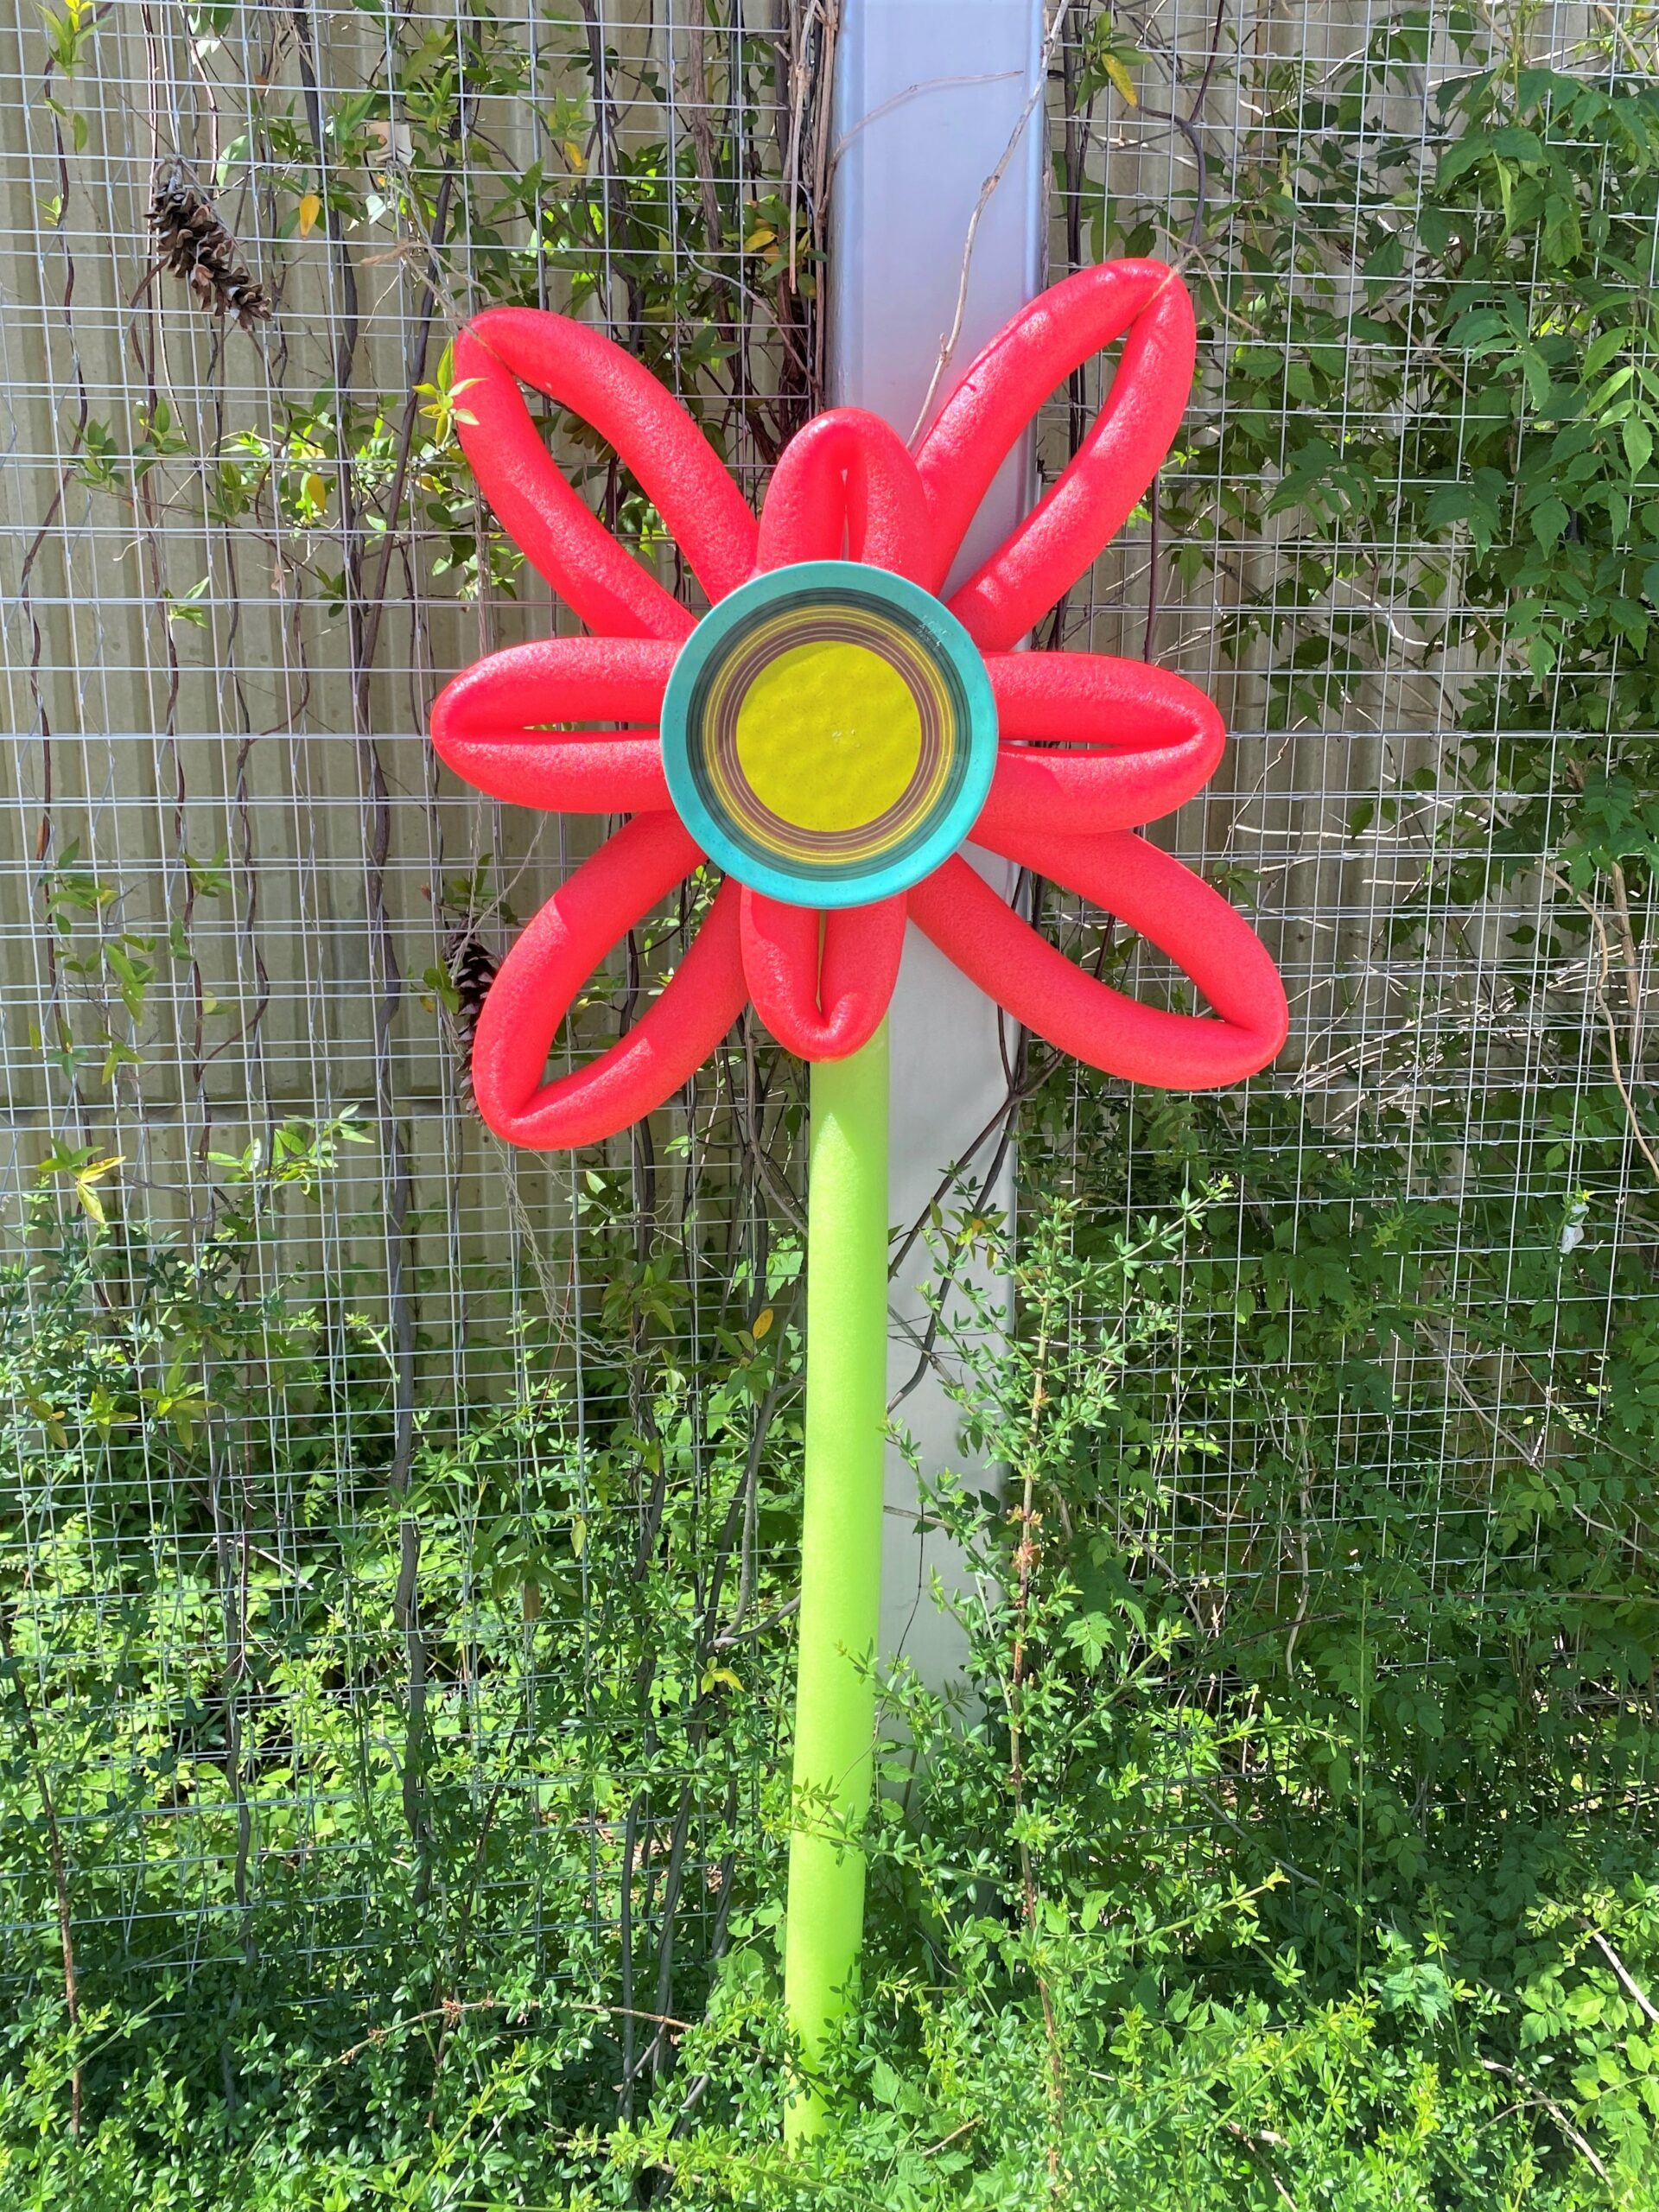
- Adhere your flower’s center (the frisbee or plastic plate) on top to hide where the various petal ends come together.
- Cut another one of the green noodle’s ends, add more hot glue and insert between of your larger red petals.
Embellishing time!
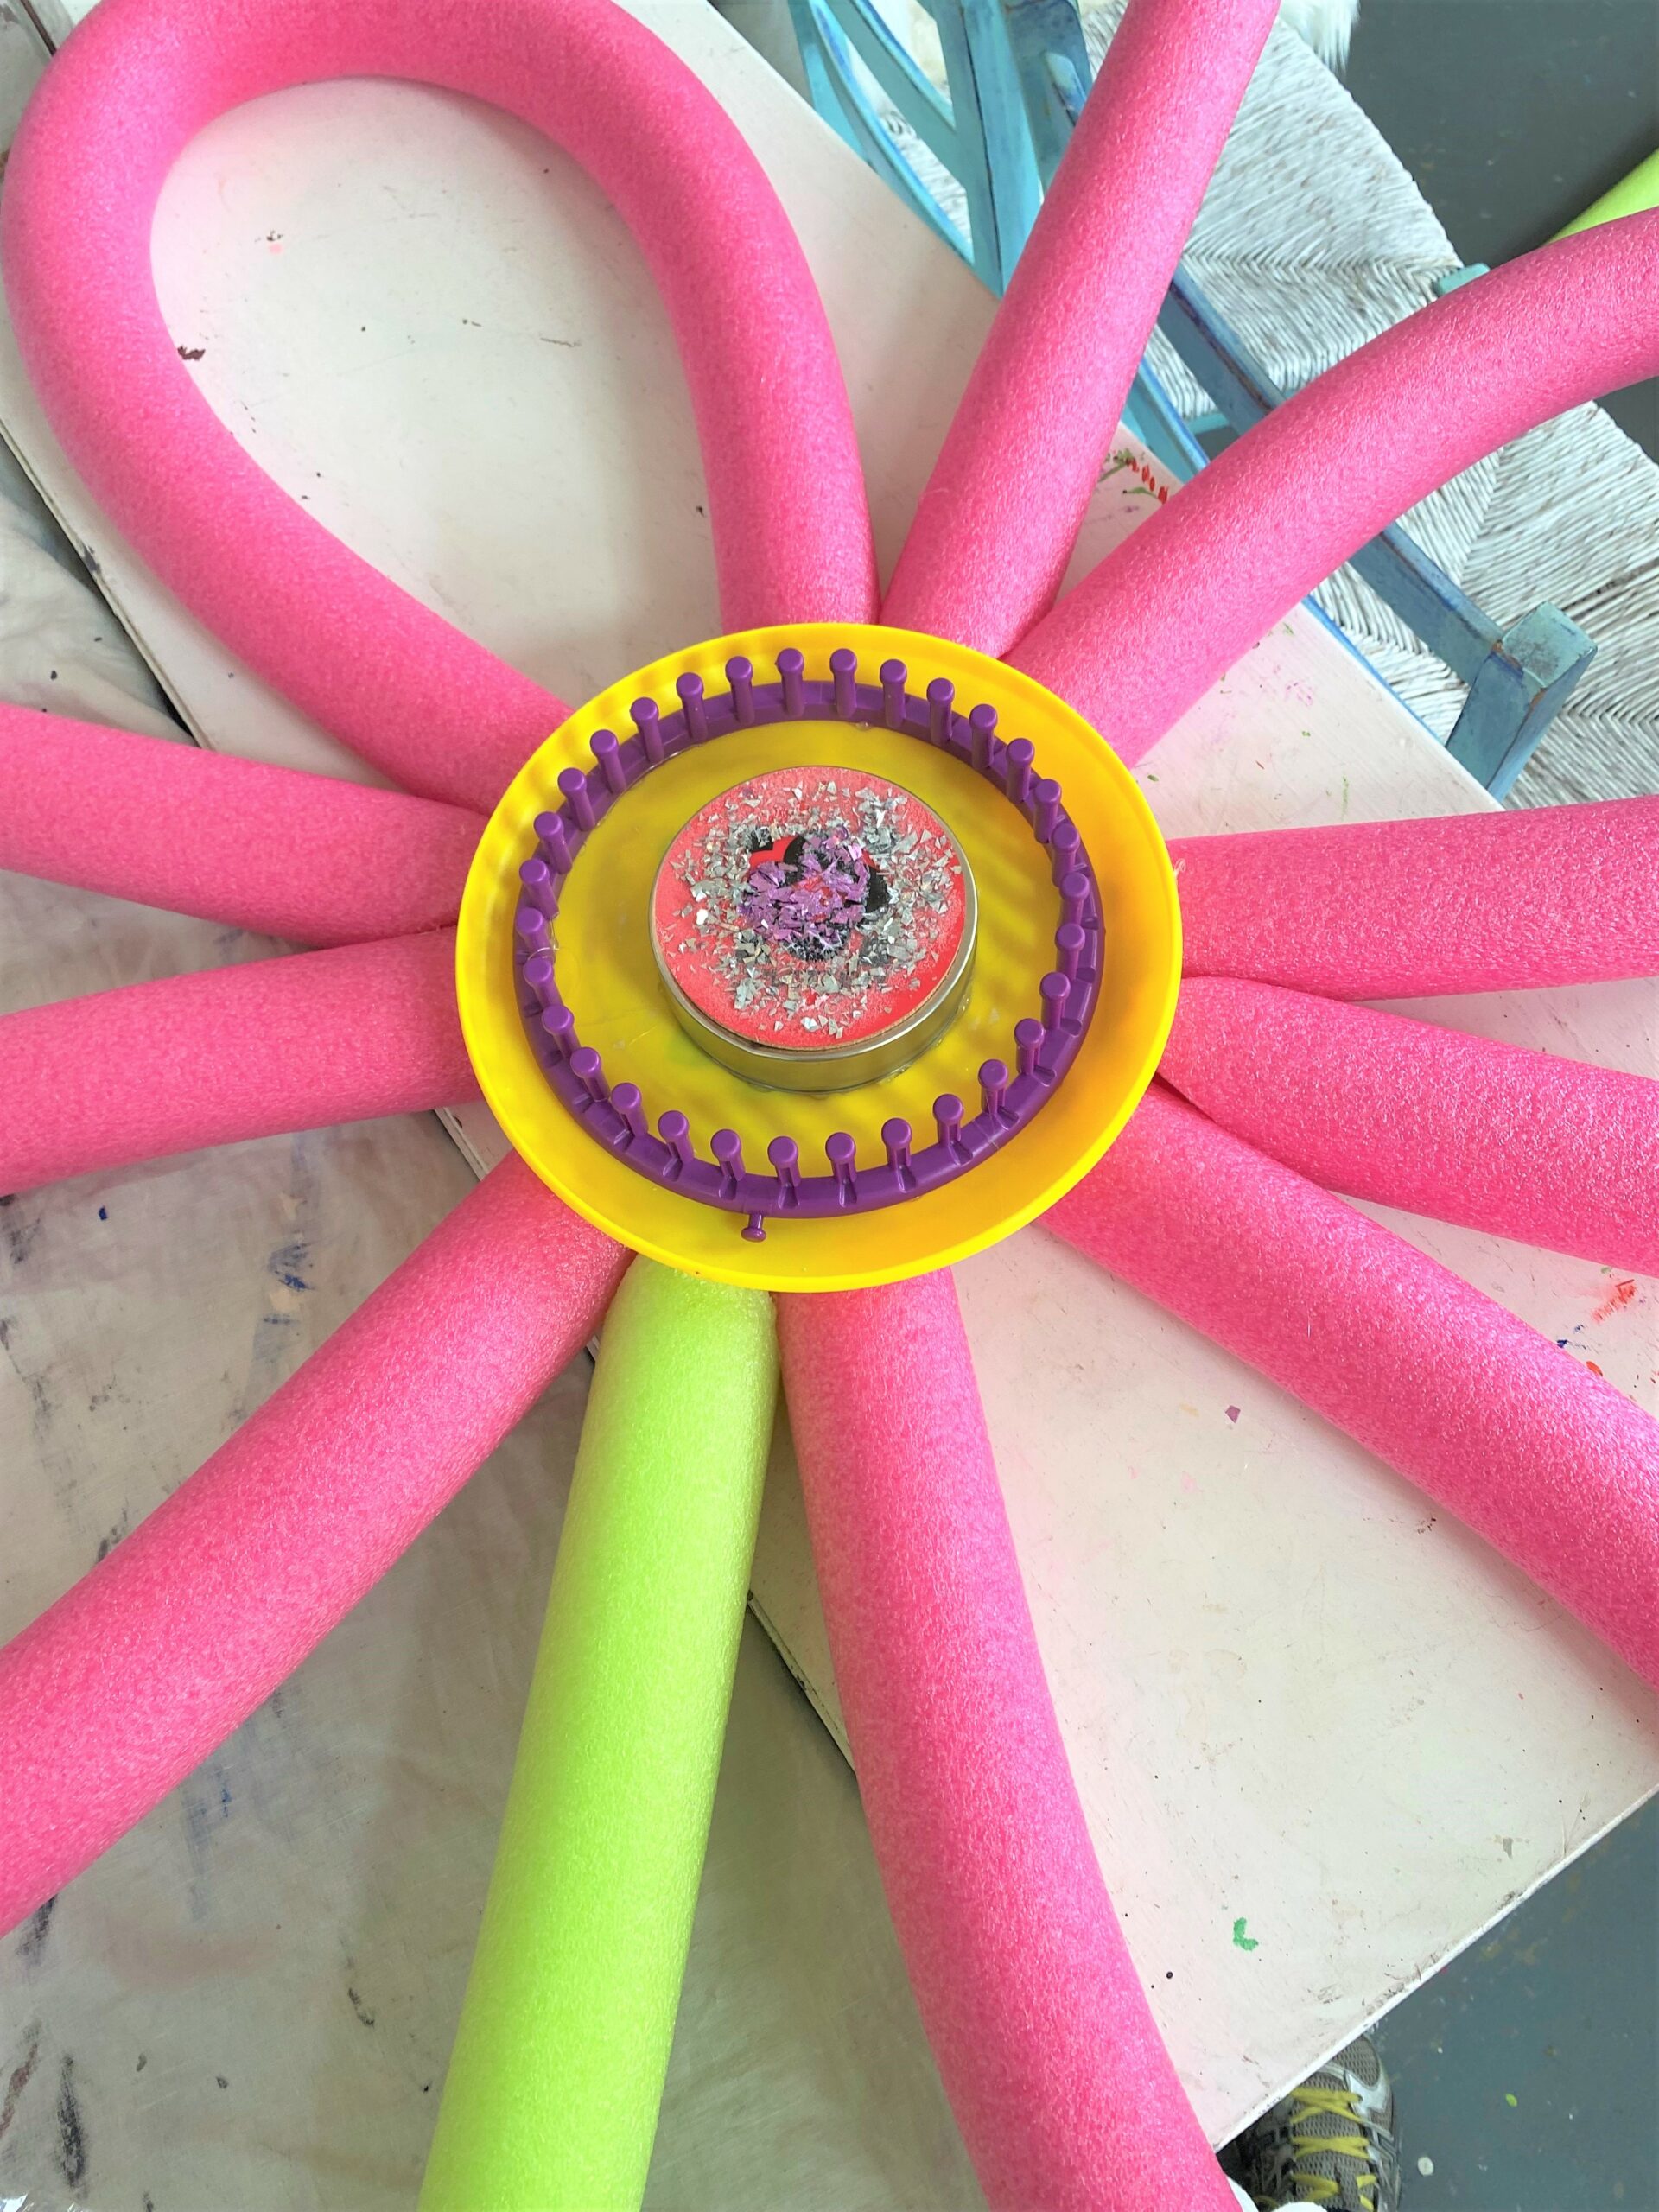
- Place one of your flowers on your worksurface with its right side up. In the center, glue your deviled egg dish, round knitting tool or a slightly smaller plastic plate.
- Use more hot glue to secure.
- On top of that, you might want to glue a jar lid, round coaster or other object to add more visual interest. As you can see, one of the flowers got a center detail which was a cut piece of a contrasting-colored noodle.
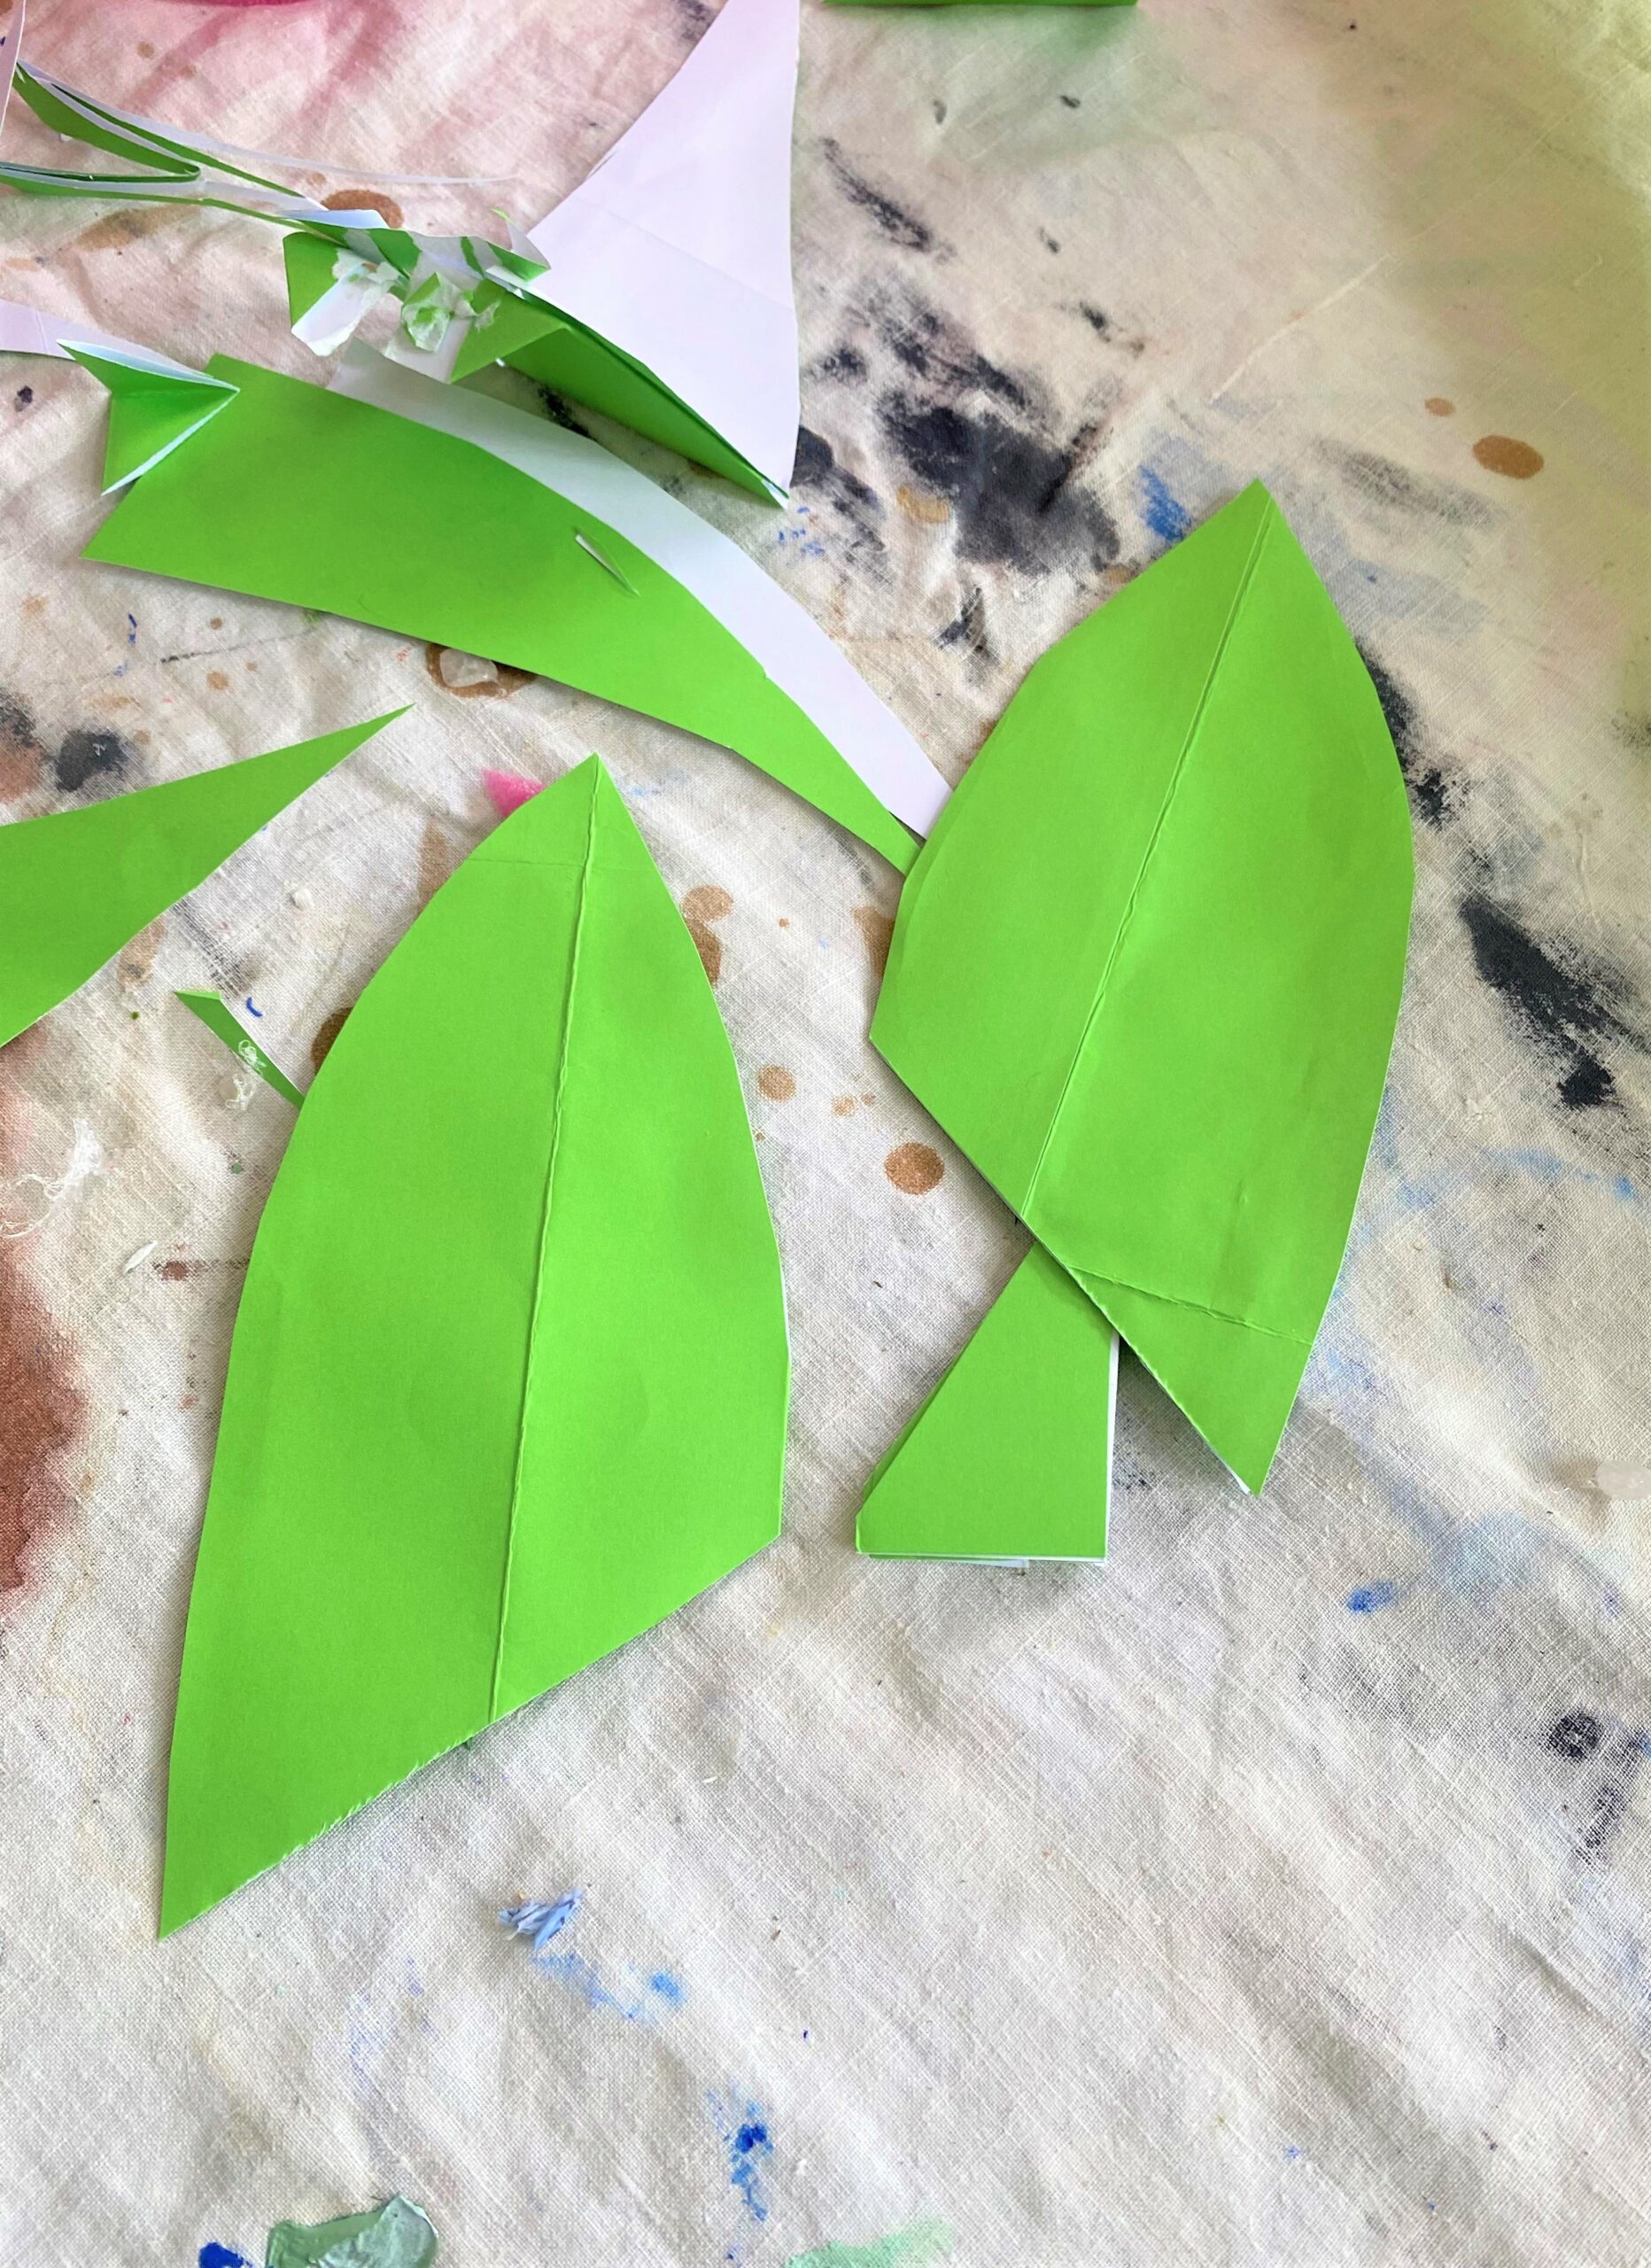
- In my supplies, I came across a bright green gift bag, so it was cut in the shape of two leaves and glued in place on the stem. It was the perfect color and touch!
- You could also use a green noodle and cut it in medium-sized pieces to fashion leaves for one of the flowers. I only had three green ones which I needed for stems, so might need to pick up another one to do this!
What fun items might you add to give your flowers some flair?
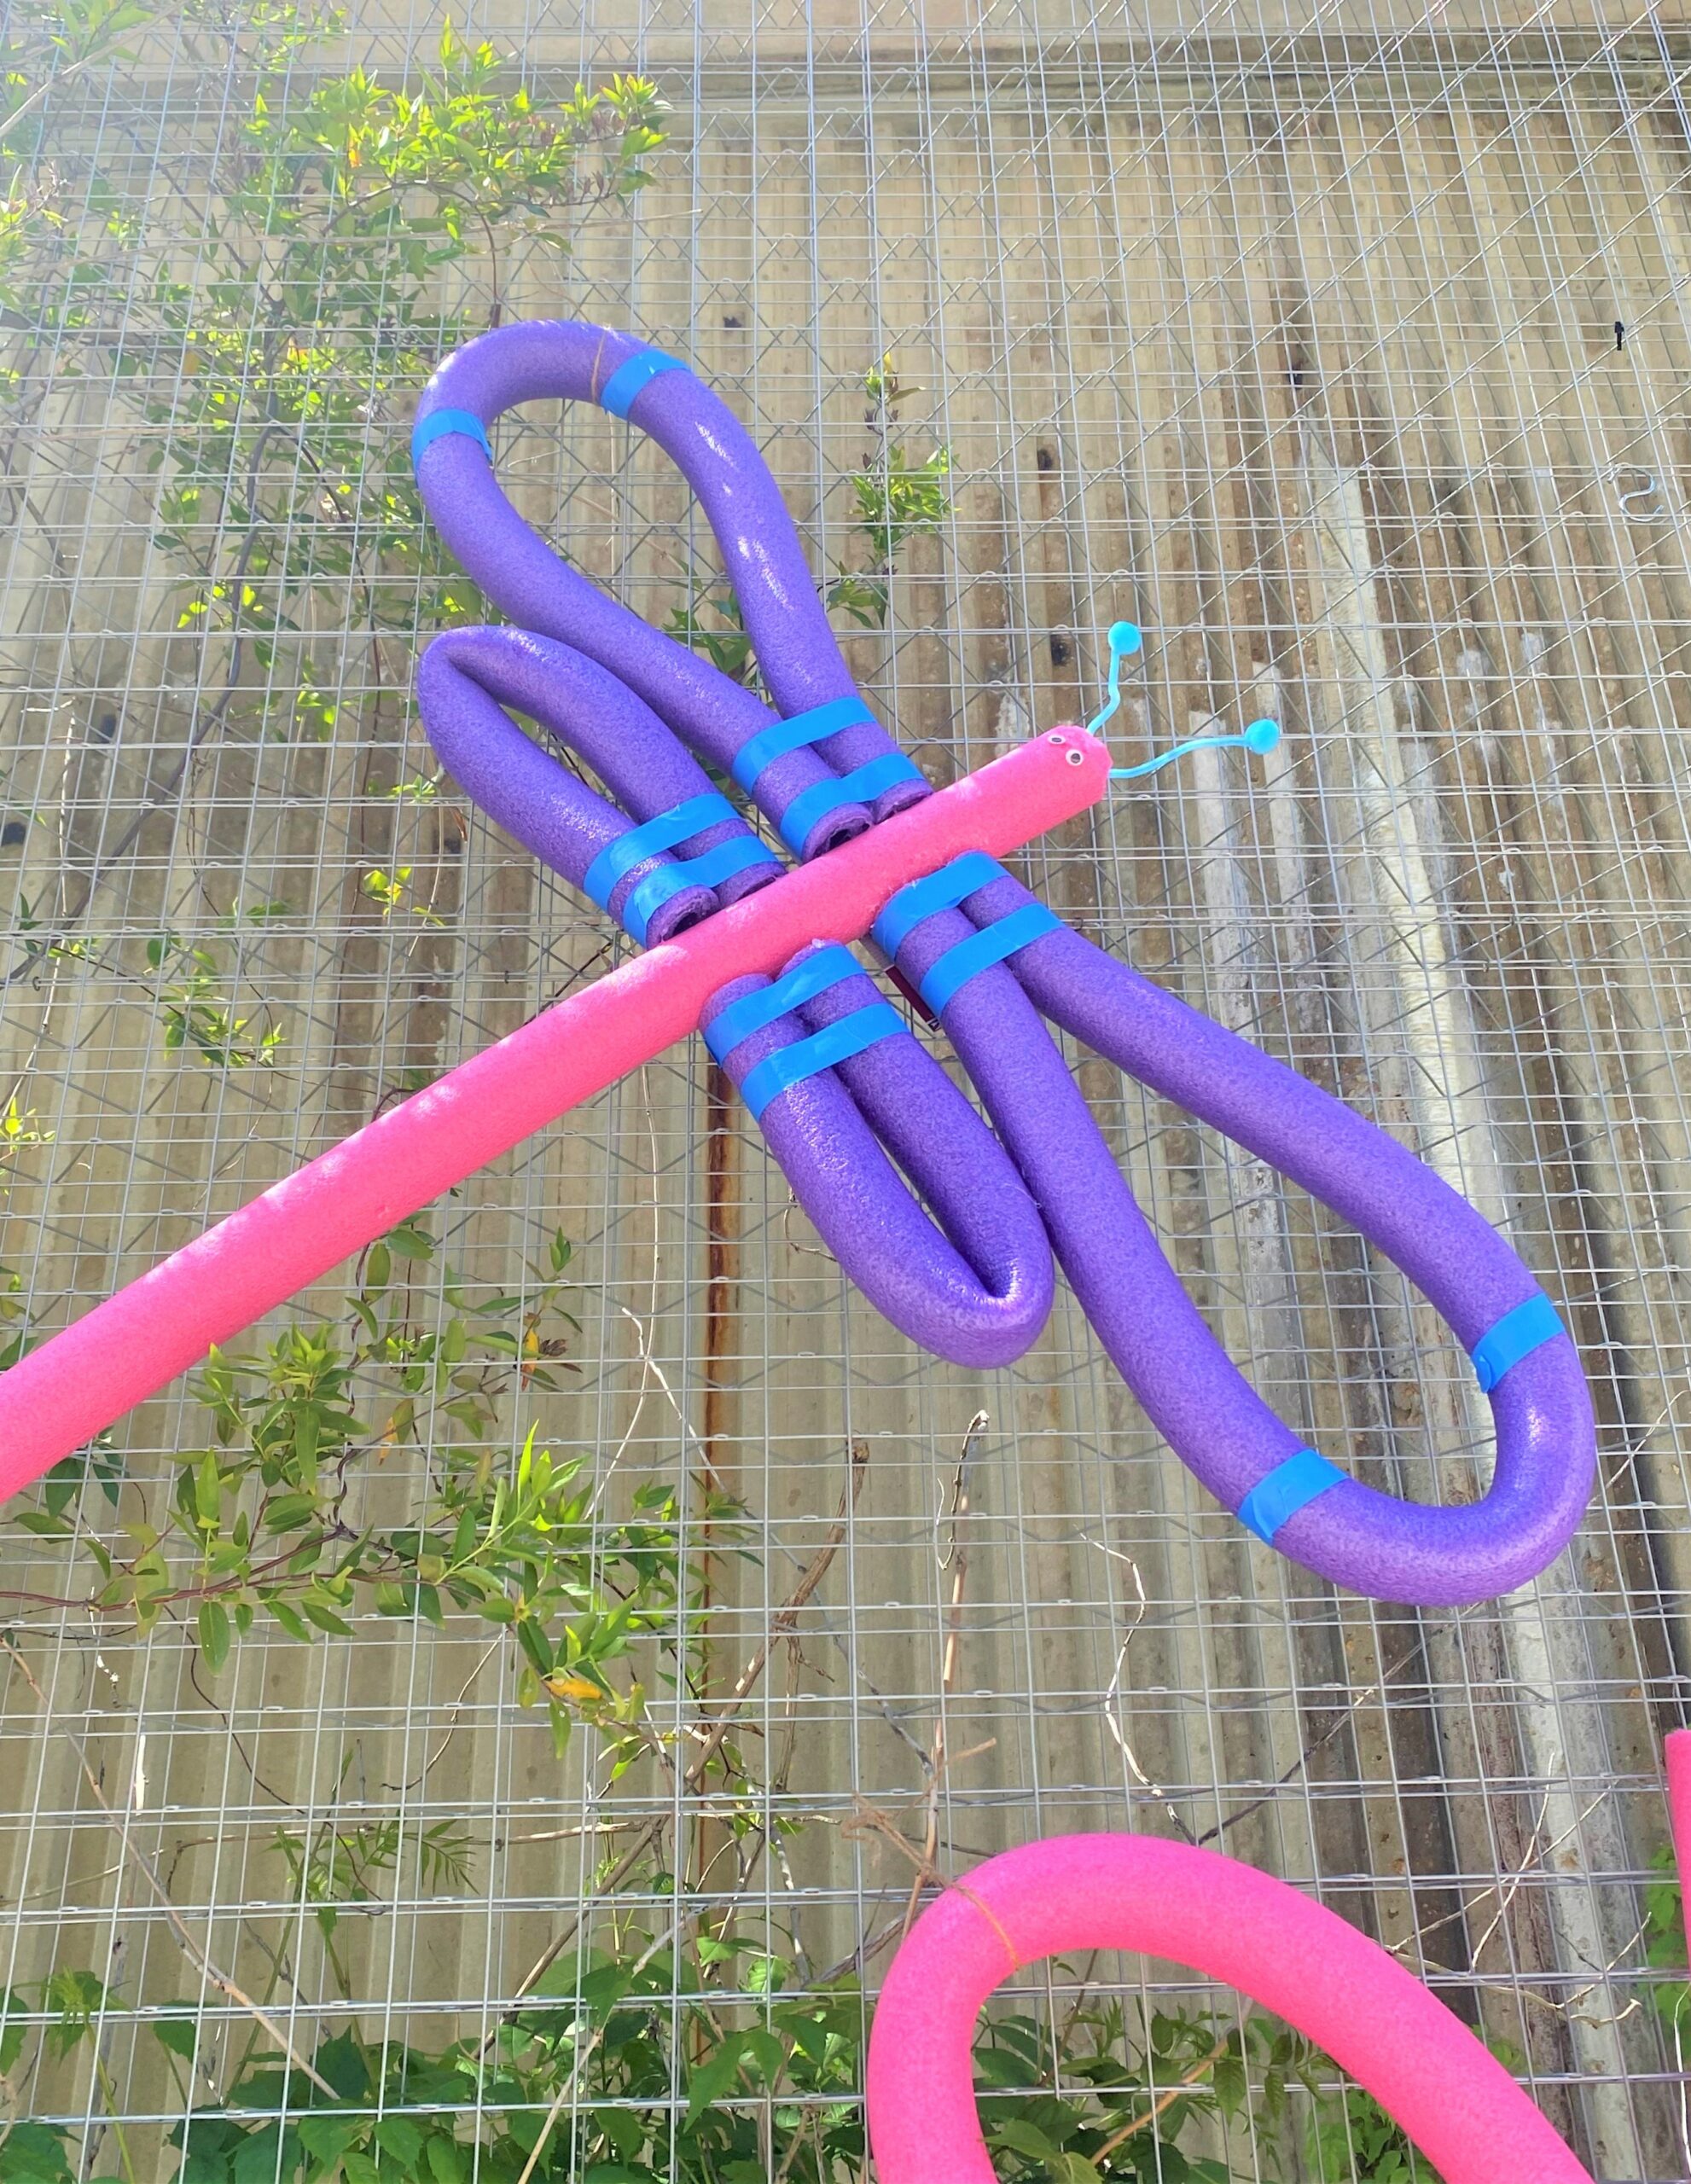
Dragonfly Design
- To keep a watchful eye on your pool noodle flower garden, you might want to create a friendly dragonfly.
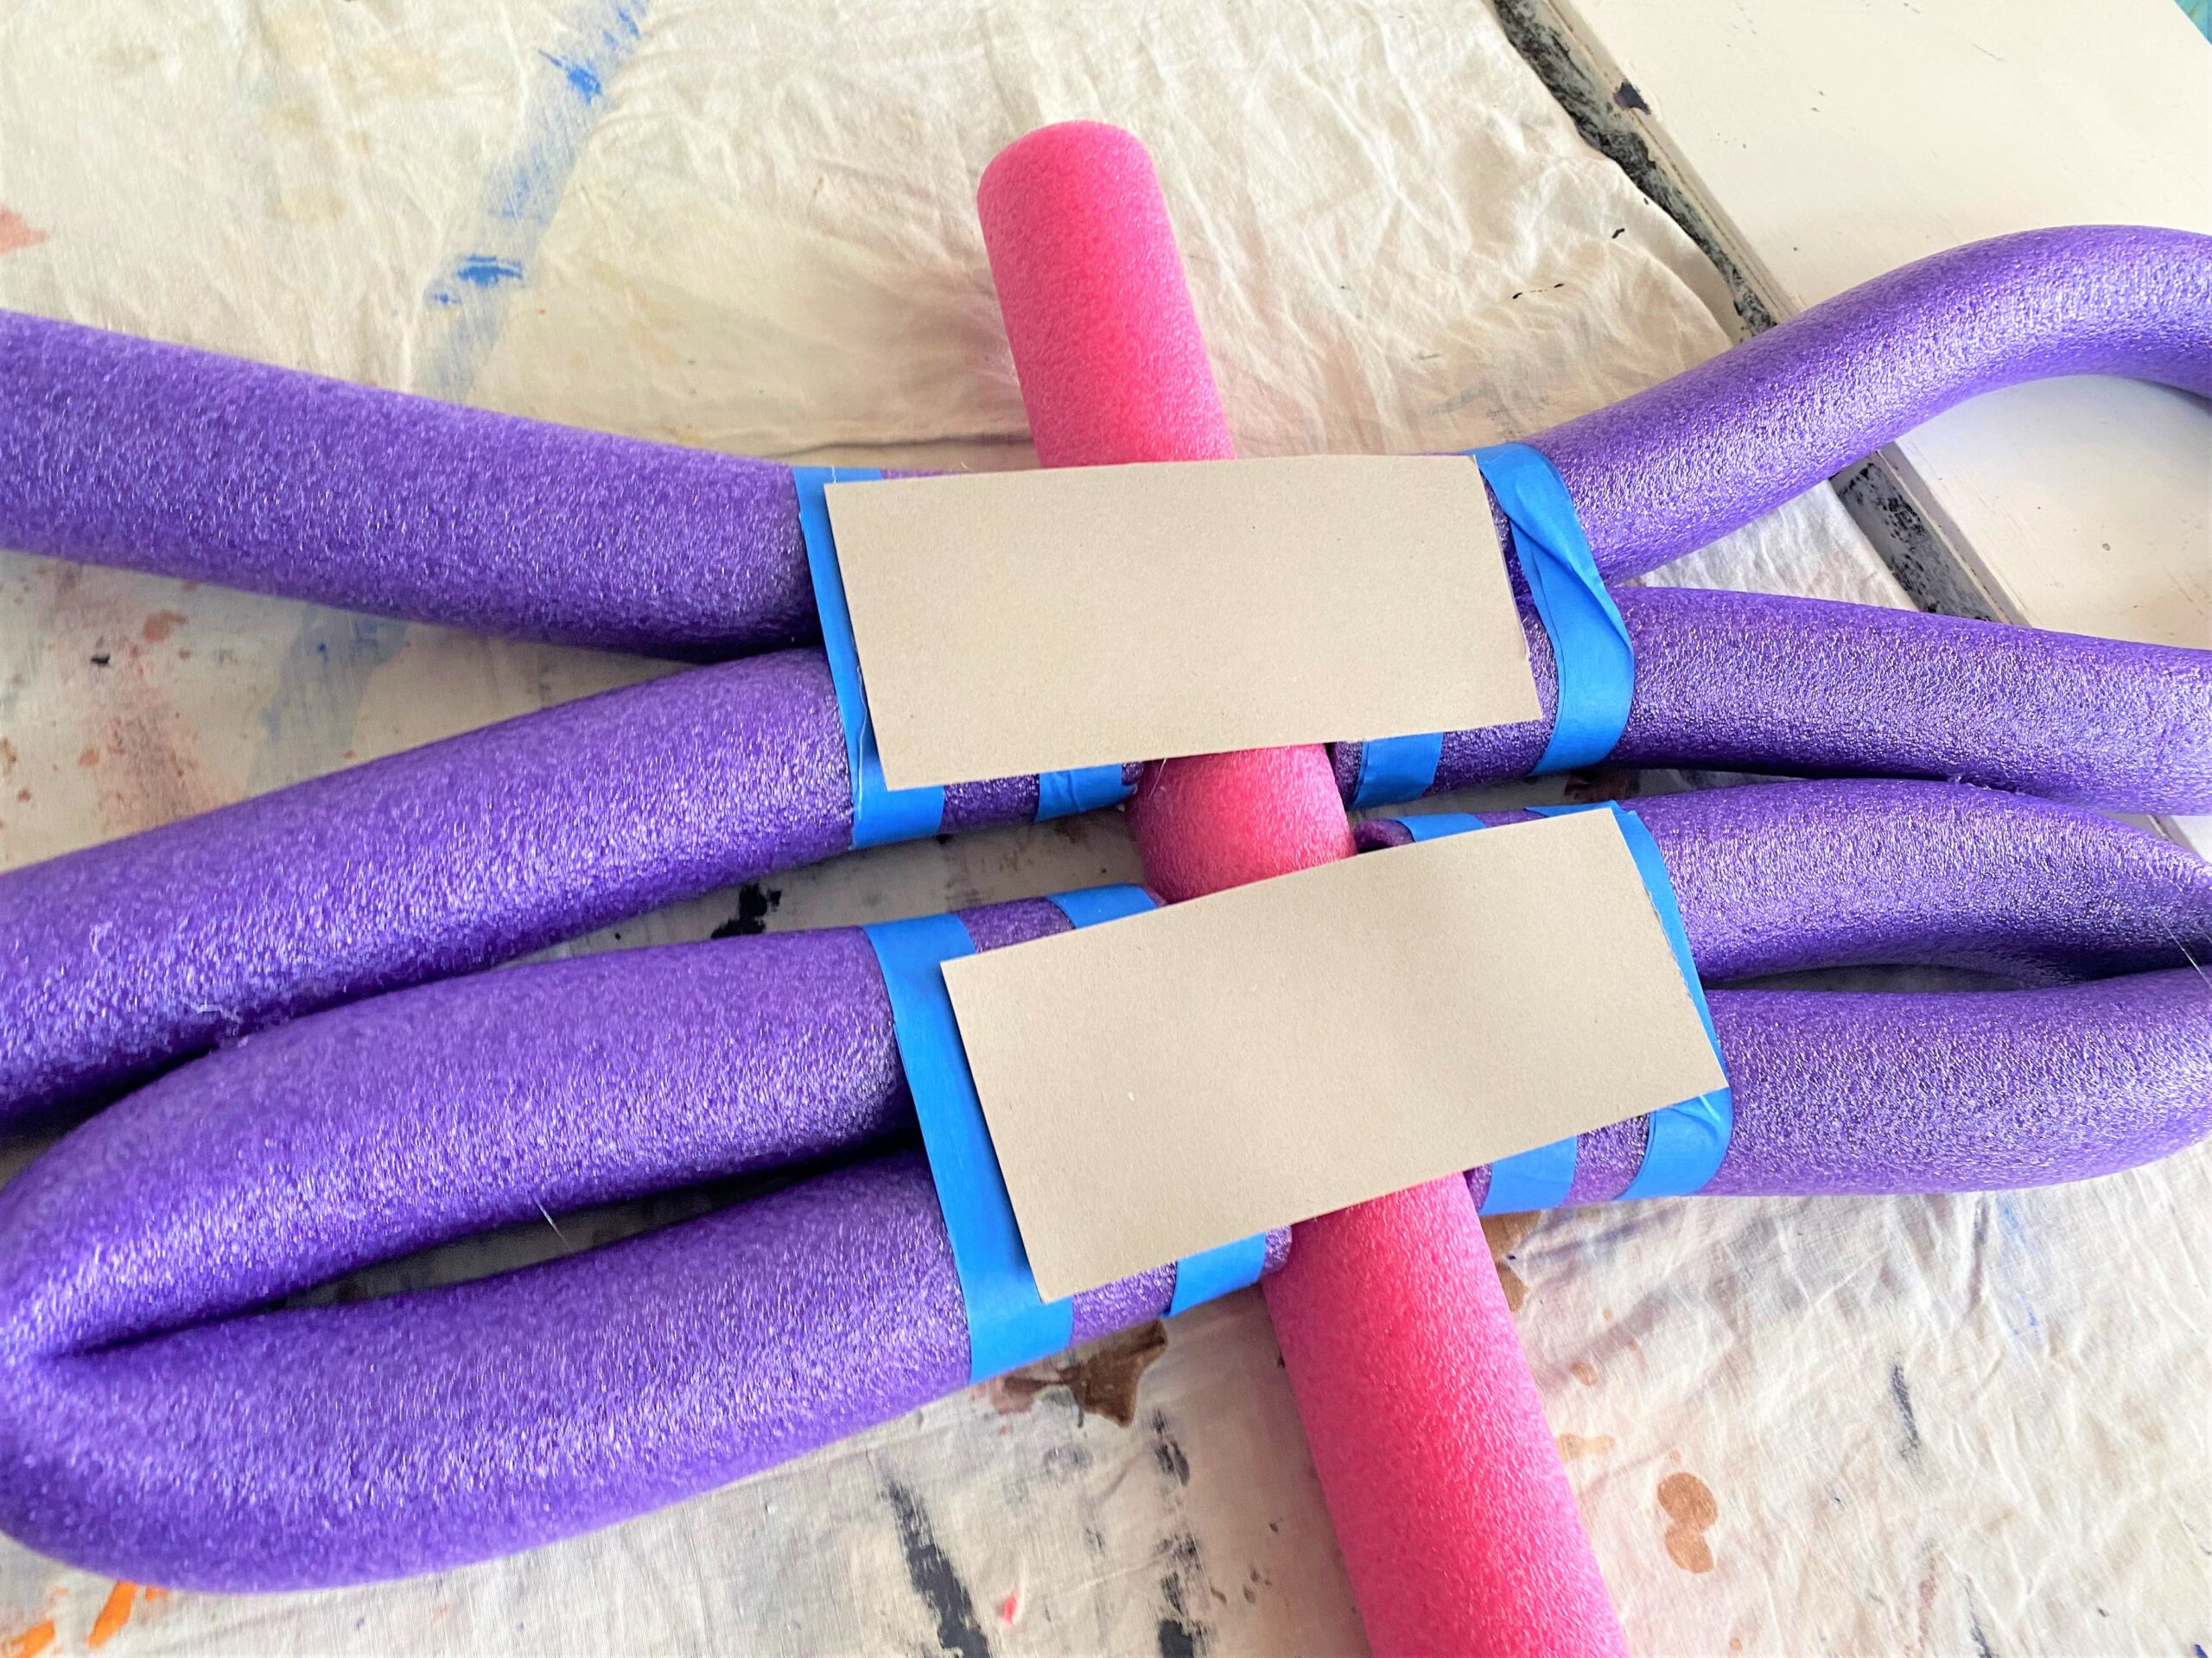
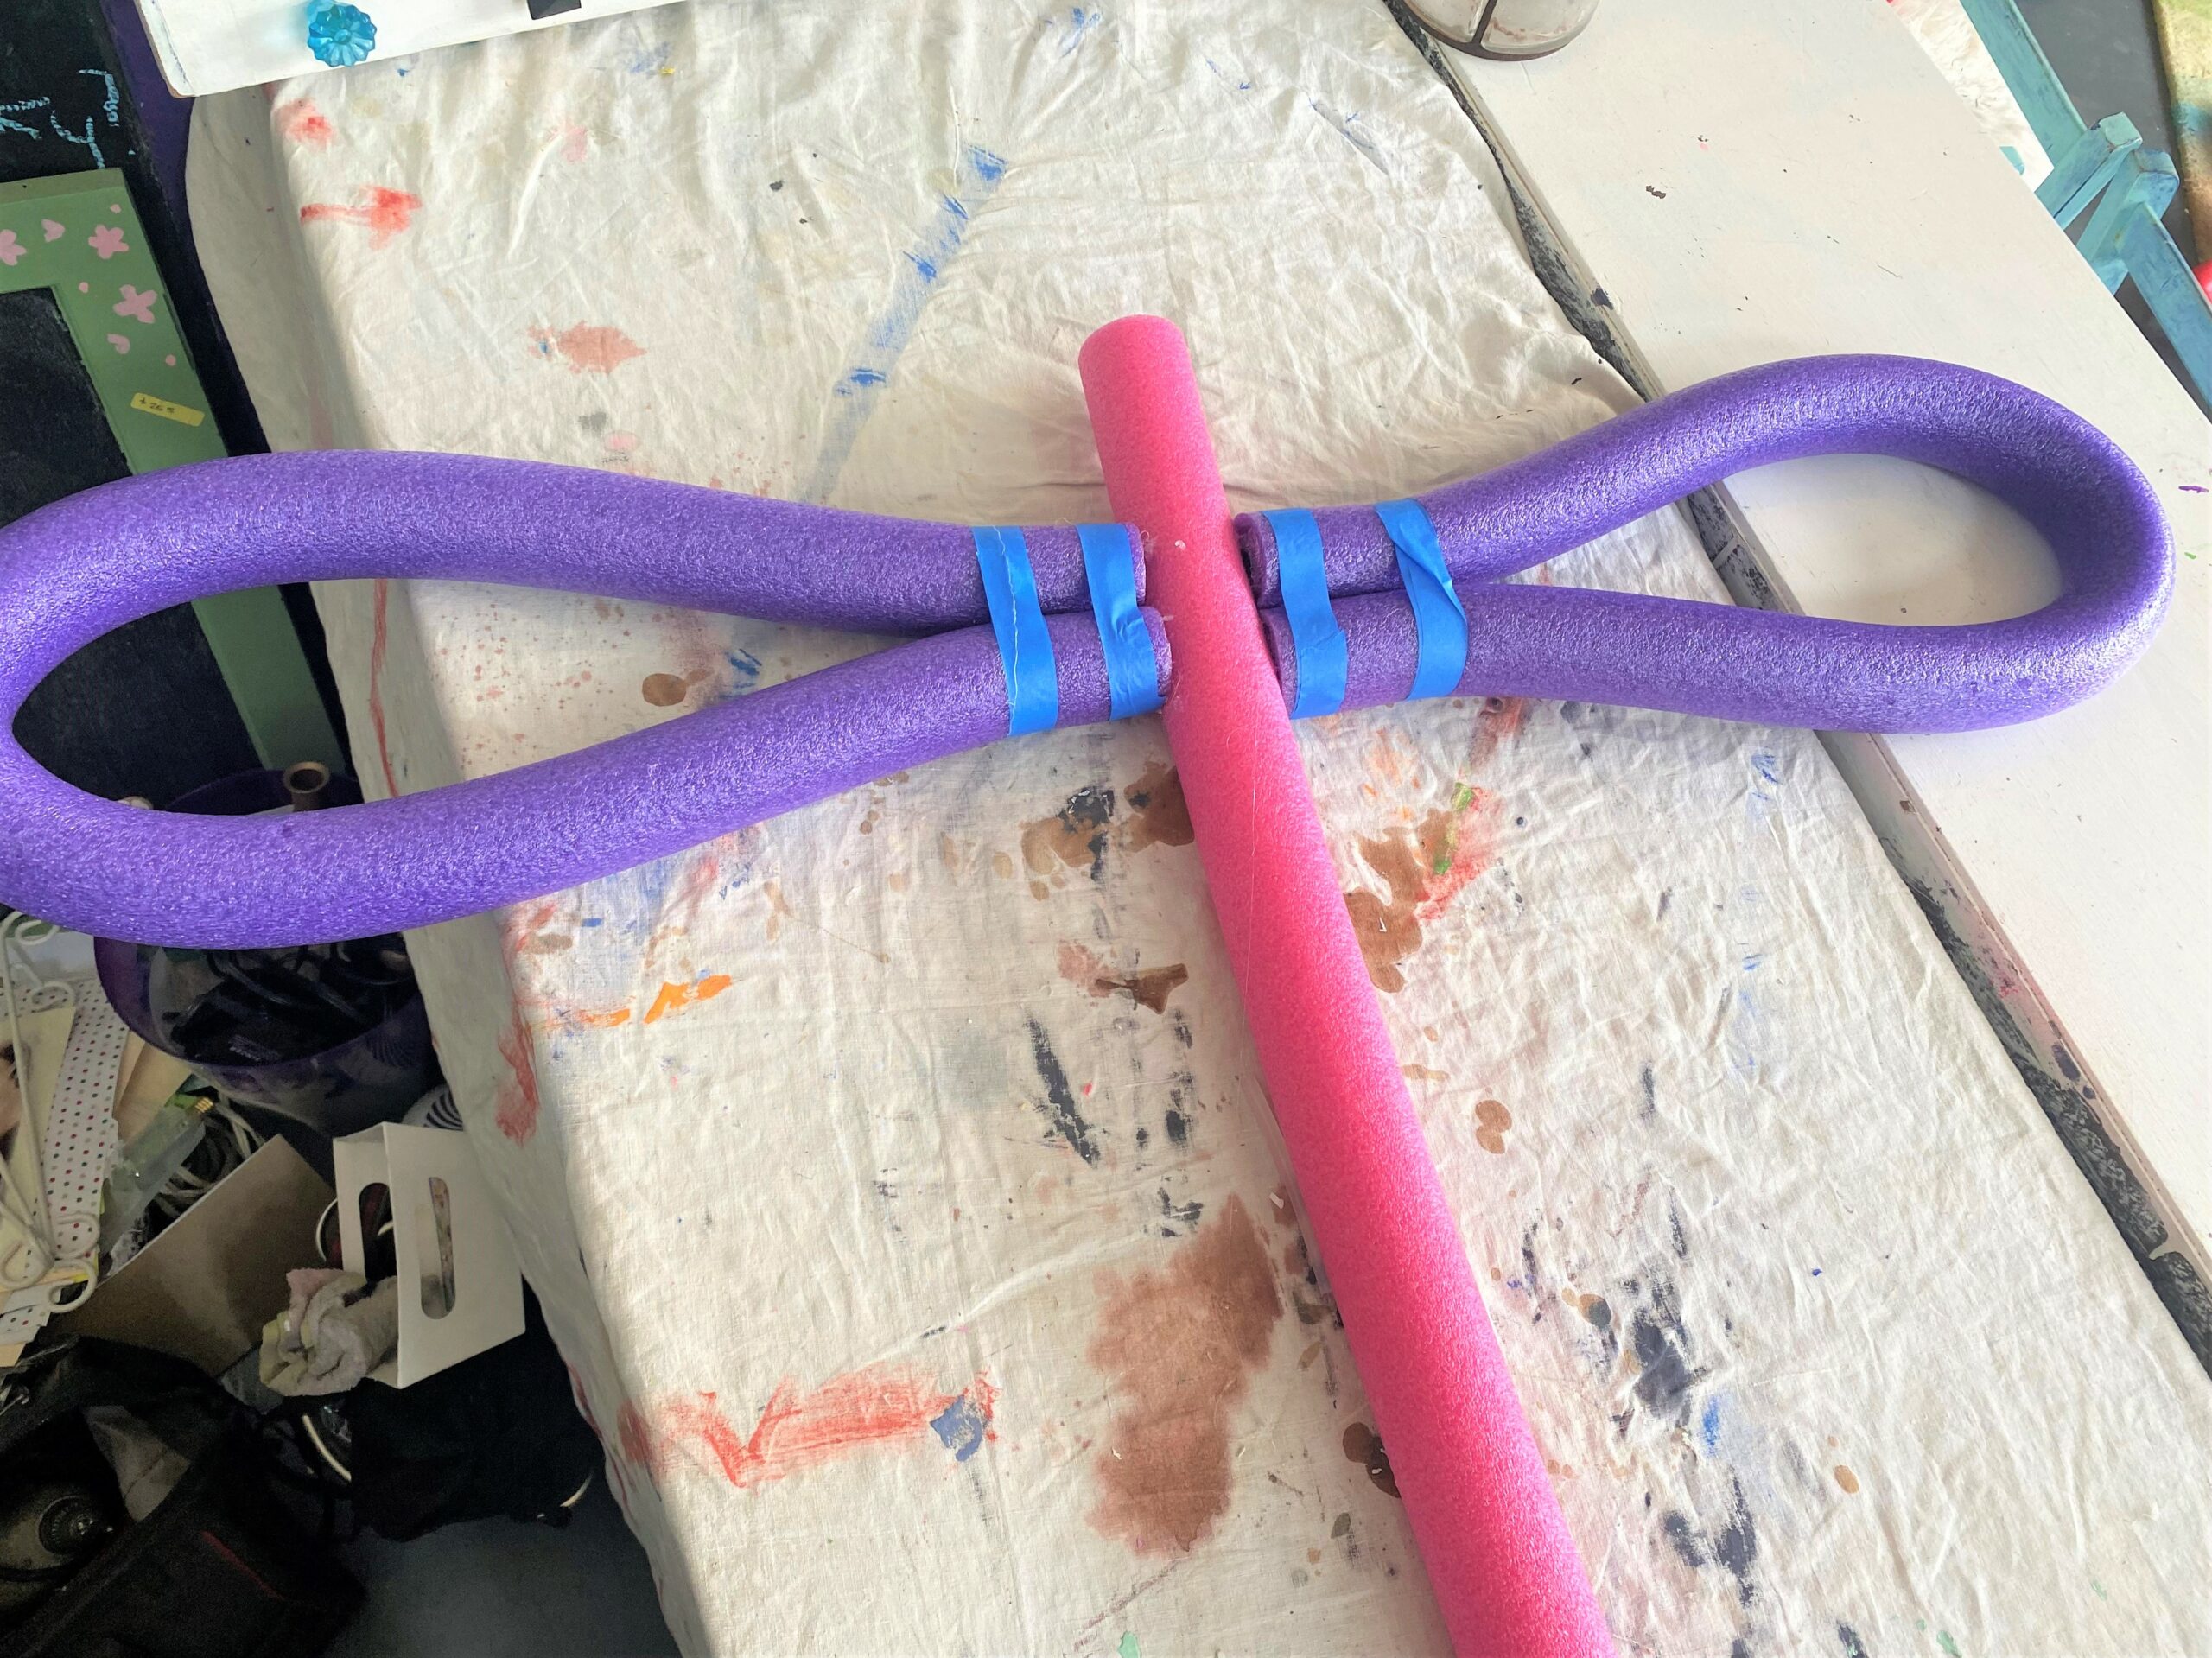
- Place a pink noodle on your worksurface; this will become the dragonfly’s body. Modeling the larger petals for the pink pansy, carefully bend a purple noodle in half, glue the two ends together and wrap it with painter’s tape to hold it. Make two “wings” this size. With another purple noodle, cut away a third and repeat this step with the remaining two-thirds piece. This will be the smaller wing, so do this two times as well.
- Secure the bigger wings to the pink body, giving a little space at the end for the dragonfly’s head. Right below the bigger wings, hot glue the smaller ones. Cut out piece of cardboard and glue it so the body and wings are touching; this will give your dragonfly’s wings needed support. Flip it over so the part with the cardboard now is the back.
- Trim the head area so the sharp edge is a little rounder. For its tail, cut the other end in a point.
Embellishing Time!
Give your dragonfly some personality by gluing a pair of googly eyes on its “face.”
- Create antenna by bending a pipe cleaner in half, adding glue to the middle of the bent part and inserting it into the hole in the dragonfly’s top/head.
- Secure two small pompoms on the ends of the pipe cleaner.
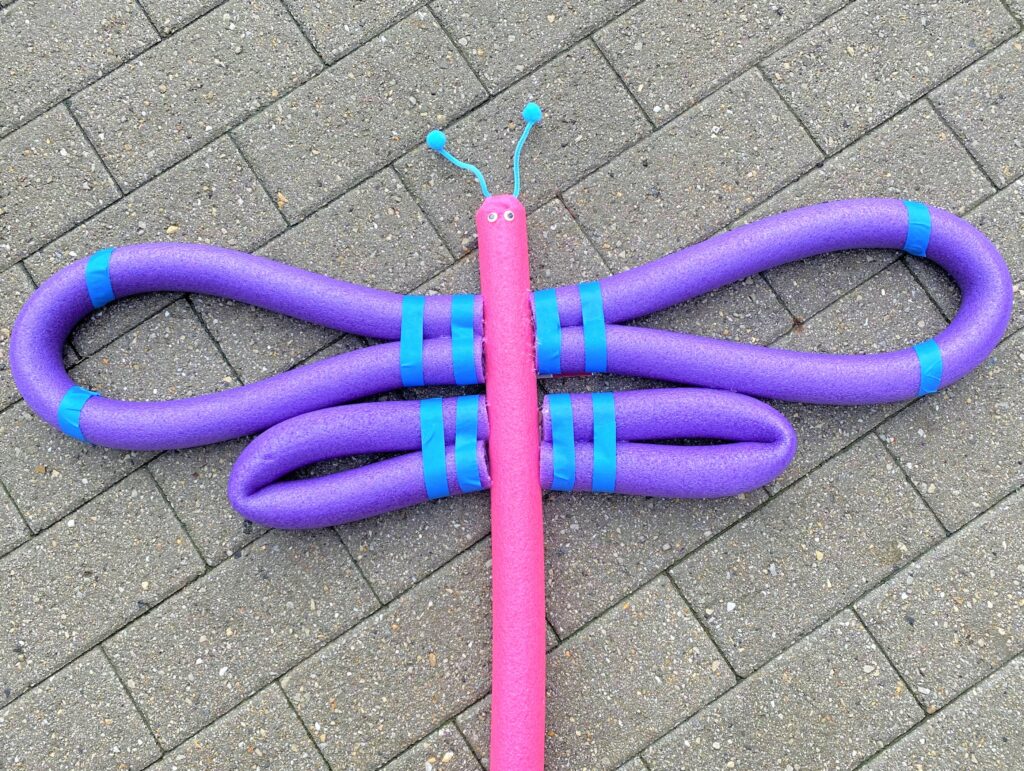
Since you are able to see the painter’s tape which hold the wings together, additional tape was added to the wings to look like stripes and made the tape look intentional.
Plant Your Flowers
Use twine, string or thin wire to plant your flowers and make your dragonfly soar. Position them along your fence to give it some whimsy and charm. Secure them along a wall in your child’s room for a cute touch.

These are such happy flowers that you might want to leave them up all year-long….these big blooms and their dragonfly friend will look great all the time and bring smiles often, too!

Tim Kime
Artist, Motivational Speaker, Life Coach