Many furniture companies create items in neutral (and dull!) tones to appeal to the mass market. Why settle for the predictable when you can take a mainstream item and turn it into a masterpiece with paper and paint? Through a process called “decoupaging,” you can give new life to furniture that seems to fade into the background. Originated in France, decoupage refers to decorating furniture with paper. You can easily transform your piece this way! The wonderful end result is certain to make you say, “Ooh la, la!”.
Ability level: Moderate Age Level: Teenagers & Adults
Items needed:
- Side tables (although dressers, coffee tables, and wooden chairs are great options, too)
- Paper for decoupaging (maps, postcards, sheet music, wallpaper work well)
- Spray paint
- Modge Podge
- Sandpaper or sanding block
- Scissors
- Paintbrushes
- Squeegee
- Polyurethane (spray or can)
- Tape measure or ruler
- Painter’s Tape (optional, based on look desired)
- Screwdriver (depending on your piece)
Time requirement: Four hours per side table, not including paint, Modge Podge and poly drying time.
Cost: Approximately $25 each
- $6 to 10 per side table
- $5 for spray paint
- $0 to $5 for paper
- $5 for Modge Podge*
- $5 for poly*
- $5 for painter’s tape*
Step 1: Pick Your Piece
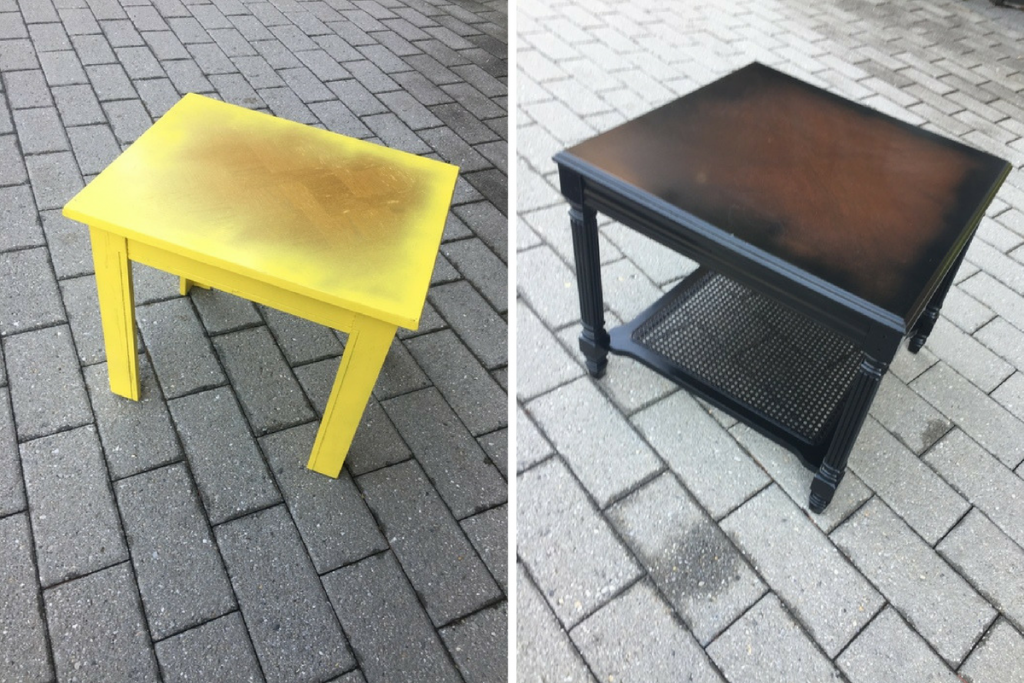
One important reason to stop by your local Goodwill Retail Store on a regular basis is that items change daily, so you never know what you might find while hunting. Depending on the day, you may find a great deal on a specially tagged item. Look for solid pieces with plenty of flat surfaces on which to decoupage and paint. (I liked the simple lines and groove on the one side table. The other one had a surprise drawer and ornamental hardware accents, much to my delight.)
Step 2: Prep Time
To get your piece ready for painting, lightly sand it using a fine grain sandpaper or a sanding block. This will help the ensure the paint adheres well to the surface. Then use a damp rag or paper cloth to wipe down the entire piece to remove the dust caused by sanding.
Step 3: Spray Painting
Remove any hardware from your piece and set it aside. Take your piece outside or into a room with good ventilation. After placing your piece on a drop cloth, spray your piece lightly knowing you will return with several other light coats to ensure solid coverage. Allow drying time between coats. To ensure you don’t miss a single part, turn your piece on its side and paint at various angles. For these tables, I knew I would be covering the top with paper, so I didn’t want to waste time or paint by spraying the tops. When thoroughly covered, leave your piece to dry overnight.
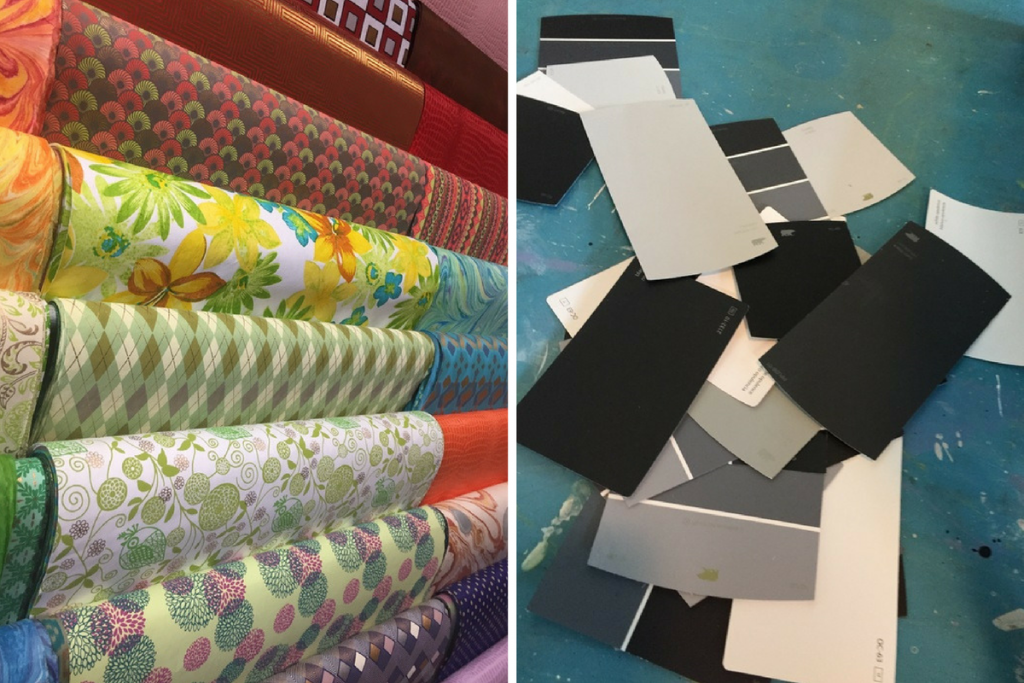
Step 4: Play with Paper
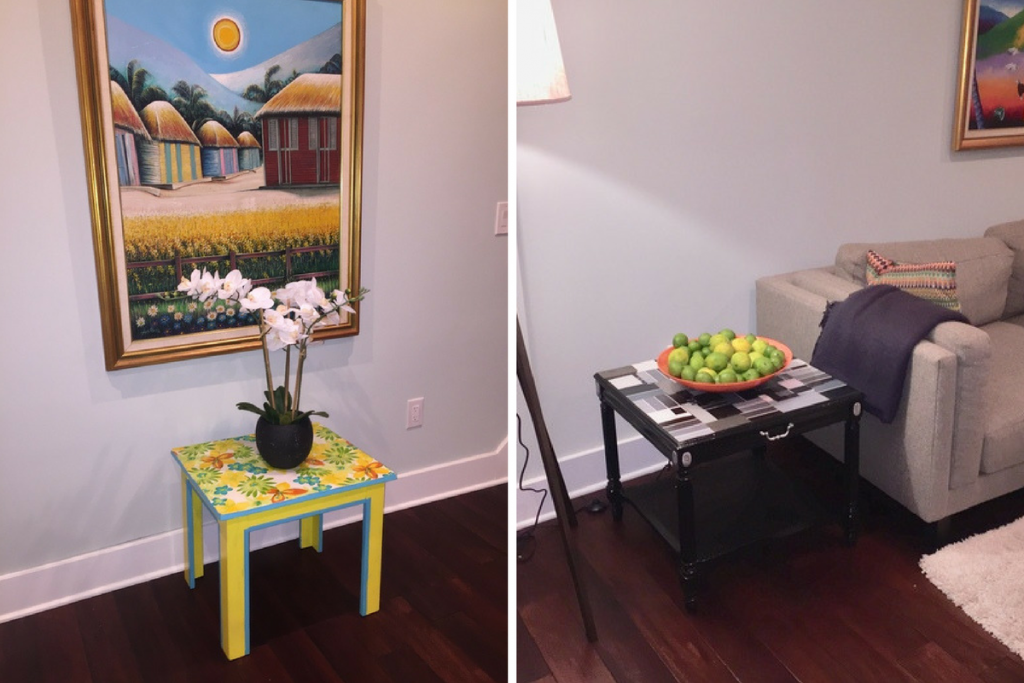
There are so many options when you decoupage. Magazines, calendars, postcards, wrapping paper, comic books, sheet music, maps…the list goes on and on! You can also cut and layer paper to really tailor your piece. For one table, I selected tropical looking paper from a craft store. For the other table, I used paint chip paper picked up from my local hardware store.
Step 5: Measure
What is the saying from experts? Measure twice, cut once. If your paper is bigger than your piece, use your tape measure or ruler to measure it twice, mark it and cut it.
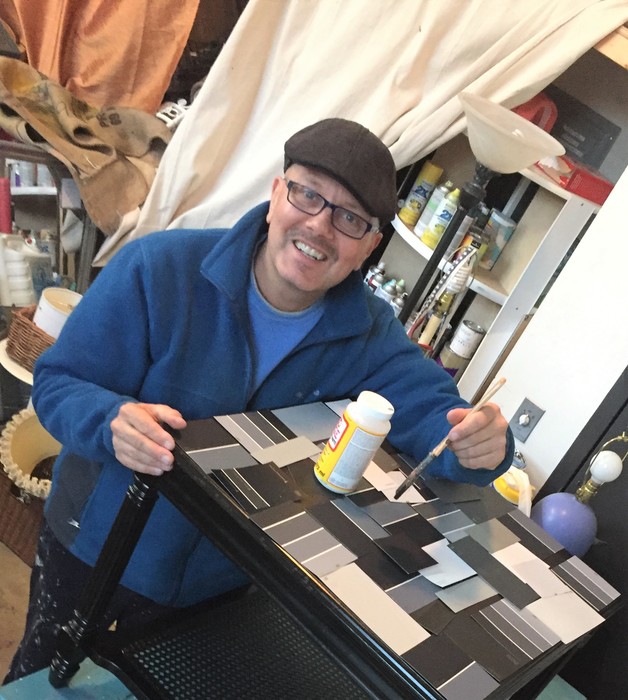
Step 6: Modge Podge Magic
Modge Podge is the glue that will affix the paper to your piece. With a paintbrush, apply a thin layer of Modge Podge on the surface where your paper will go. Turn your sheet of paper over and place a thin layer on its back. Turn the paper over so that the Modge Podge side (back side of the paper) is placed on the Modge Podged surface (i.e. glue to glue). If you need to move your paper to ensure it is in the right place, do so immediately while the glue is still wet. Once in place, then brush on another layer on top of the paper. Using your squeegee, pull it from the center to the edge to remove all air pockets and extra glue. This will ensure a tight fit of the paper to your piece. Remove the extra Modge Podge with your paint brush. Also, use your paintbrush to smooth out any glue on the top surface. If you use smaller pieces of paper, use this same technique for each piece.
To add unexpected fun to my piece, I decoupaged the inside of the drawer with matching wrapping paper. Let this dry overnight.
Step 7: Got Hardware?
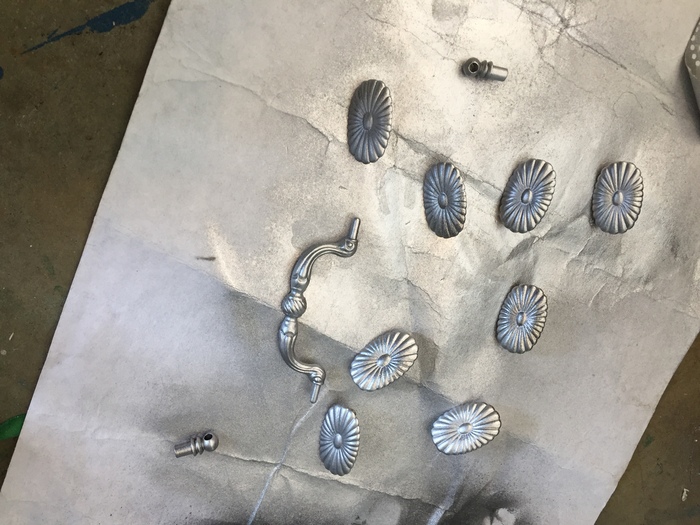
While your piece is drying (from either the spray painting or decoupaging), now is the time to transform any hardware. Spray paint your hardware for an immediate update. I took the worn out, dated hardware and, with silver paint, gave it some eye-catching bling.
Step 8: Bring Out Details
Depending on your piece, you have the opportunity now to add additional visual interest by painting parts in a complementary color. On the tropical color inspired table, there was a grove along the legs that I used as a natural dividing line. With some leftover blue paint, I made the piece more artistic by highlighting that space.
Step 9: Poly It to Protect It
To ensure your piece is protected against water stains or fingerprints, brush or spray on a coat of polyurethane. To keep the piece sparkling, I used a glossy poly. However, it is very common to use a semi-gloss to give pieces some (but not too much) reflective quality. Once dried overnight, add any hardware back to the piece.
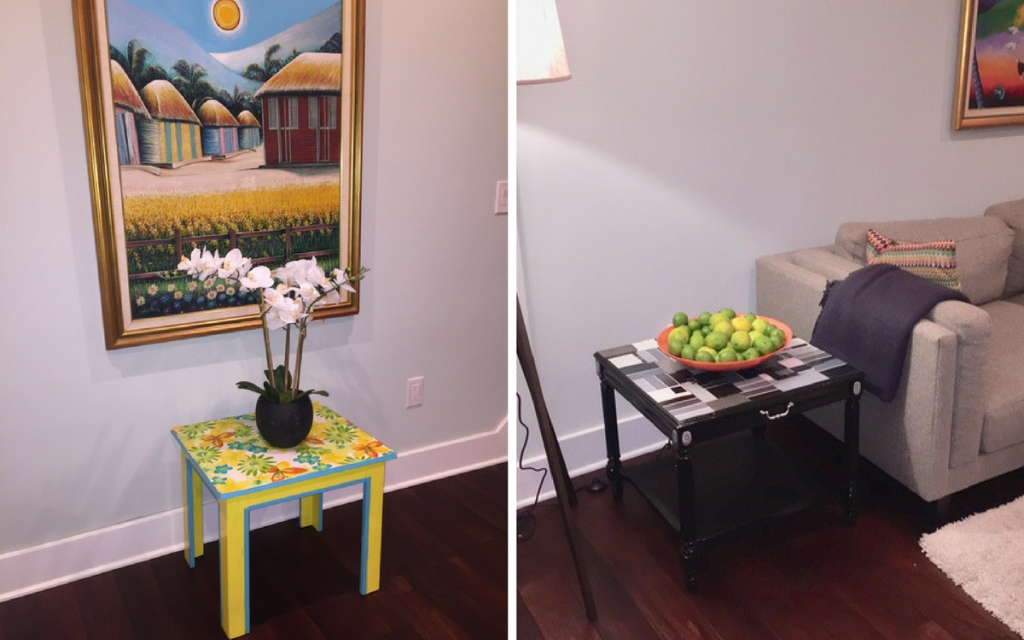
Step 10: Place It, Love It (& Accept All Compliments!)
Now that your formerly dreary piece is transformed, you have the excitement of finding that perfect place for it in its new role as furniture “eye candy.” I’m sure you will look at the papers in your world with new possibilities!


