Serve Up Compliments with Personalized Tray. This Project is Kid-Friendly Too!
Transform a run-of-the-mill serving tray with paint & embellishments into a one-of-a-kind, functional piece of art to give or keep!
Level:Kids of any age, with some assistance with painting
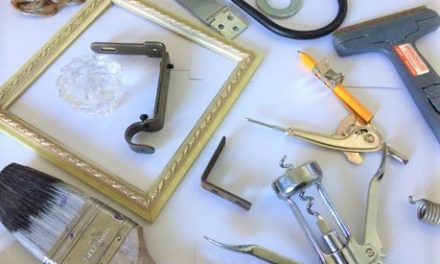
Items Needed:
- Serving tray with flat bottom
- One can of spray paint
- Small can/leftover paint
- Flat accents like eye-catching art paper, stickers, postcards, clip art
- Scissors
- Modge Podge
- Small paint brushes
- Small foam brush
- Small can of Polyurethane
- Screw driver (depends on tray selected)
- Painter’s tape (depends on tray selected)
Time Requirement: 1.5 hours, not including drying time
Cost: Approximately $15
- $5 for serving tray
- $5 for Modge Podge (lots left over)
- $5 for spray paint (with more for your next project)
Step 1: Shop ‘til you drop—or at least ‘til you find your good item
Can you keep a secret?
If more people knew about this project, they would keep all their trays for themselves. Thankfully for you, people donate them (and many other cool things ideal for transformations) to Goodwill so you’re likely to find many interesting options.
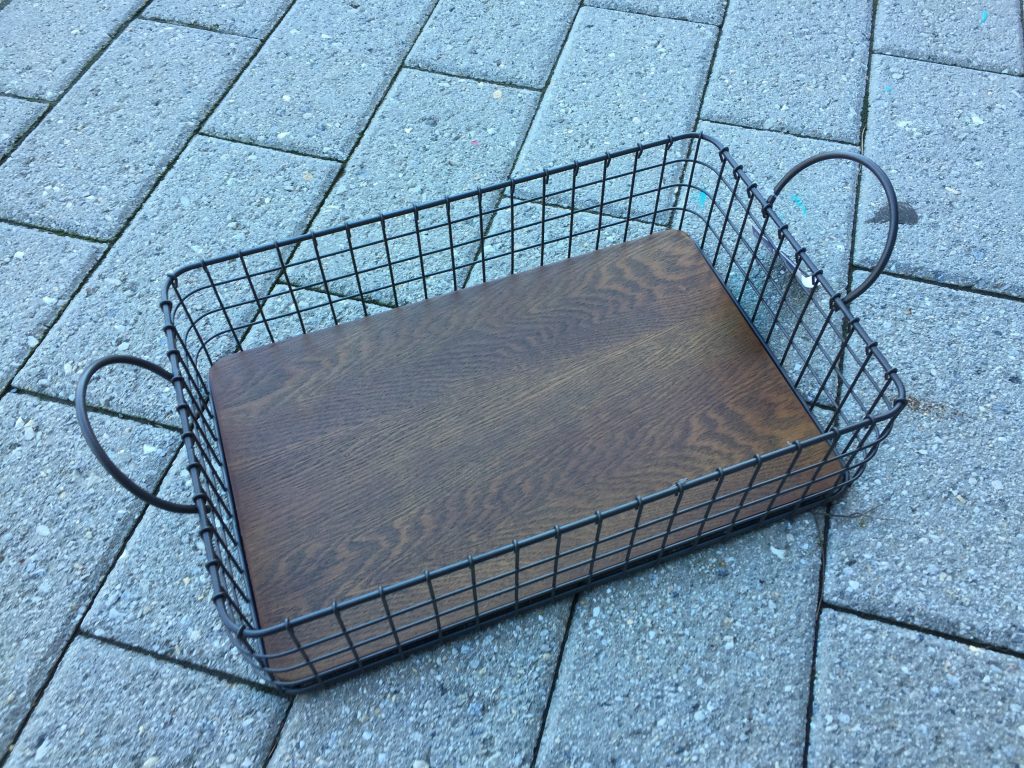
You’ll be on the hunt for a tray with a flat, solid bottom on which to express your creativity and to personalize your piece. Any shape or size will work; this tray was perfect because it had handles and its edges made it deeper. Wicker ones or ones with wooden slats along the bottom won’t work for this project although there are many ways to upcycle any tray!
Step 2: Remove bottom and prepare to paint
Based on your chosen tray, you may need to remove the bottom or other parts (like handles) that you don’t want to cover in your new spray paint color. Remove that piece and place aside.
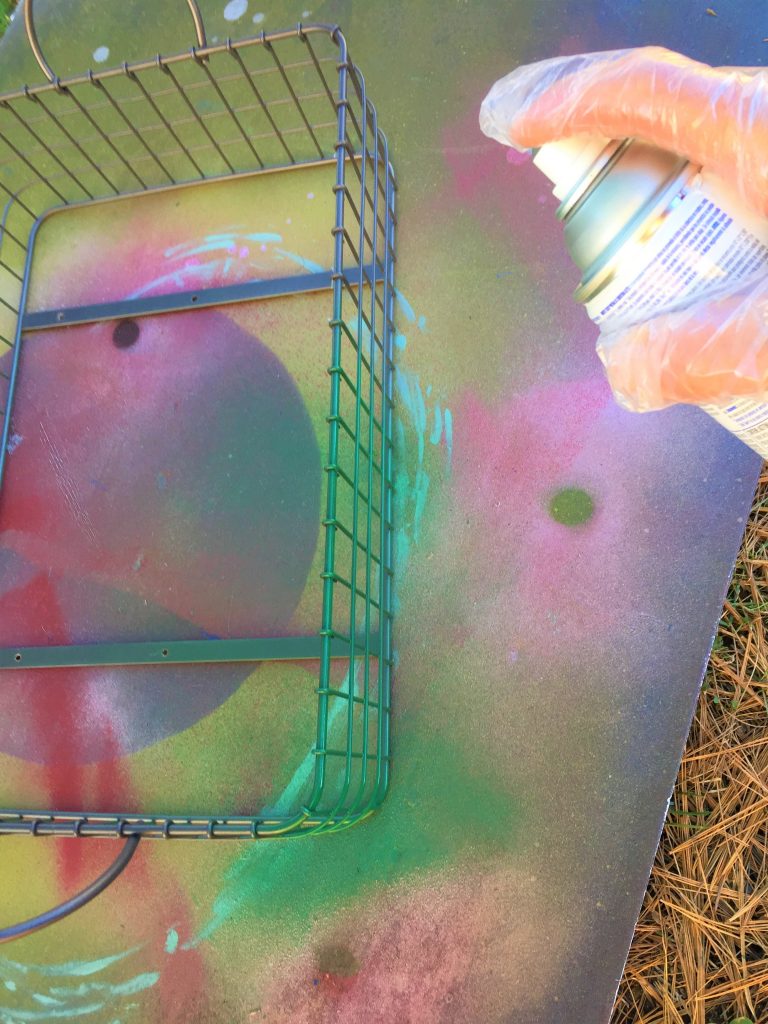
Put your tray frame outside or in an area with ventilation and on a drop cloth. With a colorful can a spray paint, add a light layer all over the exposed edges. Let this dry for an hour then flip the tray over and add another layer. This will help ensure you get every surface covered with paint. With this one step, you will take your tray from generic and bland to gorgeous and bold. Given that a serving tray is not a large item when compared to a kitchen or picnic table, don’t be shy when selecting a bright color.
This will be a fun accent piece whether used inside or out!
Step 3: Paint the bottom in contrasting color
While the tray frame is drying, paint the bottom another fun color. Given its flat and smooth surface, consider what cans of paint you already have and use one of those colors.
If you are like me, I am all about reusing things and paint goes a long way! To compliment the hunter green color, I used a warm yellow color. You could spray paint this too though using a brush was so easy and not messy at all. Again, add a coat, let dry then return and add another light layer ensuring you get the edges or any part that may show.
Expert Tip: If your tray has wooden handles that can be removed then take them off and paint them with the same color and paint as the bottom to match. Also, by using the same color, that means one less paint brush to clean up, so you will save time and water, too!
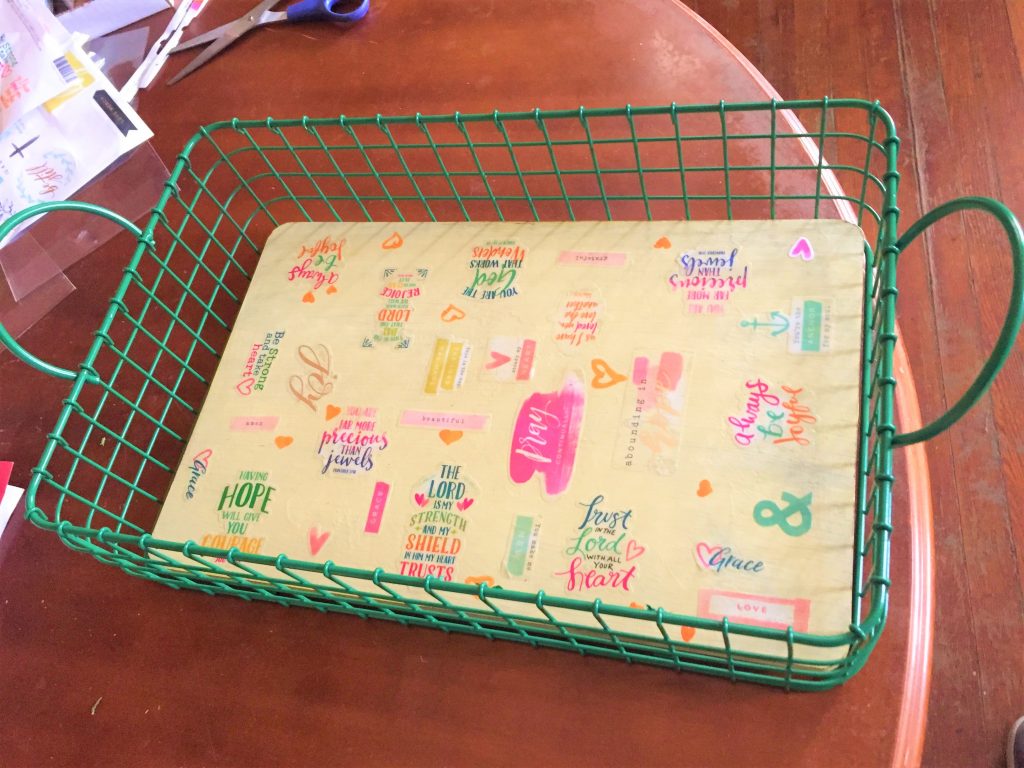
Step 4: Use paper products to personalize
When the bottom is dry, arrange your art paper (or postcards, clip art or other items) so they look balanced and well-spaced.
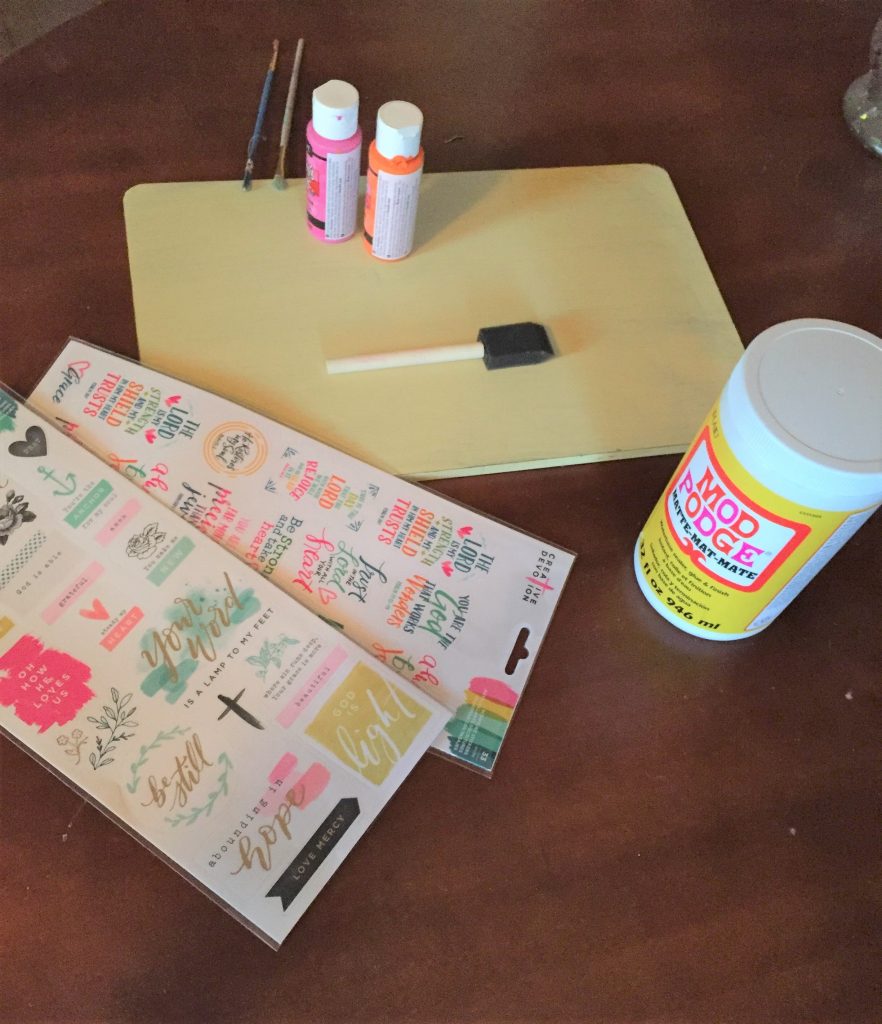
Consider using letters to add someone’s name or initials. Stickers, used stamps, sheet music, old love letters are all excellent options to make this piece really unique and appreciated. Brush on a light layer of Modge Podge (a must-have for any artsy person) then put the paper in place. You may want to use your fingers or something with a flat edge to push out any bubbles and ensure a tight fit. Let this dry overnight if possible.
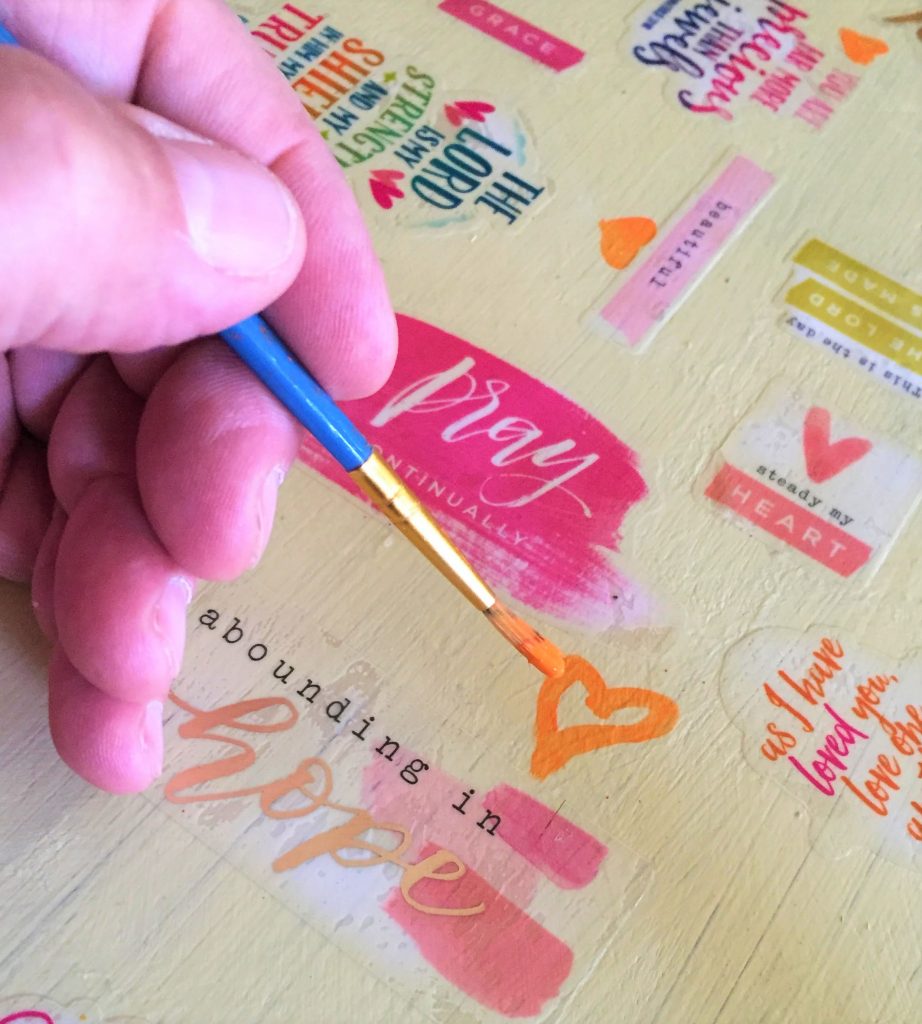
Step 5, Optional: Use craft paint to add extra details
You might want to use a small brush and add details which compliment the overall look of your tray. I added small orange hearts to my piece that picked up the look from the graphics. Let dry for an hour.
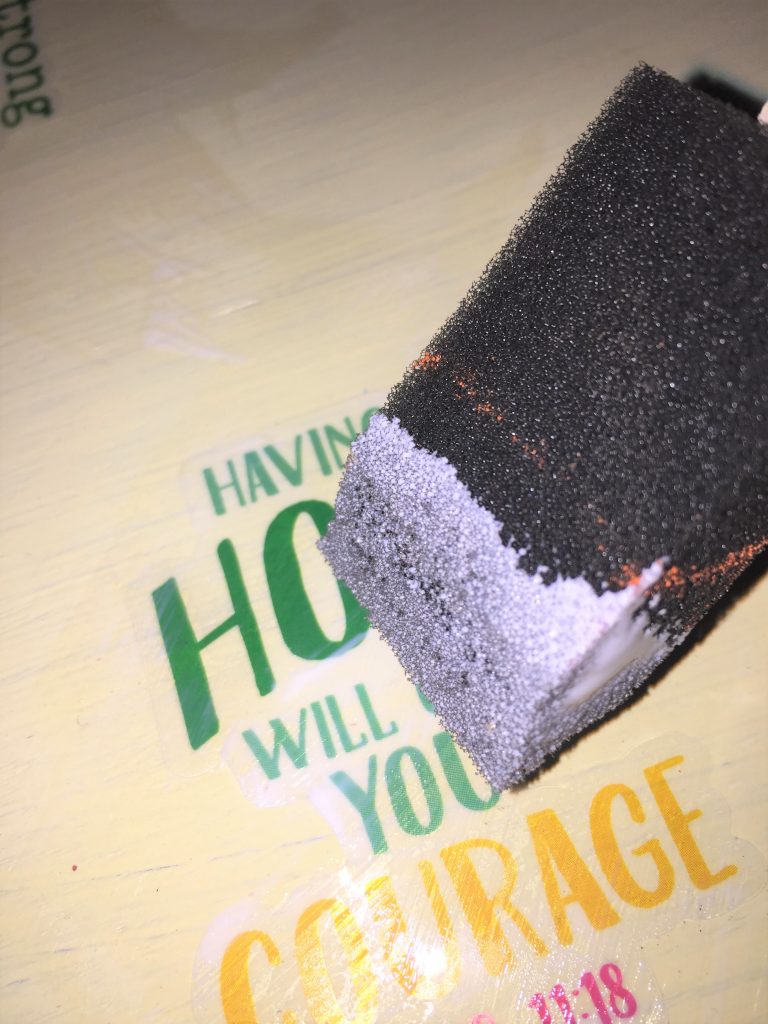
Step 6: Paint on the poly
To protect your tray from spills, brush on a light coat or two of polyurethane. Select a semi-gloss or gloss finish since you may be using this to serve drinks or it might be used outside near a pool where things get wet. Let this dry overnight, too.
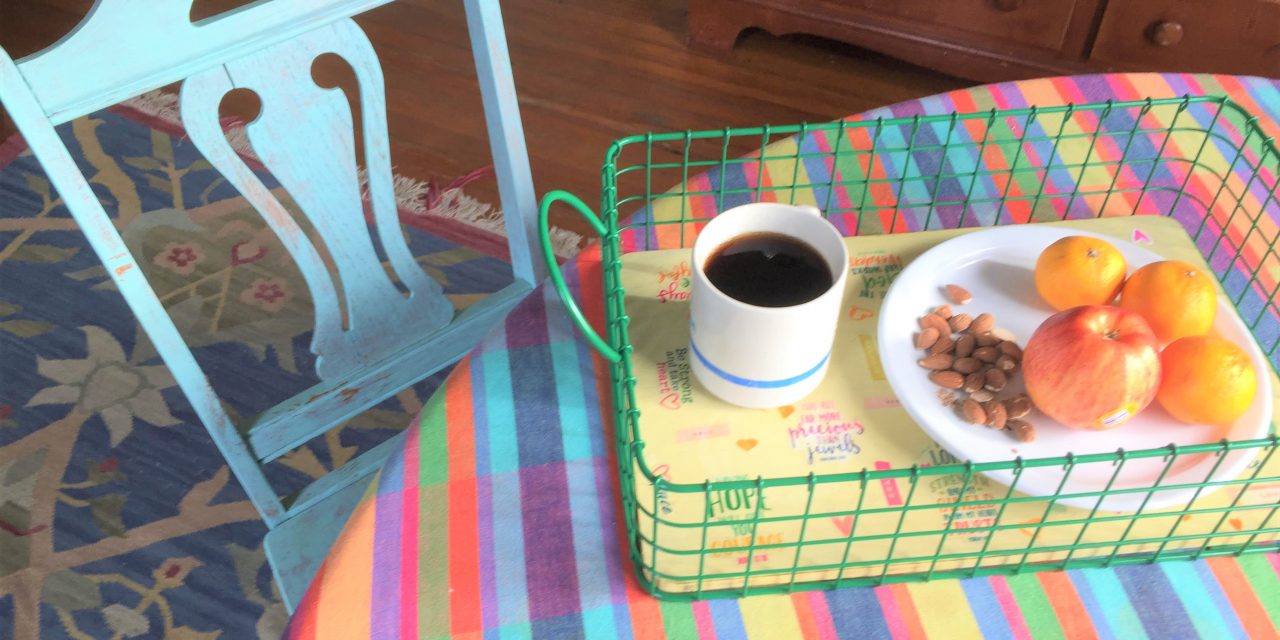
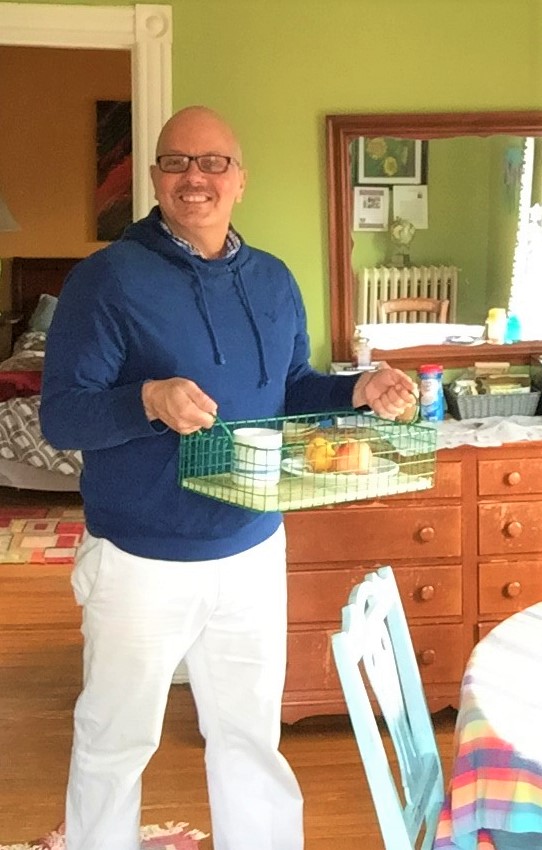
Step 7: Reassemble, then assemble the gang!
Place your tray bottom back in the colorful frame and secure or screw into place. Then add beverages, snacks and other treats and get ready to serve your family and friends….and you’ll be served right back with many compliments for this unique piece!


