No matter what time it is, a one-of-a-kind clock is a great gift. With a little creativity, you can easily and inexpensively transform a generic time piece into a personalized gift that will be enjoyed for countless hours. Everyone uses a clock, so turn it into one which reflects the interests and personality of that special person on your gift list. And be sure to make one for yourself, too!
Ability level: Moderate
Age Level: Ages 8 and older with some supervision
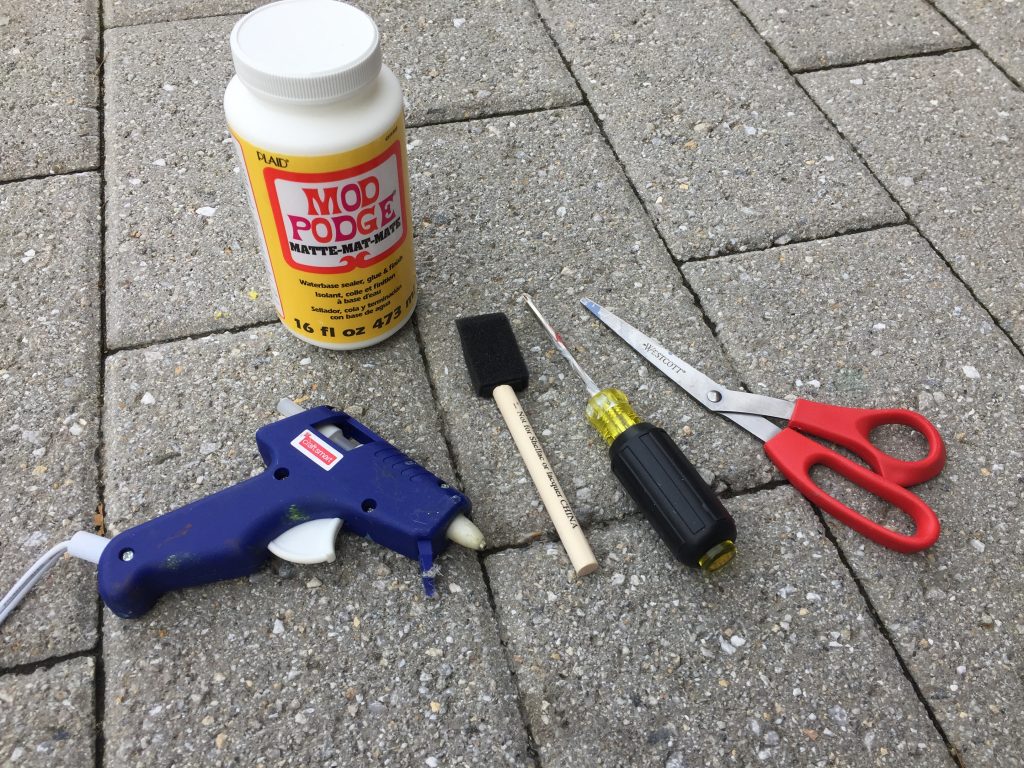
Items needed:
- Wall clocks
- Modge Podge, matte finish
- Paper, maps, sheet music, etc.
- Small sponge brush
- Screwdriver
- Scissors
- Glue gun & glue sticks
- Optional items to accessorize (beads, plastic toys, glitter, stickers)
Time requirement: Two hours per mirror, not including Modge Podge drying time
Cost: Approximately $5 to $15 each, based on size
- $5 to $10 per clock
- $4 for Modge Podge (you will have lots left over for other projects)
- $1 for glue sticks
- $1 for accessorizing items

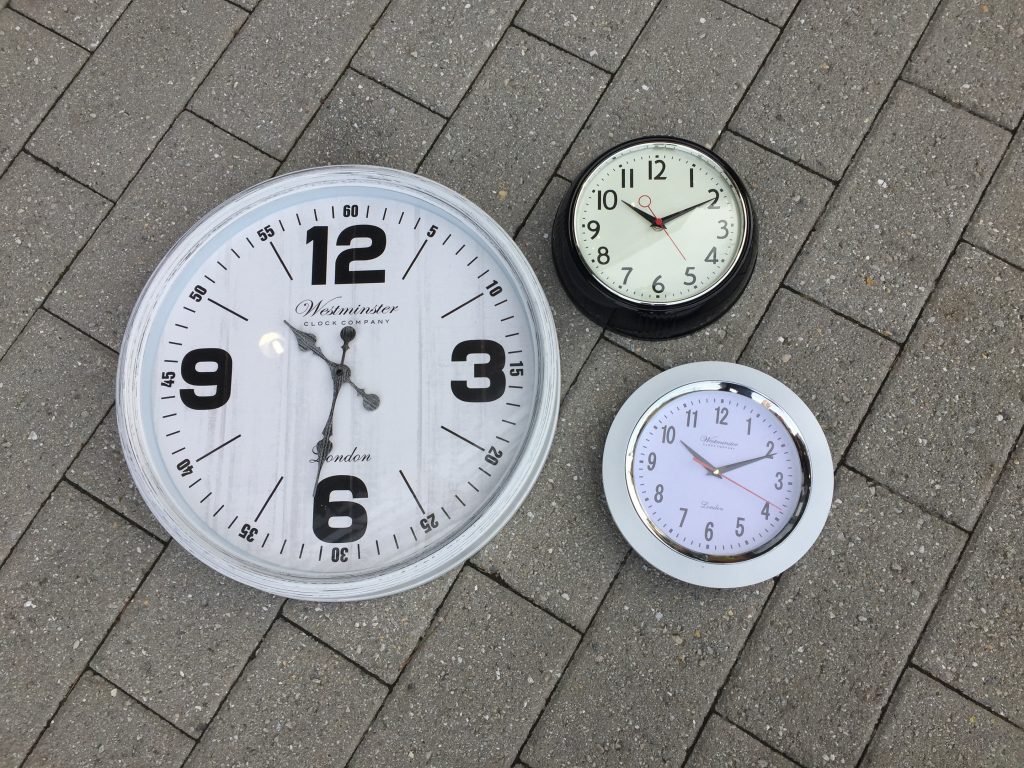
Step 1: Stop the Clock—It’s Time to Shop!
Head right to your favorite Goodwill Retail store to pick up a clock for a great price. Consider wall clocks with flat faces on which to express your creative self; some clocks have raised numbers which won’t work for this project. While this project transforms the clock face, don’t limit yourself to one with a frame or outer area that you don’t like because you can always spray paint it or add items to it so it will match the theme or the décor. Also, you can easily change the color of the clock’s hands so keep that in mind, too, when deciding on which clock to take home.
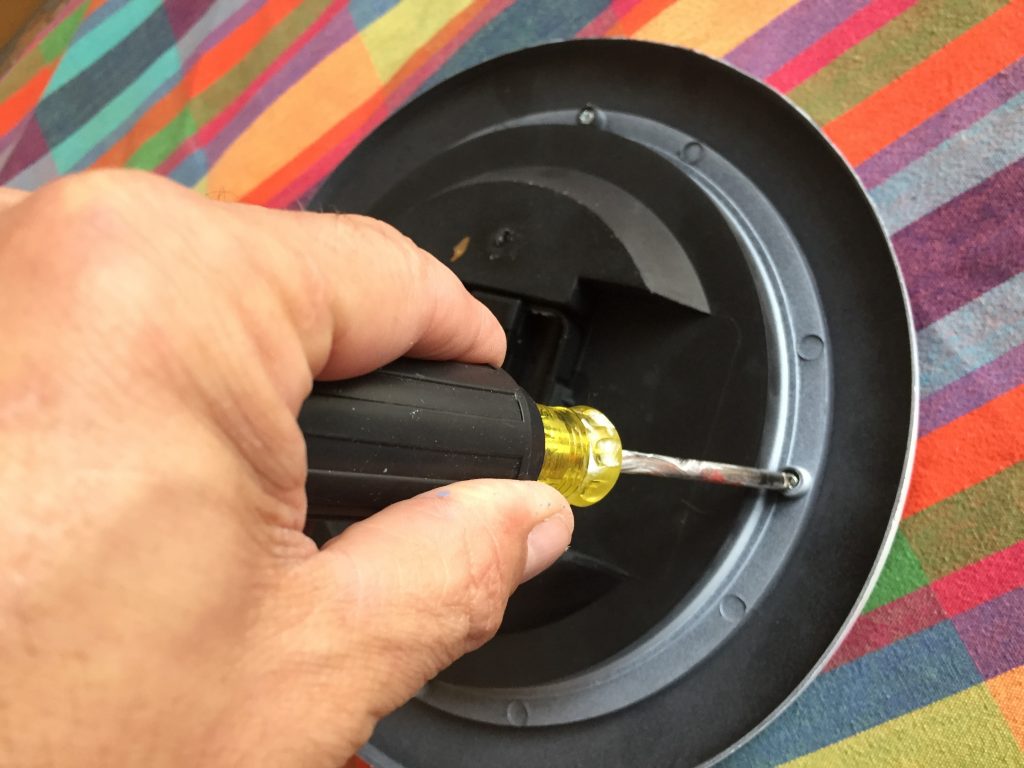
Step 2: Going to Pieces
Turn your clock over to have access to the screws that keep it all together. Simply use your screwdriver to remove the screws. They will likely be very small so make sure you place them a safe place until you are ready to put your transformed clock back together. Keep the glass cover nearby as you will use it to trace the paper to give your clock its new look.
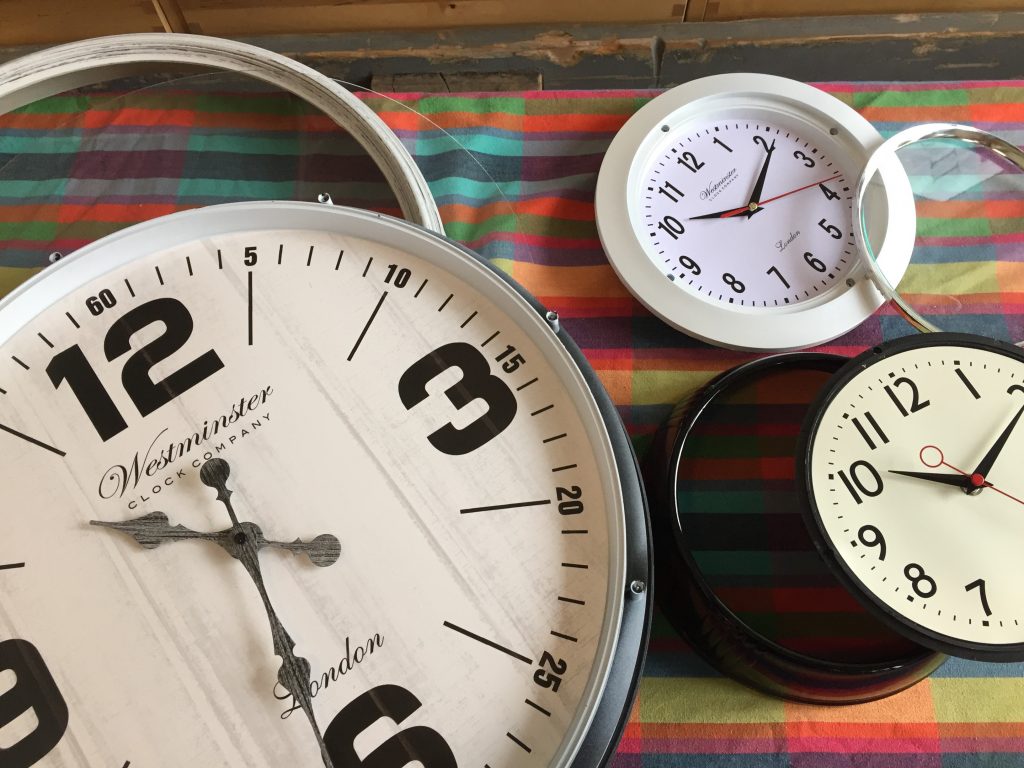
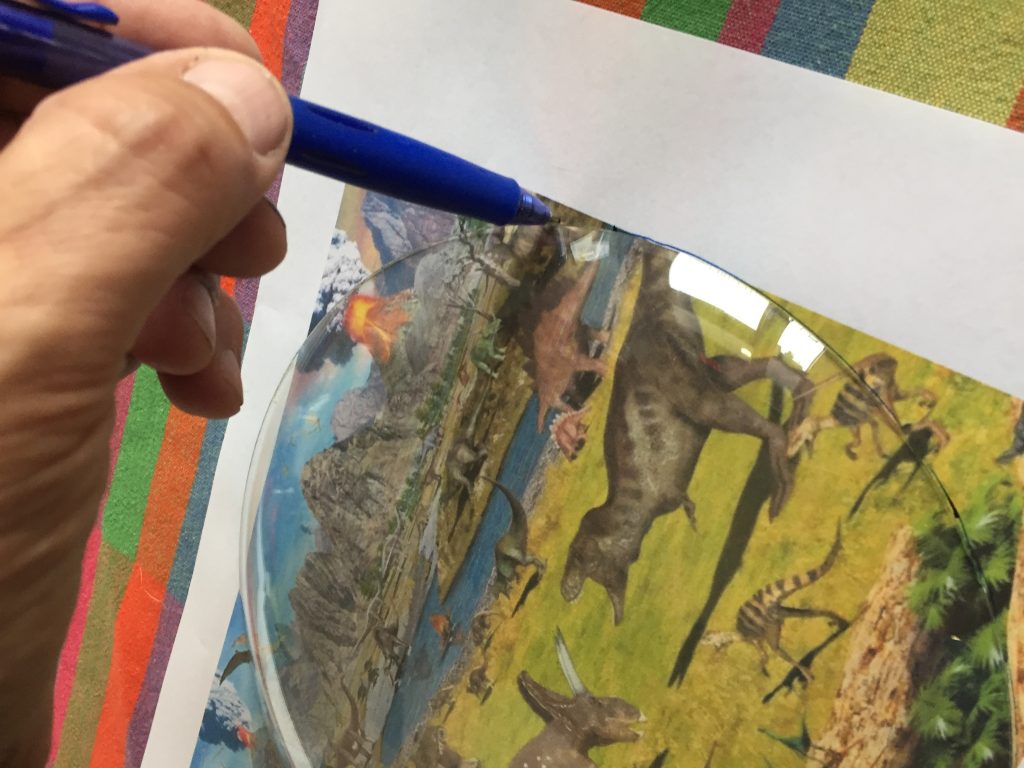
Step 3: Tracing to Transform
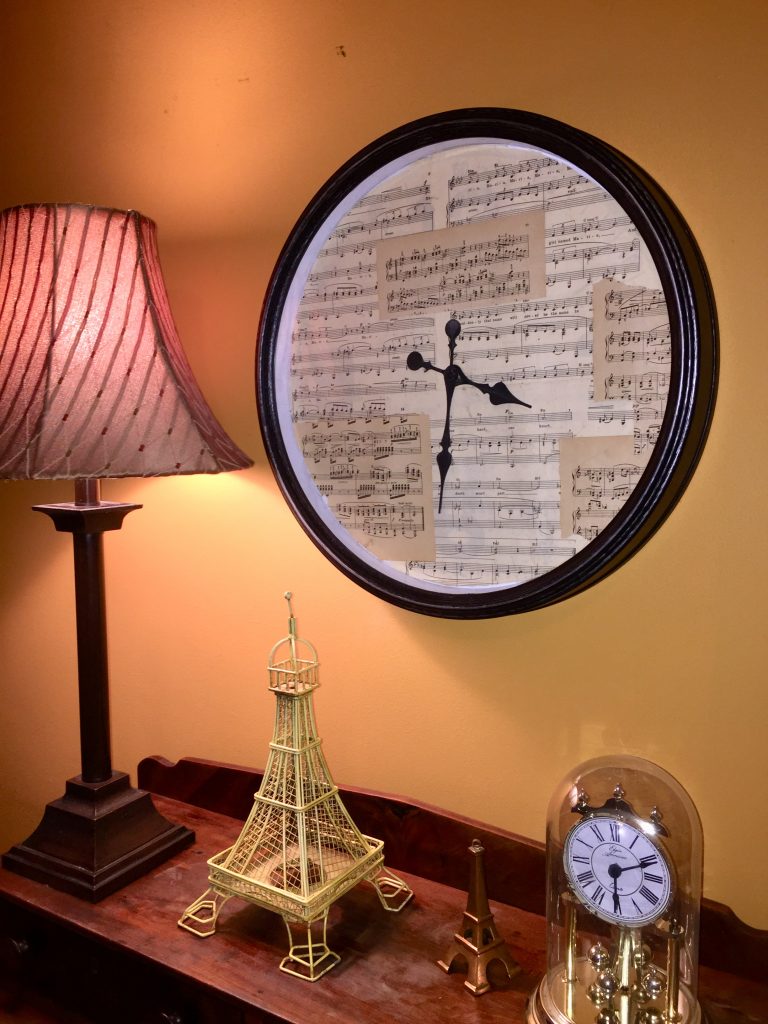
The hardest part of this fun project is to decide its new look. There are so many options to give it a one of a kind, memorable look. Always consider who or where this piece will go. Use maps or postcards for that person who loves to travel. For the music lover, use sheet music or even album covers. You could use a menu or a cook book for the “foodie” in your family. Magazines, calendars, playing cards and wrapping paper are all excellent options. Once you decide, turn your piece of paper over and trace around the glass cover then cut it out. If your clock is bigger than the paper, use several pieces. For the music lover’s clock, I used various pieces of sheet music that I layered up to cover the large clock face.
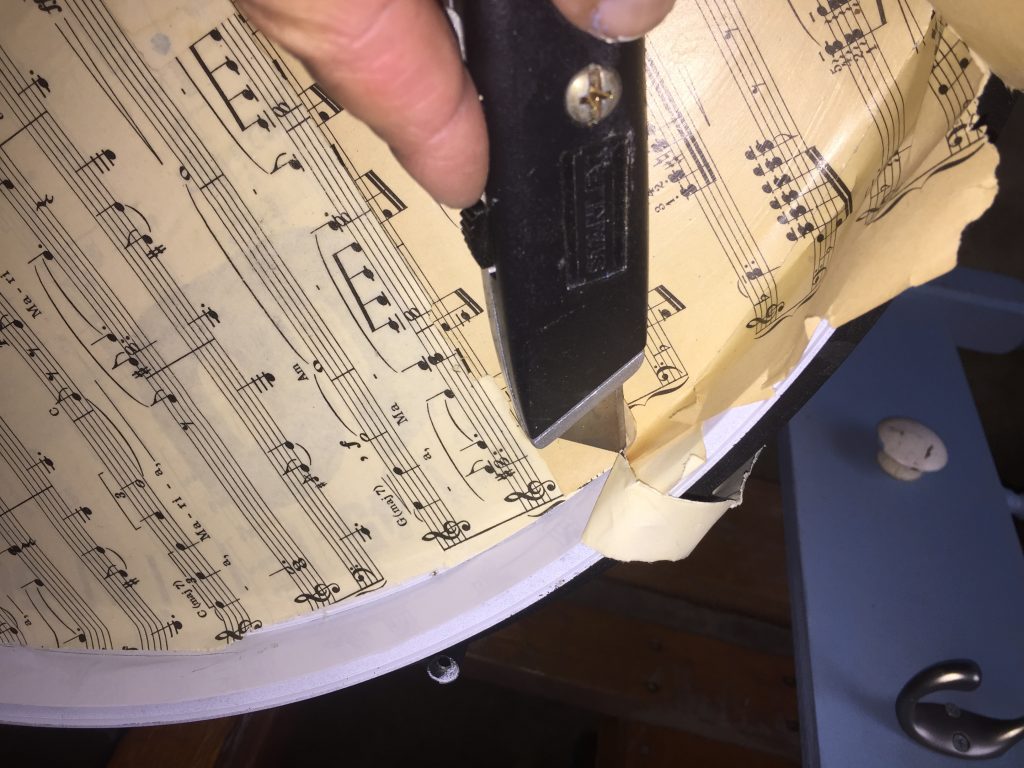
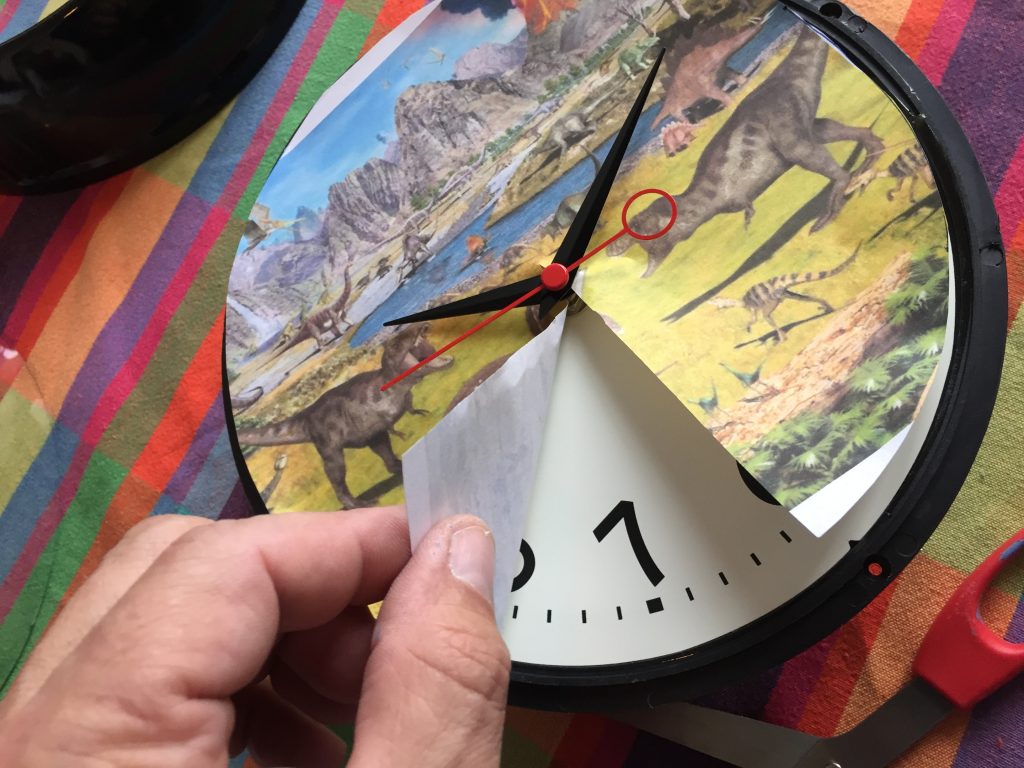
Step 4: Strategic Cuts Ensure a Solid Fit
If you use one piece of paper to cover the entire face, you will need to cut a line from the edge to the center so the paper fits around the place where the hands attach to the clock. Once you get it in place, you might need to trim around the center piece so it lays flatly.
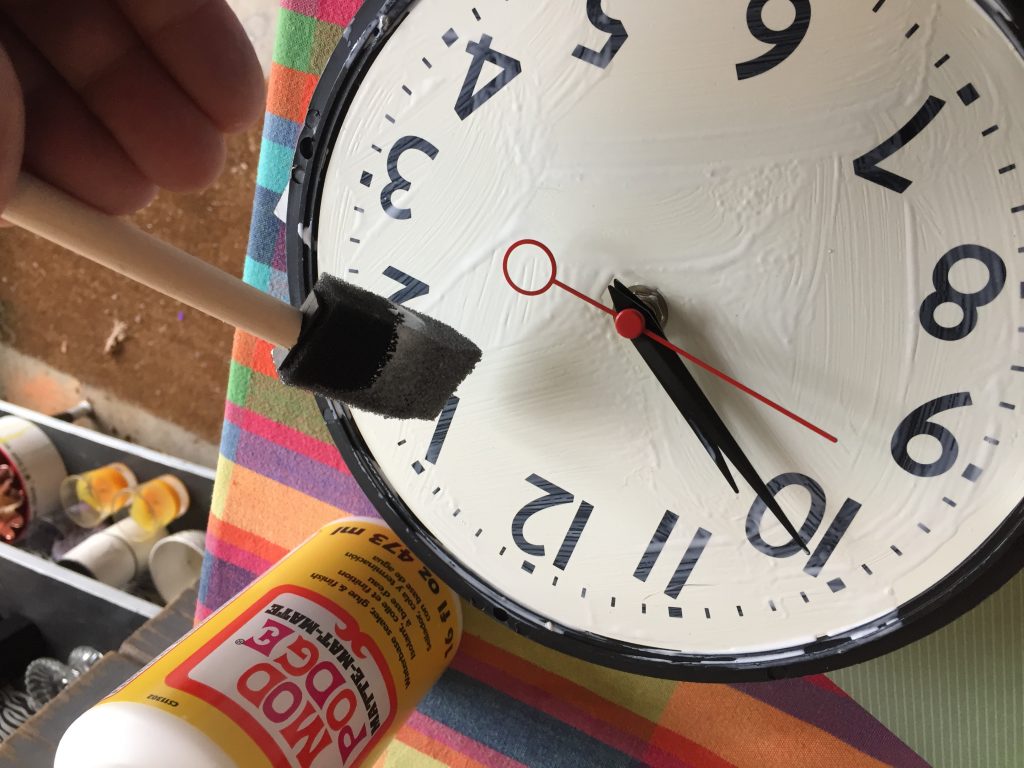
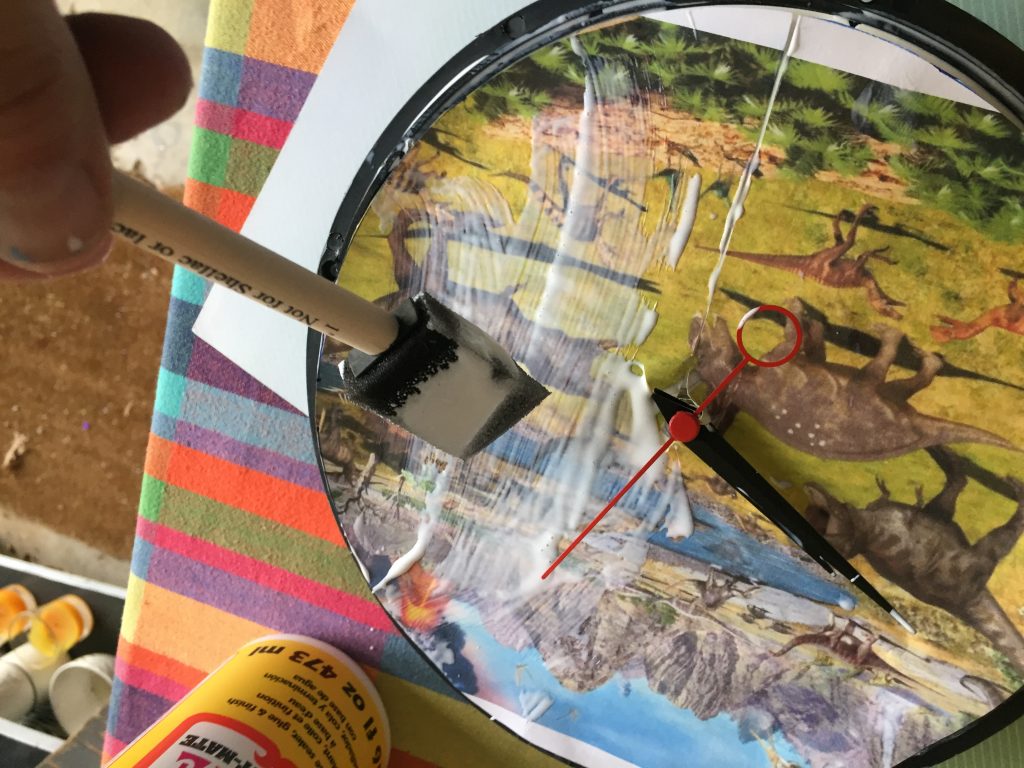
Step 5: Mode Podge Makes it Memorable
Use your sponge brush to apply a thin layer of Modge Podge to the entire surface of the clock’s face. Do the same on the back side of your piece of paper. Place the piece of paper on the face knowing you might have to move and adjust it slightly. The Modge Podge will help you do so. I also encourage you to apply a thin layer on the top side of the paper (your new clock’s look) so you can use your fingers to push out any air bubbles and to help make the surface smooth. Remember to apply a thin layer; while it will dry clearly, I found that sometimes the Modge Podge dries a little cloudy if too thick. You can use a second sponge brush to pull off any extra Modge Podge. After this step, let your piece dry overnight.
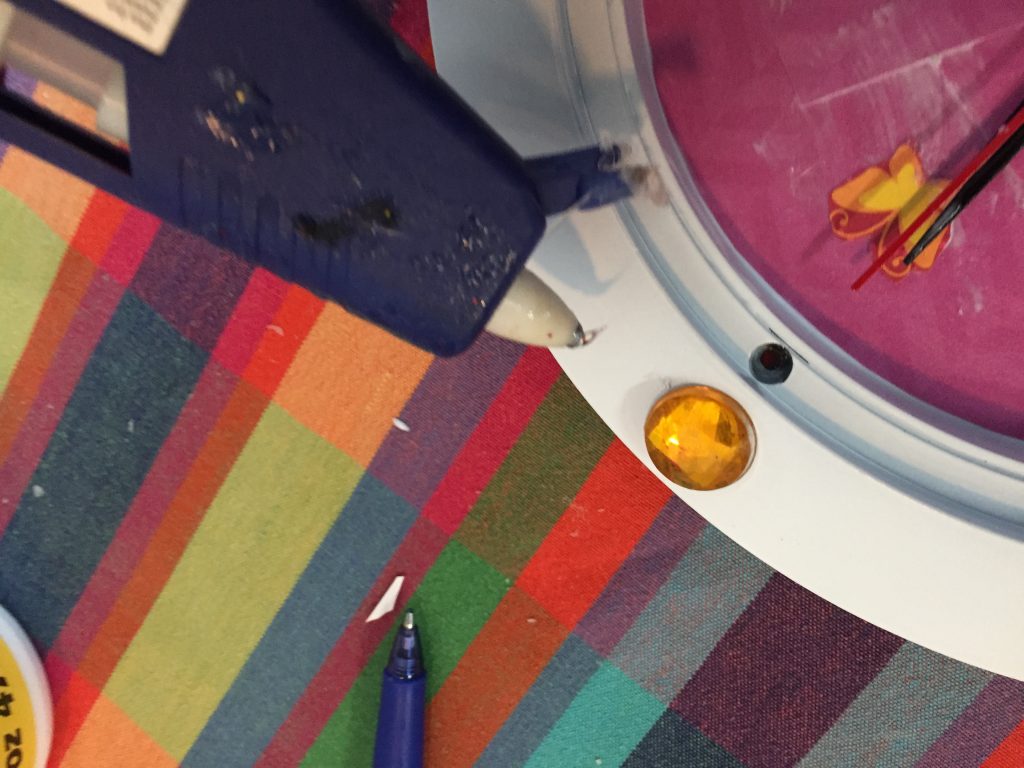
Step 5: Accessorizing Time!
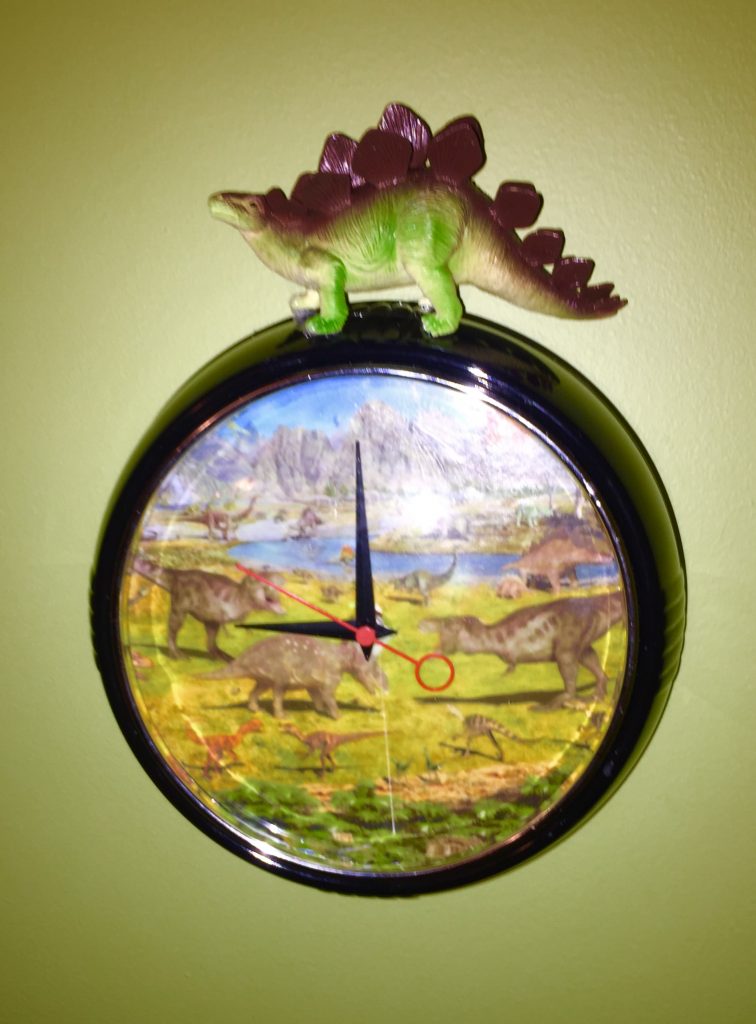
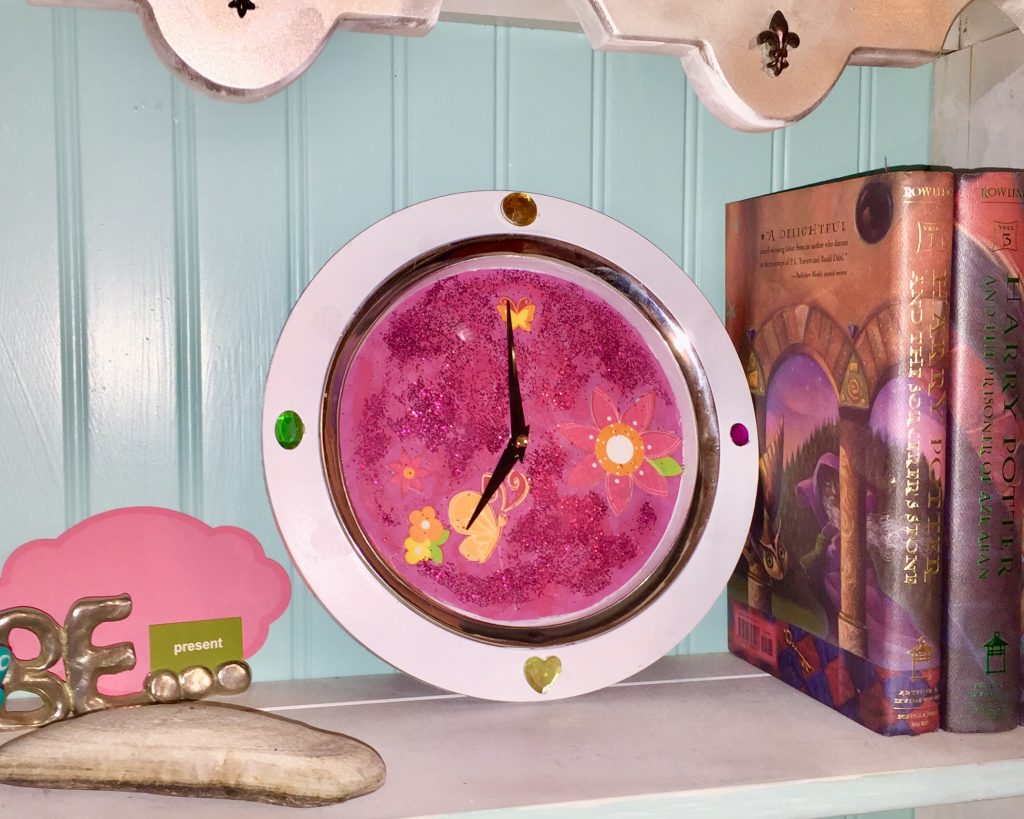
After your glass face has dried completely, then it is time to add items to add extra visual interest and personality. For example, you might consider adding beads or plastic jewels to the clock rim to add extra bling. For the dinosaur themed clock, I added a toy dinosaur on top to make it even more eye-catching and fun. Use your glue gun to add these items.
Sometimes the transformed clock face is all you need so you might not want to add any accessorizes at all.
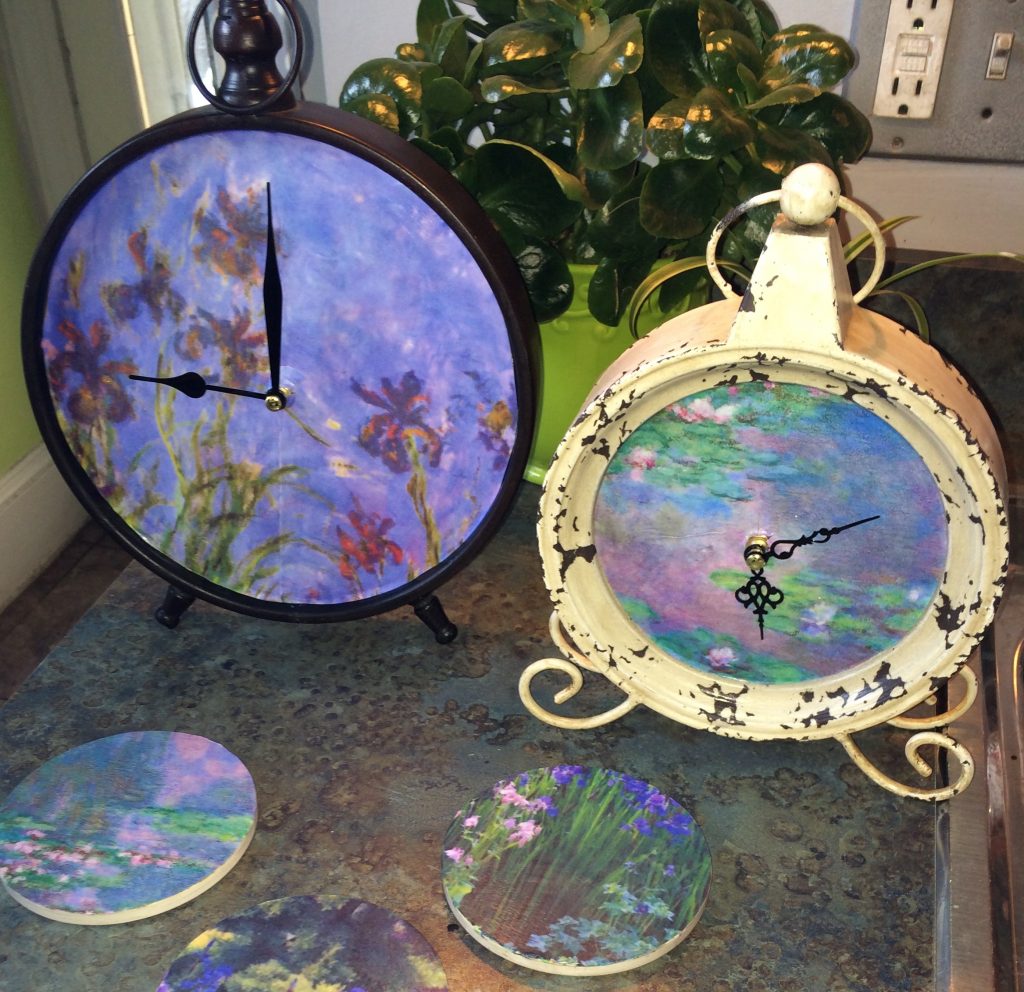
Step 6: Give or Keep, Hang and Enjoy!
Your transformed clock is now ready to grace a wall and strut its stuff. I promise you that the person who receives this unique piece, will love it and enjoy counting the hours on it. And if you give it as a gift to yourself, you will be happy you did!
Tim Kime is an artist, life coach, connector. He is President of Kime Leadership Associates offering executive coaching, meeting facilitating and motivational speaking. He is also Chief Creative Force of Transformation Junkies which upcycles furniture and other household items into functional works of art. He combined his two passions—unleashing the potential in people and transforming items with the launch of the Art of Possibilities Workshops. These workshops are part upcycling, part dreaming, part goal setting.


I pay a visit daily a few web pages and websites to read posts, but this website presents quality based content.|