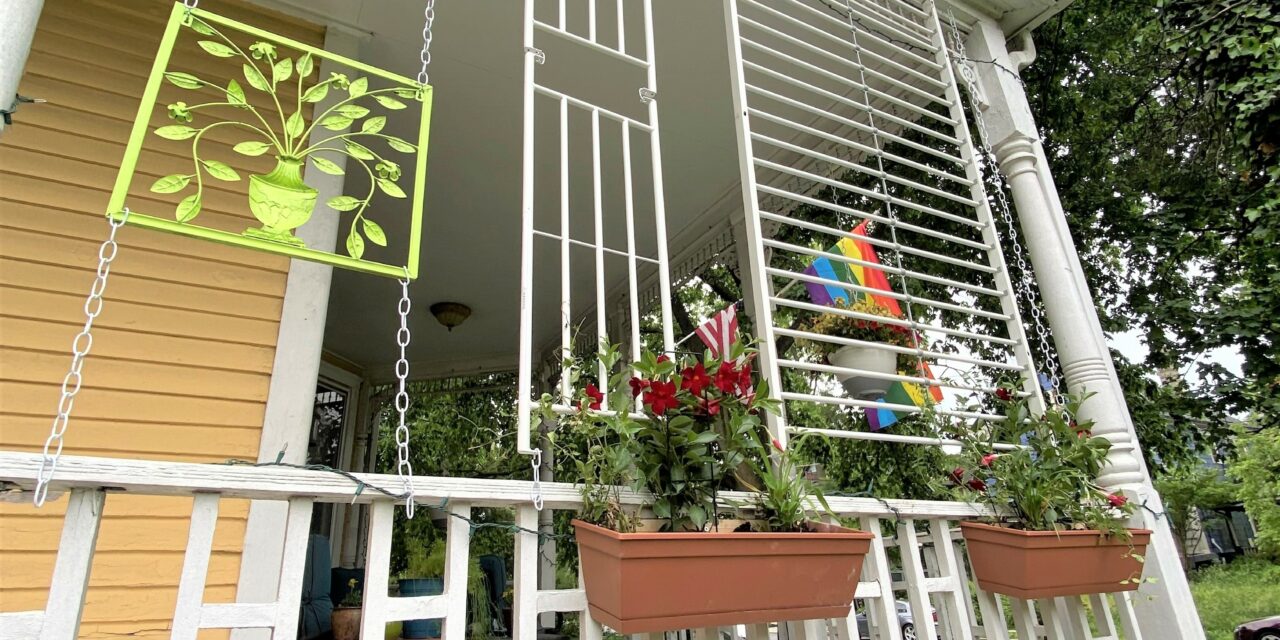
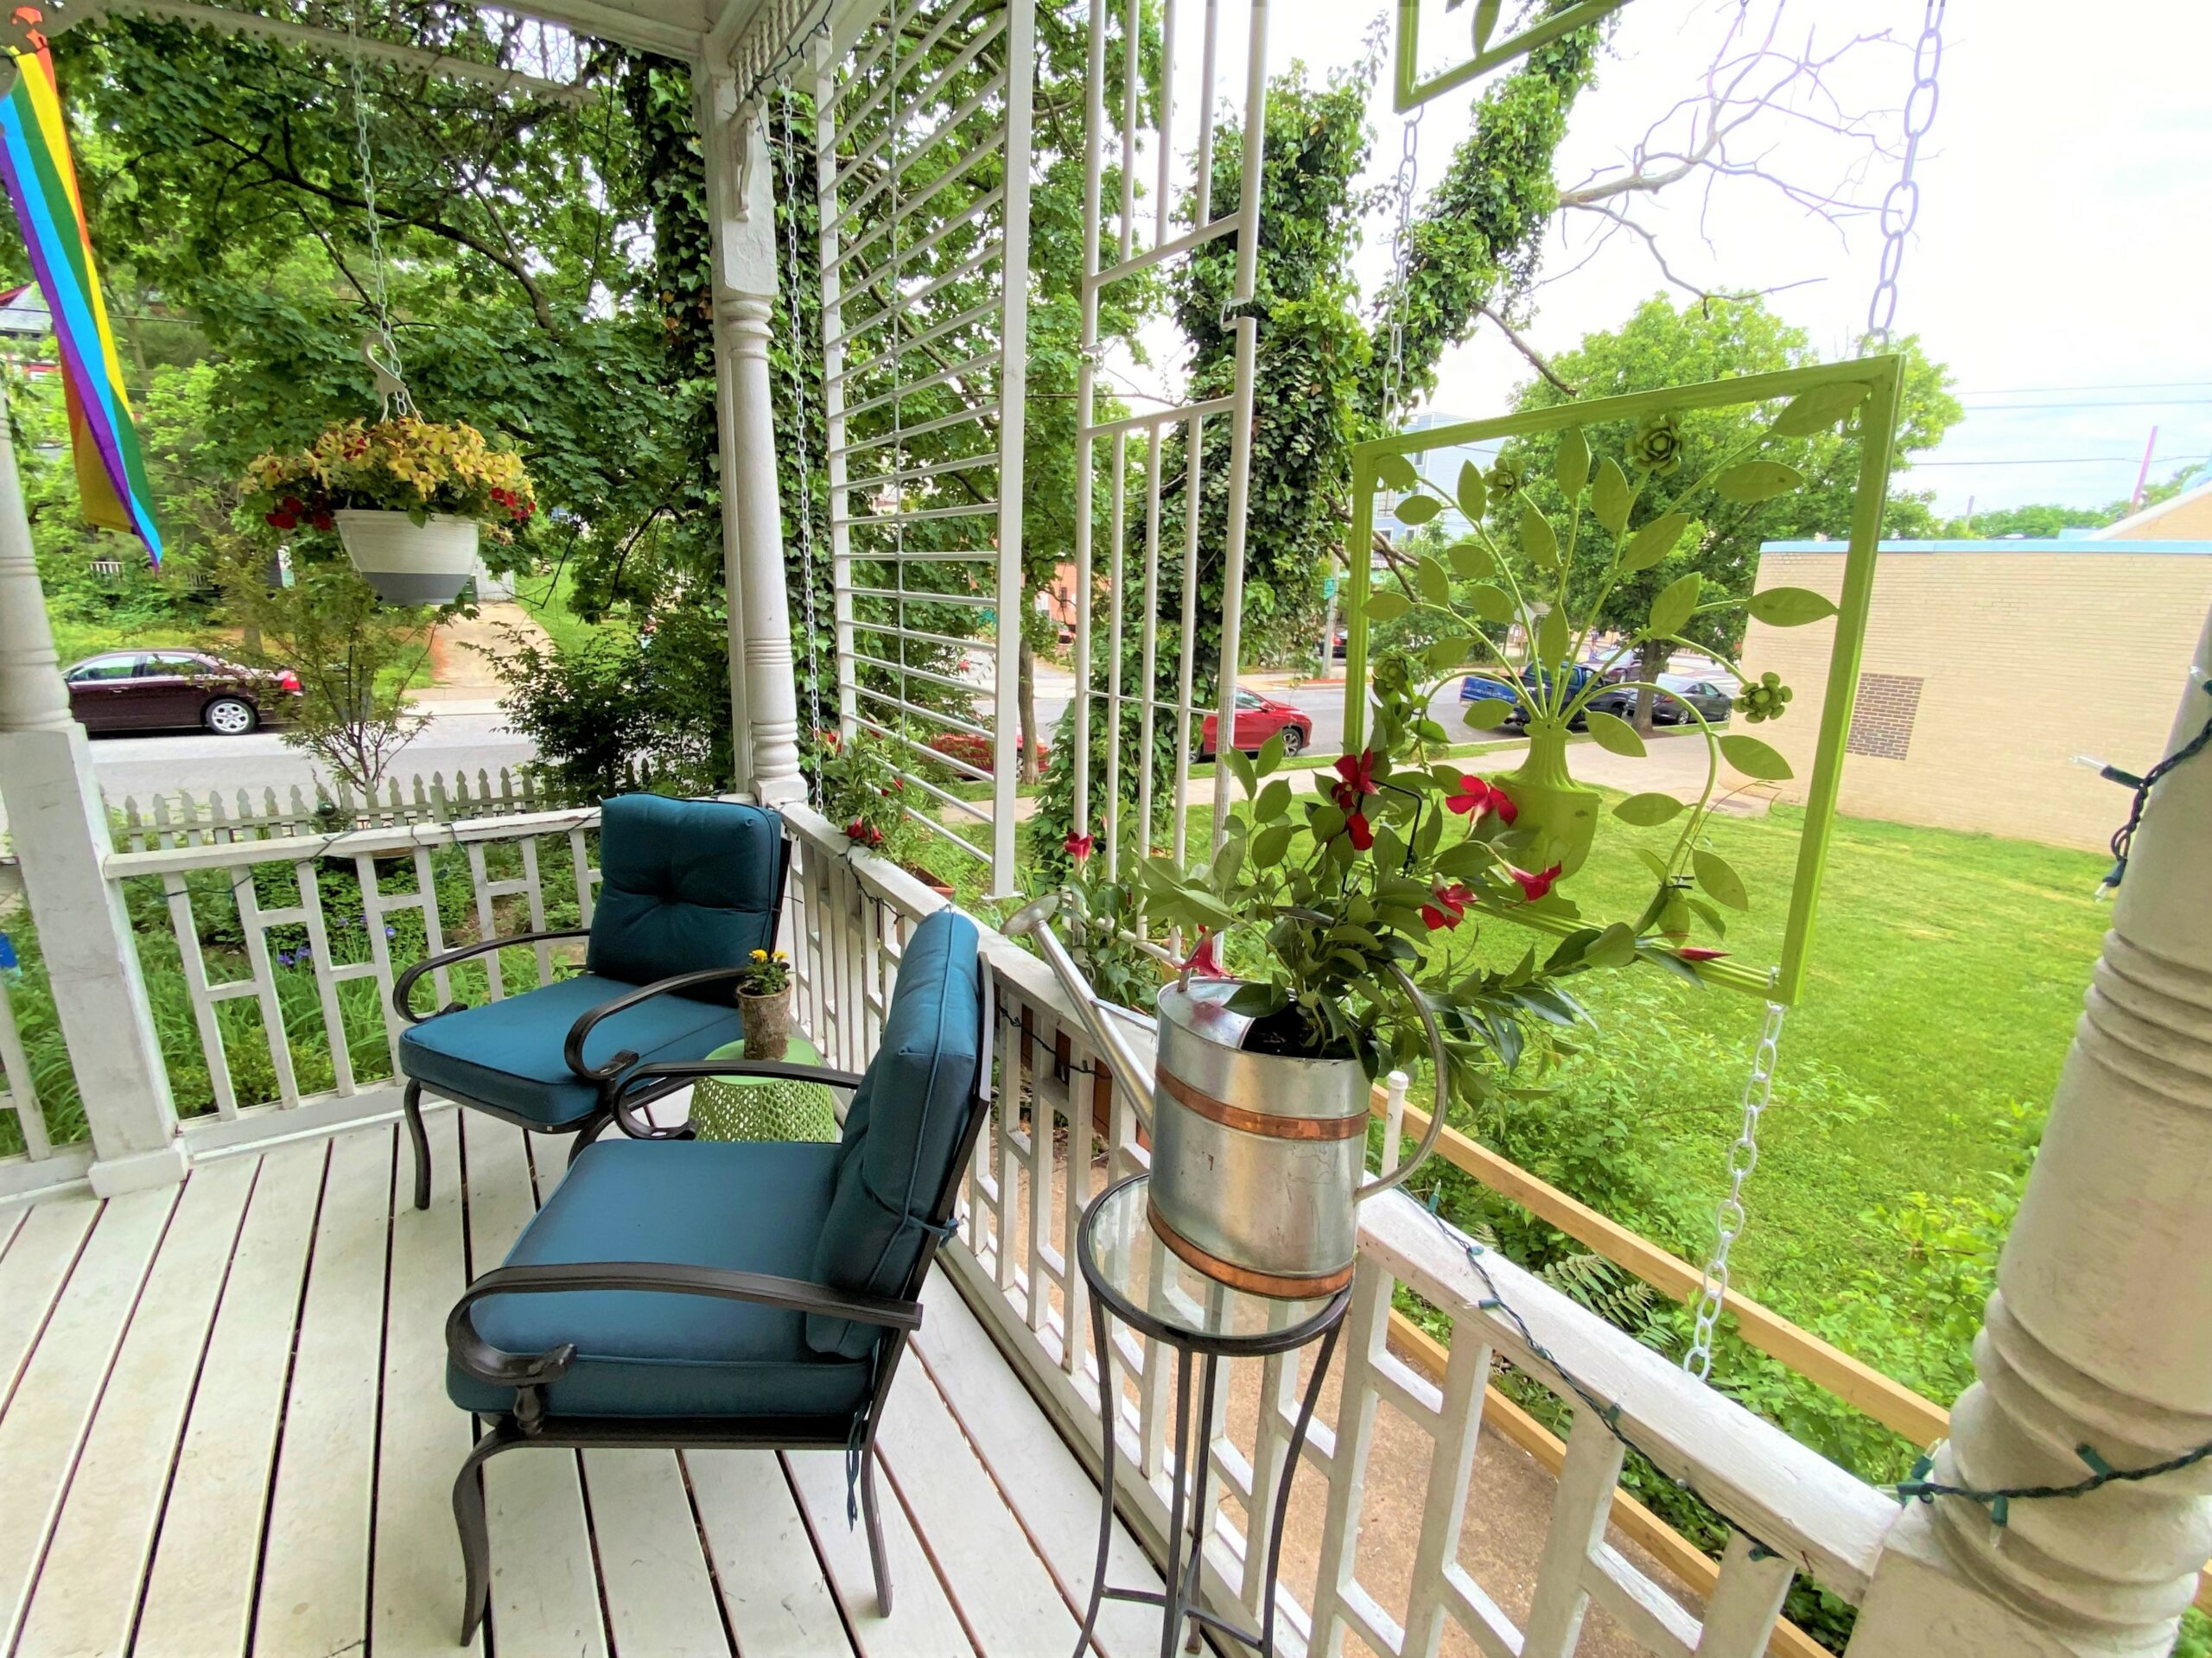
Mother Nature loves this week’s DIY project for many reasons. A discarded metal bedframe was upcycled for a front porch trellis. It was salvaged rather than added to a landfill and is now a place for flowering vines to grow toward the sky. We are helping Mother Nature’s creations to do their thing.
Metal artwork, a shiny watering can, a sleek plant stand and a bark-covered pot add charm and a welcoming touch; all were picked up for pennies at Goodwill, but they all add up to a million-dollar look that you, family, guests—and pets, too—will love!
Supplies Needed:
1. Light-weight metal, twin-sized bedframe with head, foot boards
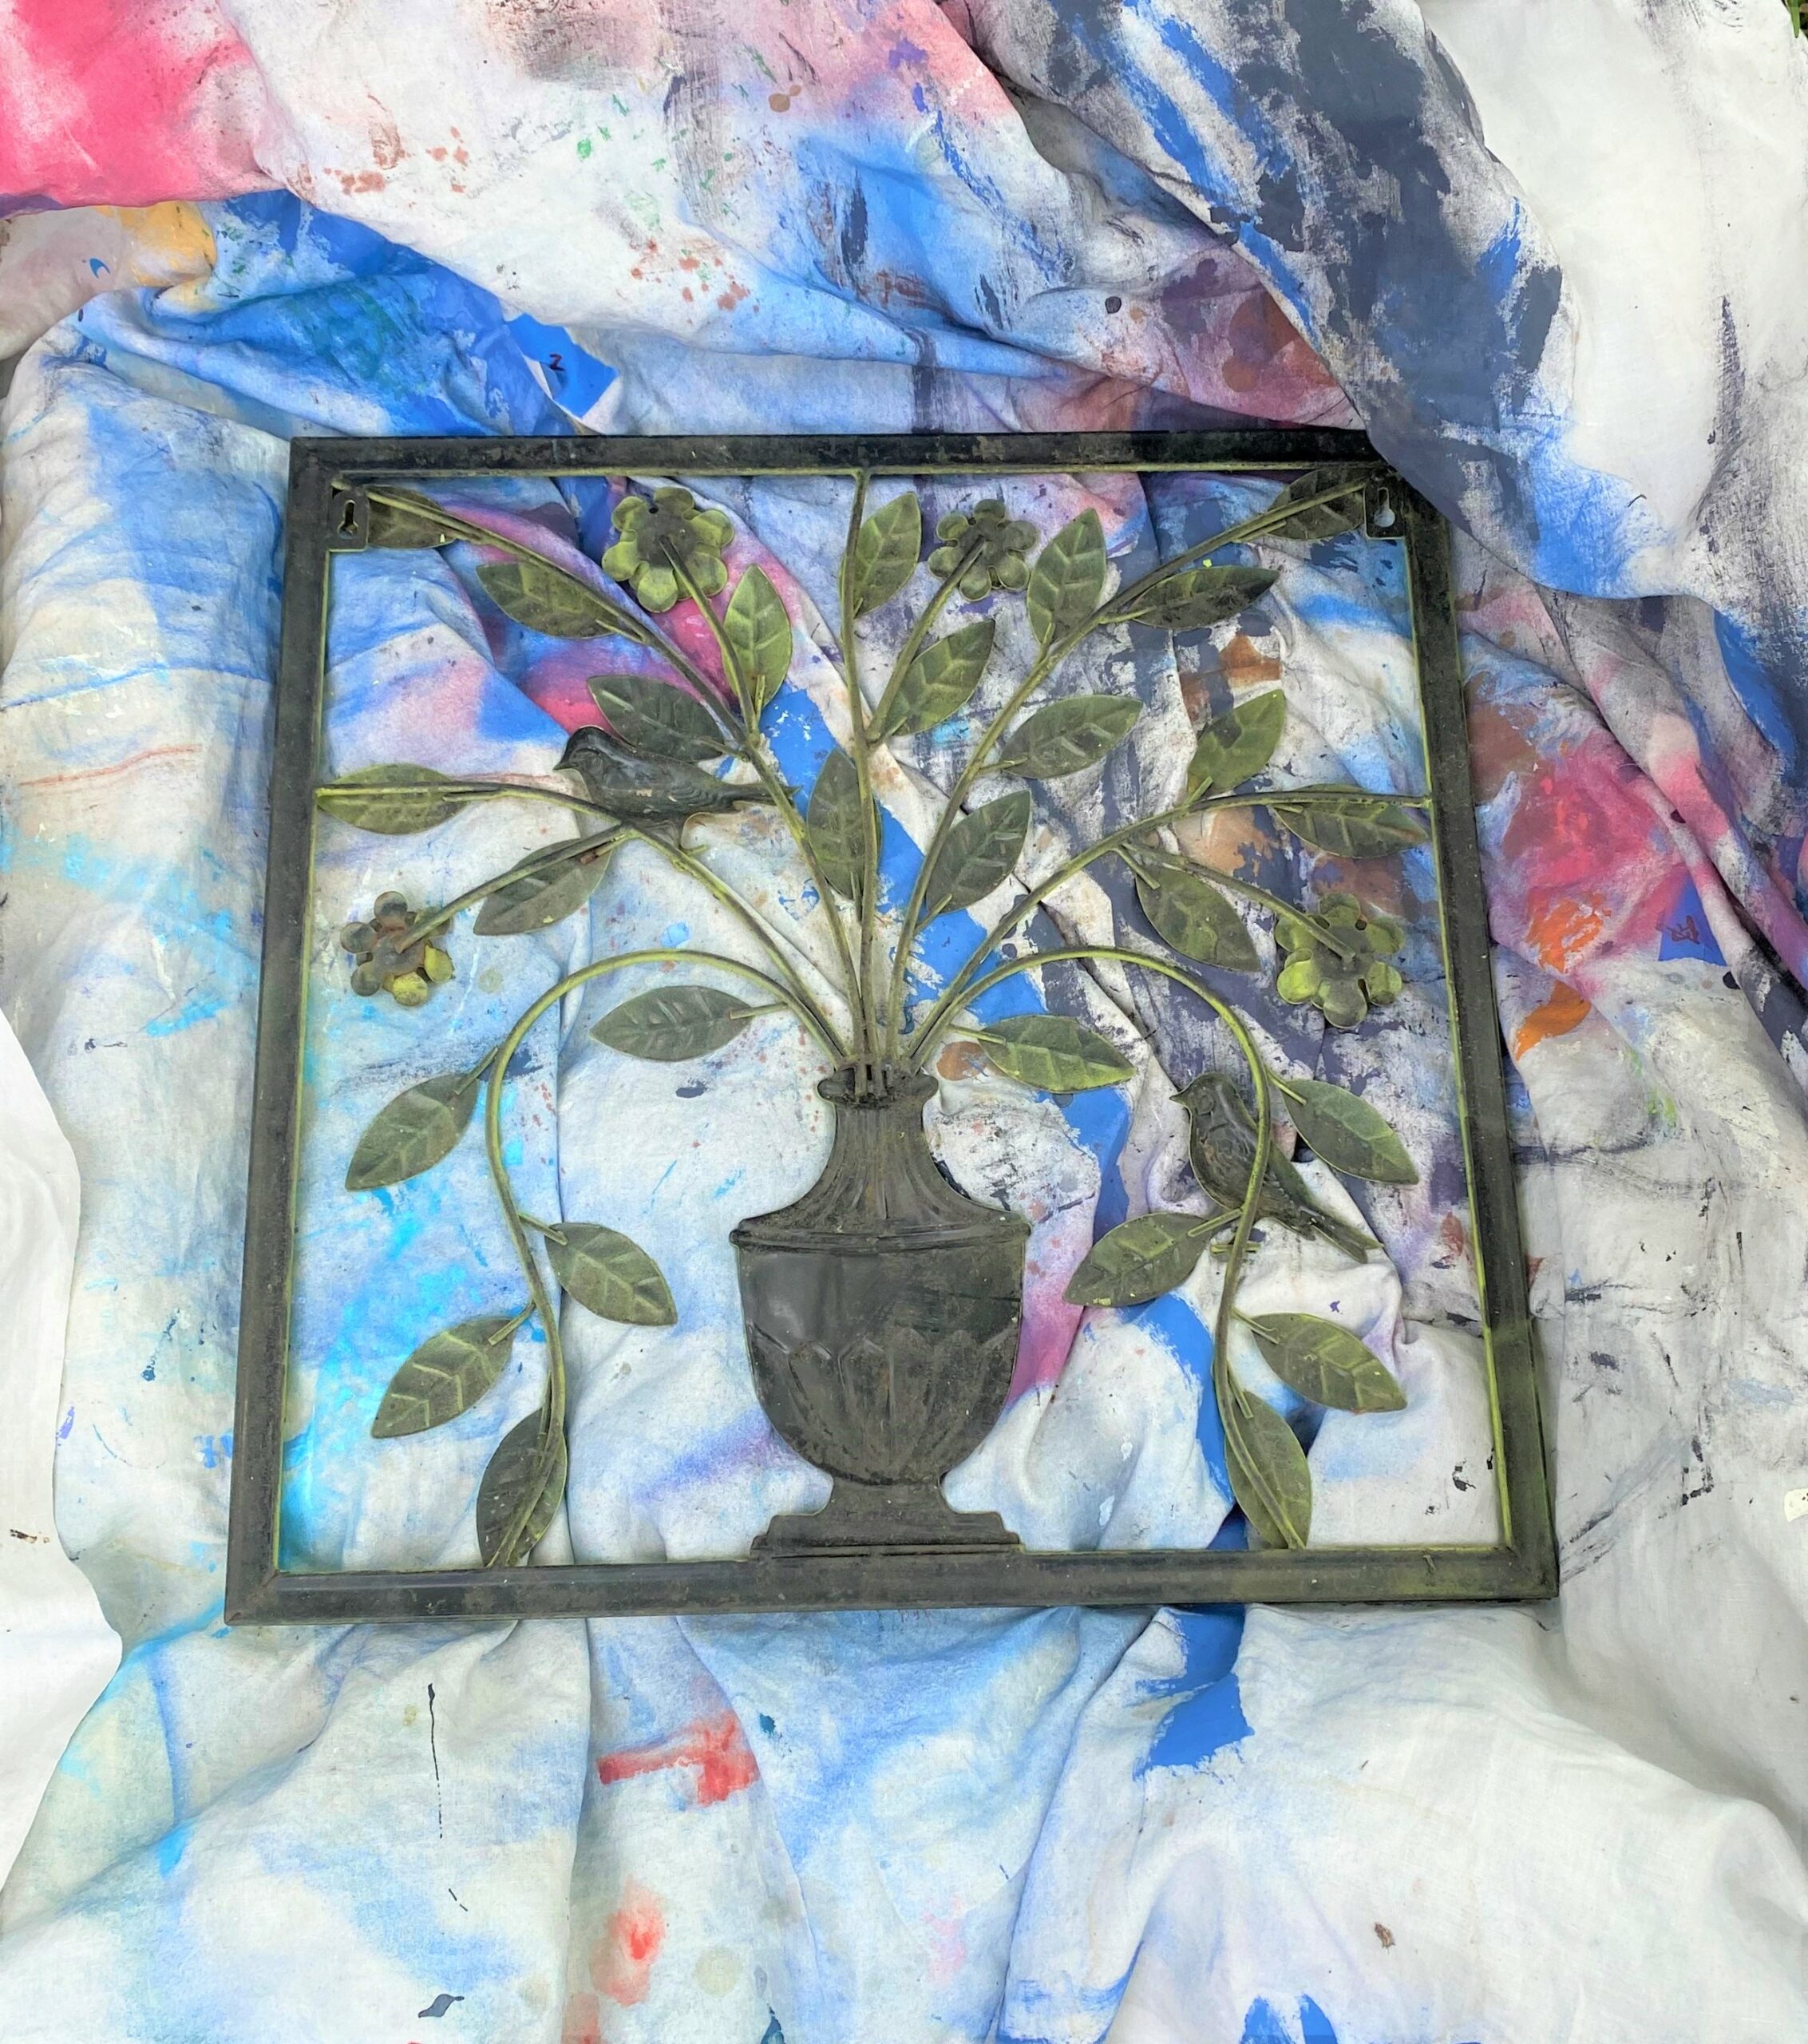
2. Pair of matching metal art pieces
3. White chain
4. Curved hooks with screw end
5. S-hooks
6. Pliers
7. Allen wrench
8. Drill
9. Screwdriver
10. Ladder
11. Tape measure
12. Flowering vines
13. Accessories like flower boxes, pots, watering cans, small tables
1. Shop at Goodwill for an item to transform into a trellis
The bedframe featured here was left in the trash room where my studio is located; a resident who lives above my studio chose to leave it there and could have easily donated it to Goodwill. Lucky for me!
Hit your favorite Goodwill store to look for a bedframe to transform into a trellis, too. A twin bed frame is a great size because it won’t take up too much space and is easy to move from place to place.
If you don’t come across a bed frame, you could pick up eight or ten wooden picture frames. Get rid of the glass and backing, then glue and screw the edges together as a funky trellis. Or how about a metal pet cage? You could also take it apart and use the sides for this purpose. Let your mind think outside the box to see what items await you to upcycle and use in this earth-friendly and earth-loving way.
2. Pick up items to hold plants, to accessorize, to add fun
While you’re at Goodwill, look for items to add to your outdoor space where your trellis will be placed. Plant pots, candle votives, side tables, serving trays, watering cans, outdoor lanterns, flower vases, and animal statues are all great accessories to add to your final look.

You might score and find an outdoor rug to help anchor your outside setting. You never know what you will find at Goodwill which is why shopping there often is such much fun!
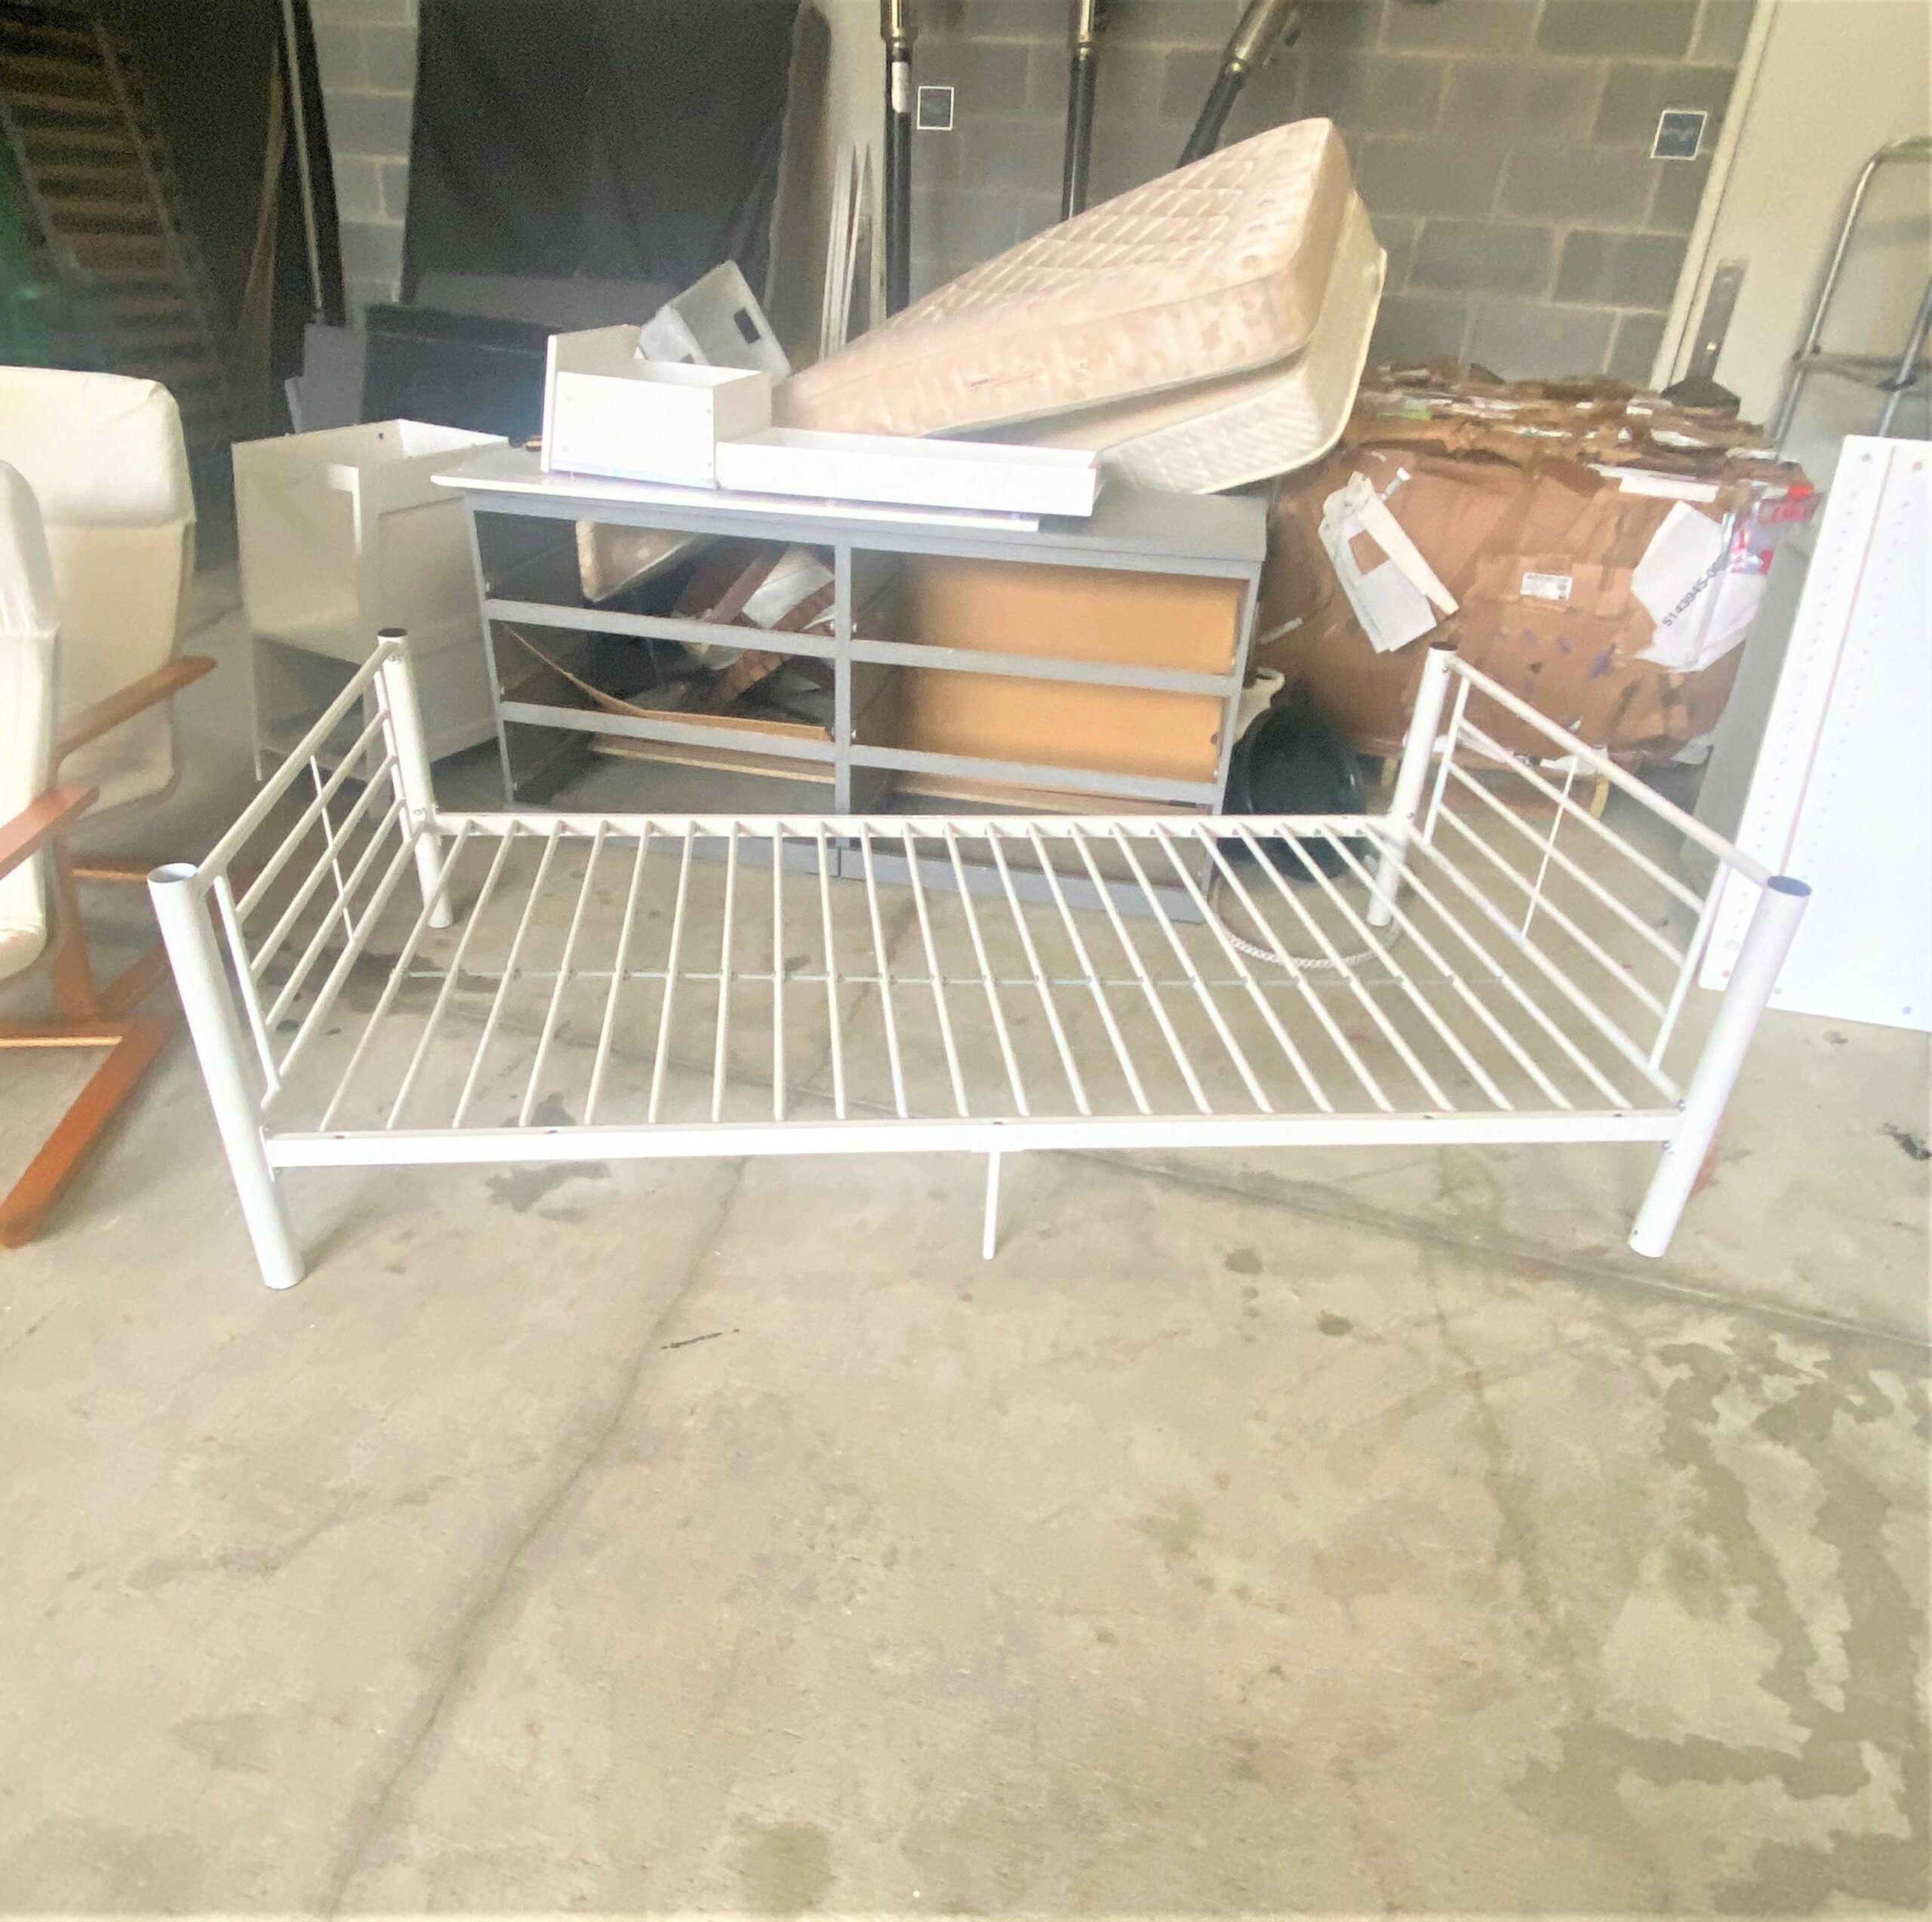
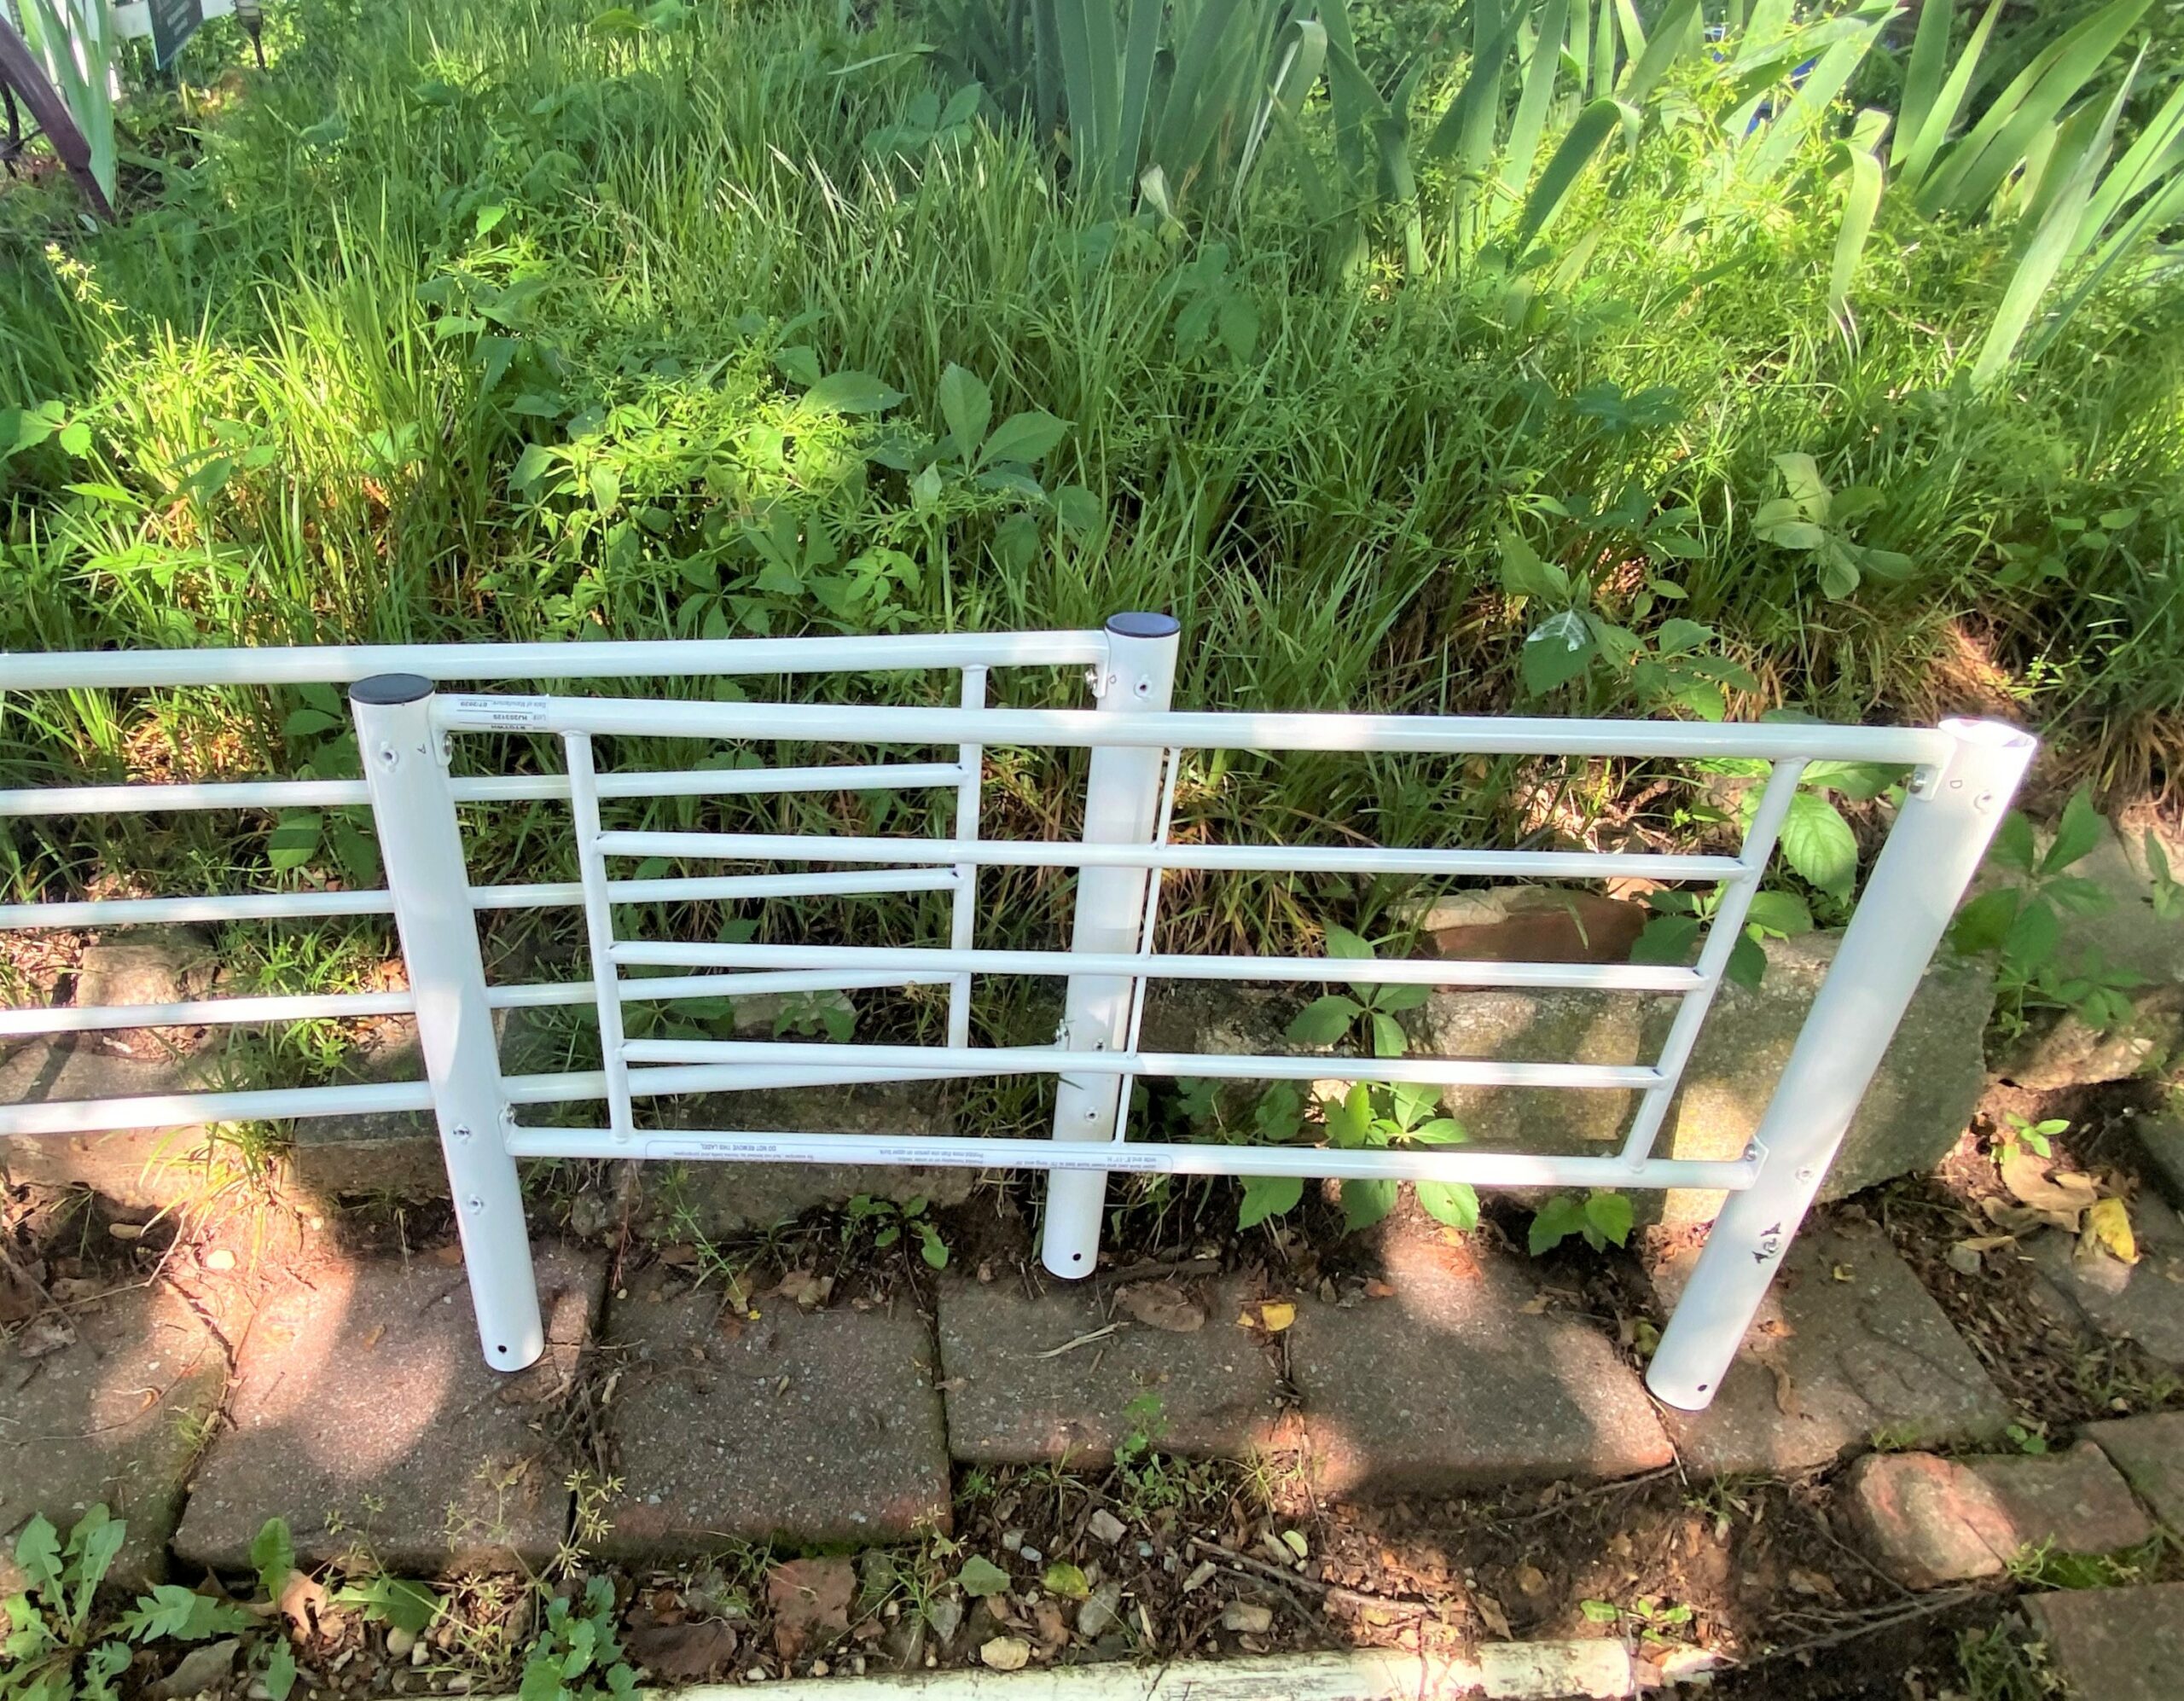
3. Take a part your bedframe
- A hex key/Allen wrench was all it took to remove the screws which held the headboard and footboard to the frame.
- The legs were then unscrewed from the headboard, which left three pieces to use as trellises along one side of my front porch.
- Given the white color which matches the porch railing and posts, I truly did get lucky. If you don’t like your bedframe’s colors, simply give it a change with several coats of spray paint.
4. Hang it on hooks
Depending on where you will hang your bedframe-turned-trellis, you will likely want to anchor it to your fence or hang it from your porch using hooks with screws at the end.
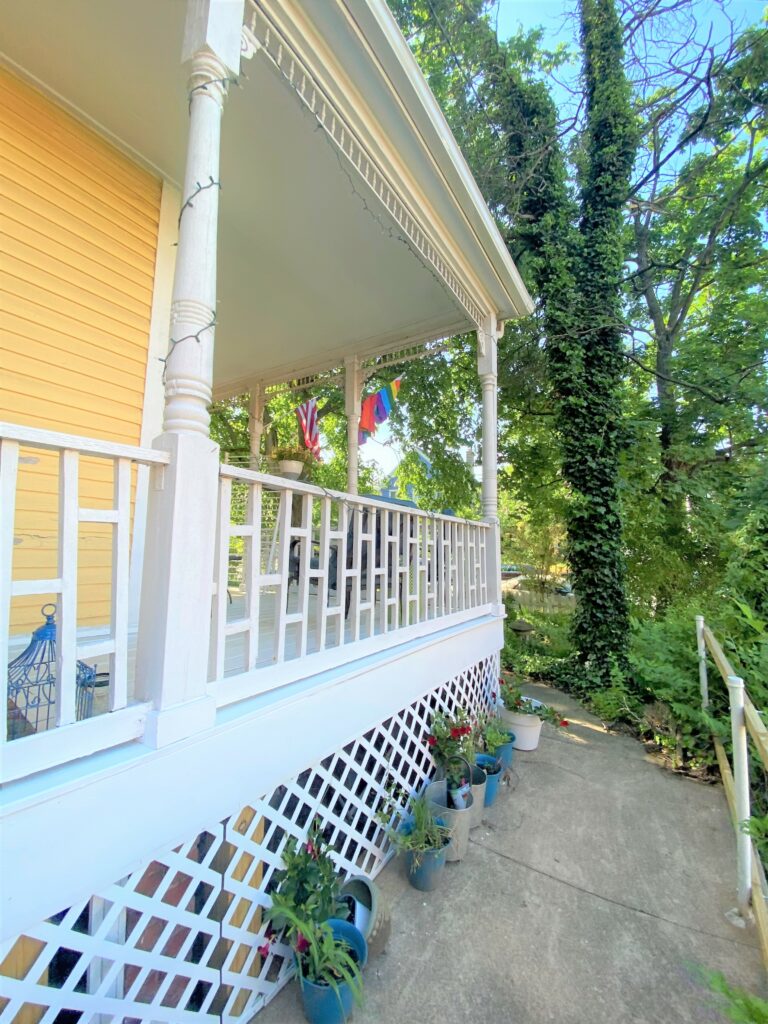
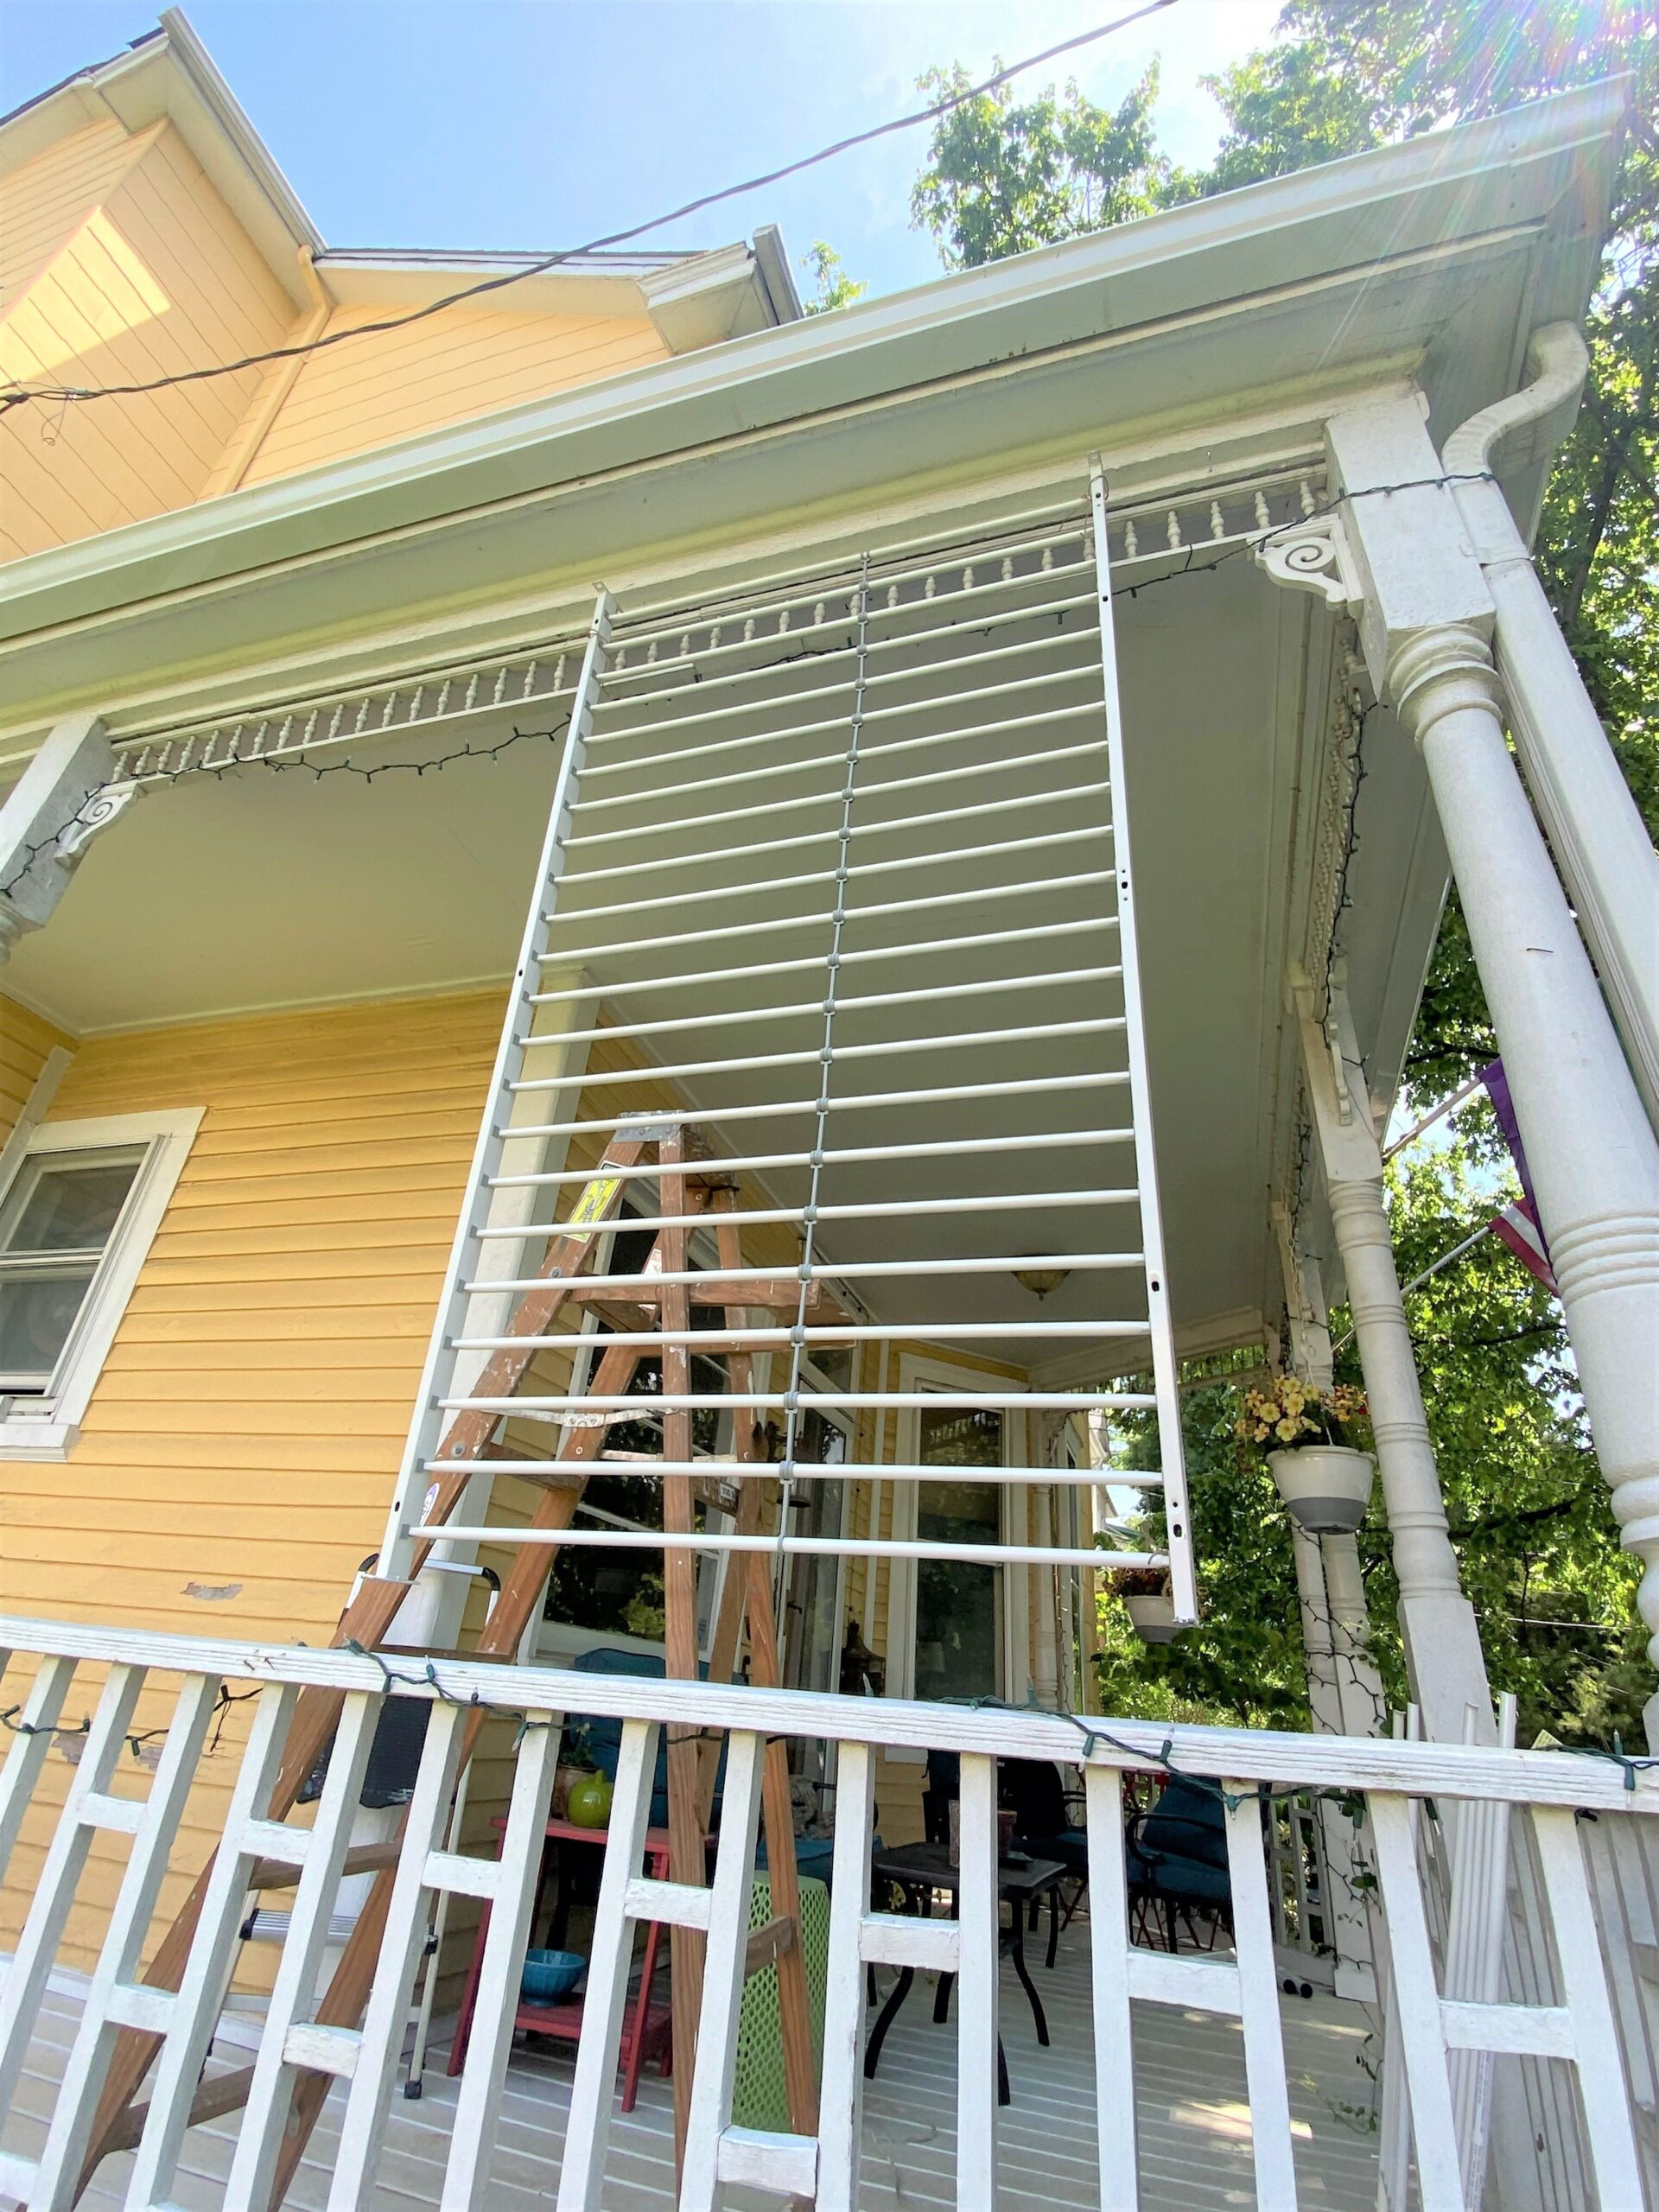
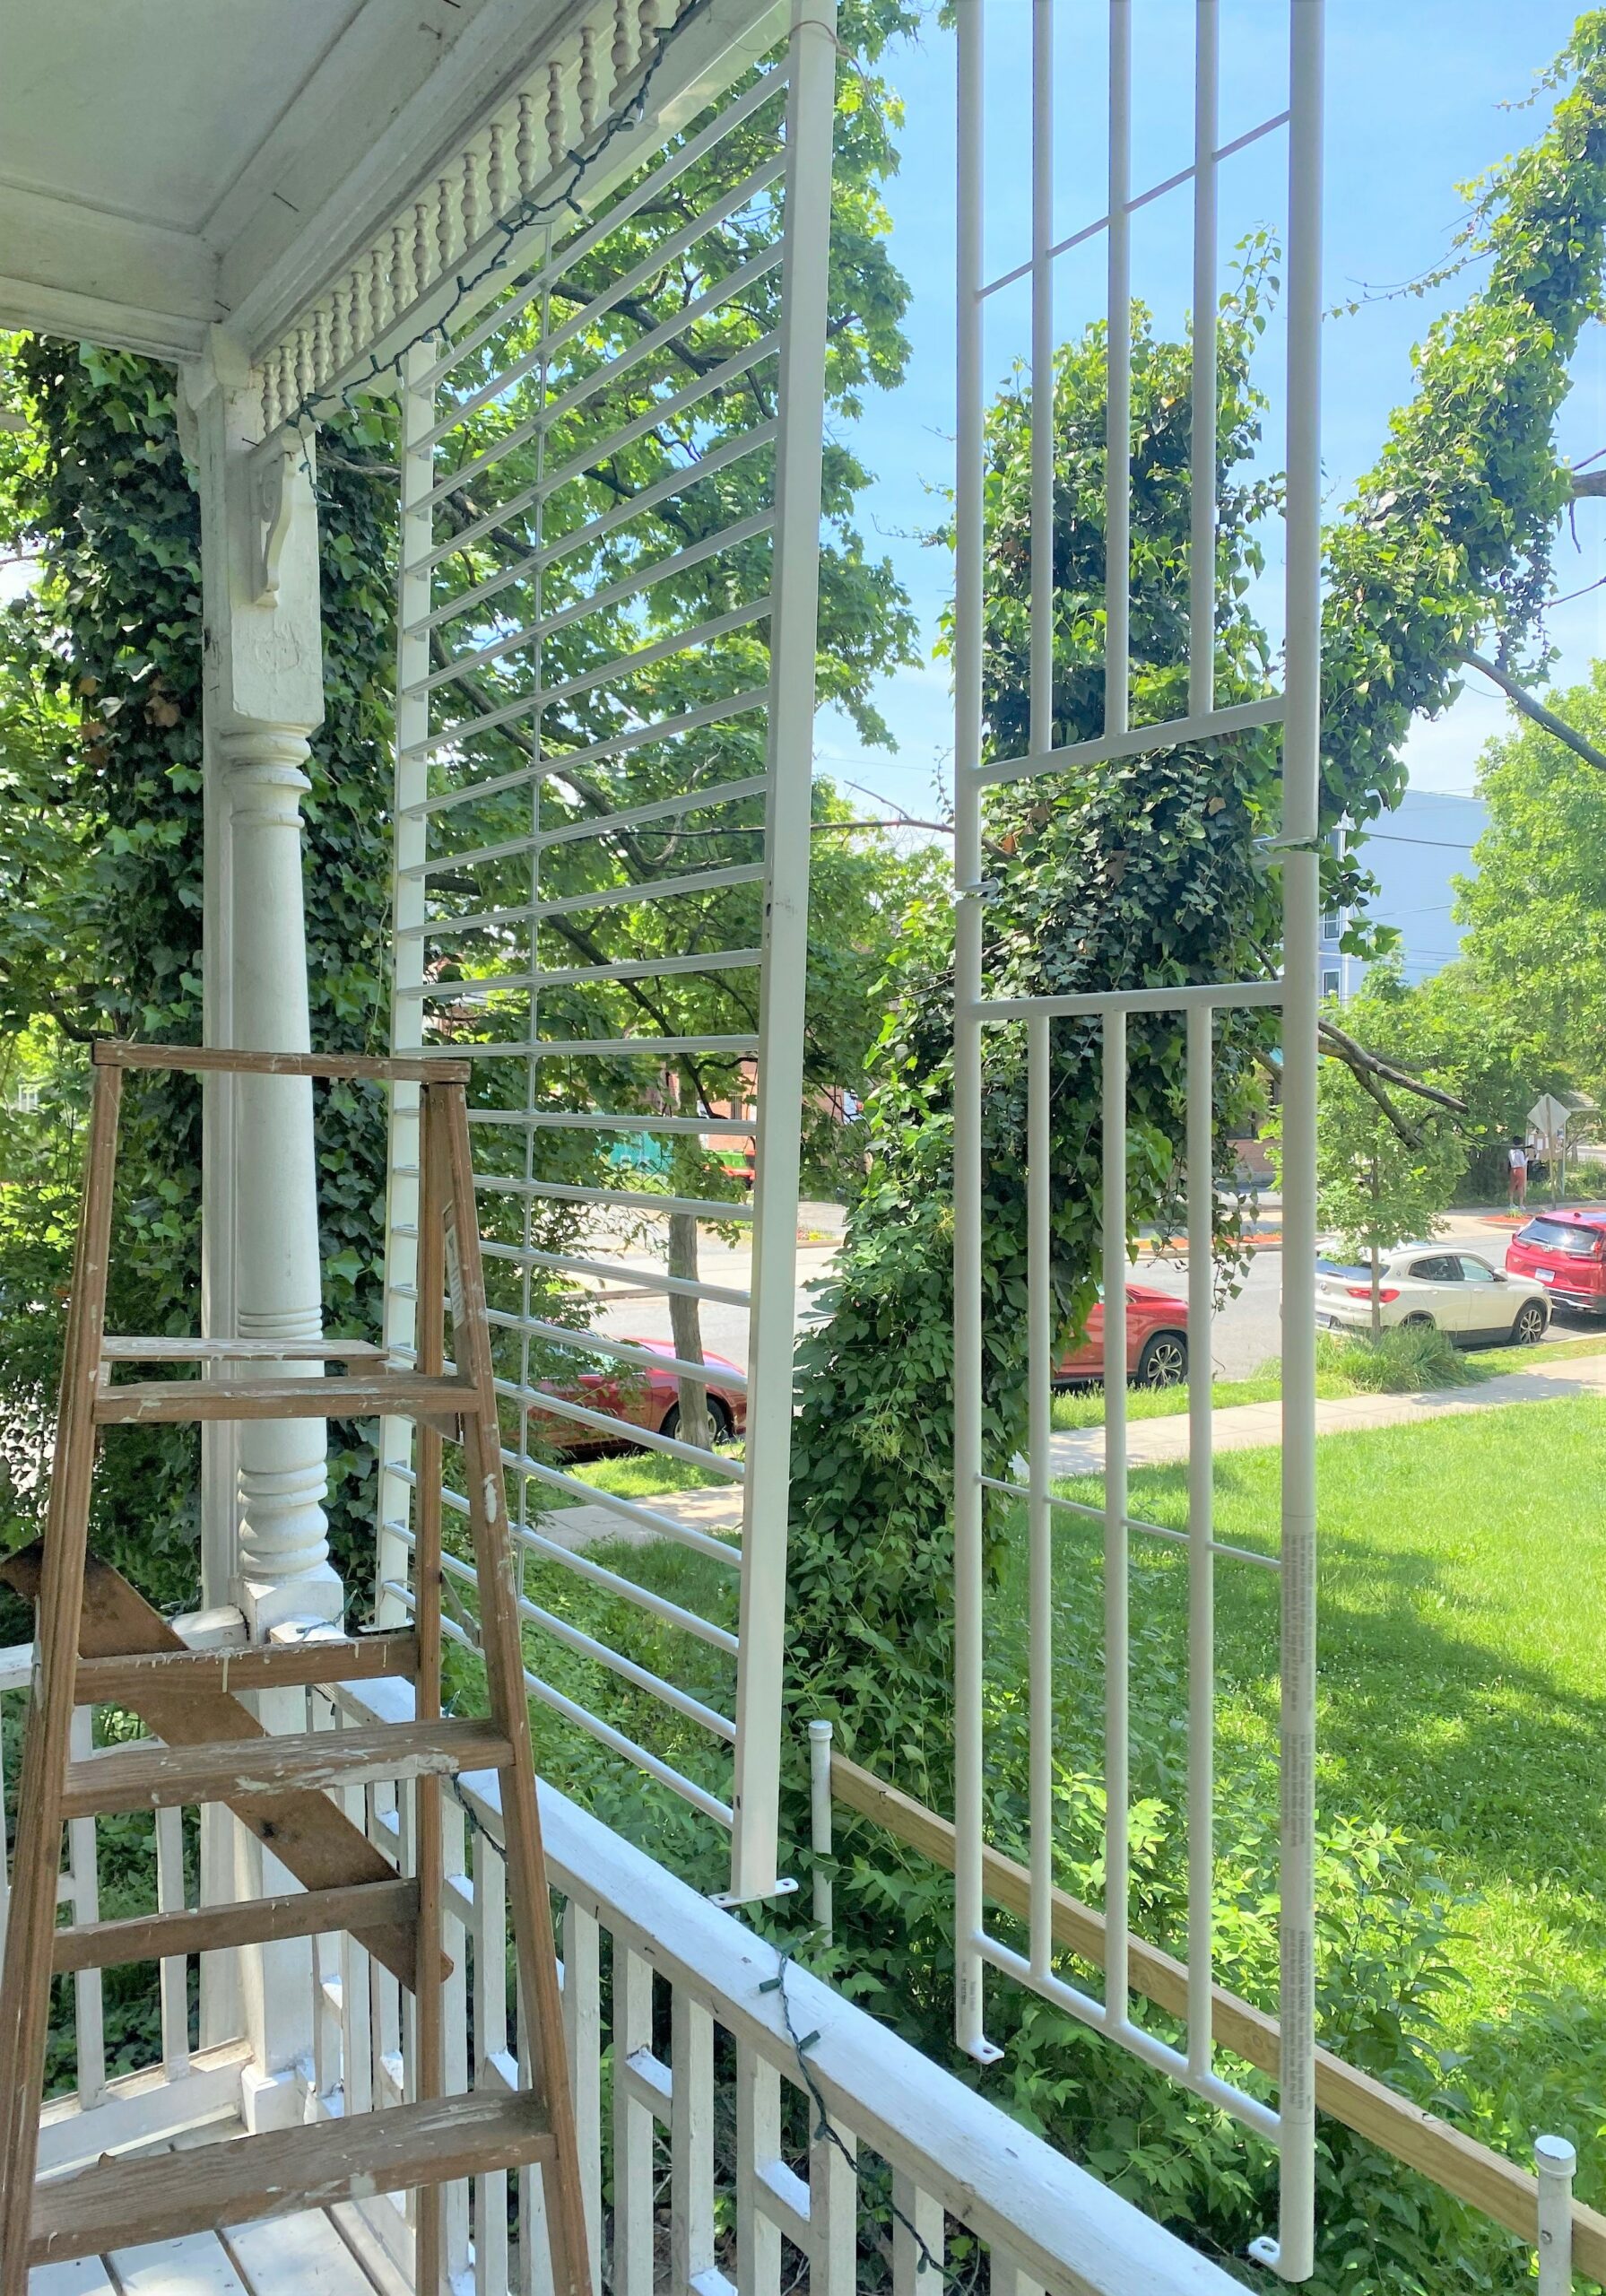
My bedframe had the screw holes that were ideal to hang it on the hooks. Measure the bedframe’s width, mark it and use your drill to add holes. Screw in the hooks, then hang your bedframe on them.
5. Use chains to hold pieces, give another place to hold vines
- Another hook was added to a space between the bed frame and porch post, then chain was hung there to give another place for the vine to hold onto as it grows. This is a mini-trellis, if you will.
- With pliers, I took the chain part and used pieces to hold up the metal artwork. S-hooks connect the artwork to the chain. Chain pieces were added to the bottoms of the bedframe pieces and then secured to the handrailing with wood screws to help hold in place and not move too much in the wind.
6. Add window boxes, plants
- Now that all the parts are in place for the trellis, plastic window boxes were added below them using the drill, wood screws and screwdriver.
- Place small pebbles on the bottom of your window boxes for water draining.
- Add potting soil and plant your flowering vine plants inside.
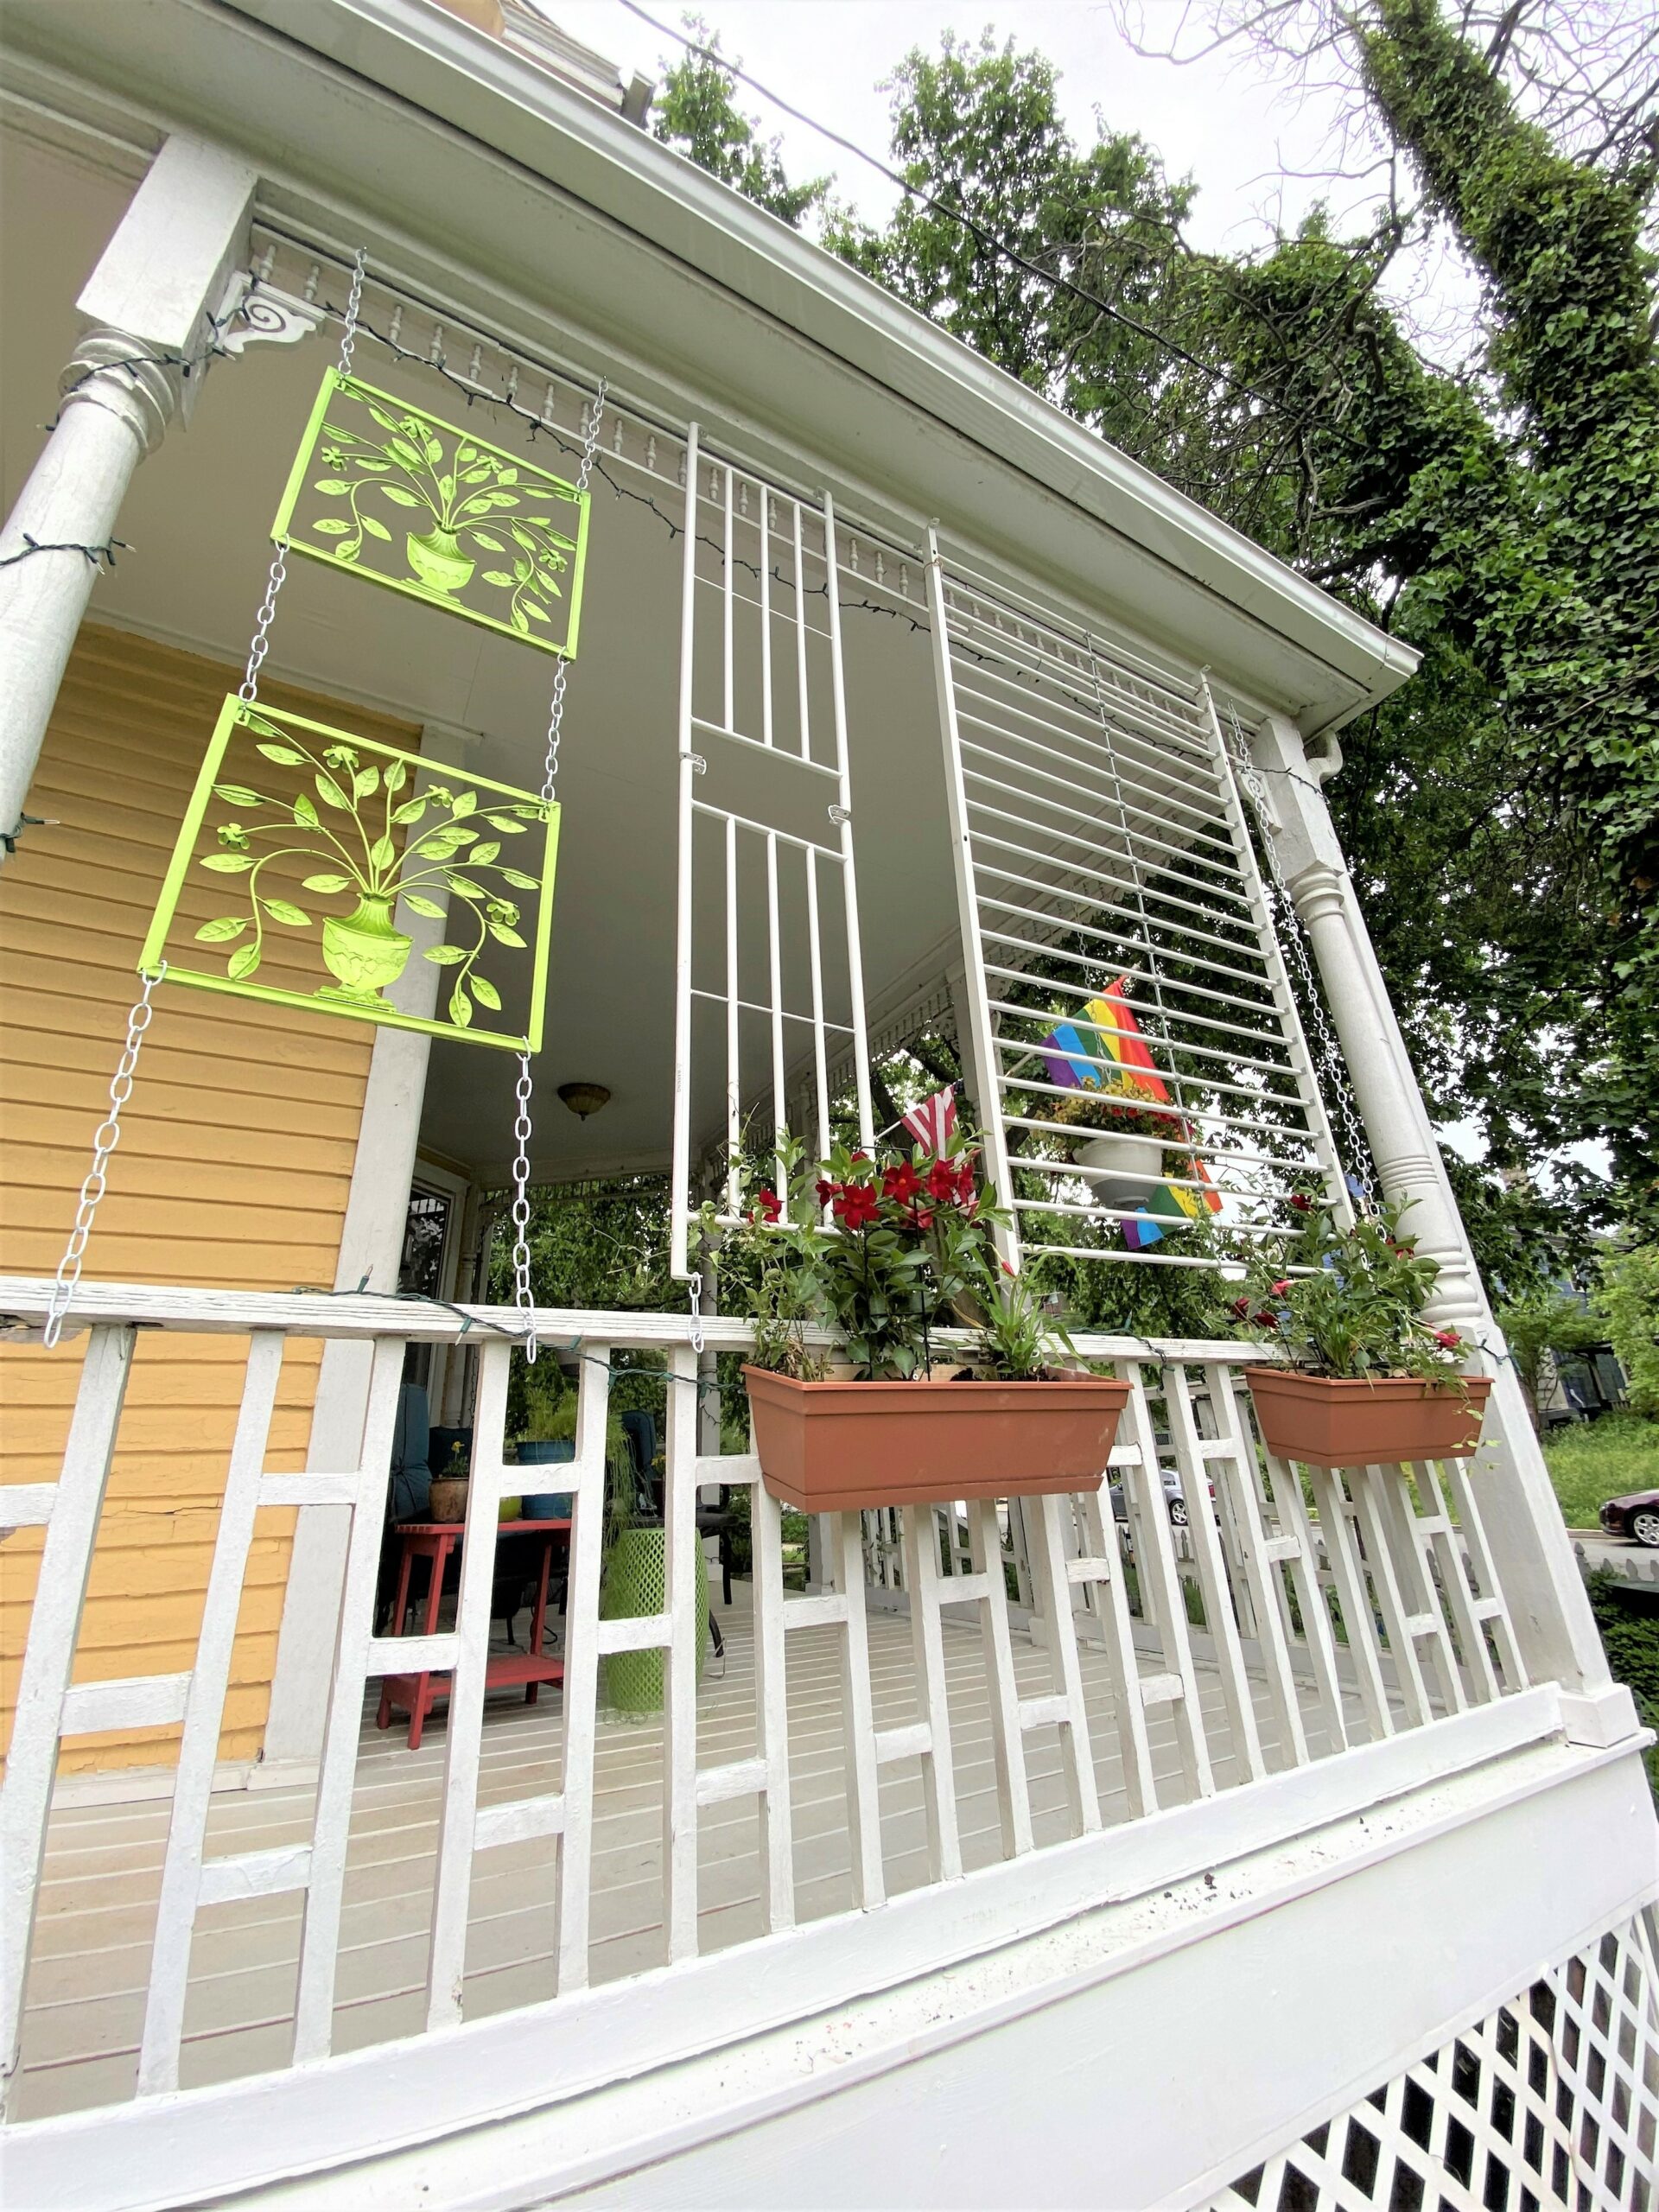

The red flowering vines used here are called Mandeville and love lots of sun and heat, so they were an excellent choice for this project. Also, the red color matches my front door and a bistro set and side table I have on my front porch. It all looks connected and well-thought-out if I do say so myself!
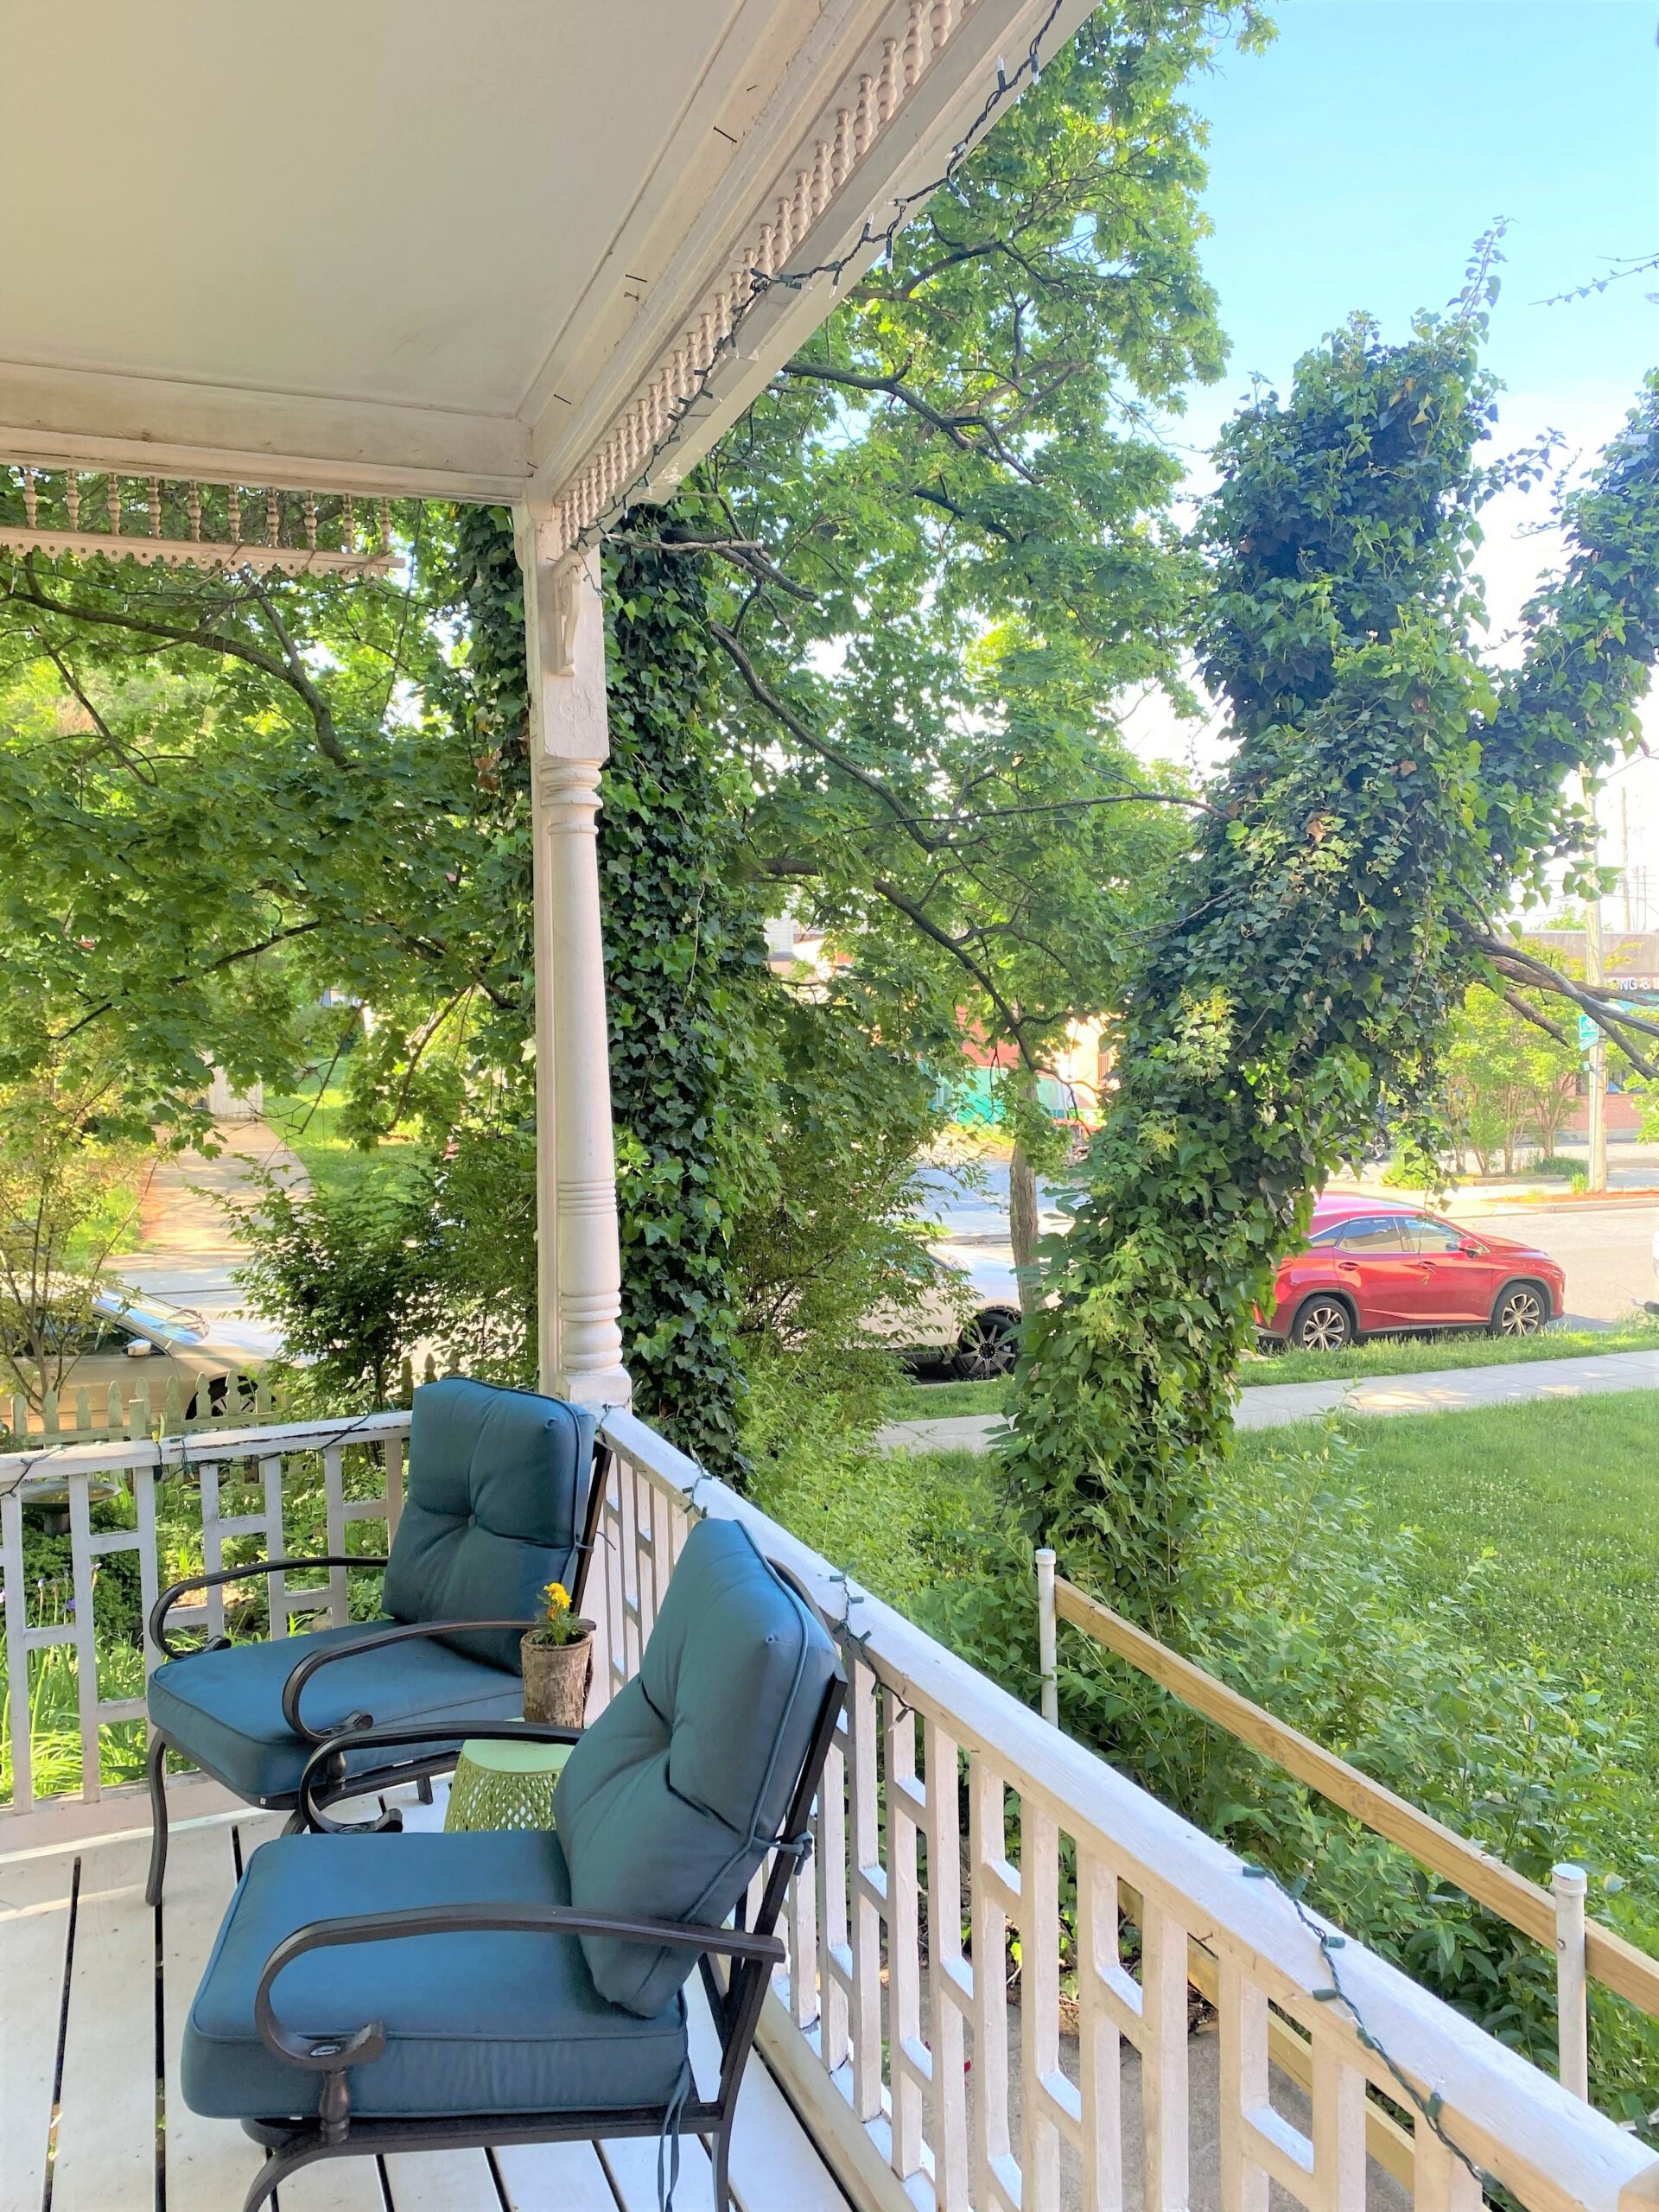
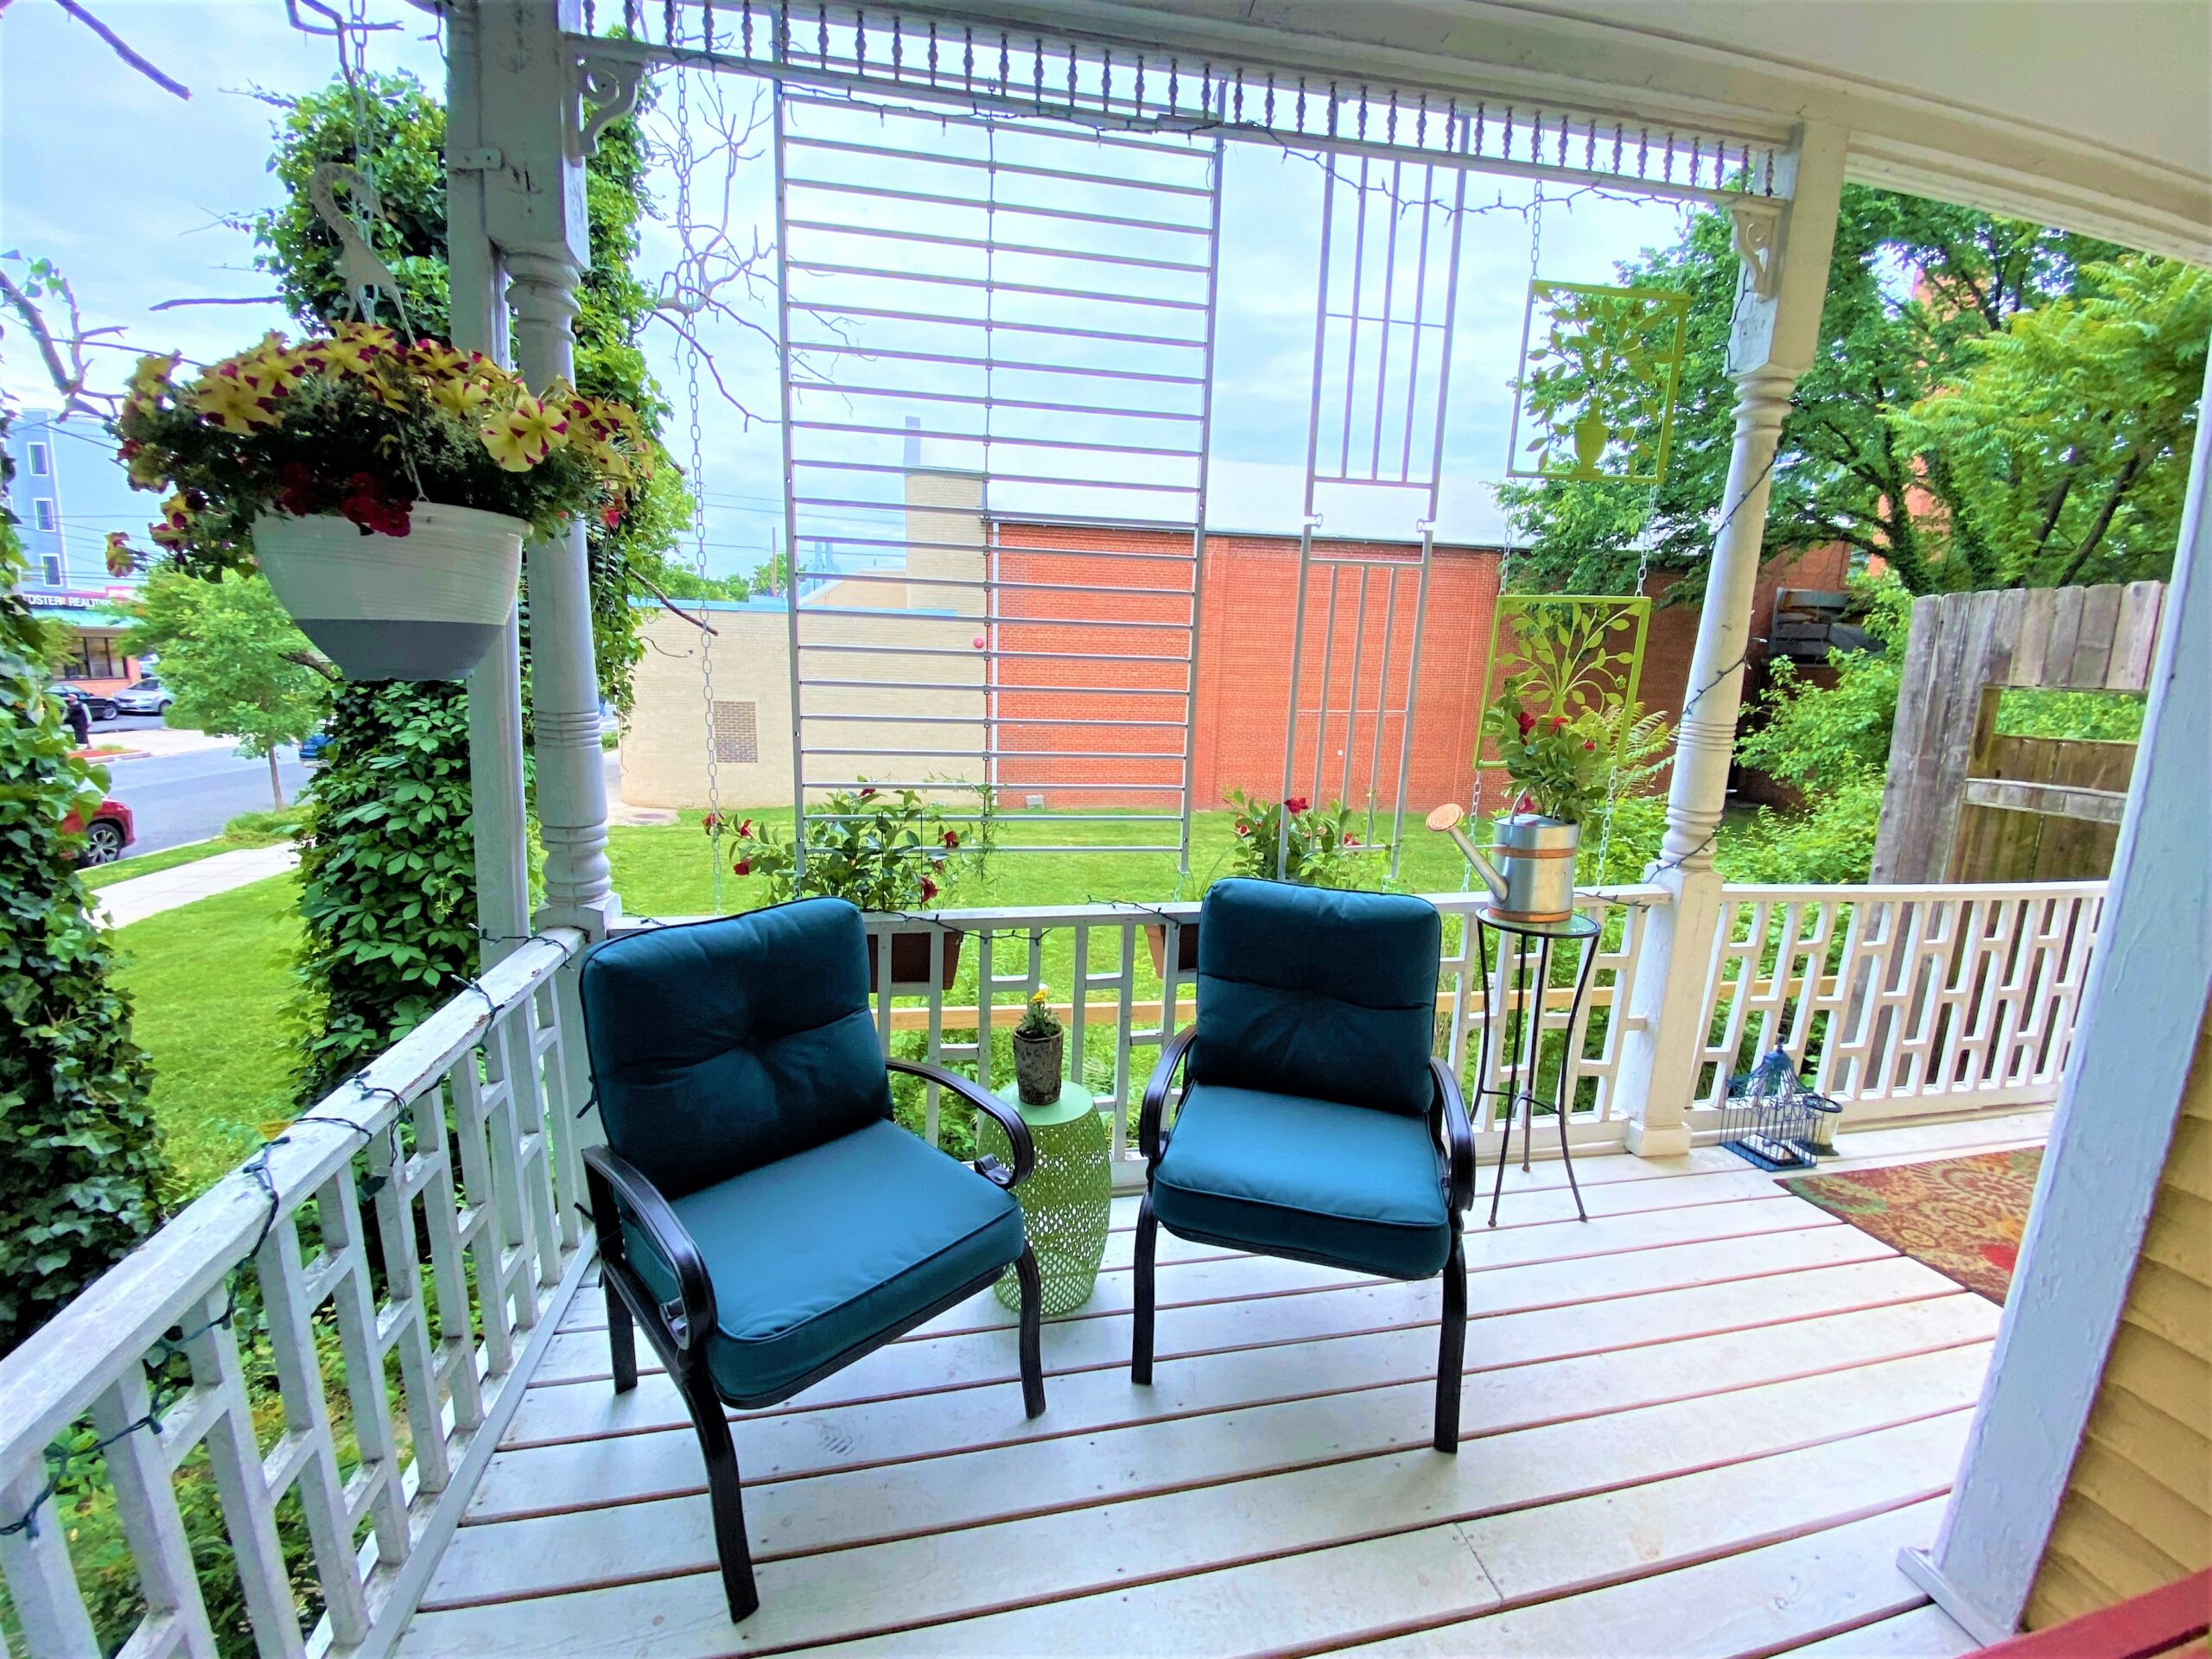
7. Position accessories
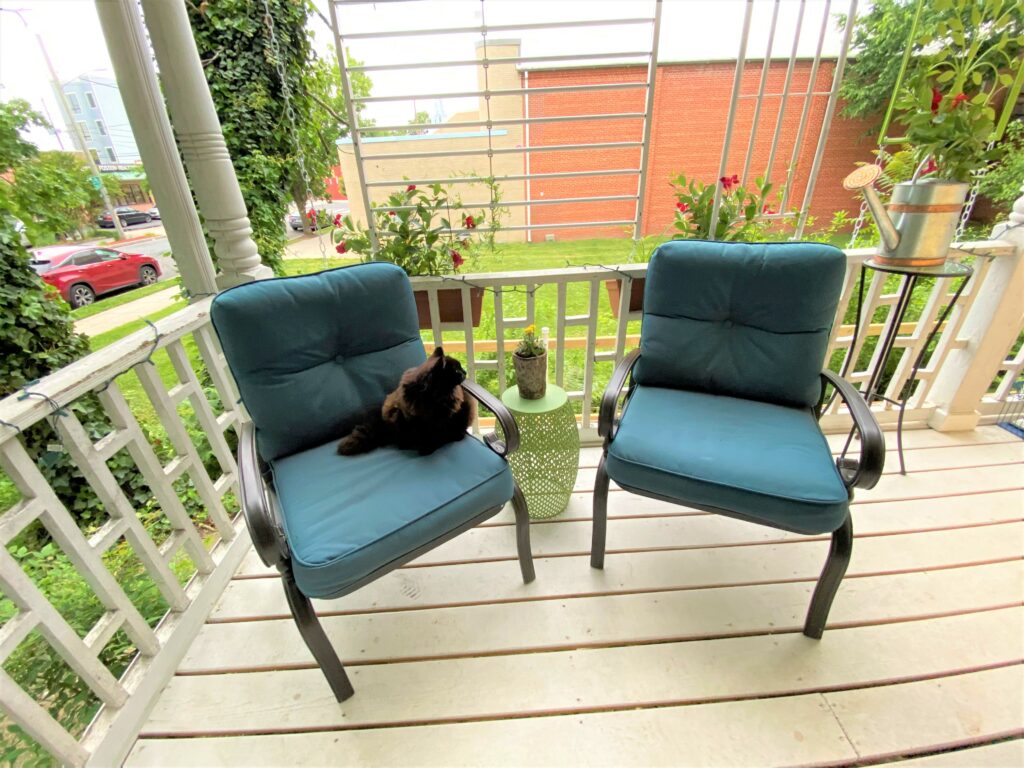
Put a colorful table between two chairs so you may place your coffee mug or wine glass there. Add a friendly pot with a bright flowering plant in it.
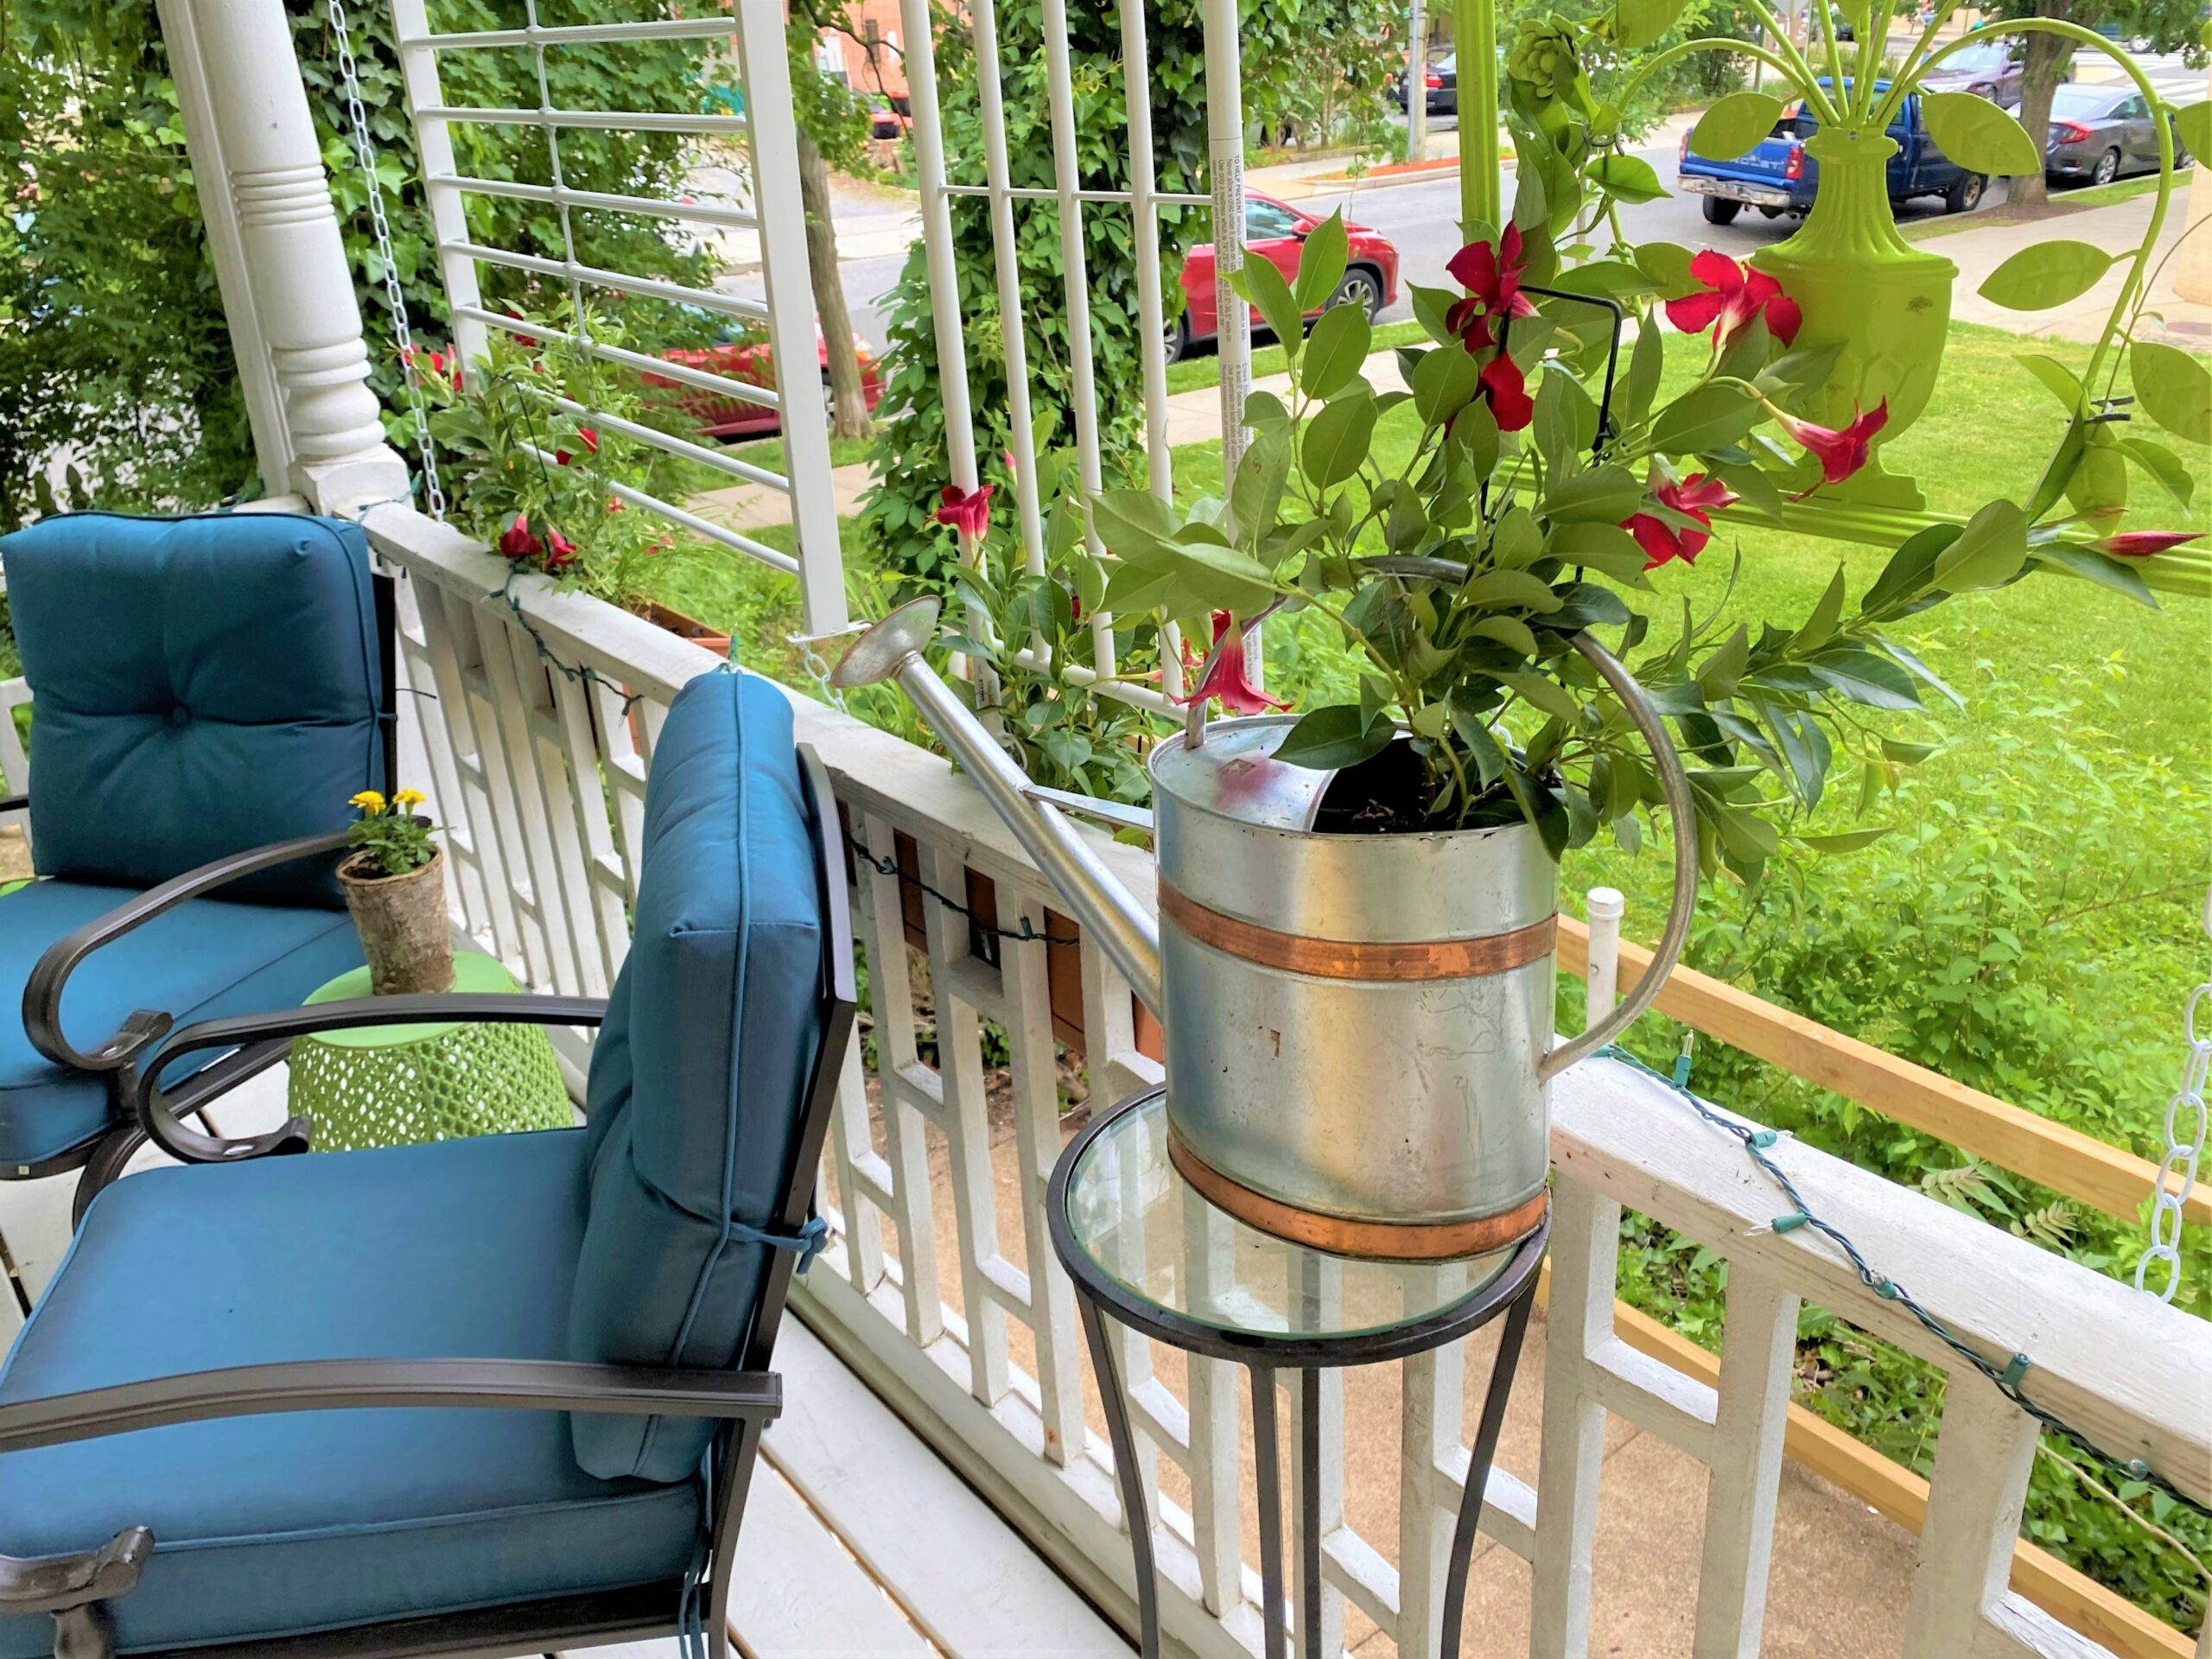
Use a watering can as a pot for another vine plant and position it on a tall plant stand to allow it to easily grab onto the trellis.
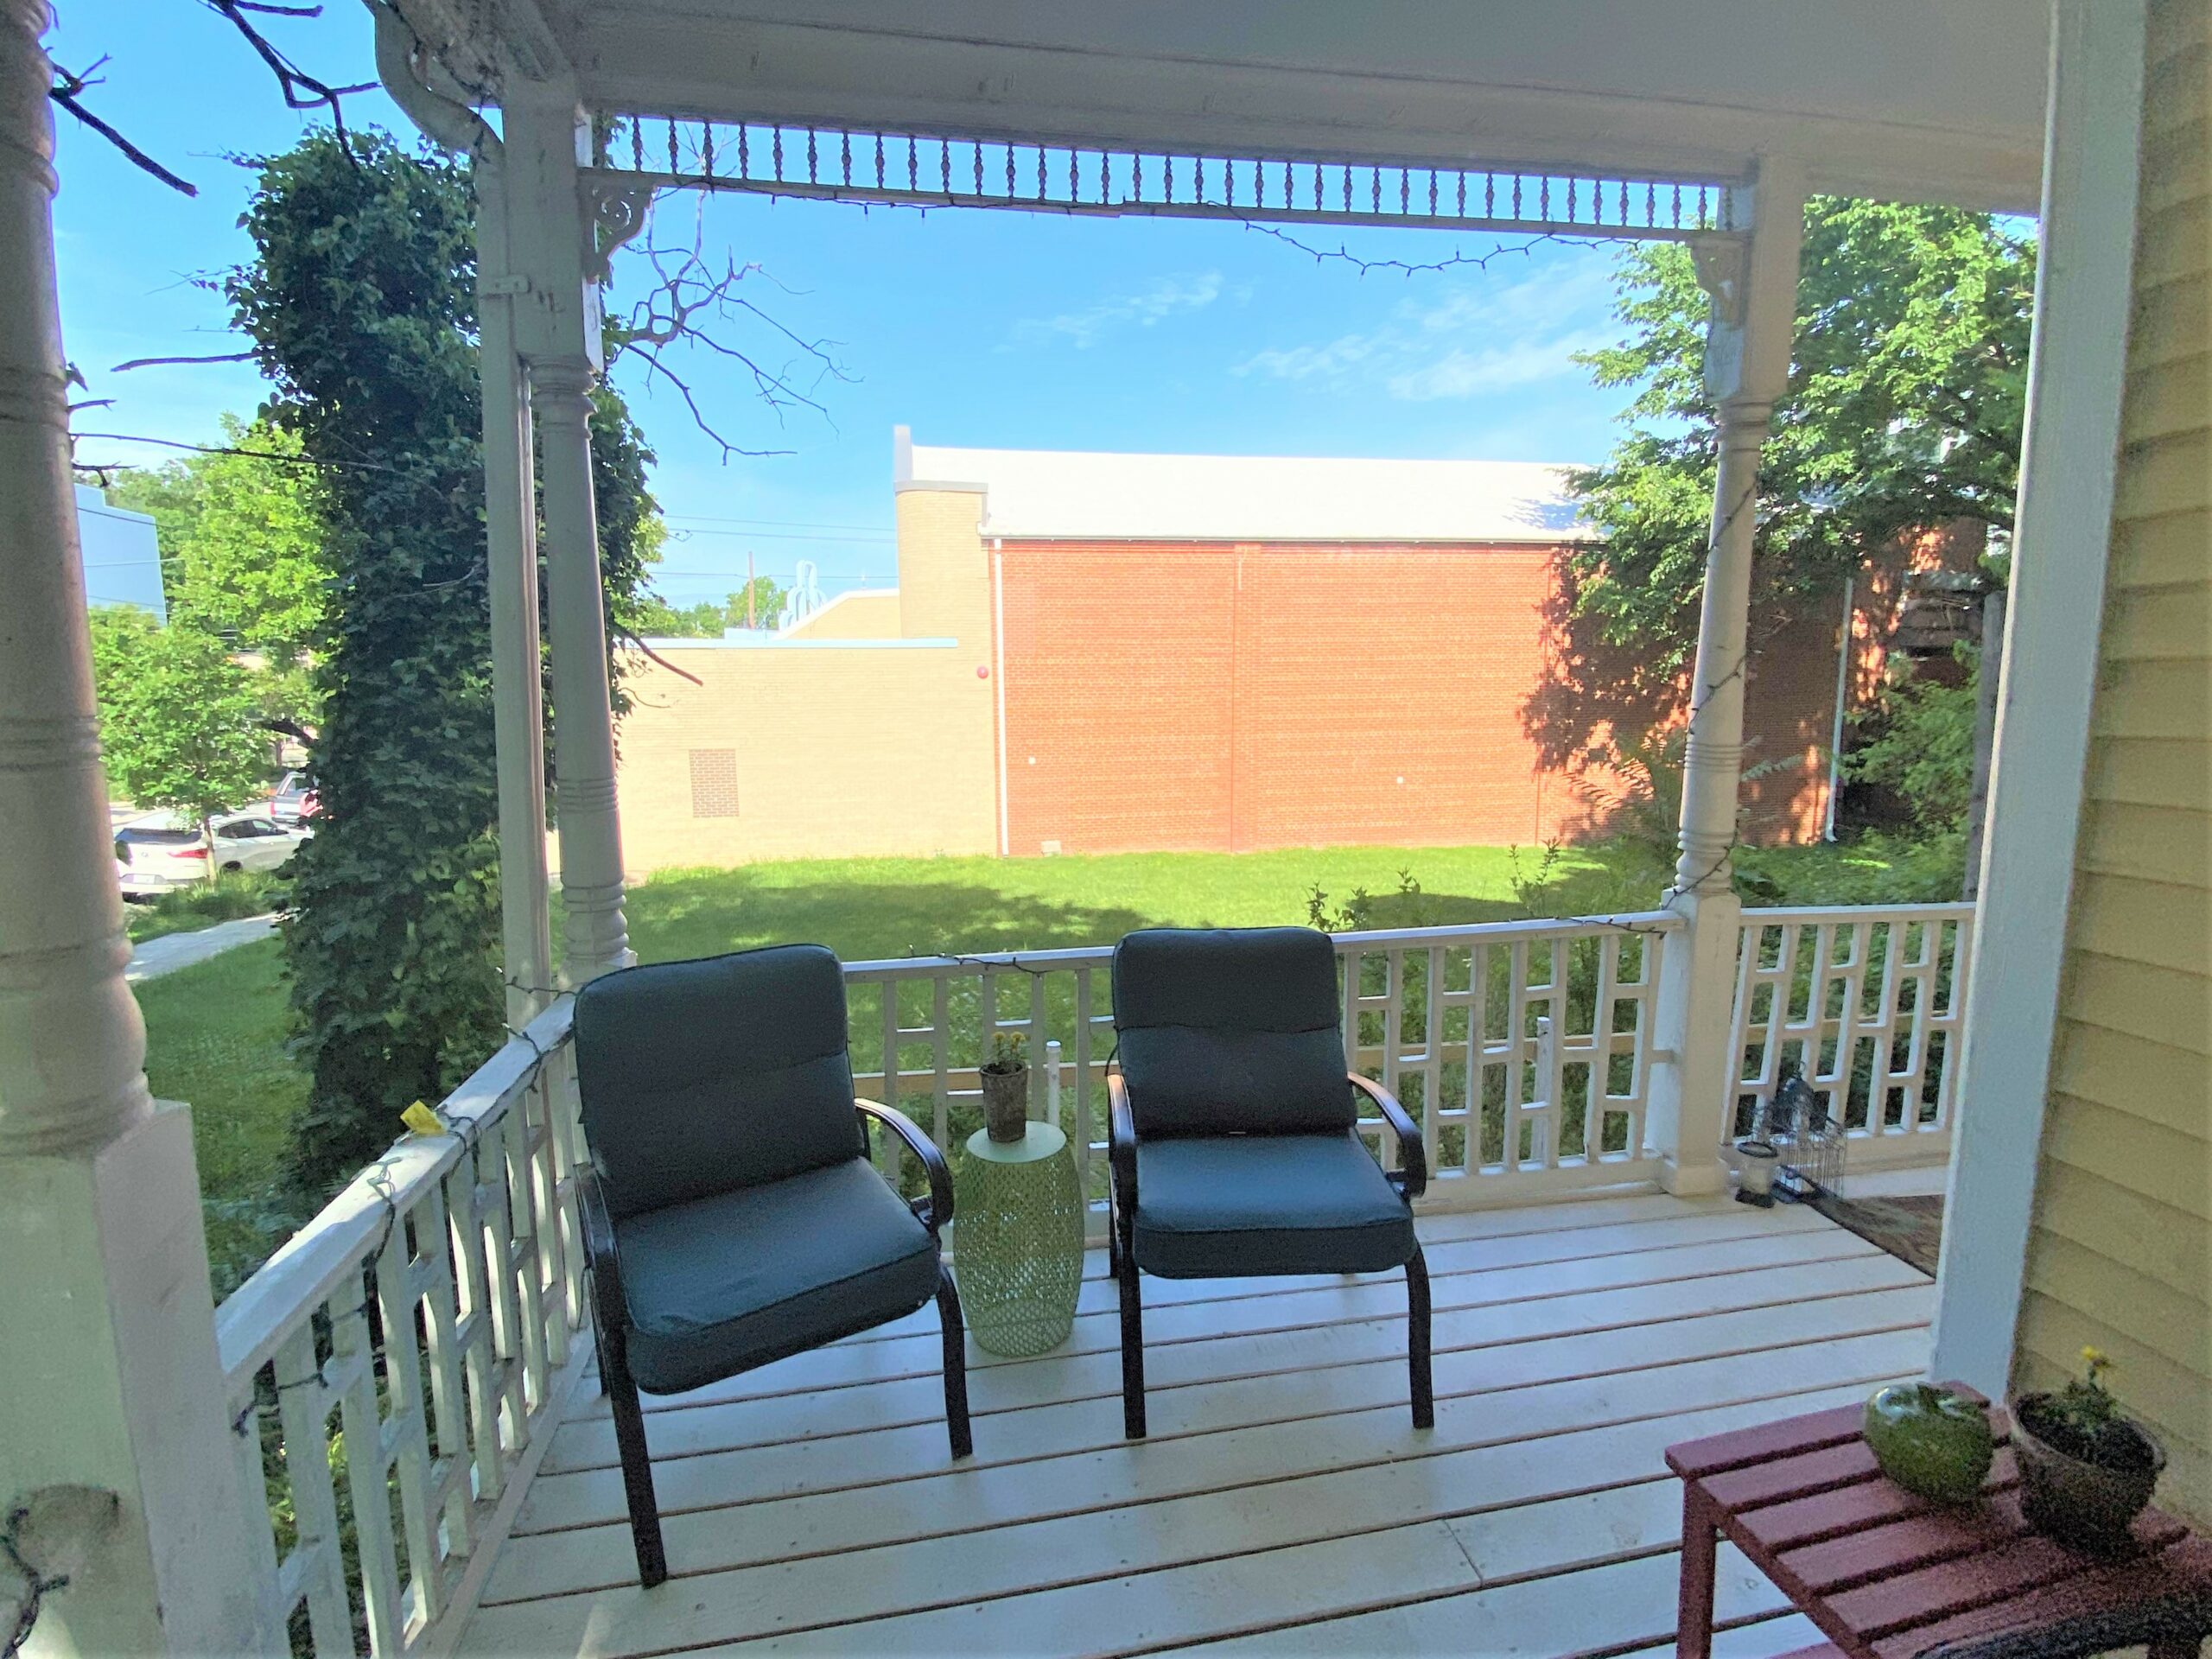
8. Enjoy with a good book, dear friend or cute pet
Now that your bedframe trellis, flowering plants, cool accessories, and other items are in place, it is time to enjoy your transformed space. As the summer months progress, it will be so exciting to see a whole wall of red flowering vines.

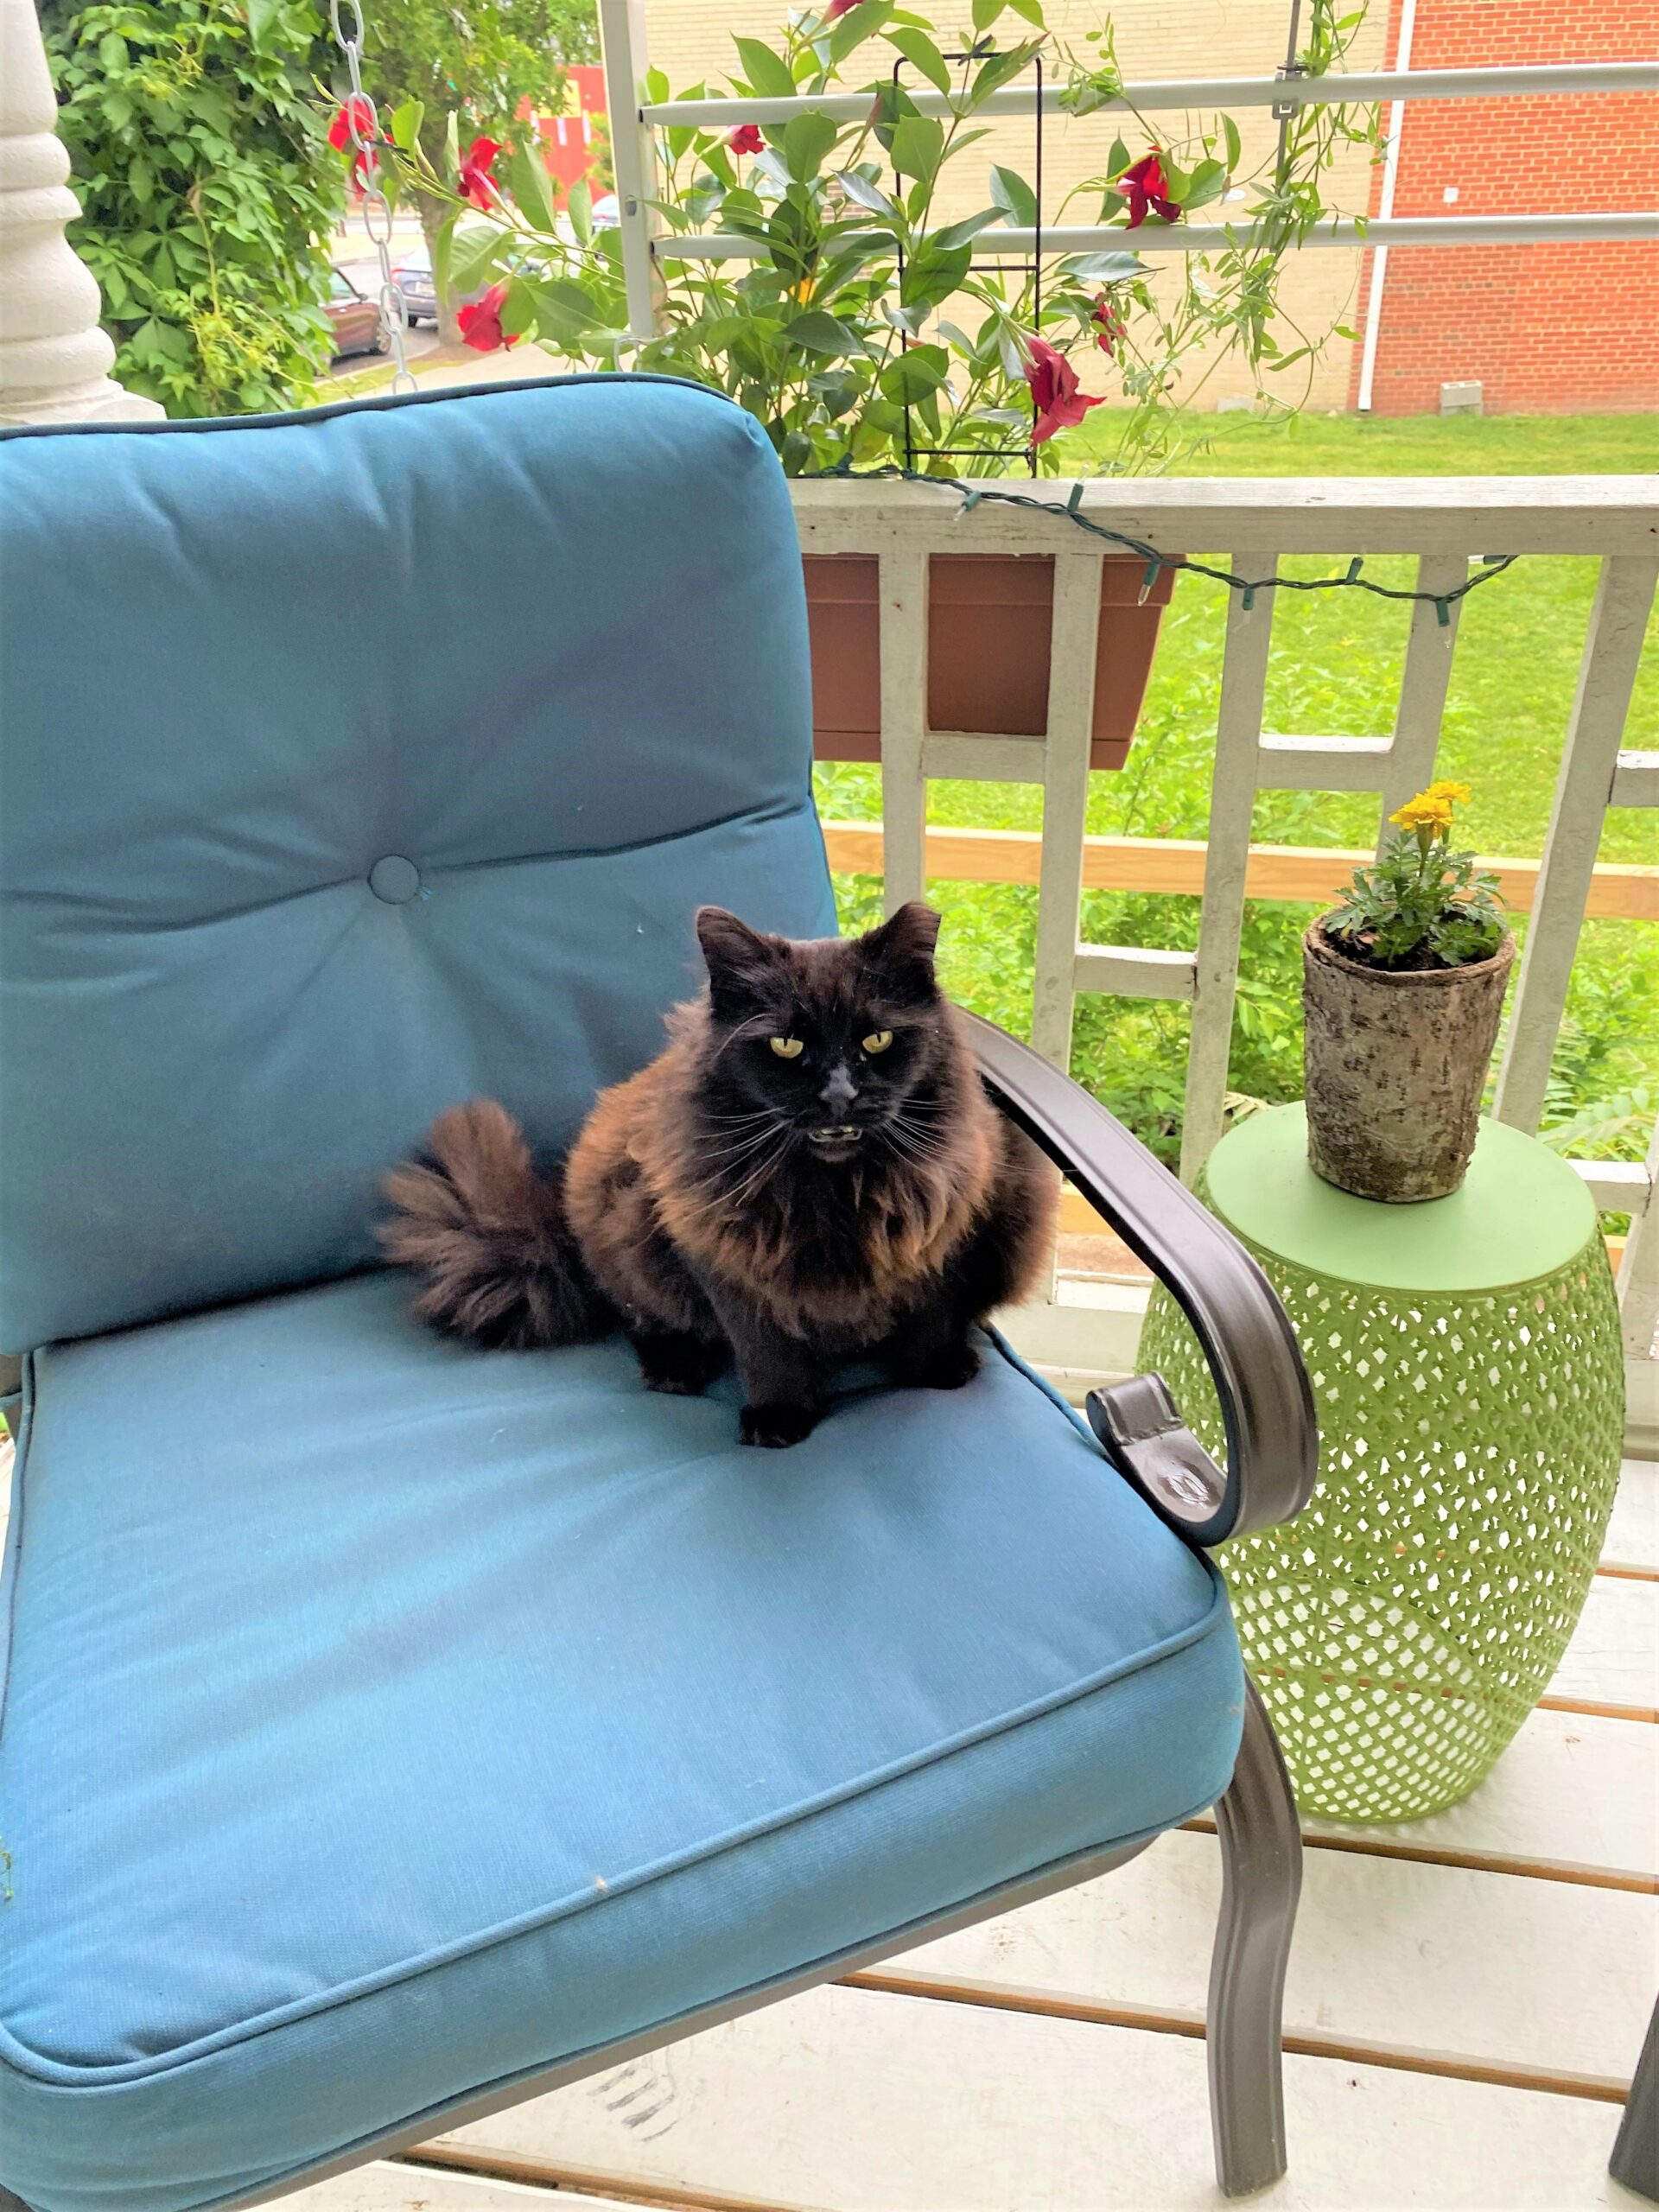


Invite a friend to hang out with you or, if you are fortunate like me, you can share this happy space with a fun pet like my cool cat Gypsy who loves how it looks!

Tim Kime
Artist, Motivational Speaker, Life Coach


