You’ll Say, “Oo-la-la!” with this DIY French Bistro Set
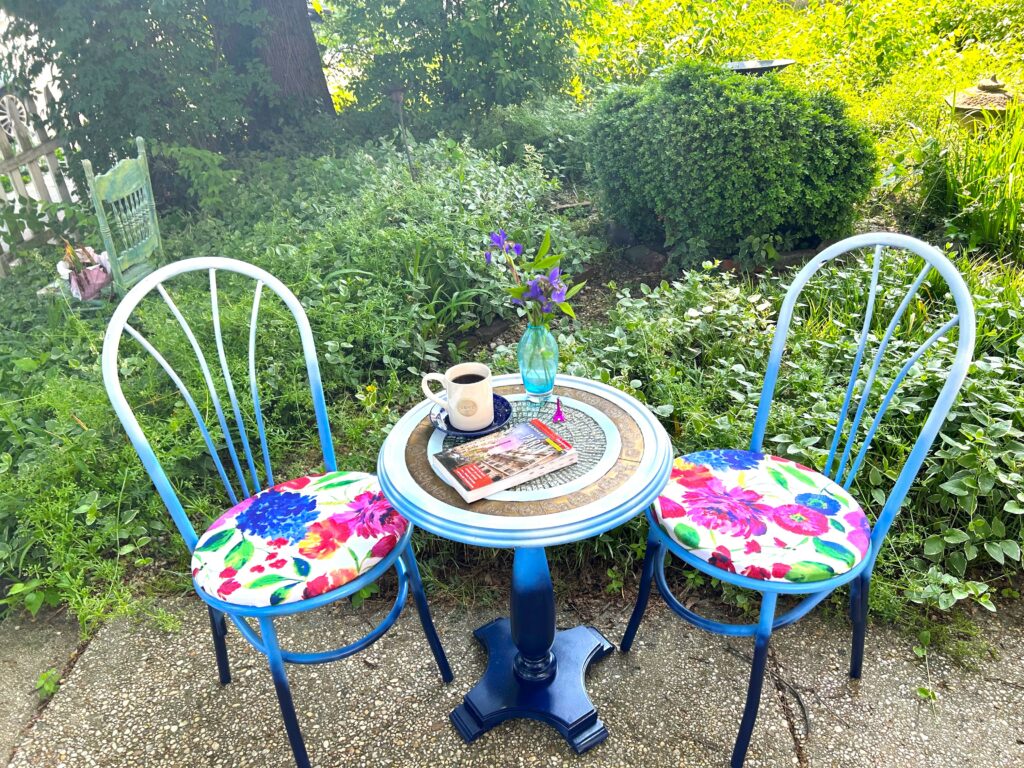
Here’s a “Springtime in Paris”-inspired DIY project you’re sure to love! Combine a pair of chairs with a round table for a charming bistro set that brings Paris right to your front door—or back deck or balcony!
All over Paris, there are cafes that spill out onto the sidewalks.
Most have charming chairs with round tables that invite patrons to sit for hours to watch the world go by. No need to leave that style and experience to the French when you can easily create one for your masion (that’s French for home), too.
This project is easy, inexpensive, and also eco-friendly. You will say, “Merci beaucoup!” each time you sit at it with a book, a friend, or a croissant.
Items needed:
· A pair of metal chairs with curved backs
· A small table with a round top
· Colorful, outdoor or weather-resistant fabric
· Spray paint in matching colors
· Staple gun
· Scissors
· Screwdriver
· Paris accessories, of course!
1. Say “Bonjour” to Goodwill & great deals
Charming bistro sets are all over Paris and are truly very French, in my opinion.

Given my love for upcycling and repurposing—and Paris, I was challenged and inspired to create my own. So the first stop, of course, was Goodwill!
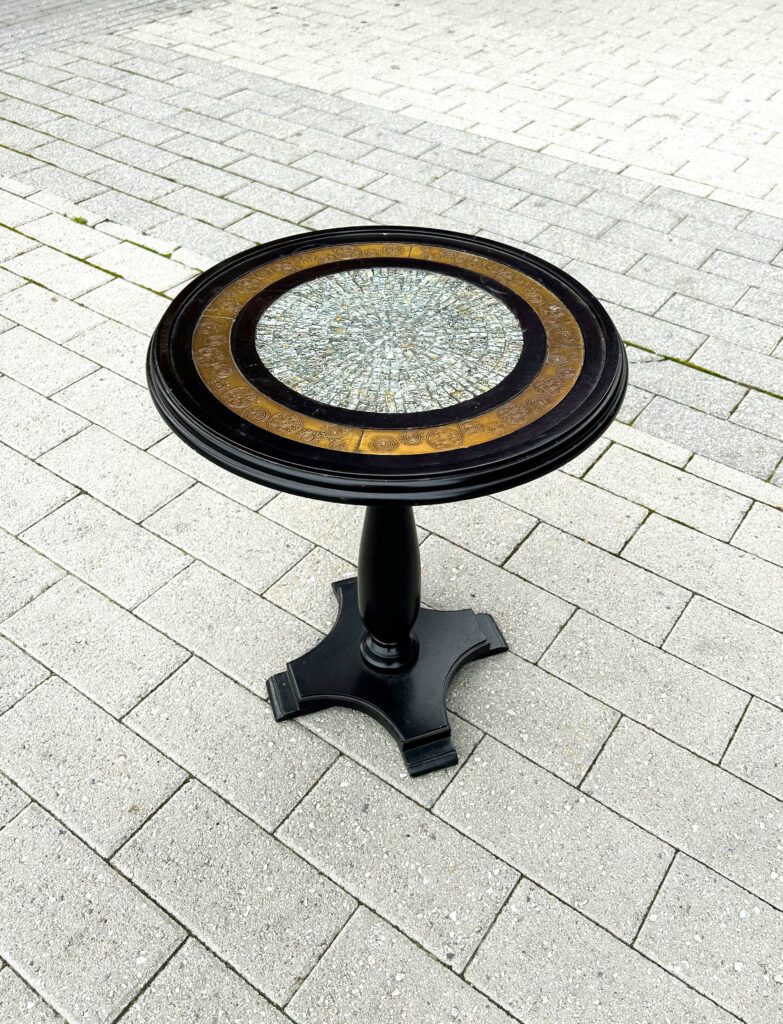
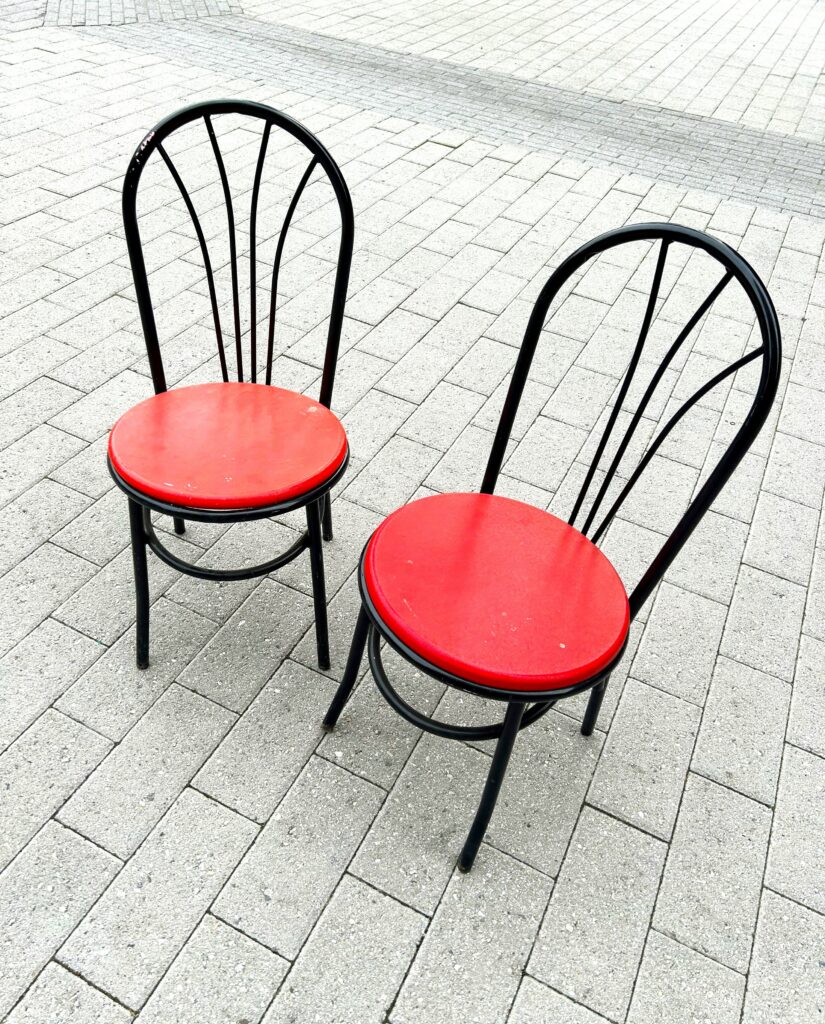
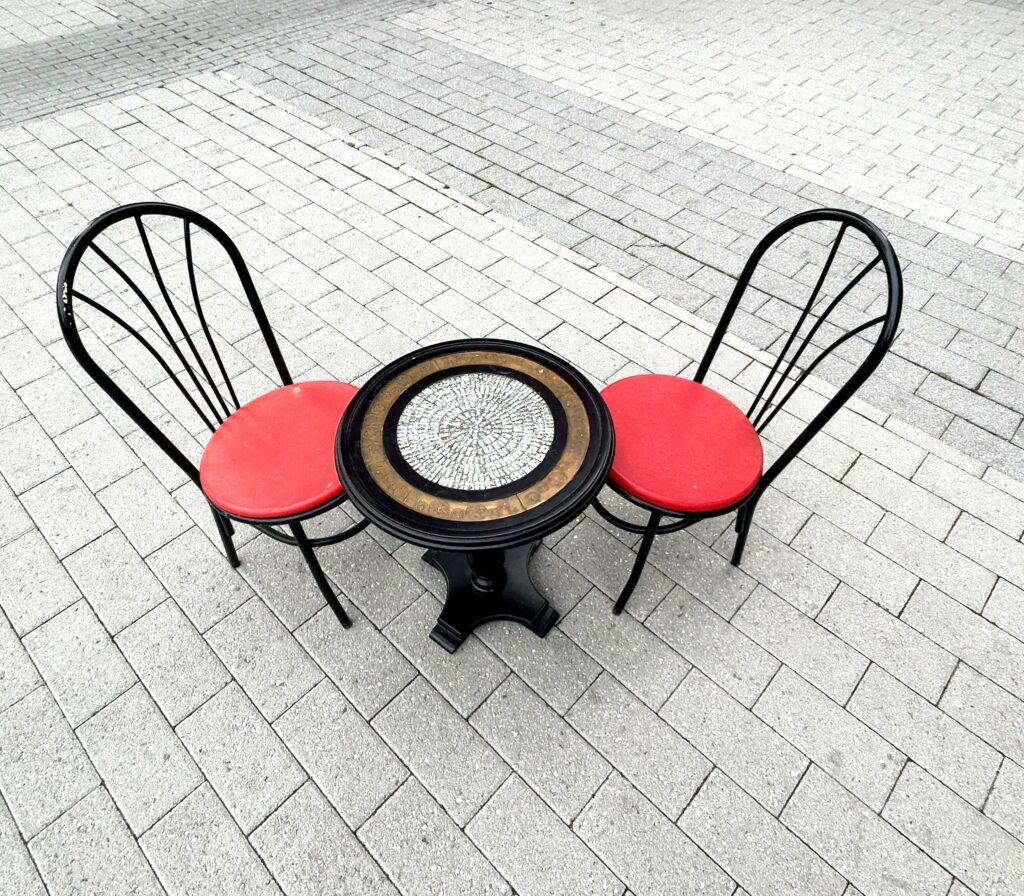
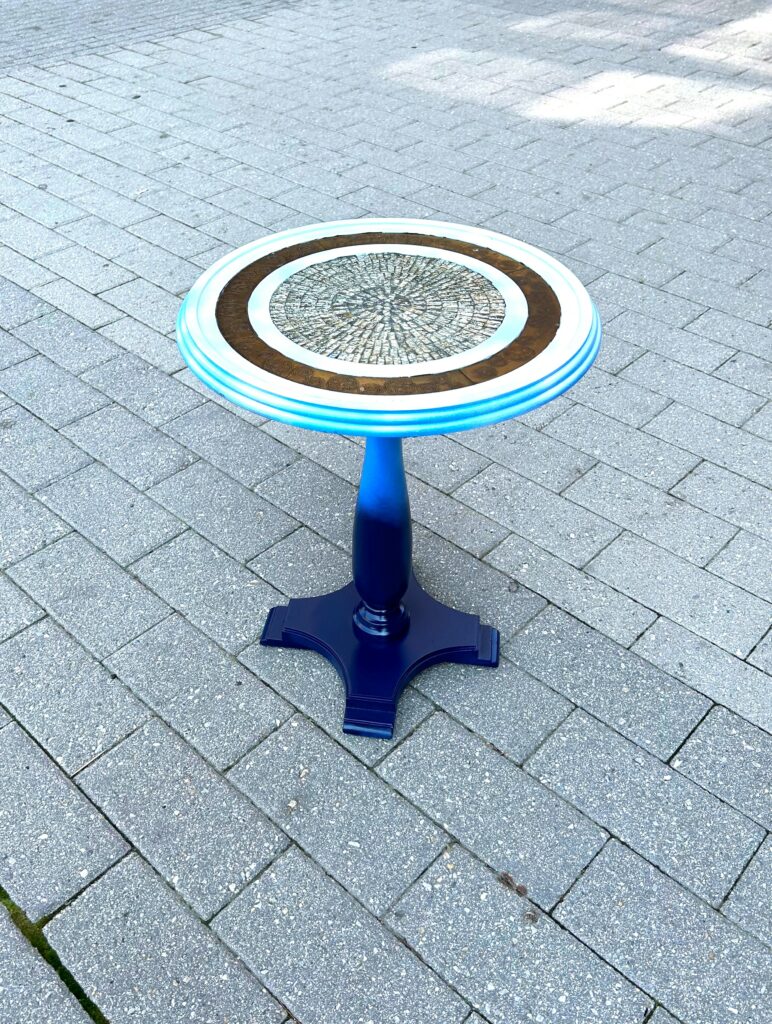
I found an amazingly elegant, round table with a pedestal base and tile top, which was “tres bien.” A pair of matching side chairs made of metal and with removable seats were the ideal companions to complete the set. For just a few dollars, I had the great essentials needed for a one-of-a-kind bistro set.
Use this DIY idea and my recent Paris trip as inspiration, too, and look for a round table. While a square one is functional, I feel like a round one has much more of the bistro feel you’ll want.
Find your good and a pair of matching chairs at Goodwill to finish the set; again, chairs with square or rectangular backs would be fine; however, I encourage you to look for those curved back ones to compliment the roundness of the tabletop.
If you can’t find metal chairs, wooden ones will work, too, if you are able to keep them under cover when it rains.
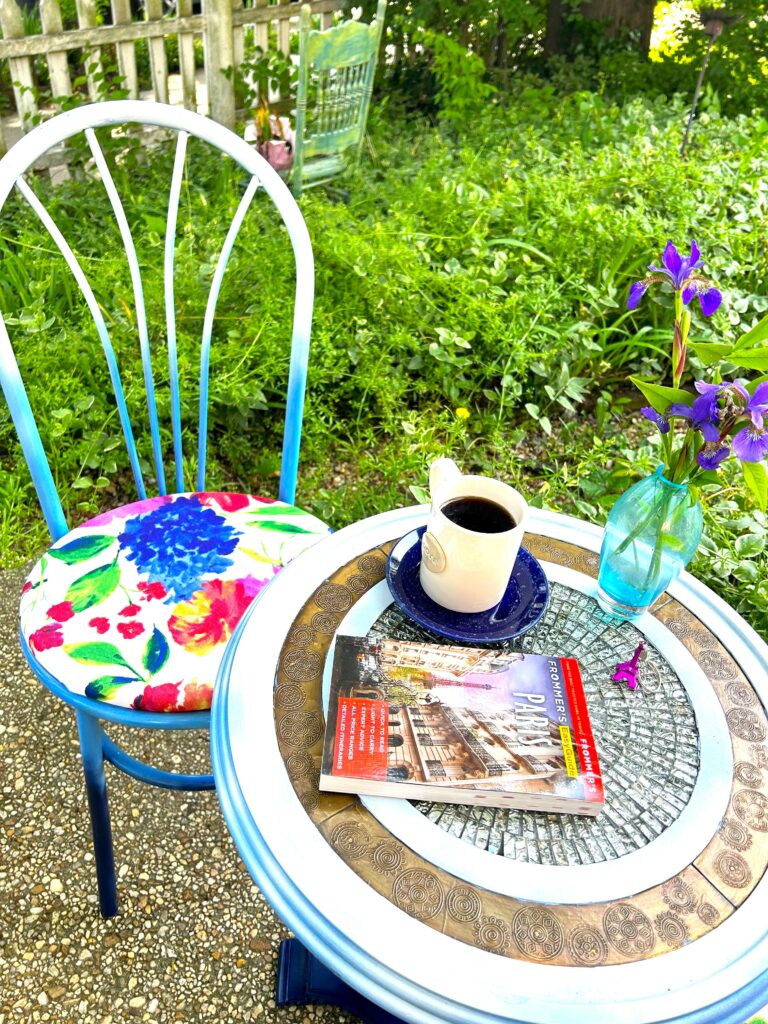
2. Find a fabric to make it fabulous
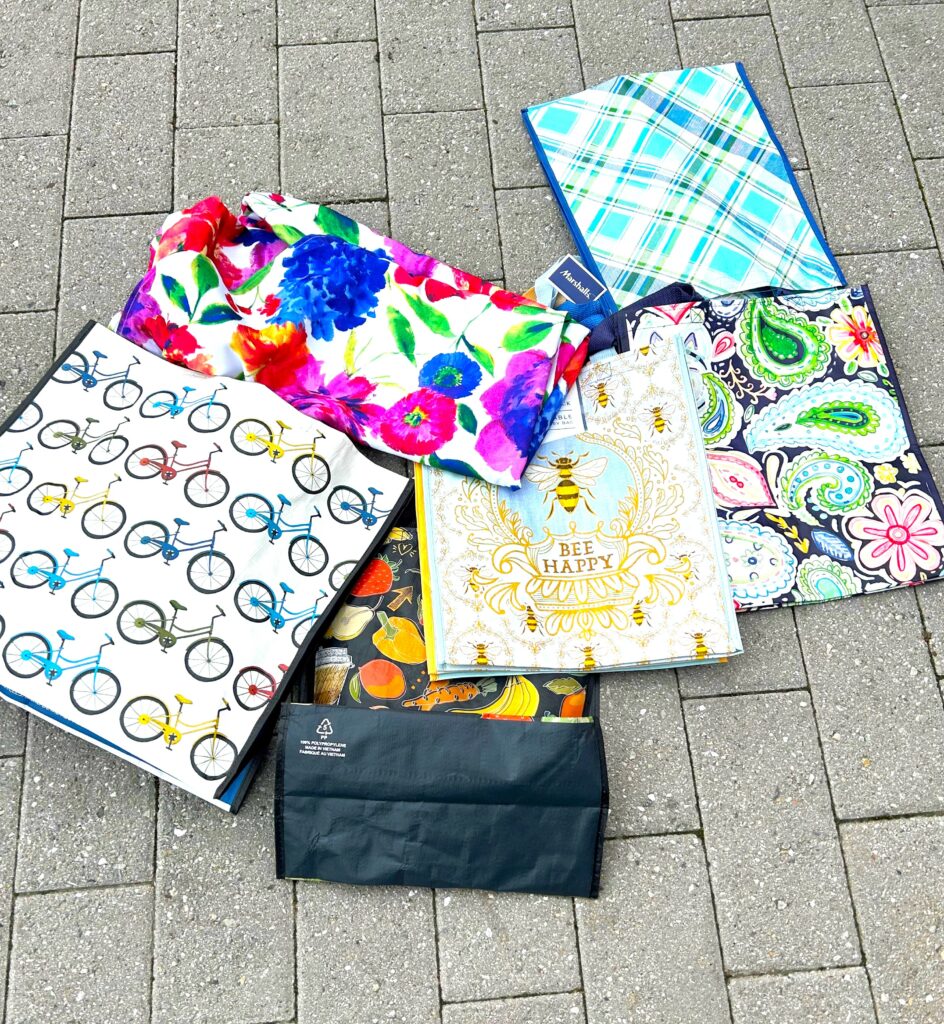
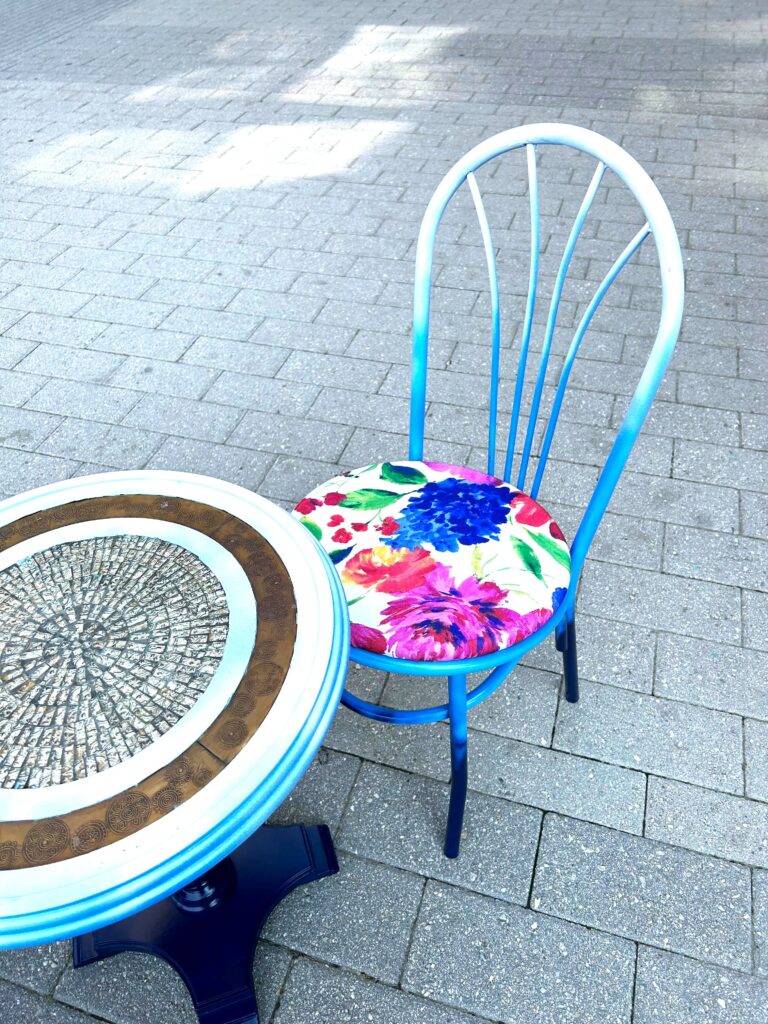
The chair seats were removable for this pair, and if you get lucky, too, you will find ones like them, too. Keeping with the repurpose theme, look for colorful fabric to reuse to add some pizzazz and pop to the project.
Those reusable thicker plastic shopping bags are ideal. Several were picked up for pennies; however, this project ended up using an outdoor tablecloth because it was colorful as well as weather-friendly in both sun and rain. Perfect!
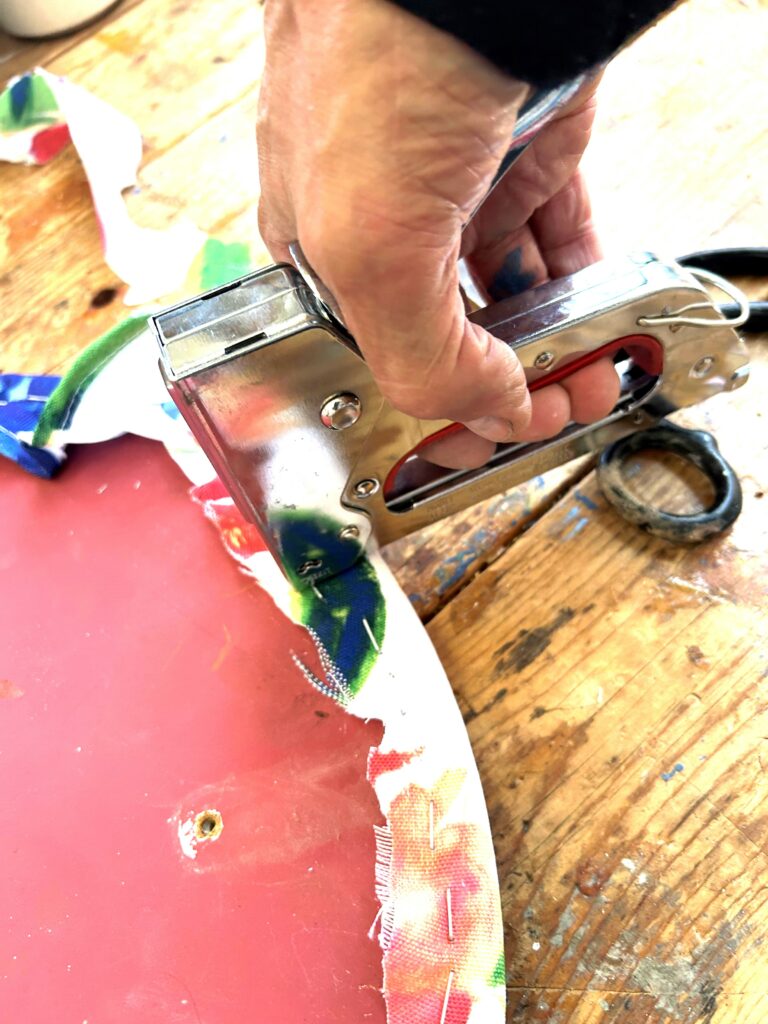
- Remove your seats with a screwdriver, then place them on top of your fabric.
- Cut away access material leaving enough to fold over and secure on the backside with your stable gun. You will need lots of staples for a secure fit. Be mindful of the holes where the screws will go back in and cut away extra fabric from those spots, too.
- Voila! In just a few minutes and with a little effort, your bistro seats now have a fresh, vibrant, and inviting look. Monet would be inspired, too!

3. Color connects & spray paint is super
A super simple, easy, and low-cost way to make random or mismatched pieces look connected and cohesive is paint. Paint also allows you to personalize your items or project to reflect your own unique style.
Most big box stores or online shopping places try to appeal to the masses, so you often see outdoor furniture in black, dark browns, and other neutral tones. Boring! To pick up the colors in the fabric used for the seats, a light blue was used.
- Start by protecting any parts of your pieces with painter’s tape.
- The tiled tabletop parts were too pretty to paint over, so they were lovingly covered with painter’s tape.
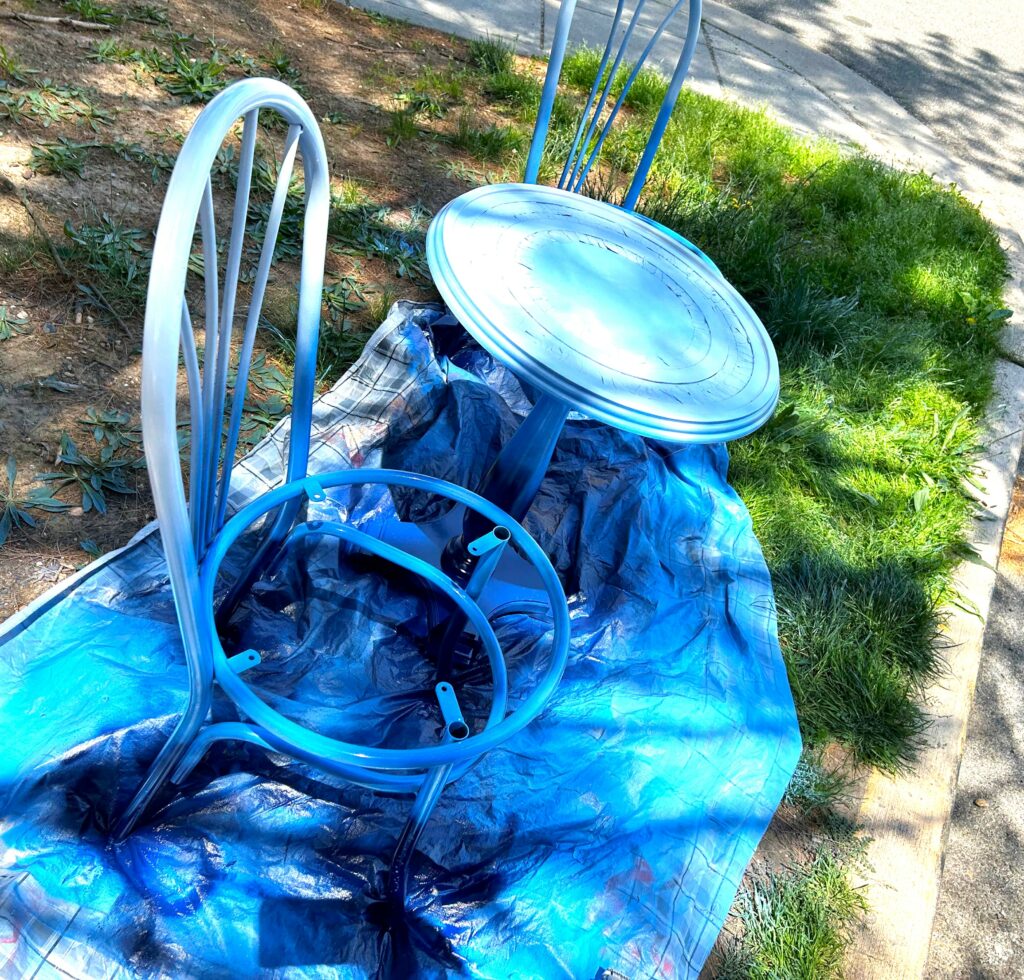
- Next, place your chair frames and table outdoors and on a drop cloth. Add light lighters to prevent drips and runs. Return to your piece several times, allowing for plenty of drying time between coats.
- Place the chairs and table on their sides to get all edges and parts as well as to ensure solid coverage.
- Again, a light touch is the best approach. Once covered and coated well, let your now colorful and matching bistro set parts dry completely before touching them to avoid smudges and fingerprints.
Expert Tip:
Consider spray painting your pieces first and then tackle the chair recovering project while things dry.
Design Tip:
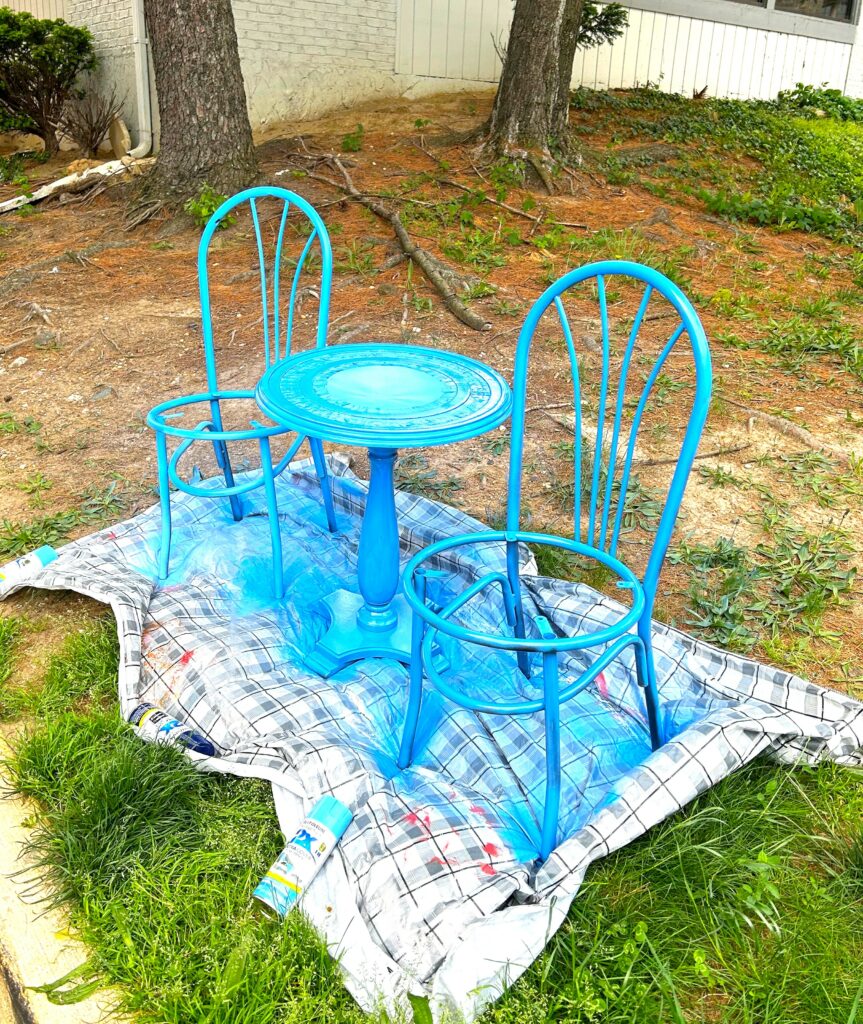
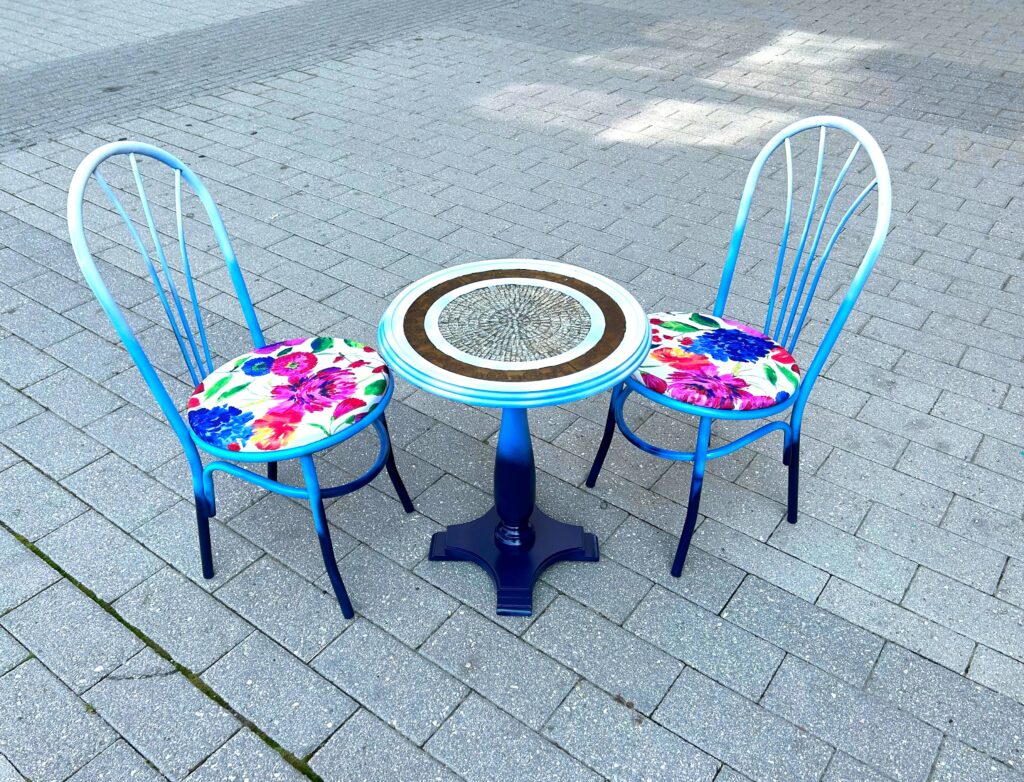
Think about using several spray paints/tones to add visual interest to your piece. A cheerful sky blue was used for this project and instantly made the three parts look so happy and friendly—and matching. While you could stop there, always consider taking your pieces to the next level. How so? For this project, the bottom parts of the chairs and table were sprayed with a darker navy blue, and the top portions were coated with a bright white. This “ombre” effect is one that is so appealing (and I personally love it) because one color flows organically to the next.
4. Reassemble & place in your space
- Carefully place your covered seat upside down and place the painted chair frame carefully on top.
- Secure in place with your screws.
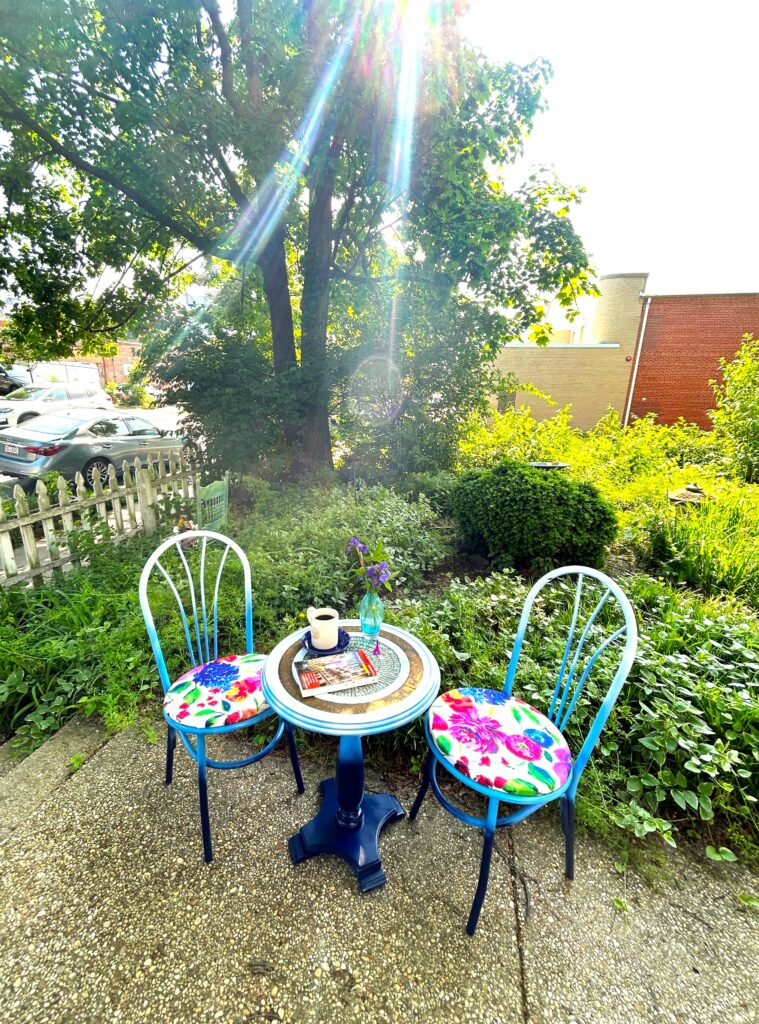
- Remove any painter’s tape from the table. Place this happy trio together in your yard, on your deck, in your garden, or even in a kitchen corner to create a breakfast nook.
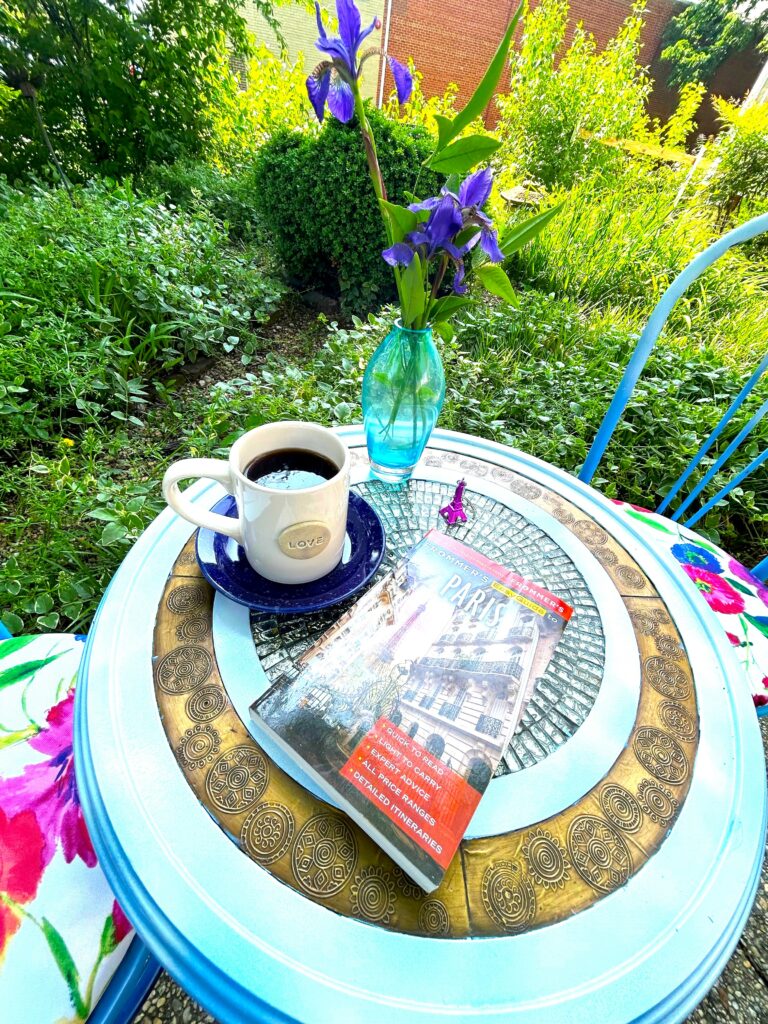
5. Add accessories & an Ami (friend)
Fill a pretty vase with flowers and set it on top. Use mugs or teacups in complimentary colors to complete the overall look. Invite a friend—in French an “ami” or “amie”–to join you and sit for a while. Good conversations and positive thoughts are sure to happen as you enjoy your DIY talents!
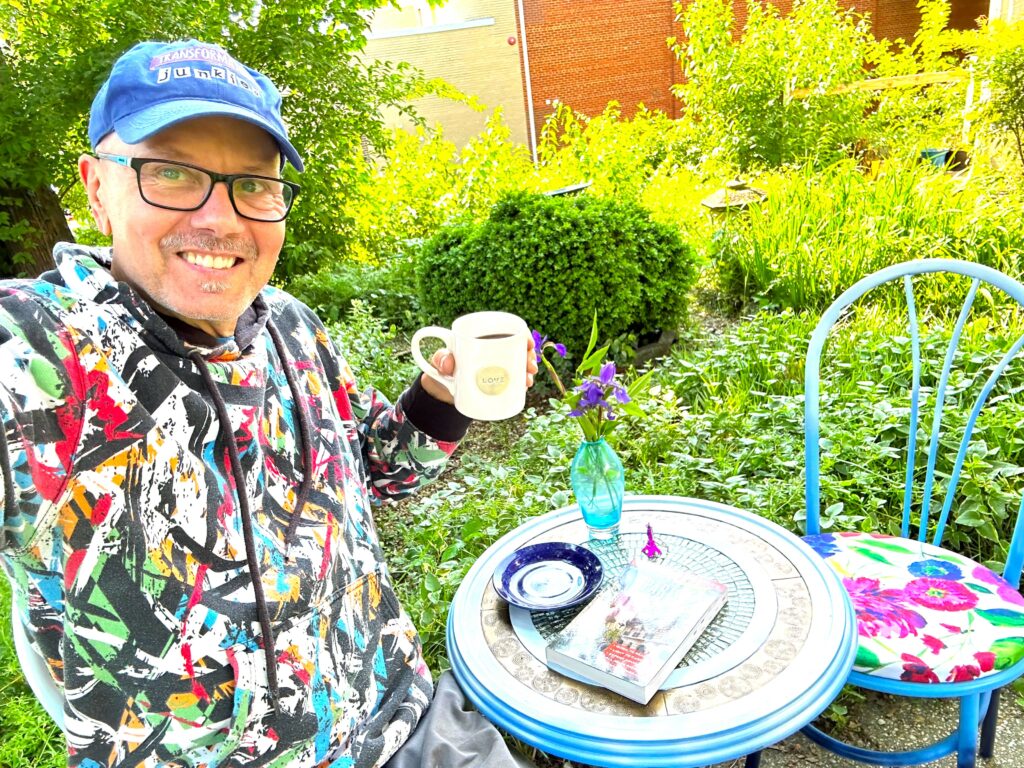
And again, merci beaucoup to Finding Your Good for all the ways you make our community vibrant and bright!
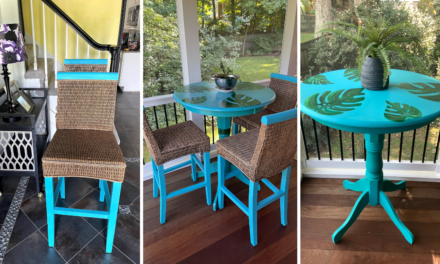
Similar Reads:
- Create a Bistro Set from Mismatched Furniture
- DIY: Transform a Fabric Chair With Spray Paint
- Take a DIY Voyage by Upcycling a Suitcase Into a Side Table

Tim Kime
Artist, Motivational Speaker, Life Coach


