Transform an Easy Chair with Spray Paint? It’s Not Hard at All!
Did you know you can give an upholstered, easy chair a whole new look without sewing or replacing the fabric? It’s true! There are now spray paints designed specifically for cloth furniture that allow you to upcycle and transform it with a push of a button and a flick of your wrist.
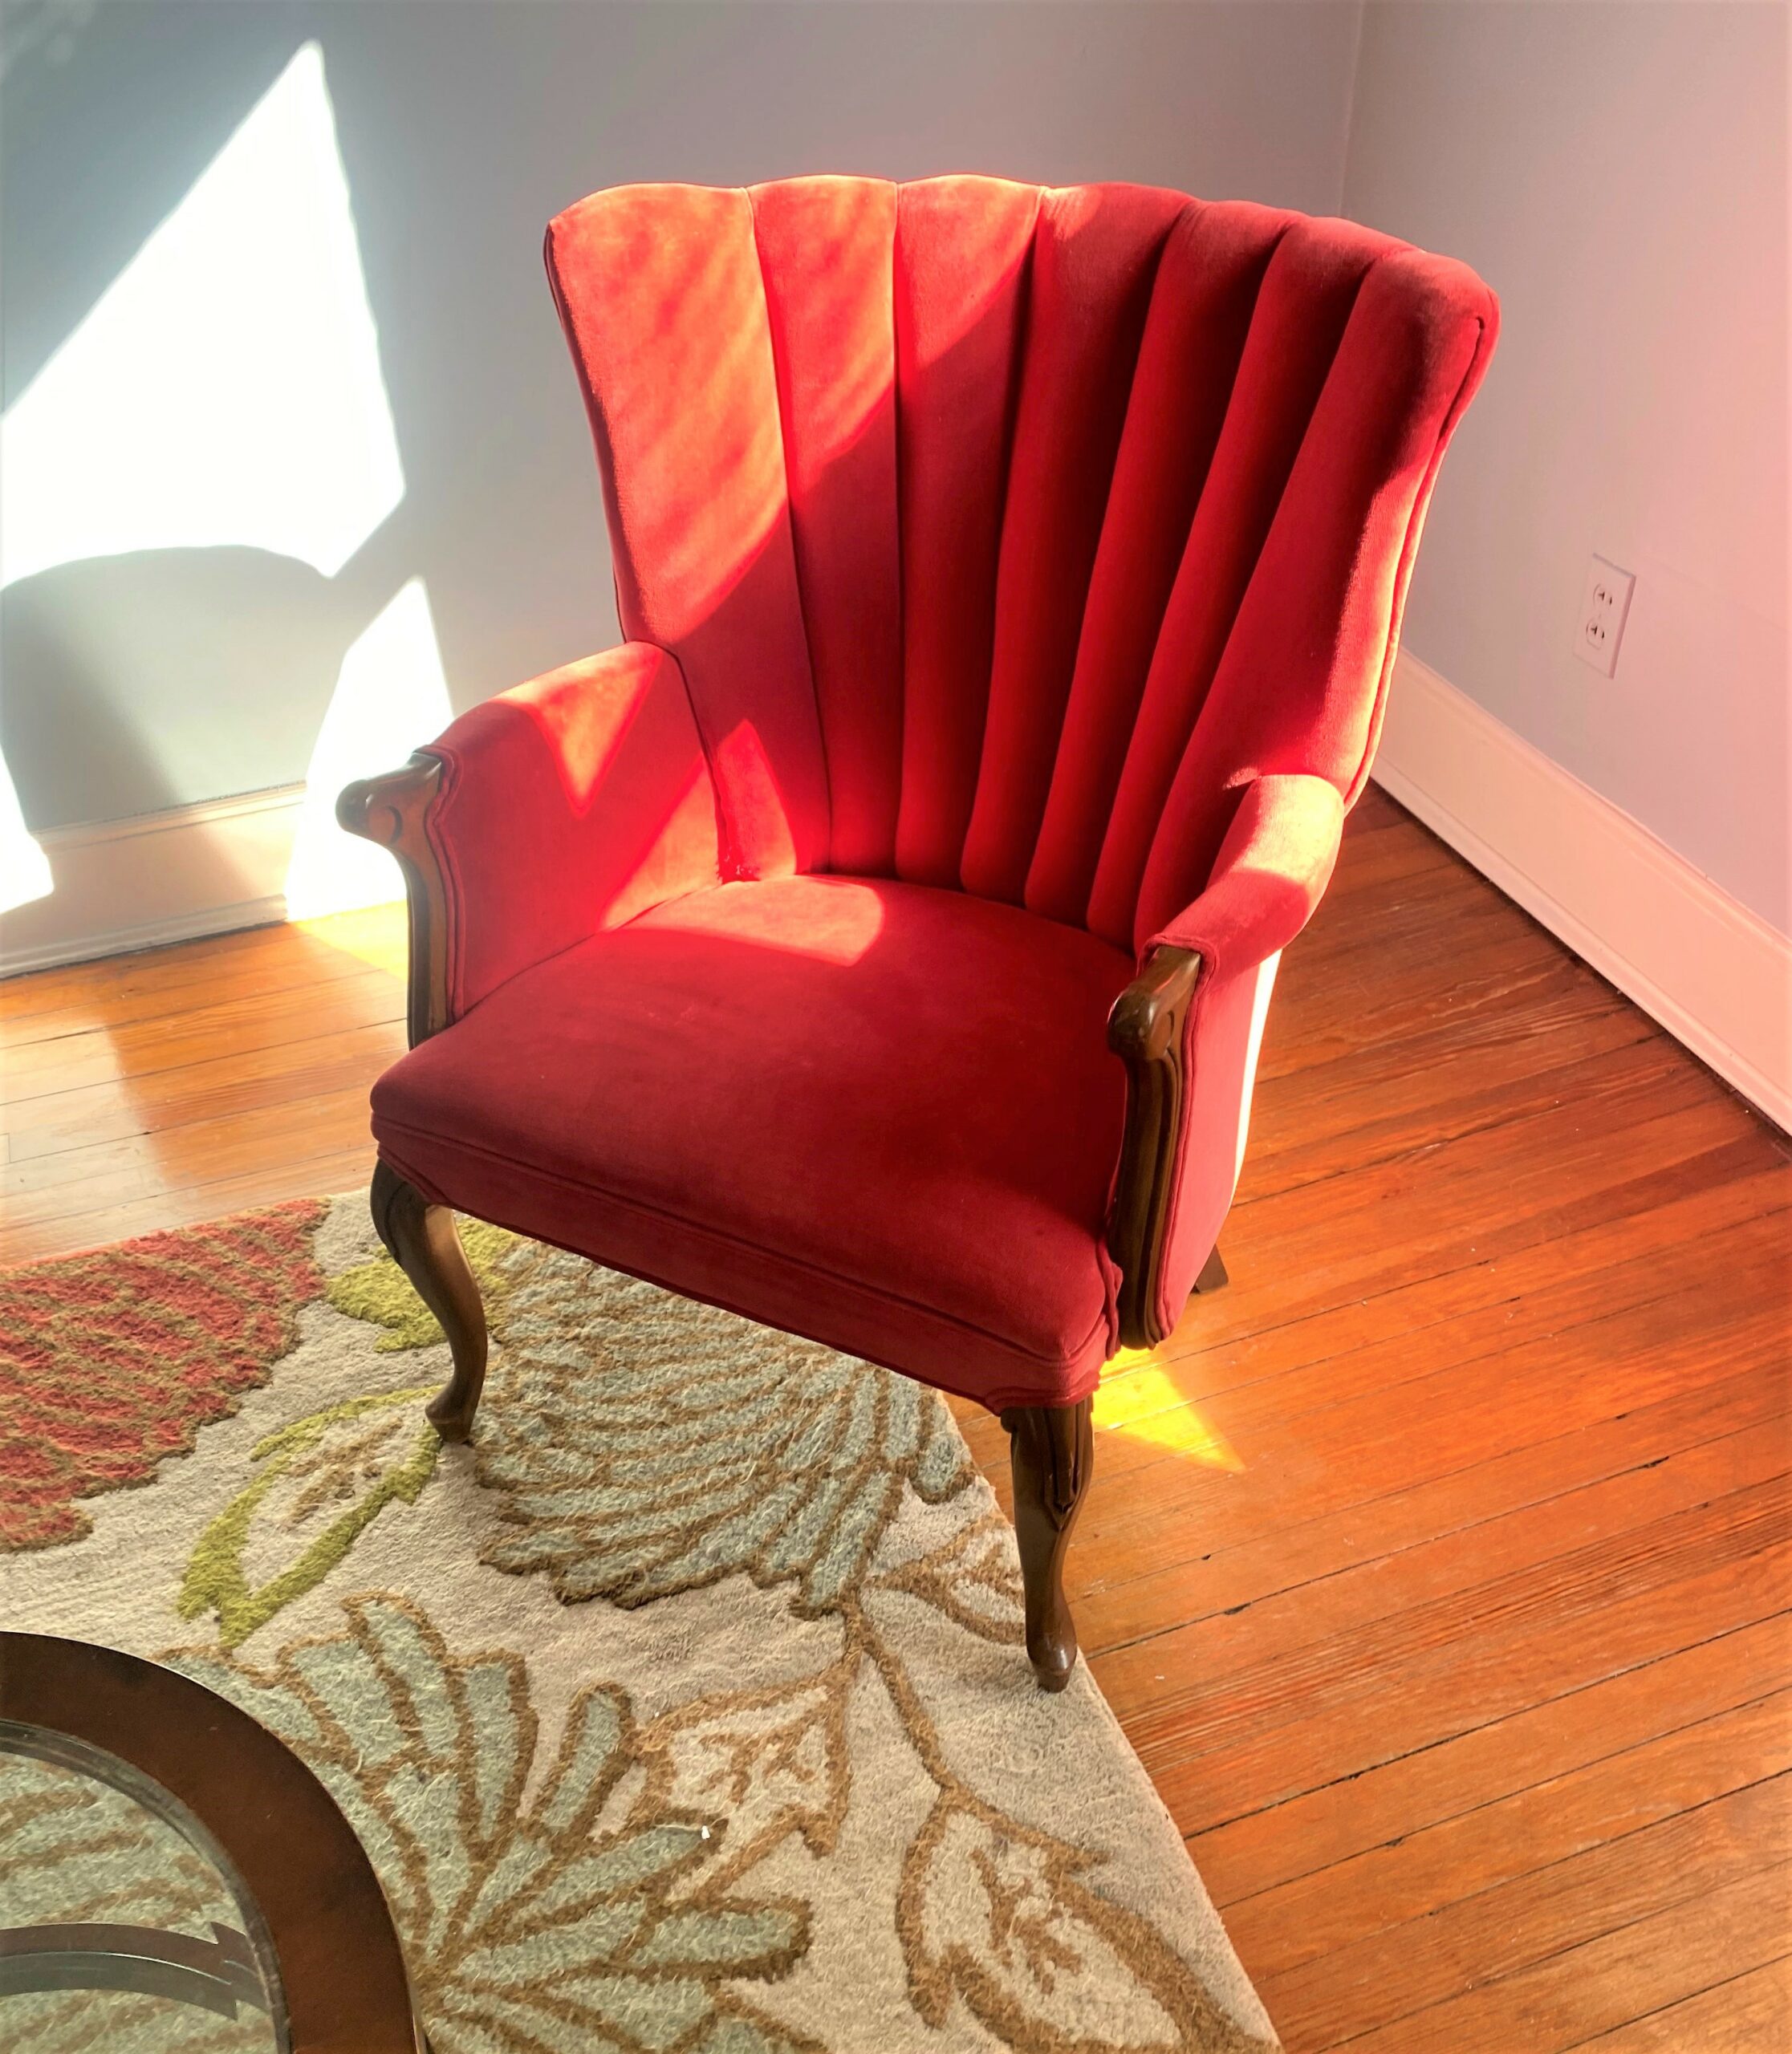
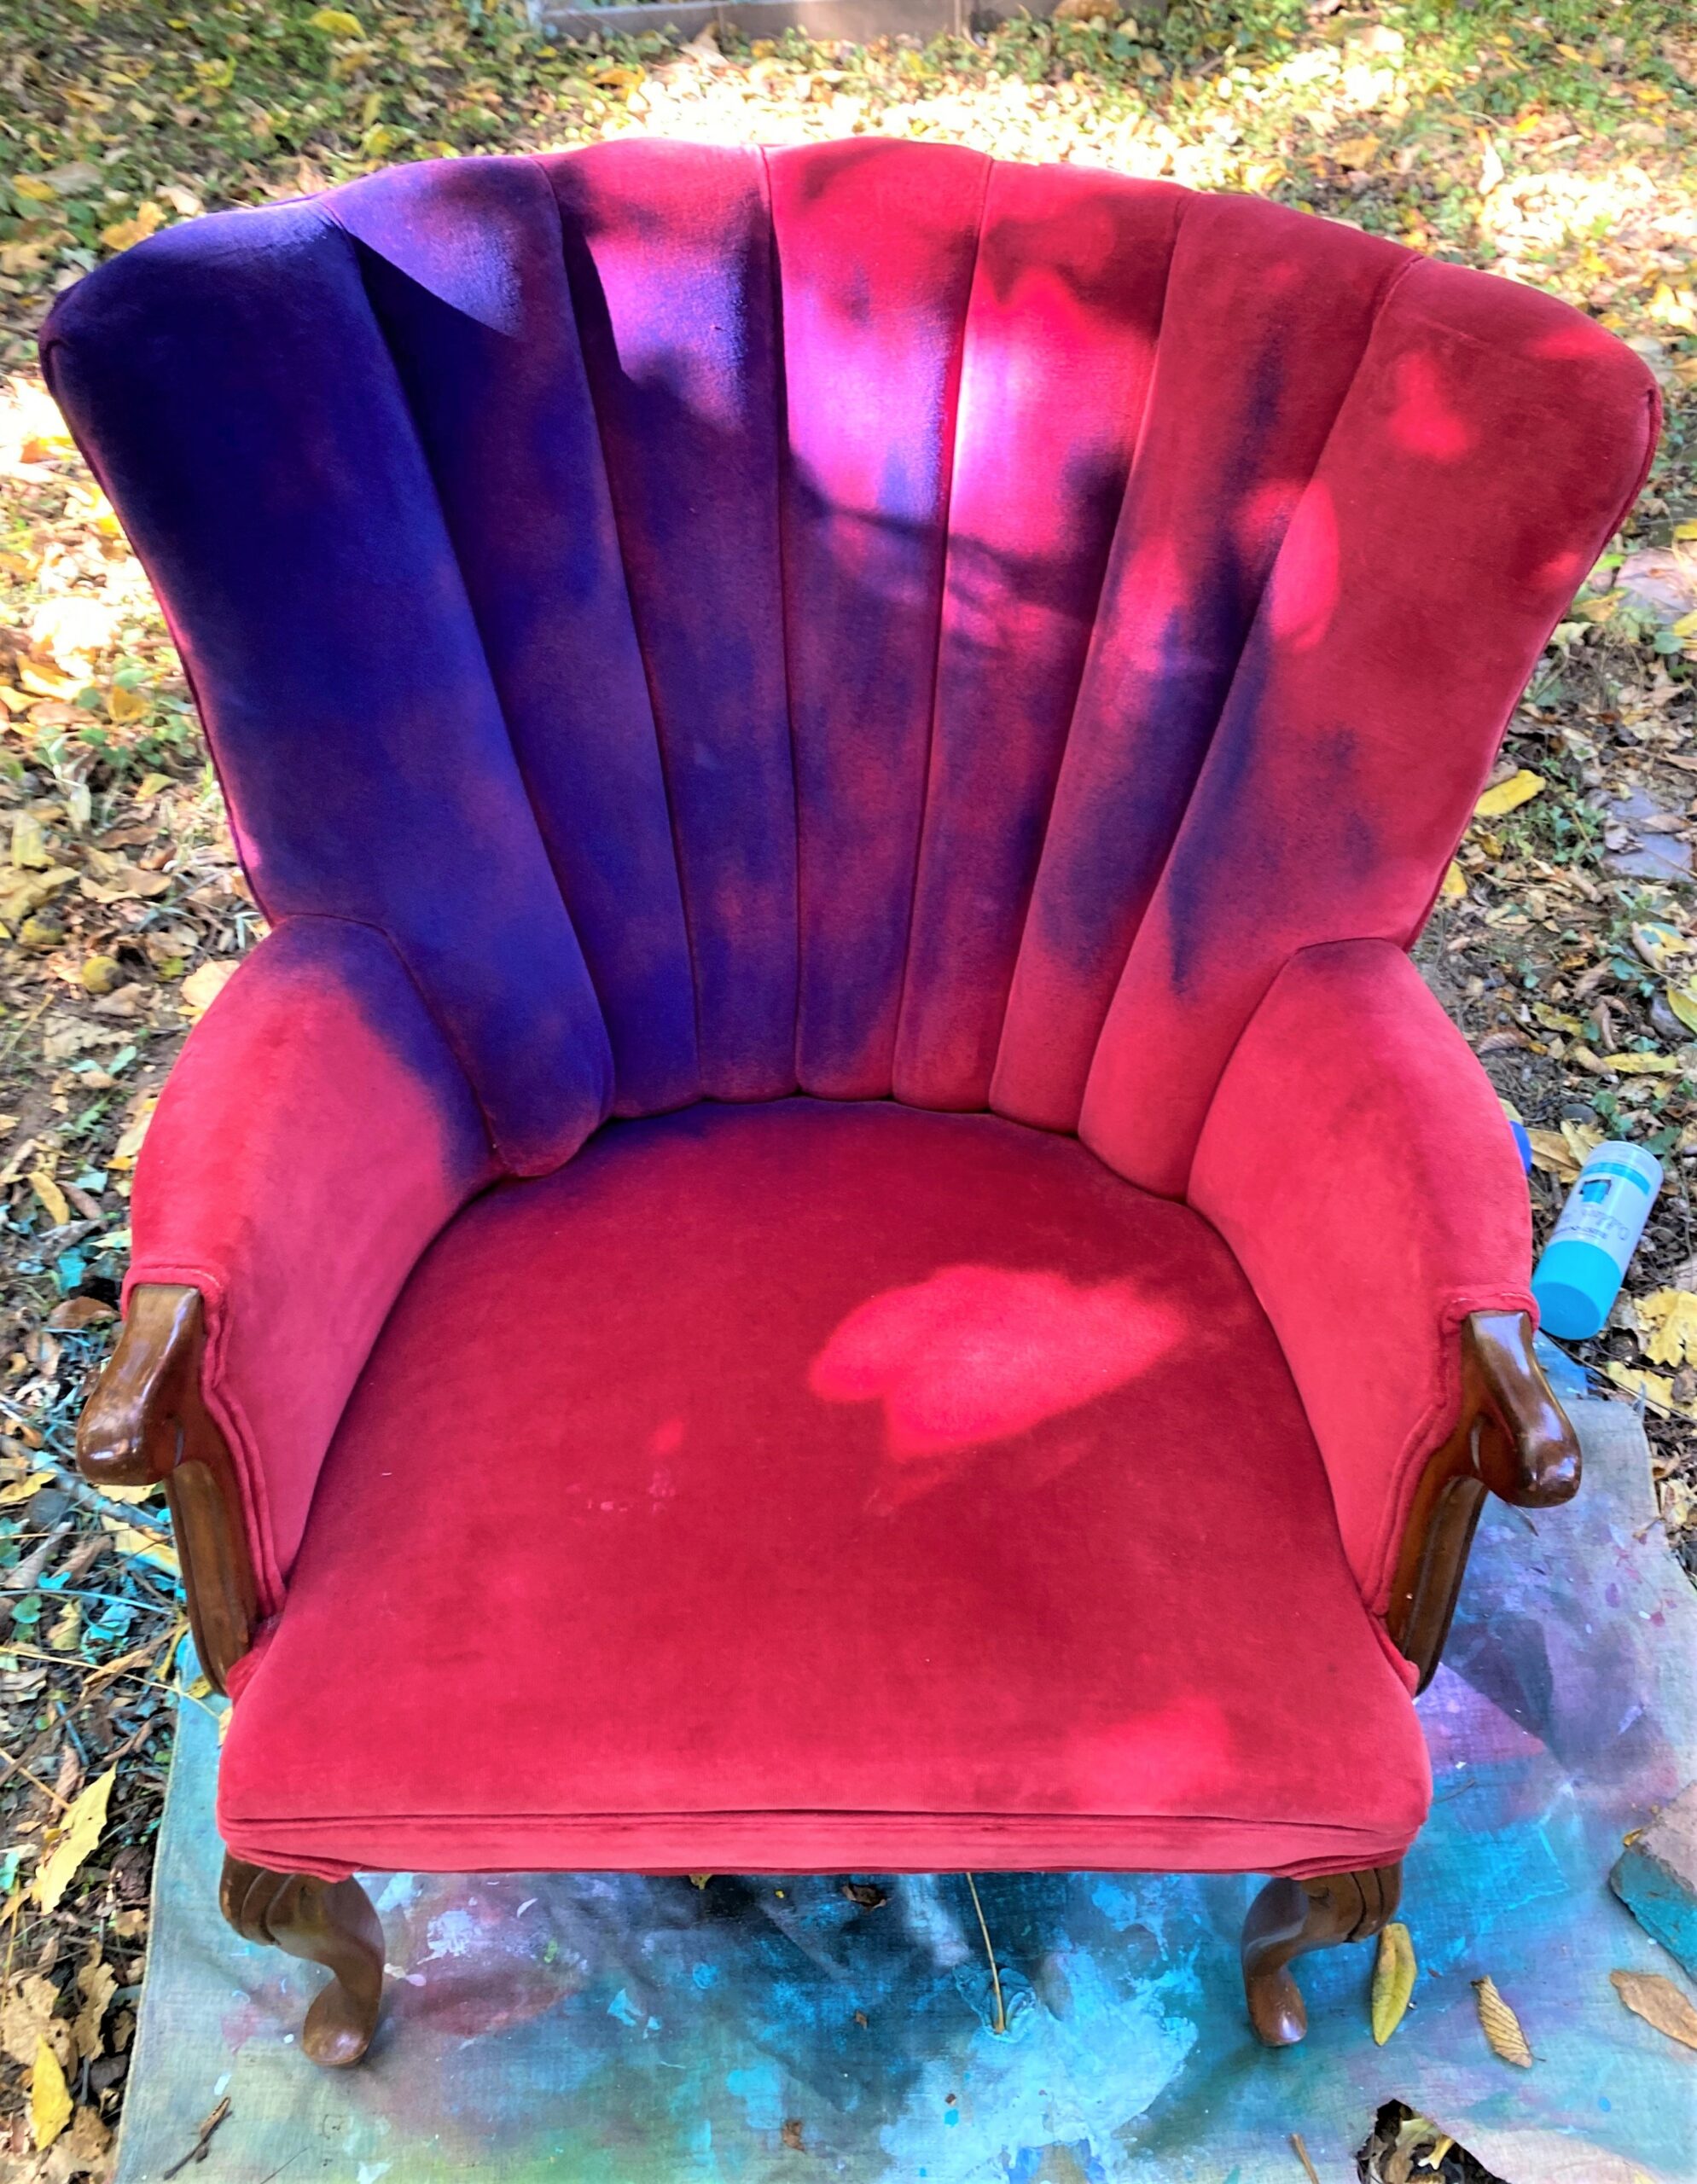
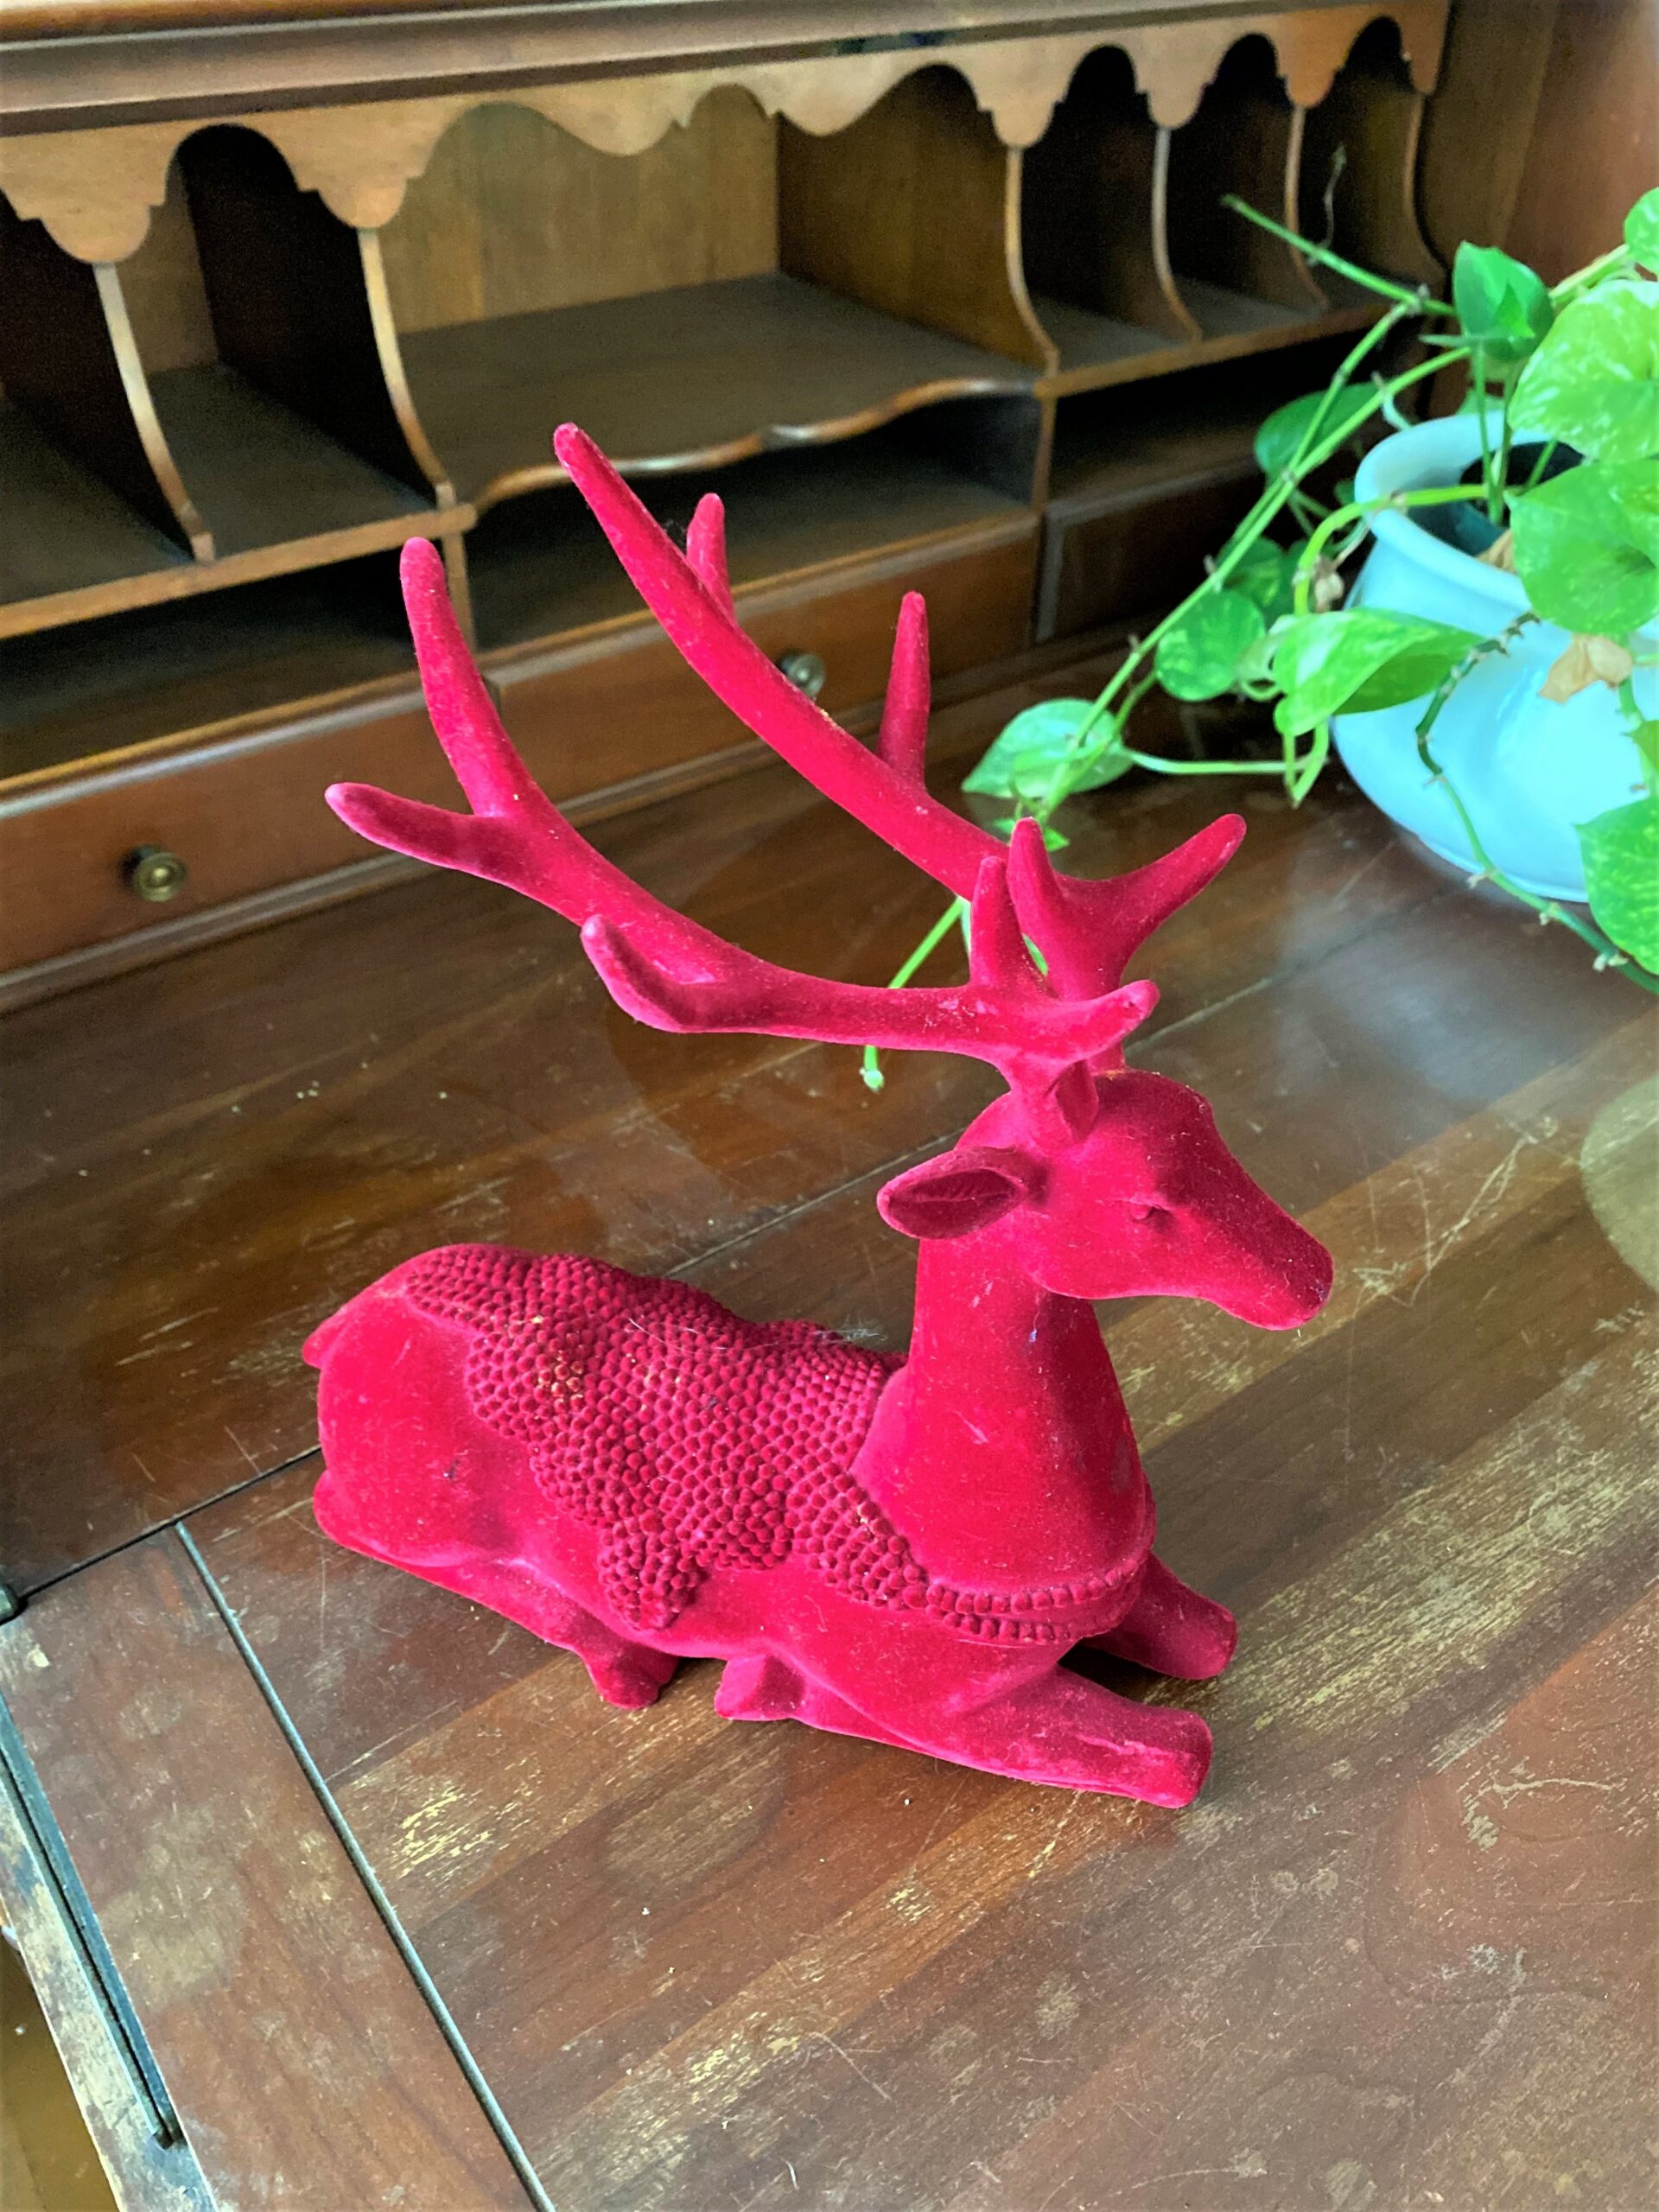
A worn, ruby red easy chair gets the blues—in a beautiful way—using this paint and approach.
Items needed:
· Fabric covered easy chair
· Outdoor fabric paints in ink blue and turquoise
· Silver craft paint
· Small, craft paint brush
· Painter’s tape
· Drop cloth
· Face mask
· Plastic or work gloves
1. Find your good—and an upholstered piece—at Goodwill
If you are a frequent shopper at Goodwill or a new “thrifter,” you have likely seen many great easy chairs, small side chairs, fabric-covered stools, and even sofas available for great prices there. Sometimes the colors and look are just what you want, other times, not so much so. With this painting process, you now have more flexibility in your purchases because you are not limited by color.
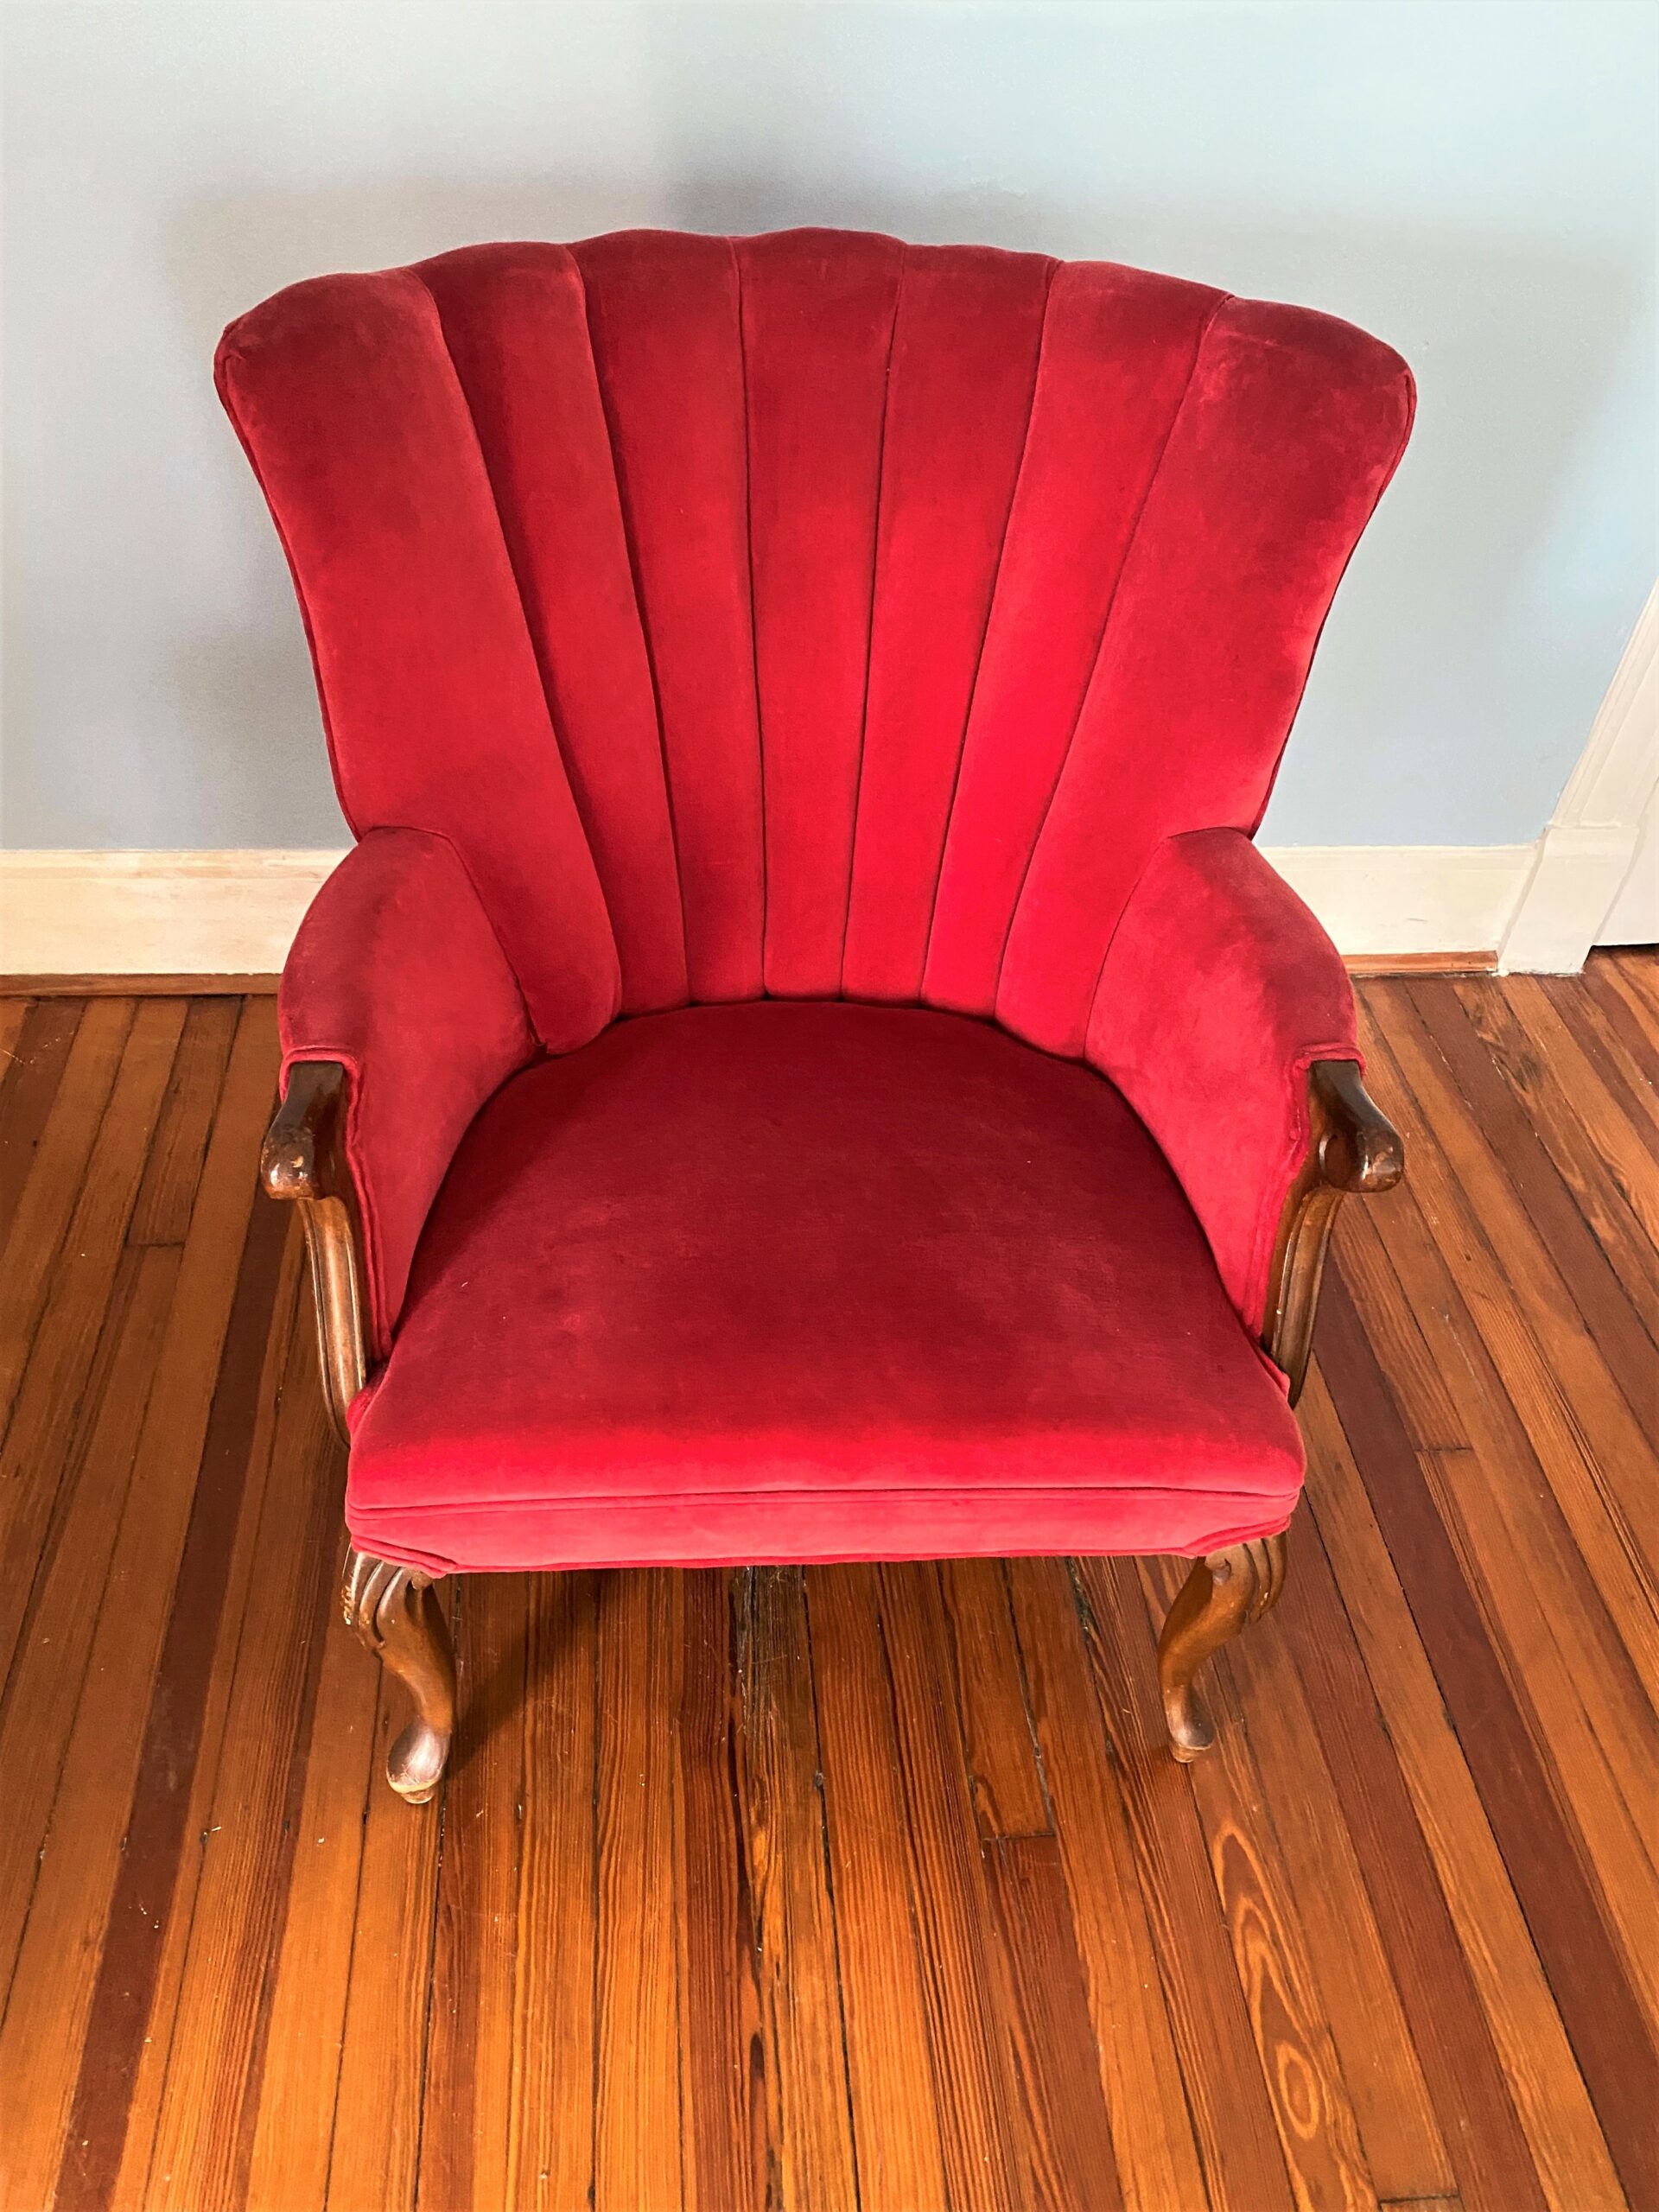
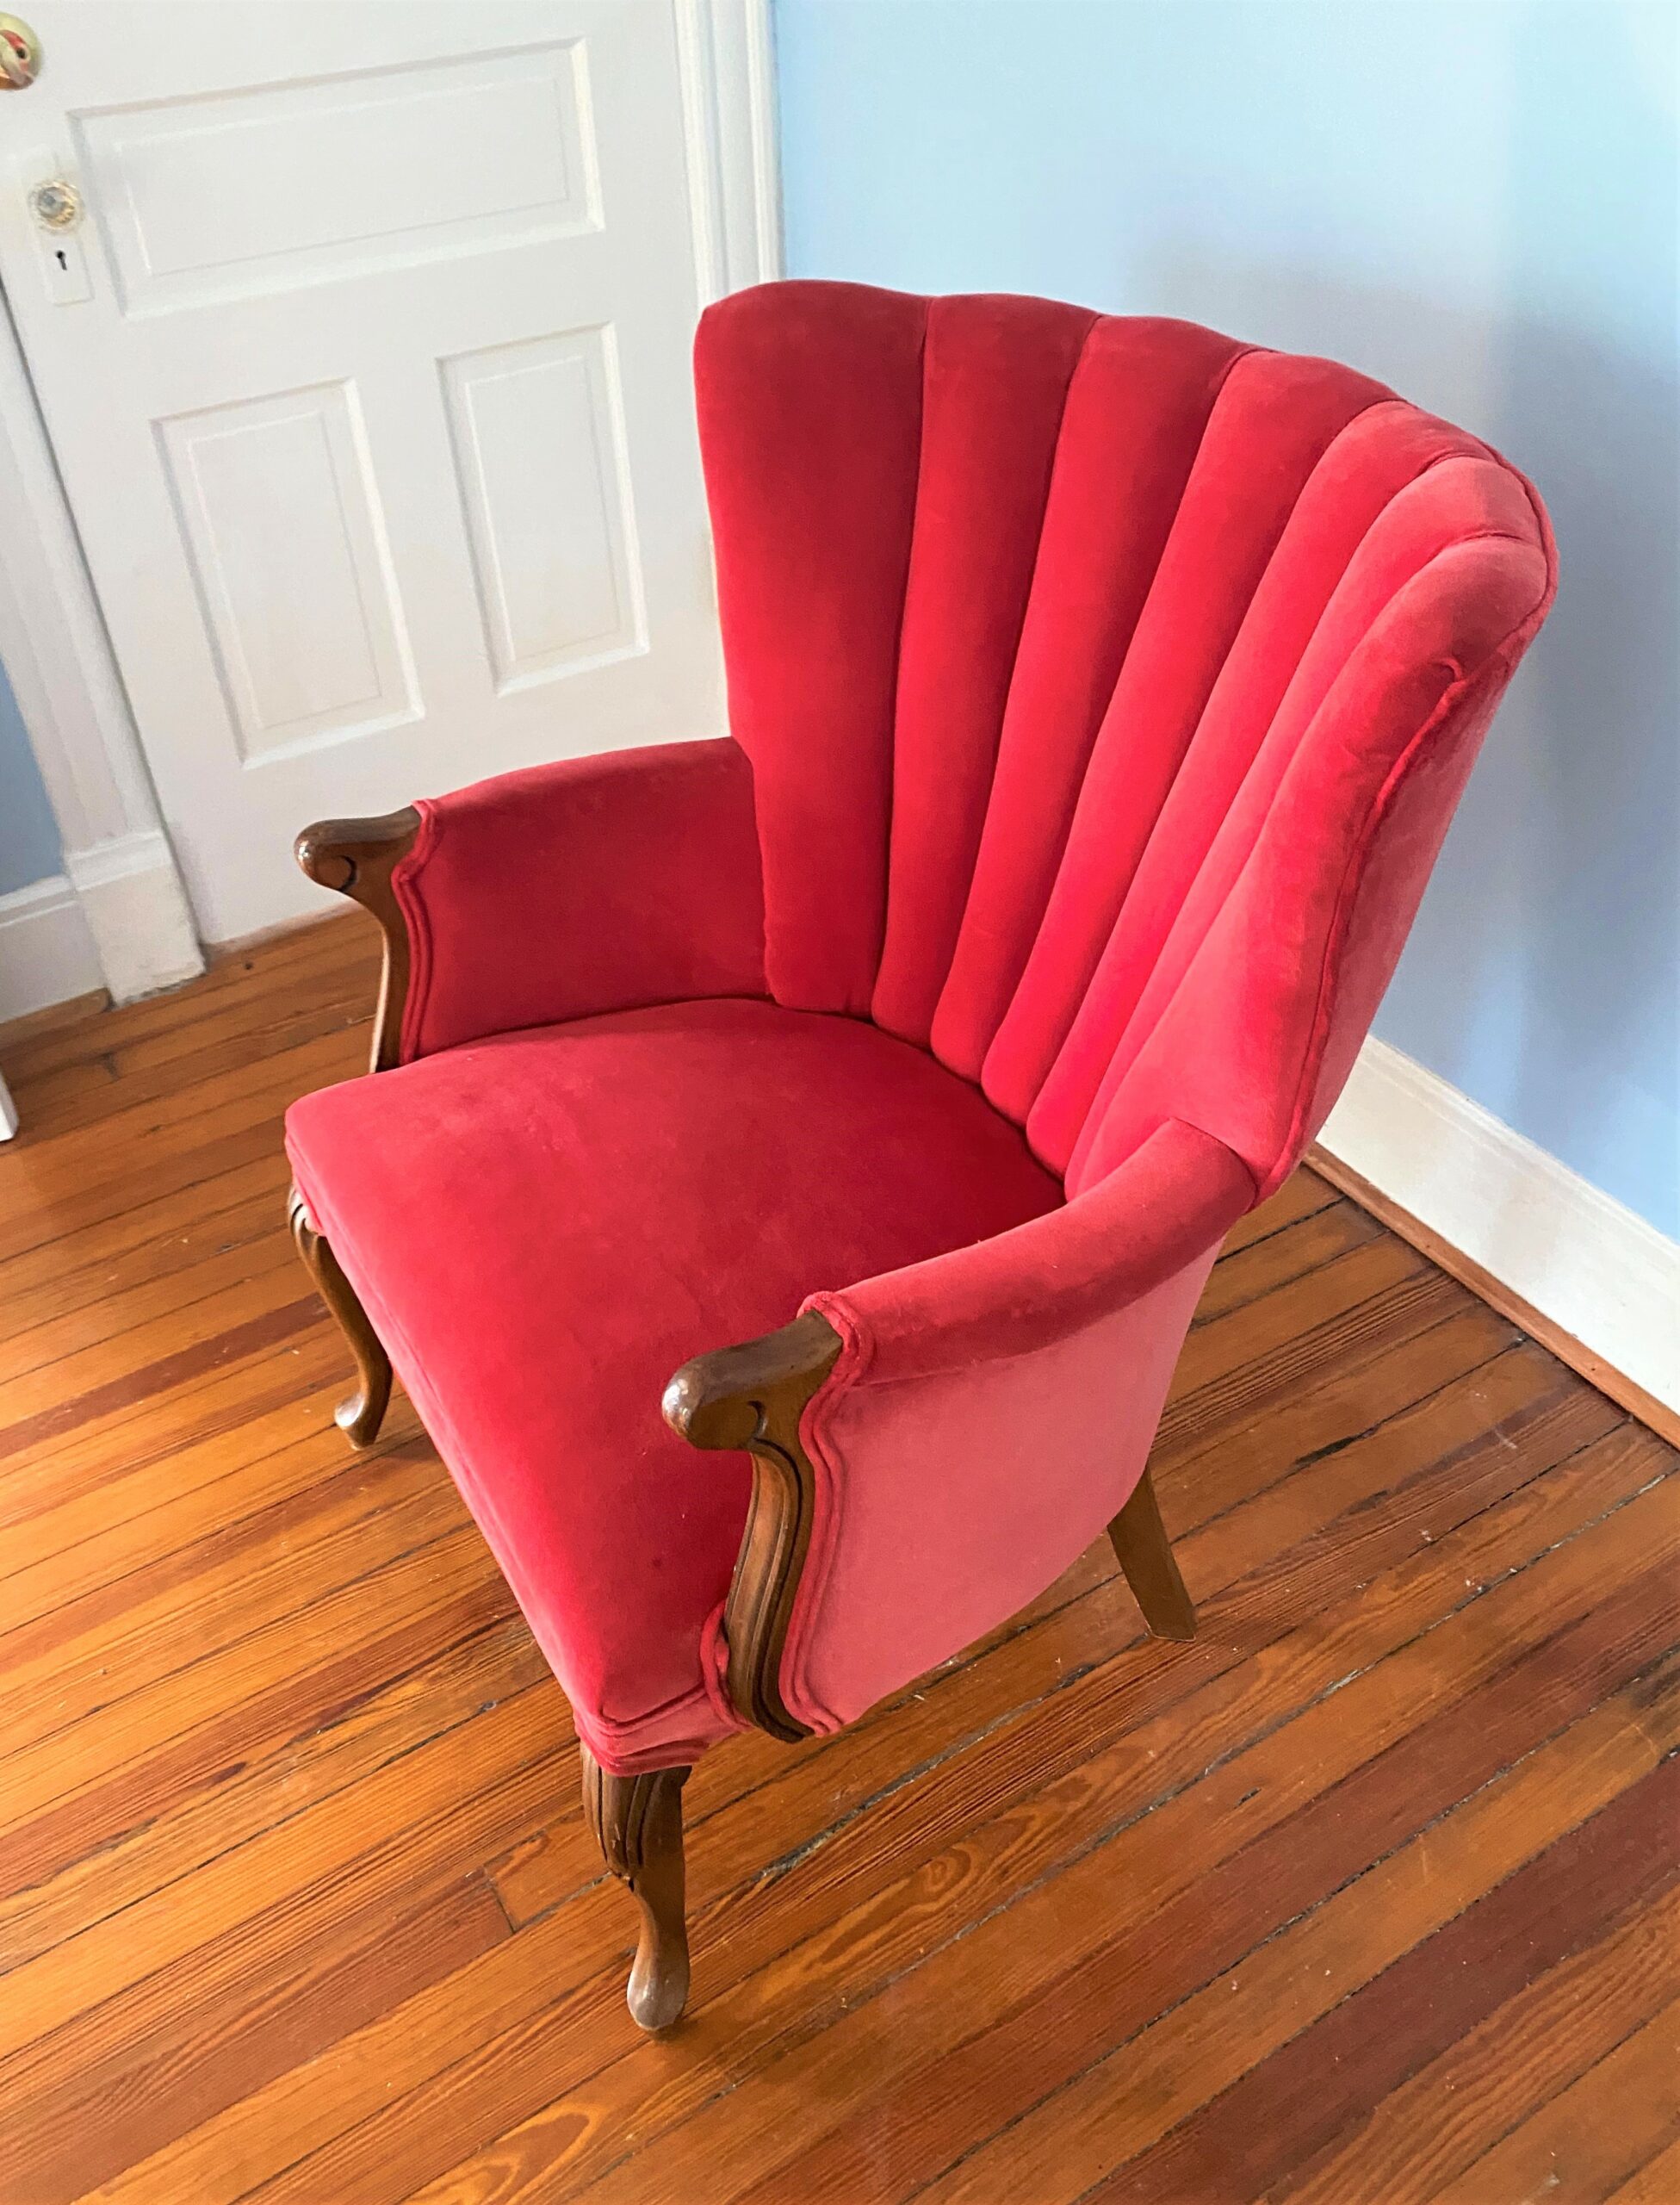
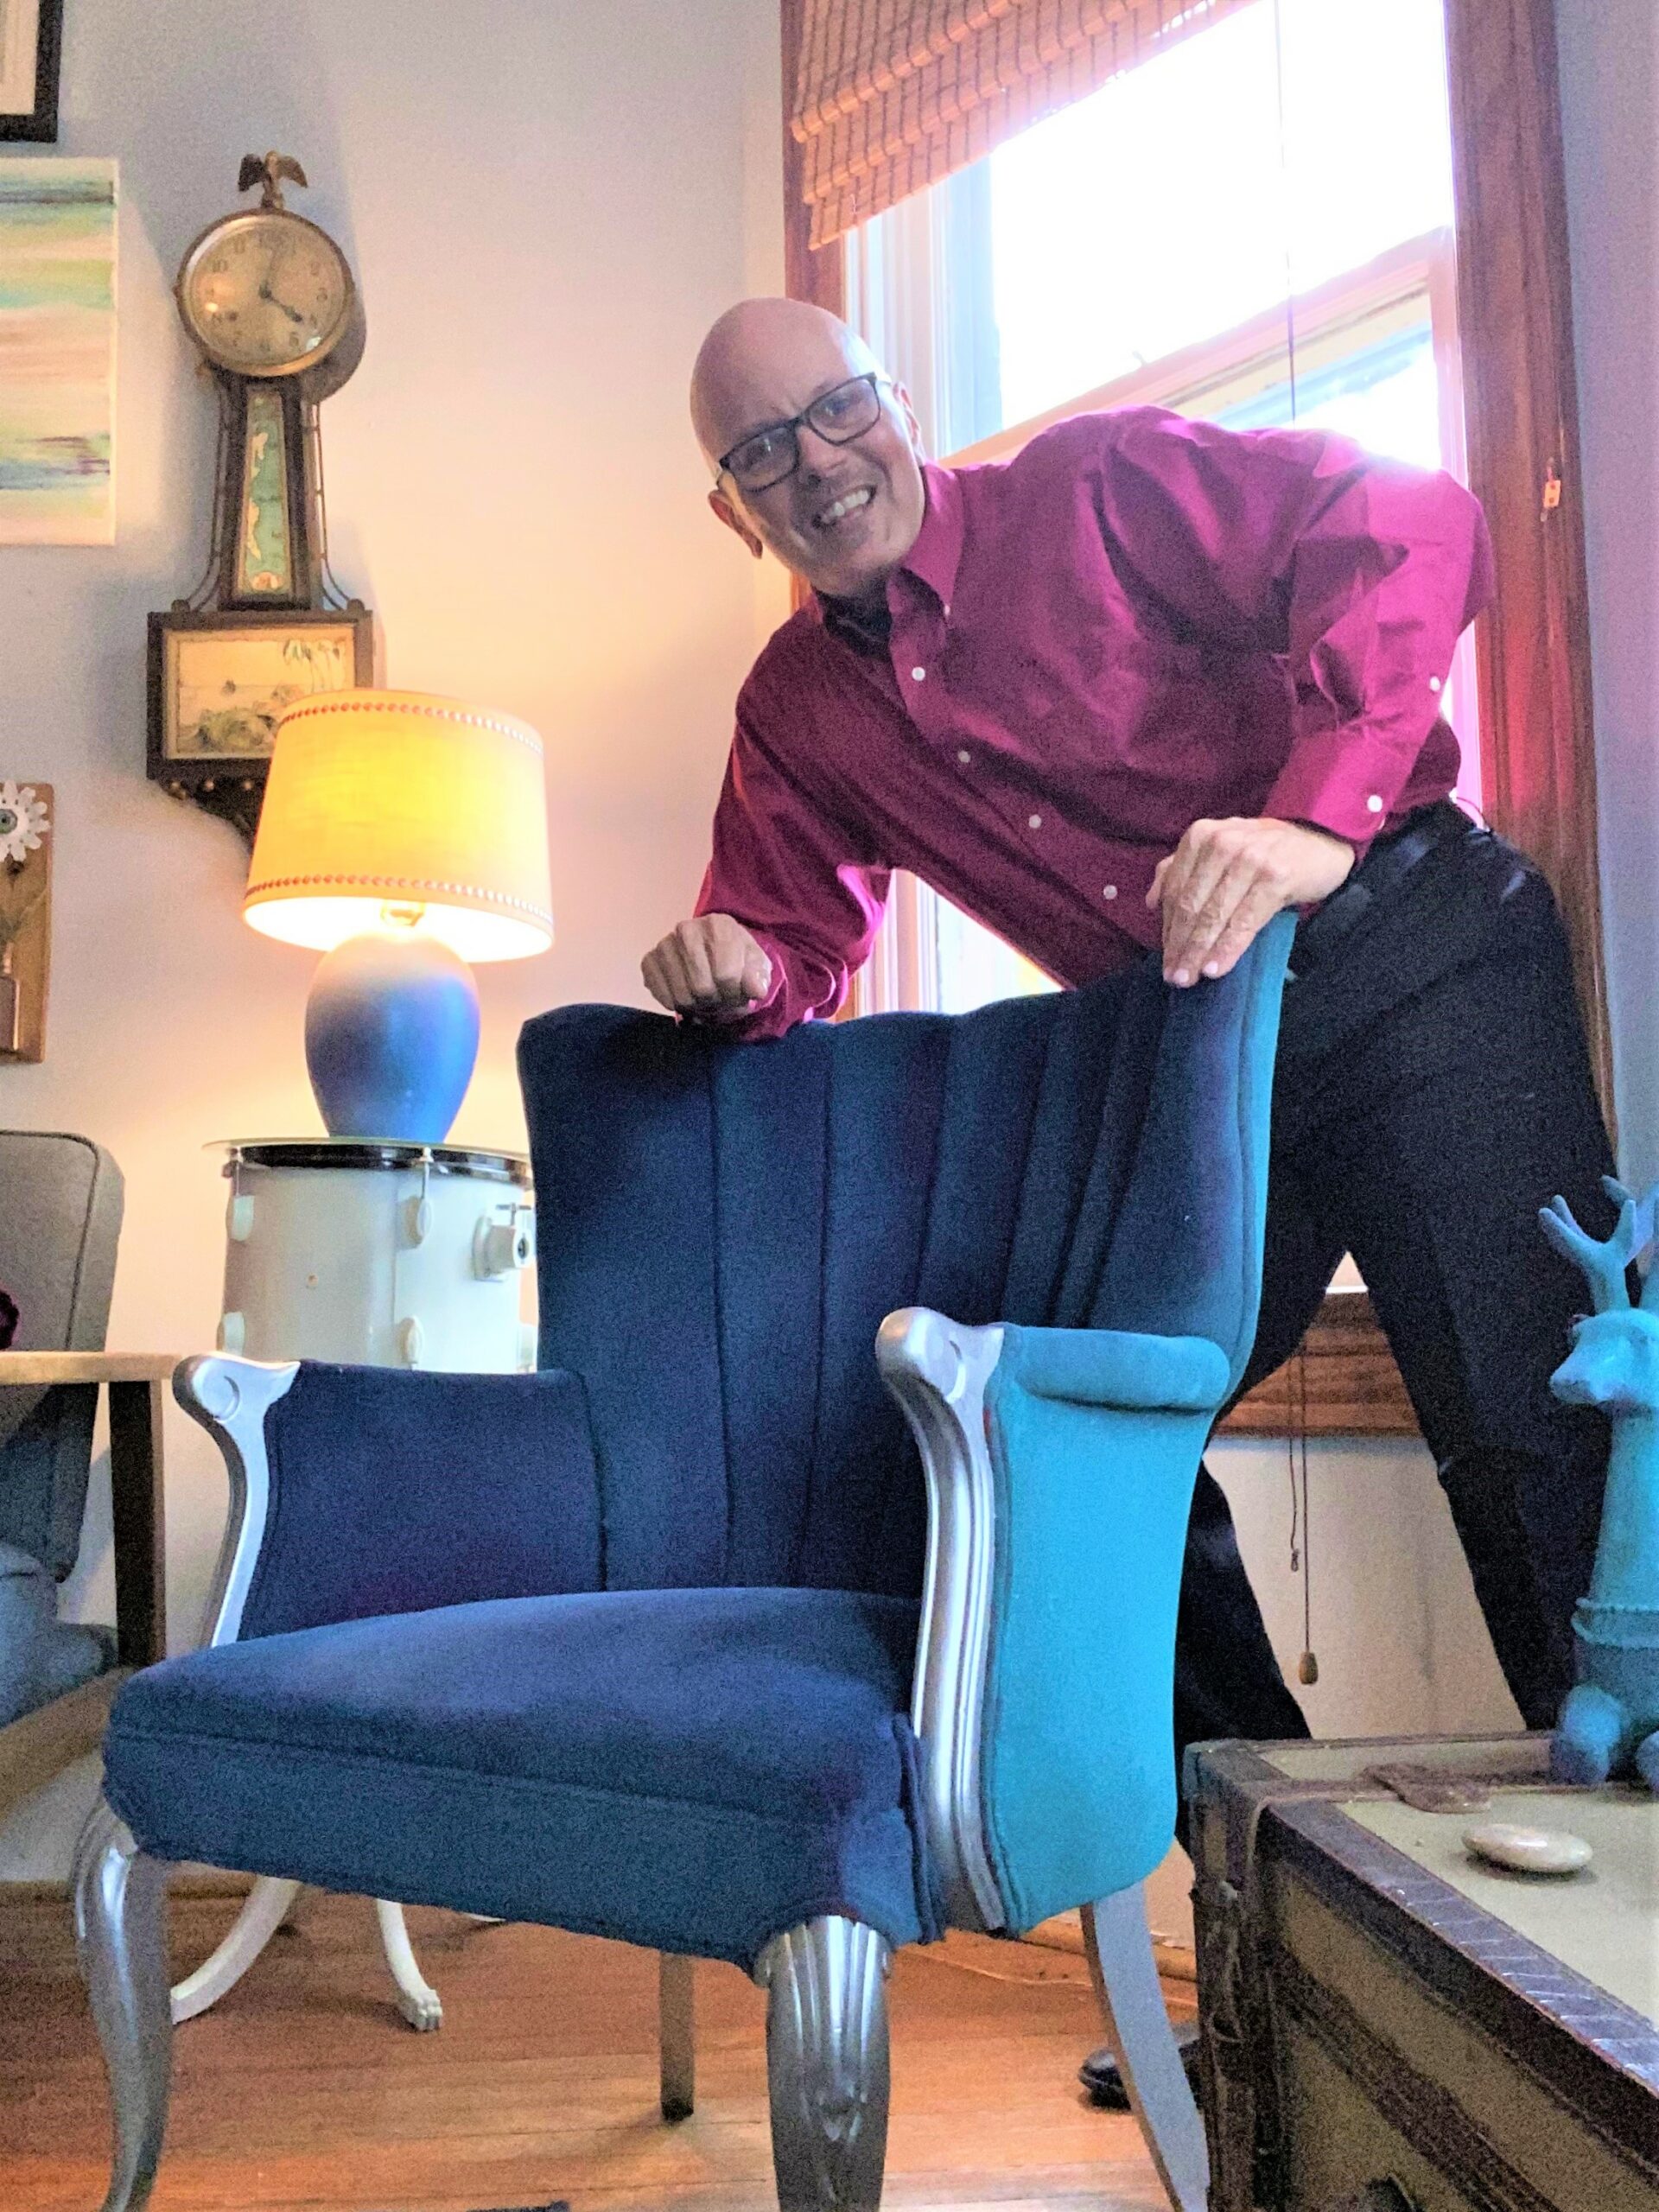
A chair with an elegant shaped back and curvy carved arms and legs caught my attention. While I might have left her in store before finding these paints, she now came home with me—and I am so glad she did!
2. Pick up fabric paints online or at your nearby hardware store
Candidly, I was planning to use fabric dye to give this beauty a new look. However, and thankfully, I stumbled across outdoor fabric spray paints made by Rust-Oleum while on an excursion at my nearby big box hardware store. They are marketed for use with the outdoor fabrics of your patio or porch furniture so I figured they would likely work well for this “indoor” chair.
While the colors offered are limited compared to regular spray paint hues for other household projects, I knew it was meant to be when I saw they had a dark ink blue and a vibrant turquoise one, both colors in my living room and throughout my house. Each spray can is more expensive than other spray paints, AND I felt the investment was worth the try. I was right, don’t you think?!
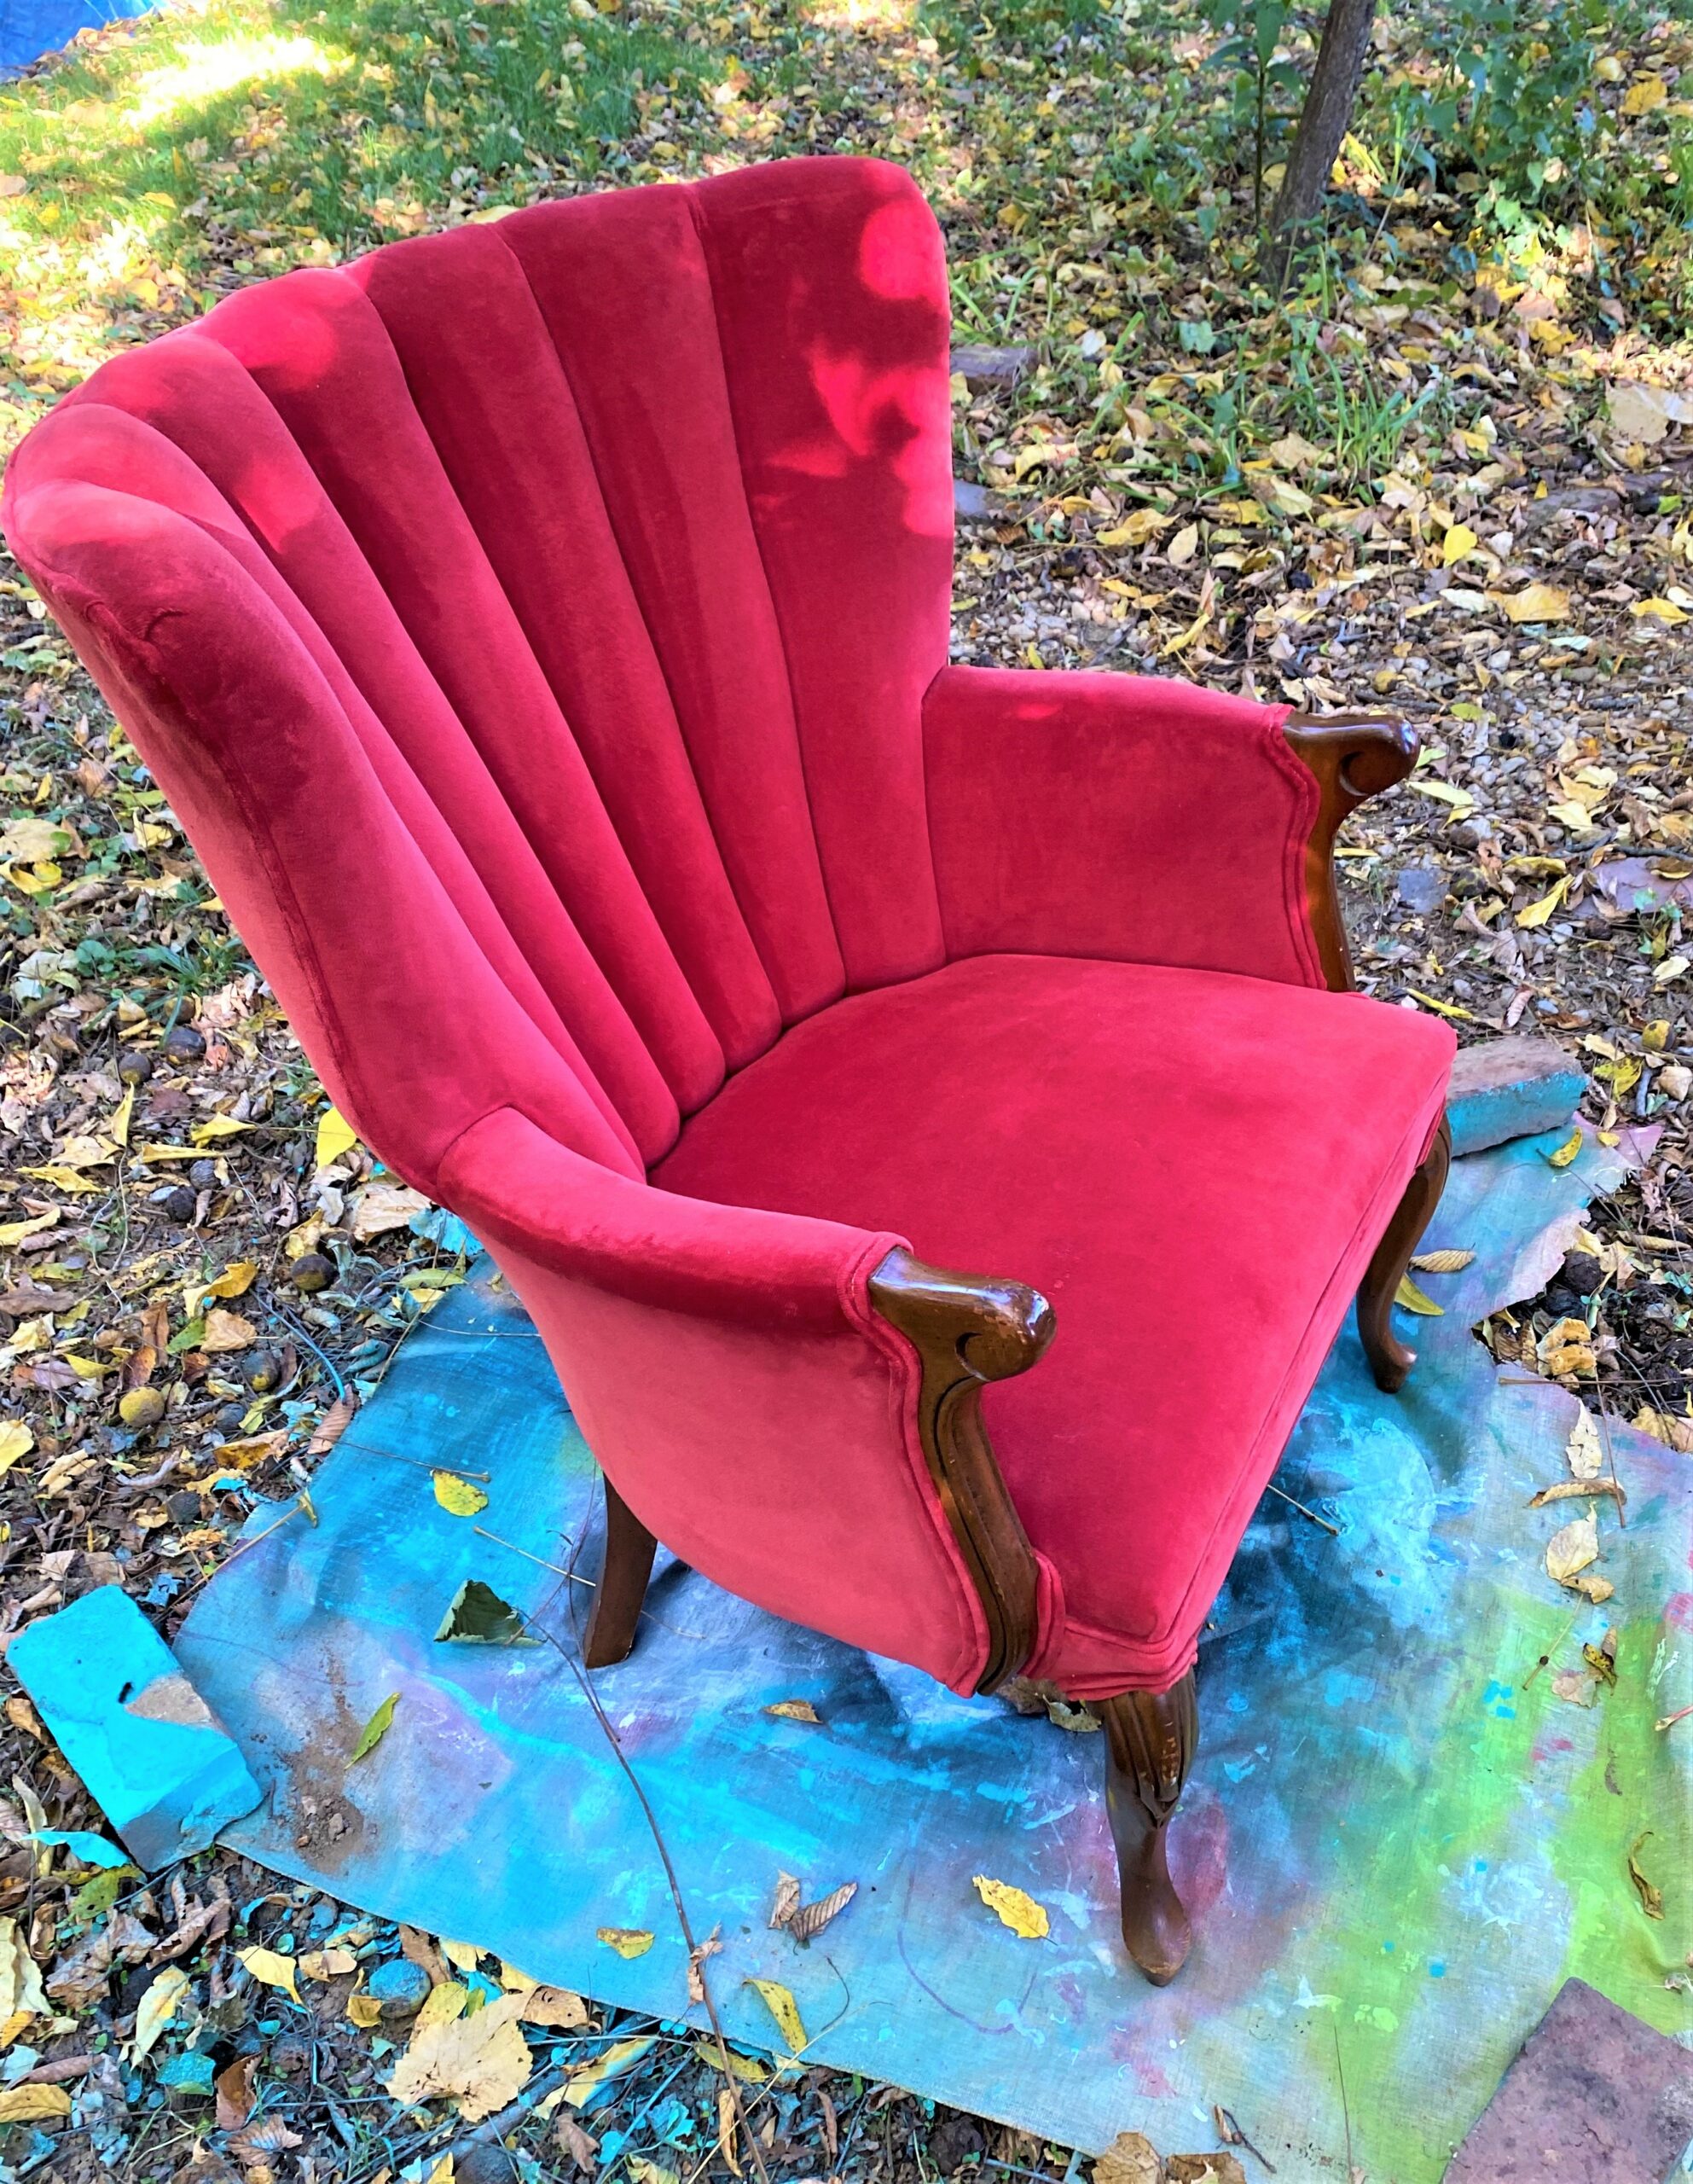
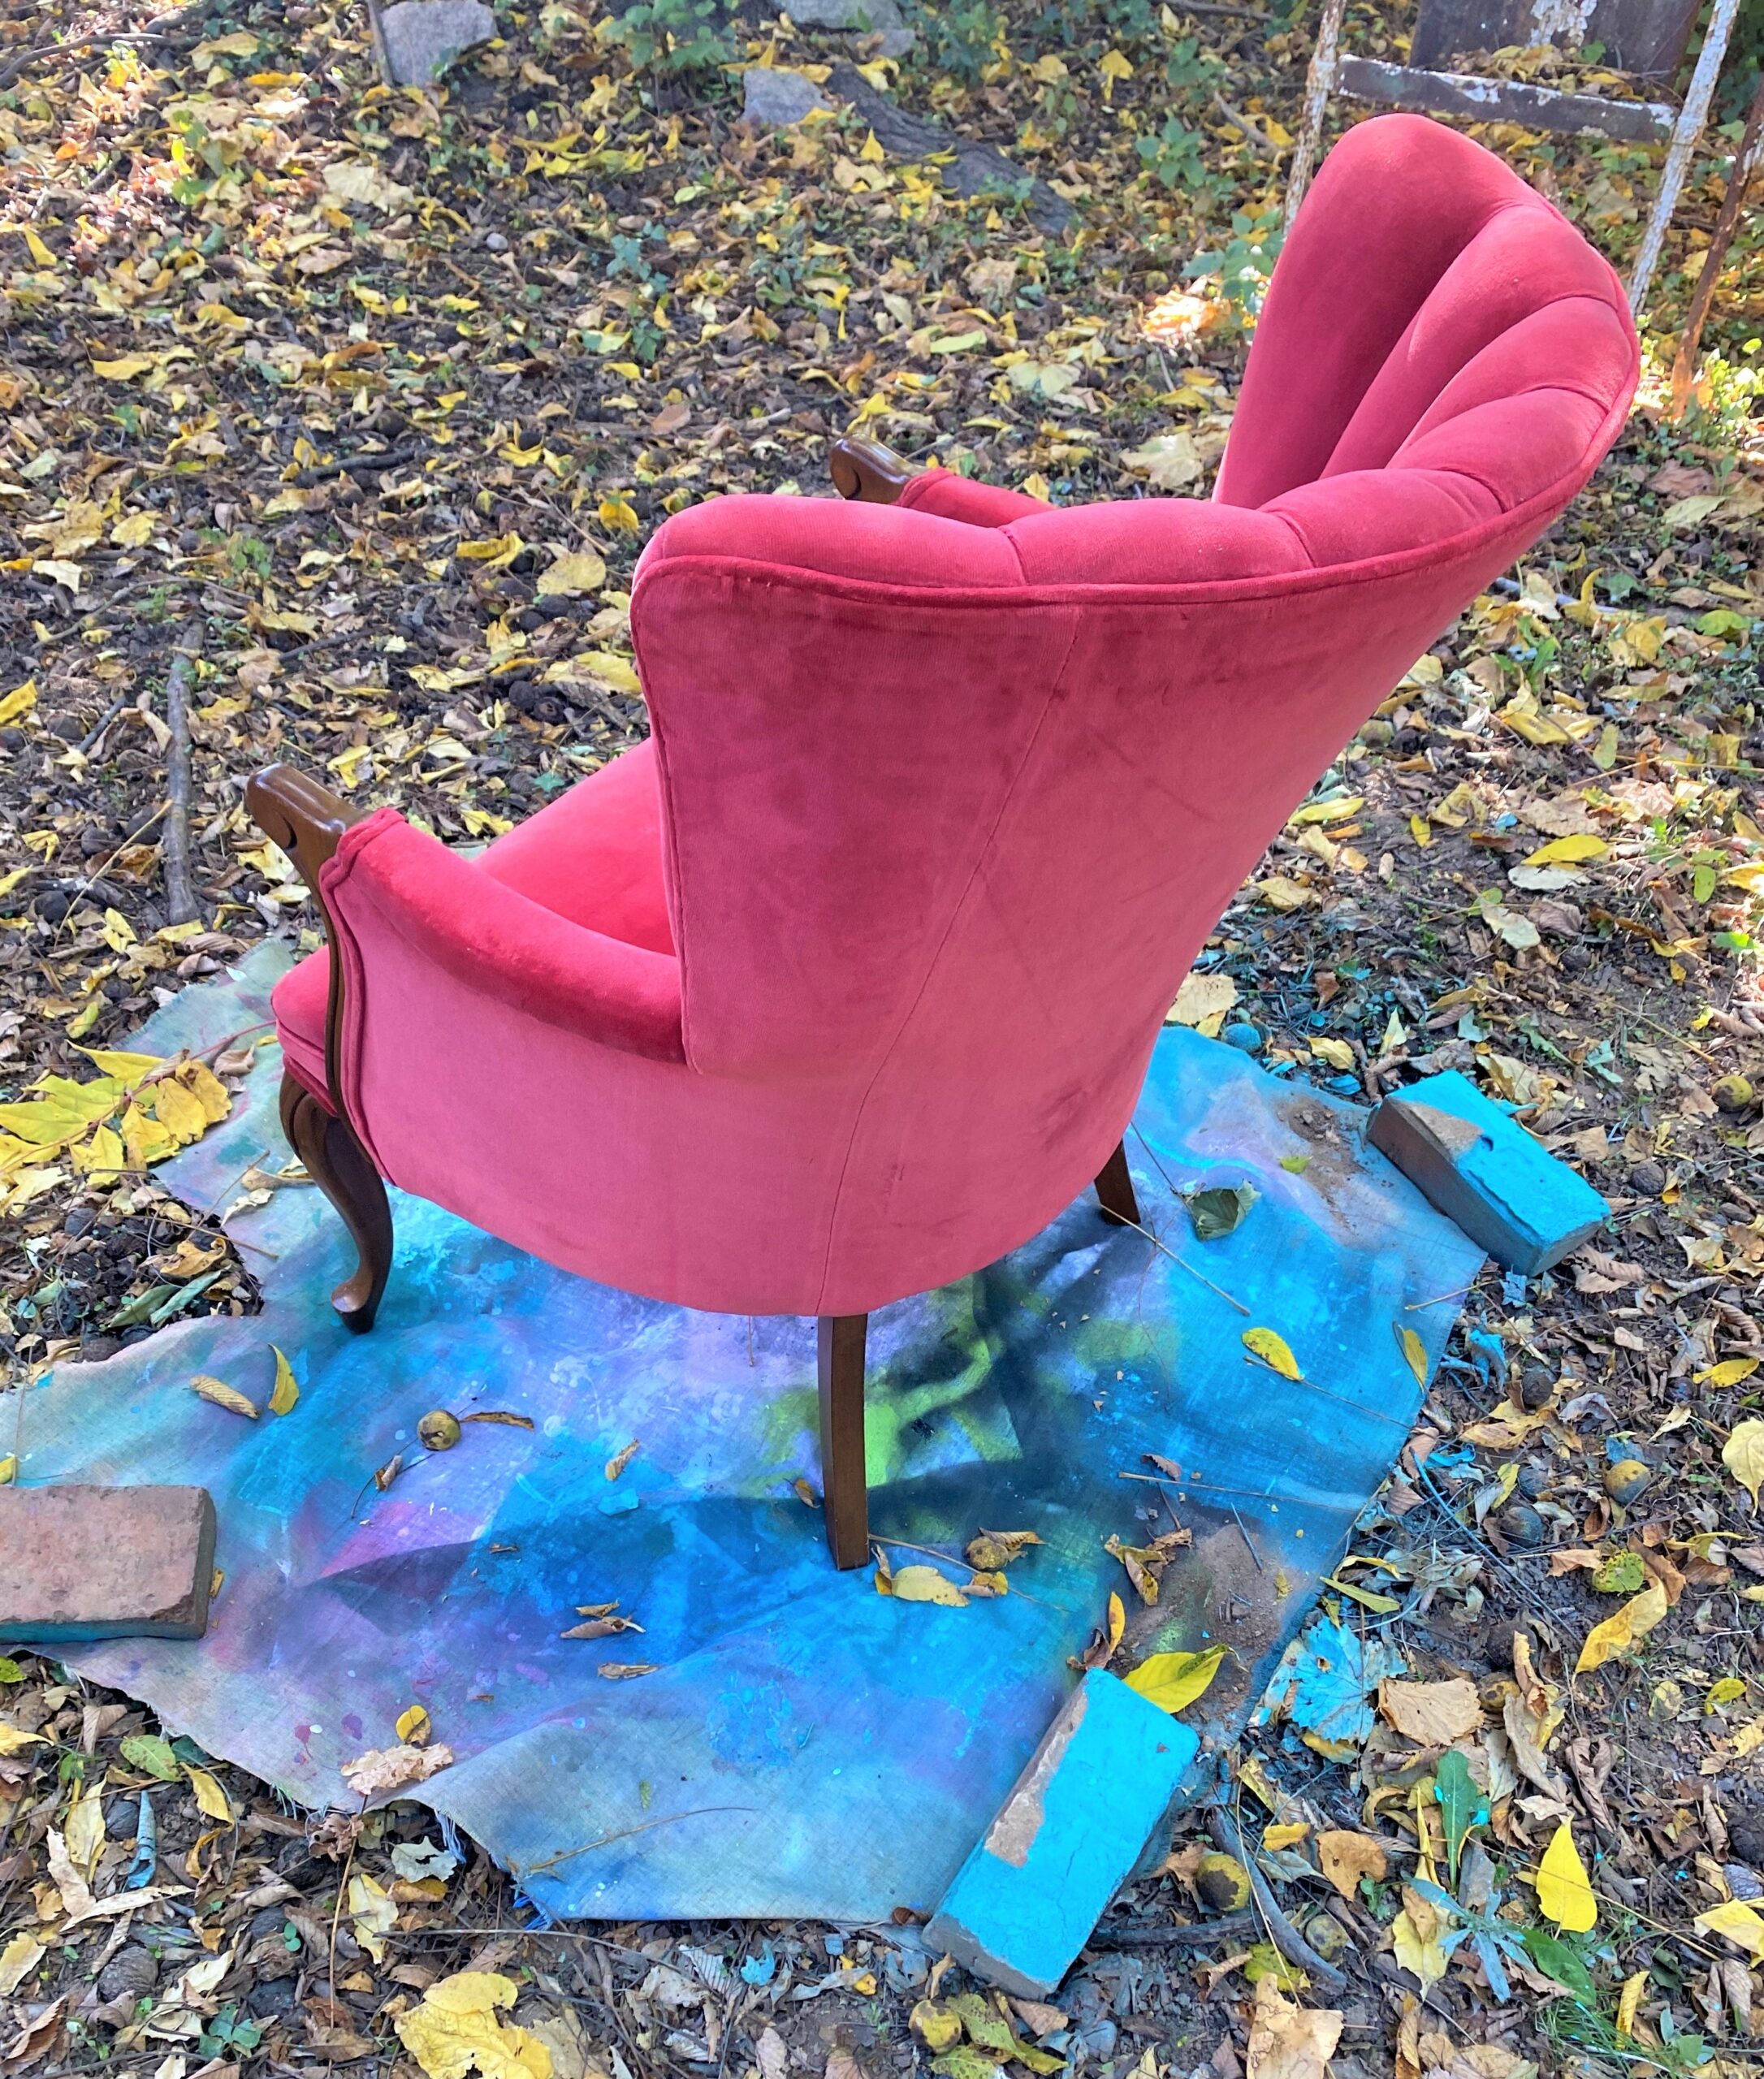
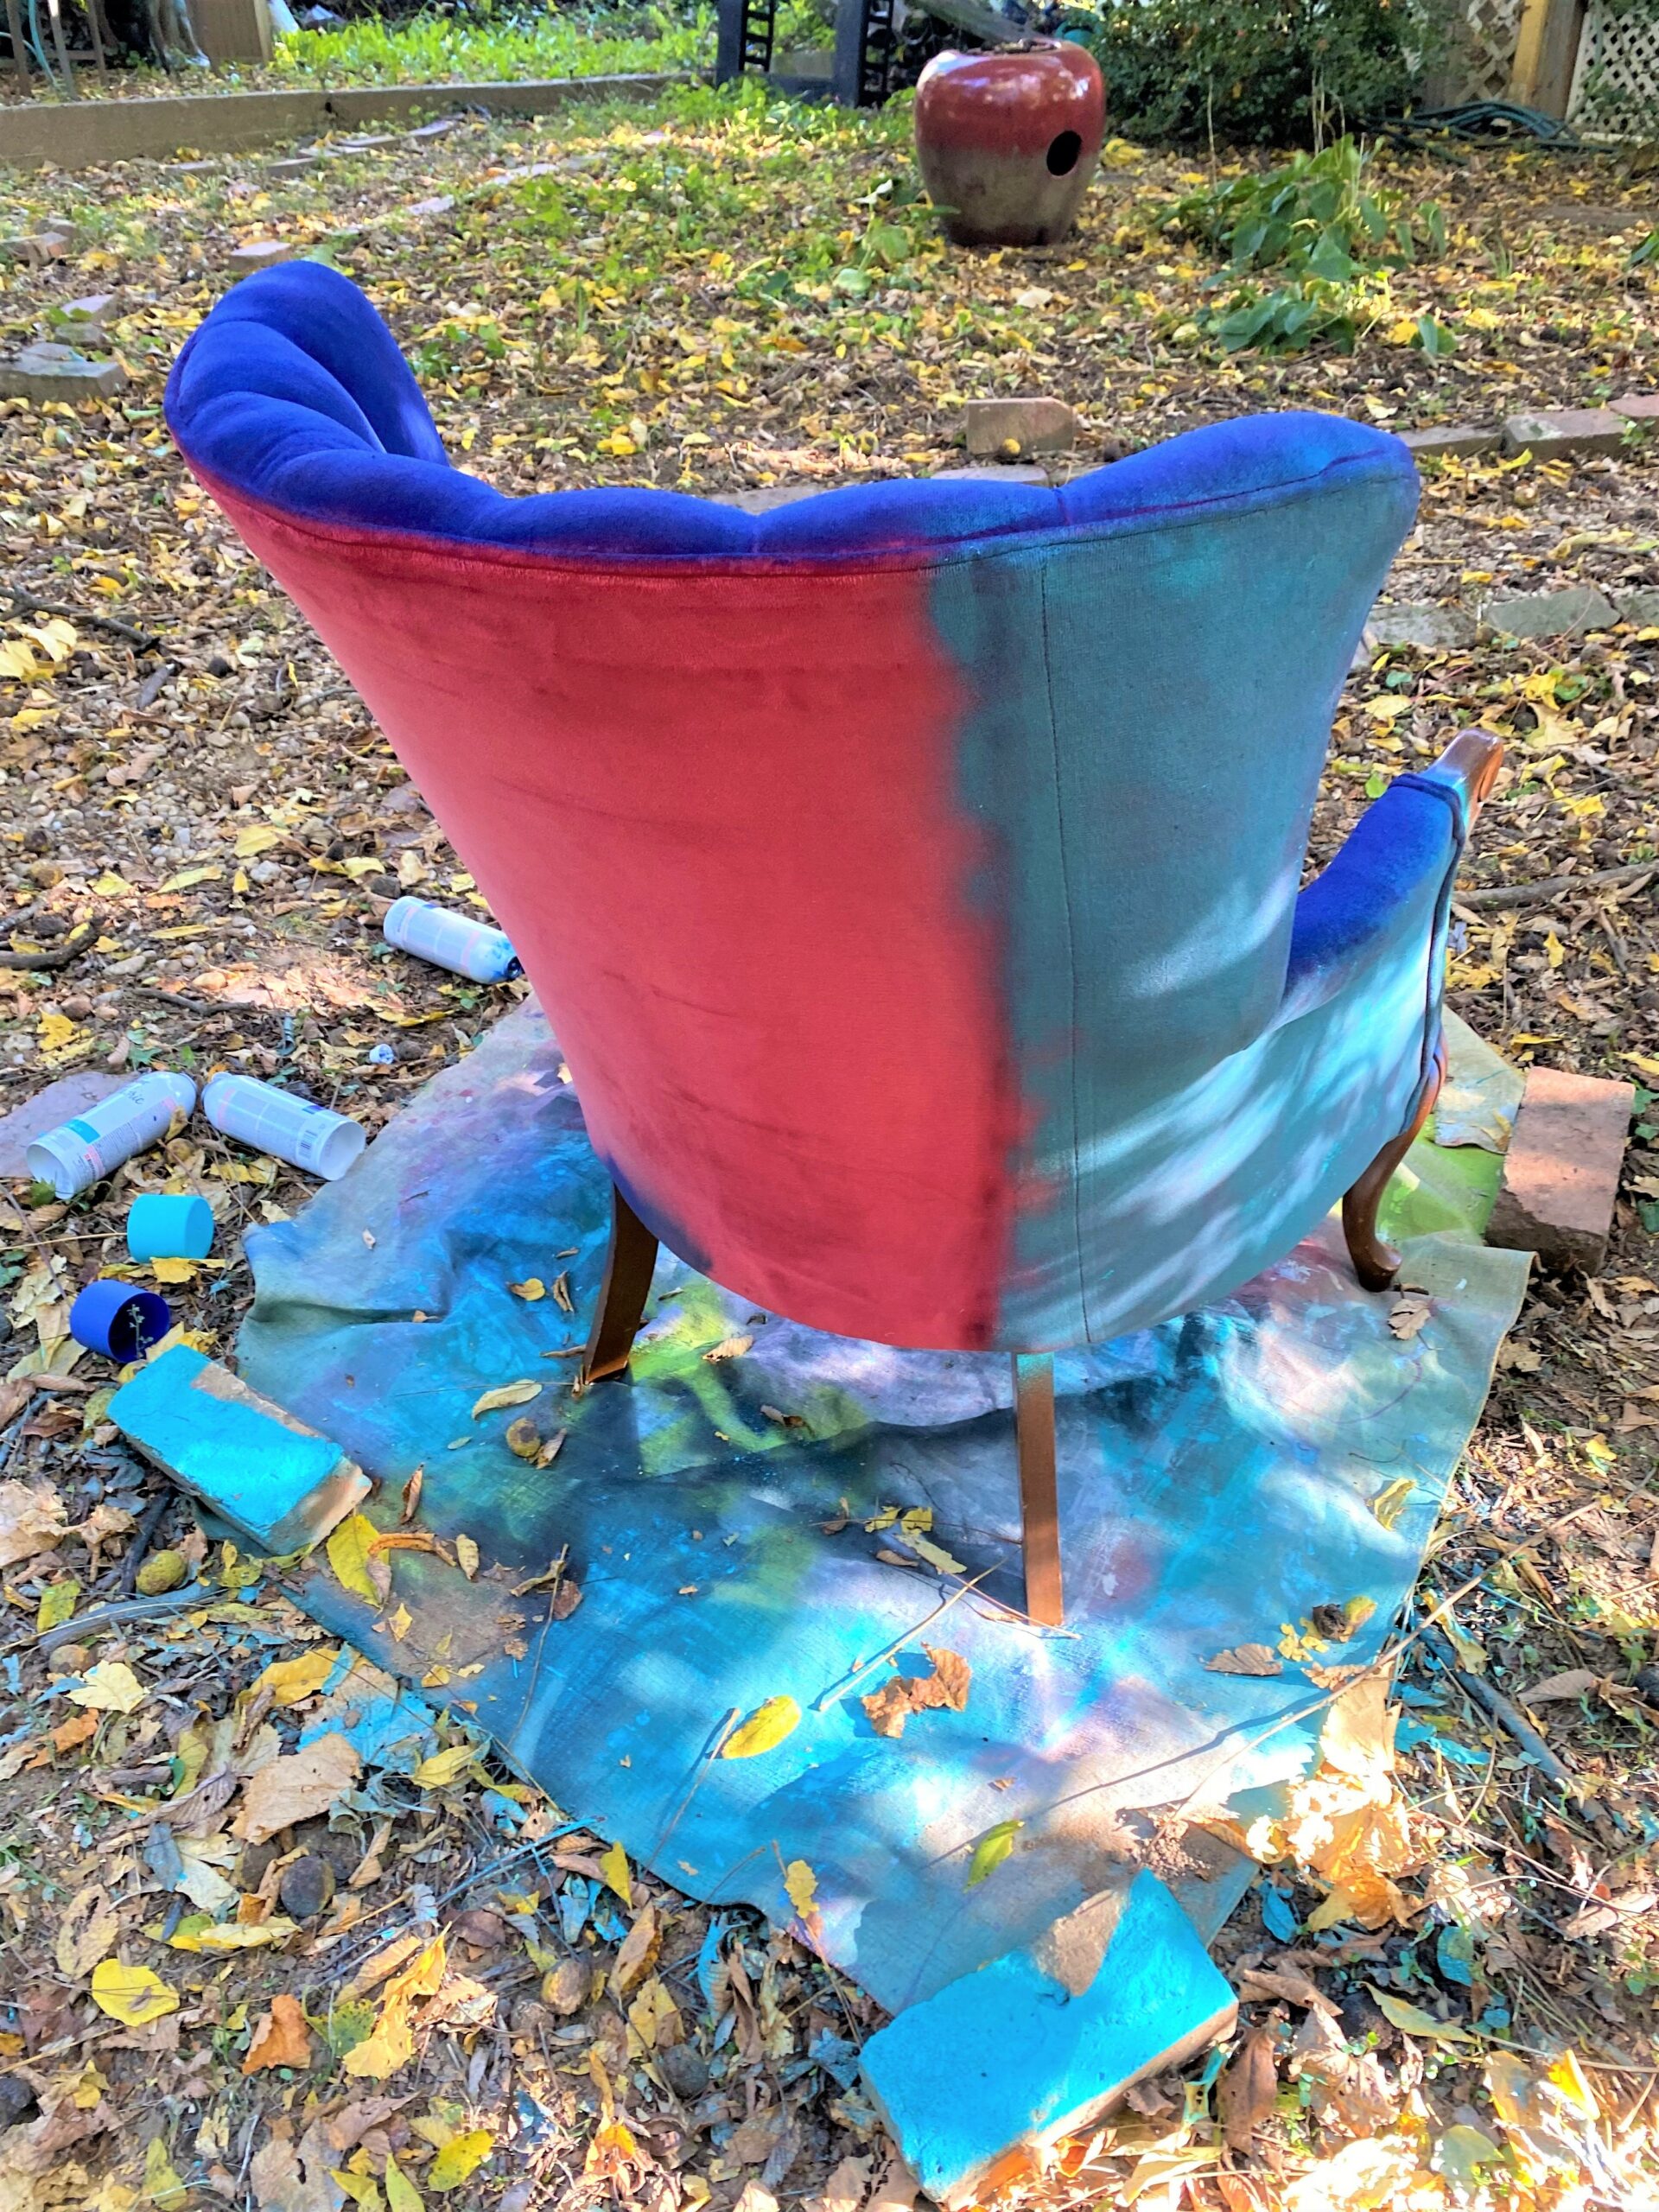
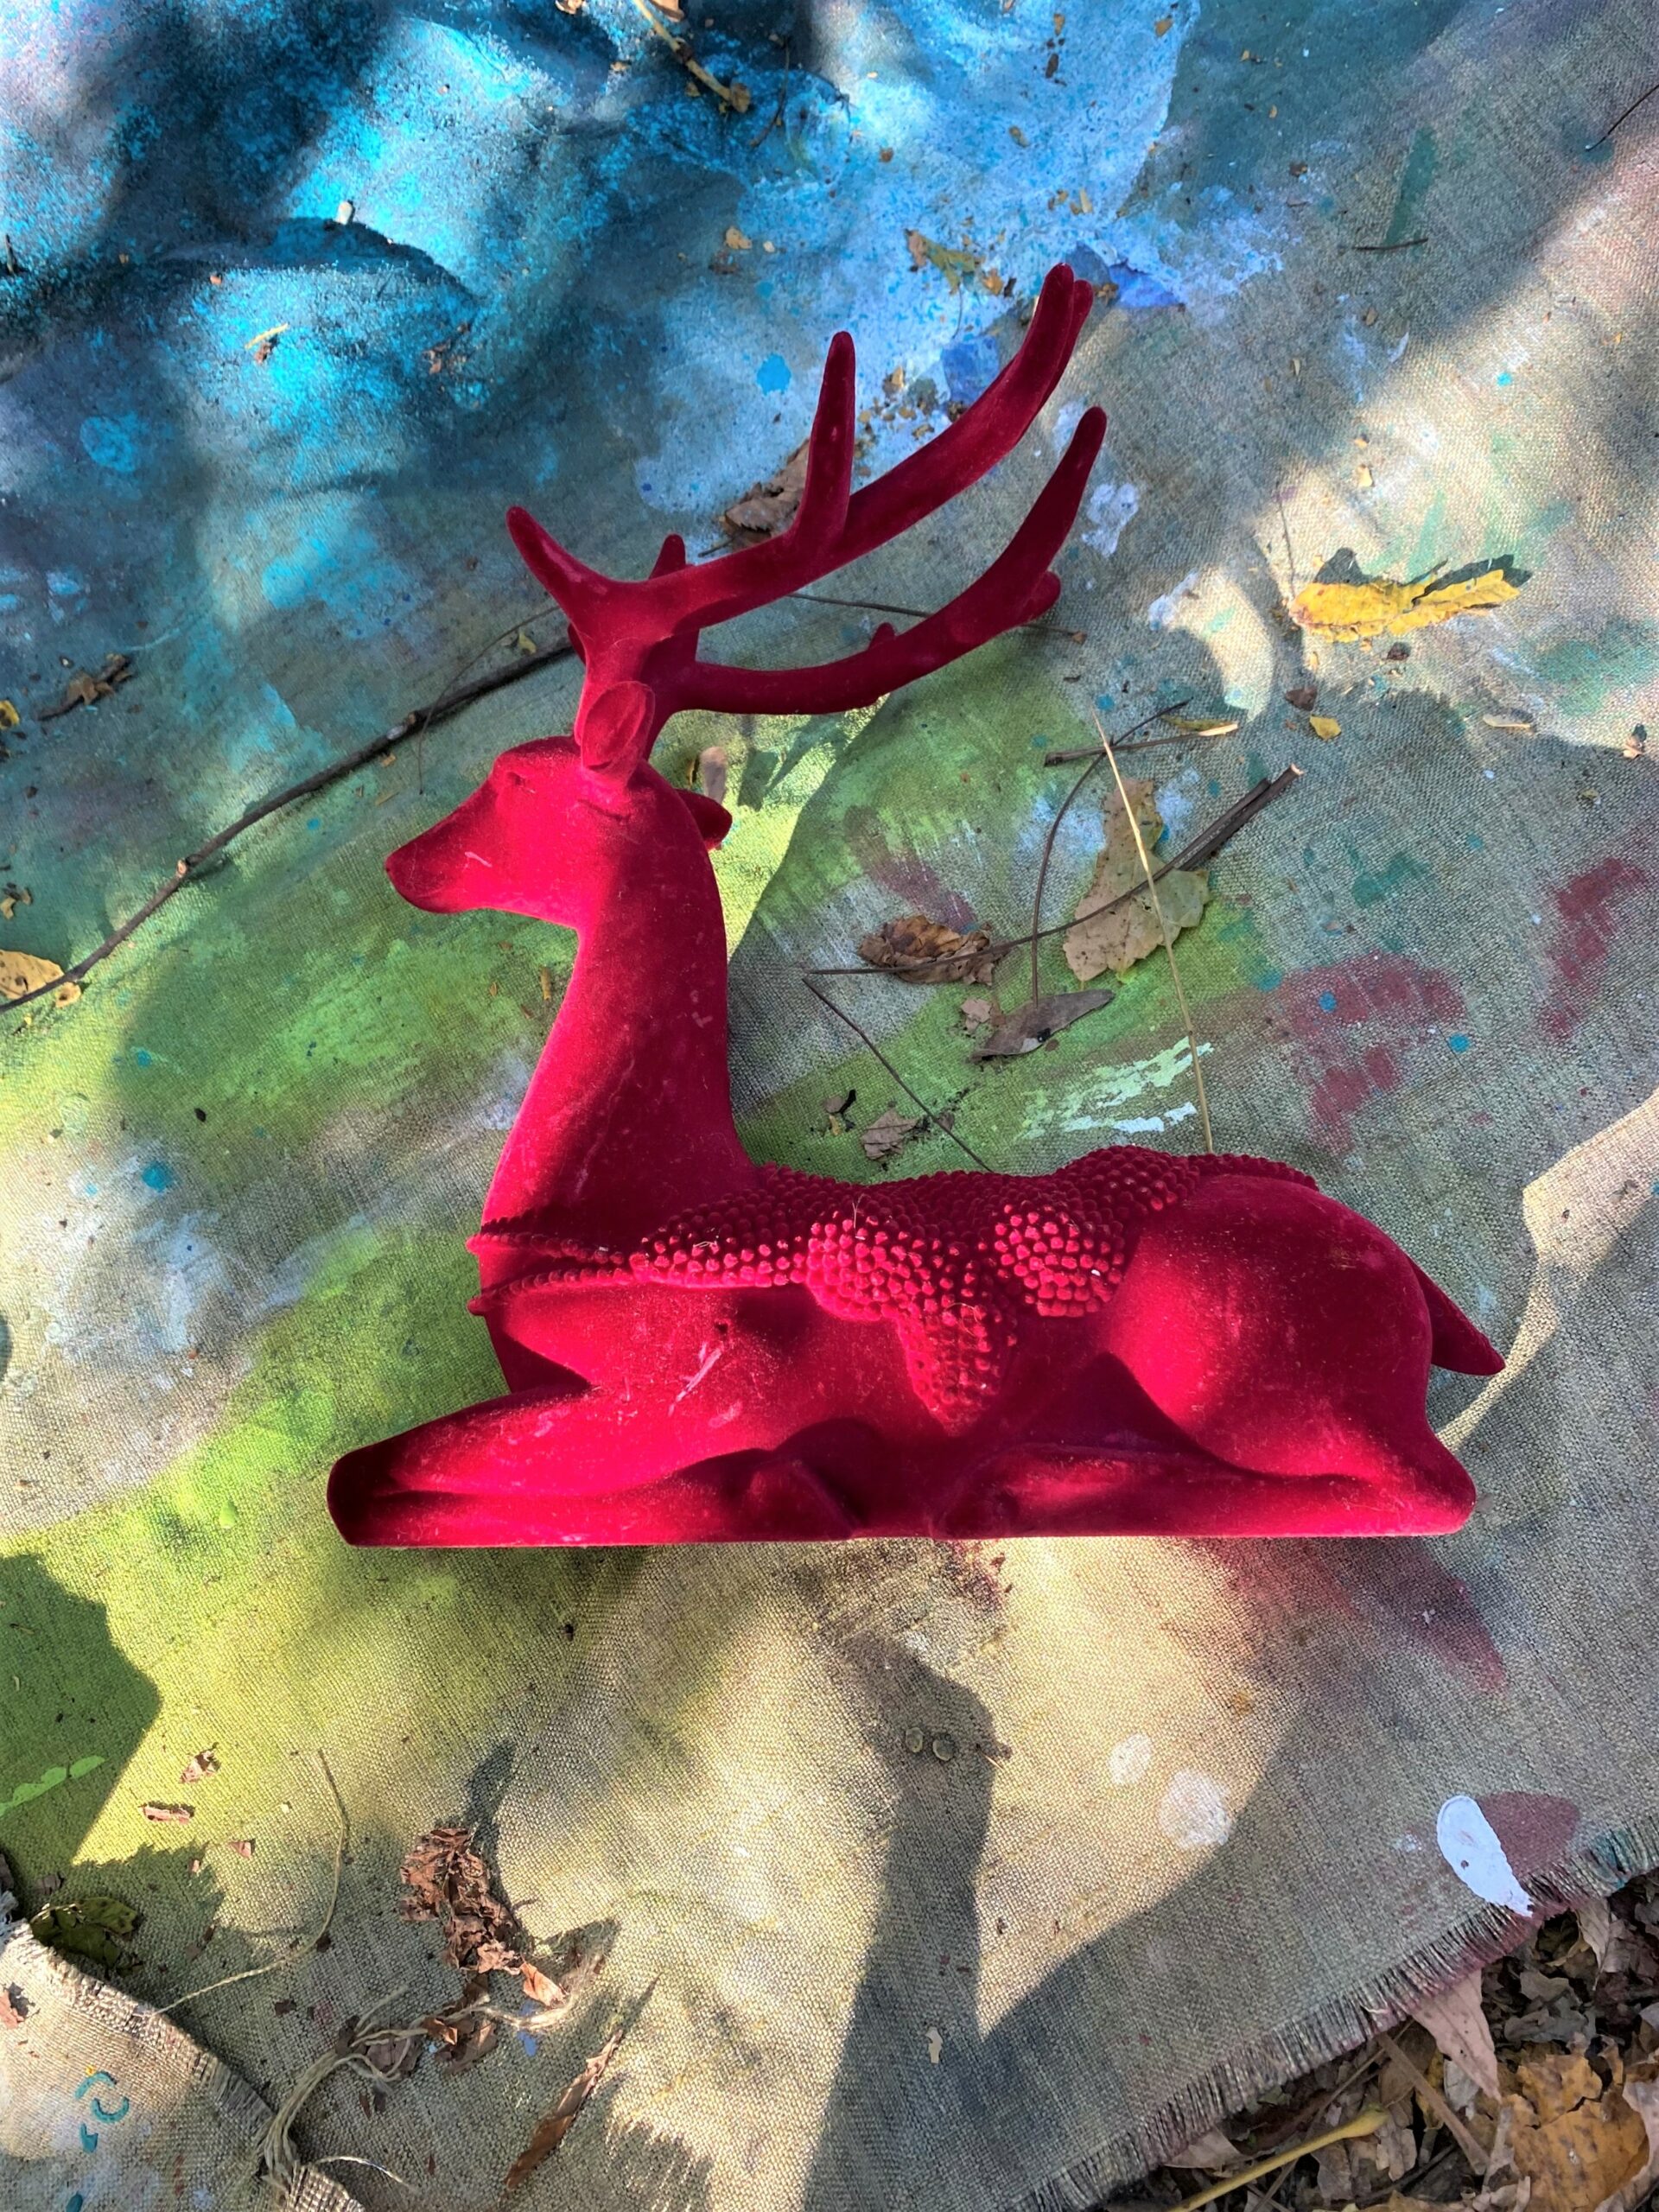
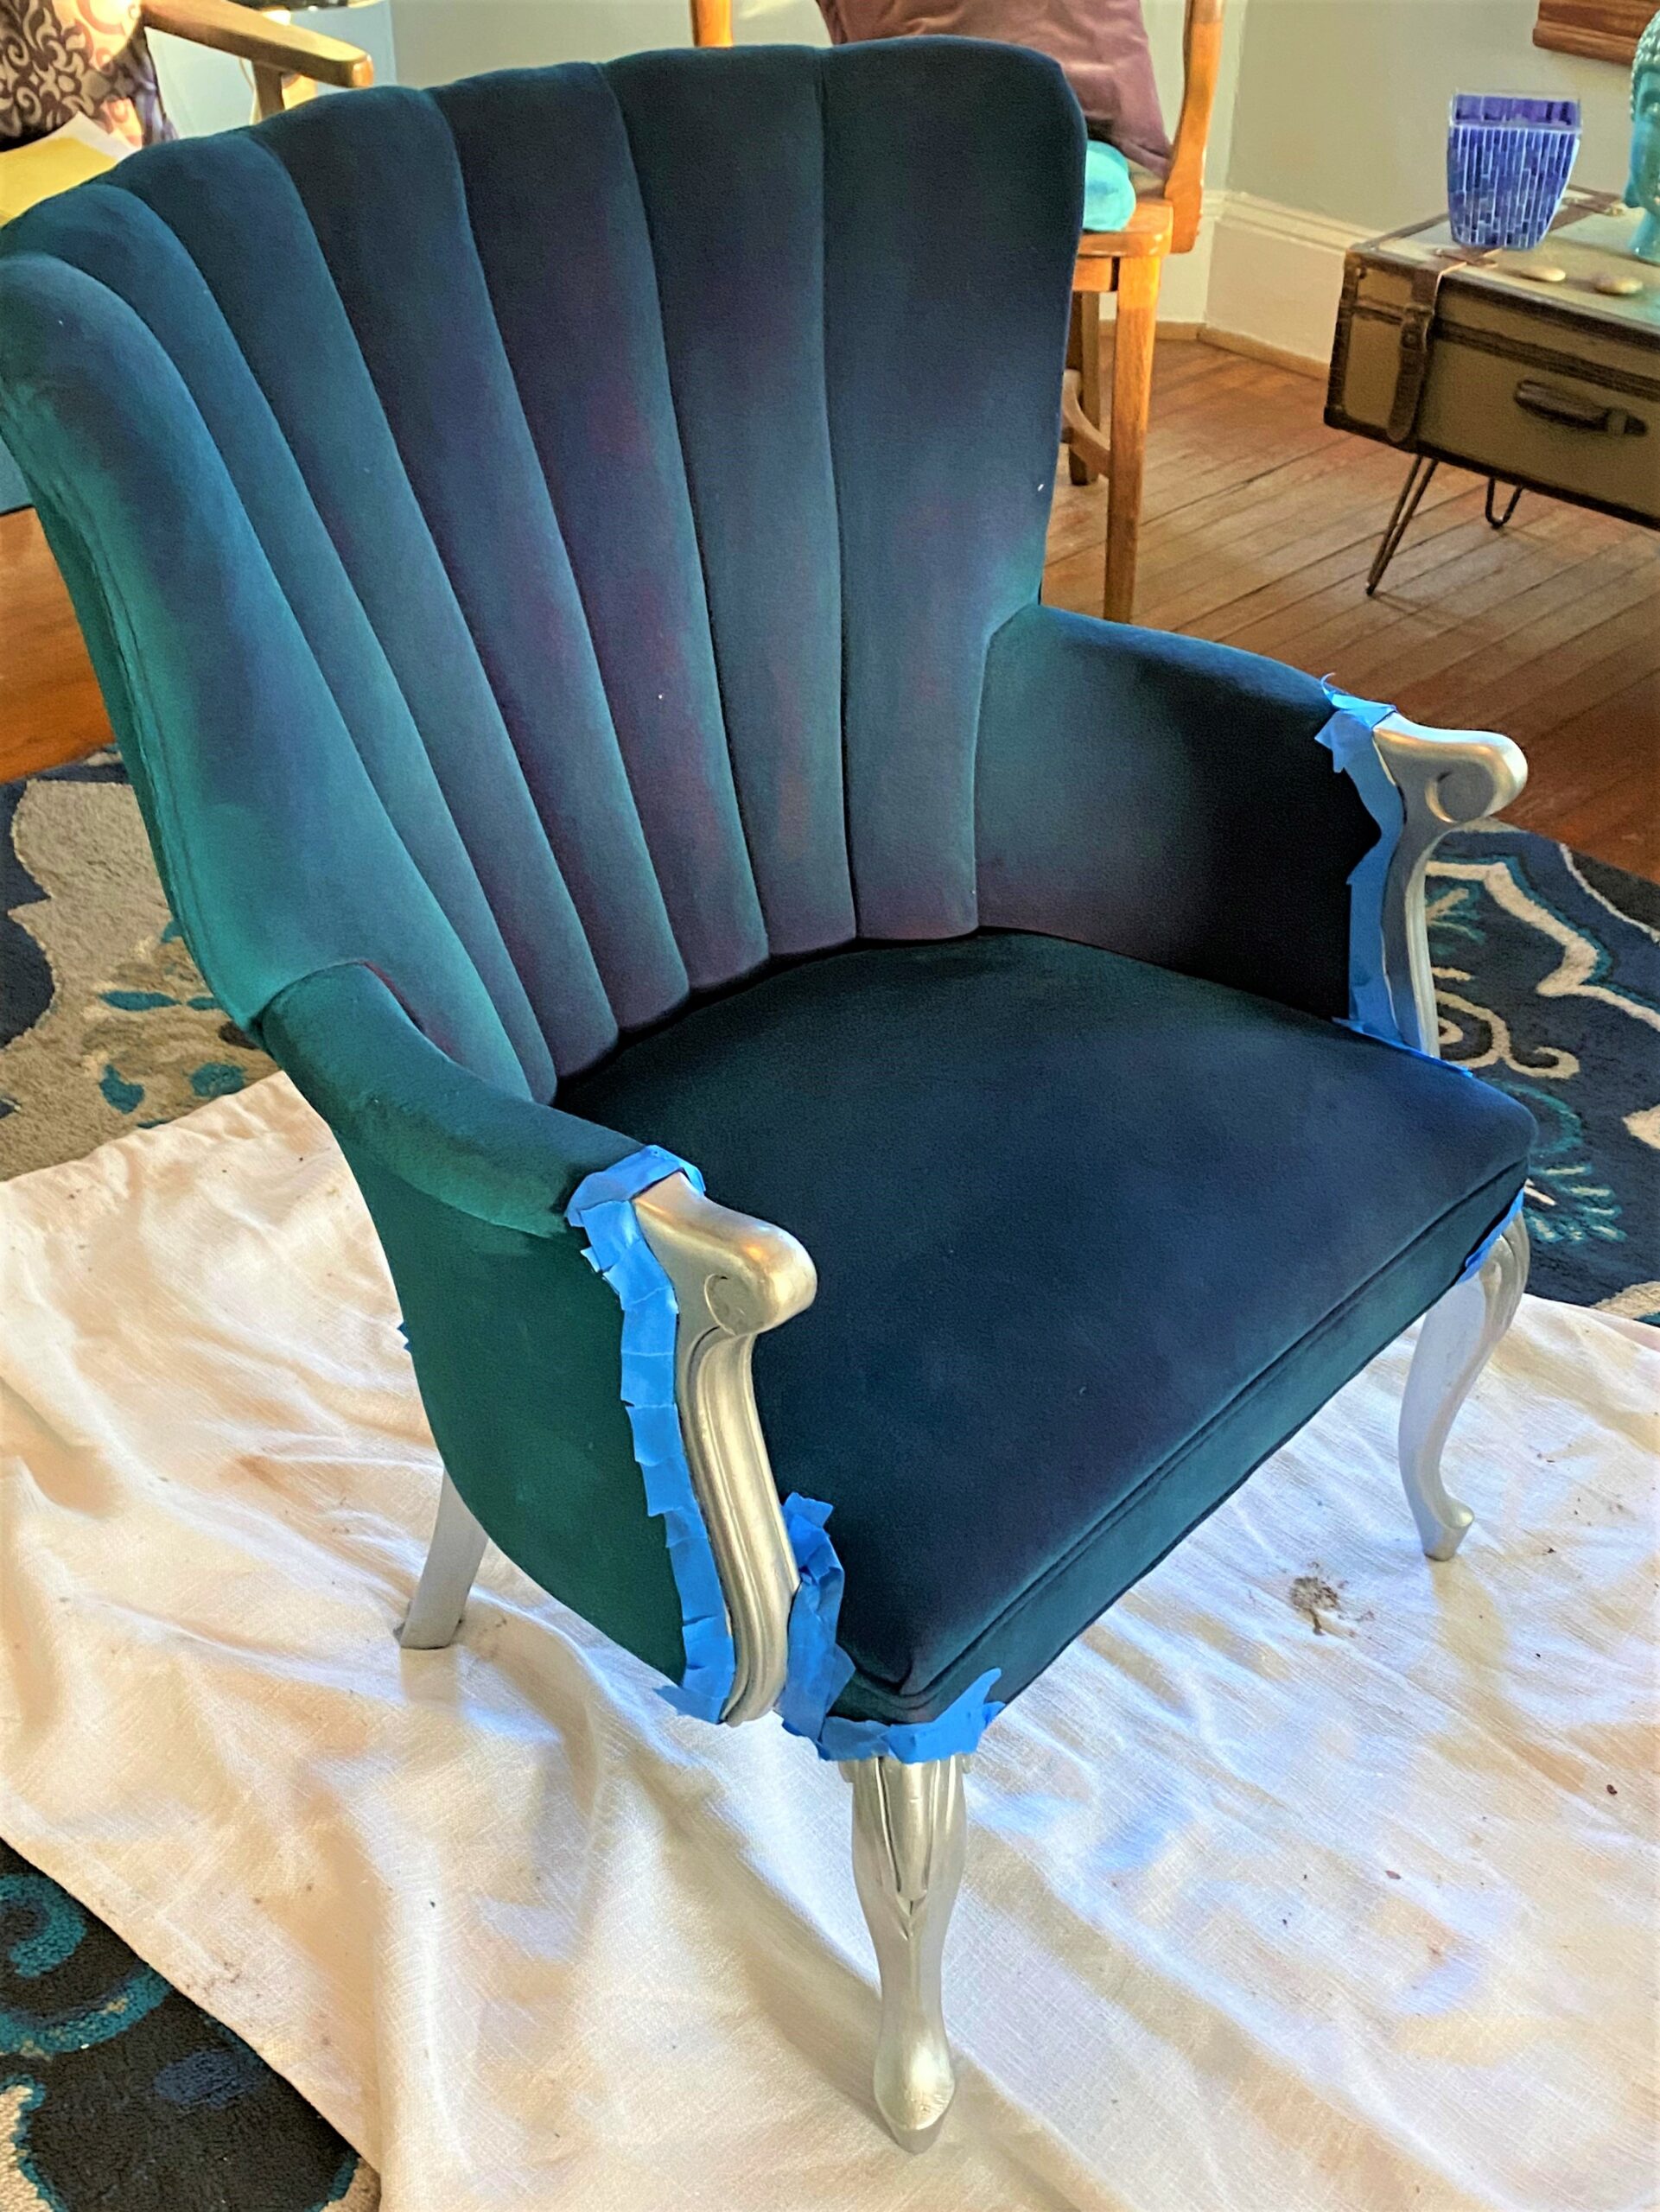
3. Place your piece on a drop cloth & prepare for the pop!
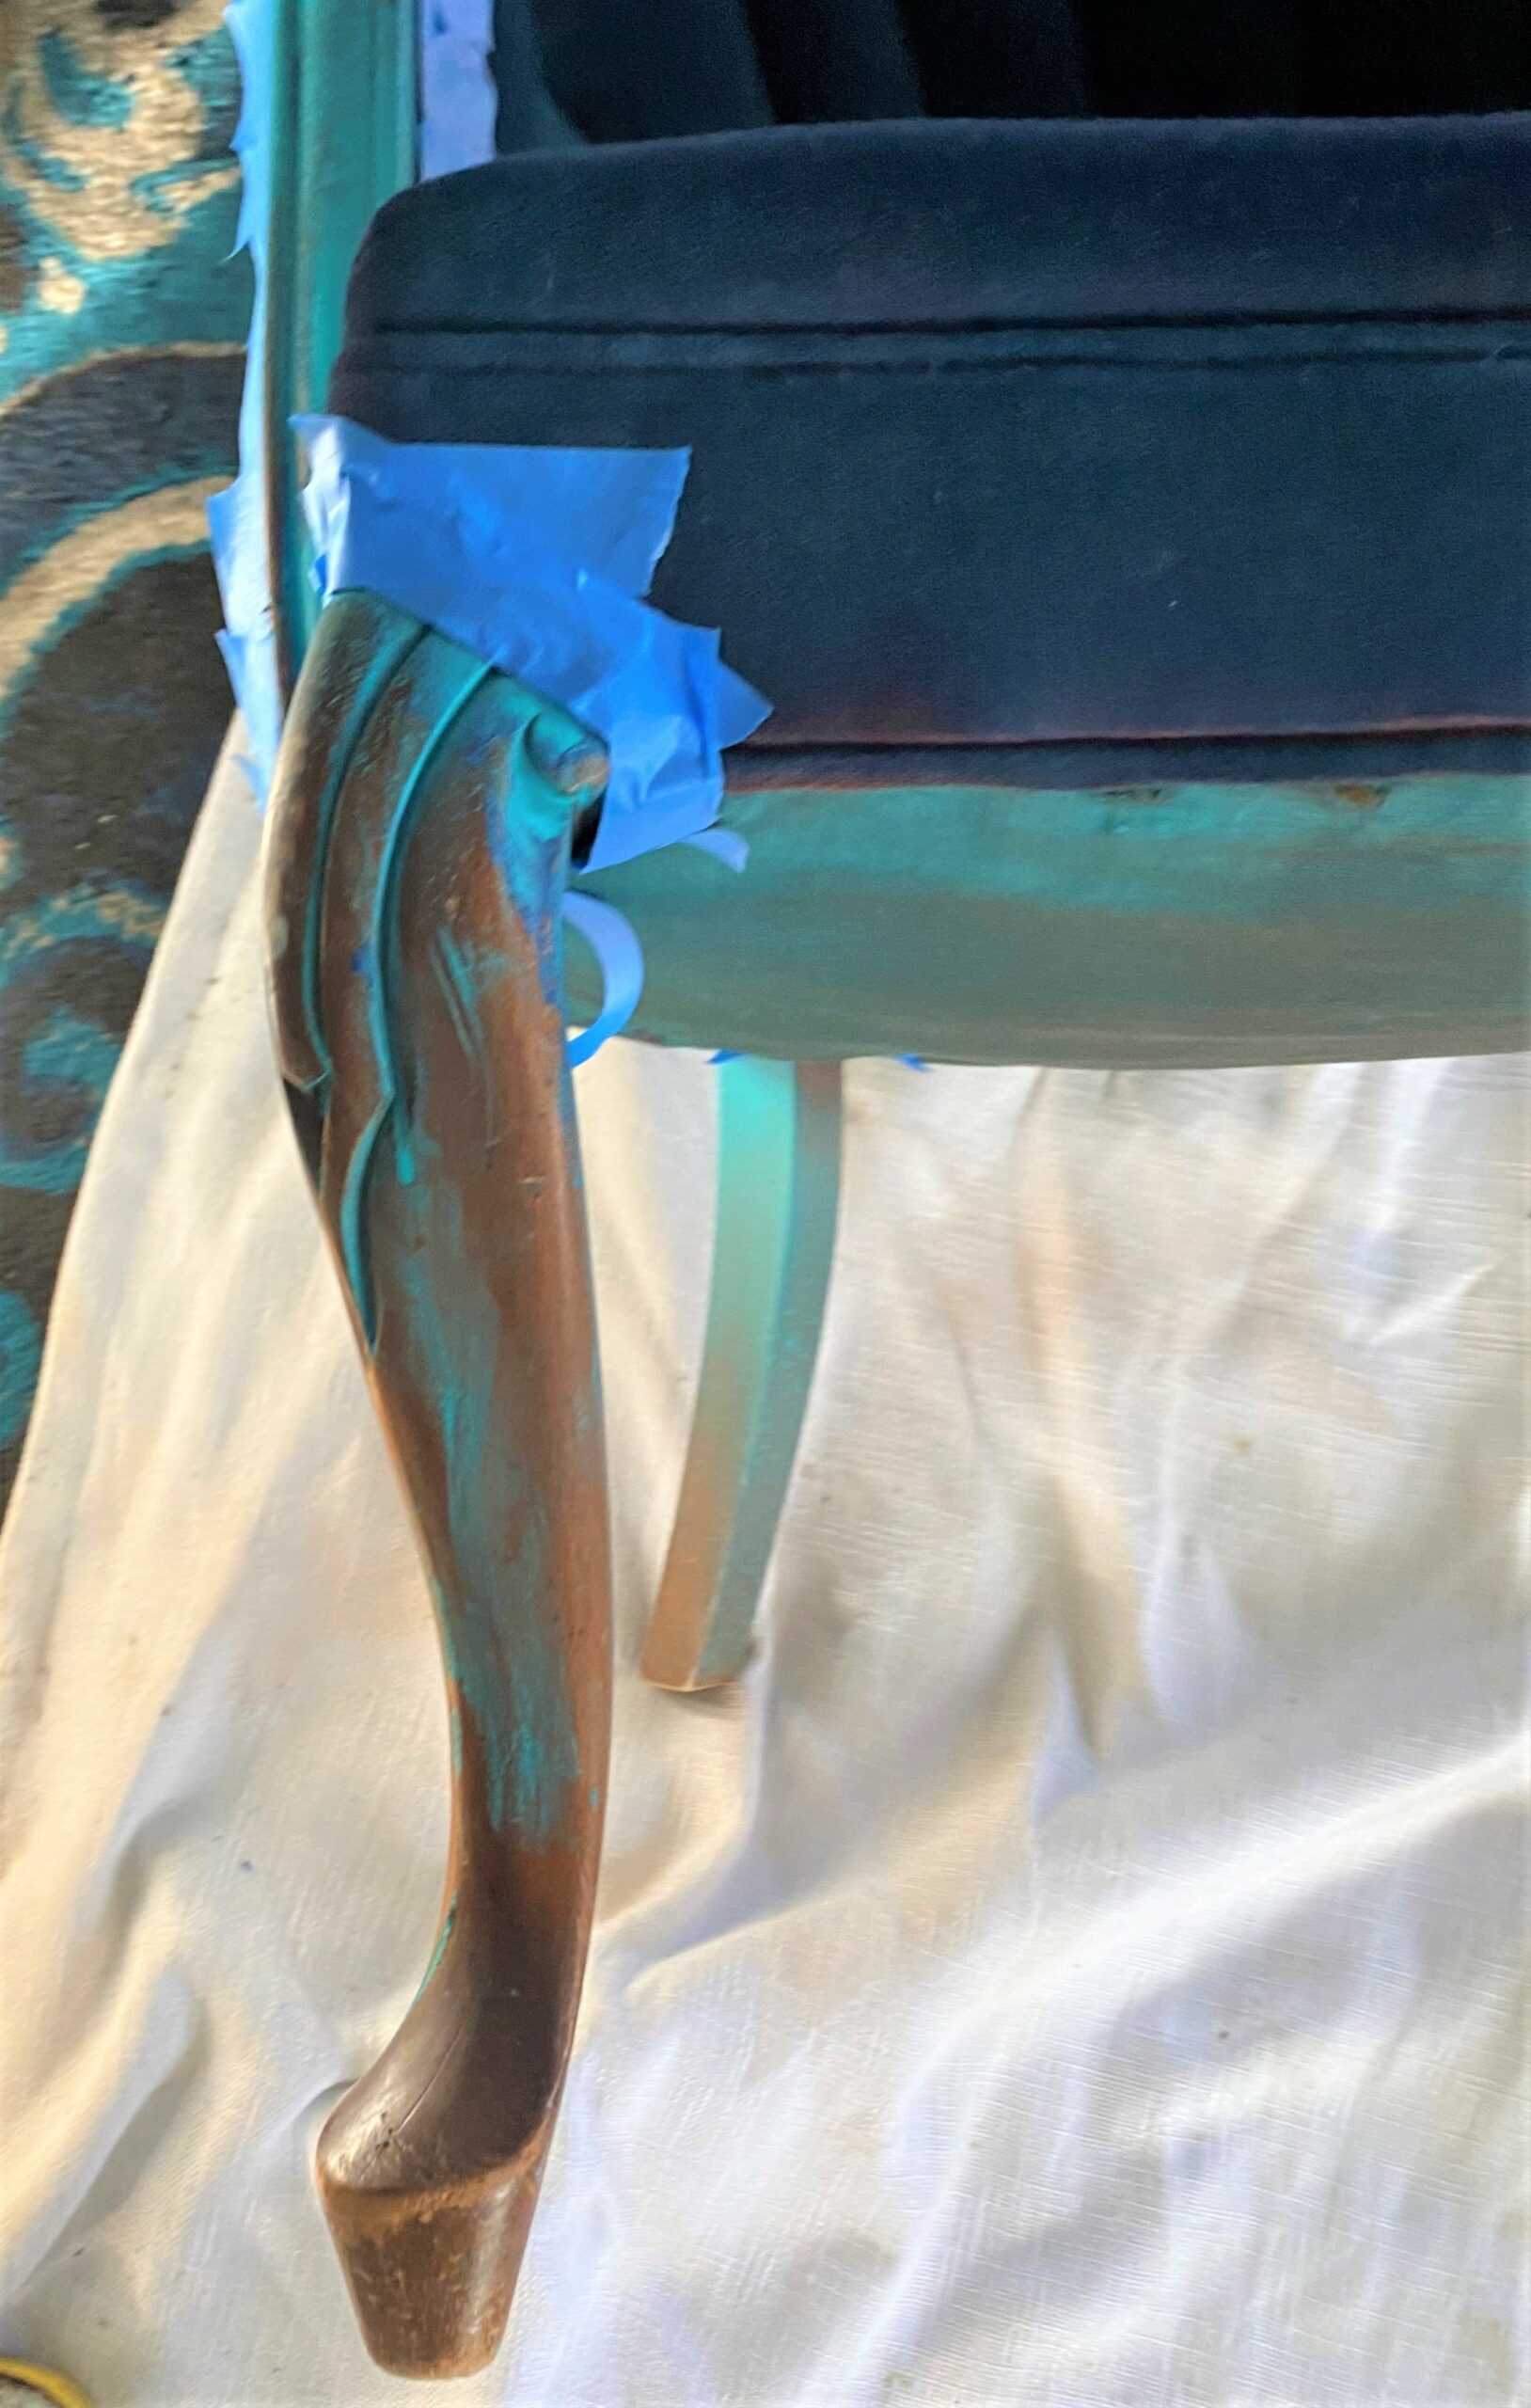
- If possible, place your chair outside on a drop cloth or set it up in a very well-ventilated space. You may want to cover any chair parts which you don’t want to get transformed with the paint. I knew the dark brown wooden parts would get painted separately so I wasn’t worried about protecting them. Use your painter’s tape to prevent paint from going on any parts you want to keep as is.
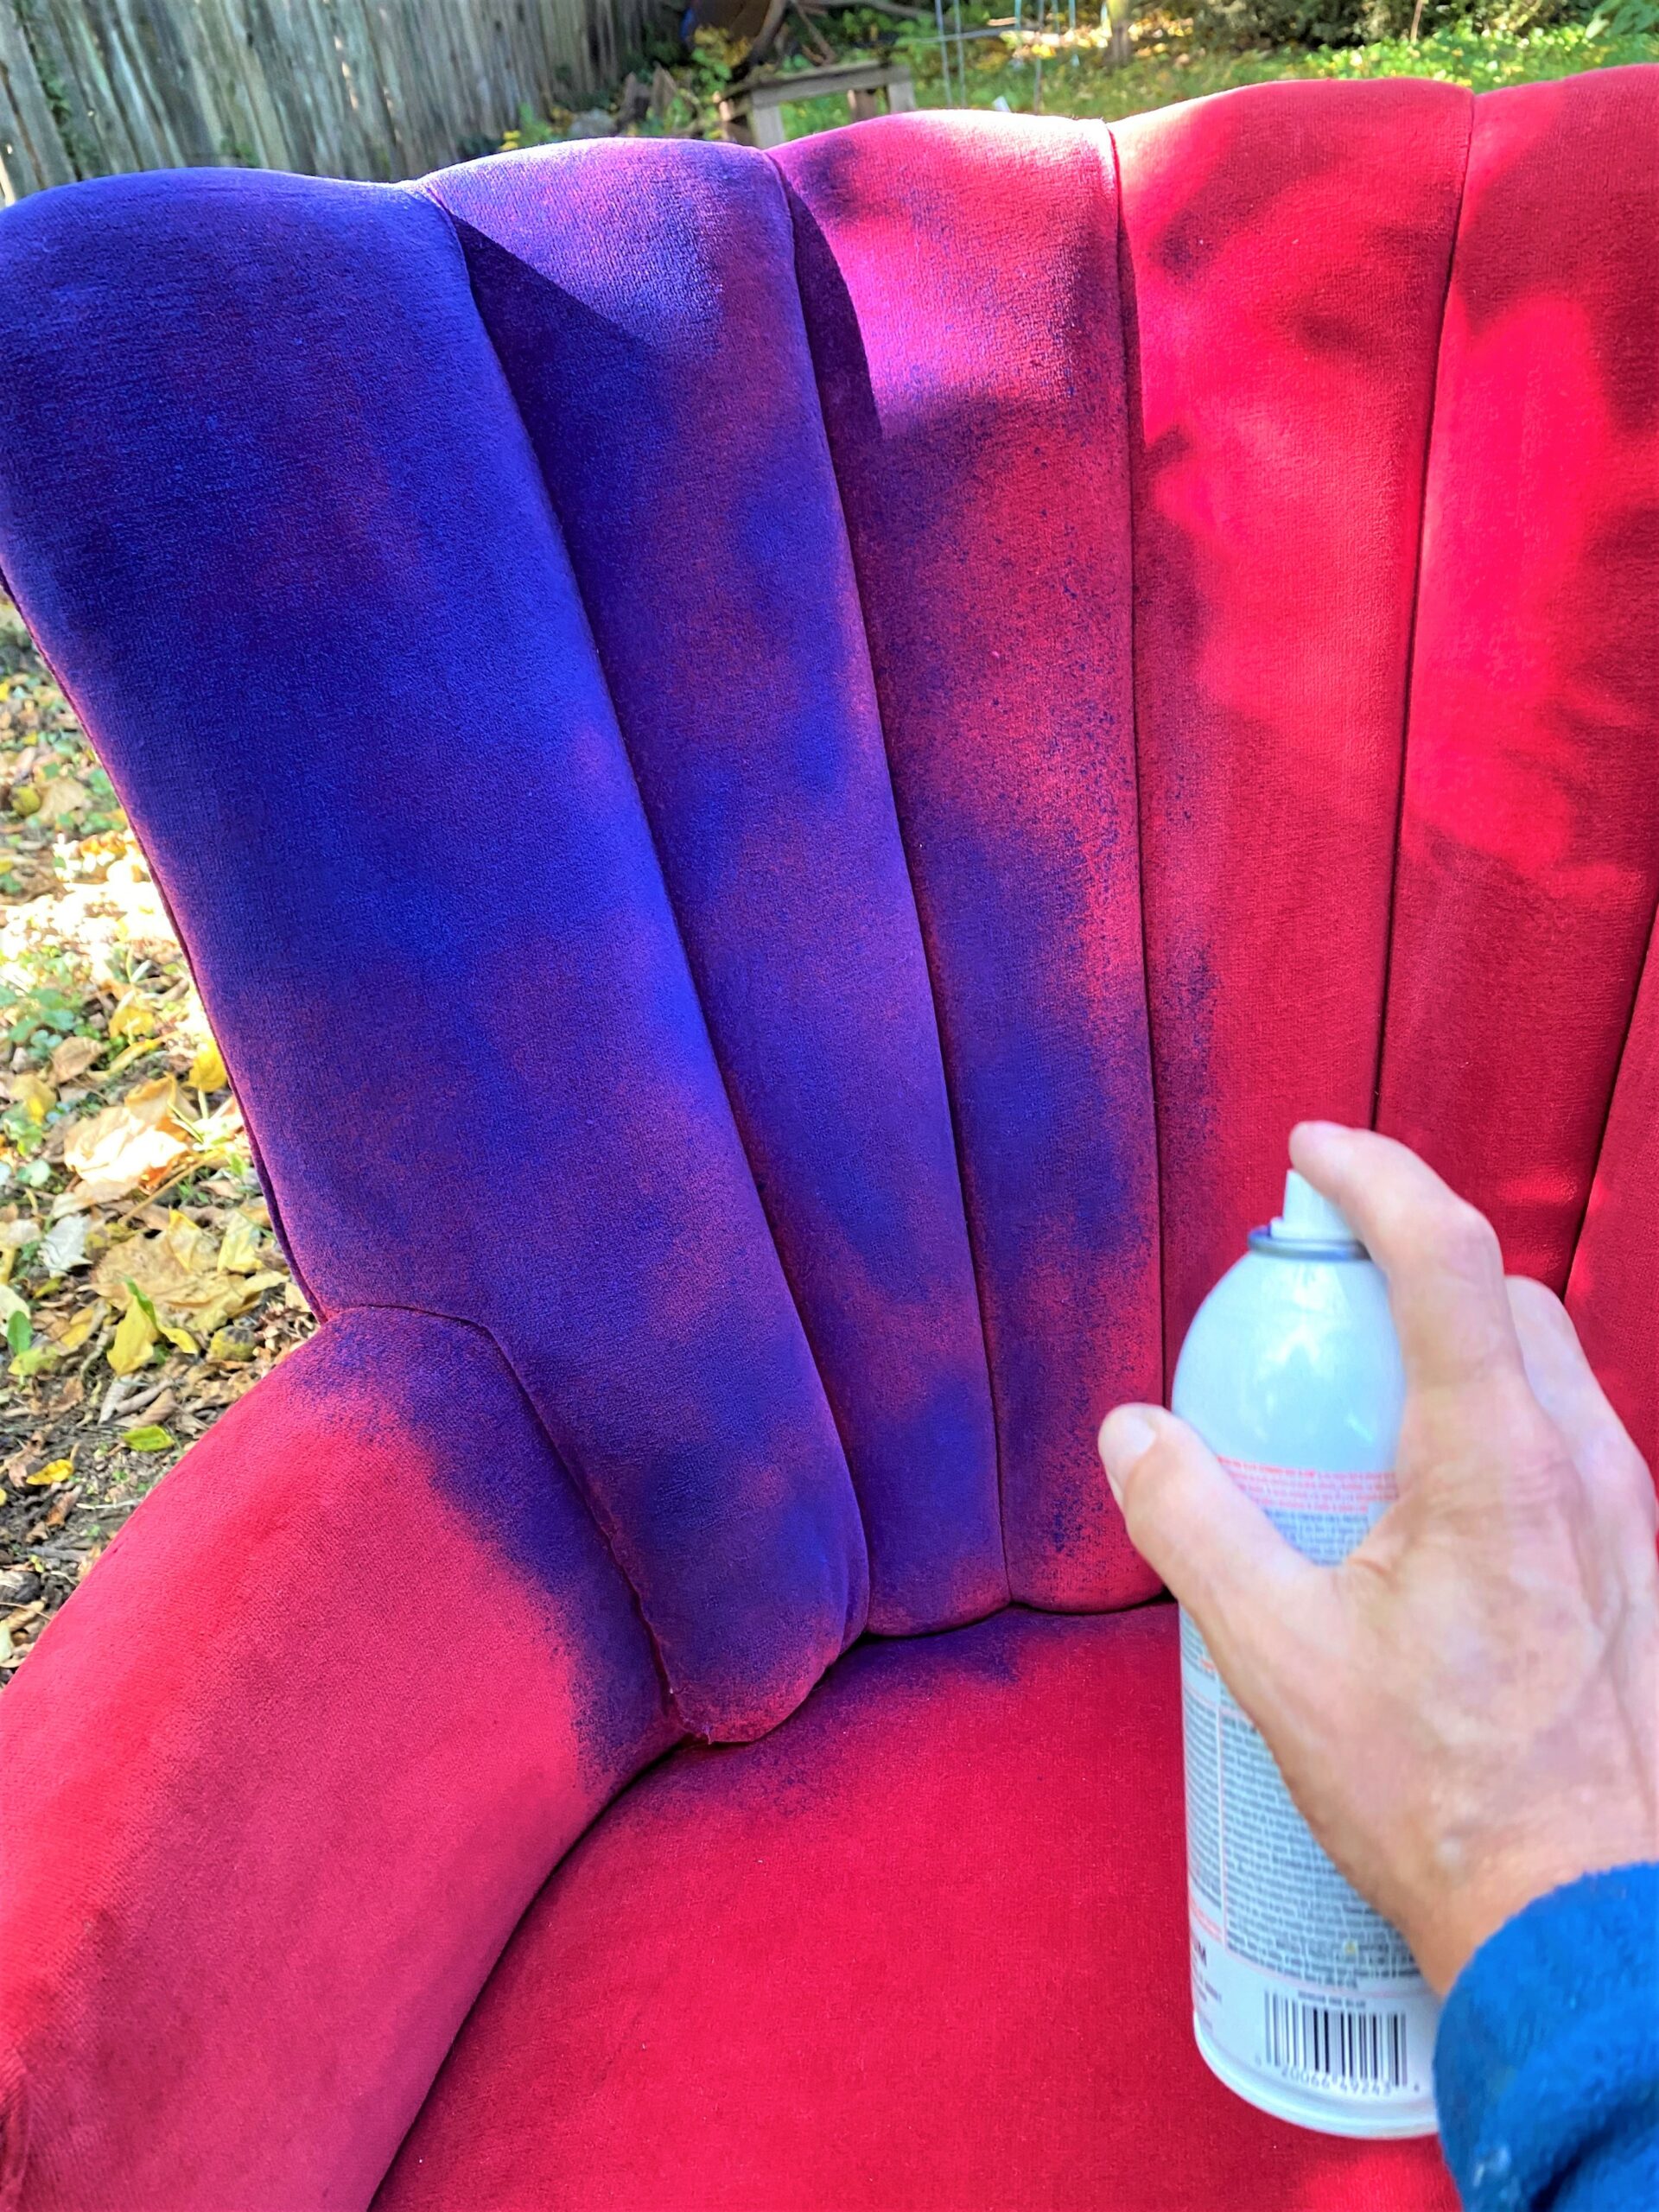
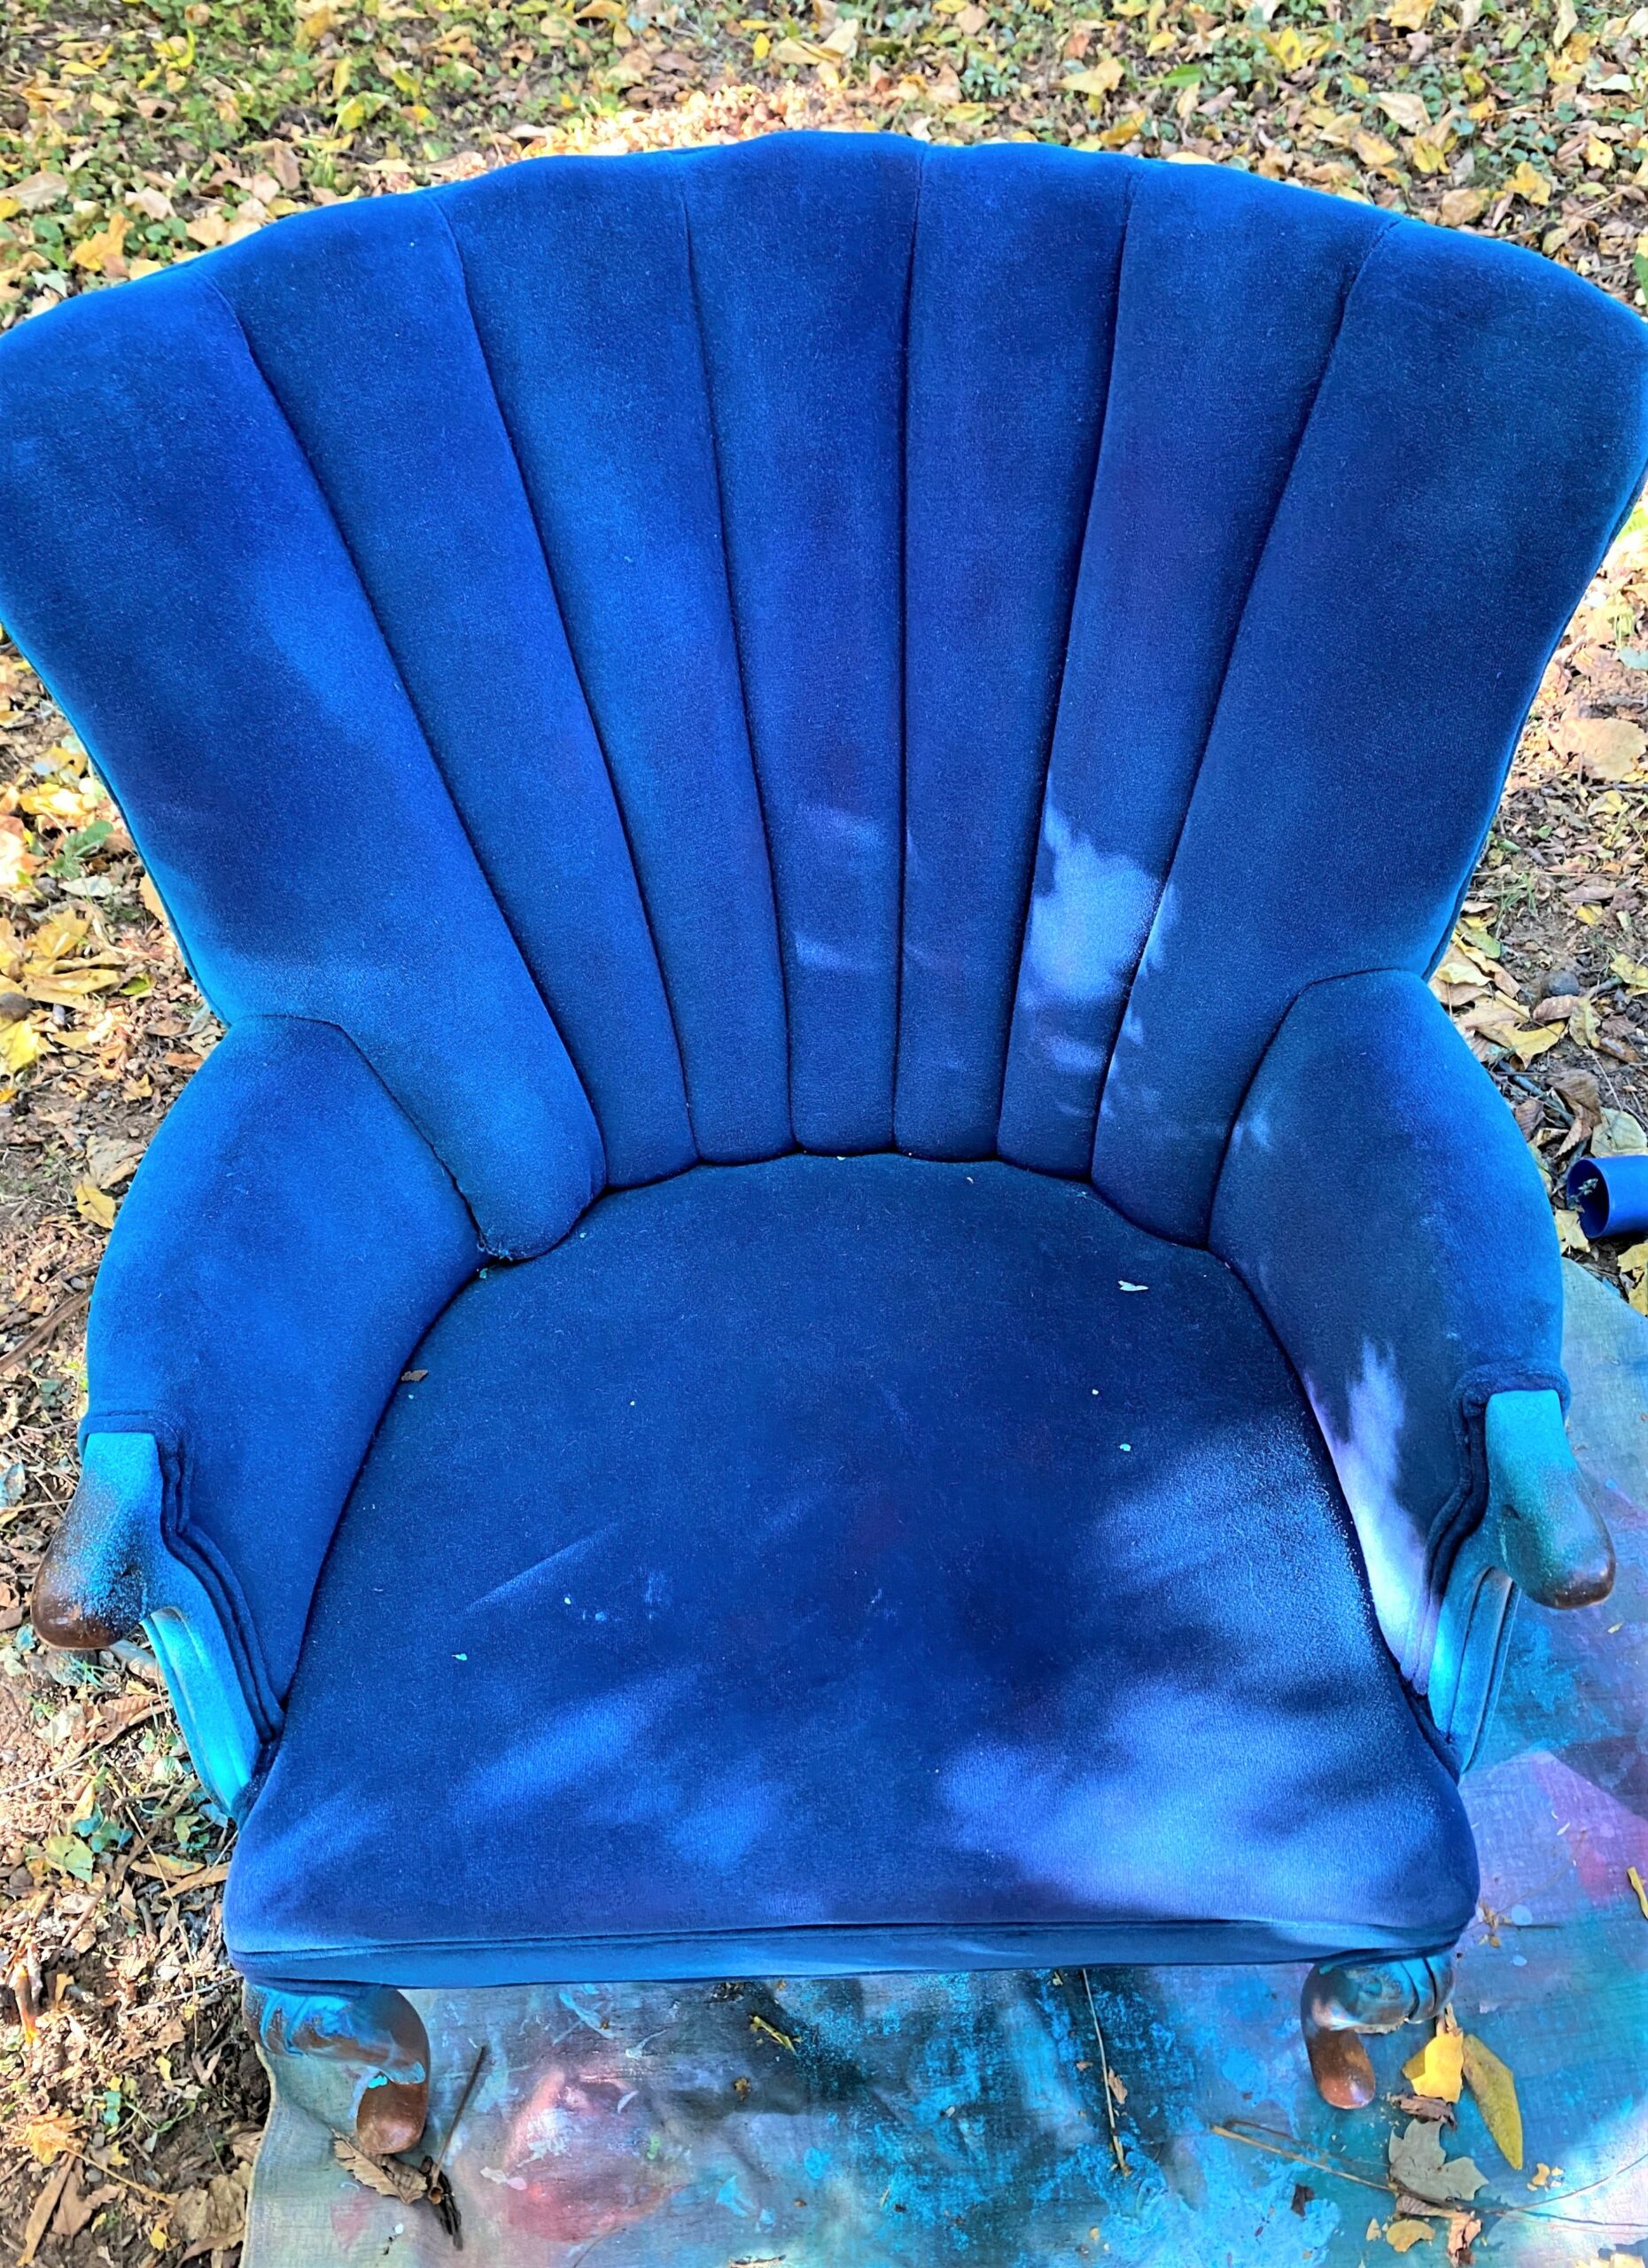
- Spray on light and solid layers on your chair’s fabric. This part will take you some time and some patience (and a little finger strength, too, from holding the sprayer down!) and is well worth it. Work to get every part of your chair’s fabric to hide and mask its current color.
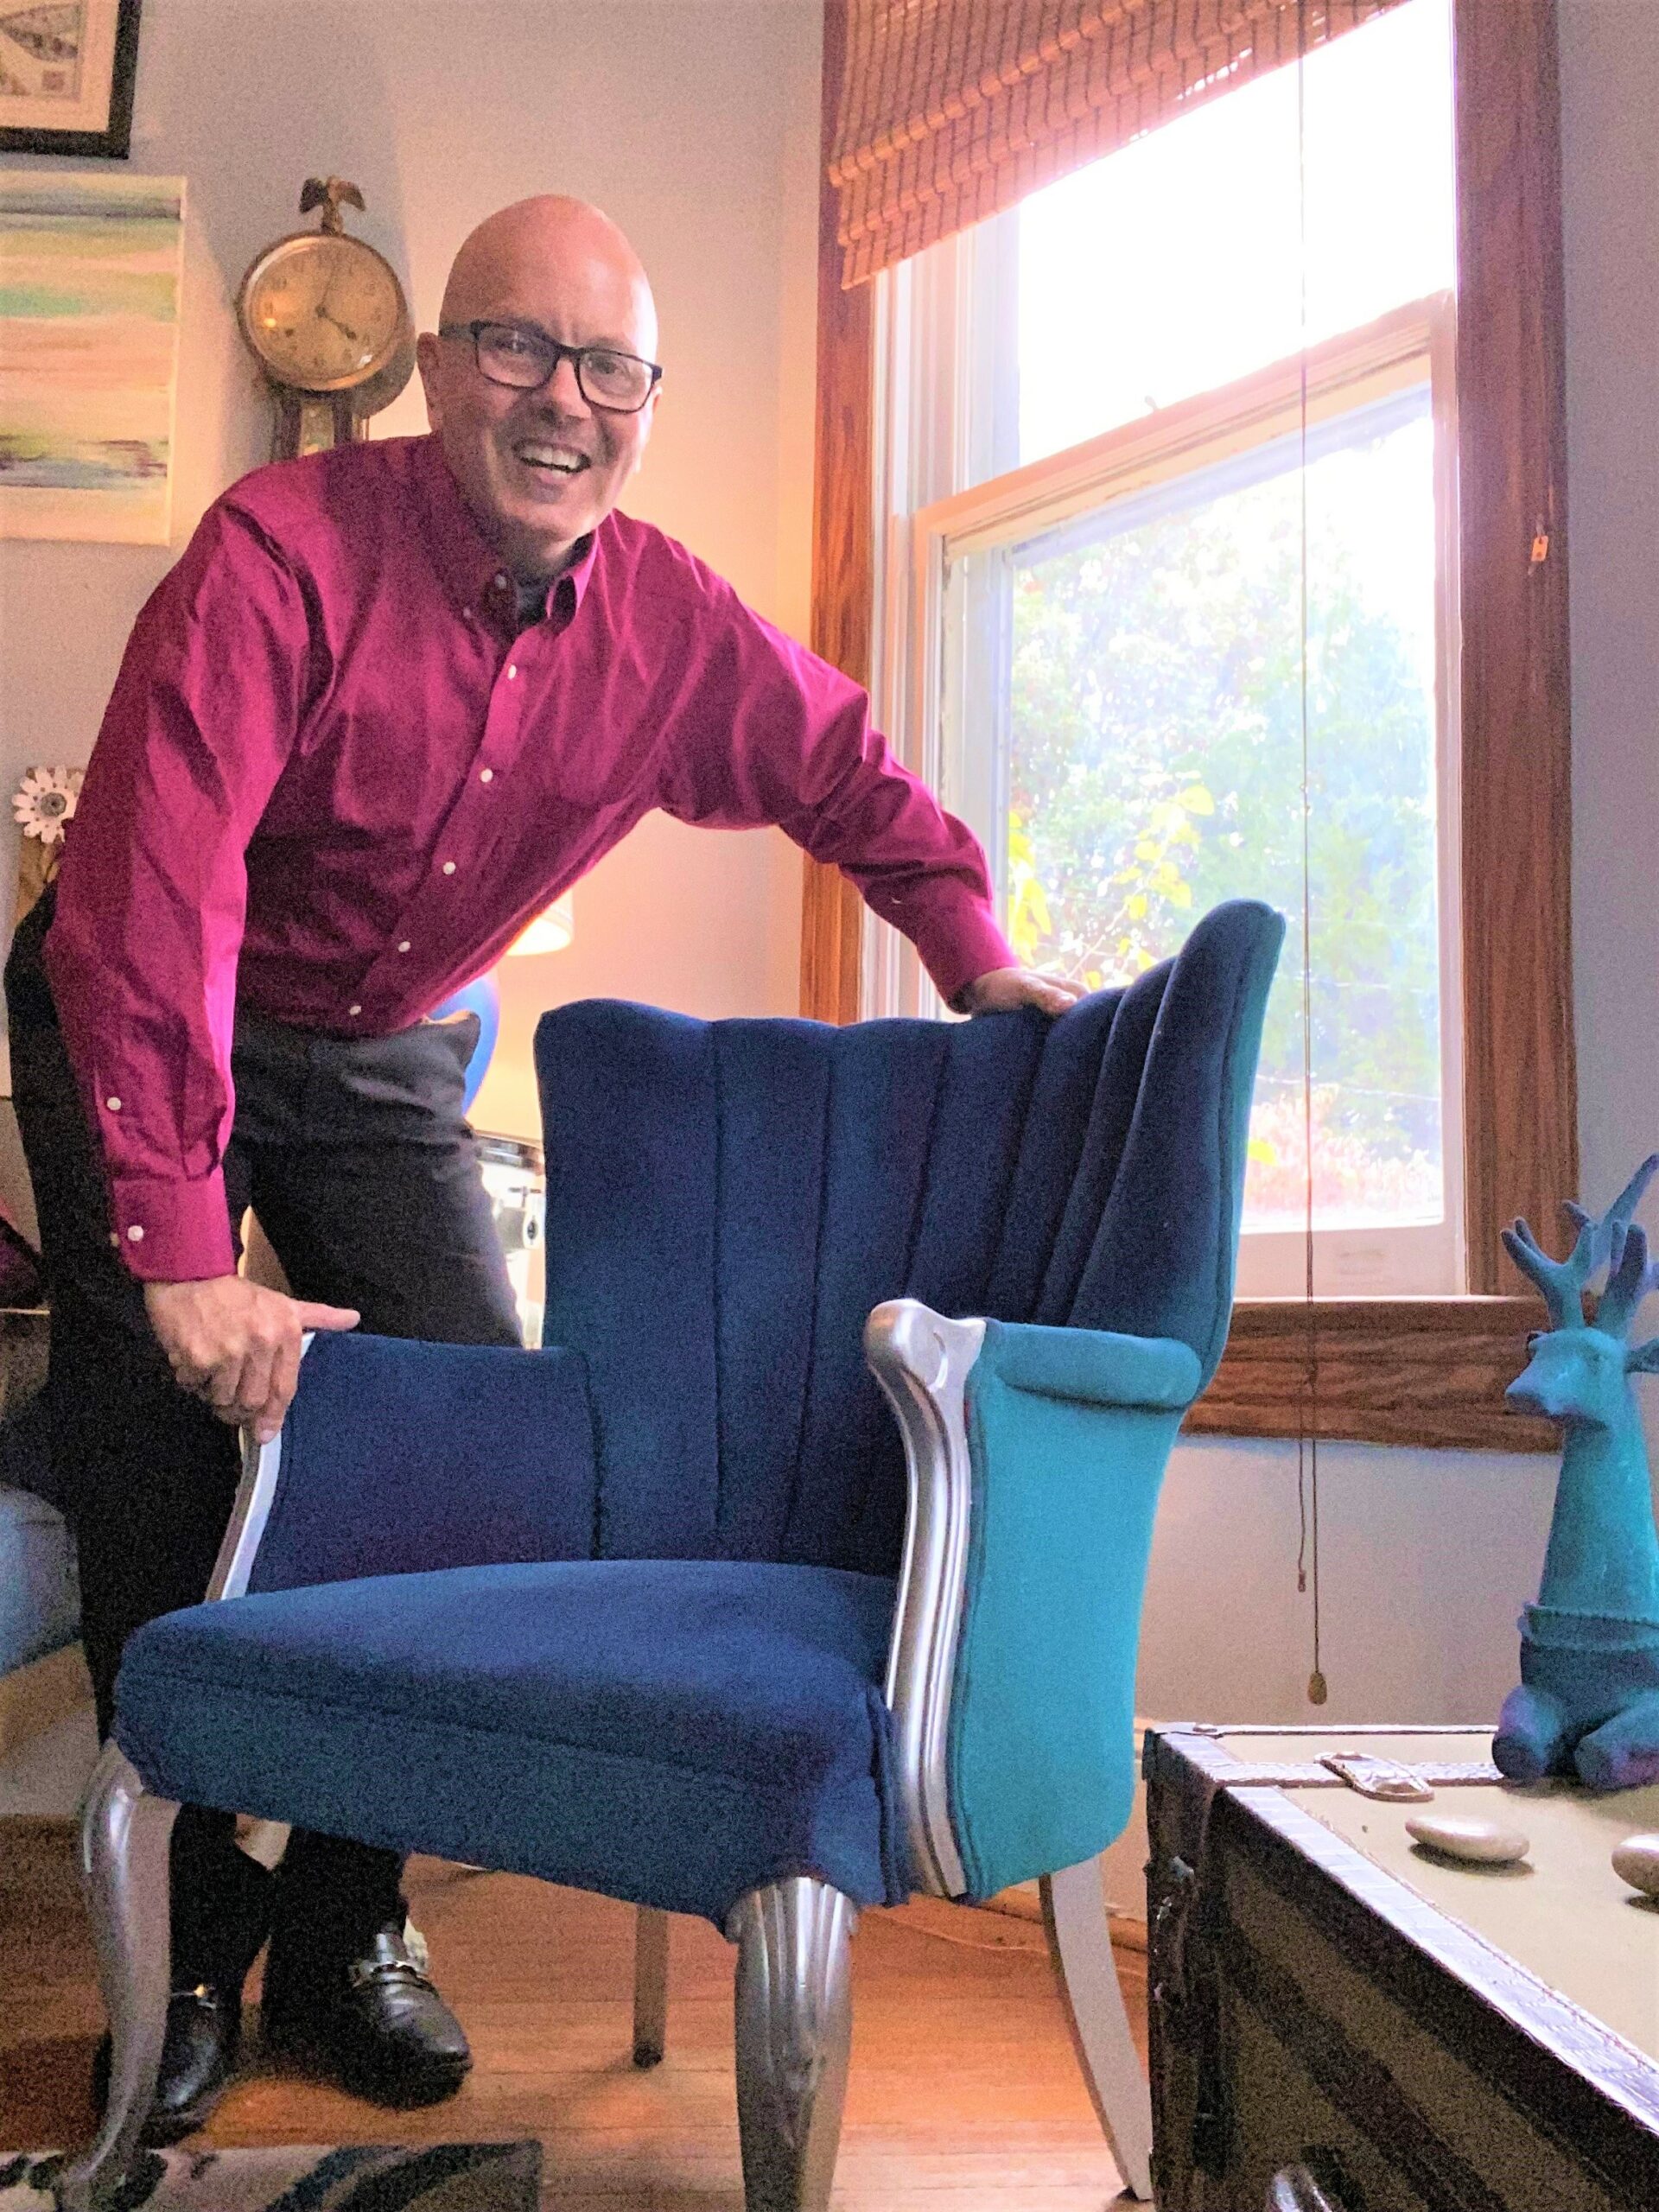
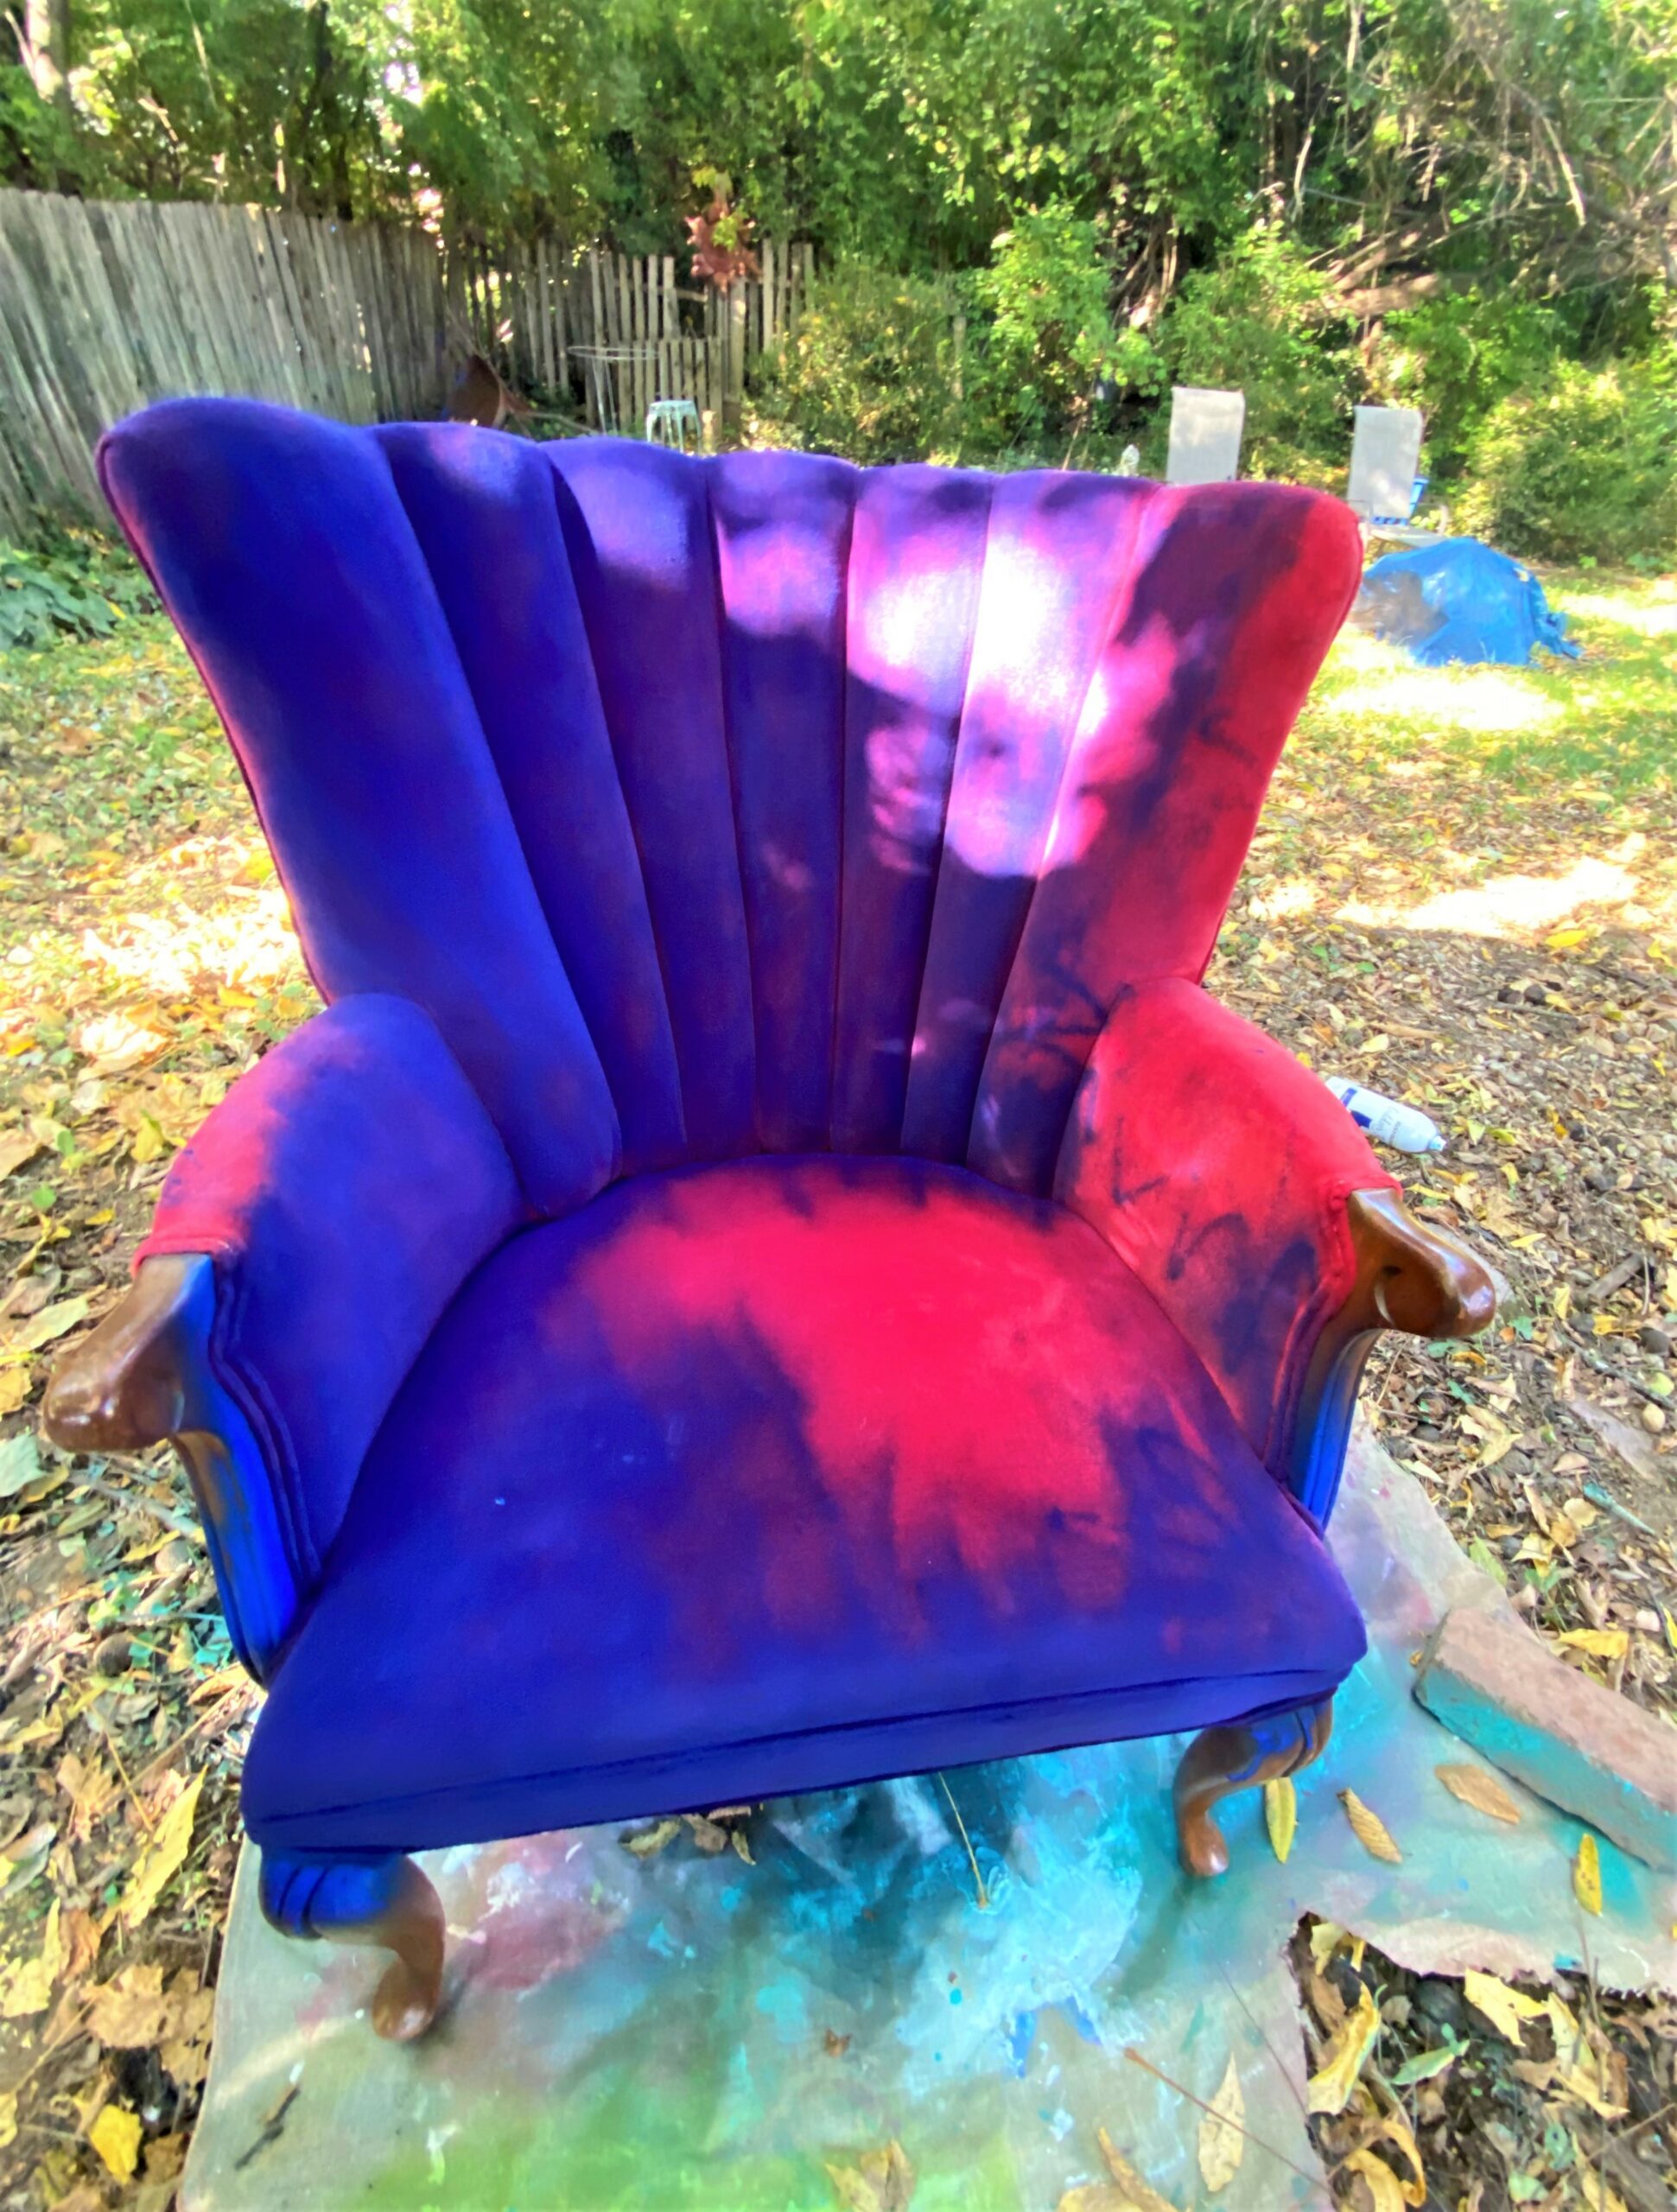
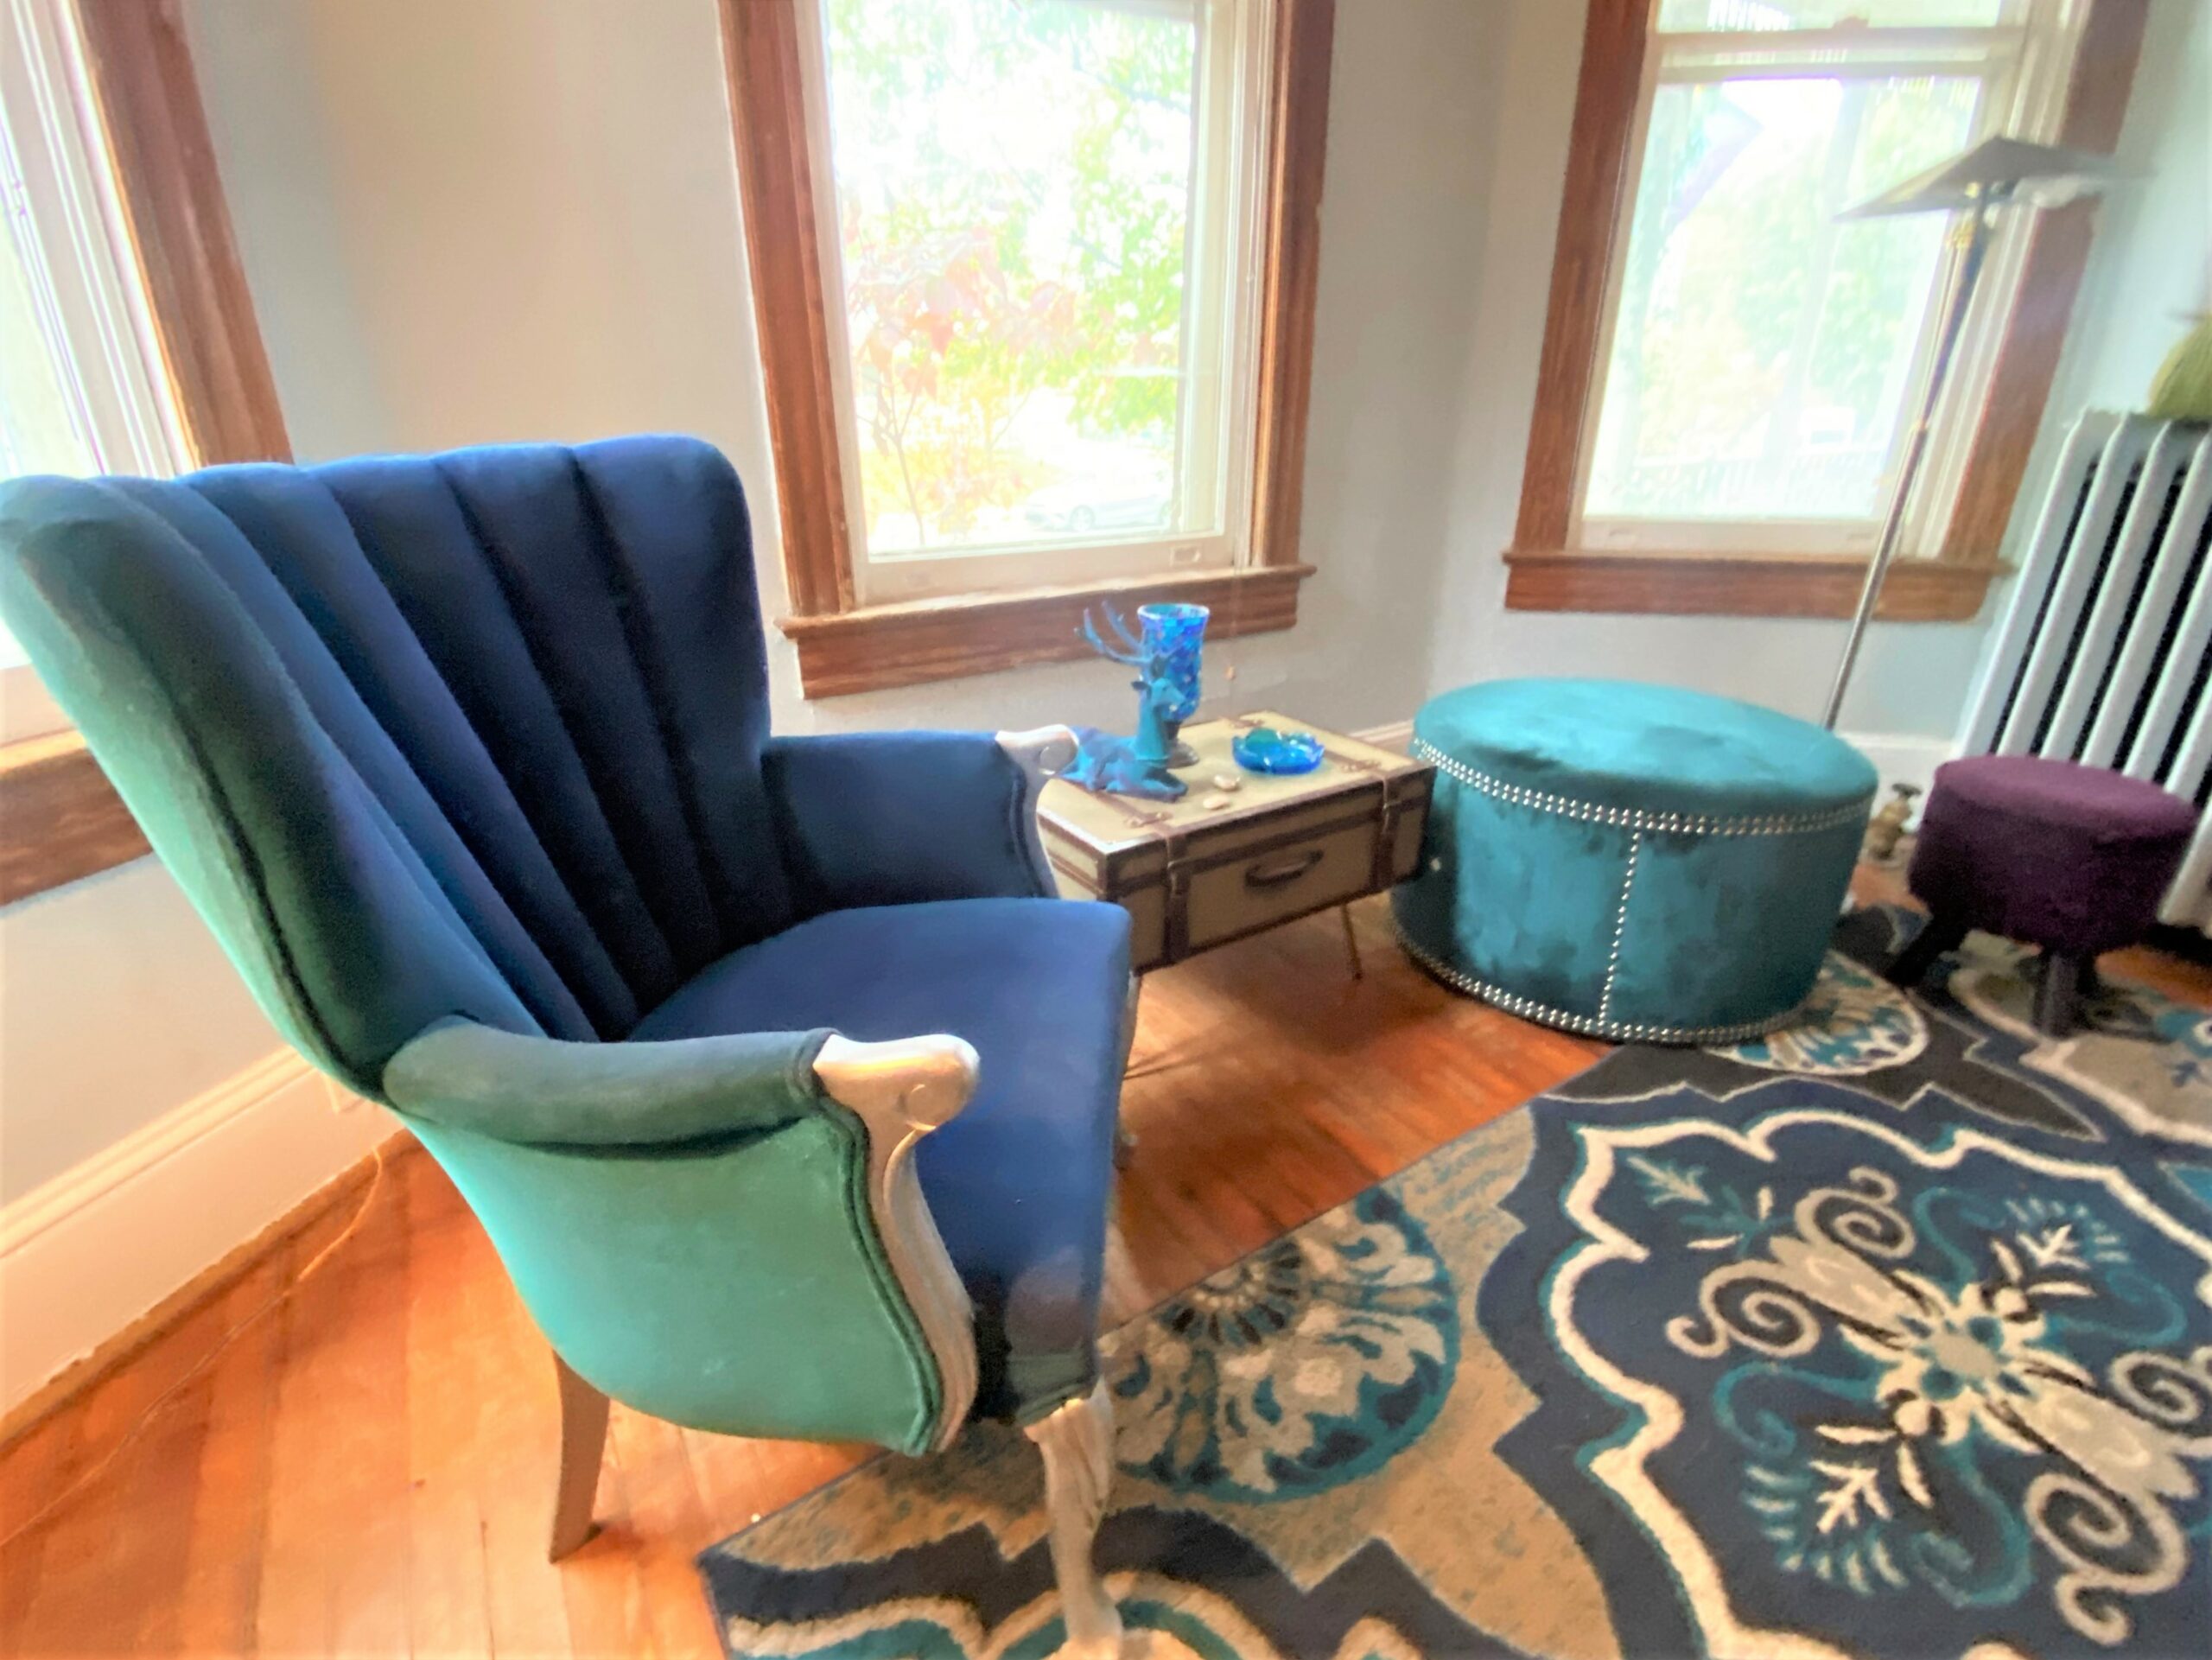
- A lesson learned with this DIY project was to buy more paint cans than were needed. Also, sometimes what might seem like a problem or a mistake can be an asset or a blessing. What do I mean here? Well, I ran out of the ink blue paint after giving the seat, front part of the back, and inside arms lots of layers of this tone. Rather than running back to the hardware store for more paint in the same color, I decided to use the turquoise tone on the back and sides of the chair. I love, love, love the two-tone look, given the chair’s curvy design.
- Where the two colors overlapped, I blended them together on top of each other so they flowed from one to the next. I am so glad I used these two tones, and I think the final result is even more exciting and unique.
- Let your spray-painted fabric chair dry overnight before using it or doing the next step.

Expert Tip
This fabric paint is much for fluid and watery that traditional spray paints to allow the fabrics to easy absorb them. Be sure to wear plastic or work gloves to protect your hand from their more drippy, runny make up.
Also, the paint didn’t go as far as I thought, so pick up an extra can or two while you are purchasing it to ensure you have enough for several layers and solid coverage.
4. Select silver for shimmery style
Before I started my spray painting, I knew and planned for the exposed wooden parts to be painted with a shiny silvery craft paint. Now that the fabric had been transformed, it was time to do the legs and wooden arm parts. Painter’s tape was put on to protect the fabric from getting silver on it.
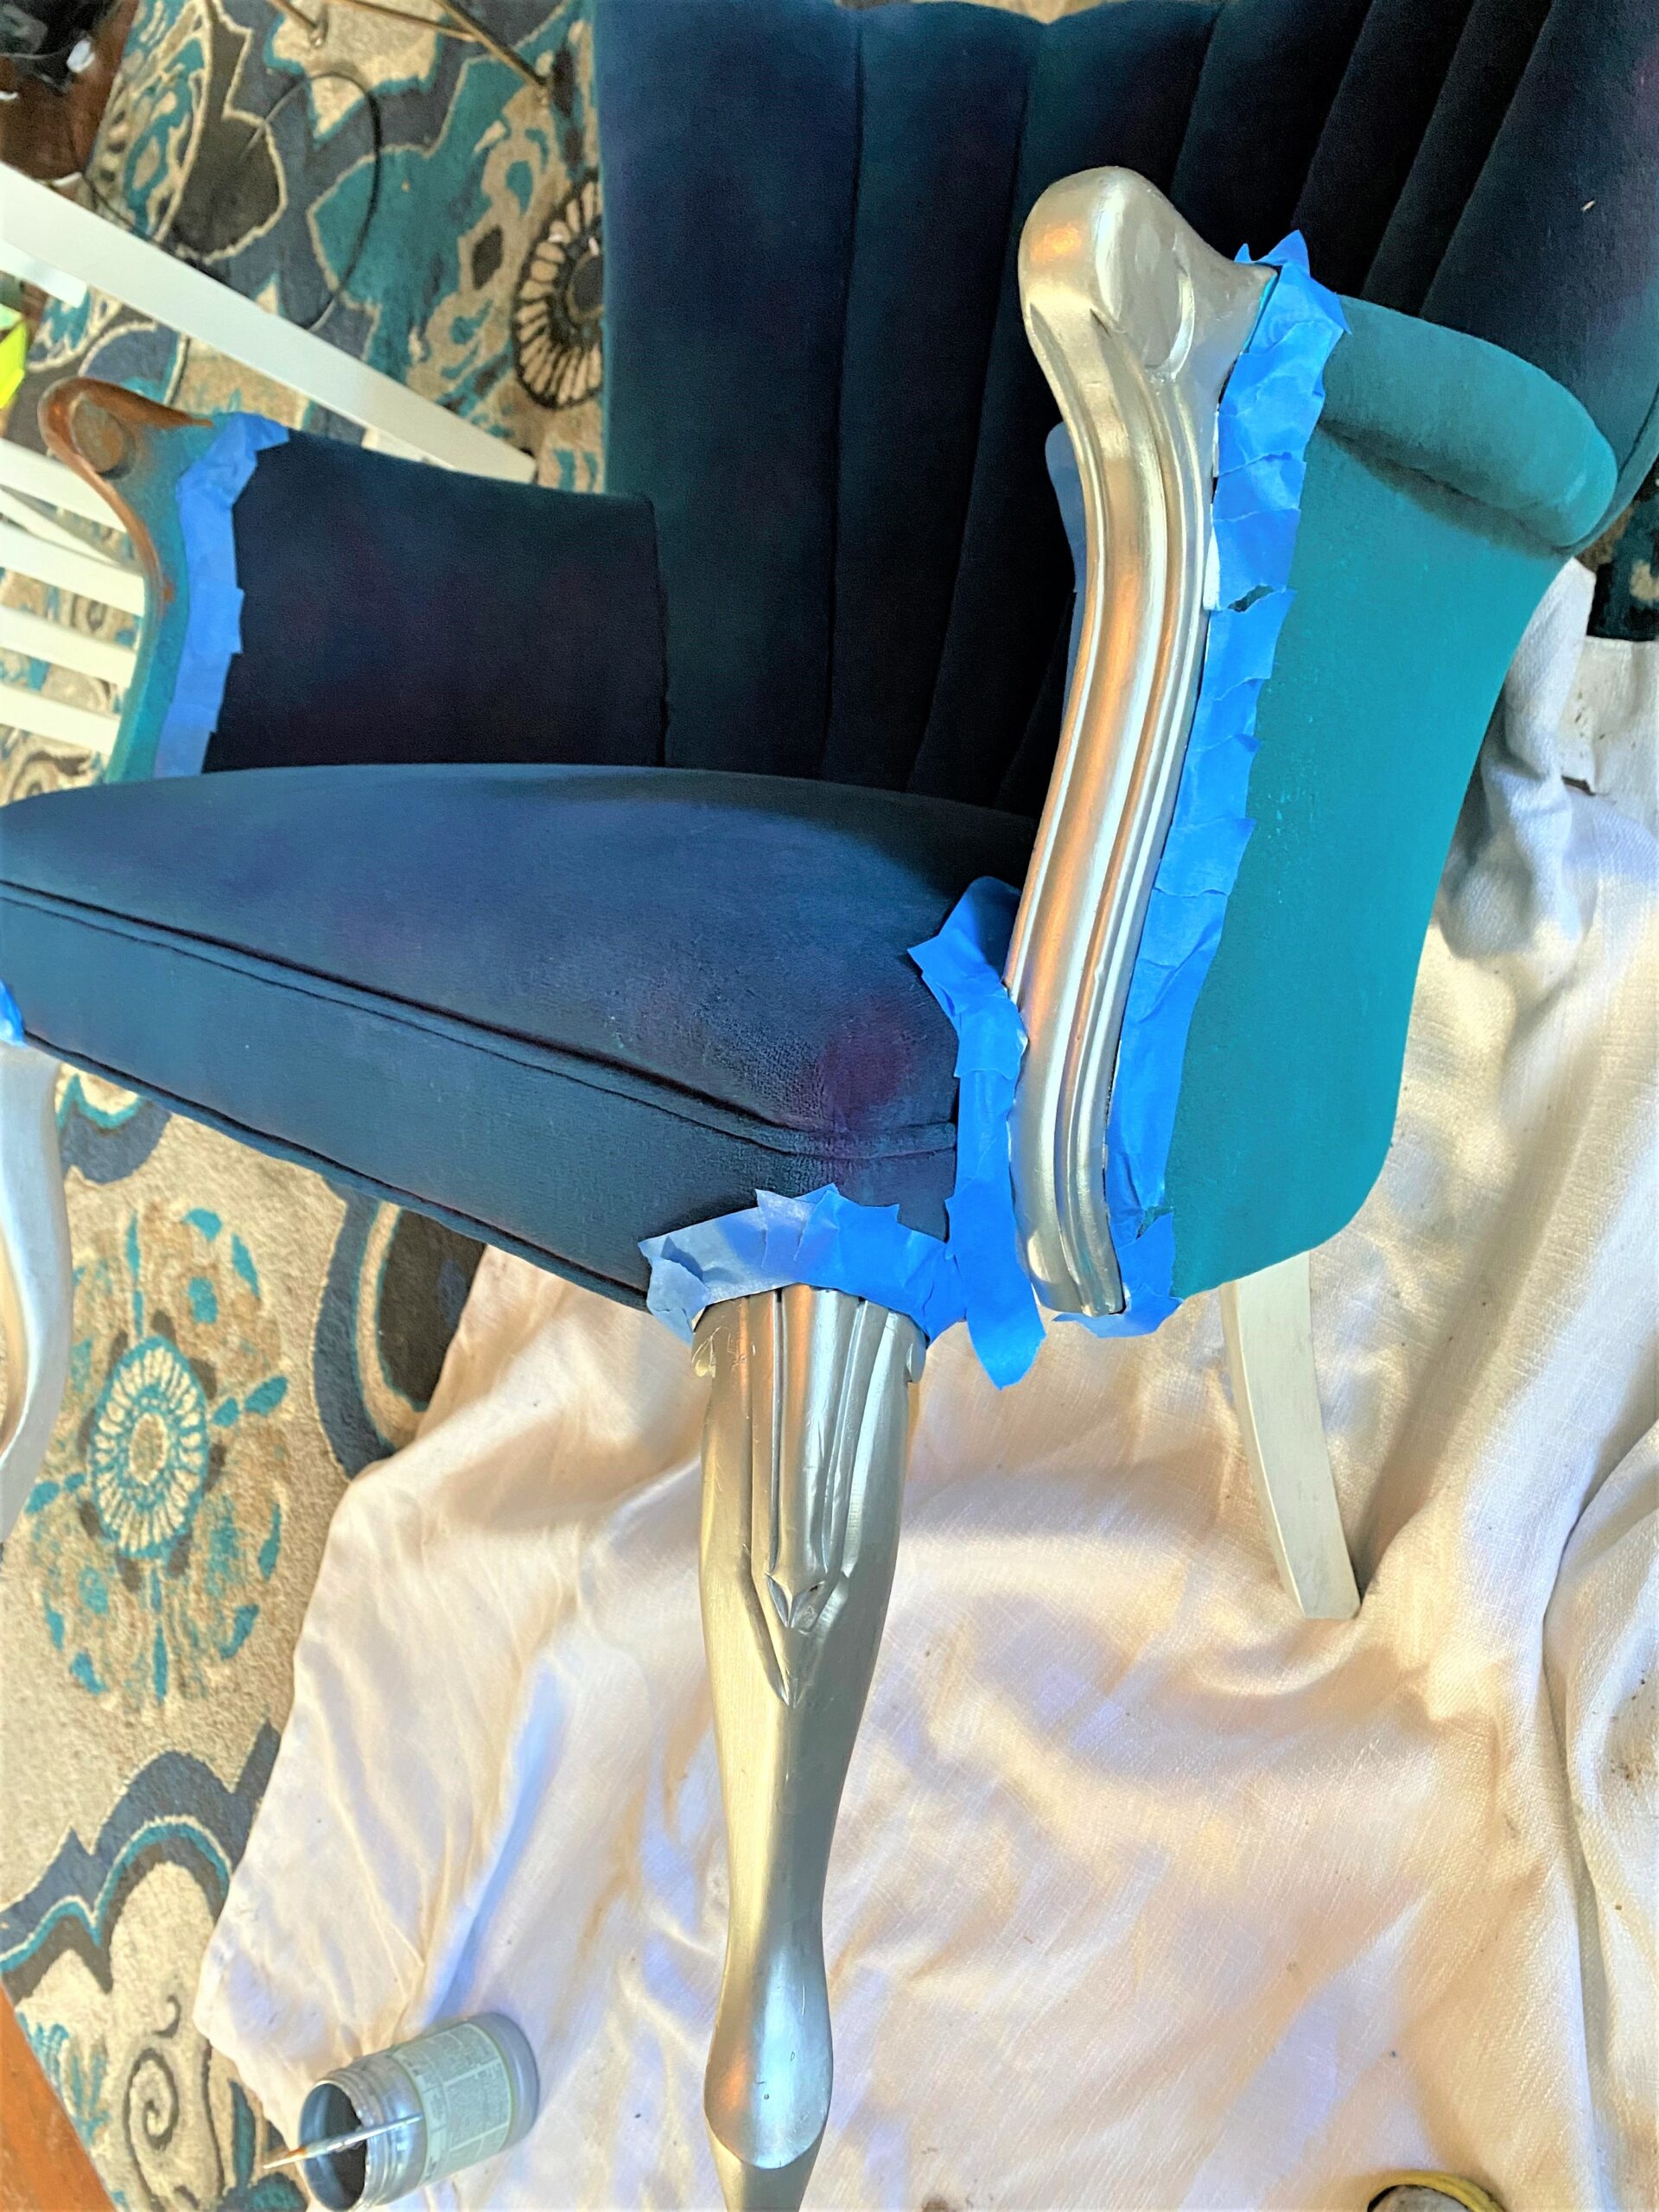
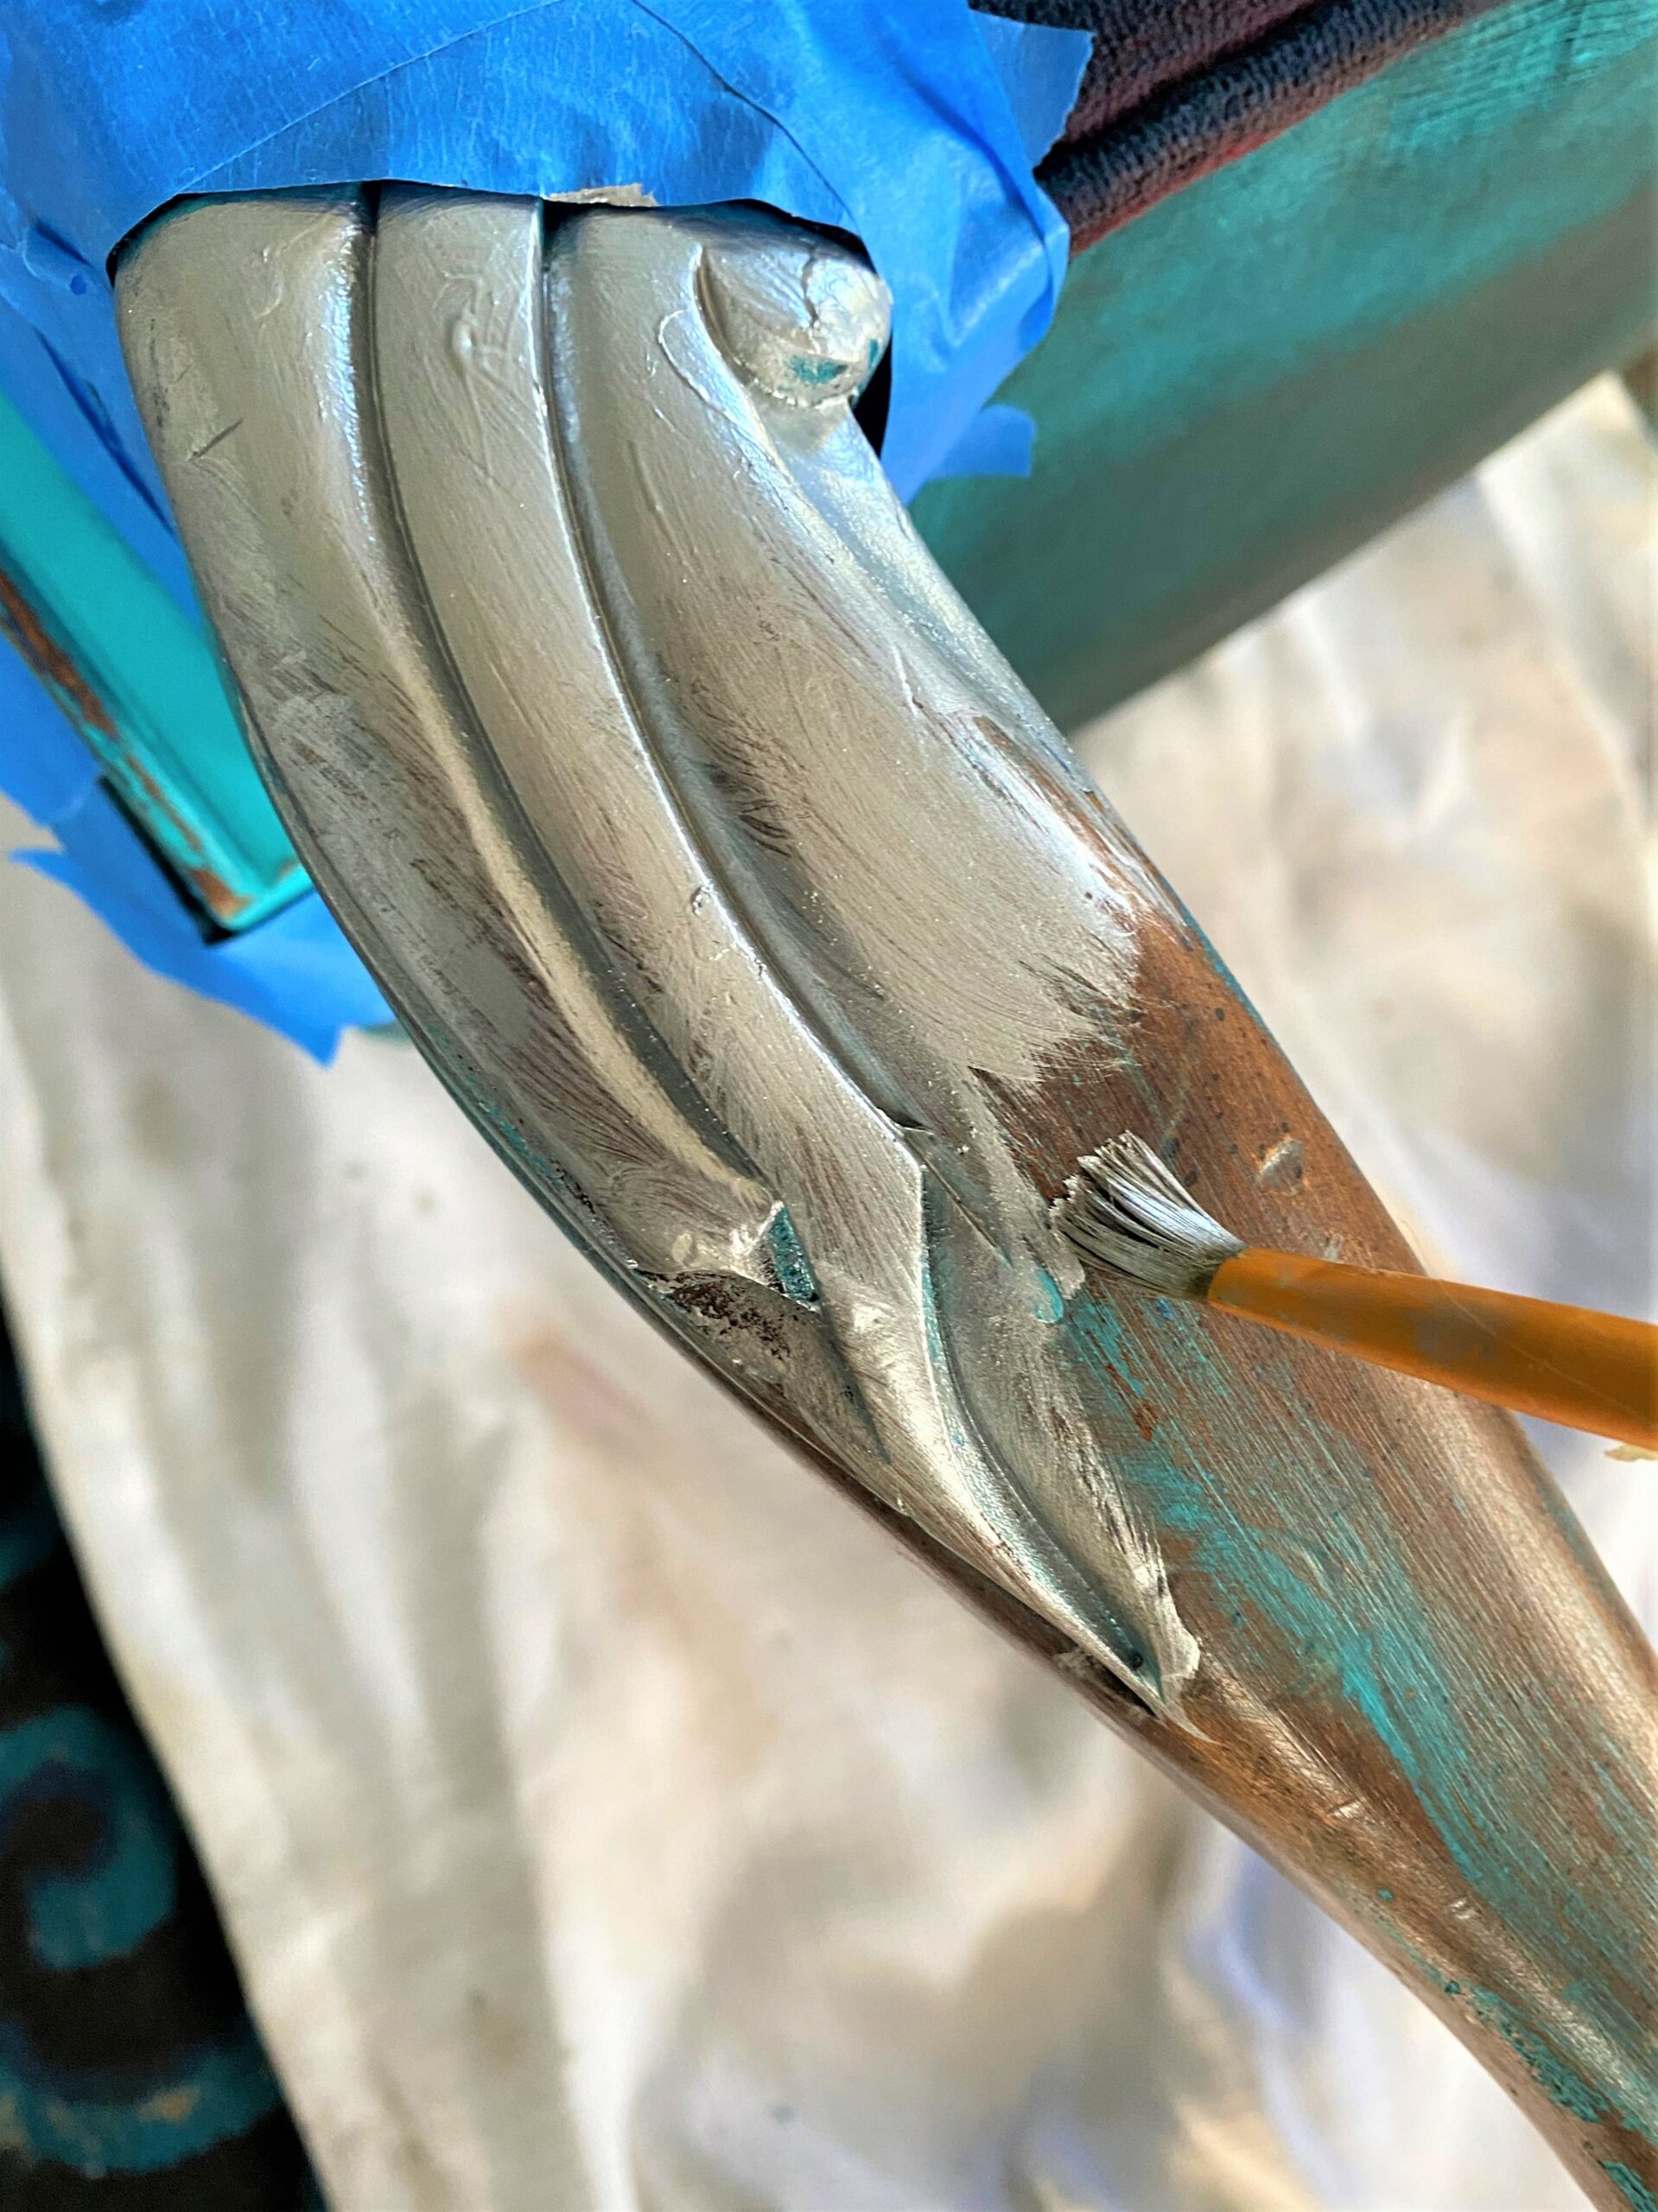
A small, detailed craft paint brush was used to apply the silver paint to the carved legs and arms. Two coats were applied for super solid coverage. The silver color makes the overall look feel glamourous and elegant. The silver also looks so good with the two-tone blue look.
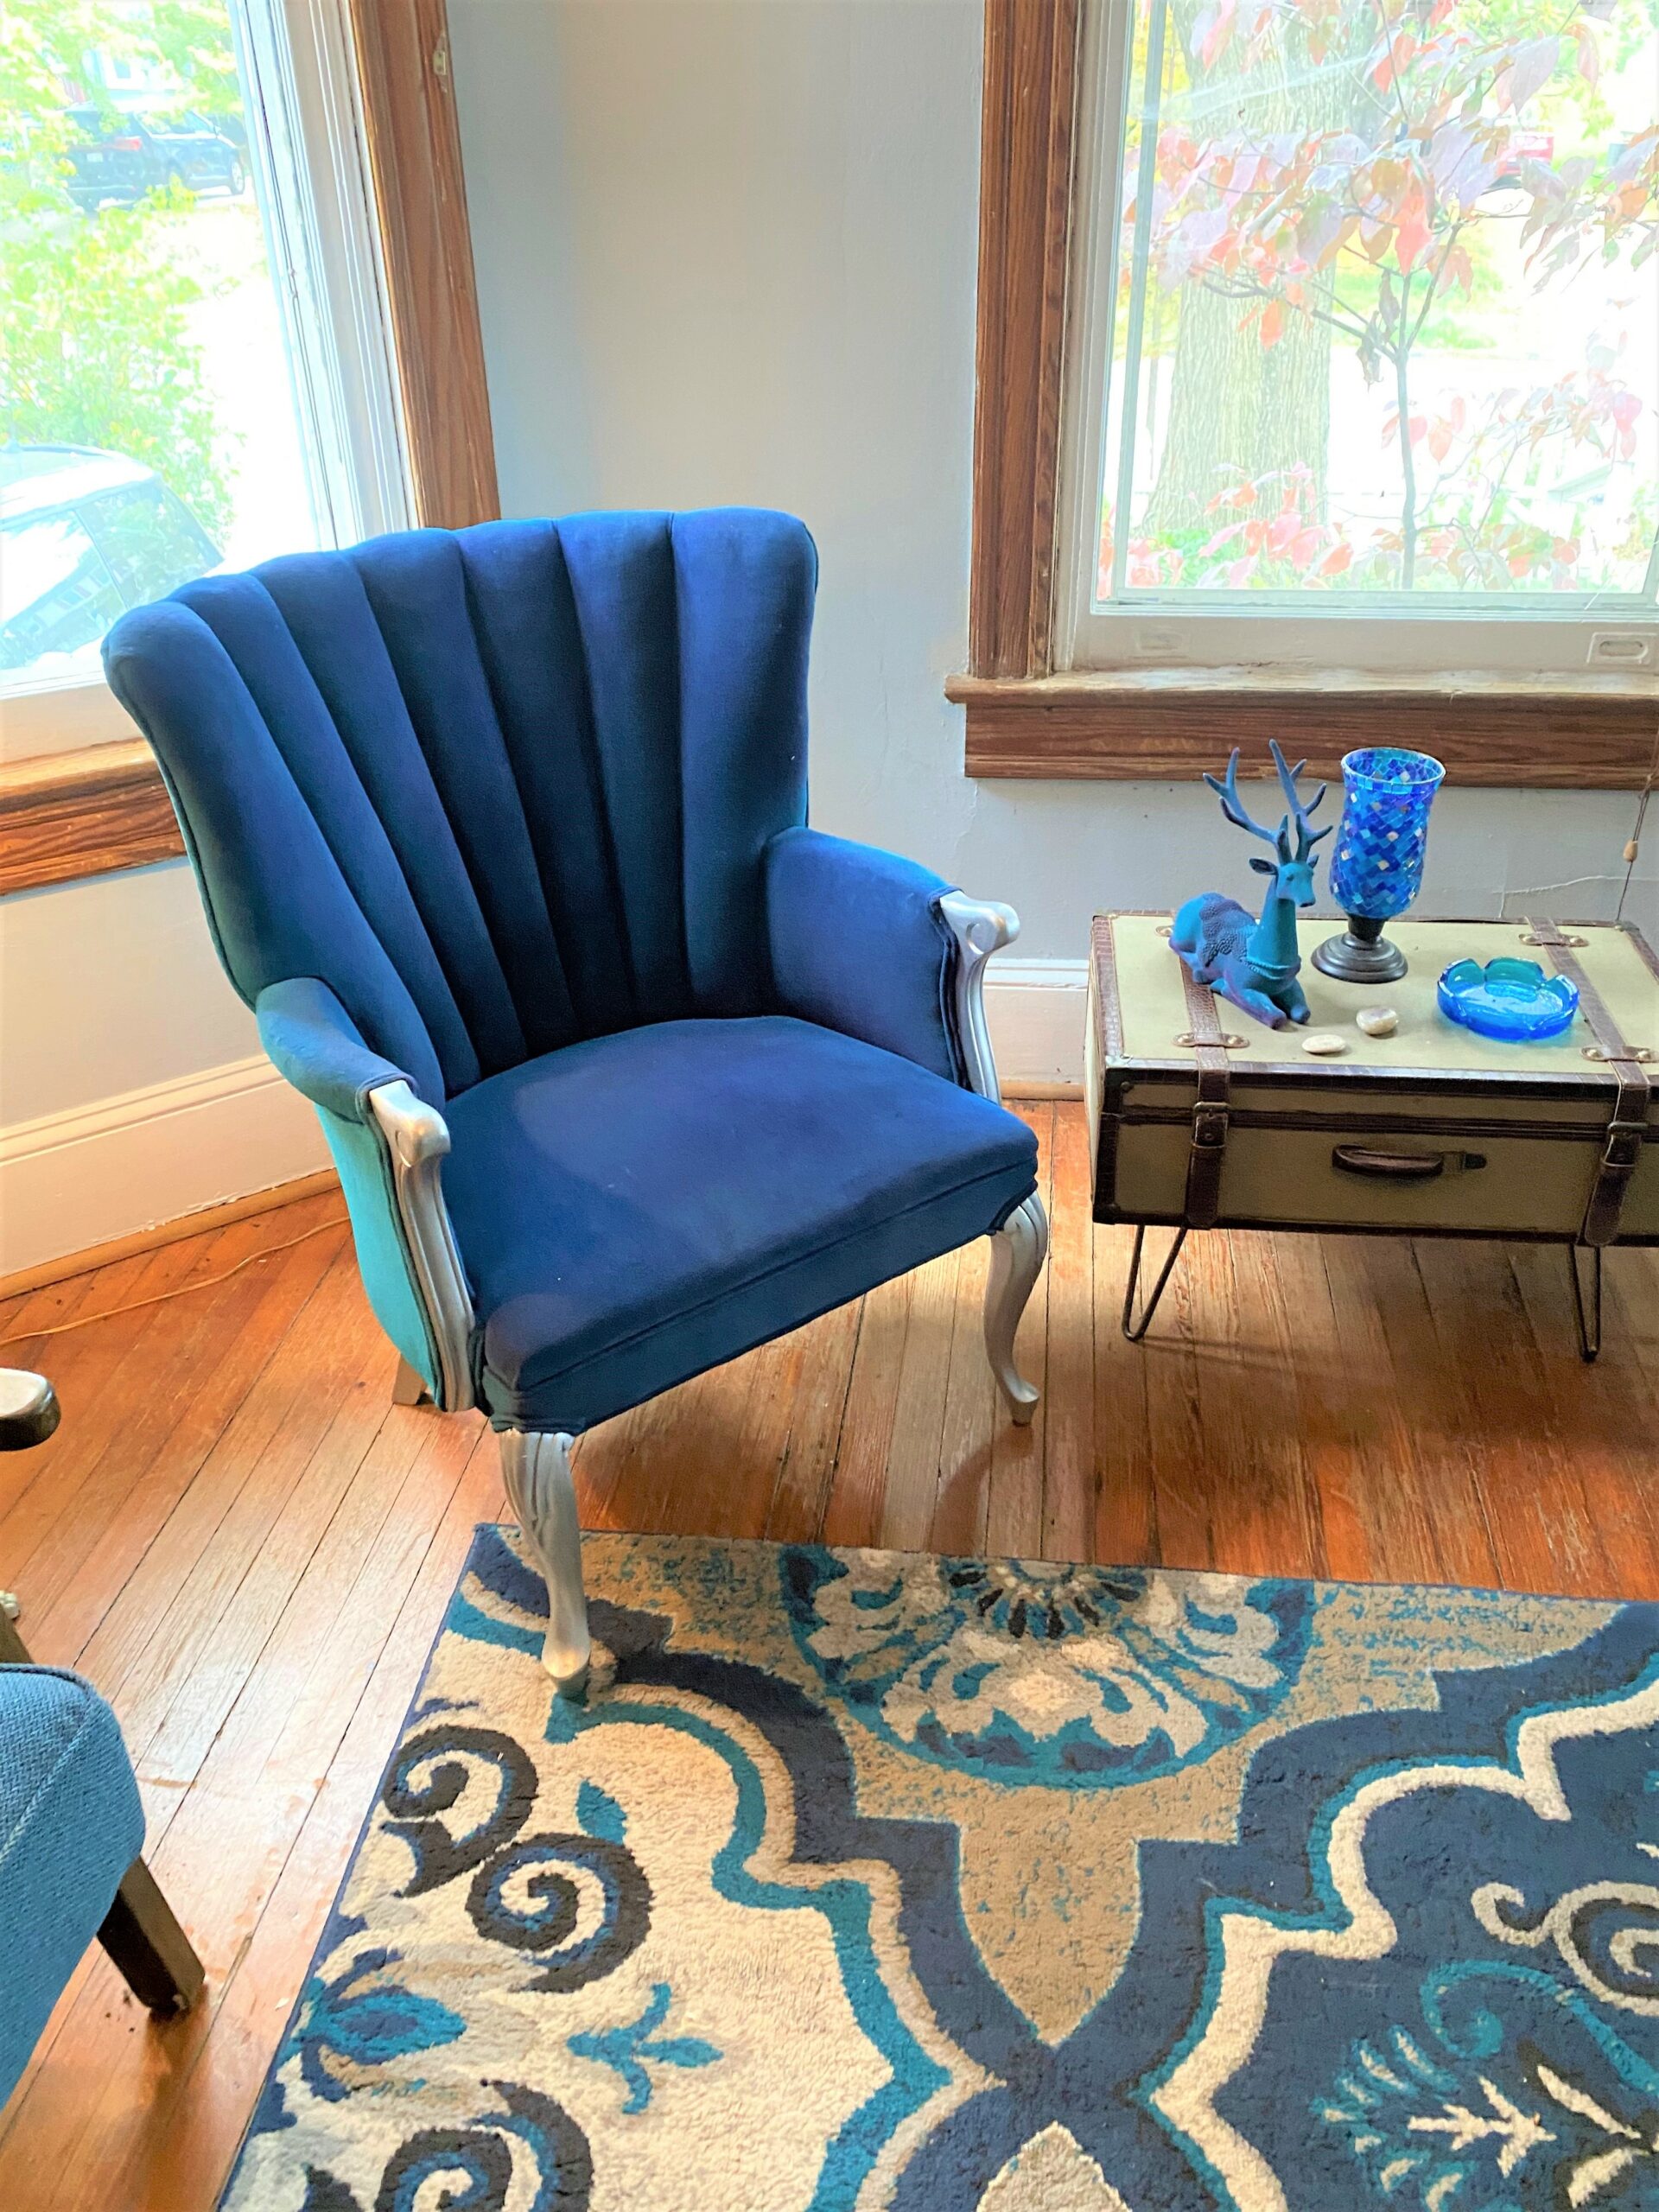
5. Put in place, perch or plop on your piece
This once-faded red chair had previously stood out like a sore thumb.
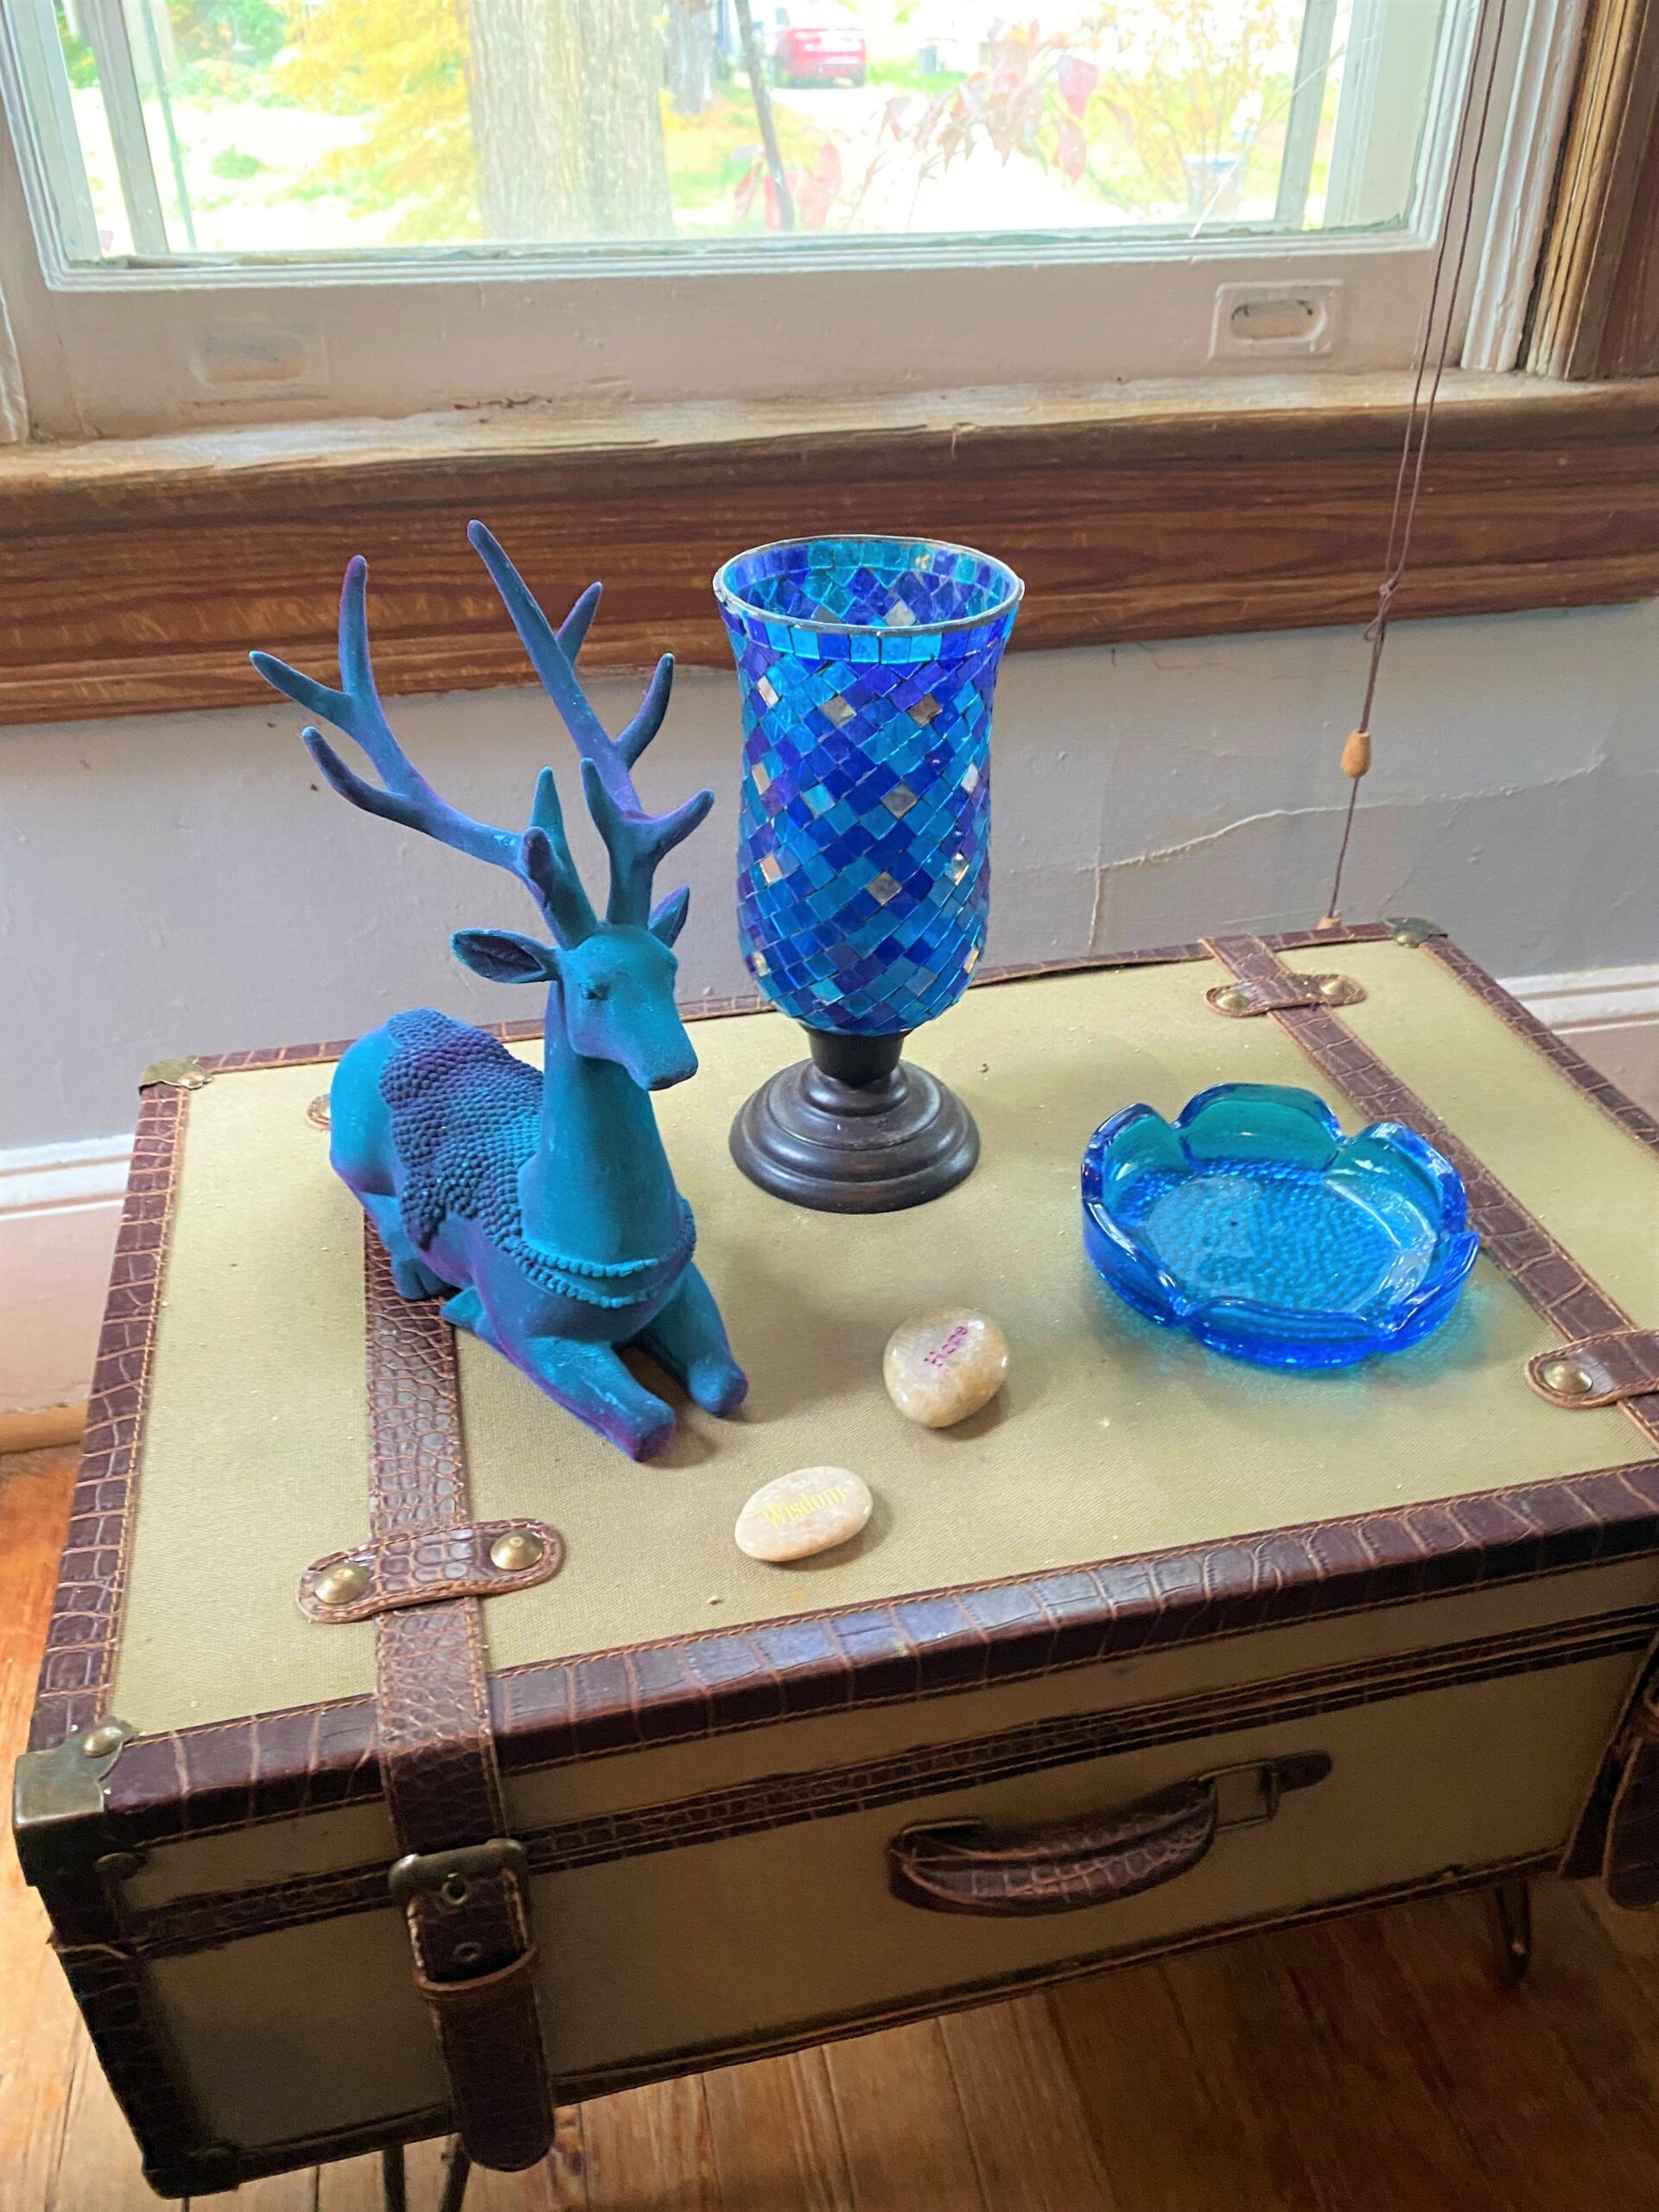
Now, its blue shades and silver accents make it look like it was meant to be in my living room and looks perfect with the graphic rug in matching colors (also previously picked up at Goodwill) well as other pieces (including a felt-covered deer that got the same, special spray paint treatment) and accessories in the space that compliment her well.

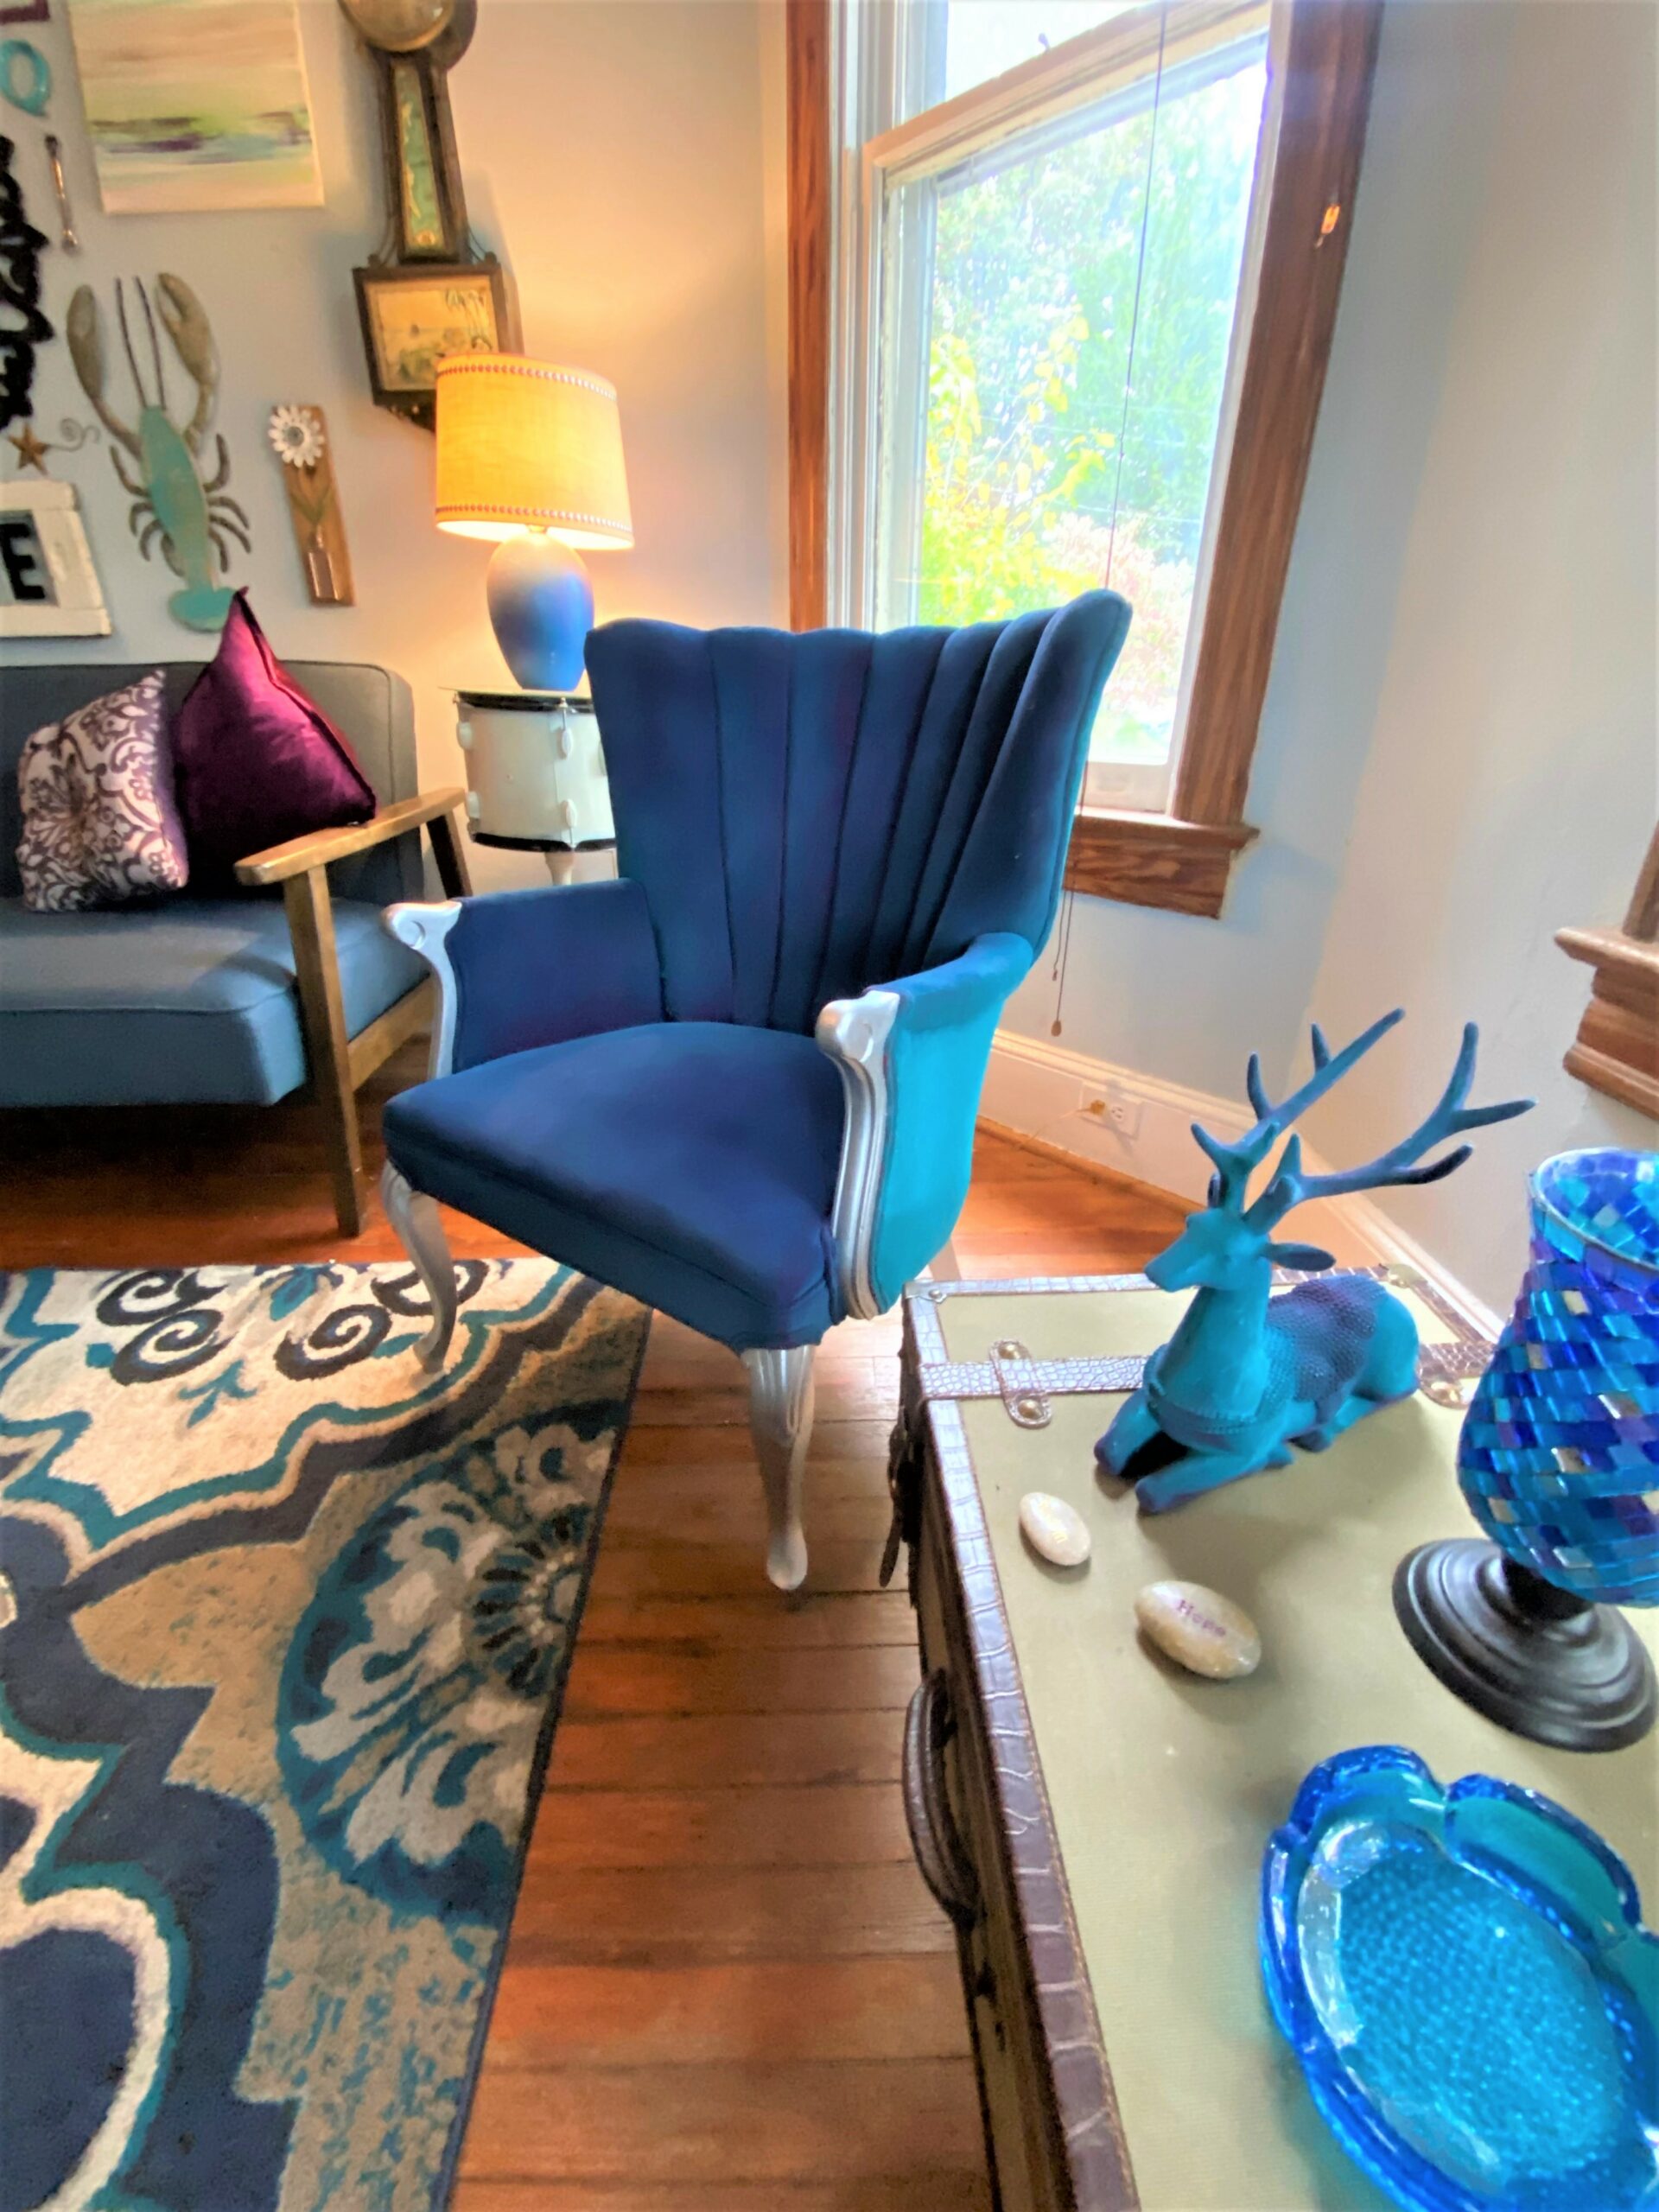

And speaking of compliment, you will certainly receive many of them when family, friends and visitors see your spray painted, transformed chair!


Tim Kime
Artist, Motivational Speaker, Life Coach
