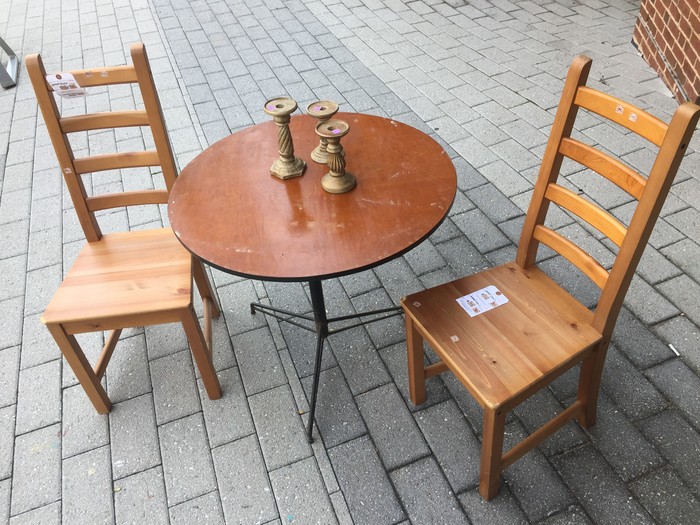
Enjoy your morning coffee, read a book, or sip an evening glass of wine on this eye-catching bistro set created from a mismatched pair of chairs and small dinette table. To celebrate Mother Nature and make this a one-of-a-kind set, use plant leaves as stencils and paint colors in various shades of green.
Ability level: Moderate
Age Level: Older teens and adults
Items needed:
- A pair of solid chairs, wood or metal
- Small dinette table
- 4 different colors of spray paint
- Sandpaper or sanding block, fine to medium grade
- Screwdriver
- Items to accessorize*
*To compliment this upcycled set, candlesticks were transformed. Look for an upcoming blog here with details on how to create them.
Time requirement: 2.5 Hours (not including paint drying time)
Cost: Approximately $30
- $5 for a pair of chairs
- $5 for a small dinette table
- $20 for spray paint
Step 1: Hunting is So Much Fun!
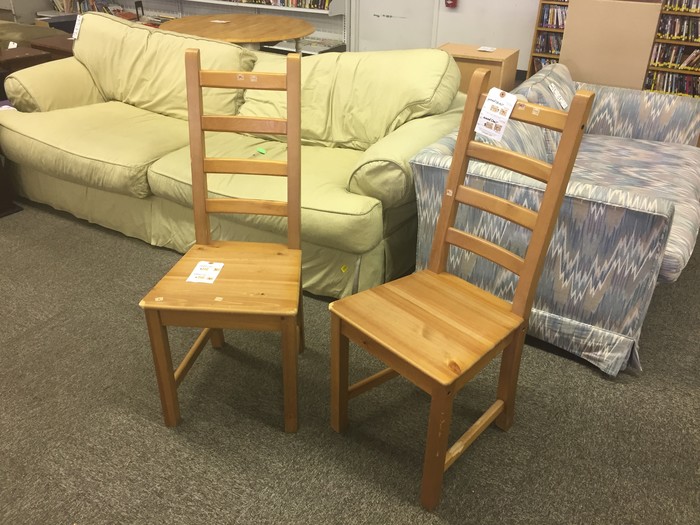
For this project, your local Goodwill Retail store will have lots of great options in its Furniture Department and at truly unbelievably low prices. Look for chairs that are solidly built with a flat chair seat that is, ideally, easy to unscrew and remove. Bistro tables are typically small and round to allow enough space to have a small meal or serve as a place to place a pair of glasses and wine (and of course French bread or croissants!). I scored with a round table with a metal base but you could use a small square table, too, for this project.
Step 2: Prepare your Pieces for an Amazing Transformation
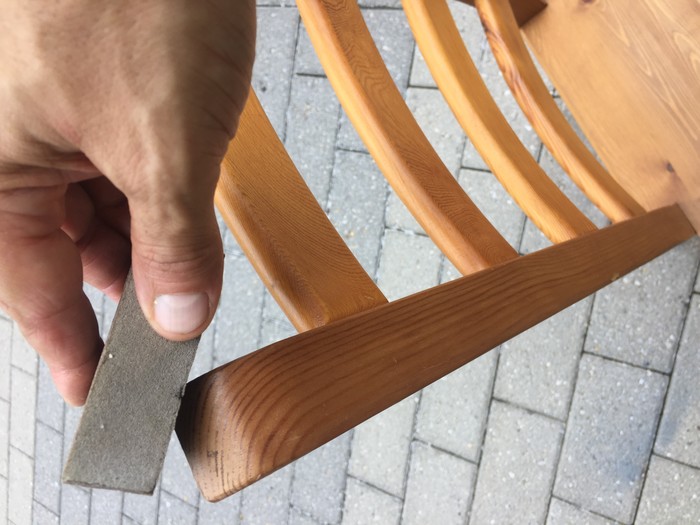
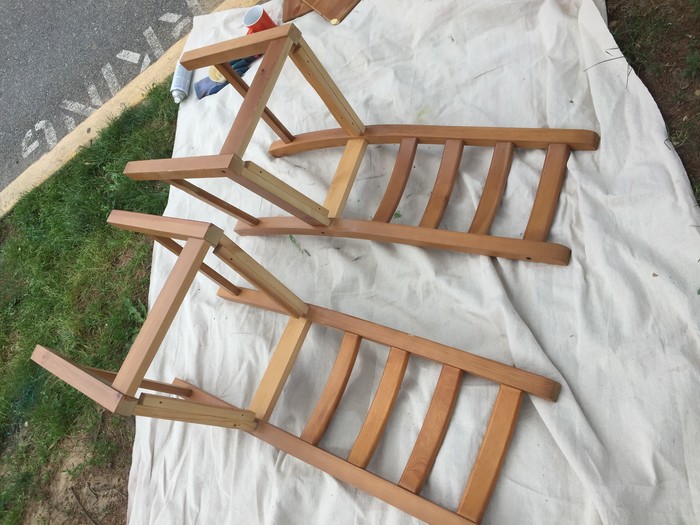
Take your sandpaper or sanding block and lightly buff the entire piece. You are not using a lot of muscle in order to remove the current finish, just giving it a quick once over to make the piece more paint adherable. Wipe down the chairs and table with a damp rag to remove the dust created from the sanding. If possible, remove the seats from the chairs as well as the table top from its base. Hopefully, all you have to do is use a screwdriver to remove screws. Be sure to set aside the screws and keep them together for easy reassembling.
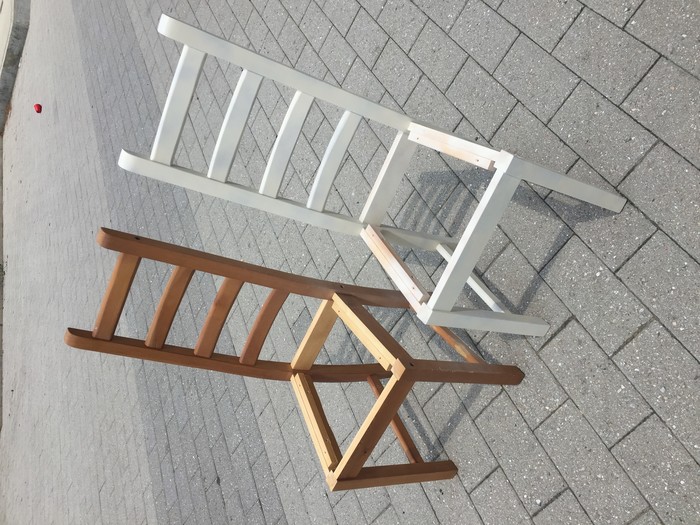
Step 3: Spray Paint: Pick a Base Color and Complimentary Shades of Green
To make the pieces connect and for the overall look to feel cohesive, I picked an ivory shade for the chairs and table base. Move your pieces outside, if possible, and place on a tarp. Spray a light layer over the pieces giving time for the paint to dry between coats. To ensure excellent coverage, turn the chairs on their sides and backs to get every piece; do the same with the table base.
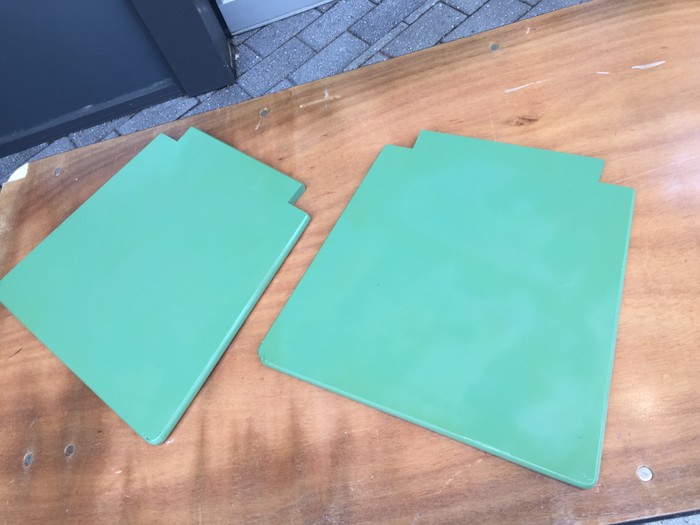
While the chairs and table base are drying, pick one of your shades of green and lightly spray paint the chair seat piece and table top. You may want to prop it up on a stand, old paint can or box so you may get all the sides, too.
Repeat these steps until all pieces are completely covered.

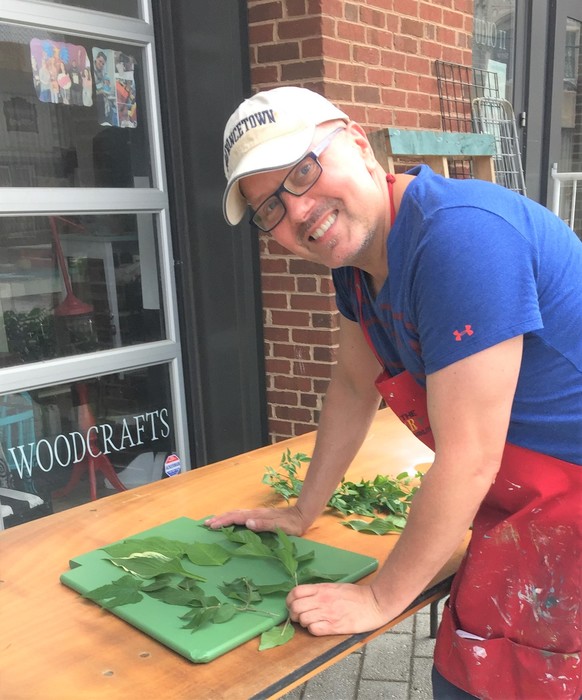
Step 4: Stenciling Time: Go to Your Garden!
For this project, head outdoors and clip various leaves from plants and cut small branches from bushes. Look for different shapes and sizes of leaves. You could use indoor houseplants, too, if you don’t have access to an outdoor place for leaves. While I didn’t have any for this project, ferns are an excellent option and provide a timeless, elegant look.
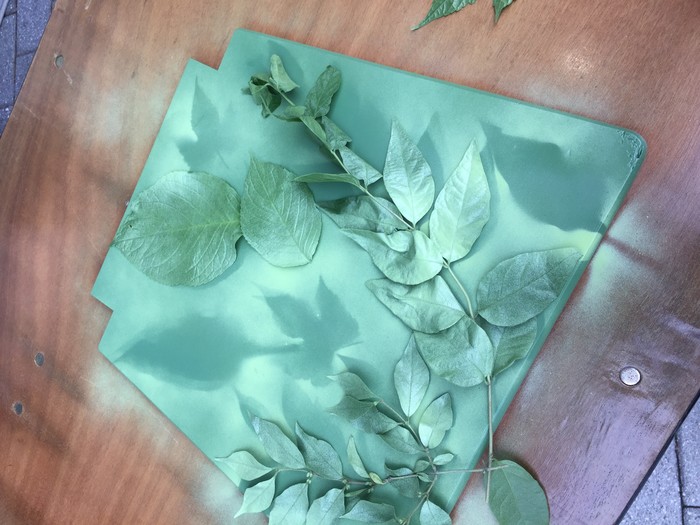
Step 5: Layer Colors to Add Dimension and Visual Interest
After you position your chair seats and tabletop on a tarp or work table, place your leaves so they cover the piece and leave space between each leaf or branch. Using the second shade of green, lightly spray around each leaf. The spraying of paint may blow the leaves, causing them to move so you may need to place a finger on the leaf to hold it in place. You are not adding a complete layer but touches of this second color. When done, remove all the leaves, placing them aside as you will use them again and again for this project.
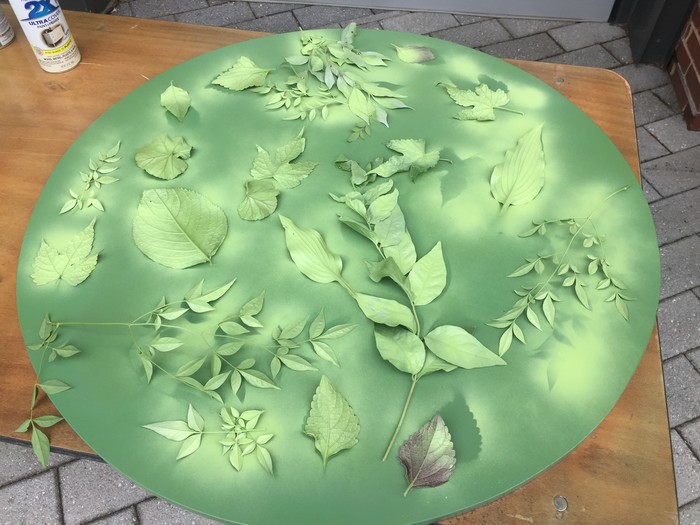
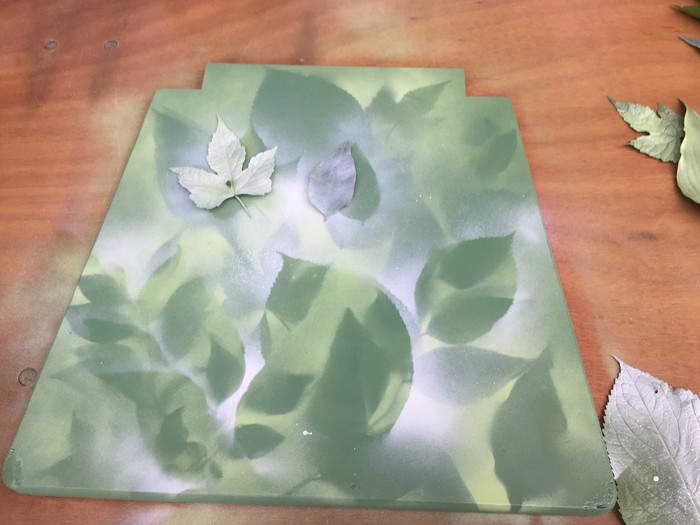
Add the leaves back onto the pieces and in different places. Grab your third green hue paint can and repeat the steps listed in the paragraph above. Lightly paint around the leaves. When done with this step, remove the leaves, place aside then add them again in a new place. Use your fourth color of green for the final step. It really is fun to see the various silhouettes created by each leaf or branch.
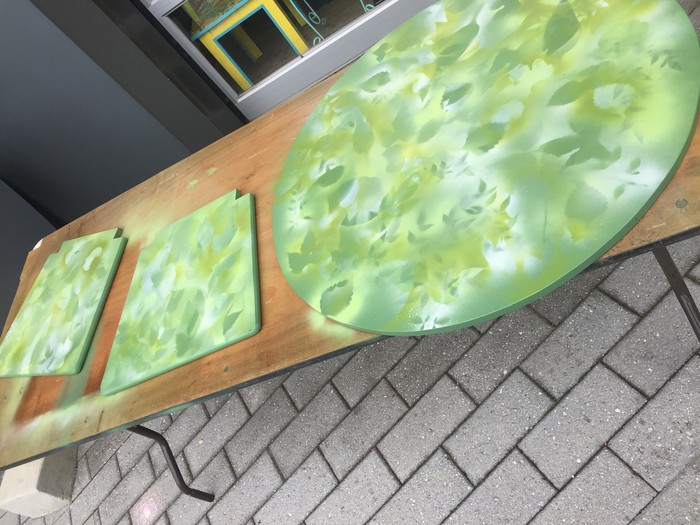
Allow your pieces to dry; ideally overnight, then screw the chair seats back in place and add the table top back on the base.
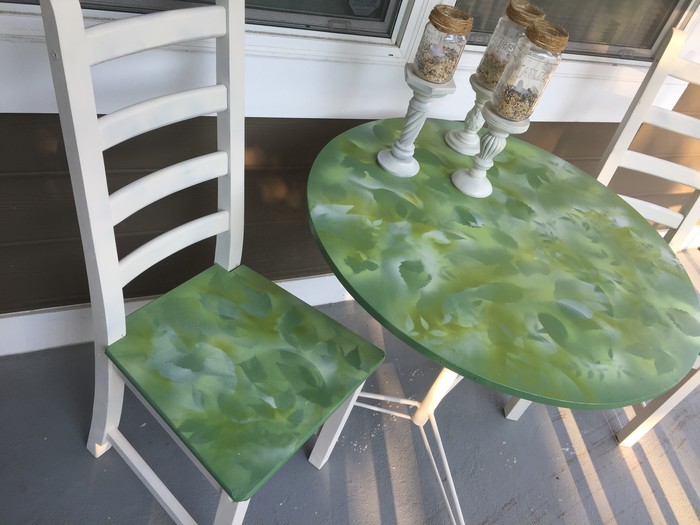

Step 6: Find a Home for Your New Bistro Set
This eye-catching set is perfect on your front porch, deck or balcony or even in the yard. It certainly will look fantastic in your breakfast nook or placed under your favorite window. Add accessories like candles, a vase, or blooming plant to entice all who see it to sit for a while.
Tim Kime is an artist, life coach, connector. He is President of Kime Leadership Associates offering executive coaching, meeting facilitating and motivational speaking. He is also Chief Creative Force of Transformation Junkies which upcycles furniture and other household items into functional works of art. He combined his two passions—unleashing the potential in people and transforming items with the launch of the Art of Possibilities Workshops. These workshops are part upcycling, part dreaming, part goal setting.