Transform those generic, run-of-the-mill prints by painting on some holiday cheer!
This updated, upcycled art piece will now become part of your annual holiday decorations. This super easy, super inexpensive project is fun for kids of all ages, so start creating new memories from old, Goodwill-found prints and paintings.
This blog was inspired by blogger/artist/thrifty fashionista Kirsten Keimshendge (IG: @kirstenkeimhendge) who put out a challenge to others to turn thrifted artwork into cheery holiday décor. Here’s her project for inspiration: Kirsten’s Instagram with a painted winter theme,
As she points out, this was a recent Halloween trend to add ghosts and goblins to pieces to give them a spooky look for that holiday. Let’s give this idea the “Ho, Ho, Ho!” treatment by transforming them with a unique winter scene to be enjoyed for years to come!
And many good wishes for a joyful and blessed holiday season, in whatever way or however you celebrate it. And Happy 2024—here’s to a New Year full of many DIY projects and exciting transformations! Thanks to Finding Your Good for all the ways you make us cheer & celebrate!
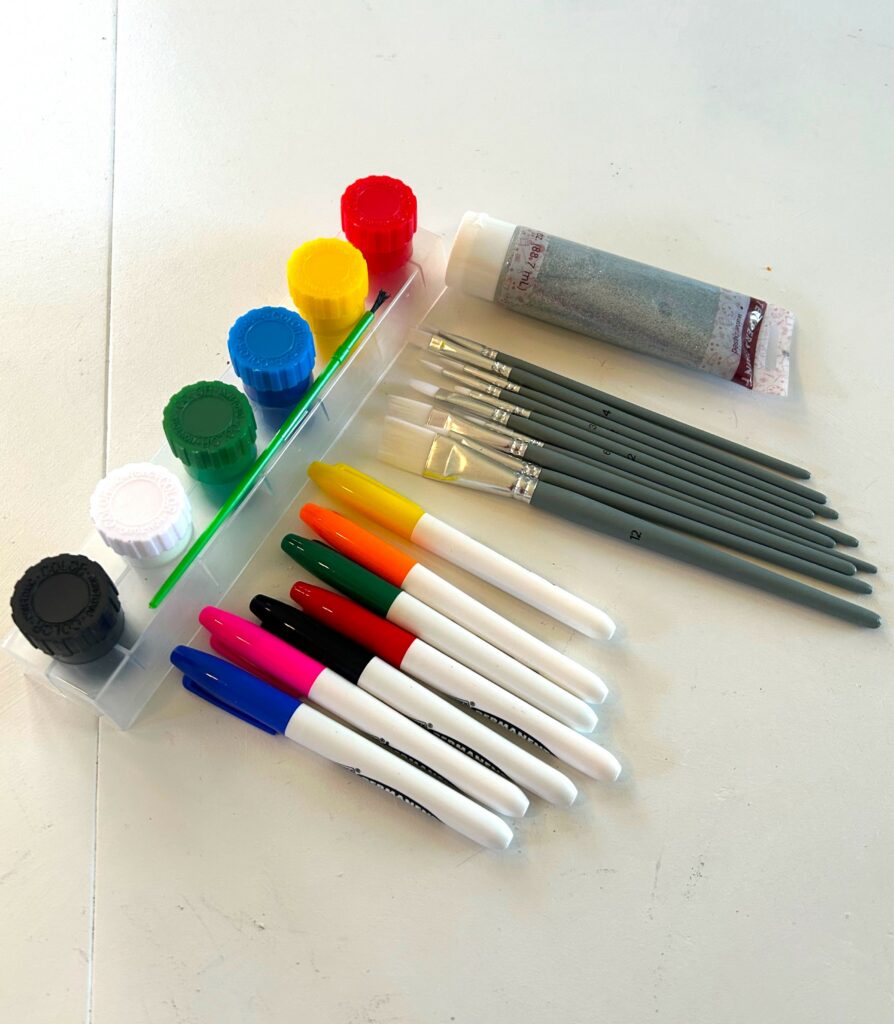
Items needed:
· Frame artwork with street scenes or landscapes
· Craft paints
· Silver glitter paint
· Small detail paint brushes
· Markers
· Screwdriver or pliers
1. Always look for the good in any Goodwill-found art piece
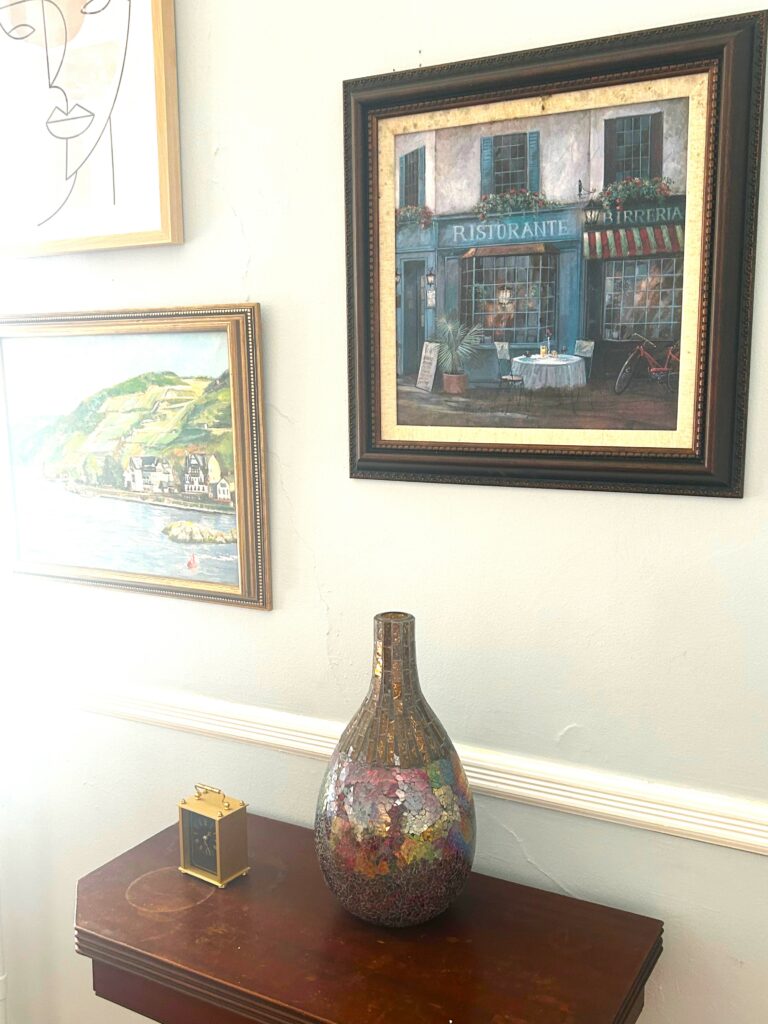
A staple at any Goodwill store is its collection of unique and eye-catching artwork, often in beautiful frames. As you decorate your place to make it welcome 2024 with style, Goodwill is the bestest place to start shopping for paintings, prints, mirrors, and other decorative wall items.
However, for this fun DIY project, we are looking for artwork featuring streets, landscapes, and buildings. An elegantly framed, French street/café scene was a must-have to give a holiday/winter transformation. Inspired by Kristen’s project, I didn’t have to look far when I saw a similar image to the one she transformed.
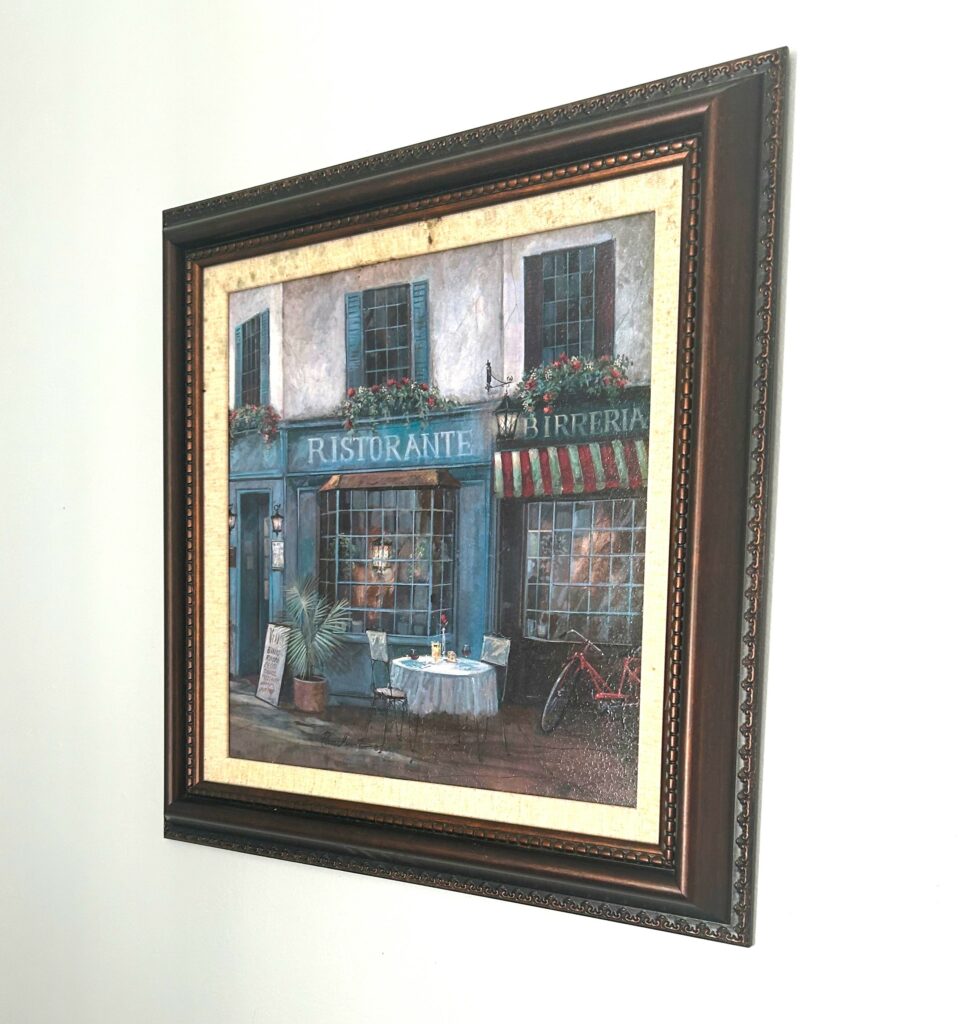
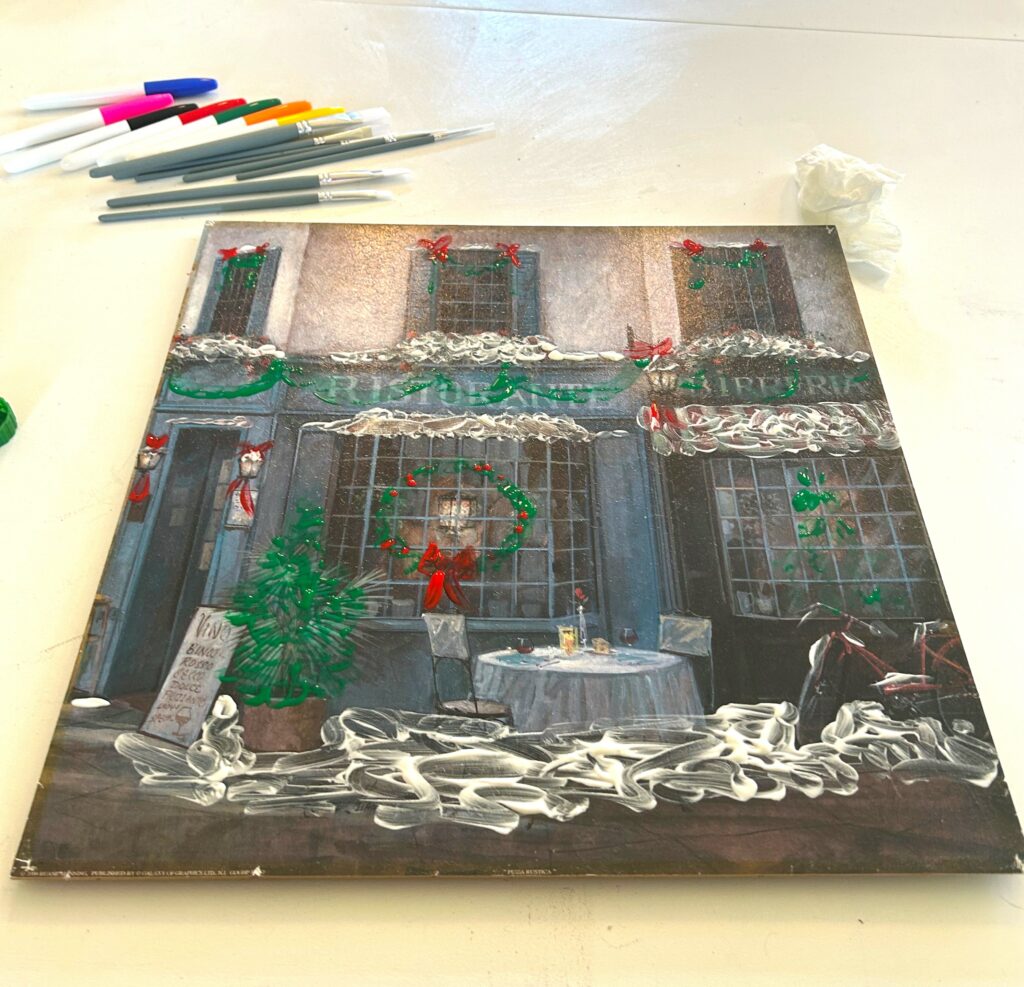
Be on the lookout for scenes with old-time villages or vintage cities. Houses with doors, windows, fences, and the like are prime to get a snowy makeover. The painting featured here was nice but too generic for me to hang in my home in its current incarnation. It only cost me $5.99, so it was a low-cost investment for a totally invaluable seasonal change!
2. Disassemble is desirable
Based on the print or painting you find at Goodwill, you might consider removing the image from its frame. This will allow you easier access to it and will be a flatter surface on which to express your inner Santa’s elf.
A screwdriver and pliers were all it took, and about two minutes to remove my French street scene from its frame.
When you disassemble your piece, be sure to keep all screws, nails, and hangers together for easy reassembling when finished.
3. Winterize along the way
Using your craft paints and small paintbrushes, add some snowy, wintery items to your street scene.

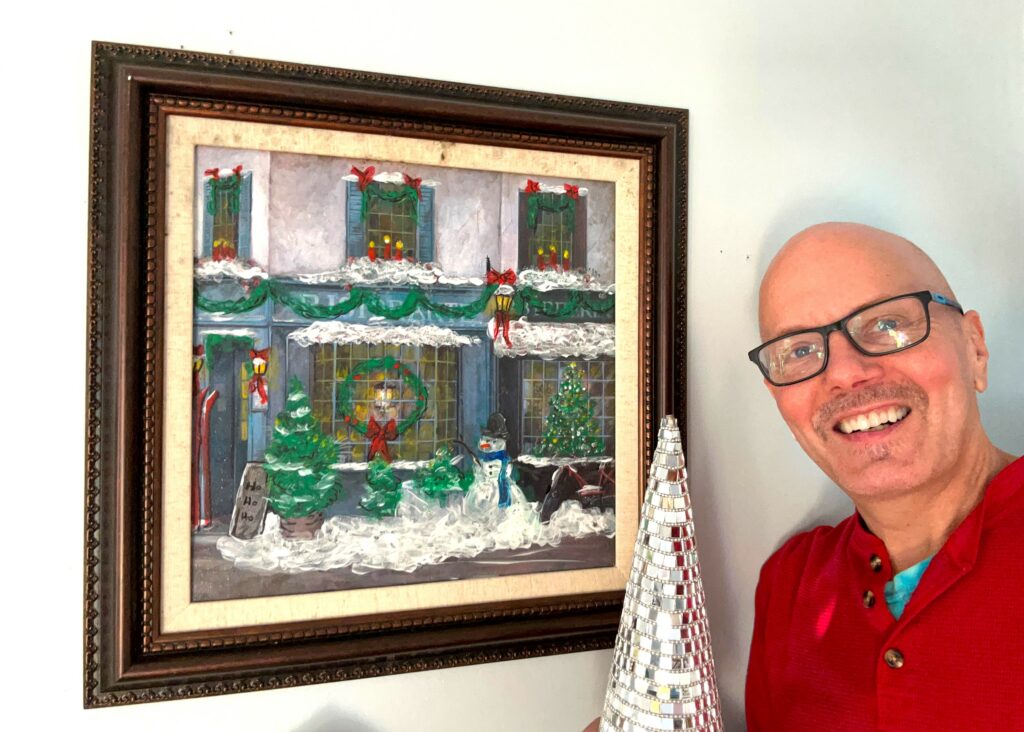
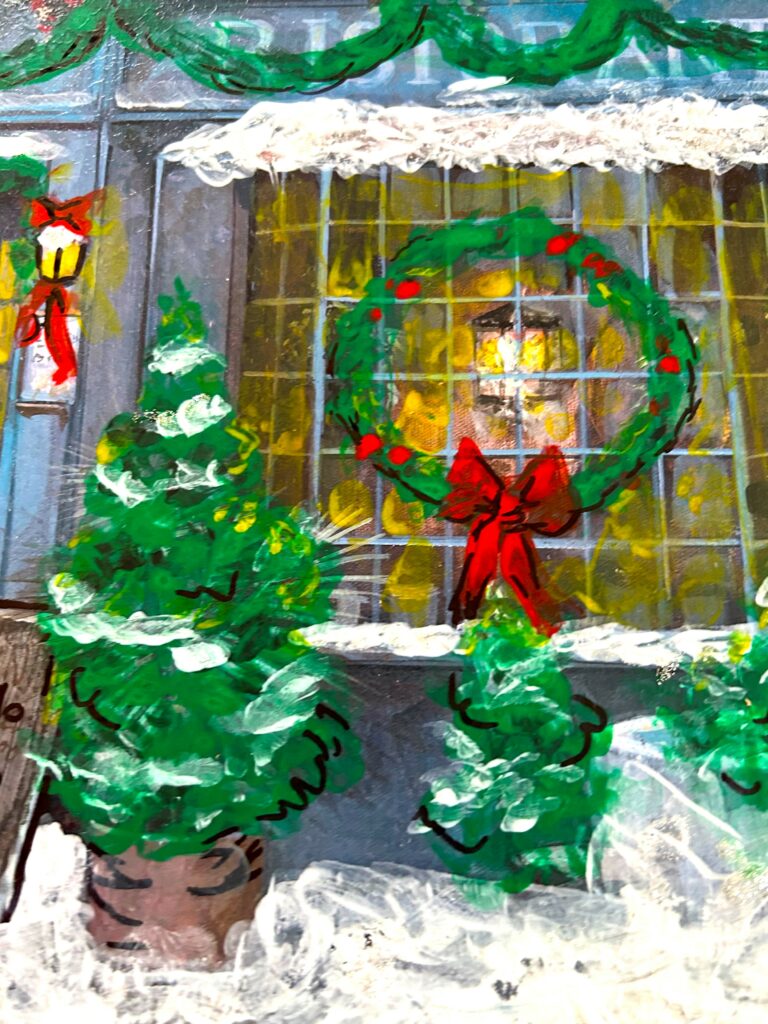
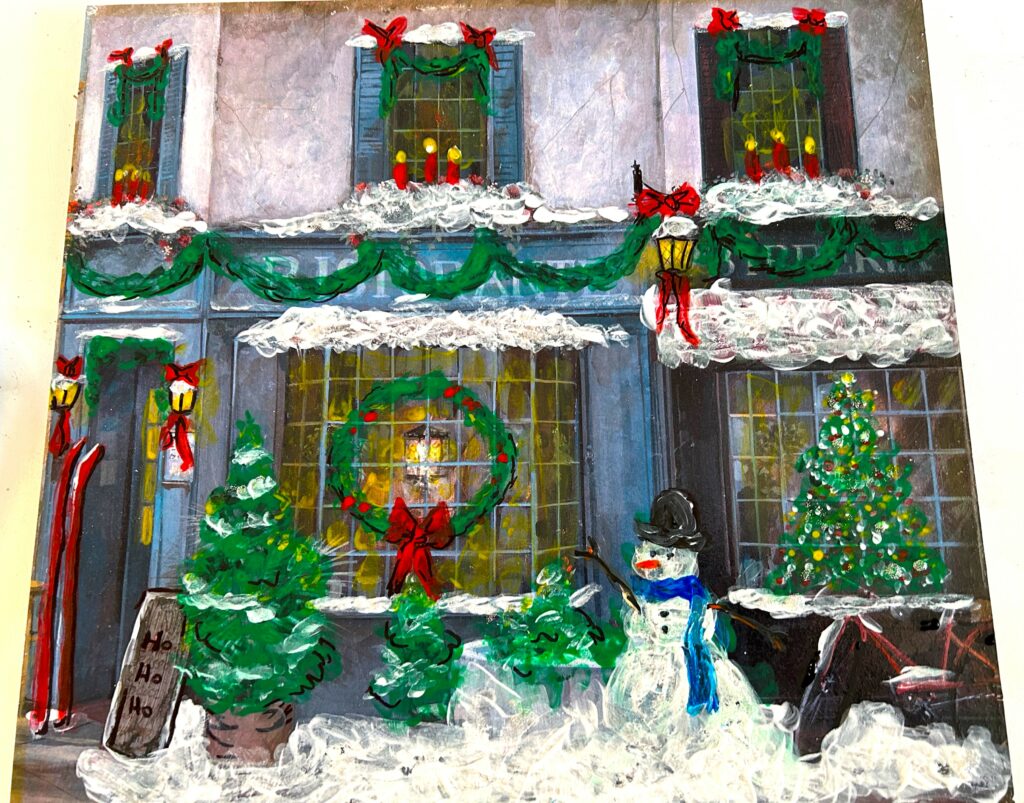
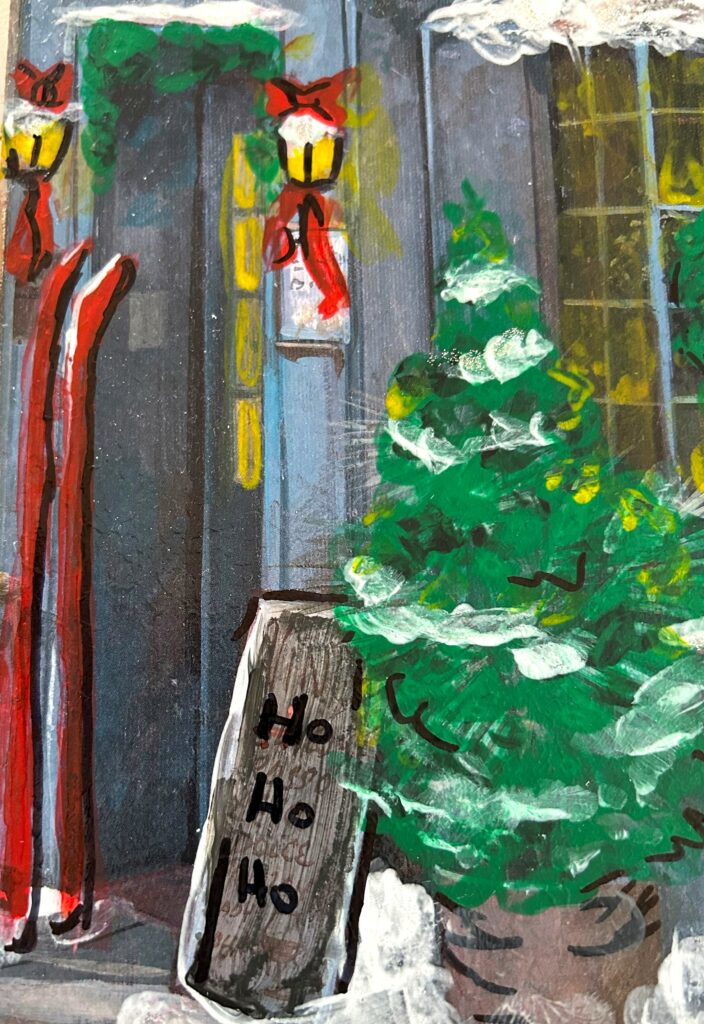
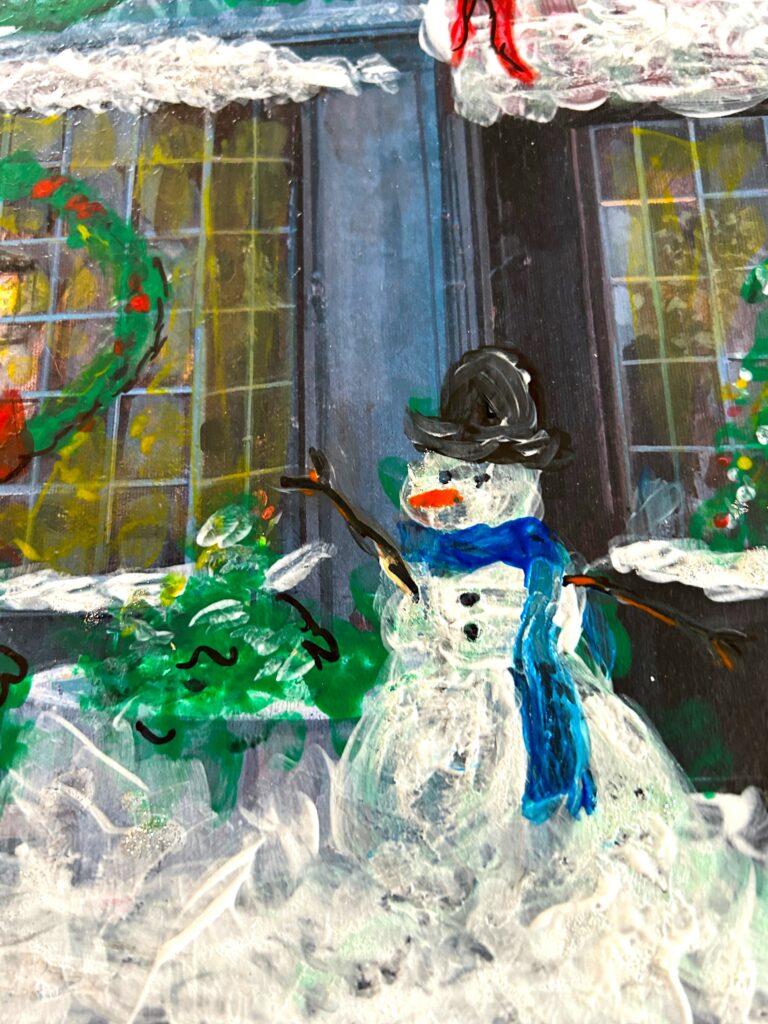
Green paint was used to add a wreath, Christmas tree, and pine swags. Red was brushed on in the shape of bows, candles, ornaments, and even a pair of skis. White layers helped to add piles of snow on window ledges and along the walkway.
A snowman was painted to add seasonal flair and cover over an existing outdoor bistro set.

Yellow brush strokes added warmth to the dark windows while adding brightness to the Christmas tree and glow around the candles.
What other wintery images might you add to transform your print or painting? Skates, sleds, children with mittens and scarves, candy canes…the list is unlimited!
4. Brush on some bling
Go over your various wreaths, swags, snowbanks, and bows with a couple of paint layers to make them sharp and give them dimension. When dry, consider brushing on silver glitter paint to make it shine.
The snow was given highlights this way to make it sparkle. The candle’s flames got a touch, too, as did the lights on the Christmas tree. Simple shimmers added so much!
5. Mark on some more magic
After your various paint layers and glittery highlights are done and dry, consider using a marker to add shadows and depth to your design.
A black marker was used to outline part of the bows, sways, wreaths, and trees. The snowman’s face was given “coal” eyes, mouth, and buttons with a marker as well; the tree branch arms were given more details with markers.
So easy, so fun, so festive!
6. Reassemble & rejoice!
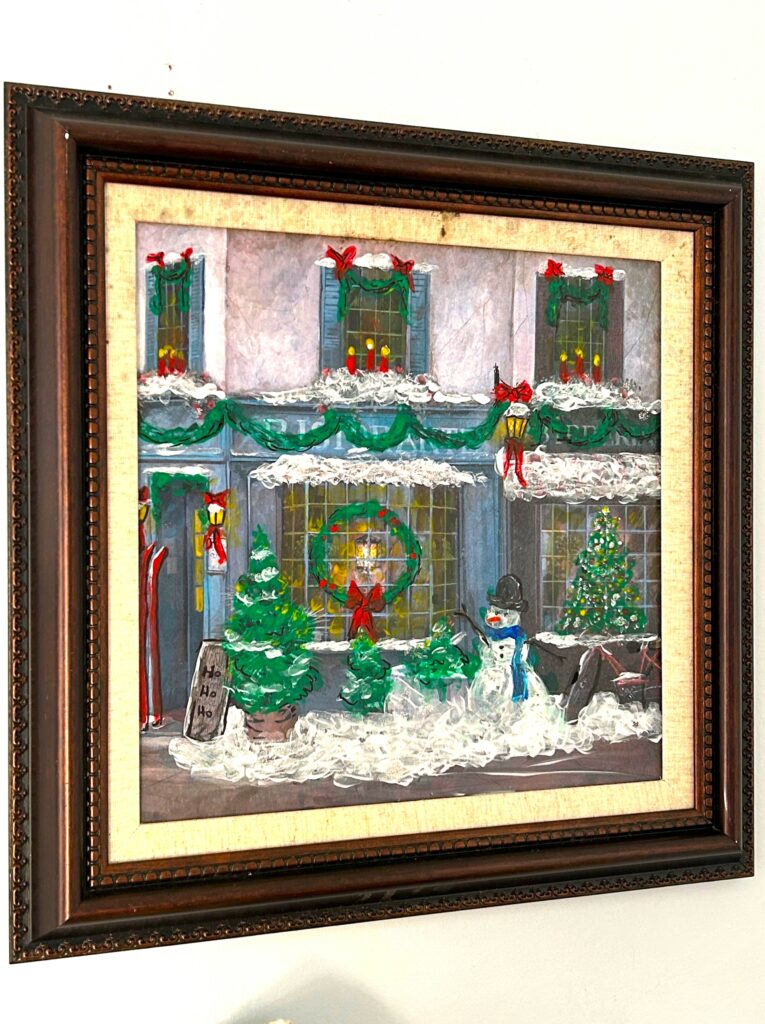
After giving your wintery/holiday-themed, transformed piece plenty of time to dry, reassemble it back into its frame. Ta-da! You now have a totally one-of-a-kind decorative piece that will add festivity and flair to your place.
Hang on a wall and place other holiday and winter-related decorations to help celebrate the spirit of the season. All the items featured in this blog were picked up for pennies at Goodwill AND look priceless when placed together as a joyful vignette.
Your transformed painting will make a wonderful holiday gift, too, for your loved ones, who will remember your generosity, creativity, and thrifting talents when they pull it out each holiday season!
Thanks again to Kirsten for the great, festive idea!
Many good wishes and lots of DIY dreams to you and yours in 2024!
Similar Reads:
- A Sweet Holiday DIY Project: Transform Cookie Cutters Into Unique Ornaments
- How to DRESS Up Your Front Door with Thrifted Fabric

Tim Kime
Artist, Motivational Speaker, Life Coach


