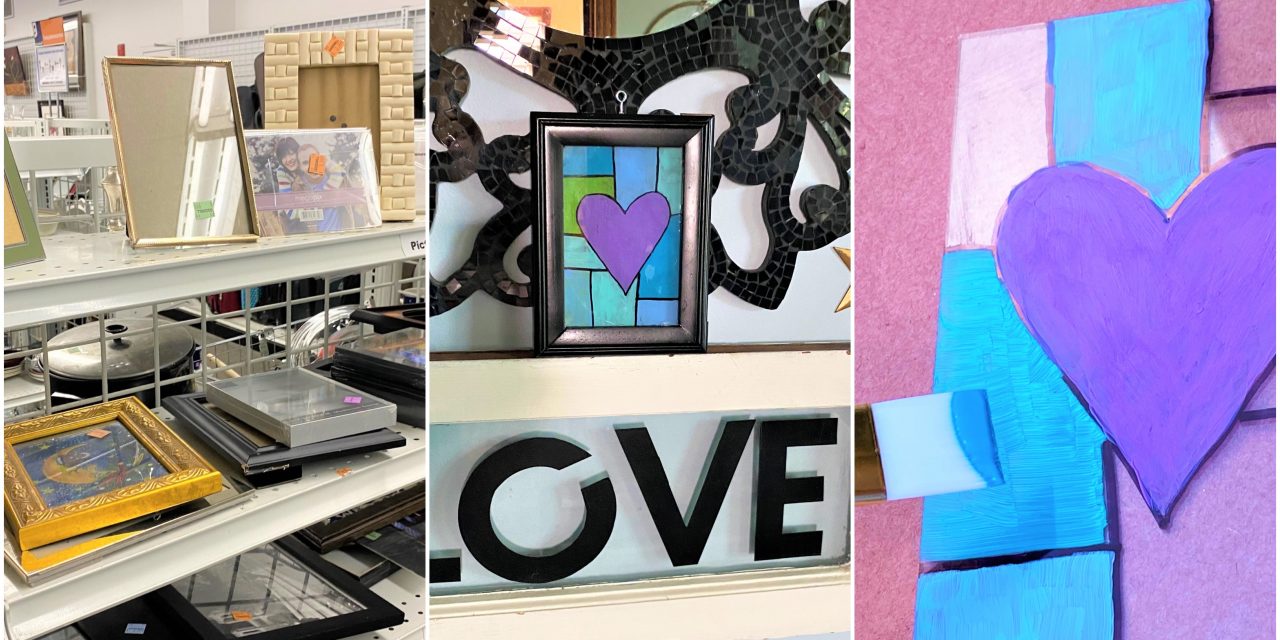
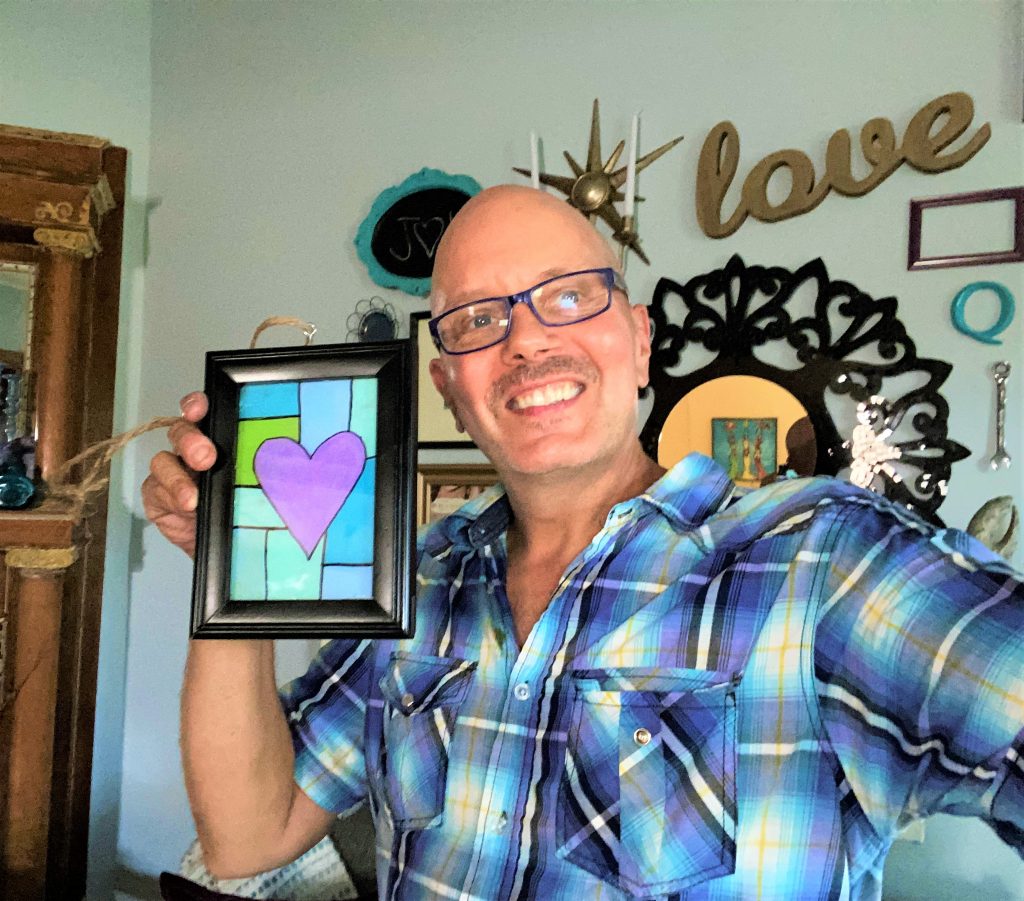
Create art for your home by transforming an old frame into an eye (and sun!) catching stained glass window. With craft paints for glass and a black Sharpie, you can make unique pieces that are great for gifts or to give to yourself! This also makes a memorable family friendly activity that everyone can join in the fun!
Thanks to my creative brother Todd for this super cool idea!
Supplies Needed:
1. Wooden picture frames
2. Craft paints for glass in a variety of colors
3. Paint brushes
4. Black spray paint, satin finish
5. Glue gun or craft glue
6. Eye hook
7. Hammer
8. Screwdriver
9. Pliers
10. Twine, wire, string or ribbon
Step 1: Find your frame—and your good—at Goodwill
Your local Goodwill store is filled to the brim with all sorts of great items since they reopened.
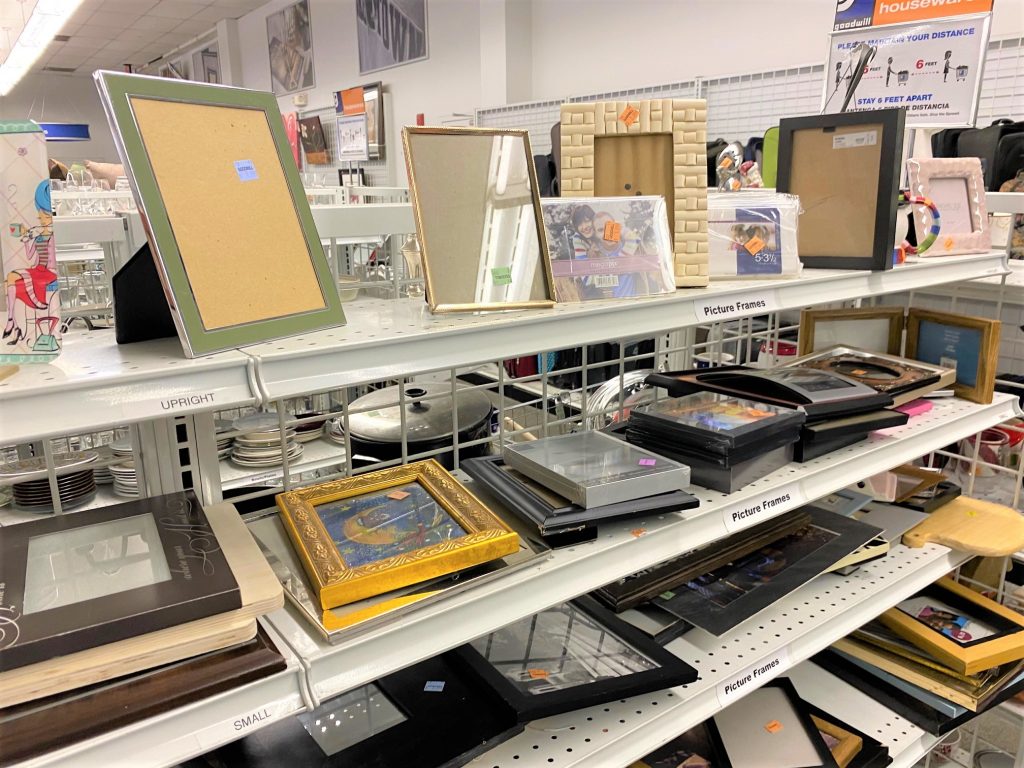
You are sure to find a plethora of wooden frames for this project that come in all shapes and sizes.
- Look for ones that are easy to take a part and don’t have too many staples or screws holding them together.
- Also, look for ones with a bare back; some frames have felt or a velvet-like fabric on the back that I suggest you stay away from for this easy DIY project.
- Frames with glass rather than clear plastic are better too.
Step 2: Take it apart
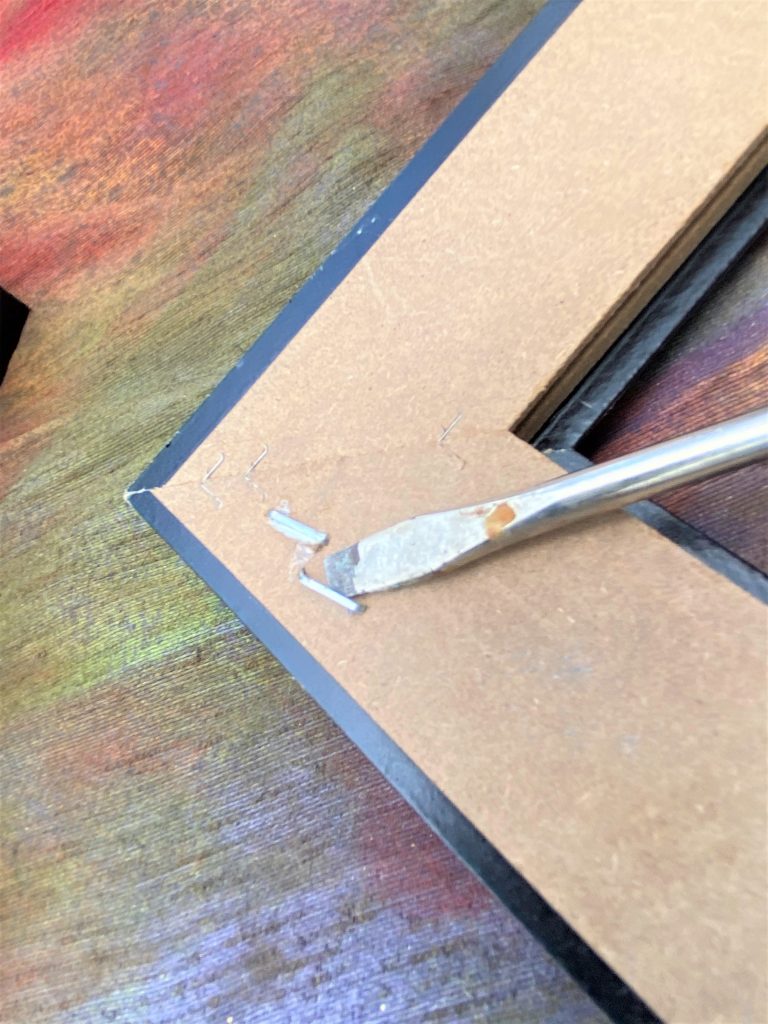
- Carefully disassemble your frame when you get it home and to your work space. Be careful with the glass when you handle it; set it aside for Step 4. If you are doing this upcycle with younger kids, do this step for them so they don’t cut their fingers on the glass.
- All you want are the wooden frame and glass piece so toss out all the inner parts.
- Remove screws and stables or any other things used to hold it together when used as a frame.
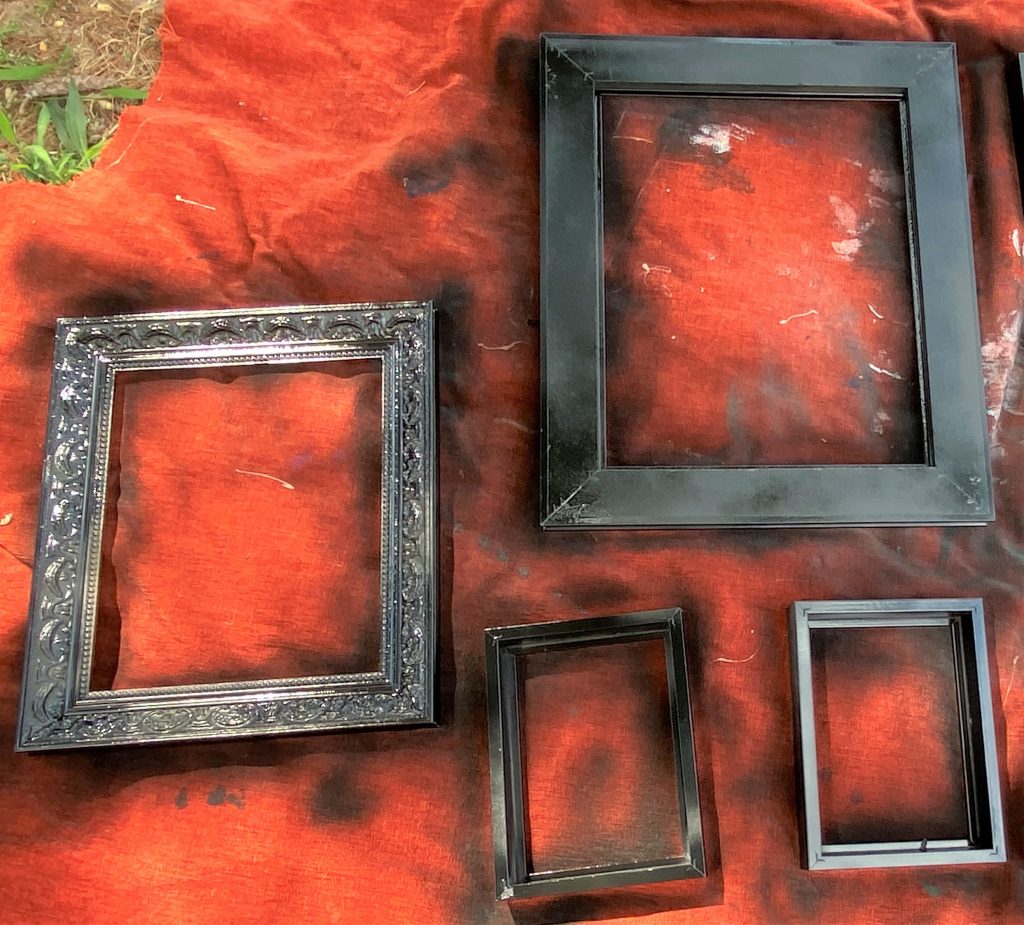
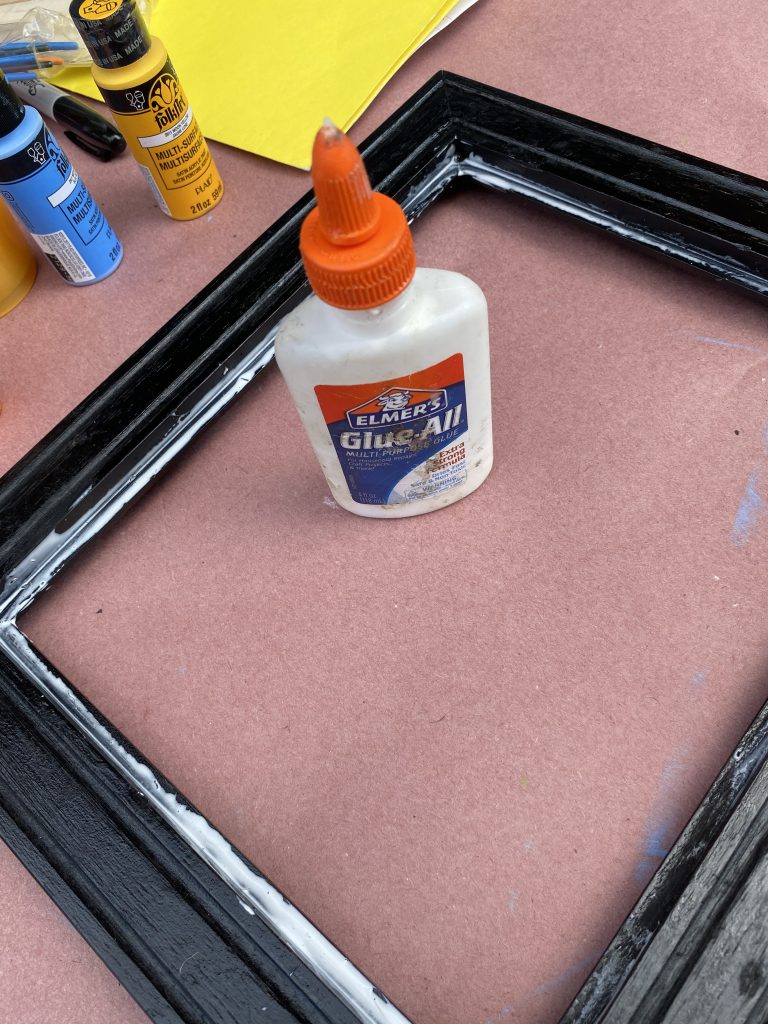
Step 3: Create a black backdrop
- To make your design and the paint stand out, you will want to paint your frame all black using a satin finish.
- Place your piece on a drop cloth outside and add a couple of light layers, let dry then flip over to get the other side, too.
- Given that the final product will be able to be seen from other sides, you want to create a nice, neutral background.
- Do this step first so that you can work on your design and painting while it dries.
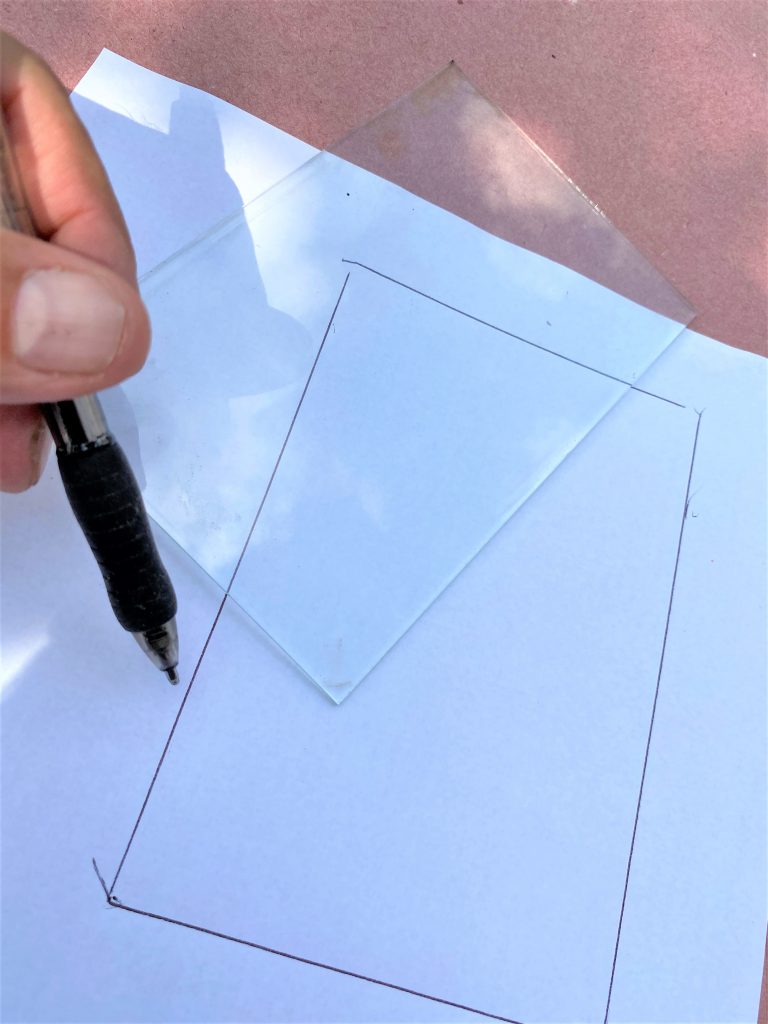
Step 4: Trace your glass then sketch your design
- Carefully place your glass on a piece of paper then trace around it so you know the space you have on which to let your inner Tiffany out.
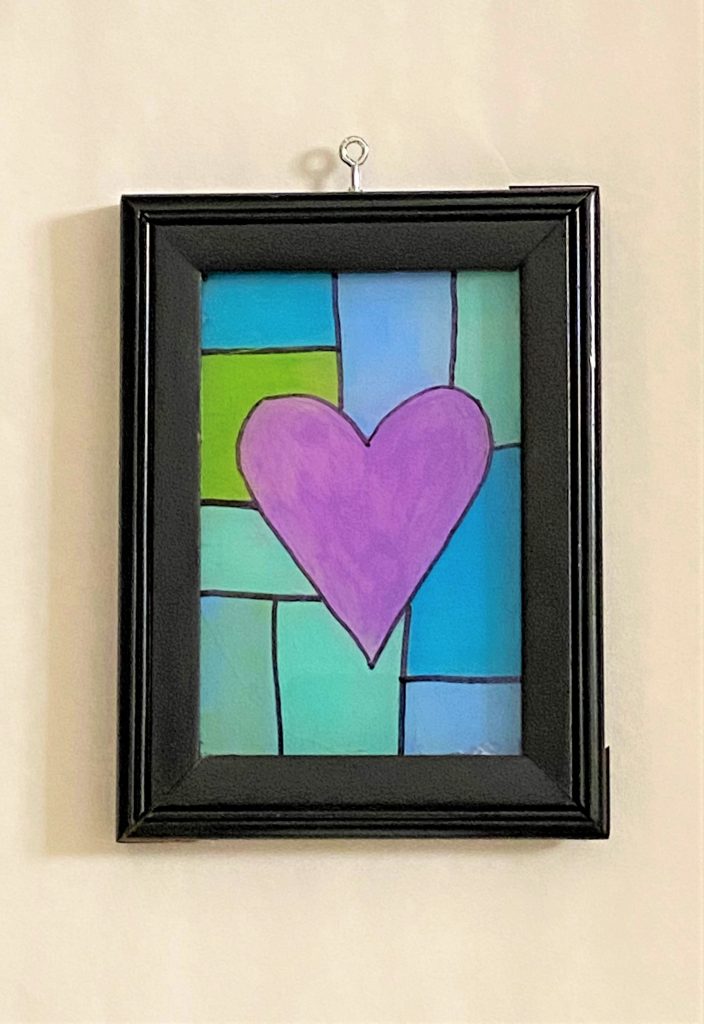
- I suggest a simple drawing with big blocks of color.
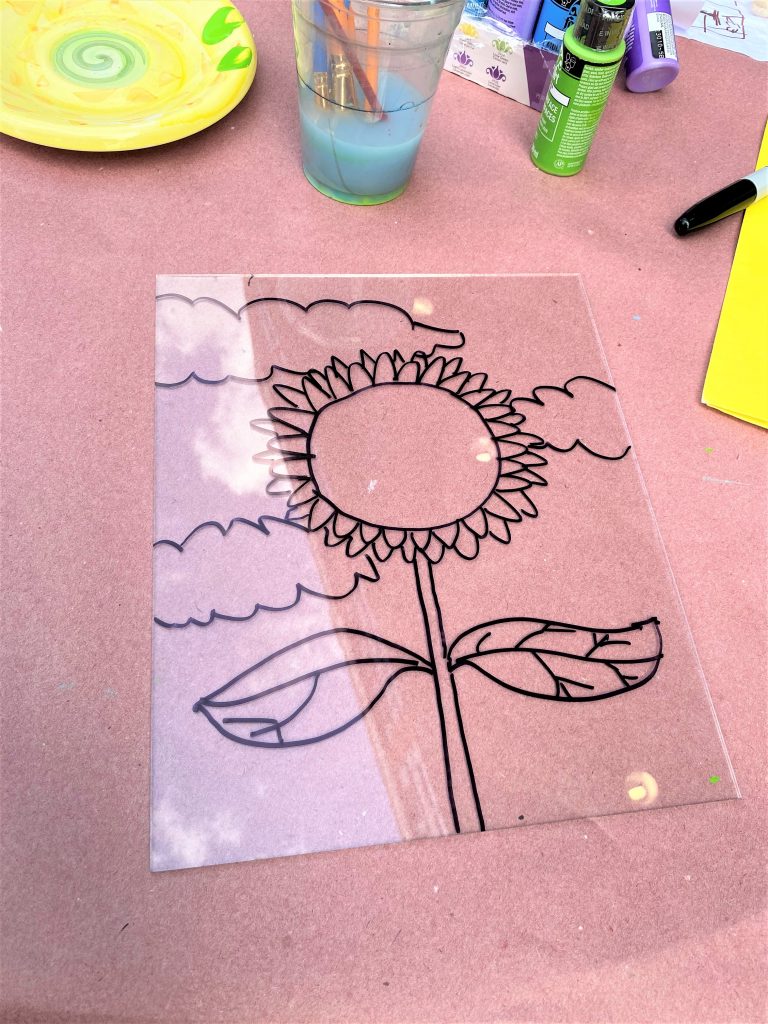
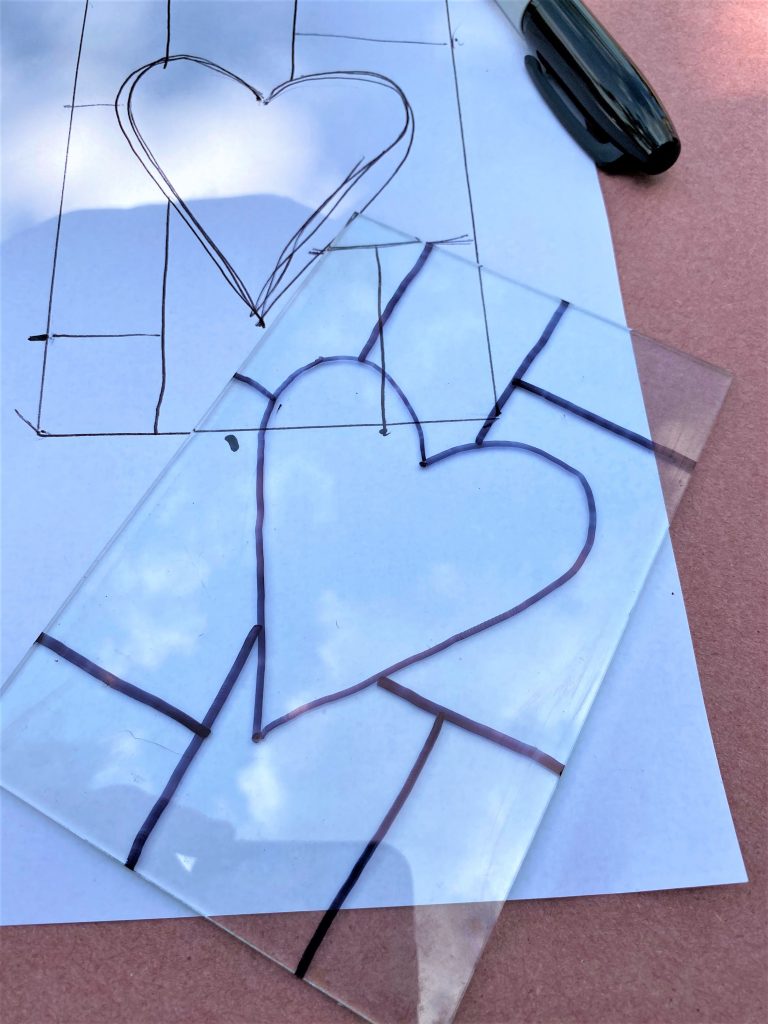
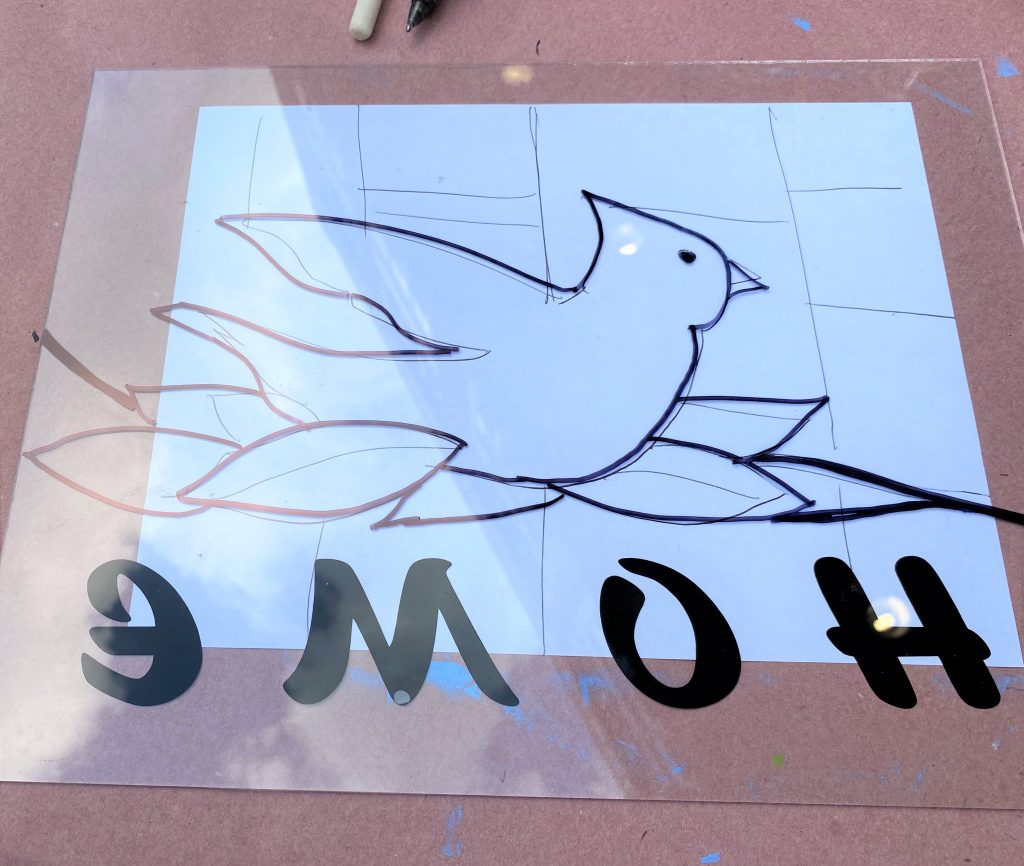
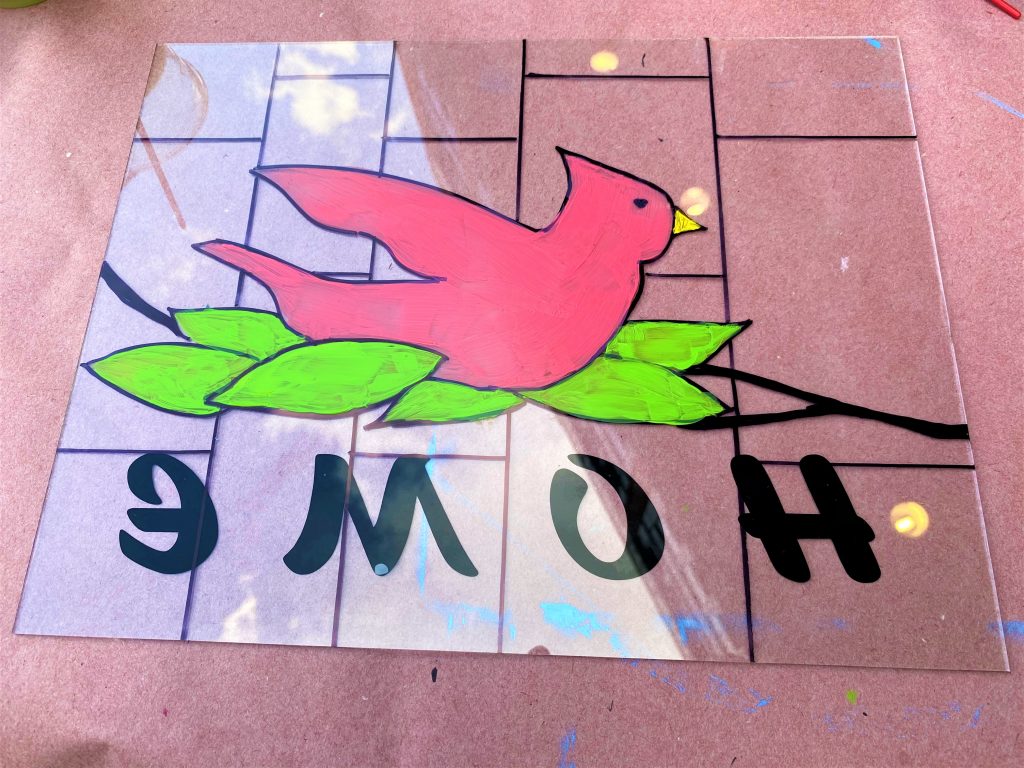
Step 5: Draw your image onto the glass
Since we want this to look like stained glass with its dark, leading between tones, use a fat, black Sharpie now.
Set your glass piece on your sketch and use the marker to trace over it.
Take your time with this step but don’t worry if it isn’t a perfect tracing.
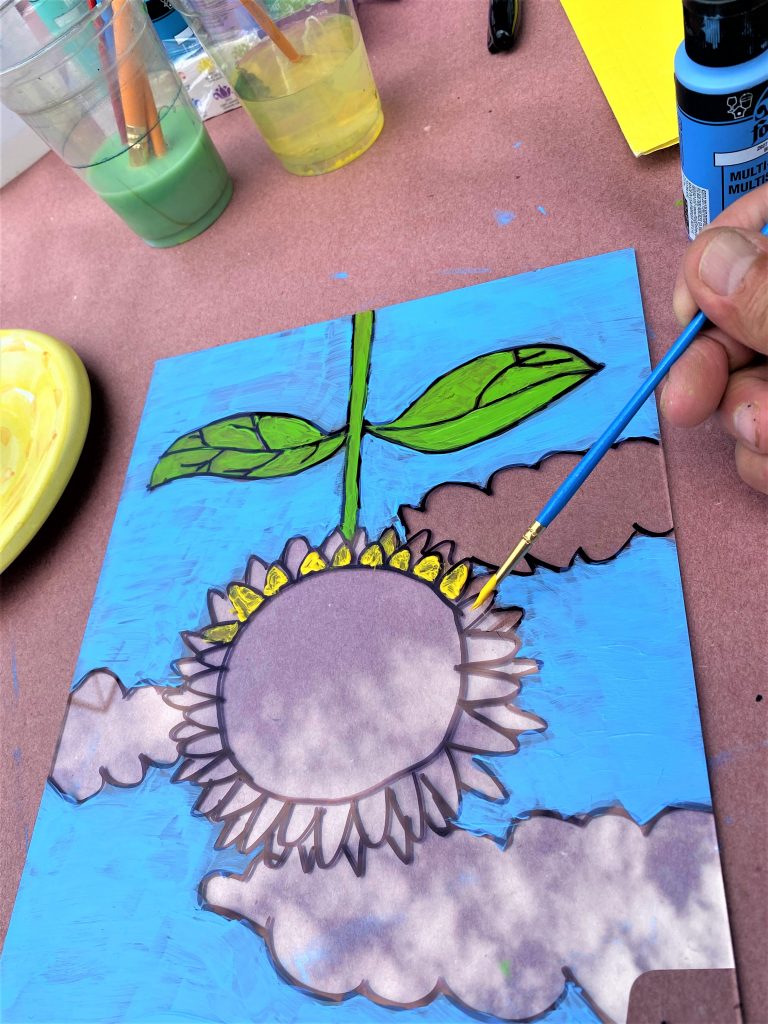
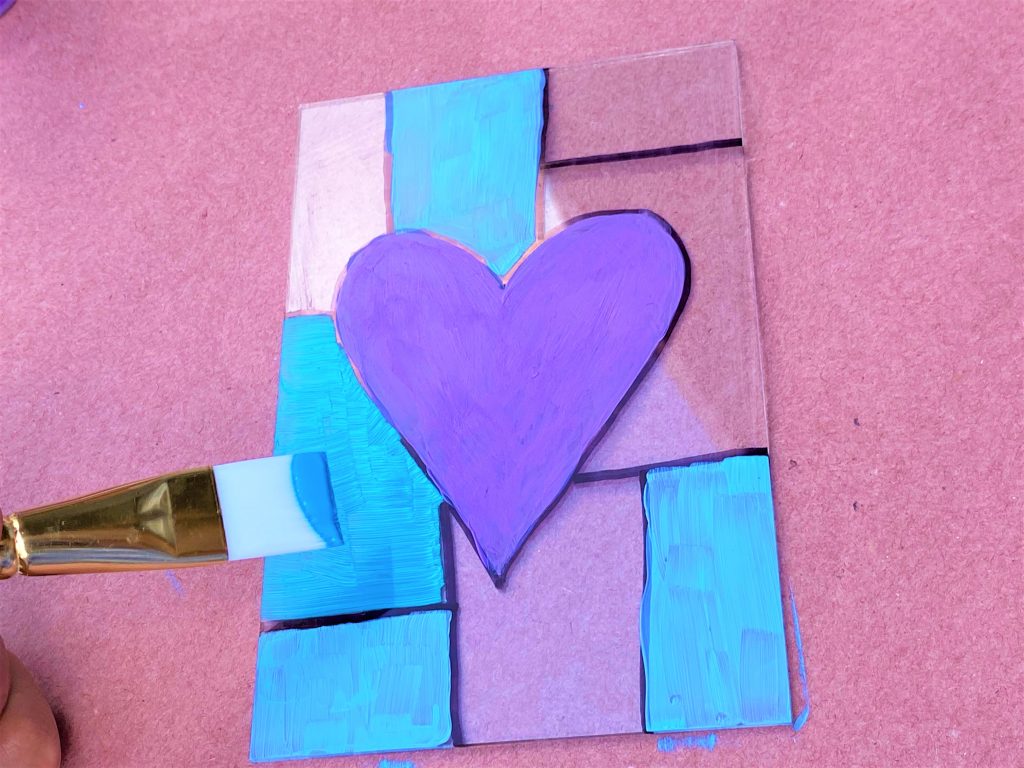
Step 6: Fill in the blanks
- With various colors of your craft paint, fill in the blanks using a small, square shaped brush.
- This square shape will make it easy to get up to the edges of the black lines.
- Put on a light layer and go back and fill it in as needed.
- Let it dry before handling.
Step 7: Reunite the frame and the glass
- With the back of the frame facing you (which is now black, too), add a line of craft glue or use your glue gun to add dots along the inner edge.
- With the painted side up, gently place the glass back into the frame.
- Use a damp rag or paper towel to remove any excess glue then let dry before moving it.
Step 8: Add an eye hook
- Along the top of your frame, secure a small eye hook using your hammer to tap it into place and then using your pliers to tighten it.
- Based on the size of your frame, you may want to add two eye hooks for additional support when your stained glass window is displayed.
Step 9: Tie on your twine (or string, ribbon or wire)
- Carefully thread your twine through the eye hook then tie a secure knot.
- Cut away any long ends.
- Repeat this step using the other end and place it through the second eye hook, tie a tight knot then clip away the extra part.
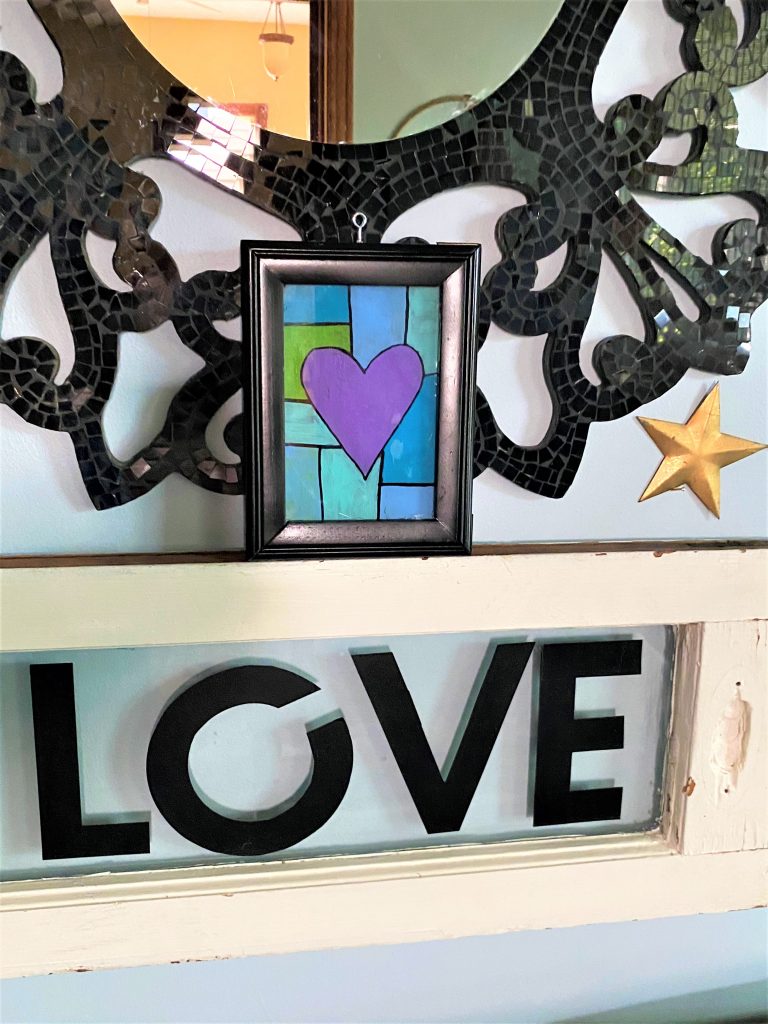
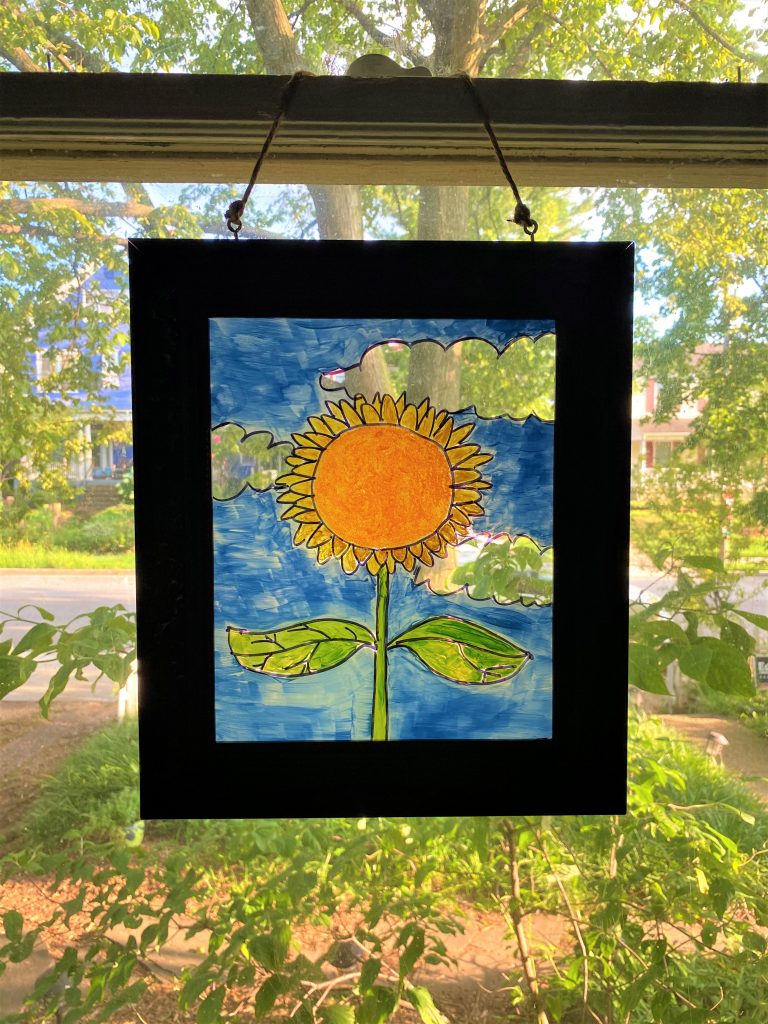
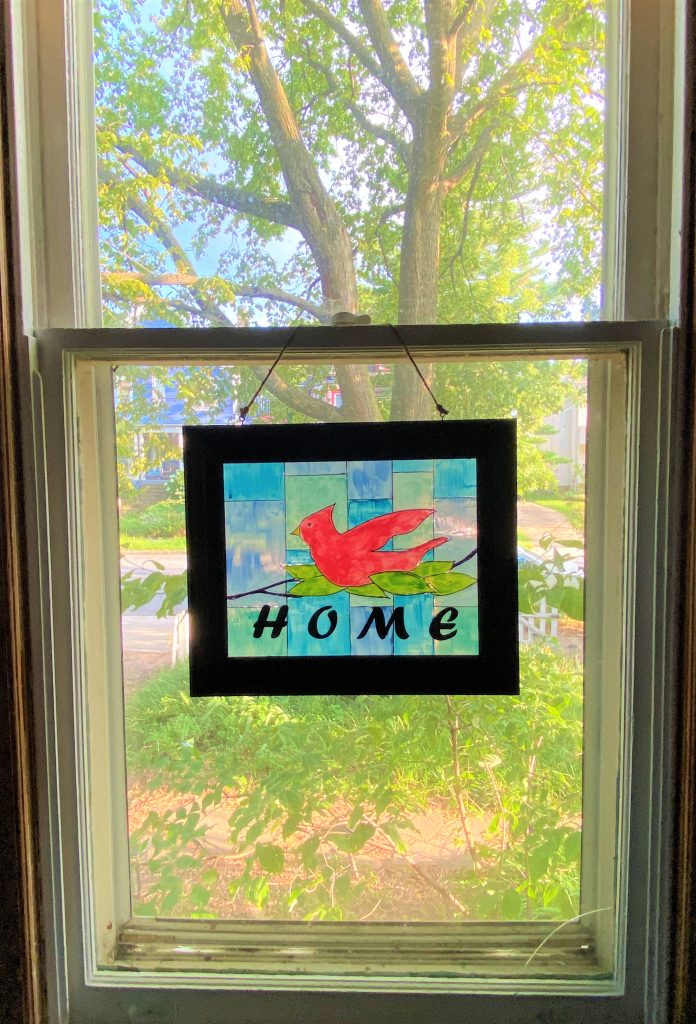
Step 10: Display and delight both day and night
Select your window which will get the special treatment with this charming stained glass piece. You will love seeing it when the sun shines in your place as well as when you are outside after dark when the lights on illuminating it!

I am so excited about this project and I know you will love it too! I found four matching frames that I am going to use to put each one of my address numbers in it, paint it up and hang in in the transom above my front door.
Any Grandma will love receiving one of these (or several) from her grandkids.
Make this a weekend activity with your family and friends; they, too, will be proud of their transformative efforts!

Tim Kime
Artist, Motivational Speaker, Life Coach
