A patriotic DIY project for the summer — a USA-themed chair!
Sometimes the time of year or a special day that inspires your creative decision-making. When thinking about this week’s DIY project and blog, doing something that honors our country seemed like the easy choice given that Memorial Day weekend was just here.
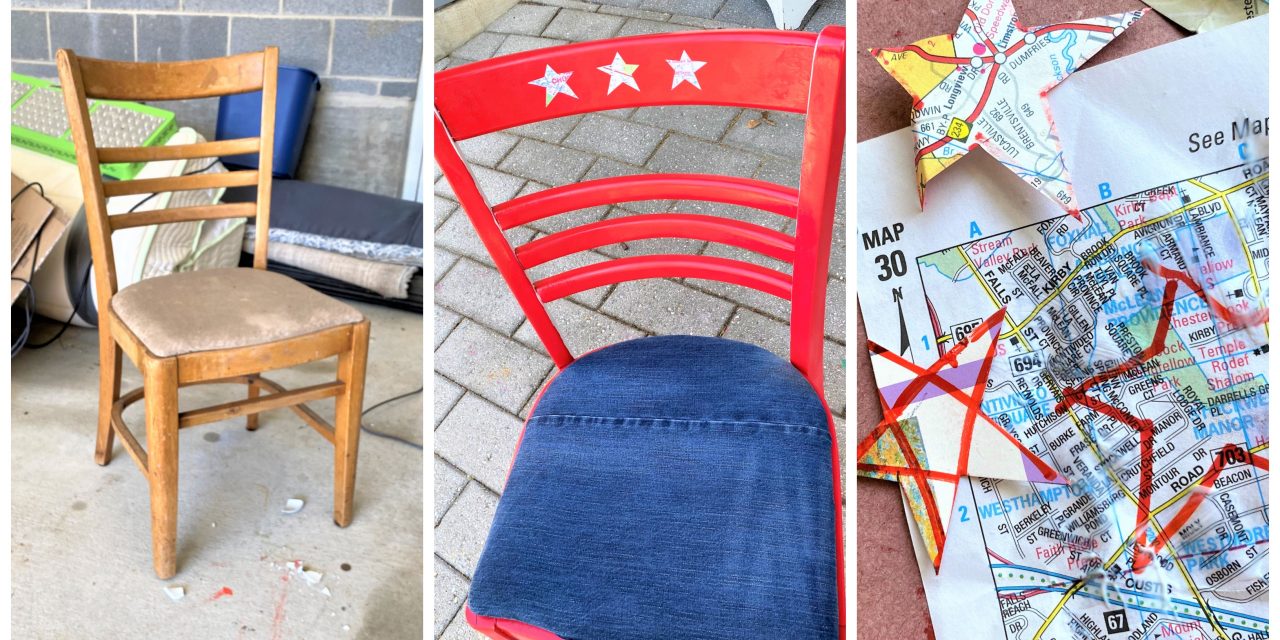
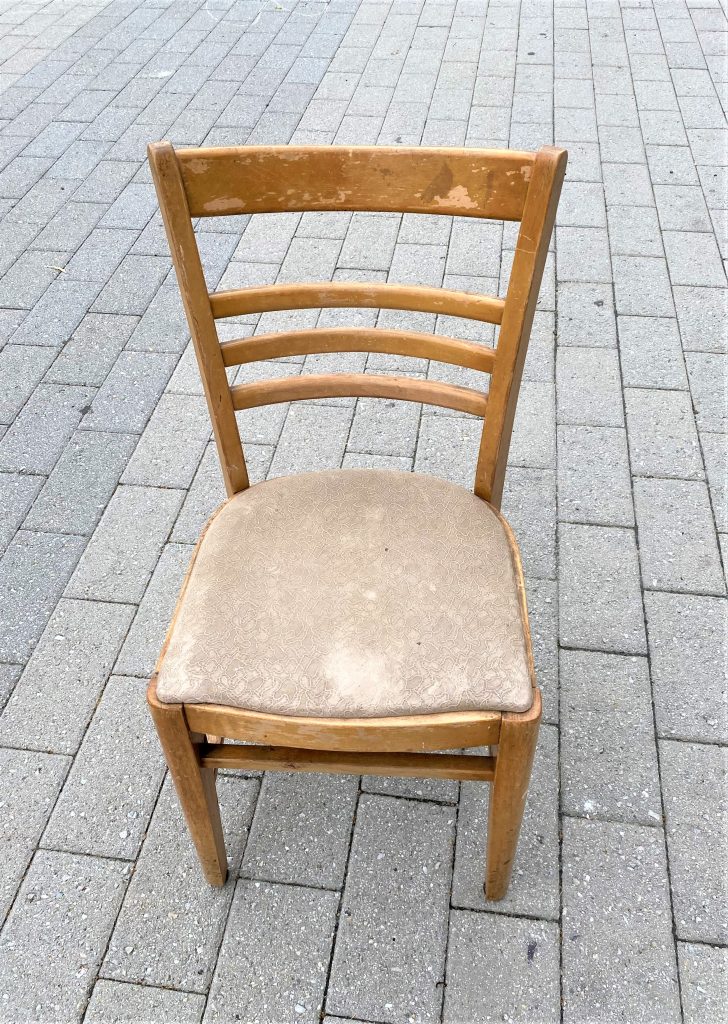
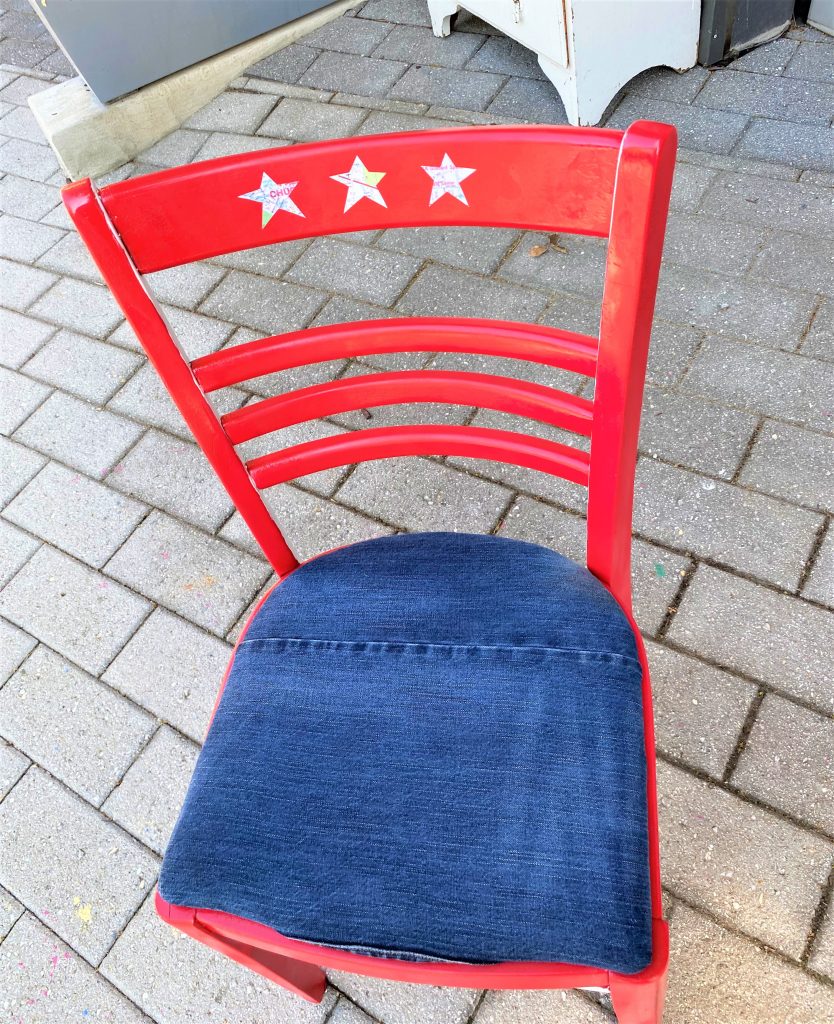
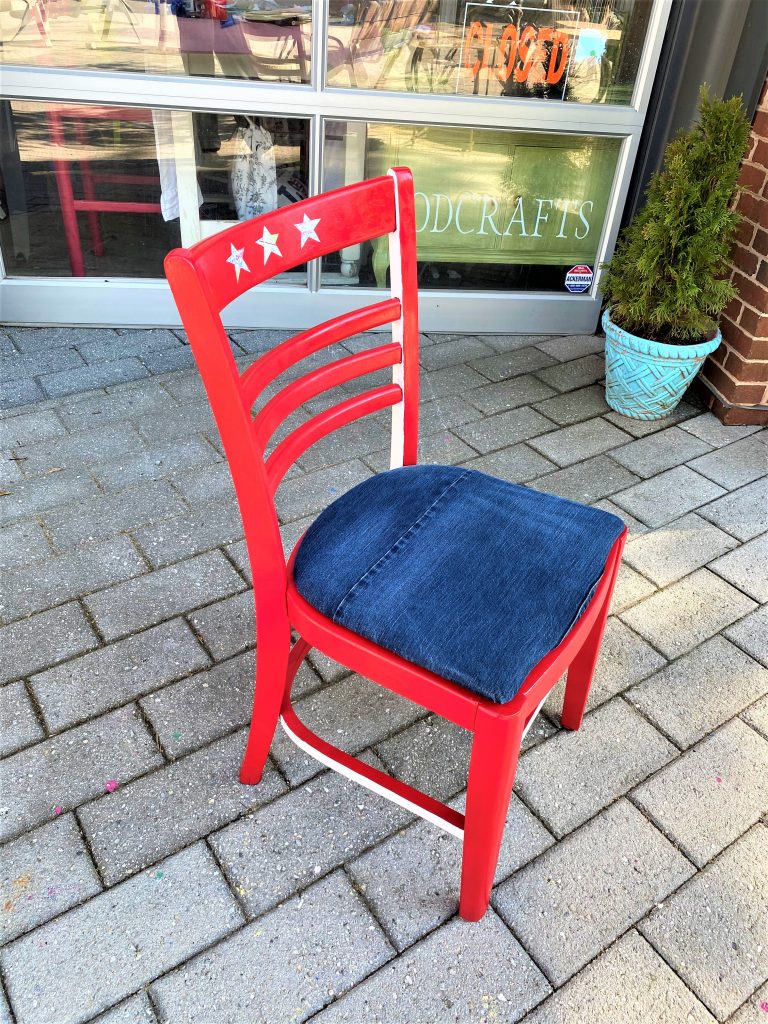
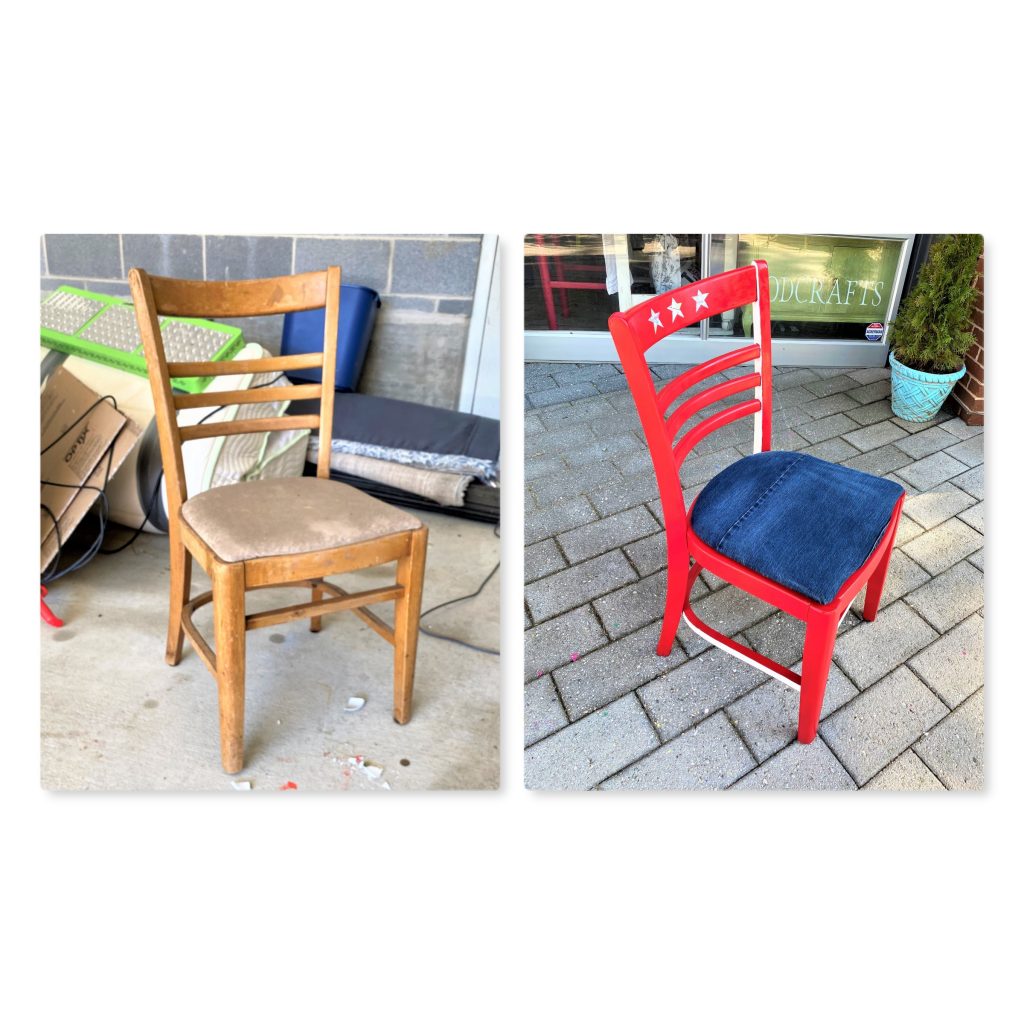
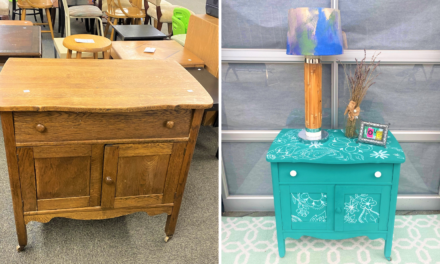
This sad chair was set to be discarded and now is ready to be cheered for wearing her red, white and blue so well!
These easy steps will show you how to turn a tossed-aside piece into spirited one that makes you want to stand up and sing, “America, the Beautiful!”
Supplies Needed:
1. Old wooden chair
2. Worn out jeans
3. Red spray paint
4. Staple gun
5. Scissors
6. Maps
7. Mod Podge
8. White paint
9. Foam brush
10. Painter’s tape
Time: Two- hours, (not including paint drying time)
Step 1: Where will you find an item to save?
Okay, I really do miss Goodwill! However, given the current state of affairs, many of us shoppers have had to look in other places for pieces to upcycle.

With many people clearing out their places, you might find something for free to transform.
This solid but sad looking chair was left in the trash room at my studio and I am so lucky I came across it when I did! Since it was well built of solid wood pieces, had curvy lines and sported small padded seat, it had to go home with me!
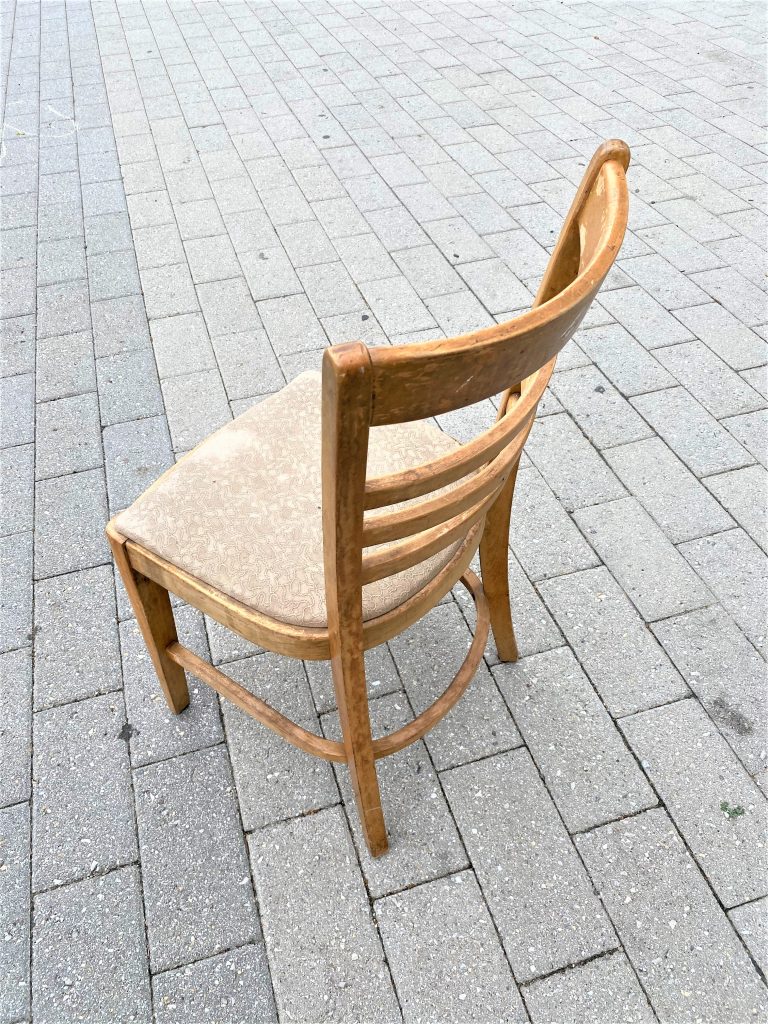
What will you find that functions well but doesn’t look so good on the surface? Go searching in your home to see what you might already have on hand or stroll around your community to what you come across. In doing so, you will help keep one piece out of a landfill.
See you can be creative and help to save the planet, too!
Step 2: Prep for painting
- After I unscrewed the seat, a good and light sanding was needed to prep this piece for paint.
- With a medium grade sandpaper or sanding block, do your best to get every edge and surface. Remember, give the piece a quick sanding and don’t worry about removing the entire current finish.
Given the patriotic theme of this chair, my color choices were easy as 1, 2, 3! A bright red, fittingly called “Banner red” was picked up for $4 at the local hardware store. Since most paints have the primer mixed right in them already, you will be able to give your piece some needed color all in one step.
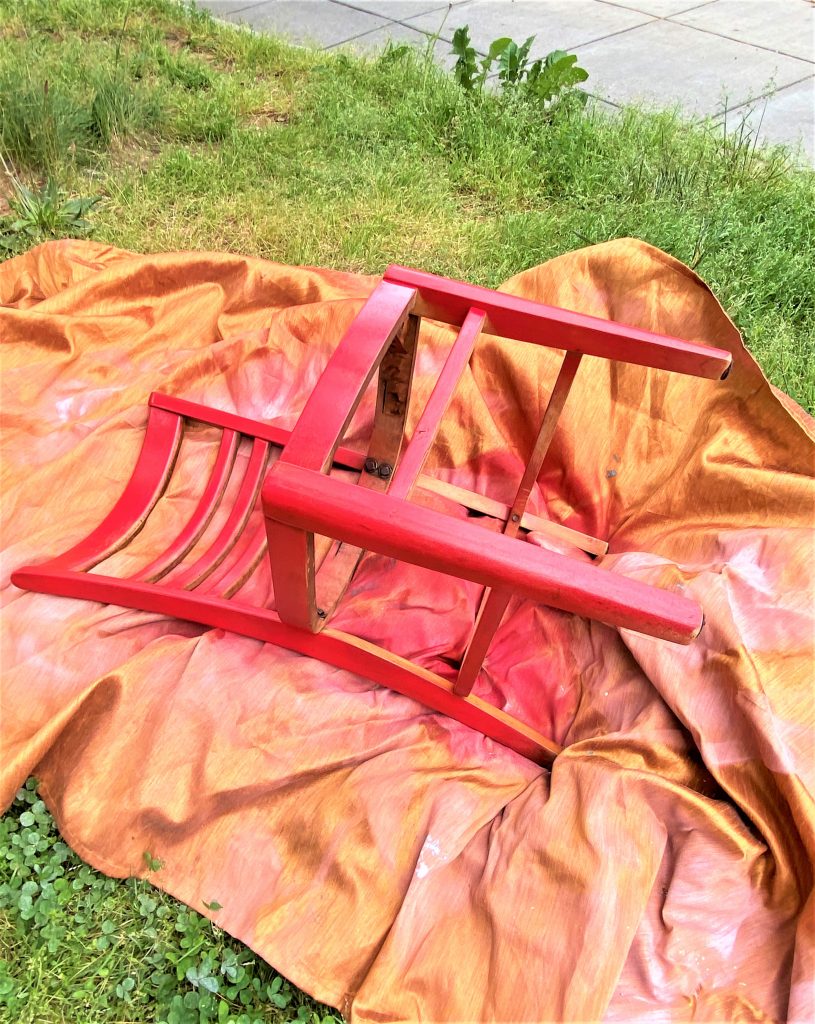
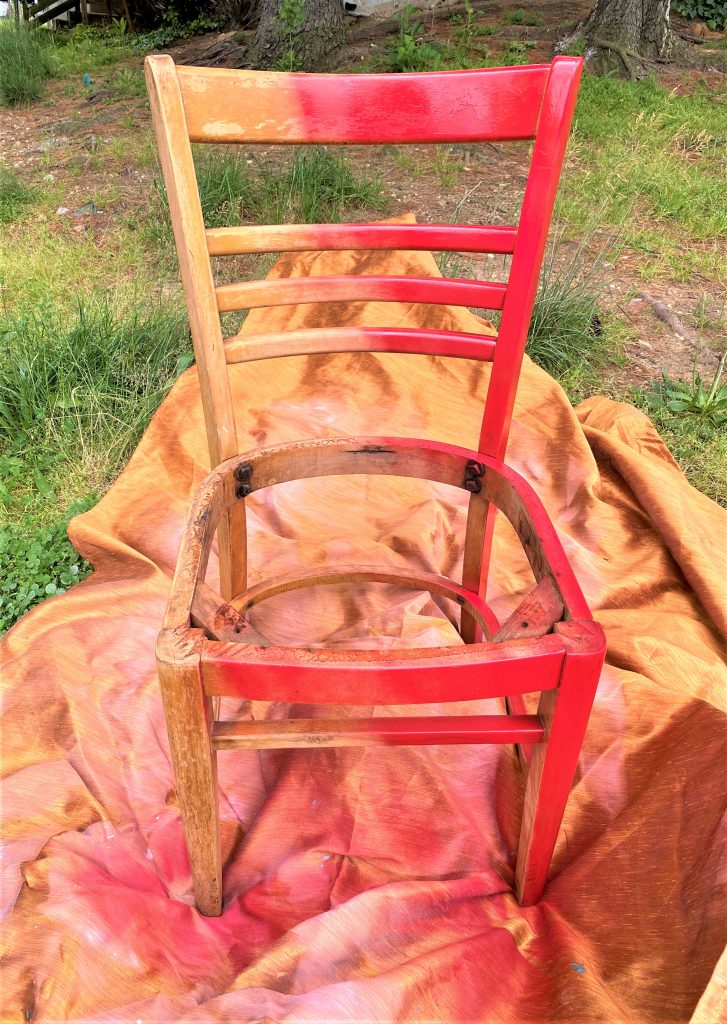
- Next, Place it outside on a drop cloth and go to town.
- My advice? Add a light layer, let dry, then lay it on its side or back.
- Add another light layer and repeat until your entire piece is well covered from top to bottom.
Step 3: Hold onto your seat (recover time!)

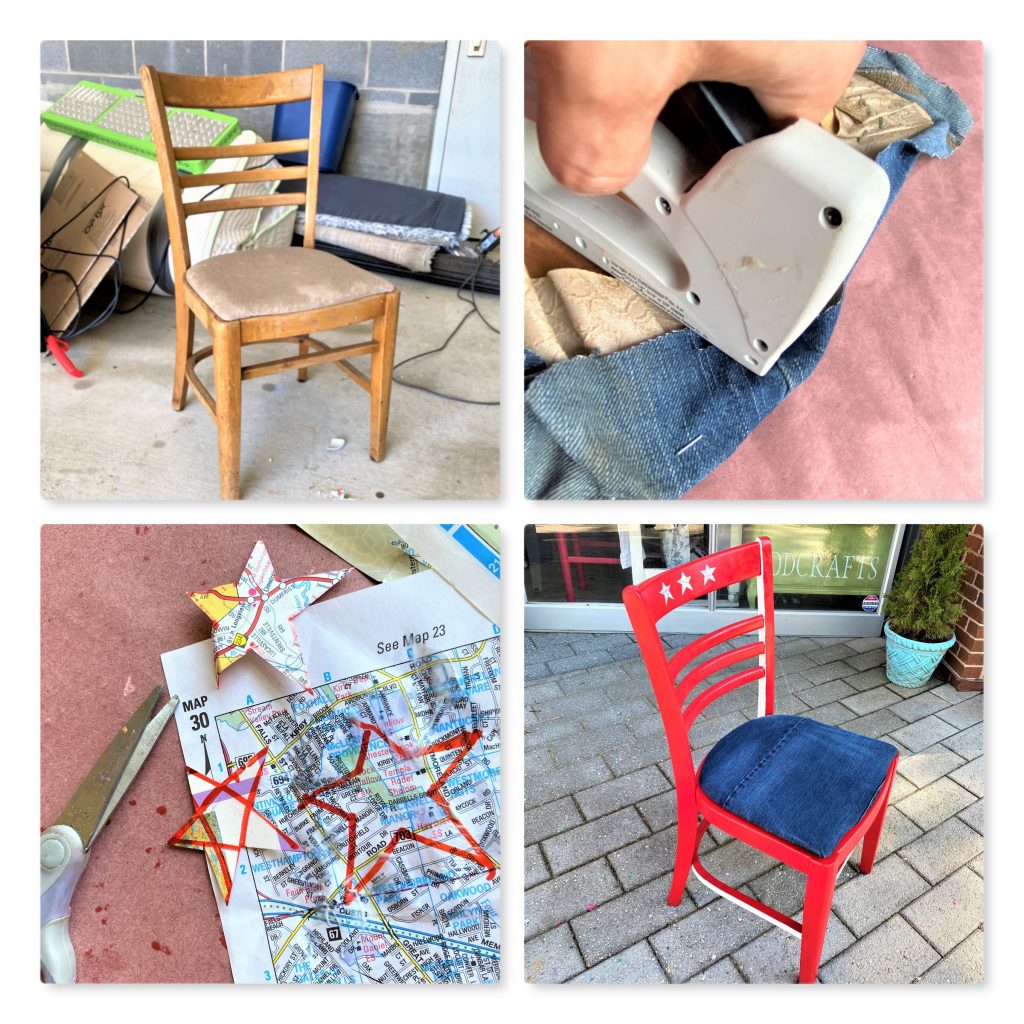
- While your chair is drying, turn your attention to its seat. Denim jeans, which are popular world-wide, say “Made in the USA,” to me since they got their popularity here nearly 125 years ago. Most of us have several pairs in our dresser that can be used for this project. And if you are like me, you have lots of pairs, so you won’t miss one at all.
- As I moved my jeans around the seat, I decided I wanted to have one solid piece cover it all.
- I cut out one of the pockets to secure in place in the seat’s center, then decided against it because I liked the simpler, cleaner look. (I will use the left over pocket for another project, I am sure!)
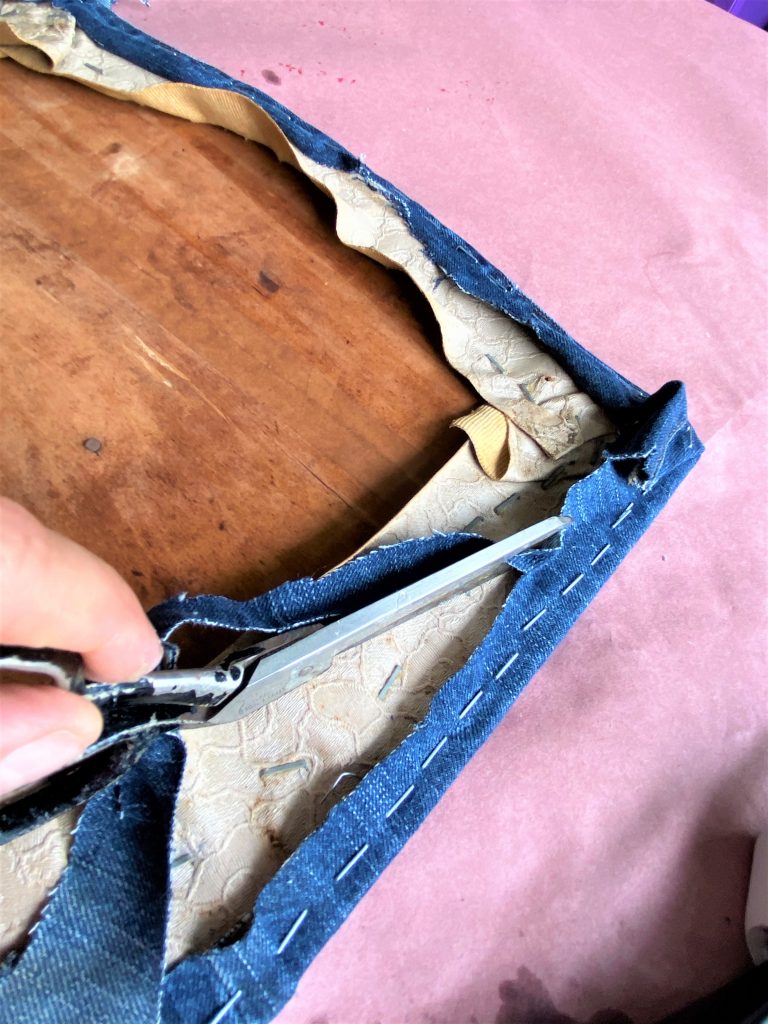
- Cut your jeans along the seams, then pick the part that ensures enough material to cover it then cut a piece to fit.
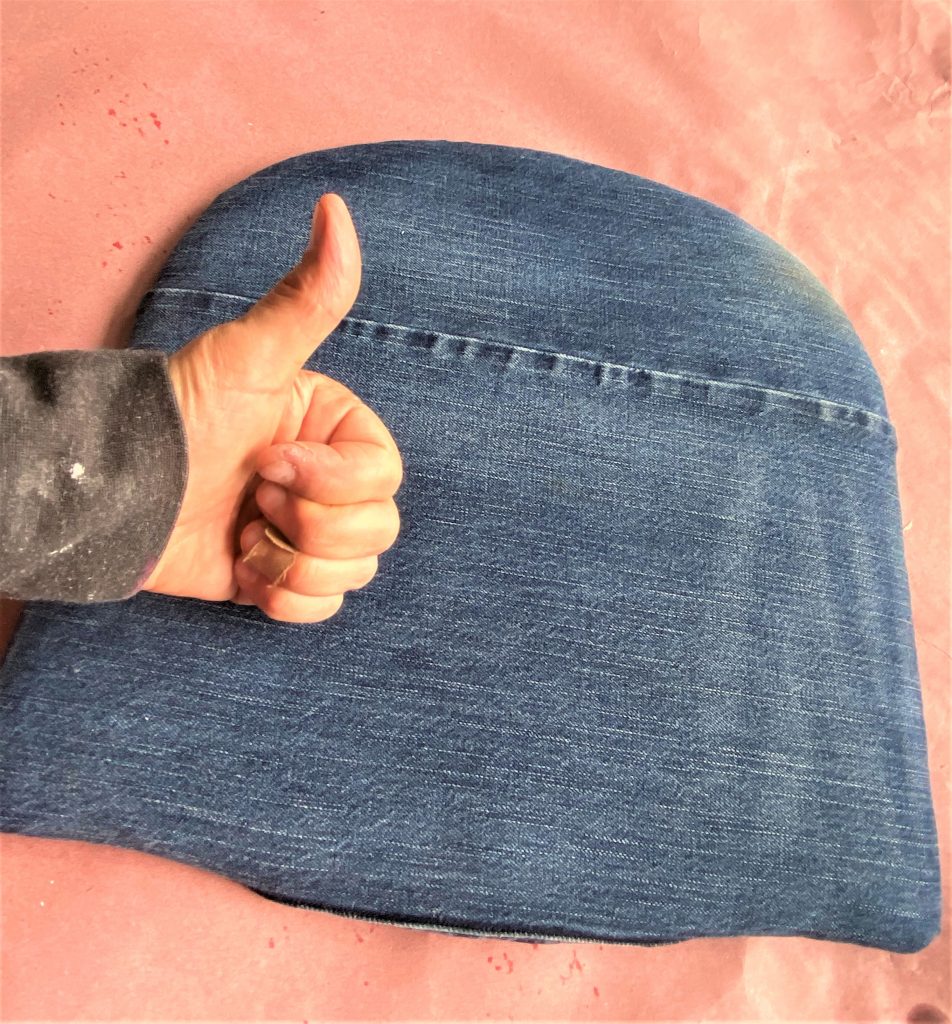
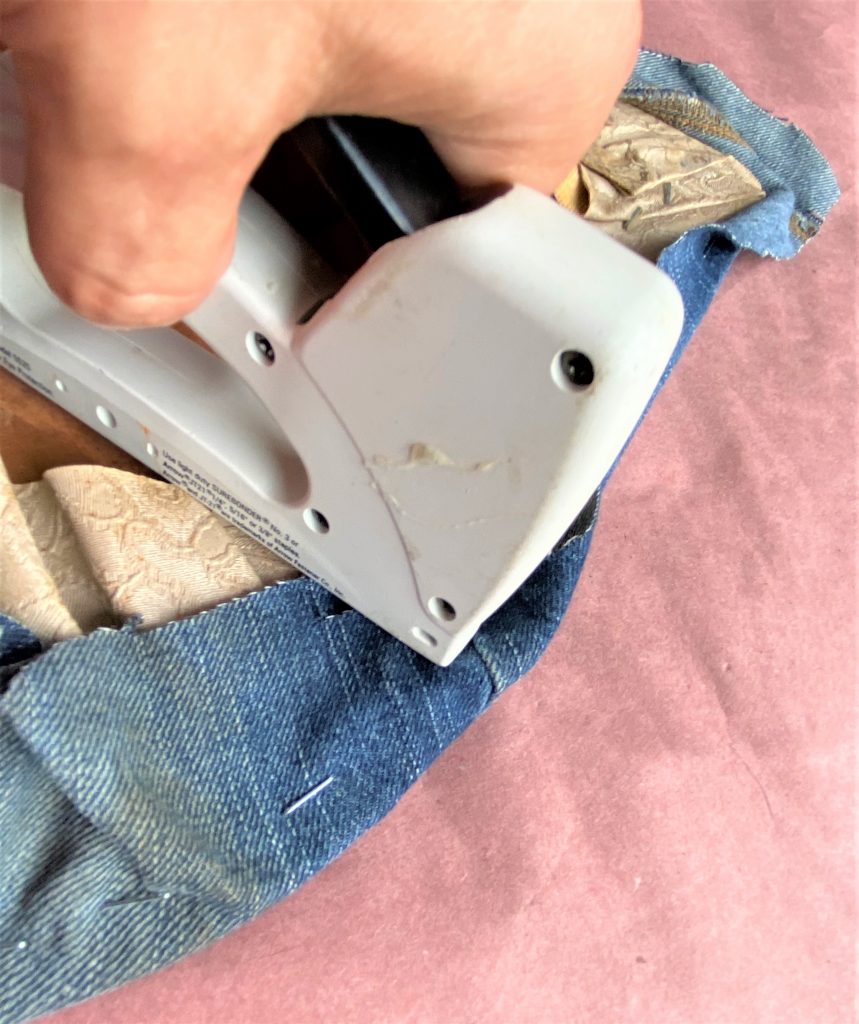
- Flip over, add one staple along each of the four sides to hold into place then use your staple gun around the entire edge.
- Pull the fabric tightly as you go. It really is super easy and so fun to see how quickly you can transform a piece with repurposed jeans.
- Once all done with stapling, you might need cut away any access material.
- Flip over and, “Viola!” You now have a really cool and comfortable recovered seat!
FYI…Hold off until the next two steps are done before you screw it back in place.
Step 4: Brush on highlights
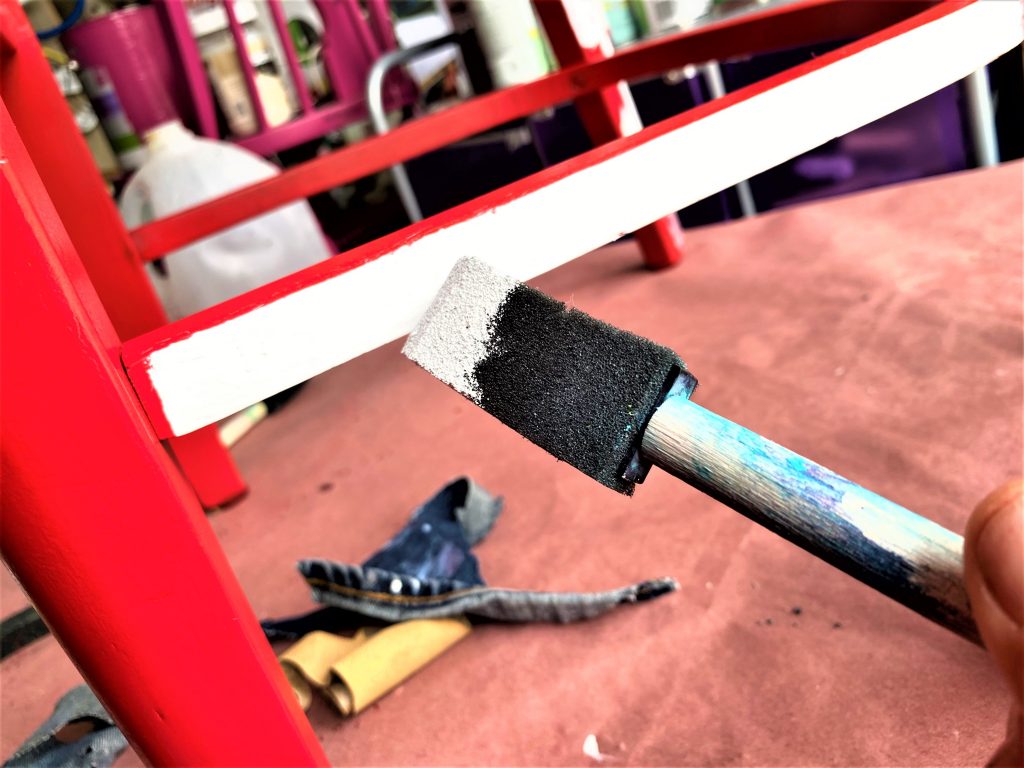
- To add some visual interest and call attention to any unique details on your piece, use a small foam brush to add white.
- This part will take a little time and care and might require some painter’s tape to protect the red paint. This step helps to take your piece to the next level and I know you will be glad you took the time and effort to add it.
Step 5: See the stars
Stars make me think of the American flag. What about you? Again, always one to reuse things, I traced and cut three stars from old maps that I had in my stash. You could cut them from a magazine, too, or other paper you have available.
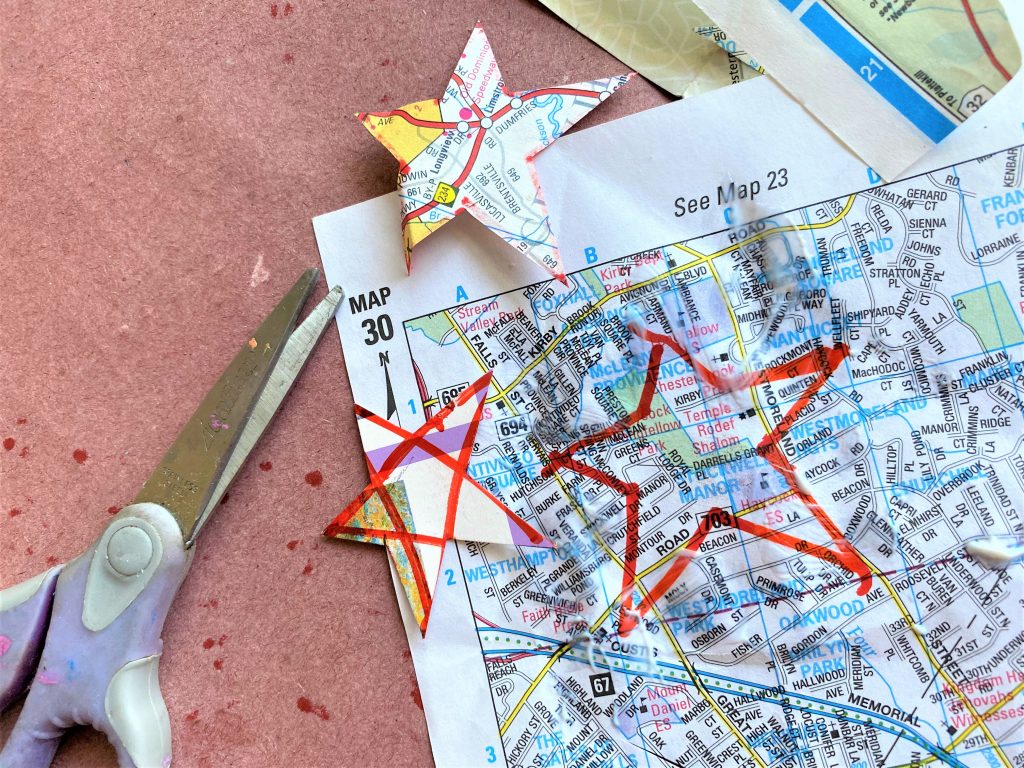
- Cut them out then secure in place with Mod Podge, applied carefully with another foam brush.
- If you didn’t want stars, you could also cut out letters to spell out USA or those of the name of the person who will use the chair. Given that Father’s Day is coming up, you could also add “Dad” or “Grandpa” to your transformed chair and then gift it to him.
Once this dries then put the jean-covered seat back in position and add screws to hold it.
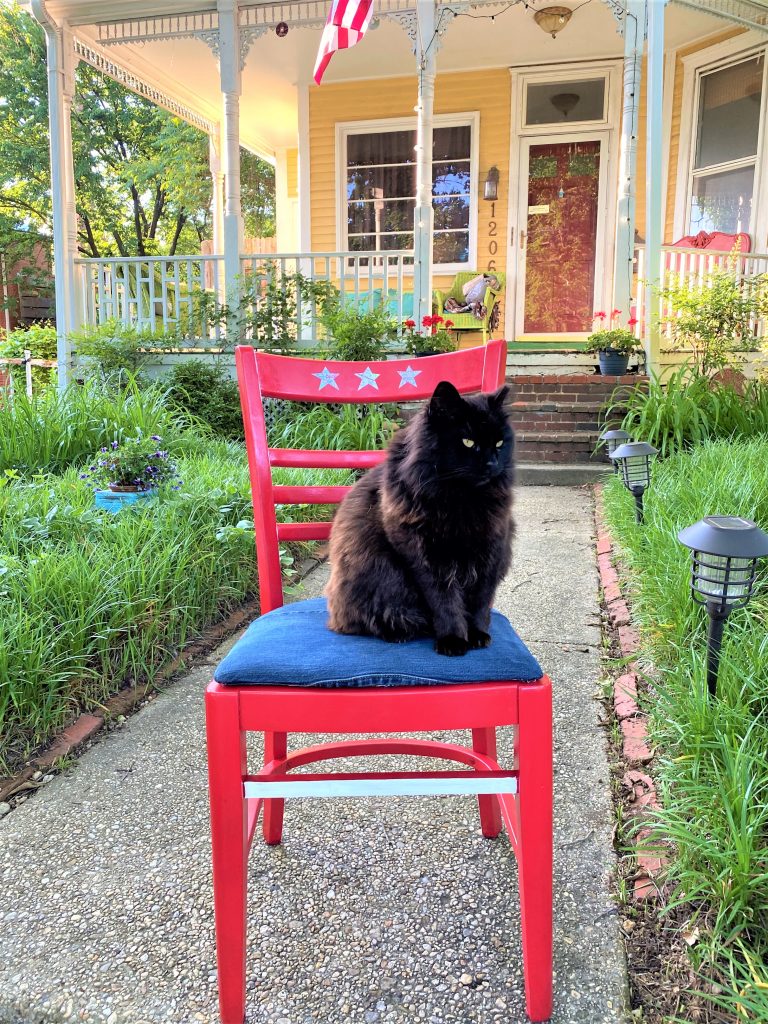
Step 6: Stand-up to salute then sit down to celebrate
When you finish your spirited chair, you will say, “God bless America” for the chance to turn something old into something unique and one-of-a-kind!
You will also say that when you think about the many men and women who have served our country and gave so much to ensure we are free to live the life we want, which hopefully includes lots of DIY projects and upcycling.
Many heartfelt thanks to those who sacrificed to give us our amazing lives!

Tim Kime
Artist, Motivational Speaker, Life Coach
