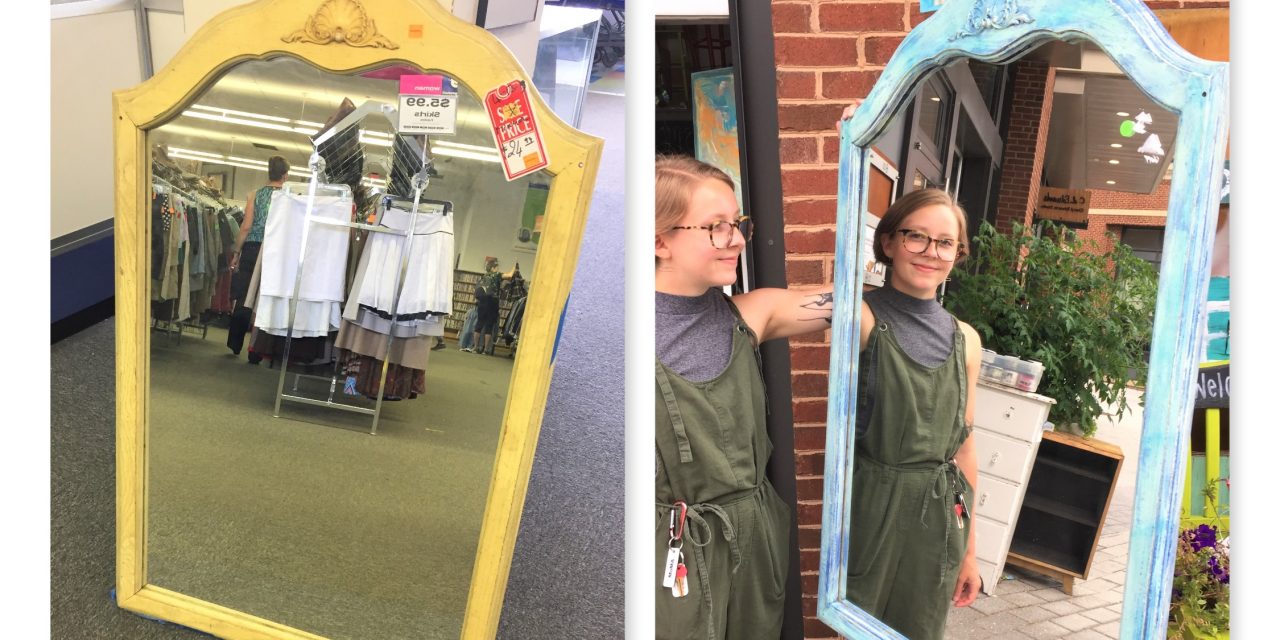
Mirror, mirror on the wall, what’s the fairest upcycle of them all?
Transform an old mirror to reflect your unique style and you are sure to feel like you are living a fairy tale life, too! By layering paint and bringing out details, you’ll see smiles in front of you when you gaze at your reflection in this easy, elegant DIY project.
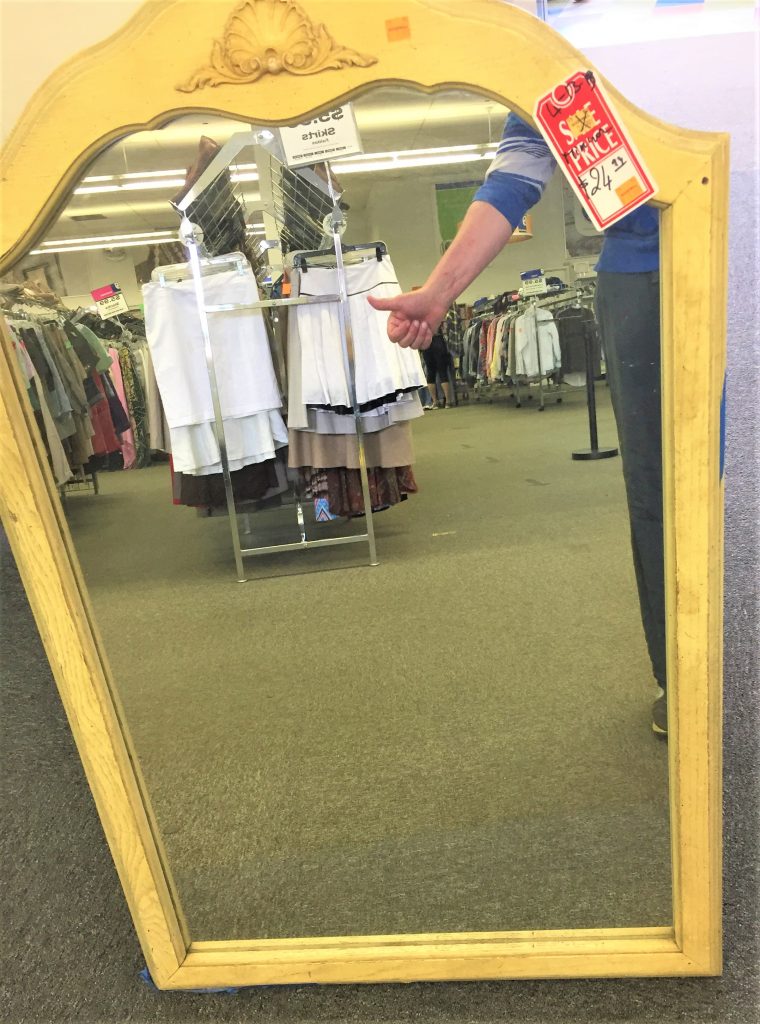
1. Go though the looking glass and head to Goodwill
What would Alice in Wonderland or Snow White think if they saw all the mirrors waiting at Goodwill to be transformed? I am sure they would marvel at the many great options at must-be fictional (but they’re not!) low prices. In the Furniture Section of your local Goodwill, you are sure to find interesting mirrors with frames that could go from a ragamuffin to a princess with a little vision. Look for wooden frames as they are the most solid, durable and usually take on paint well.

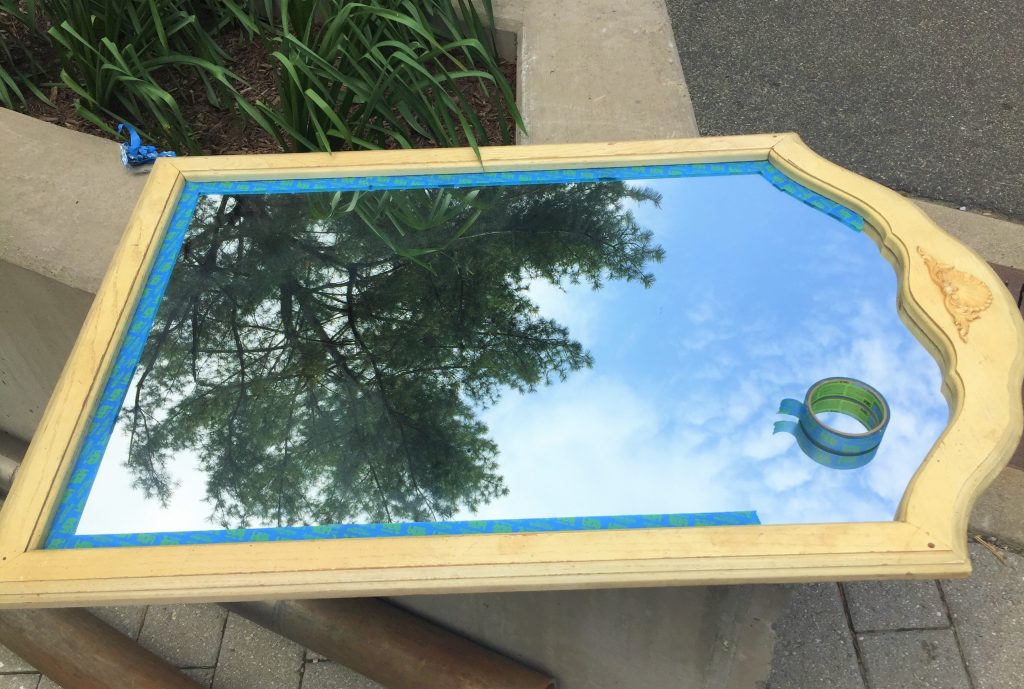
For this project, the one selected had appealing components likes its carved edges, curvy top and seashell embellishment. The big size spoke to me, too, so that it could go in any space and stand out.
2. Sand surface to secure style
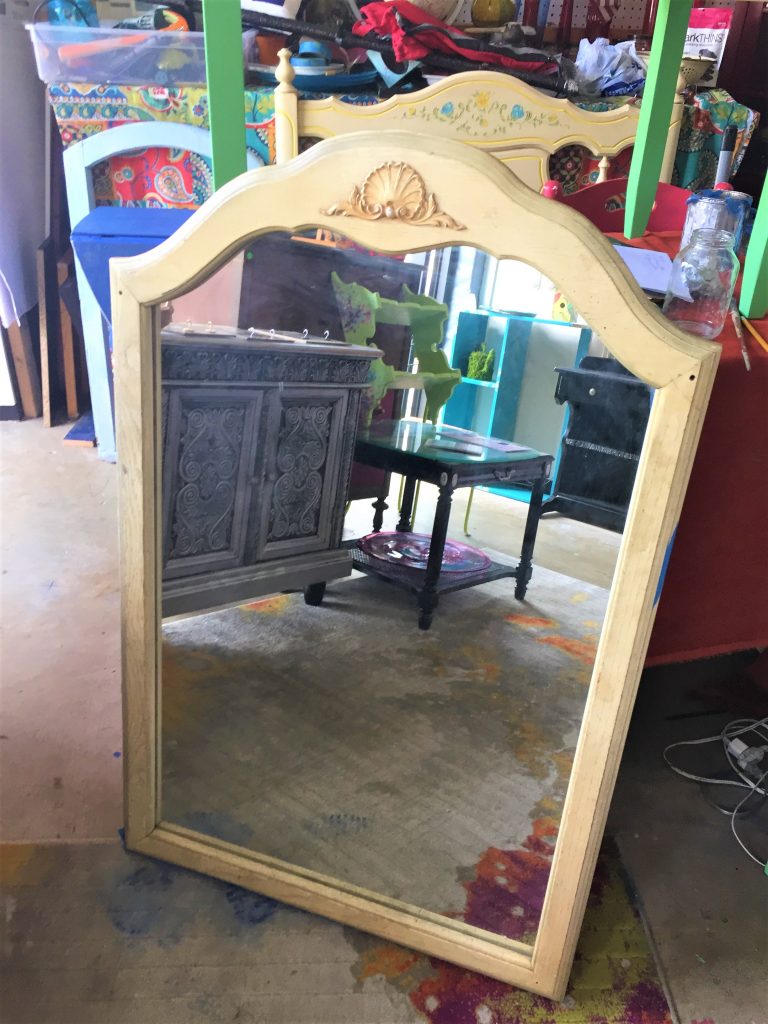
- So that the coats of paint adhere well to the mirror’s frame, lightly sand it with a fine-grained sandpaper or sanding block.
- With any piece you are prepping for painting, you are buffing it up and not worrying about removing an entire existing layer of paint or varnish.
- Once sanded, brush away any dust created then wipe your piece down with a damp rag to ensure a sparkling clean surface on which to begin your mirror’s transformation.
- Use painter’s tape on glass along the edges to keep it paint-free.
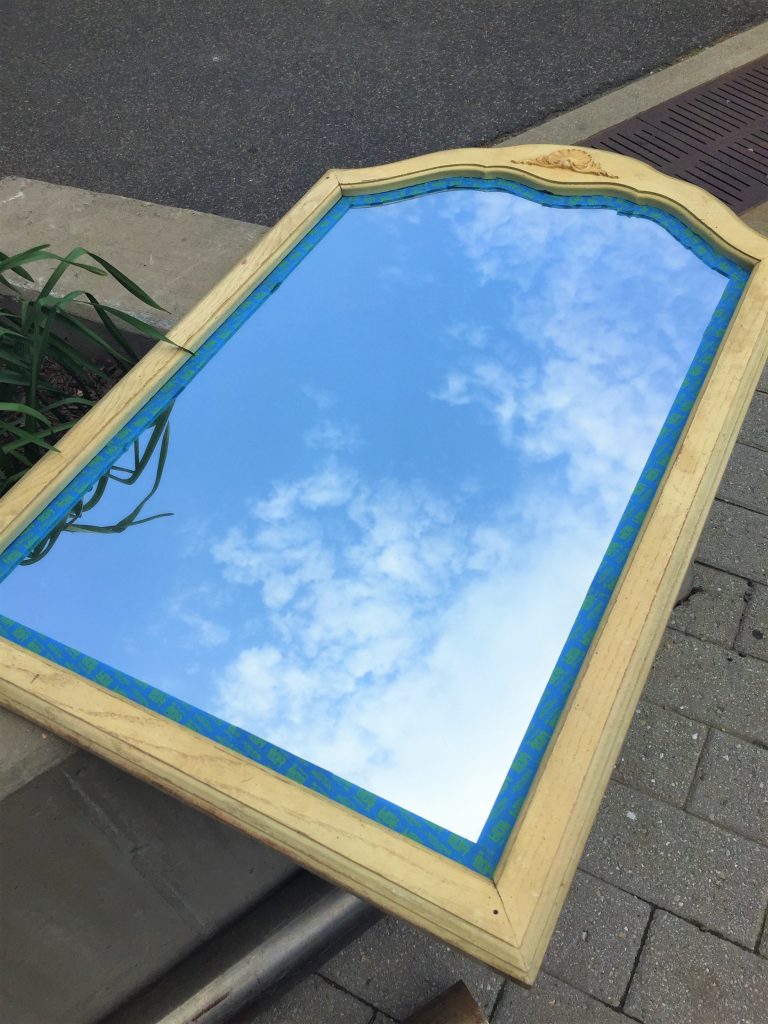
3. Liking the look of layering
To turn your piece from ugly duckling into beautiful swan (or from scary stepsister into Cinderella), consider adding several layers of different colors of paint, yet in the same tones. This process is so much fun because it will make your piece truly one of a kind and will allow the layers to call attention to special details. The crowning jewel on my mirror was the seashell at the top, so I wanted to ensure it got the royal treatment.
- Start by painting your entire piece with one color.
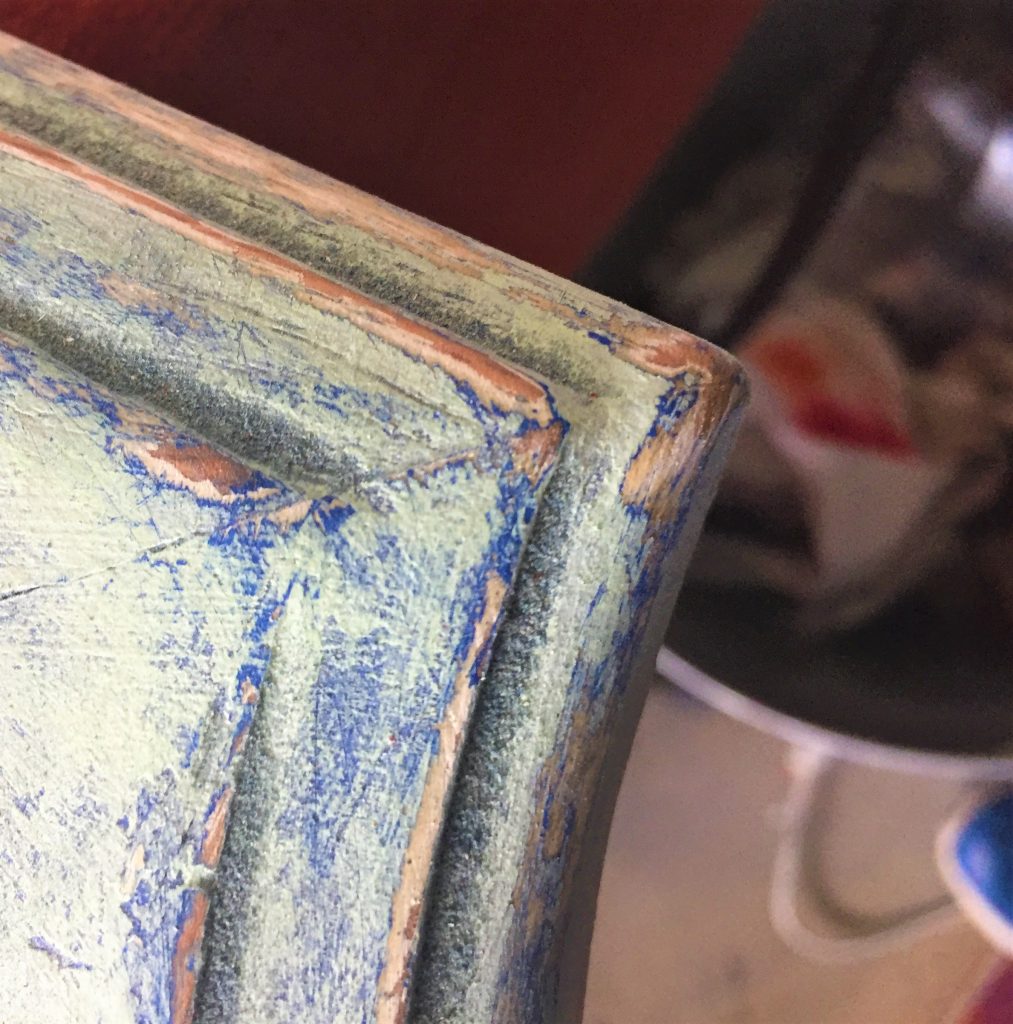
- Inspired by the shell, I chose colors from the ocean so first painted on a layer of deep royal blue, then let it dry.
- My next layer was a lighter blue. When this layer dried, I added an aqua color, again adding to the ocean feel of the piece.
- I lightly added some white, too, with just a small amount on the brush so it was applied thinly. If you are following these steps, don’t worry about each layer being perfect and covering the previous layer.
- Brush on quickly and lightly, allowing the color below to show through. And you can’t go wrong because all the colors will flow together nicely.
4. Distress to draw attention to details
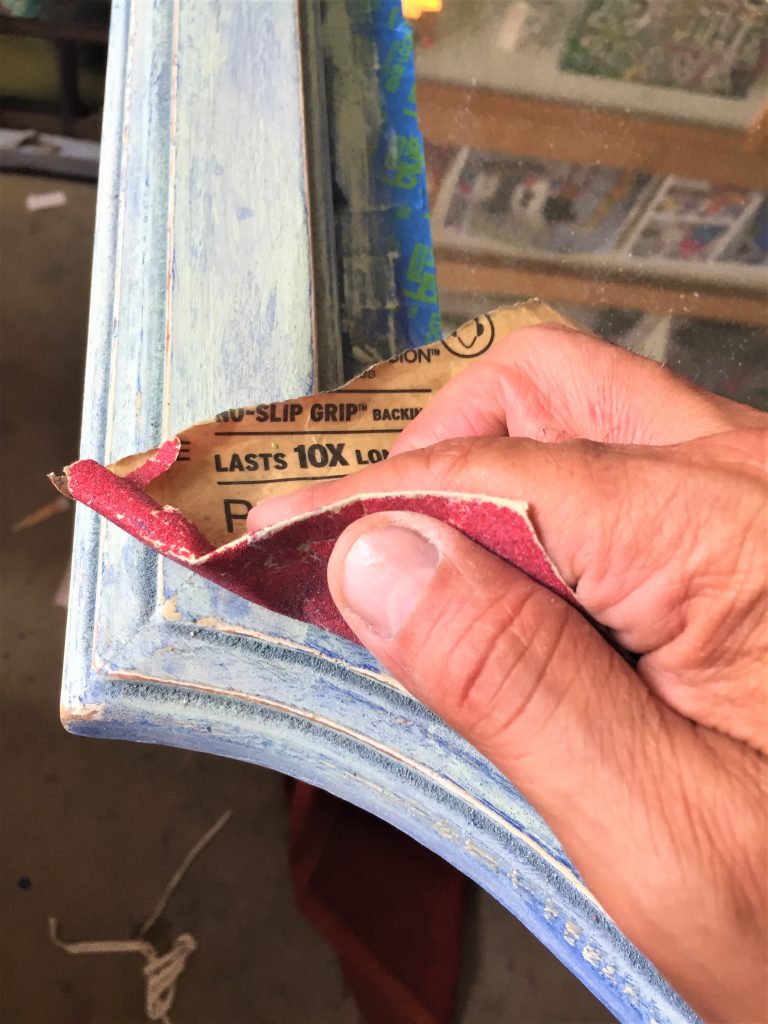
- Let your mirror, with its three to four layers of paint dry, overnight. When you return to this project, have your sandpaper ready for round two and the most fun part: distressing.
- Distressing is lightly removing the paint along parts of your frame that would “naturally” be worn so it feels aged and not staged. Lightly sand along every edge to help uncover the colors of the layers below. You might want to even get to the wood, so it shows, too.
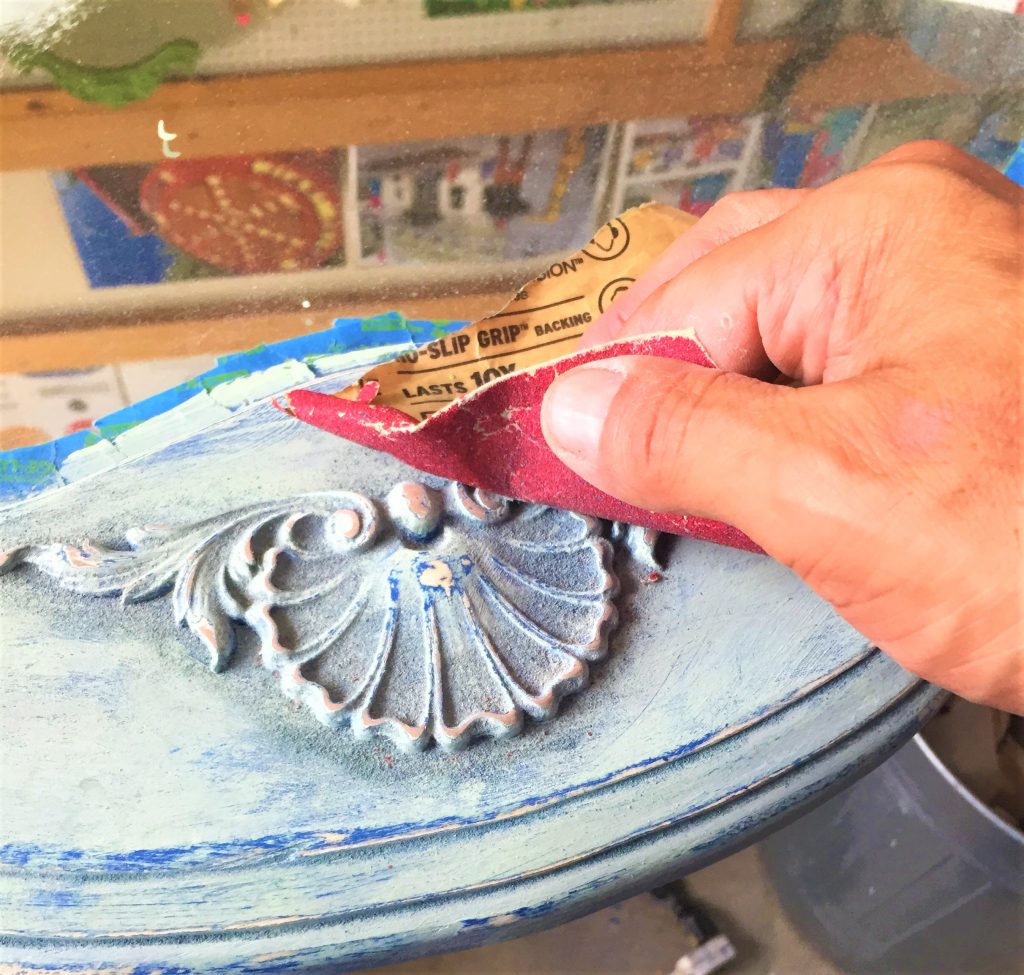
The seashell looked so beautiful because the various layers of paint helped to add visual interest and dimension to it. And the sanding pulled out its edges, so it truly looked weather and time worn, again part of the design and intention. The imperfections in the painting process and roughness of the sanding, truly give the mirror frame a vintage, shabby chic look which is perfect for the organic look I was desiring. Like with the earlier sanding process, be sure to brush off the dust created then carefully wipe down your piece with a damp rag or wash cloth.
5. Poly to protect your princess
To keep your mirror looking timeless, you will want to brush on a light layer or two of polyurethane.
- Choose a semi-gloss or satin finish and let your piece dry overnight before you come back to remove the painter’s tape and use window cleaner to make the mirror glass shine.
6. Display with delight

Mirrors are magical with any décor and this beauty will be welcome in any room.
Hang it in your foyer to bring smiles as you come and go. Set in on top of a dresser in your bedroom to reflect light.
Or place it on the counter in your bathroom to be able to check out your pearly whites.
And not matter if you are more Snow White or Prince Charming, you will feel like your piece was given to you by a fairy Godmother because of the happy way it makes you feel!
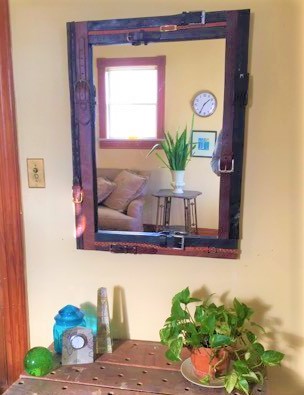
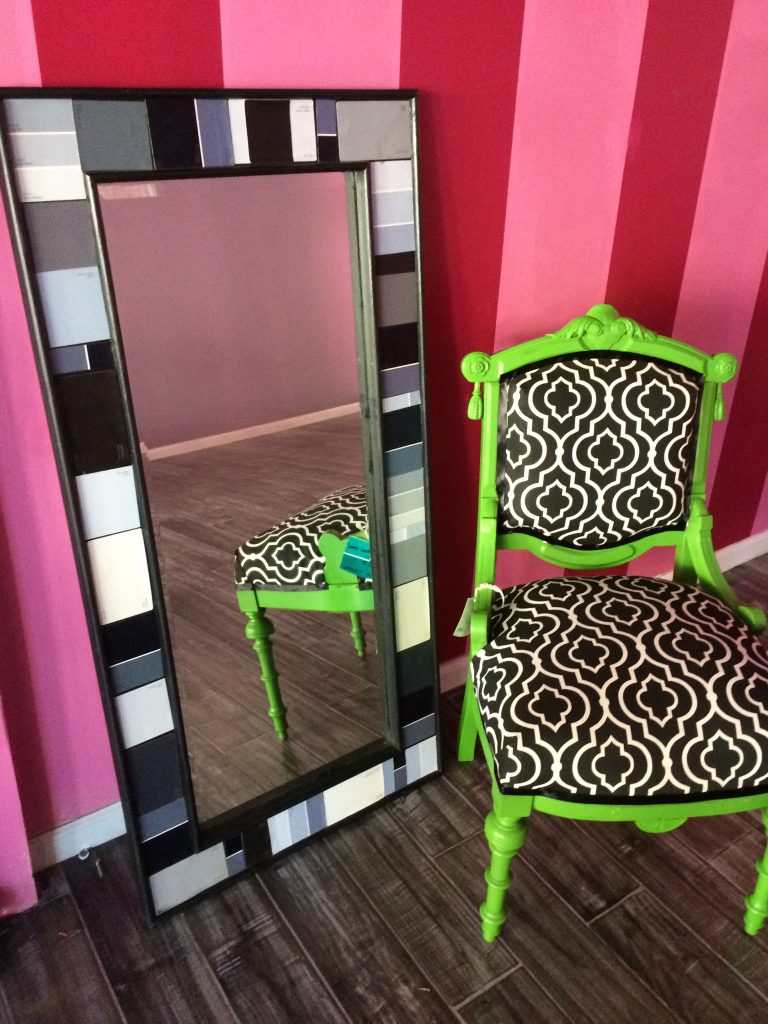
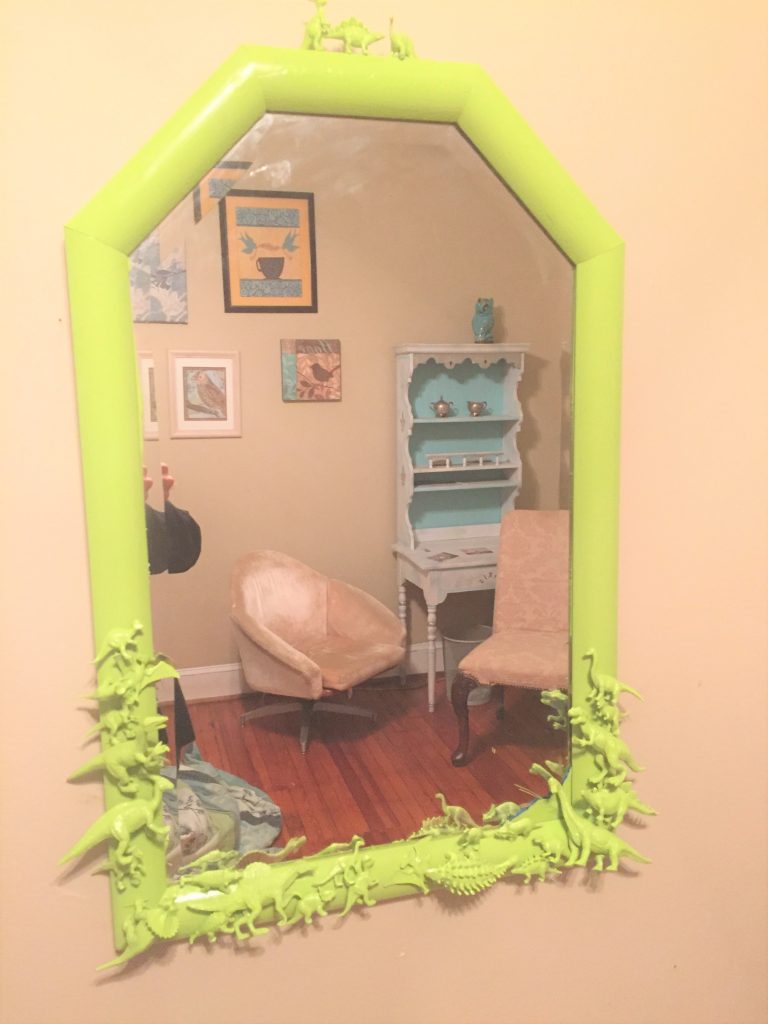
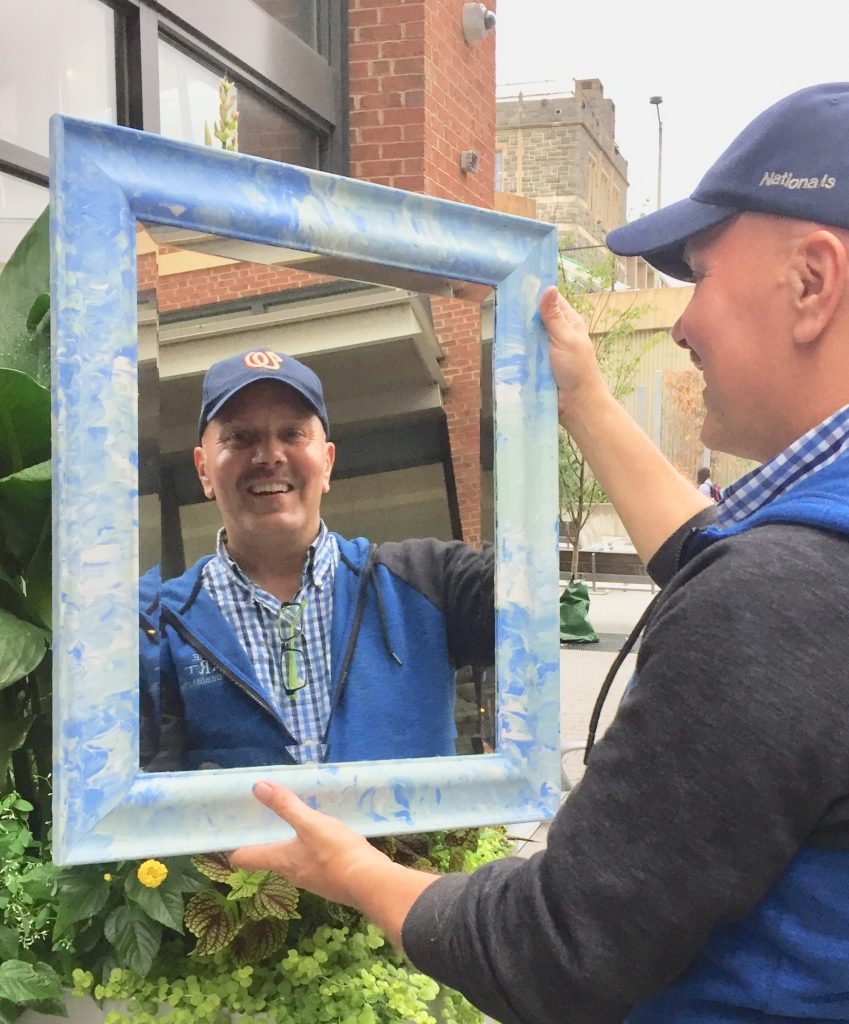
There are so many ways to transform a mirror into a functional work of art. Some of my other upcycled mirrors used old belts, paint chip samples, poured paints and coat hooks to make them really one of a kind! Check out Finding Your Good for step by step instructions on these, too.
