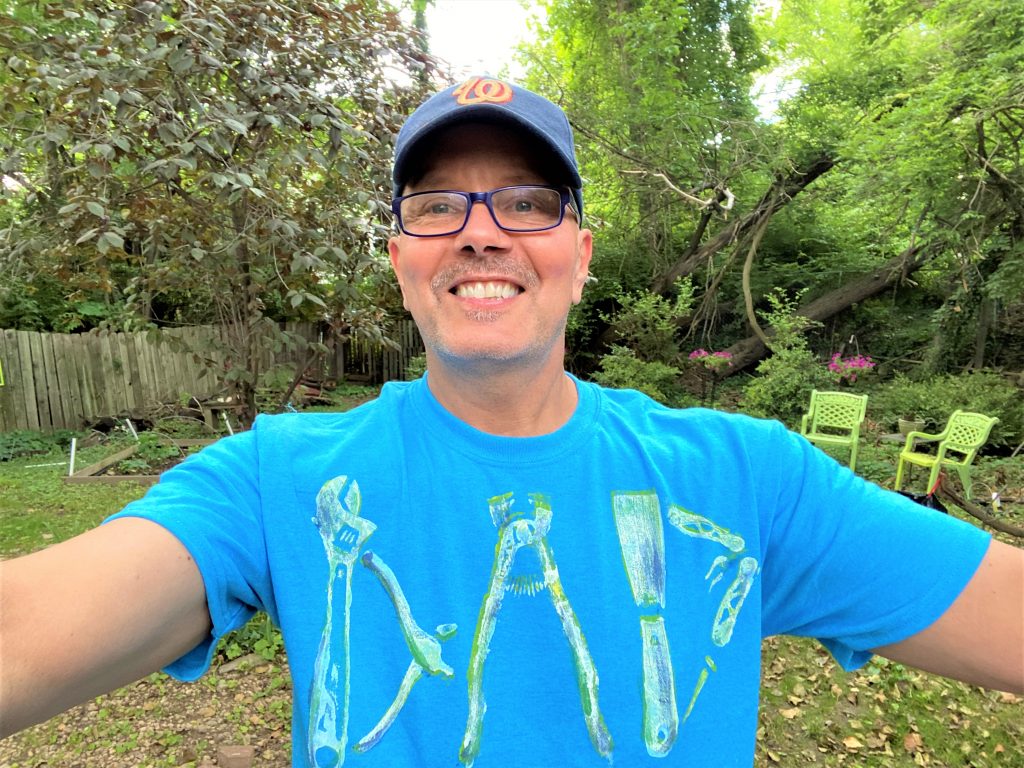
With this Father’s Day DIY project, your Dad won’t be upset one (tool) bit. Rather, he’ll say, “You nailed it!” when you use tools as stamps to decorate items. Your final creation will show him that he’s the best dad you ever SAW!
Supplies Needed
1. Handheld tools (wrenches, hammer, pliers, screws)
2. Bright paints
3. Paint brushes
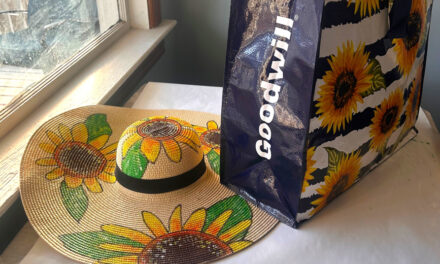
4. Items to embellish with these stamps (T-shirts, pillows) You obtain now obtain these from Goodwill
Time:
30 minutes (not including paint drying time)
Step 1: Time to get hammered (and wrenched and…)
Okay, I will clamp down on the tool puns, at least for a moment!
For this project, pick out which tools you have that are okay to paint up. You may even find some tools to use while out thrifting!
You will want to use smaller sized tools and other items like bolts or screws that are relatively flat and easy to handle.
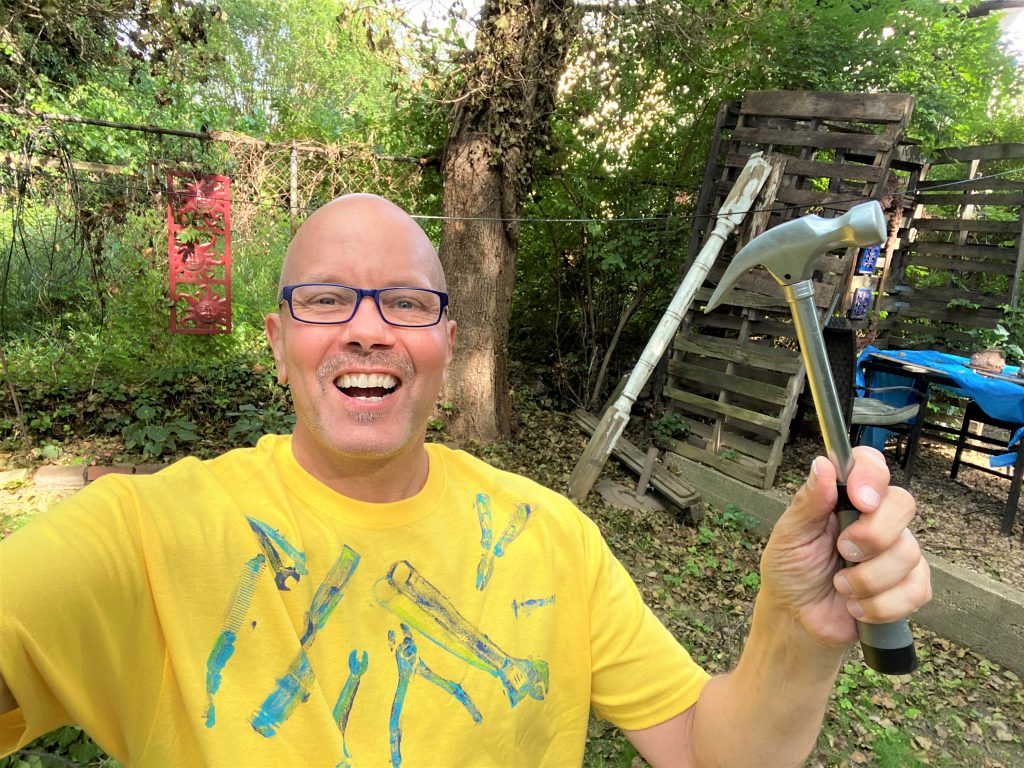
Taking center stage for these projects are a hammer, several different pliers and wrenches, a tile trimmer, paint scraper and some screws.
What is in your toolbox that has an interesting shape? What about a small handsaw or funky-handled screwdriver?
Step 2: Create your foundation
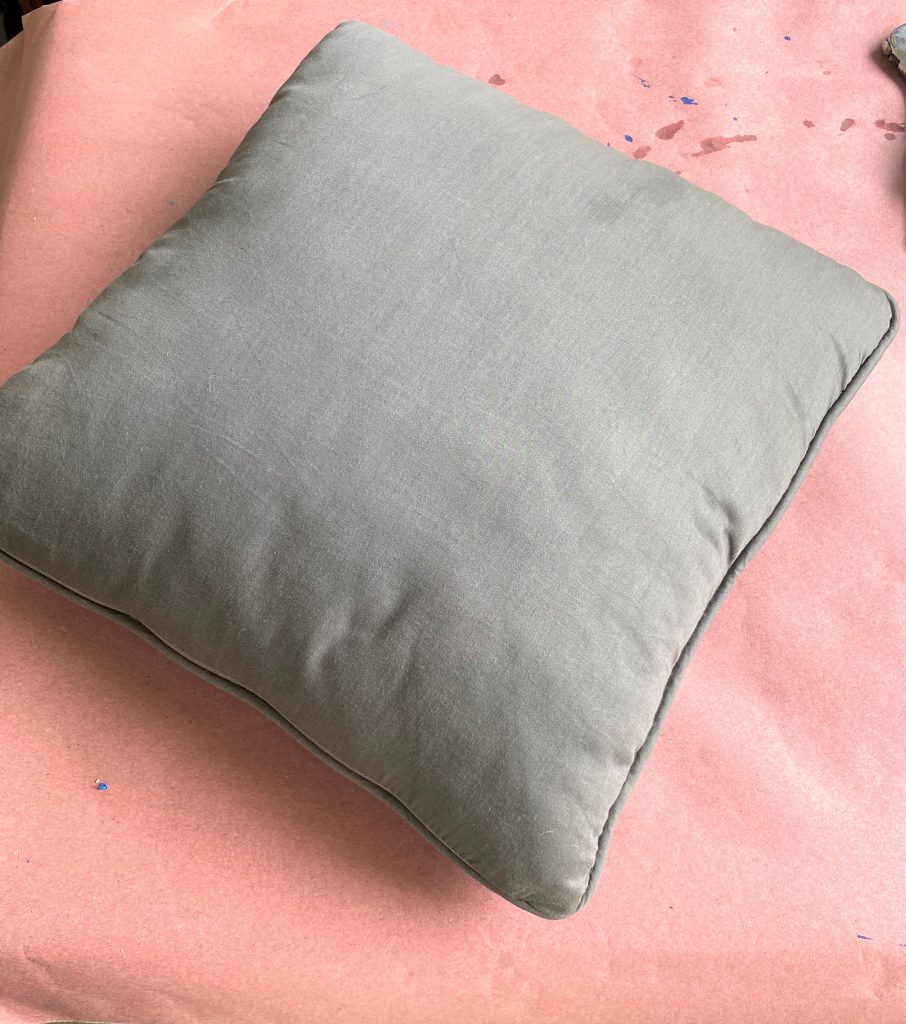
Now that many Goodwill stores have reopened safely and with lots of social distancing practices, you can head there to pick up some pillows for this project.
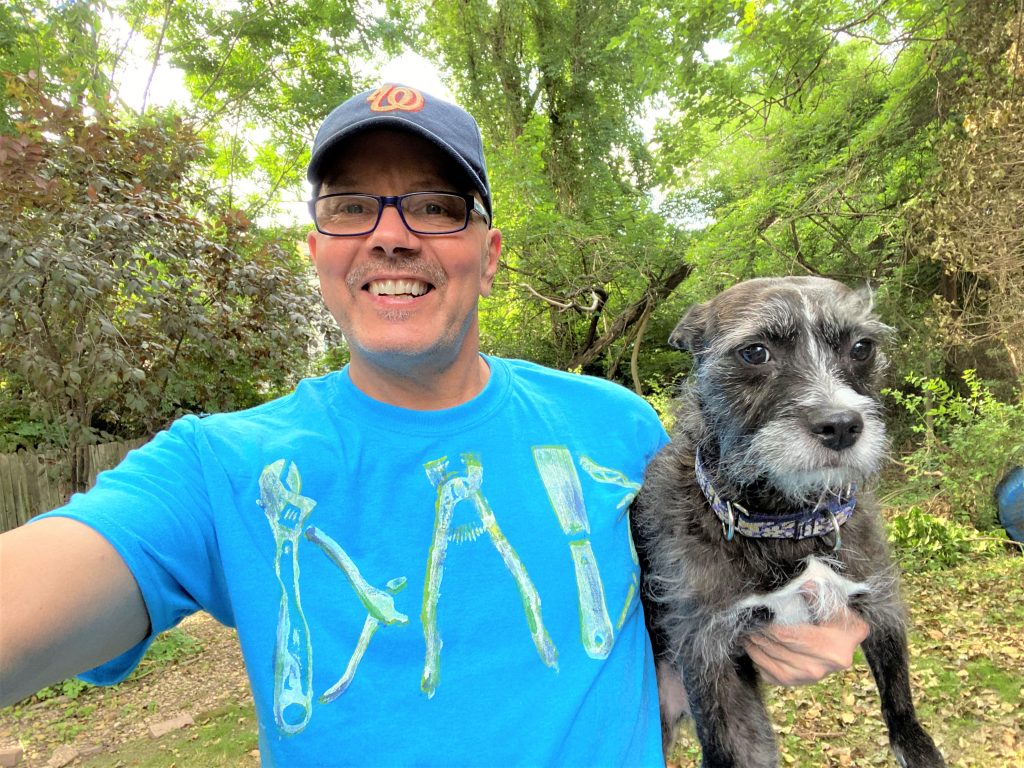
I had some colorful T-shirts on-hand that I got for just a few dollars at a local discount store. You also could do this project on a canvas bag or backpack. This would be totally cool on a denim jacket.
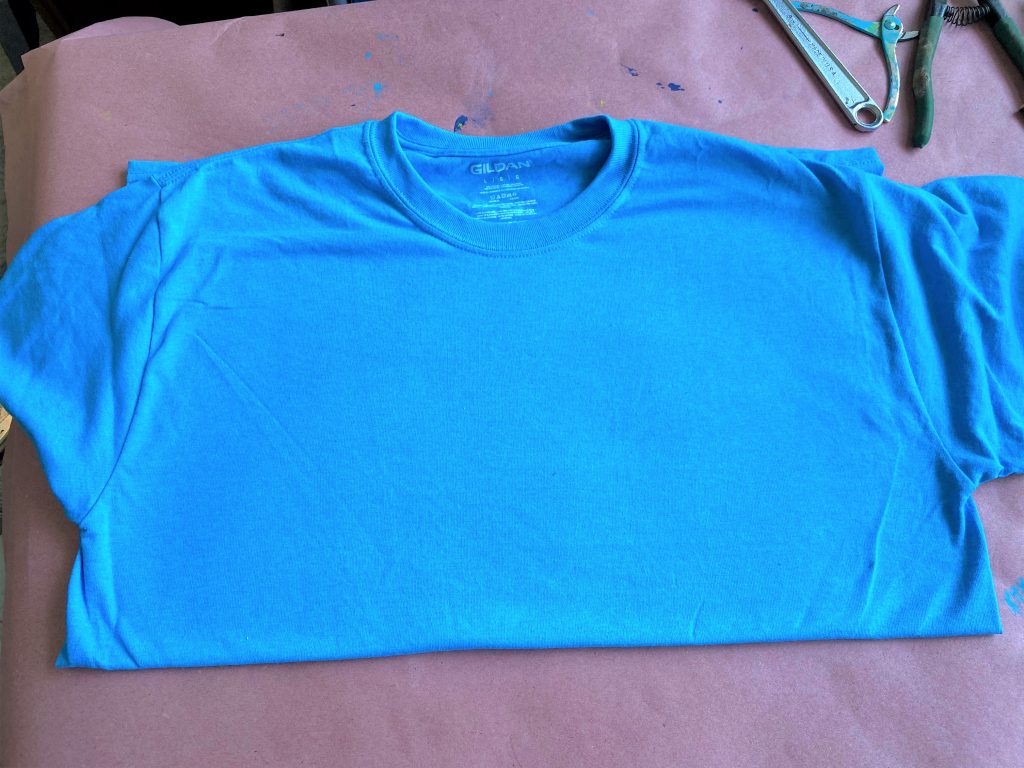
Goodwill always has interesting things on hand so look for items made of fabric that are “blank” and can provide a great foundation on which to be creative!
- When using a T-shirt, fold it in half and get out the wrinkles so the chest area is as flat as possible.
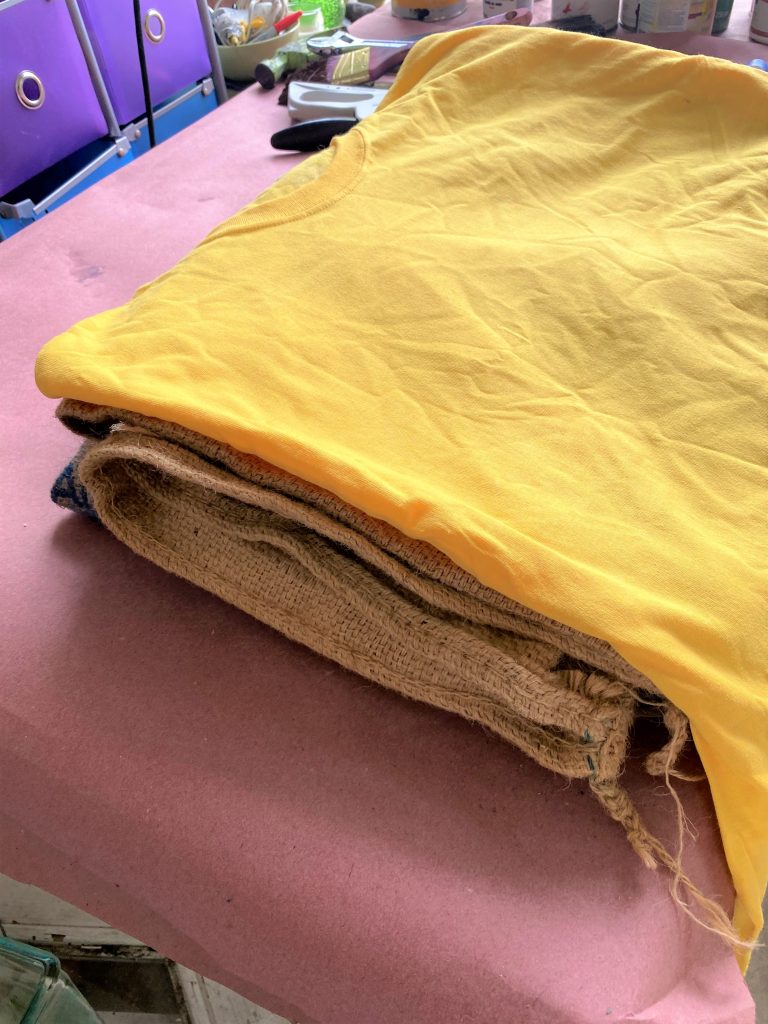
- Place your shirt on a stack of old towels; I had some burlap bags that were ideal to provide a cushion under the shirt.
- The cushioning under the shirt will allow the tool stamp to be pushed into the fabric and allow the paint to adhere nicely!
If you are using a pillow on which to add your tool-shaped stamps, then no need to place it on a stack of towels for this step because its fluffiness will do the trick then you place your painted tools on it.
Step 3: Lay out your design
- Position your tools on the chest area and move them around until they look balanced together.
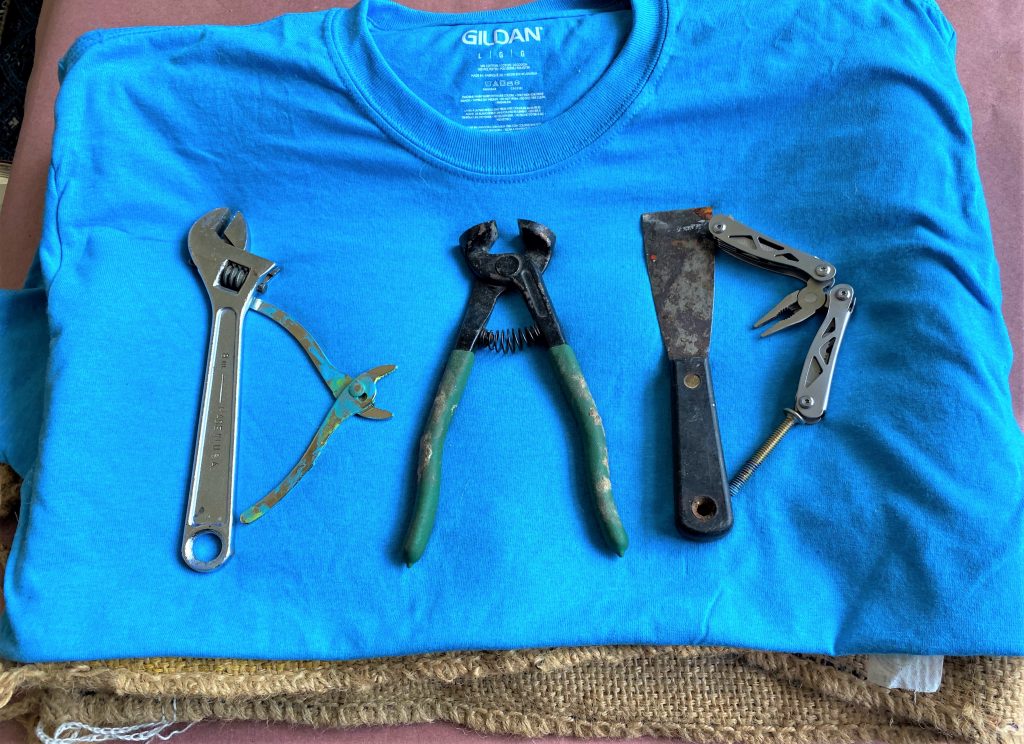
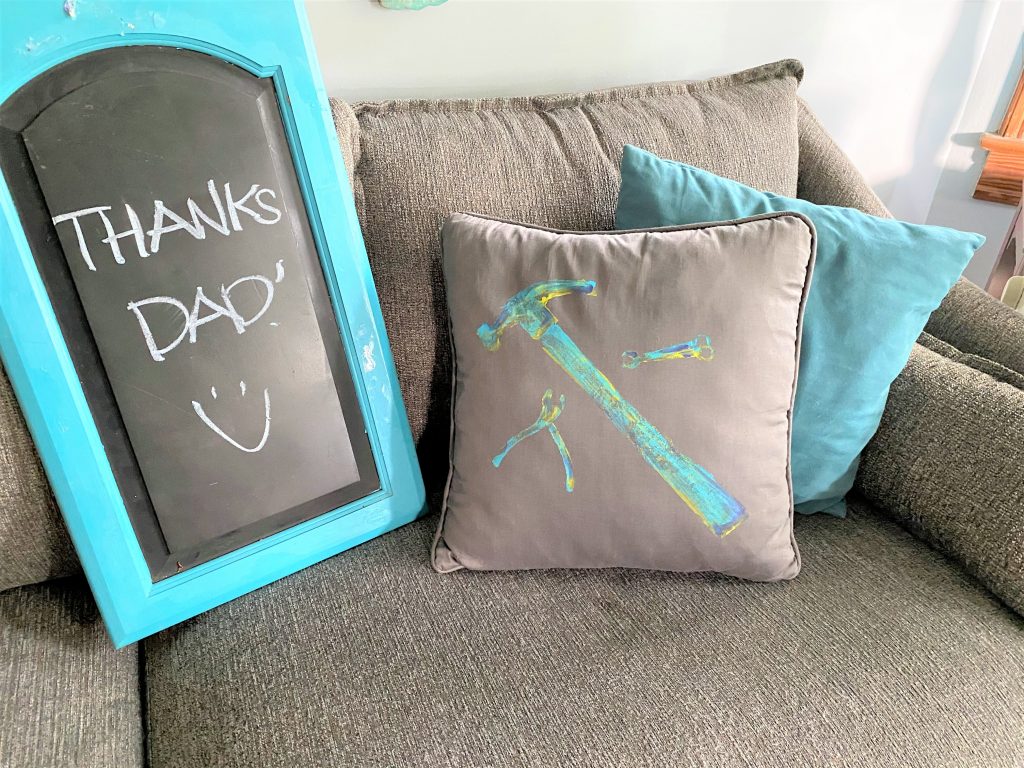
- Or you could get totally creative and see what tools you have available to spell out “DAD.” For the DAD shirt, I left the tools in place so that I would be sure to position them correctly during the next step: adding paint.
Step 4: Brush on layers 1, then 2 and 3
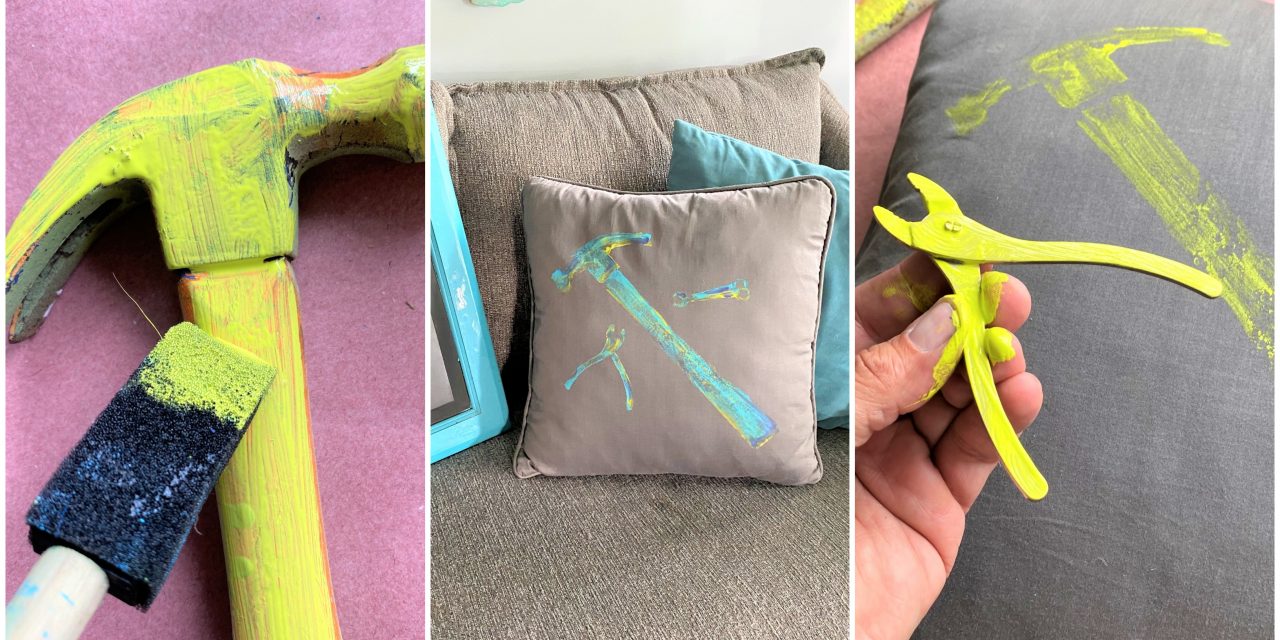
- I selected several bright paints for this project because I wanted the final result to be vibrant and cheerful looking.
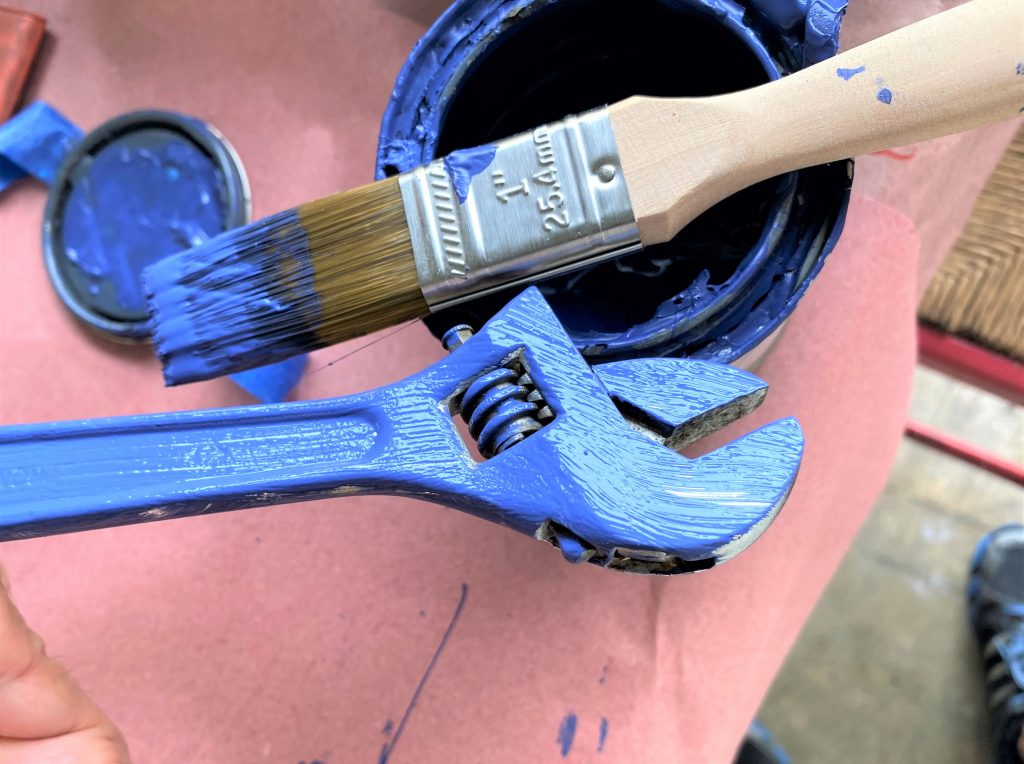
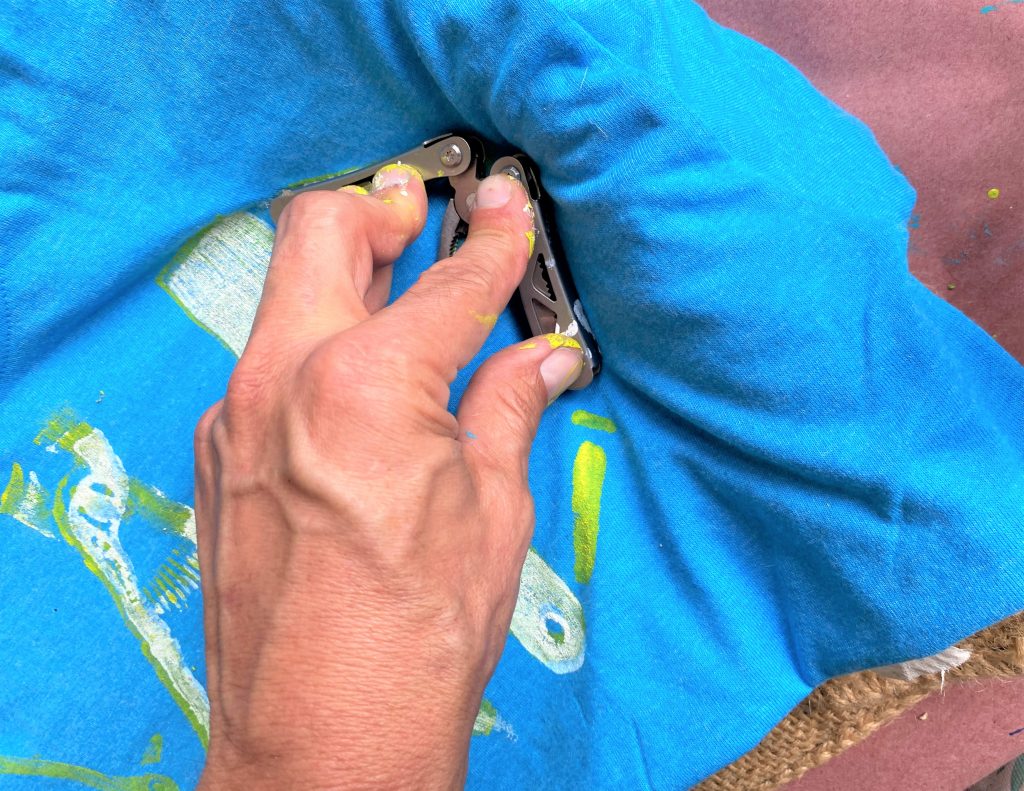
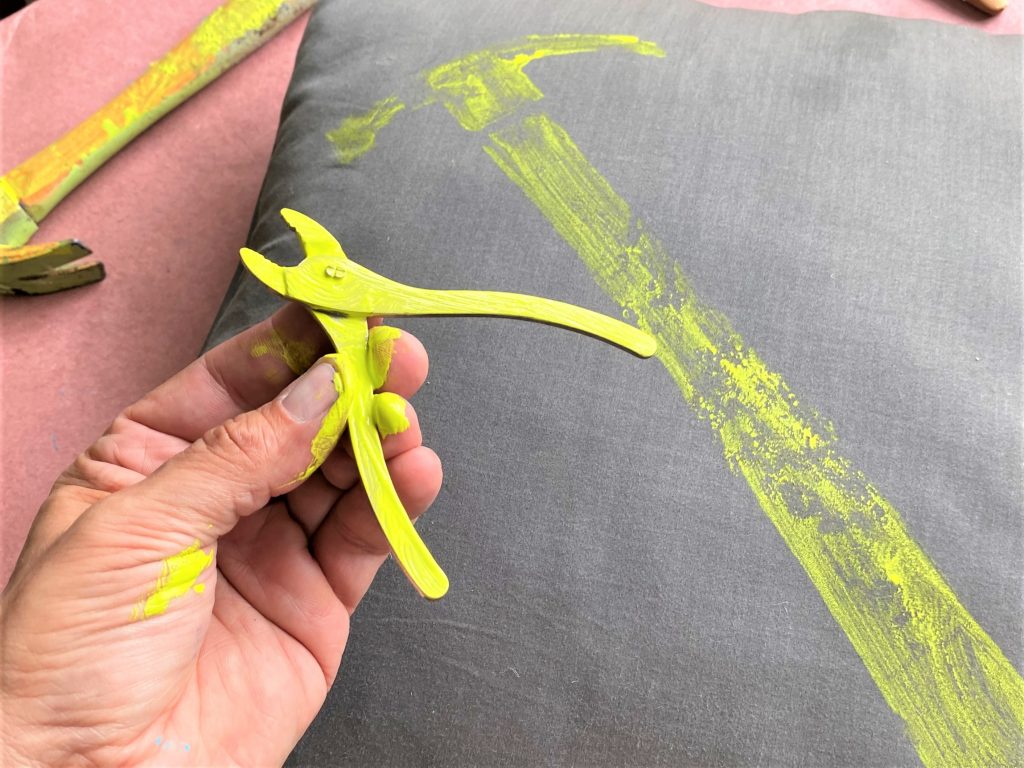
- Select your first color, then pick one of your tools and brush on a light layer right on the tool.
- Flip it over and set it on your shirt (or pillow) where you want it to go.
- Push firmly down so that tool and its paint touches as much of the fabric below it as possible.
- Carefully remove it so you don’t smudge your stamped print; also be careful to not touch the cloth with your fingers which will likely have paint on them. This is kind of a messy step as you paint, flip and press the tools in place.
- If you are doing this project with a younger kid, you might want to help them at this point so the paint goes were they want it to go!
- Repeat this step with all the tools you selected.
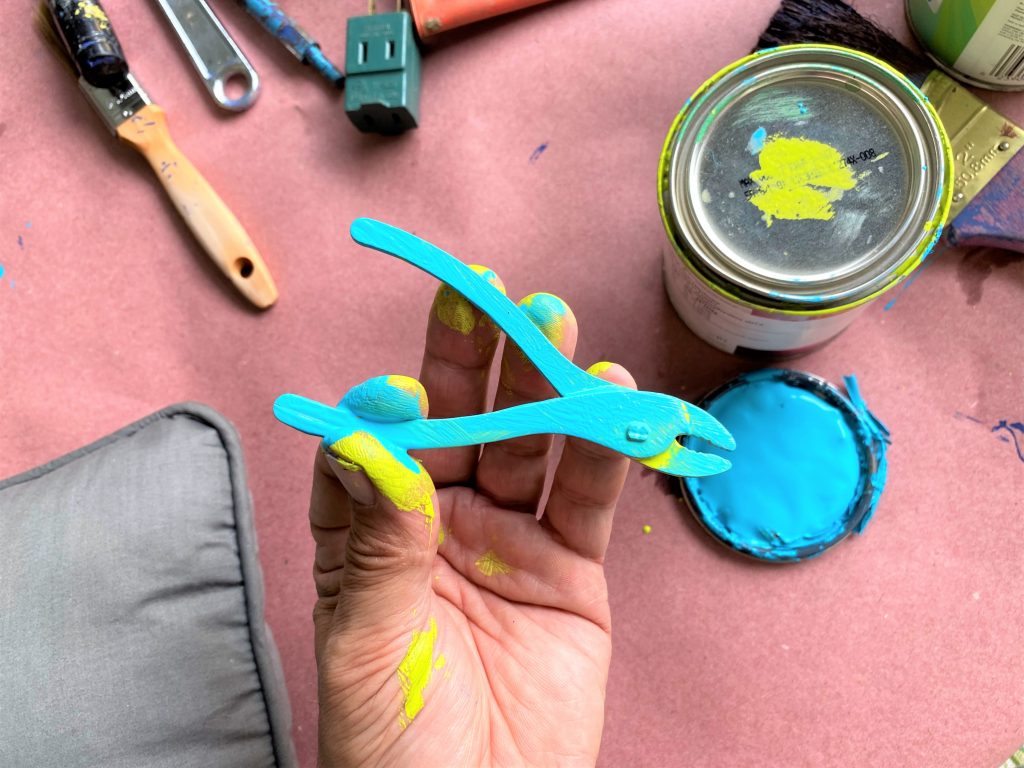
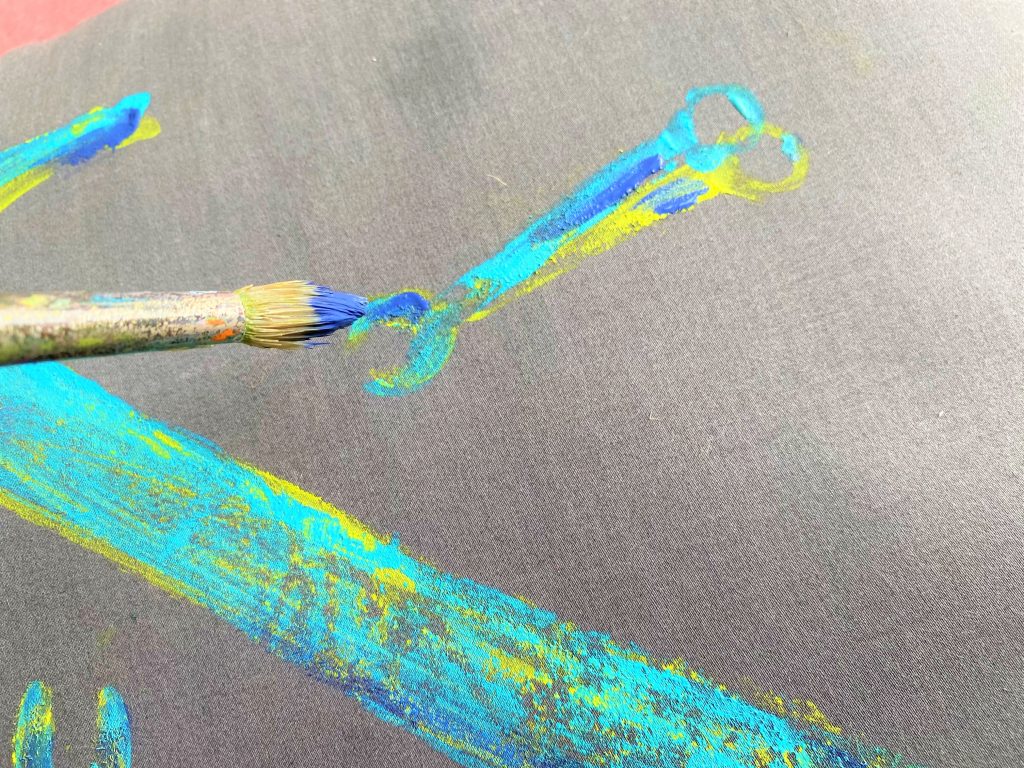
- Add the second color to each tool, brush it on, flip it over and do your best to position it in the same place as the first.
- Repeat, repeat and repeat with each tool so the second paint color/layer gets right on top.
- If the first layer isn’t totally dry, that is fine as it looks nice to have a slight blending of the colors.
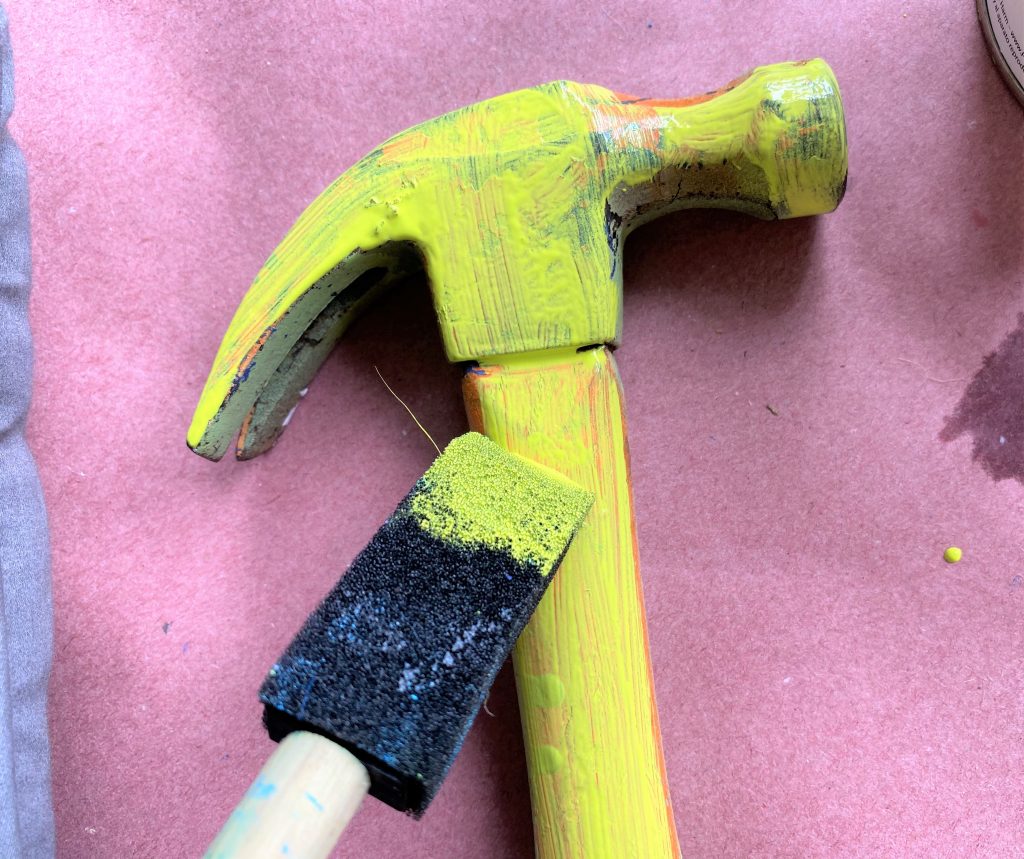
Expert Tip: When stamping on the paint, I discovered that some of the tool’s shape didn’t come across as fully as I wanted. Therefore, I dabbed on more paint, filling in some of those areas. I liked that the original surface showed through the various paint layers. You may need to do the same (dabbing on more paint) so that your tool stamp/shape looks good.
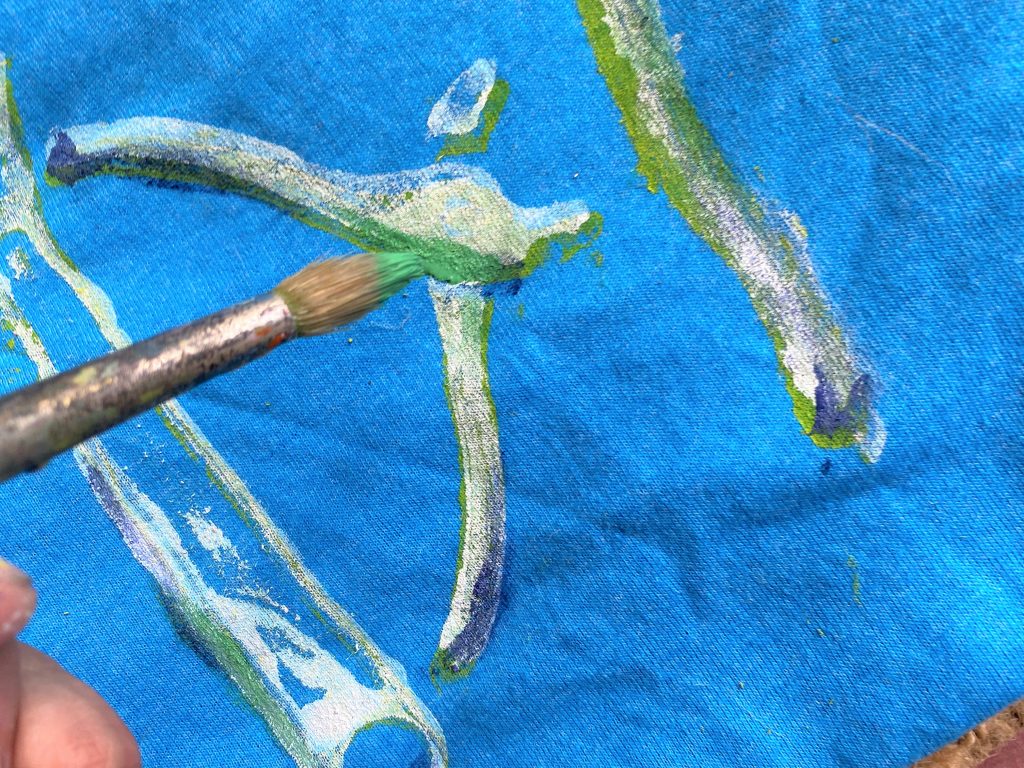
Step 5: Add highlights
- With a third color (or even a fourth color), use your small paint brush to add highlights.
- I brushed on an additional color along edges and added highlights in other parts of the tools.
- This last step will make your shirt or pillow look super “graphic” and sharp.


Expert Tip: While your projects are drying, take time to carefully wash off the paint you brushed on your tools. Carefully dry them, too, to avoid rusting.
Step 5: Let it dry then wrap it for Dad!
Once dry, wrap up your tool stamped T-shirt and/or pillow for your Dad for this weekend’s Father’s Day celebrations.
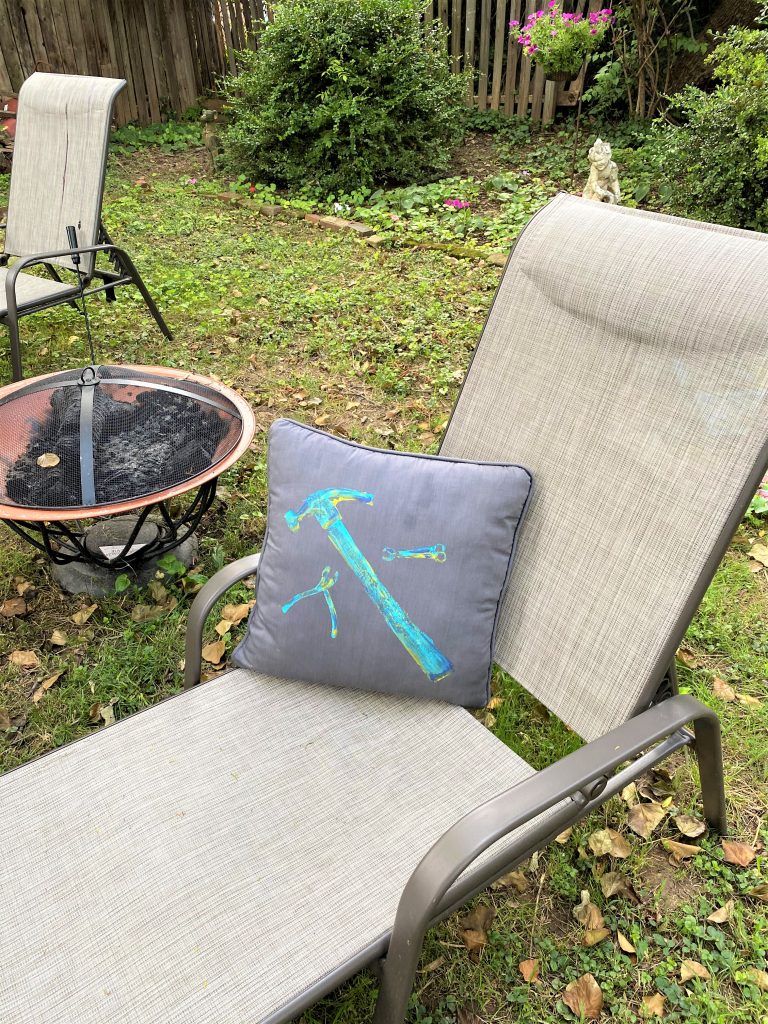
He will love wearing the shirt that you lovingly made in his honor. He can place the pillow on his favorite outdoor lounge chair or on the couch in his place of relaxation.
This is one gift that he won’t want to return or forget about (like another tie!) and will enjoy it for years to come!
Maybe your Poppa or father-figure isn’t a tool kind of guy. You could try this with golf balls, tees and the head of a putter for the golf lover in the family. How about a couple of small trowels and the end of a yard hose for your gardener guy?
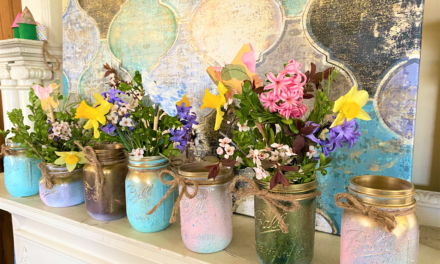
This project was inspired by my recent blog here that featured fruit as stamps. I still want to try veggies, too, as stamps.
What ideas do you have to use for this project? Please share them with us and send us your photos, too. We love to see your spin on our projects and find it inspiring!

Tim Kime
Artist, Motivational Speaker, Life Coach

