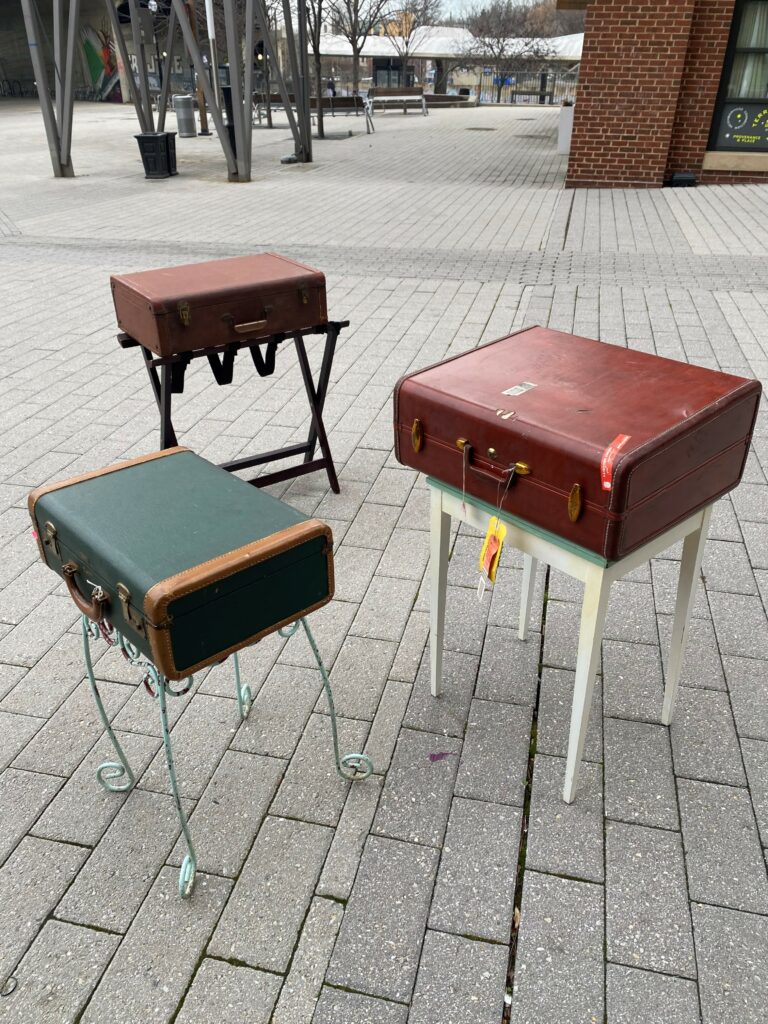
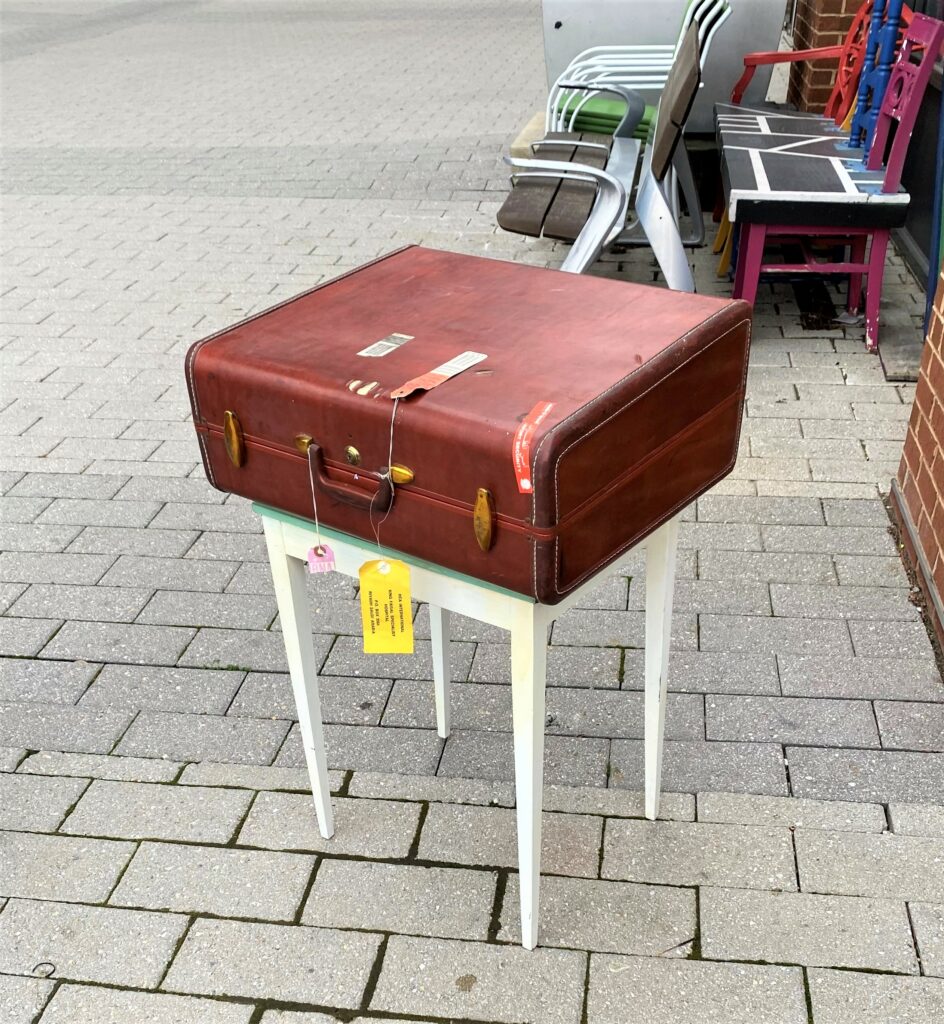
Get your DIY passport ready for this journey of transformation! Repurpose an old suitcase into an eye-catching, conversation-starting side table. Sturdy, storage, and style all come together when you follow these simple steps.

Everyone can connect with a suitcase since we all travel—whether it be around the globe or overnight at Grandma’s house. Today, most suitcases are made of a strong fabric and have pull-up handles and ready-to-roll wheels. Yes, all very functional but not nearly as charming and whimsical as the luggage of days gone by. No need to send these cases to the attic or basement when they create new memories as an accent table.
Quick—send a postcard that your DIY talents have packed their bags and are soaring to new heights!
Items needed:
· Solid-sided suitcase, ideally square/rectangular in shape
· Small accent table or plant stand
· Epoxy glue
· Paint
· L-brackets
· Screwdriver
· Jigsaw
· Drill
· Sandpaper
1. Plan your next adventure to Goodwill
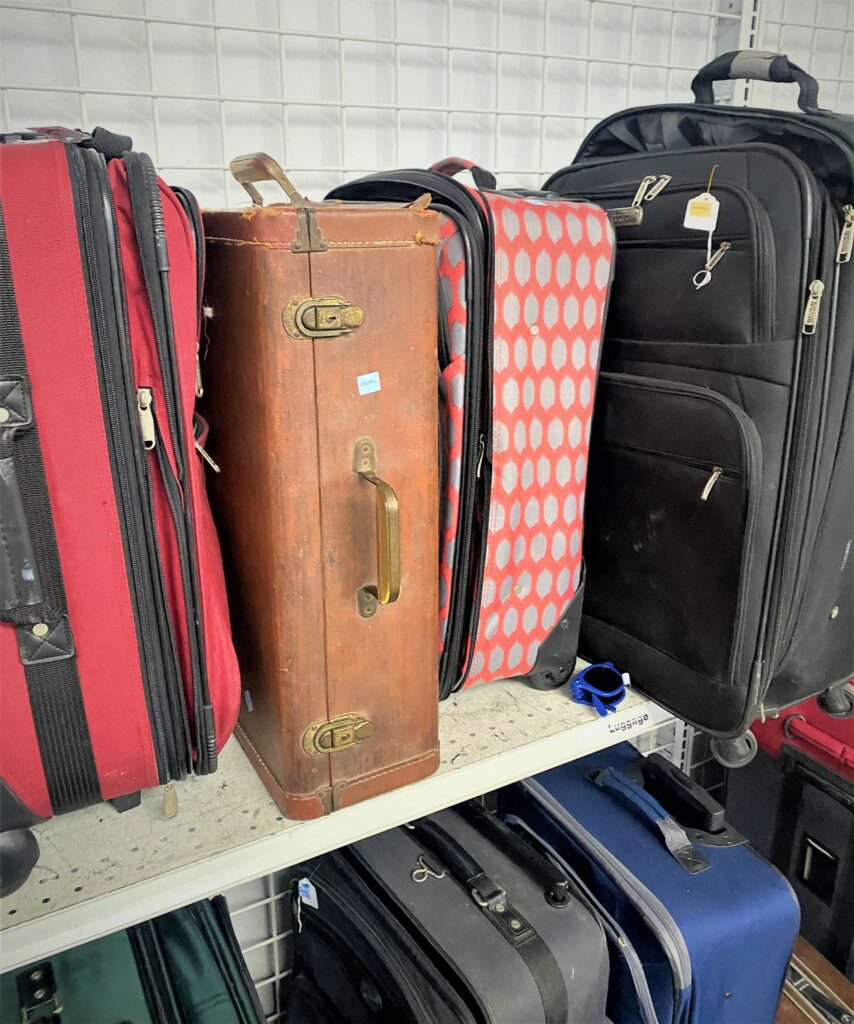
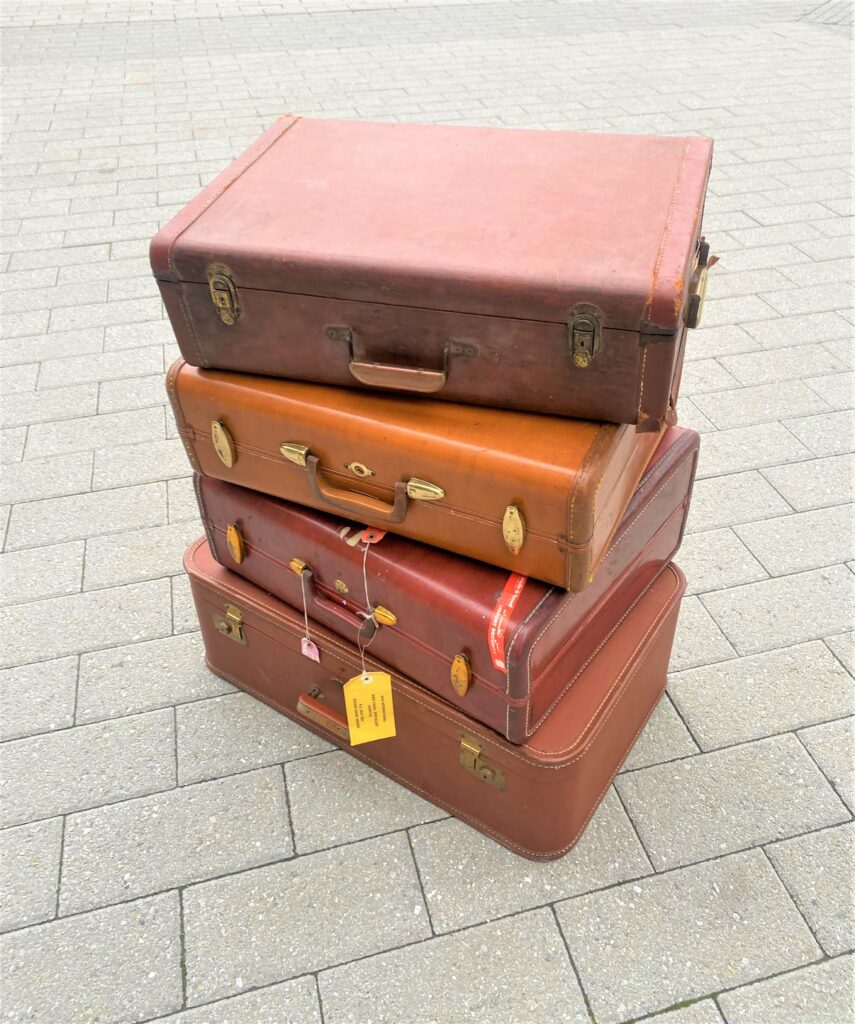
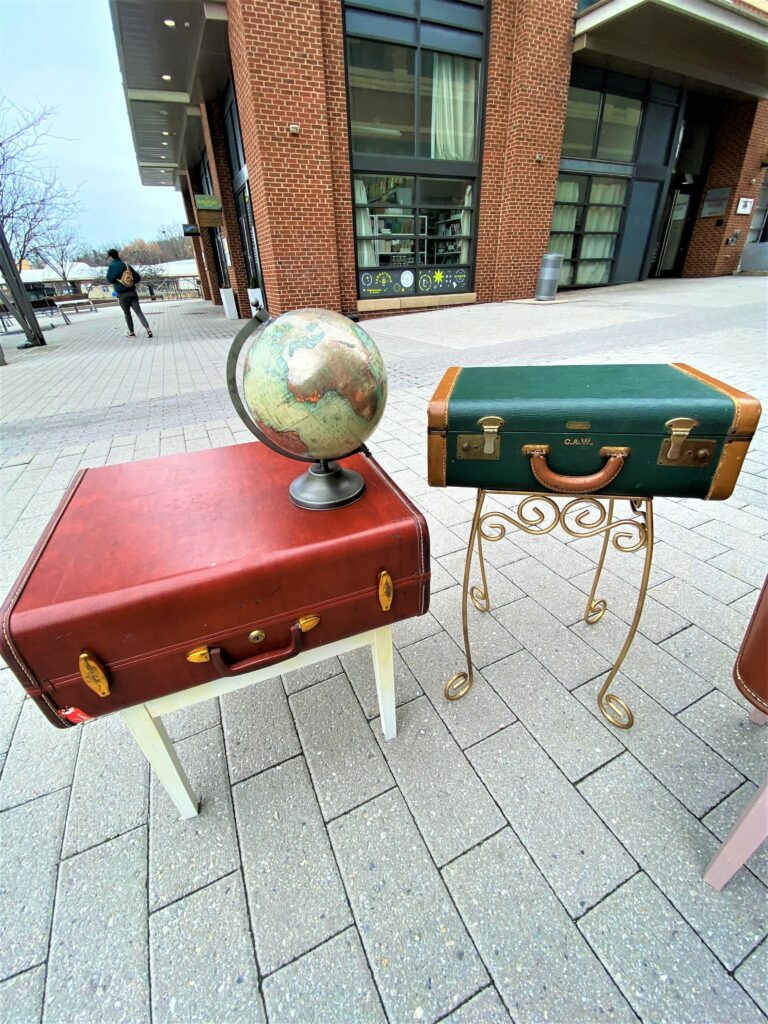
Get out your map, turn on your GPS, and plug in your destination: your nearby Goodwill store. While there, check out the section holding donated luggage and suitcases to see if you might score and find a vintage one in the collection. If you are like me and are a frequent Goodwill shopper, then you know that vintage suitcases are rare there, so grab one if you see it for this project. Those featured here were collected over many excursions to Goodwill.
Who owned these pieces, and where did they go with them? It is exciting to imagine the stories that these suitcases might be able to tell. One thing is for sure; you’ll be able to tell a great DIY story when you turn it into a charming side/coffee table!
And as long as you’re at Goodwill, check out the furniture section to see if there are small accent tables or sturdy plant stands that you can use for your future suitcase table’s base. It is so much fun to pair two items with two purposes into one cool piece.
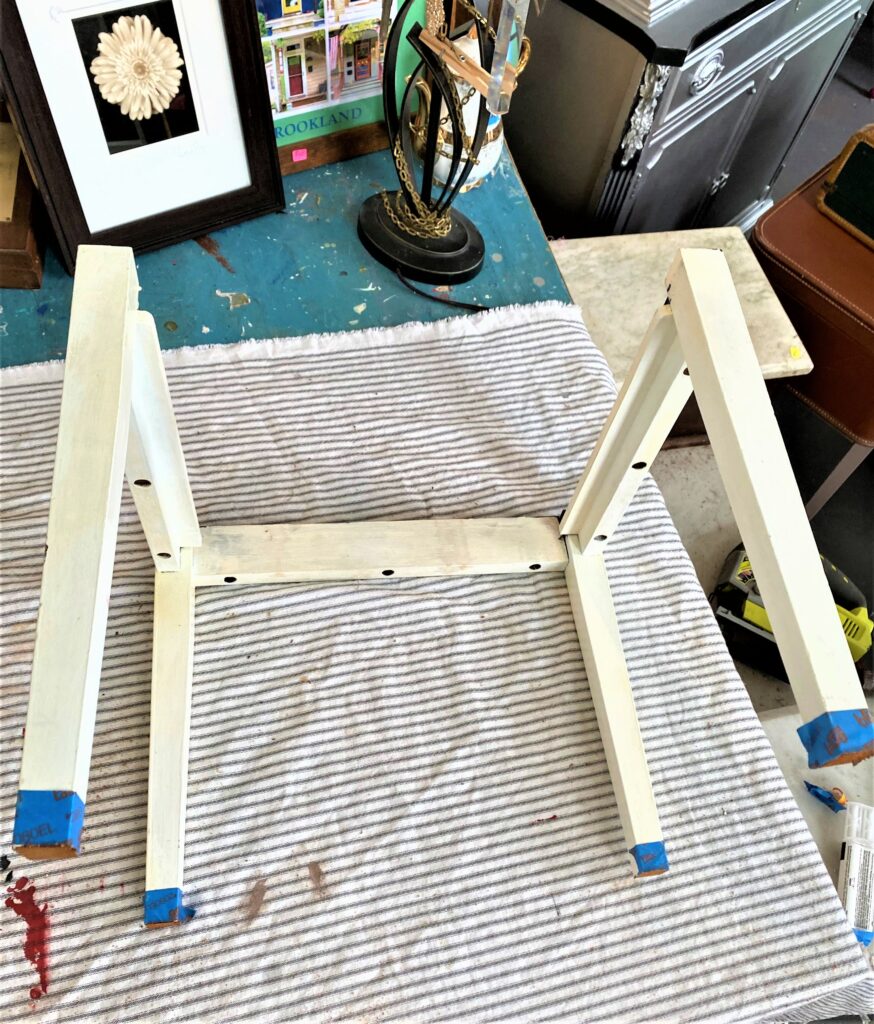
2. Disassemble, saw, and save
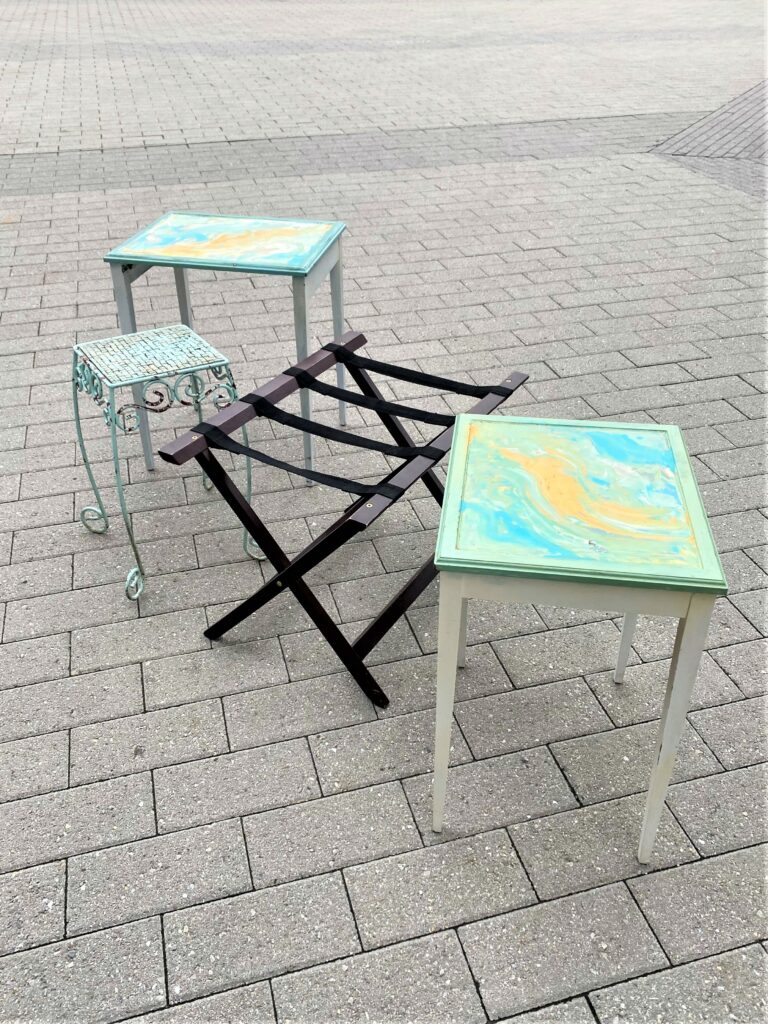
Two wooden side tables and a metal plant stand were enlisted for this repurposing project.
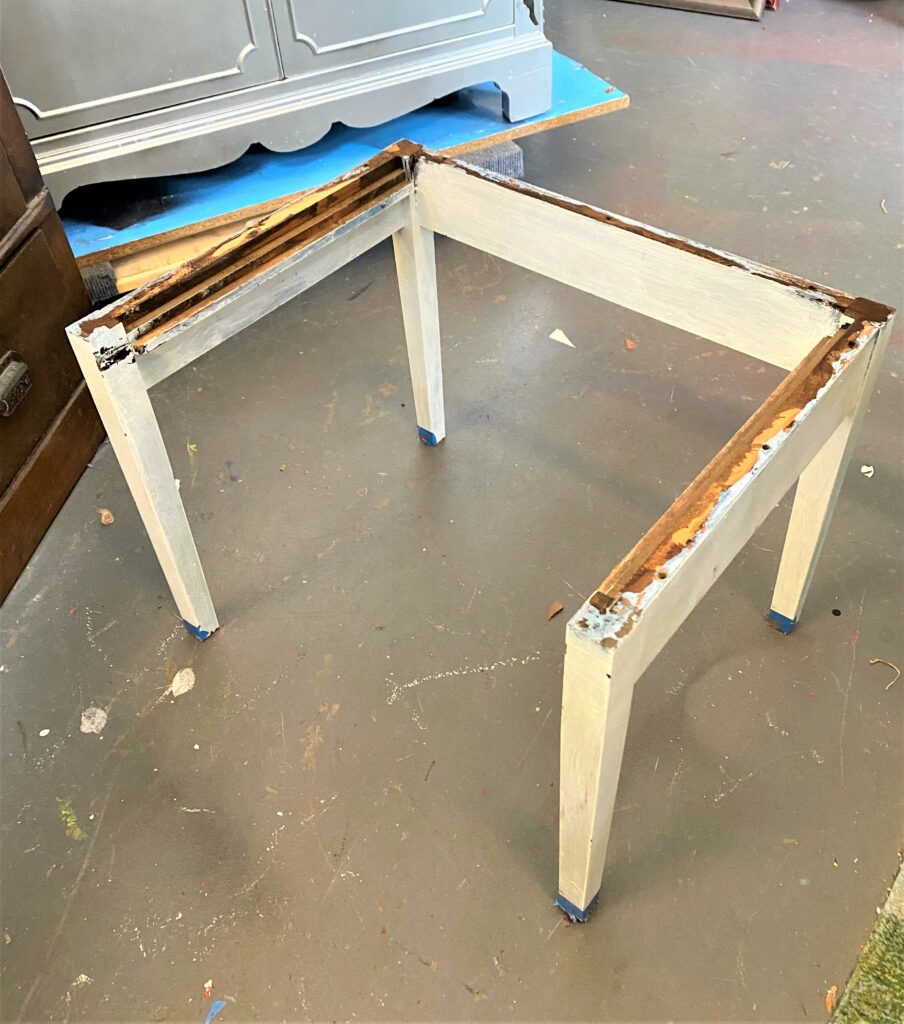
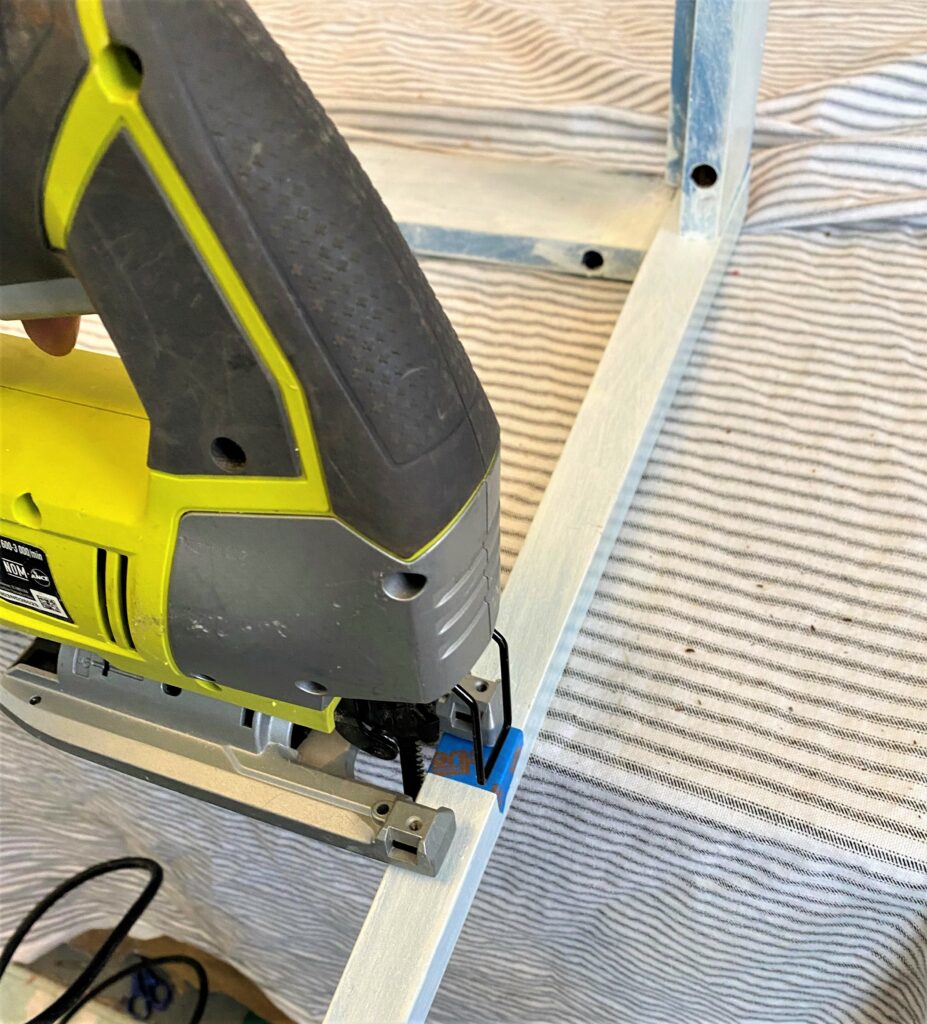
Most side tables are approximately 20 to 27 inches in height. Given the thickness of the suitcases to be used, they would be too high, so nine inches were cut from the wooden legs. A jigsaw was used to trim the tables down to a more suitable (Ha! A luggage-related pun!) height after the wooden tops were removed, leaving just the base of the legs. Use sandpaper to smooth out the cut ends.
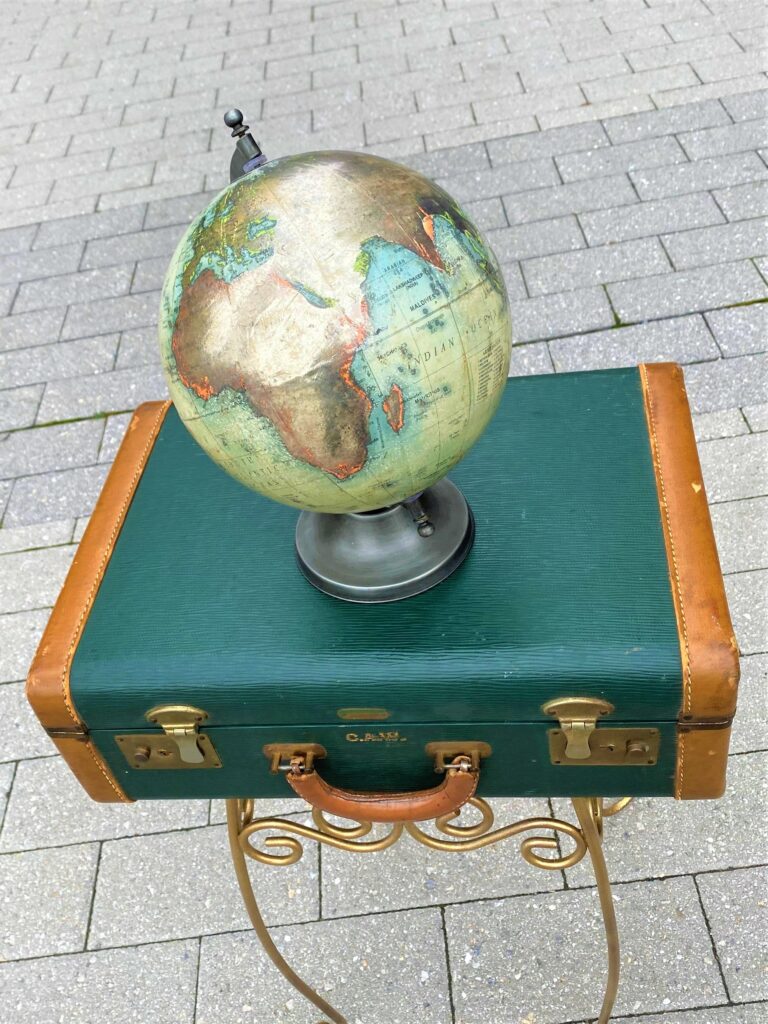
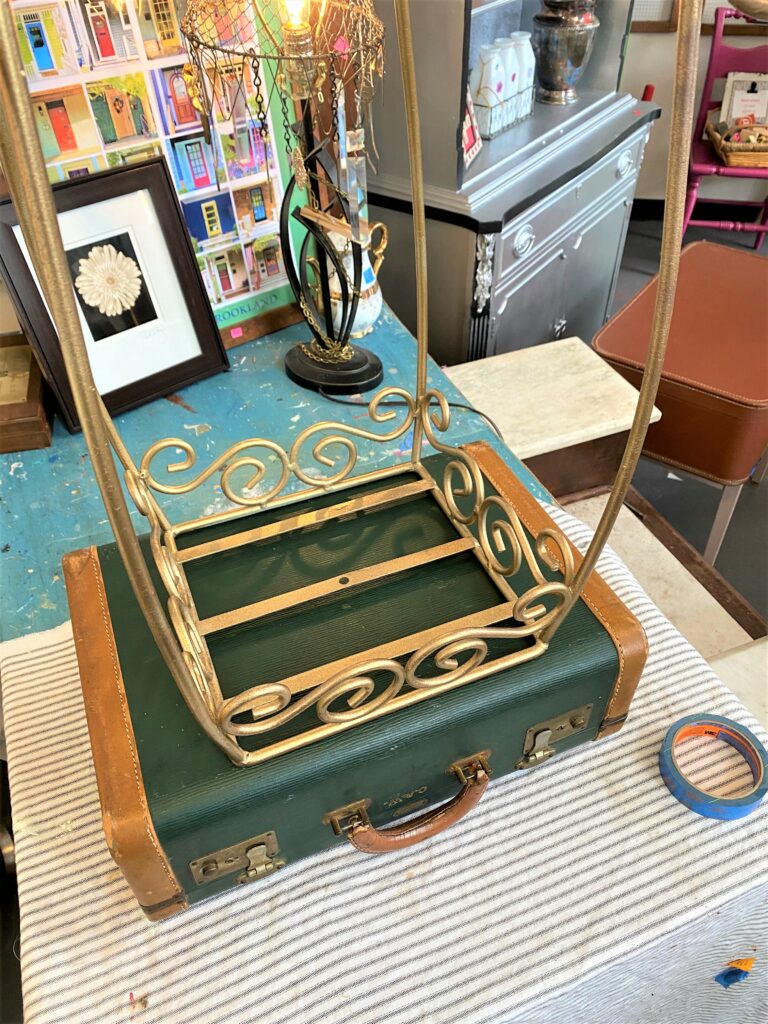
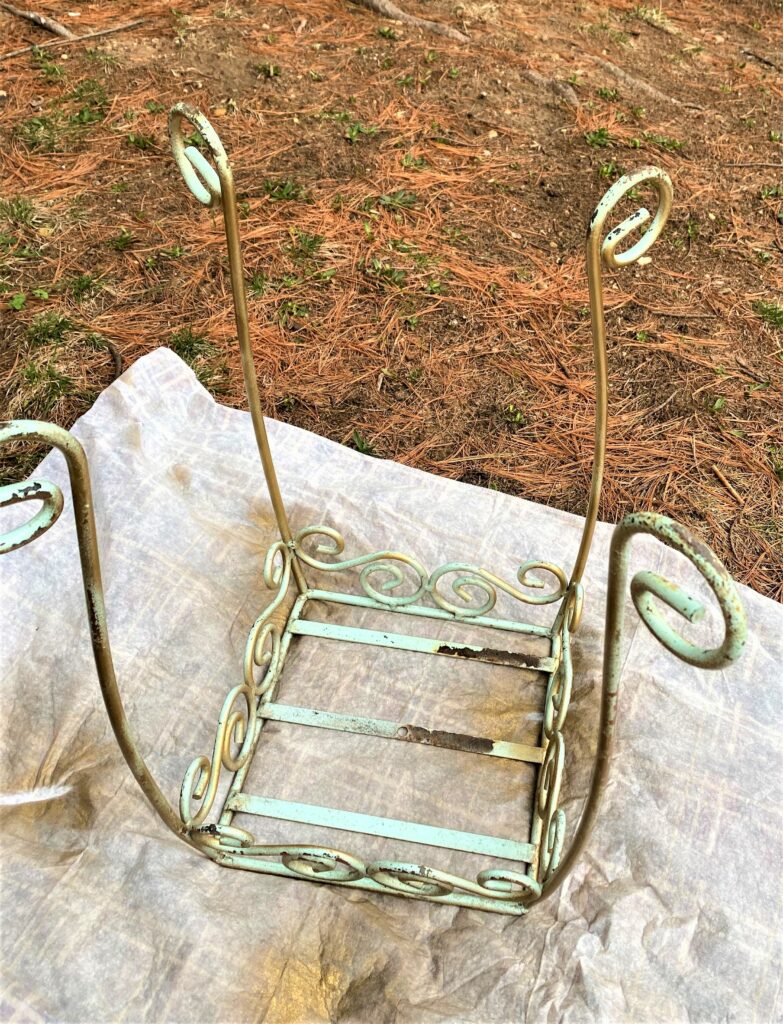
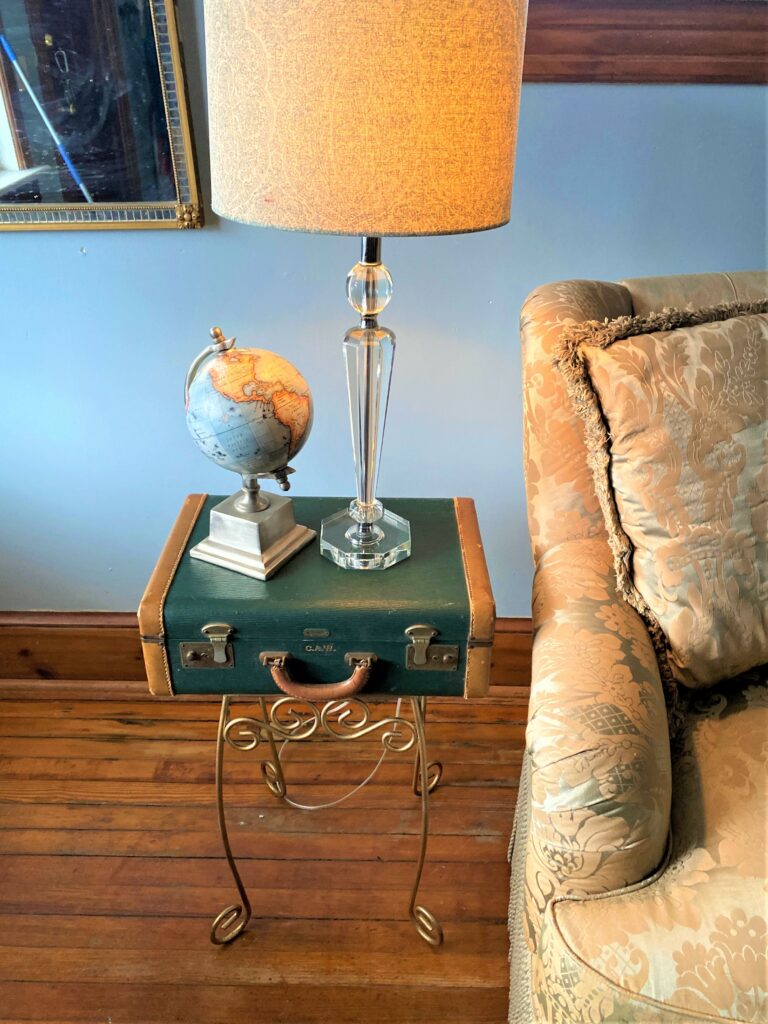
The plant stand was a perfect height when paired with a small suitcase, so, thankfully, no alterations were needed. The top panel was unscrewed and set aside for a future upcycle project.
3. Screw & glue to secure
- Flip your suitcase so the handle faces you, and its top side (when opened) is now downward.
- Place your wooden frame with the table legs, now shortened, also top-side down and on your suitcase.
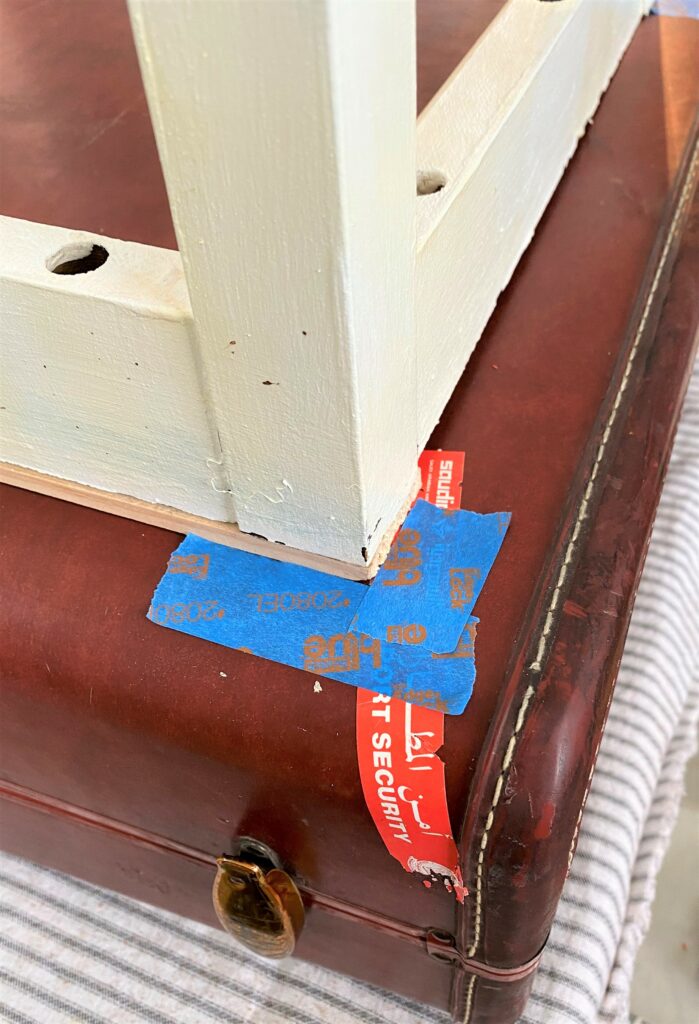
- Use a tape measure to ensure the table legs are evenly positioned/spaced on the suitcase, then mark that with a pencil or pieces of painter’s tape.
- Remove the table legs, add fast-drying epoxy glue along the top of the wooden table frame, flip it back over, and put it on top of the suitcase, lining it up with your markings or tape.
- Hold it in place while the glue dries.
- Add L-shaped brackets with more glue and add screws through the bracket and table legs, not through the suitcase.
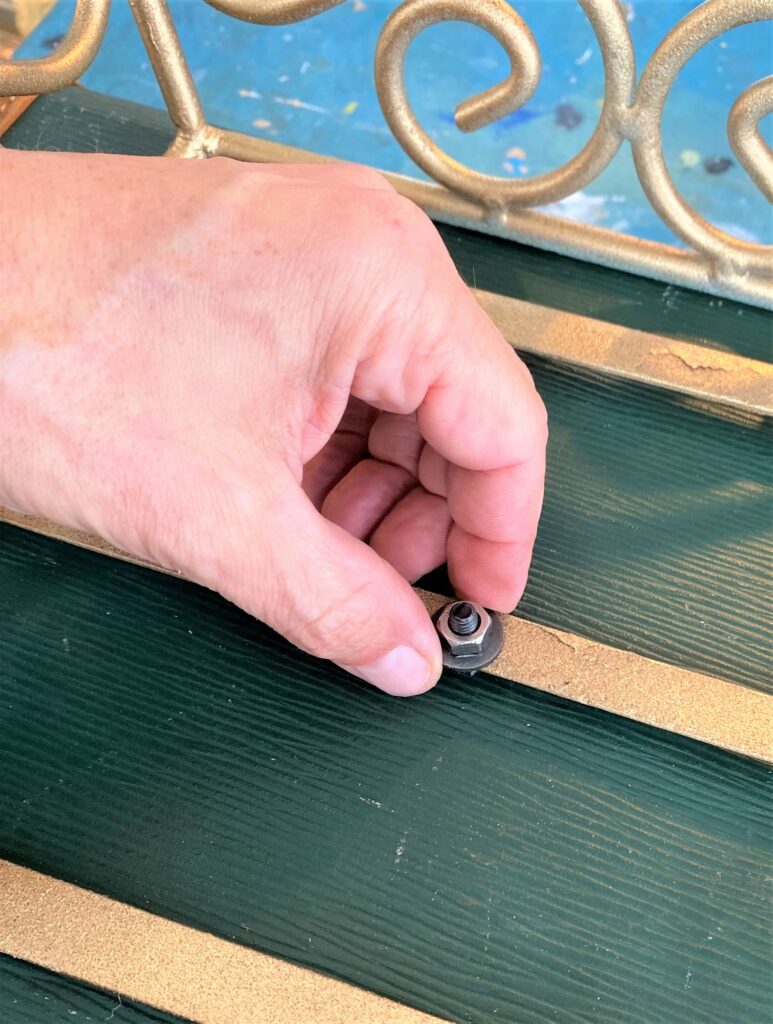
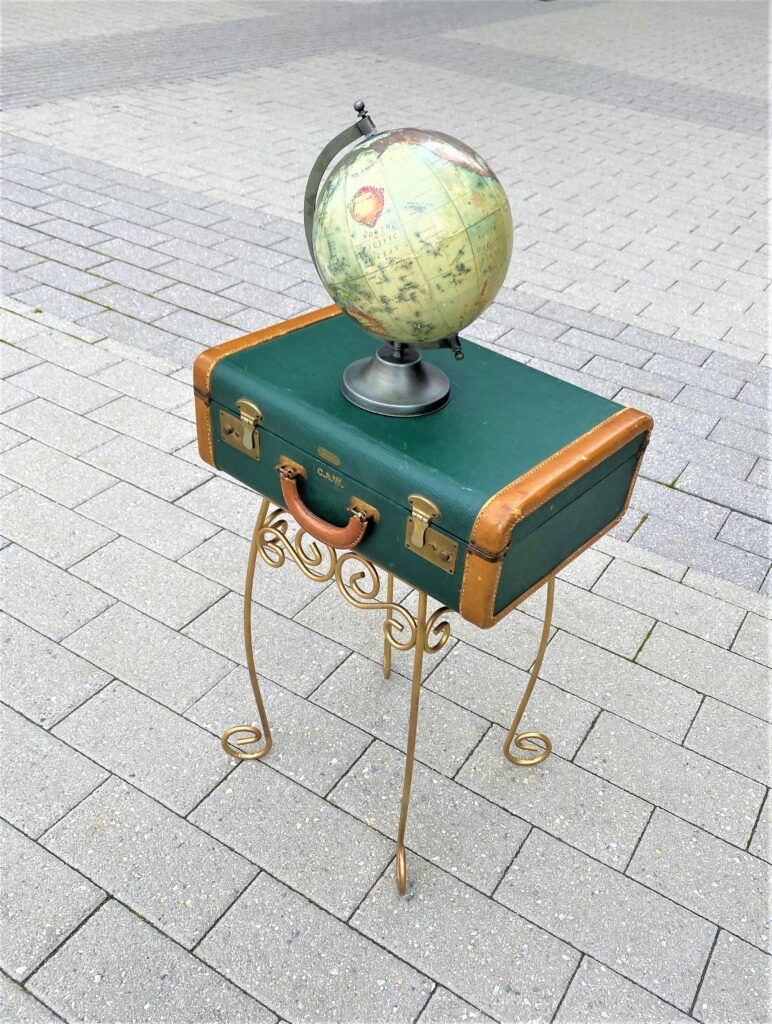
The metal plant stand was secured using a bolt, washer, and nut. A drill was use to add just one hole in the suitcase, and the bolt was threaded through and fastened underneath. Epoxy glue was added along the plant stand’s top where it came into contact with the suitcase. This provided extra strength between it and the suitcase.
4. Color connect, compliments the case
Based on the color of your suitcase and its new base (formerly the wooden accent tables and metal plant stand), you may want to paint the legs so your final look feels cohesive and connected.
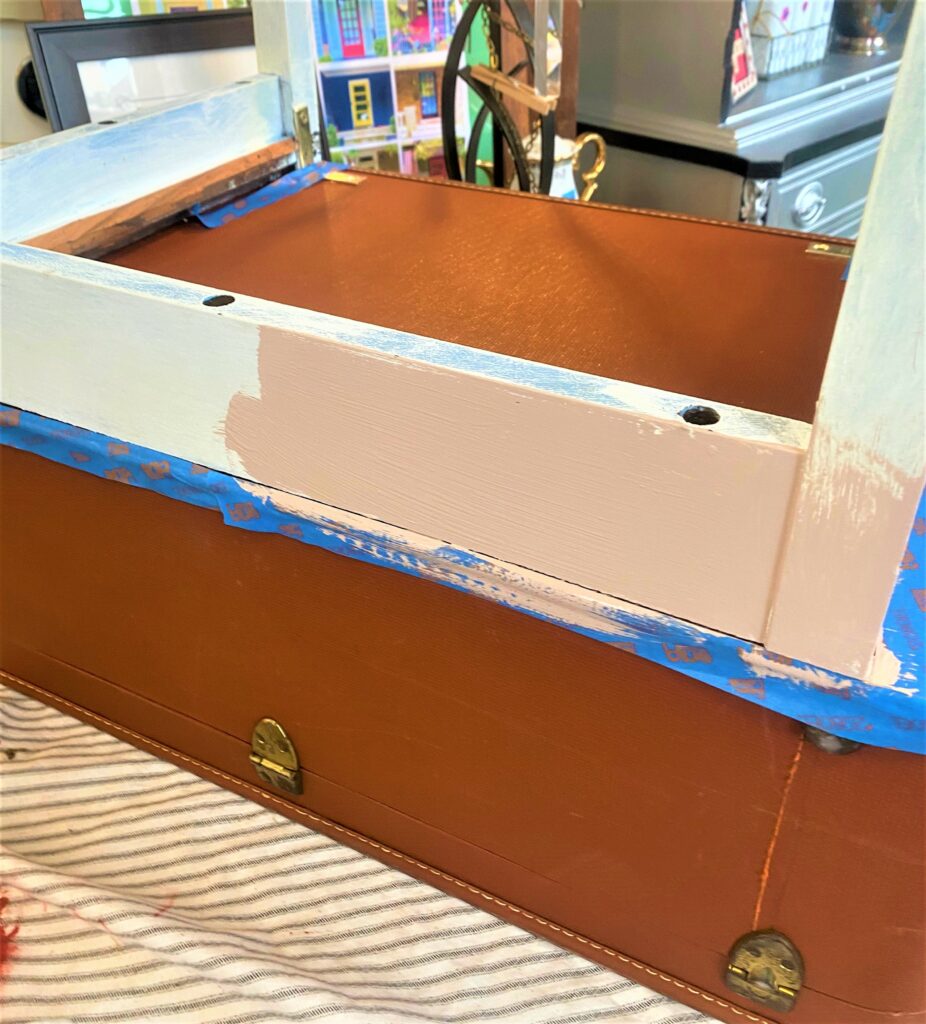
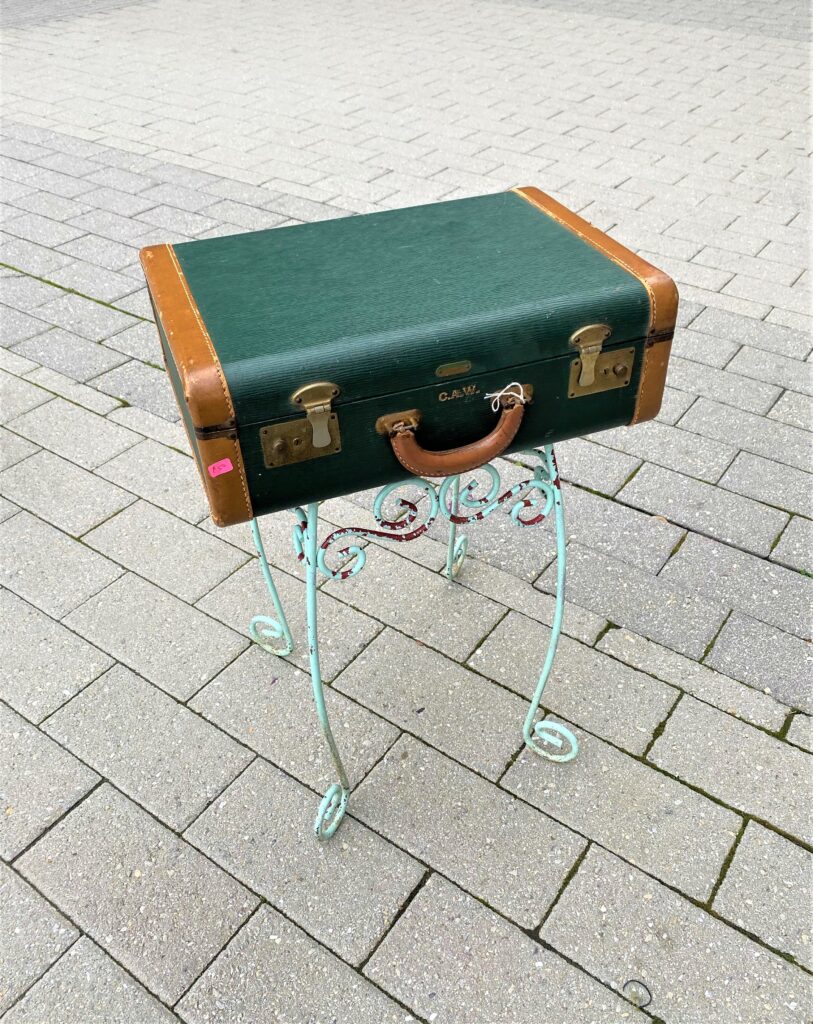
The wooden table legs for one of the pieces were painted after it was assembled. A warm gray-brown tone helped to soften the original white legs and matched the warm tones of the suitcase, now used as its tabletop. The plant stand was given a gold and bronze spray painting prior to the process in order to pick up the colors of the suitcase’s metal locks, hinges, and “CAW” initials which were gold-stamped on the front.
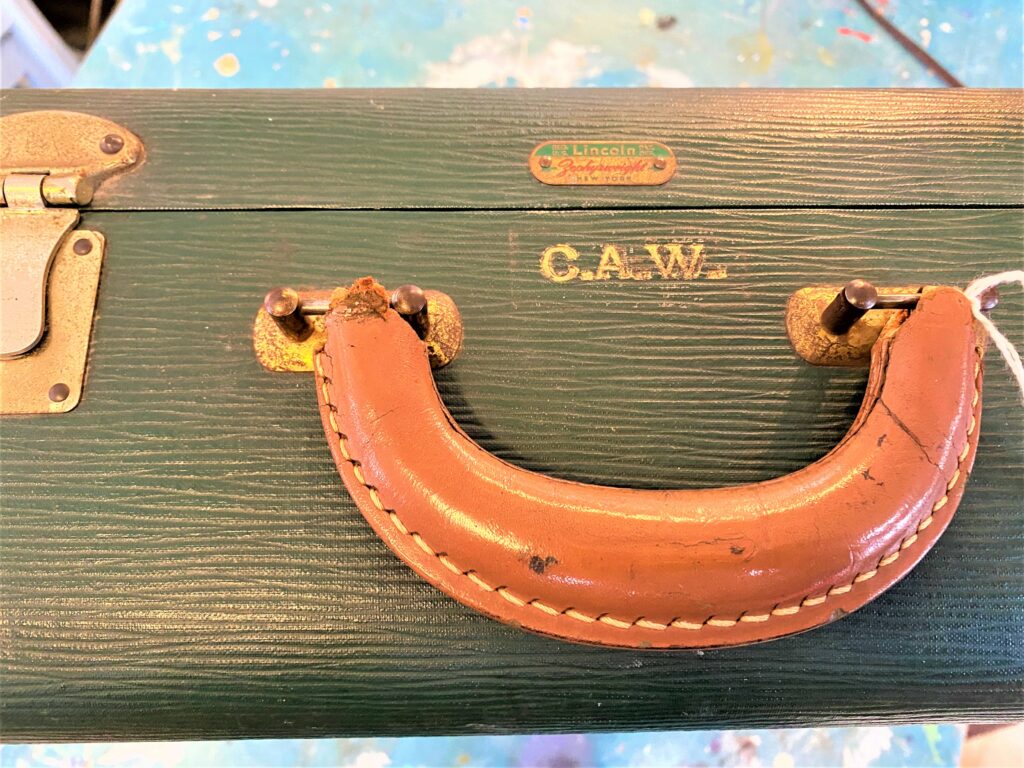
Don’t you wonder what “CAW” stands for and who the person might be? I think they now should stand for “Charming And Whimsical,” given how happy this table looks!
5. Stage with accessories, items, etc.
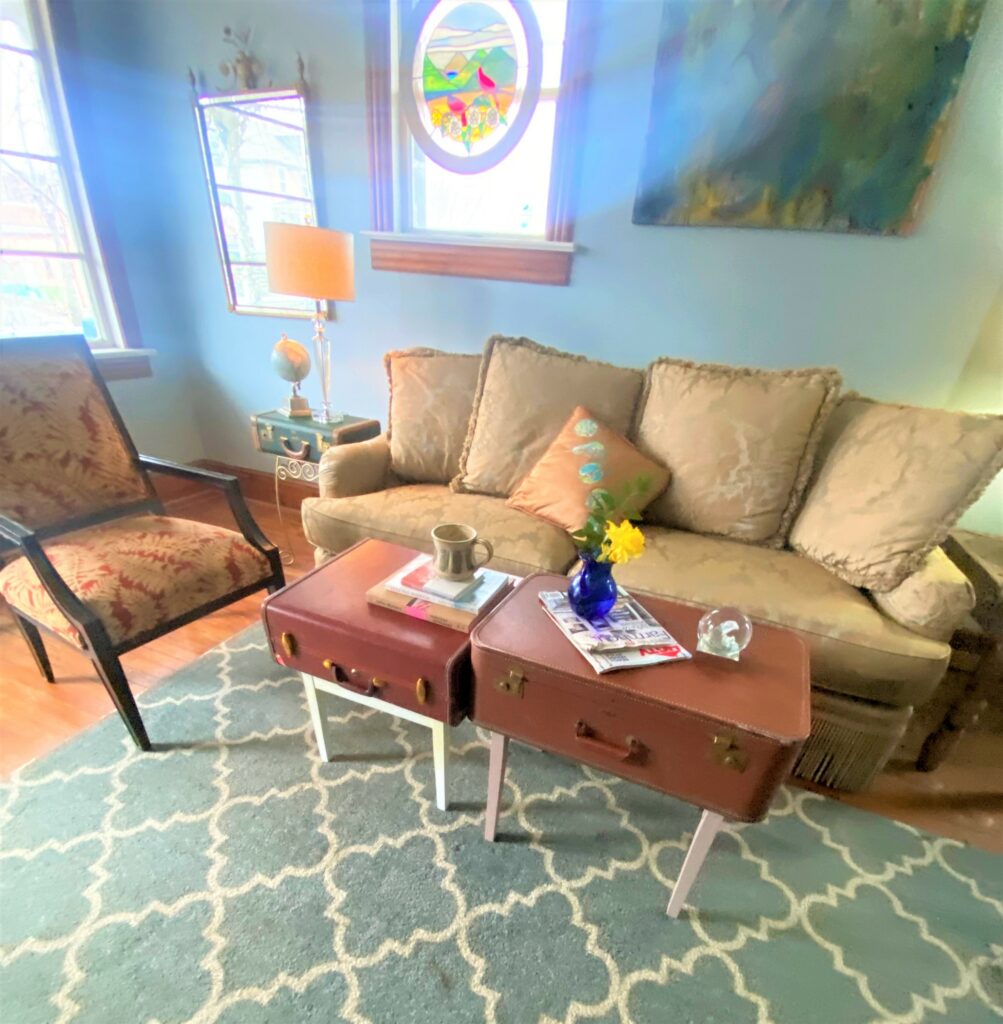
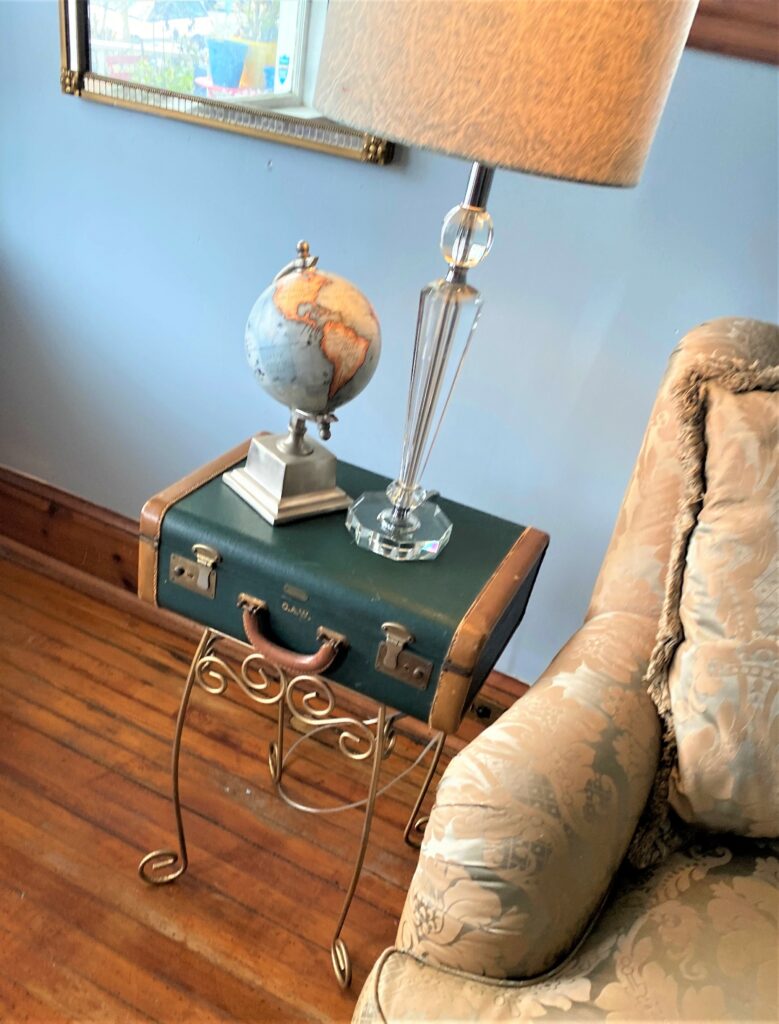
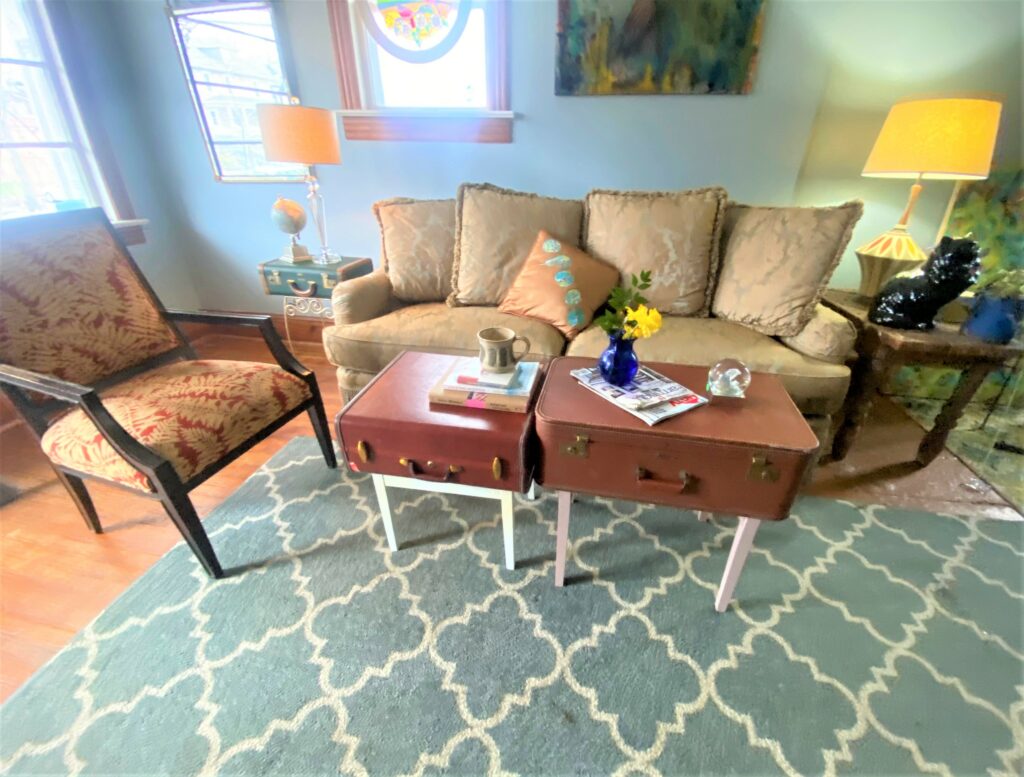
Place your vintage suitcase table next to your sofa, and add a handsome lamp and accessories like a small globe to tie into the travel theme of the piece.
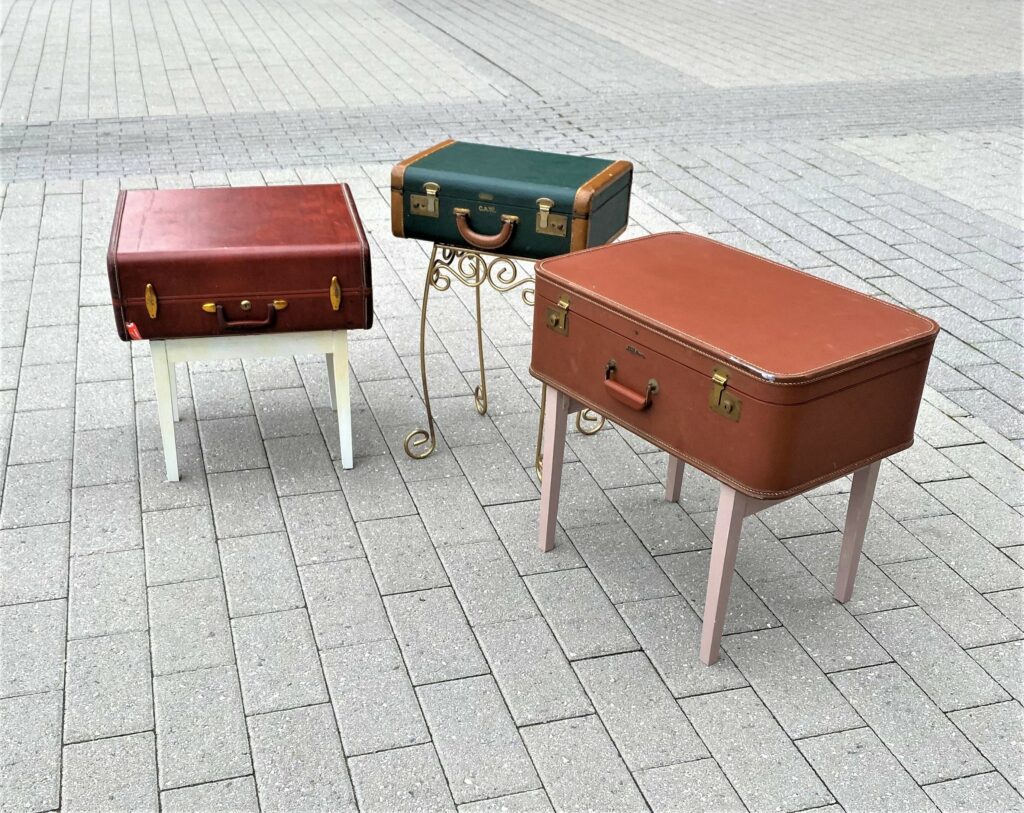
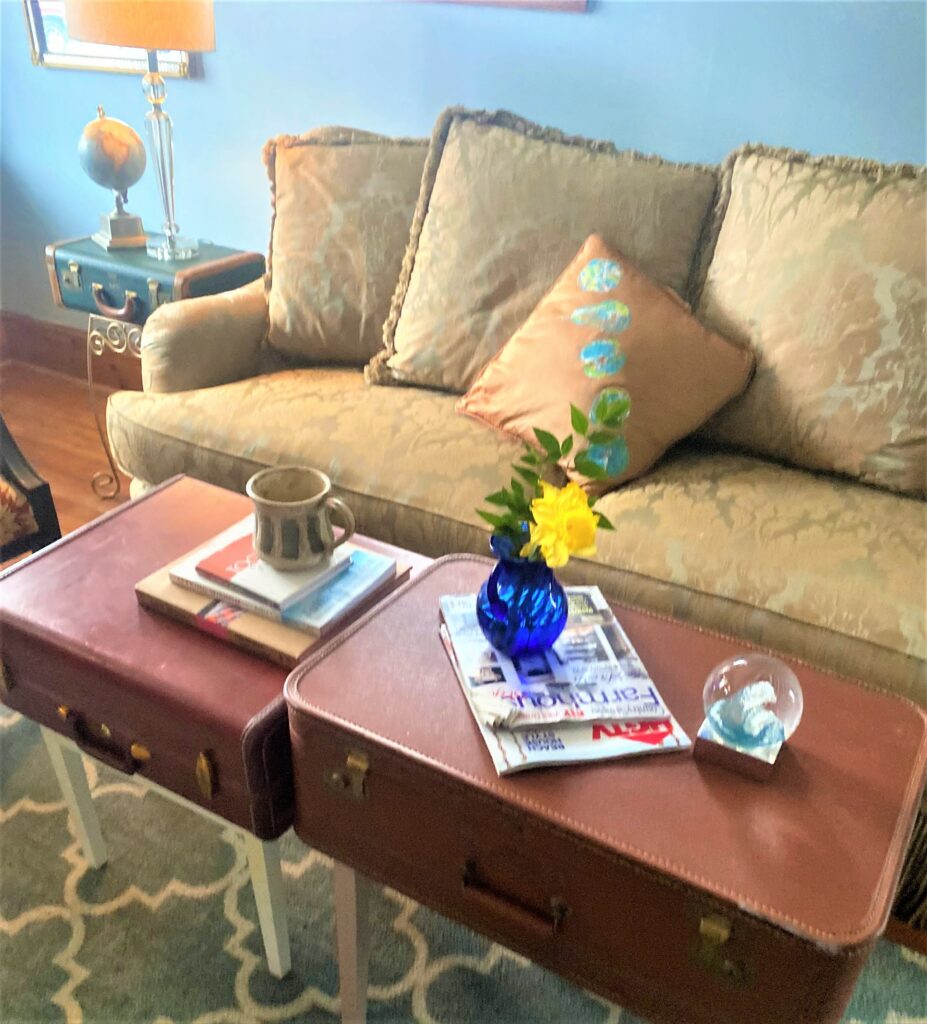
Pair two together as a coffee table and add picture magazines, coasters, flowers, and trip souvenirs. These would also look great as nightstands or in your family room to hold kids’ toys and family games.

Thanks to Finding Your Good for being on this transformational journey with us!
Similar Reading: An Old Suitcase Takes New Journey as a Coffee Table – Finding Your Good

Tim Kime
Artist, Motivational Speaker, Life Coach


