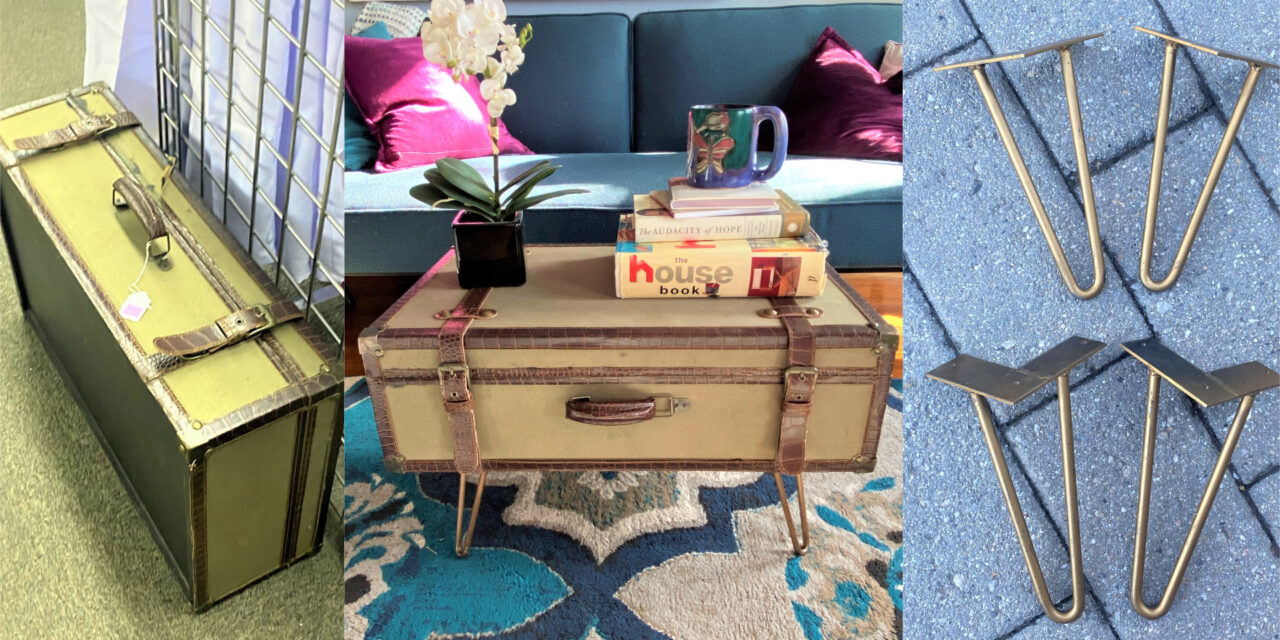
Take a DIY adventure by upcycling a thrift store suitcase into a first-class coffee table. This whimsical piece combines a suitcase with “hairpin” legs which were reused from another piece.
Start planning your trip to Goodwill and begin thinking about where this truly funky and fun furniture item will go. In addition to looking great, this functional piece of art has wonderful storage inside, something we all love!
Items needed:
· Suitcase
· Metal hairpin legs
· Piece of wood
· Wood glue
· Wood screws
· Drill
· Screwdriver
· Painter’s tape
· Polyurethane
· Paintbrush
1. Voyage to Goodwill & find your good
No passport is needed when you venture out to Goodwill to see what treasures await you.
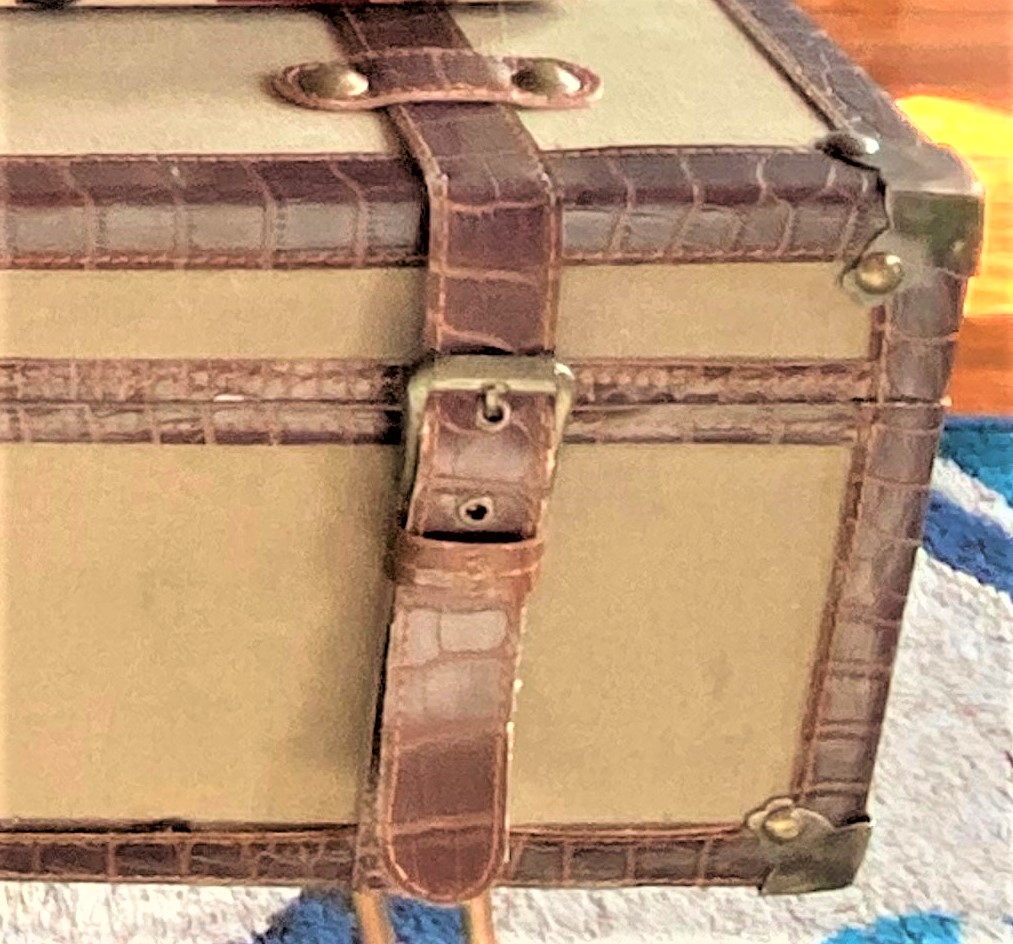
There’s nothing like finding a unique item at a remarkable price at Goodwill. For me, this came in the form of this square, canvas-covered suitcase with handsome leather straps and bronze detailing. Given that it was found as the New Year began, I took this as a sign of a good year ahead full of fun and joyful DIY projects.
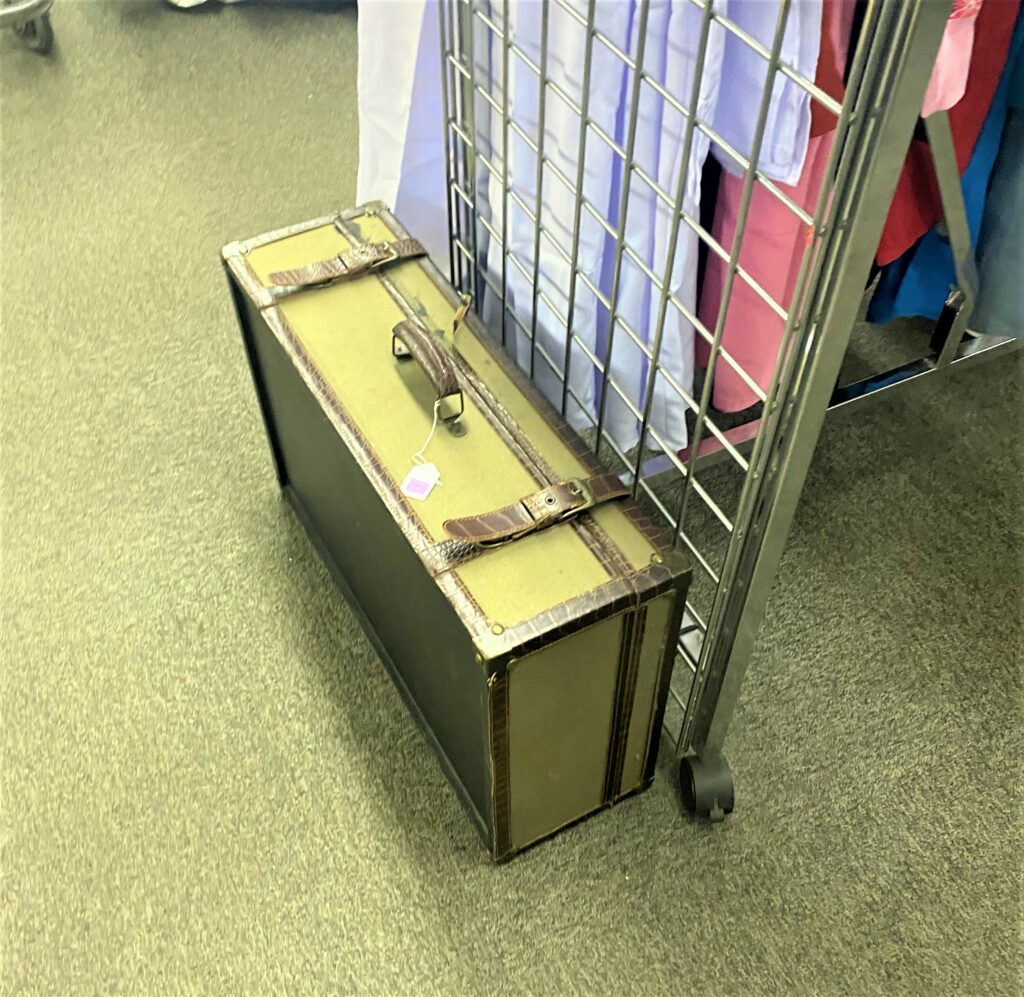
Goodwill usually has luggage for sale, the kind you would use for your next excursion. Most are made of soft material, have wheels and long handles to make whisking through an airport terminal or a train station super easy. If you score like me, you will find a suitcase from another era that is ideal for transforming.
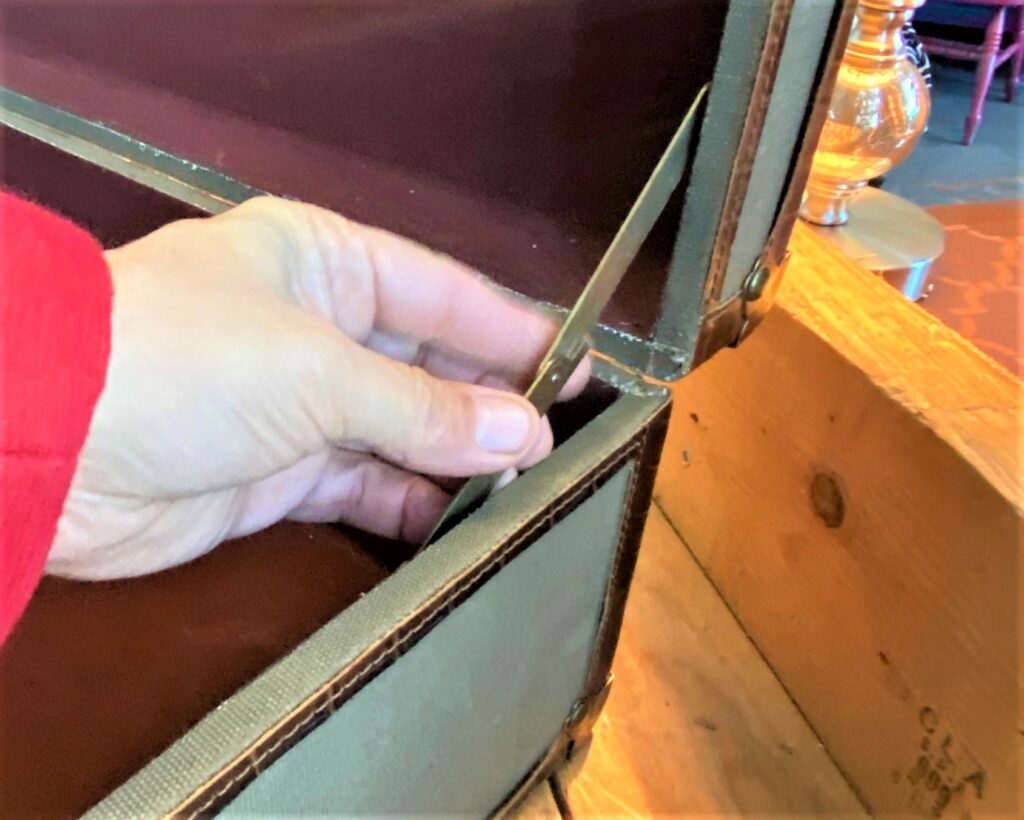
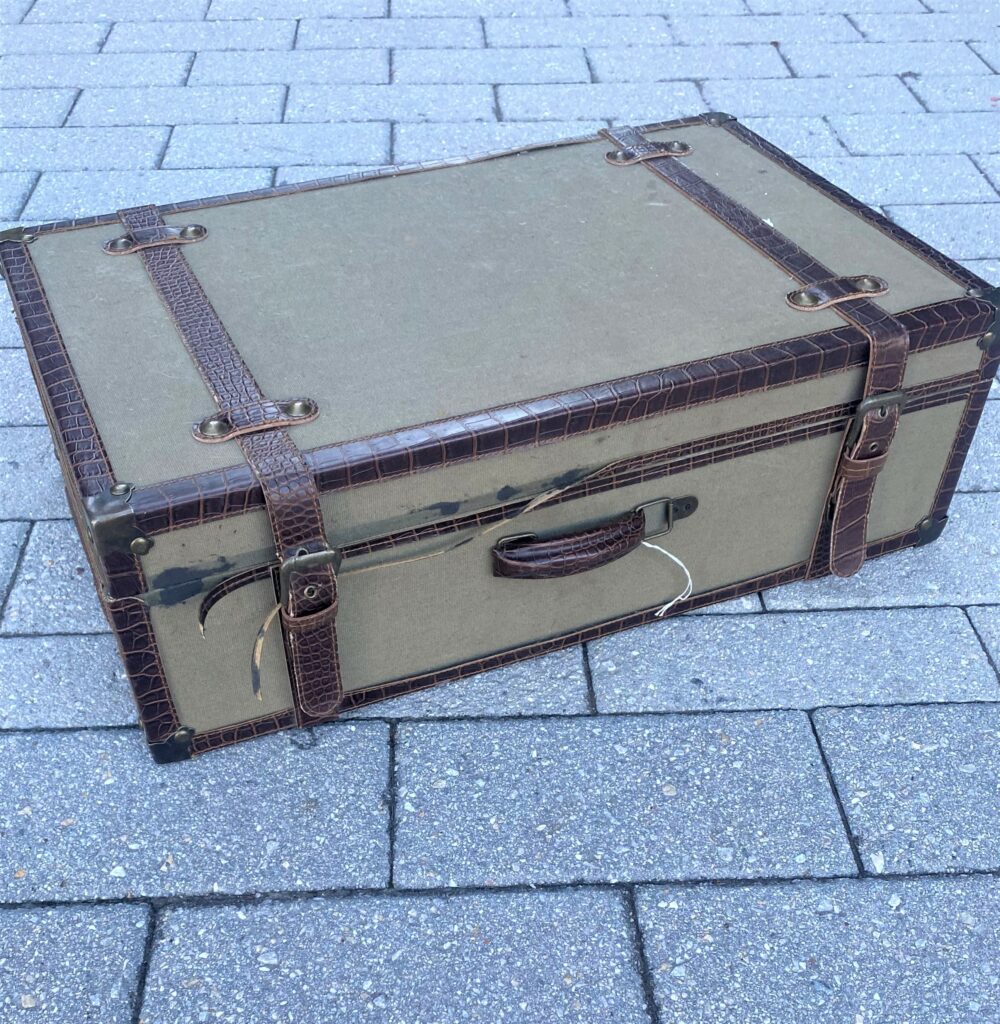
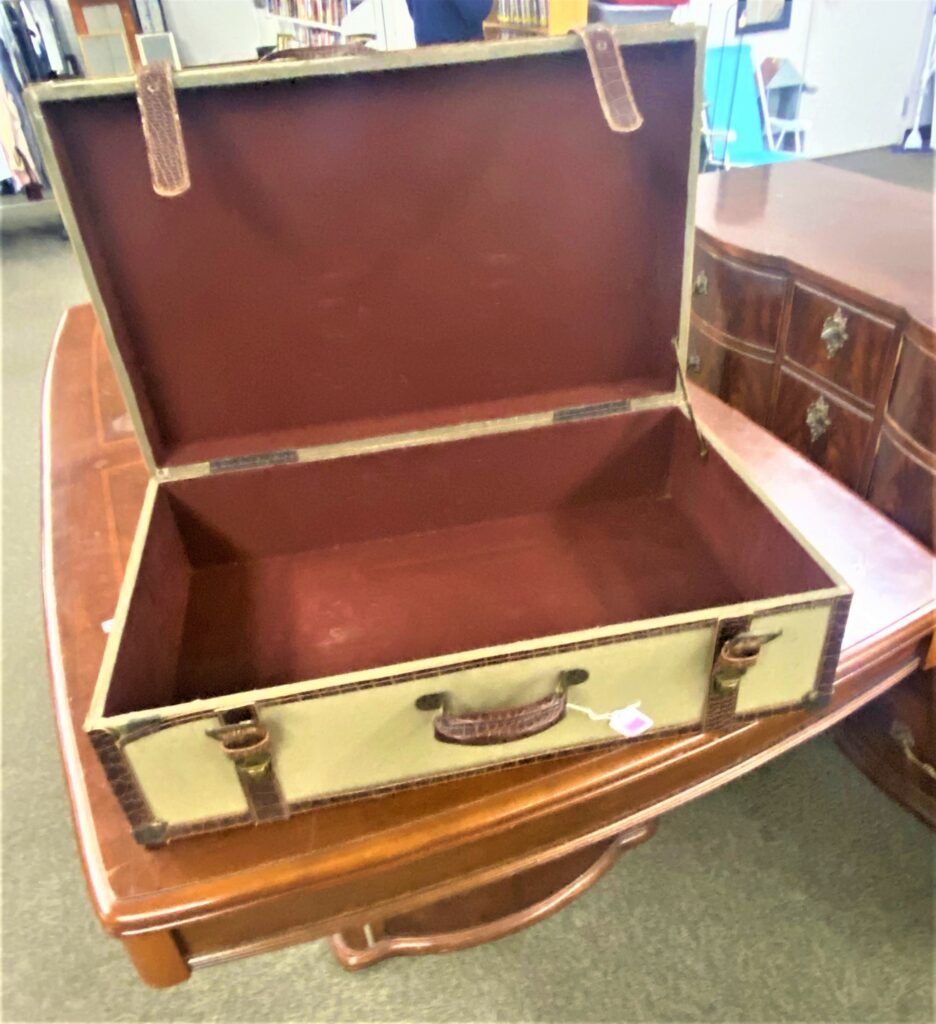
The one featured here was very square in shape, had a felt-covered inside and even a little latch to keep the lid upright when opened. With its flat bottom, I wonder if its original purpose was to carry a musical instrument or another unique item. What do you think it might have held in its previous incarnation?
2. Raise it up
To give your suitcase a new role as a coffee table, you will want to raise it up to make it easy to set a drink on it. The recommended and comfortable height for a coffee table is between 14 and 20 inches; interior designers suggest it being approximately two inches lower than the seat height of your sofa.
Metal “hairpin” legs are ideal for this project. They have simple lines and look great in any décor or setting. You can buy them at big-box department stores or order them online, but they can be expensive.
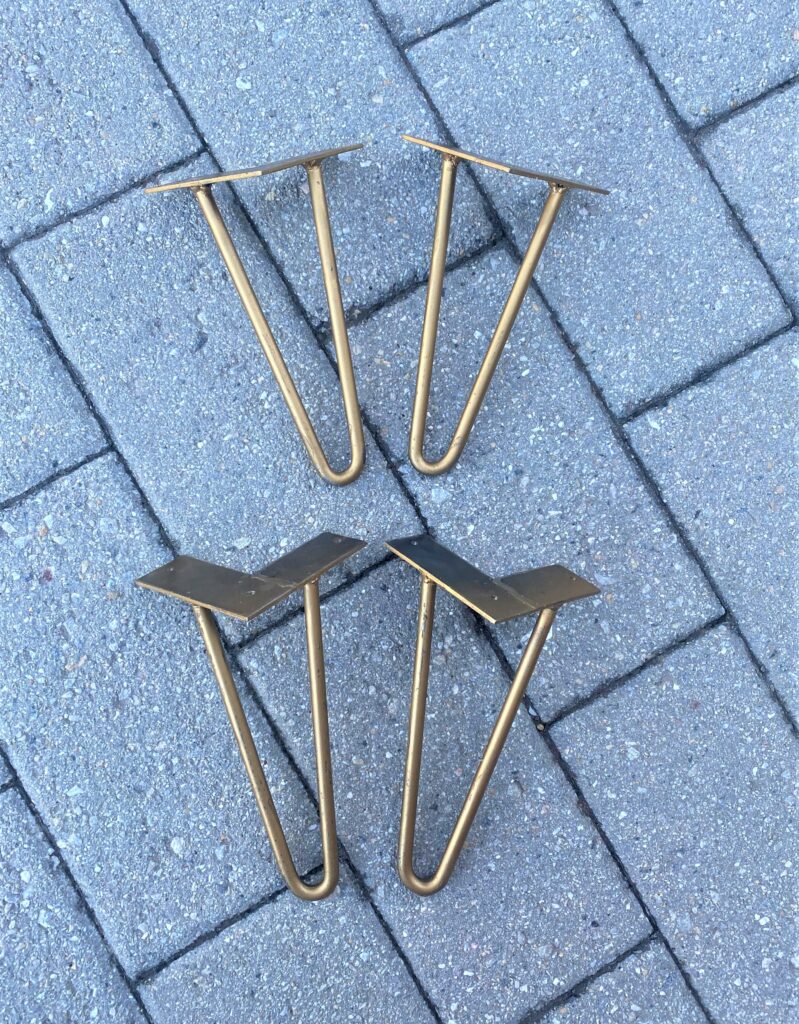
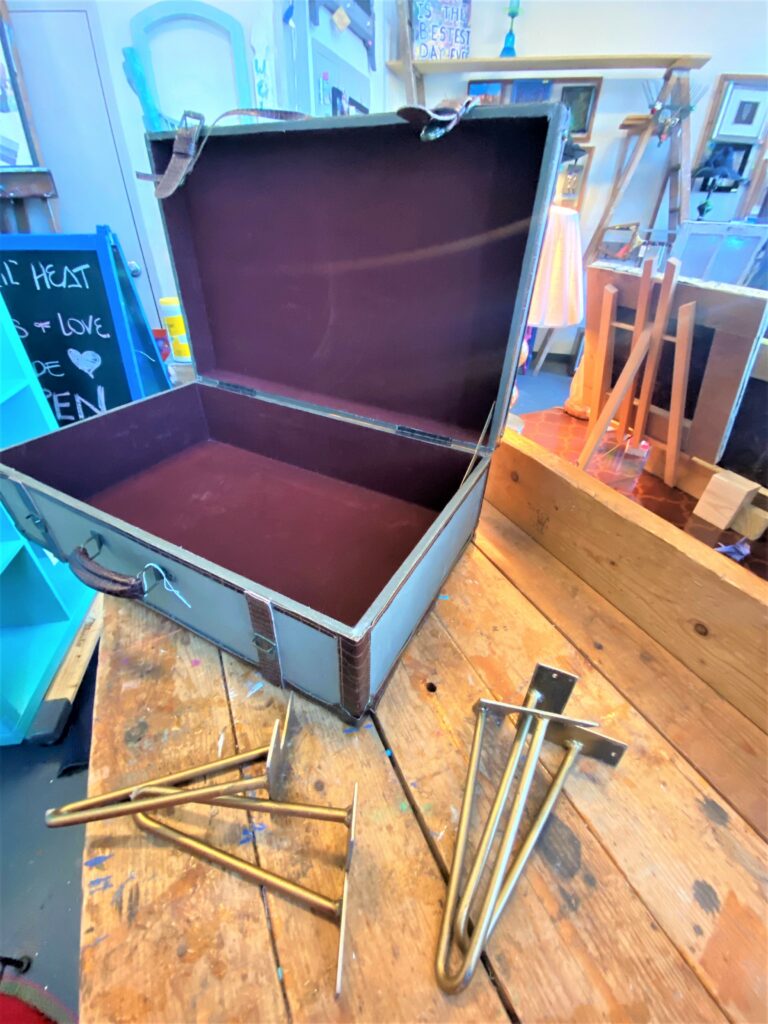
Therefore, if you are out shopping at Goodwill and see a piece that has them, grab it and take it home with you. The ones enlisted for this upcycled project actually came from a dresser; the legs didn’t look right on it so were replaced with other ones—-repurposed from an old couch!
Both the length of the legs and the width of the suitcase were eight inches which meant the final piece would be at 16, right in the middle of the suggested coffee table height range. I love it when various pieces come together like they were always meant to be!
3. Add a base
Depending on your suitcase’s design and construction, you may want to add a base on which to secure your legs. My suitcase’s interior was beautiful as it was with its burgundy, velvety interior so I didn’t want to wreck it with leg screws poking through it.
- After flipping my suitcase upside down, a piece of wood was cut to size then glued in place with wood glue for a tight, lasting fit. It also gave the side of the suitcase, now the table’s base, more strength in its new role.
- Use painter’s tape to hold it in place while drying.
- Let it dry completely before the next step.
4. Secure your legs
The hairpin legs used for this transformation were gold-colored when I found them. However, they didn’t look right with the browns and tans of the suitcase, so I spray-painted them with a darker bronze color.
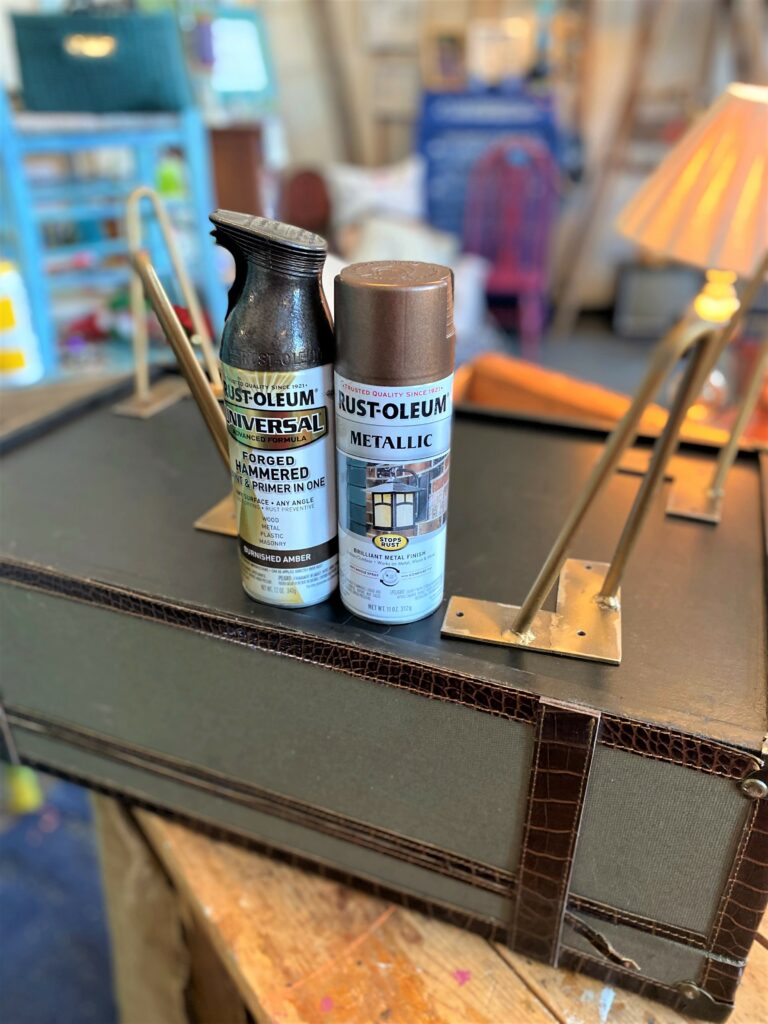
If you decide to paint your table legs, too, it’s really easy.
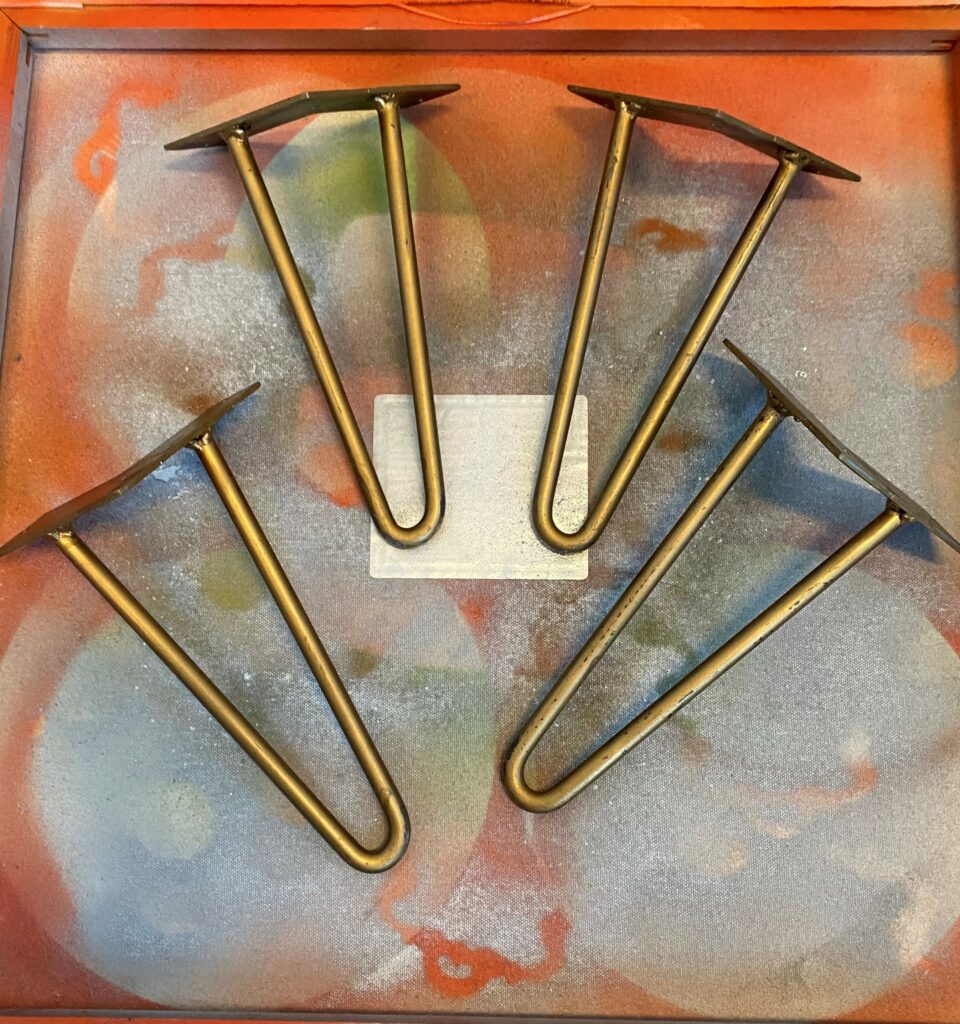
- Place them on a drop cloth or something to protect your surface.
- Add a couple of light layers, turning over the pieces in between to ensure solid coverage on every side.
Ta-da! A new look that matches and looks cohesive. All done with paint I already had on hand, so no cost!
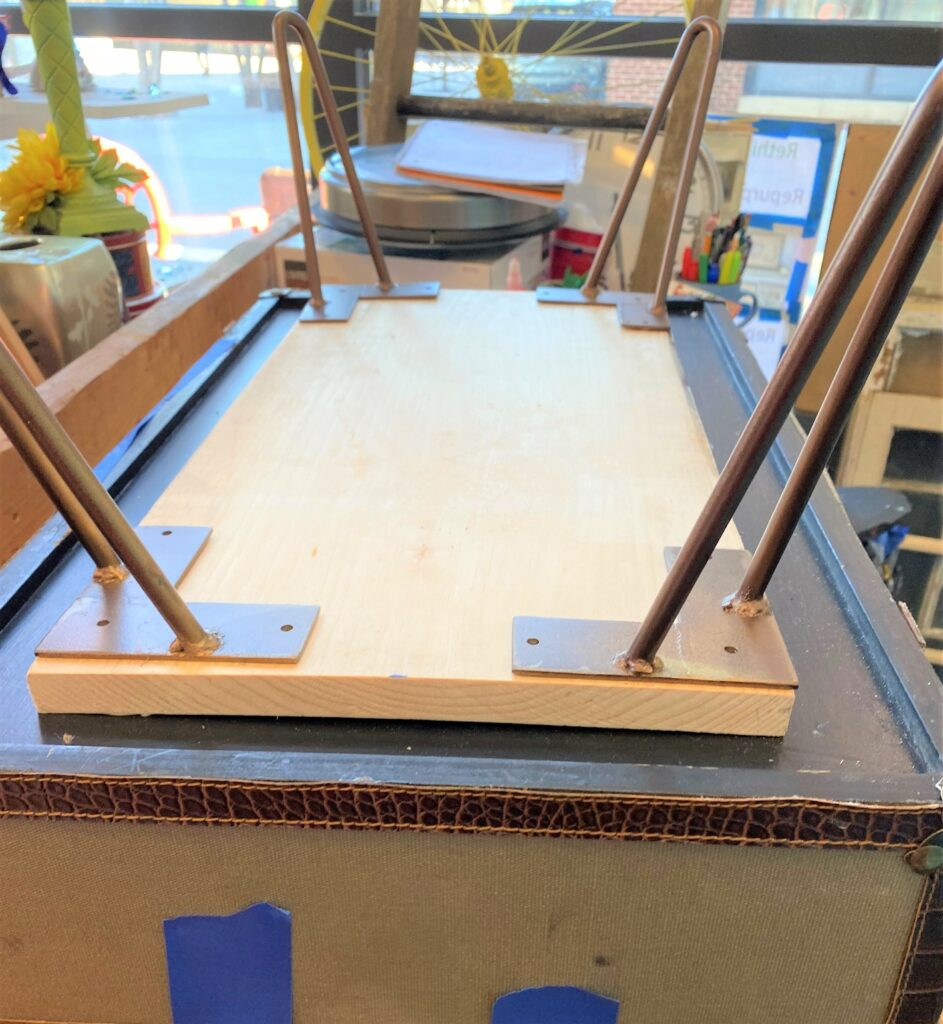
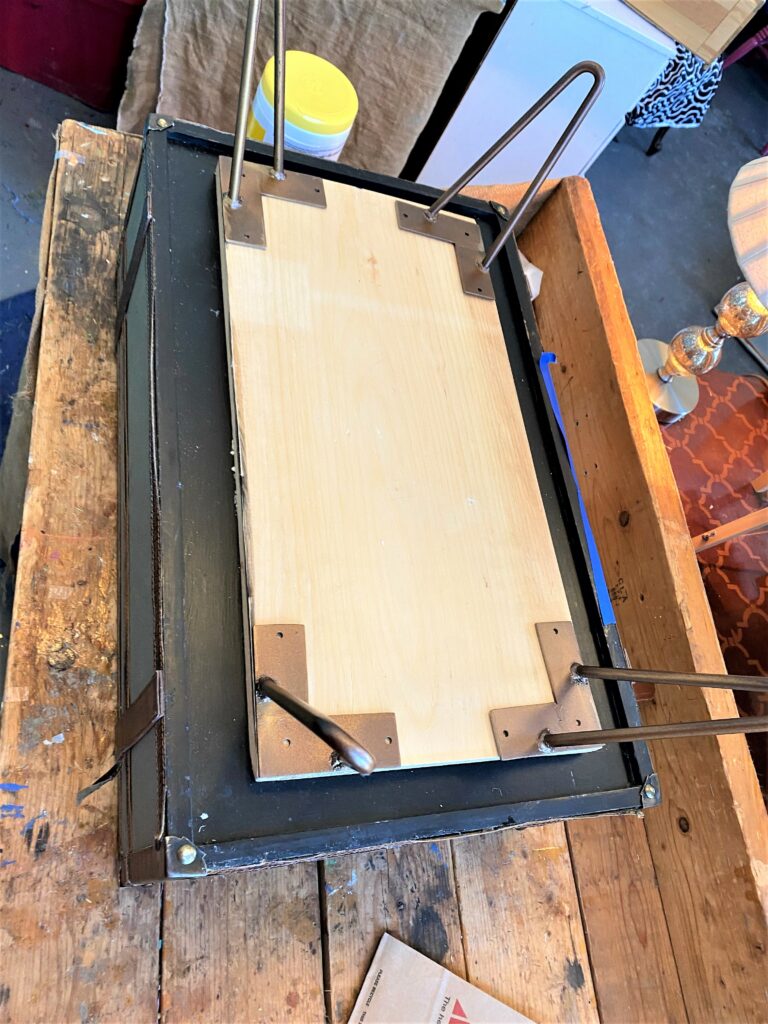
- Position your legs where you want them.
- Given the angle of the legs, you will want them to be all under the suitcase’s outer edge when it’s done.
- For this project, each leg was measured to be two inches from the outside edge.
- Holes were drilled and small wooden screws (that were short enough not to go through the piece of wood) were secured into place with a screwdriver.
5. Poly to protect
- Carefully turn your suitcase coffee table over with its legs in proper position below the suitcase.
- Given that it will be used as a place to set a glass or a mug, you might want to brush on a light layer or two of polyurethane. This will help to protect your suitcase’s top surface from water, dust and dirt.
- Simply brush on a layer of poly in a satin finish.
- Let dry before moving.
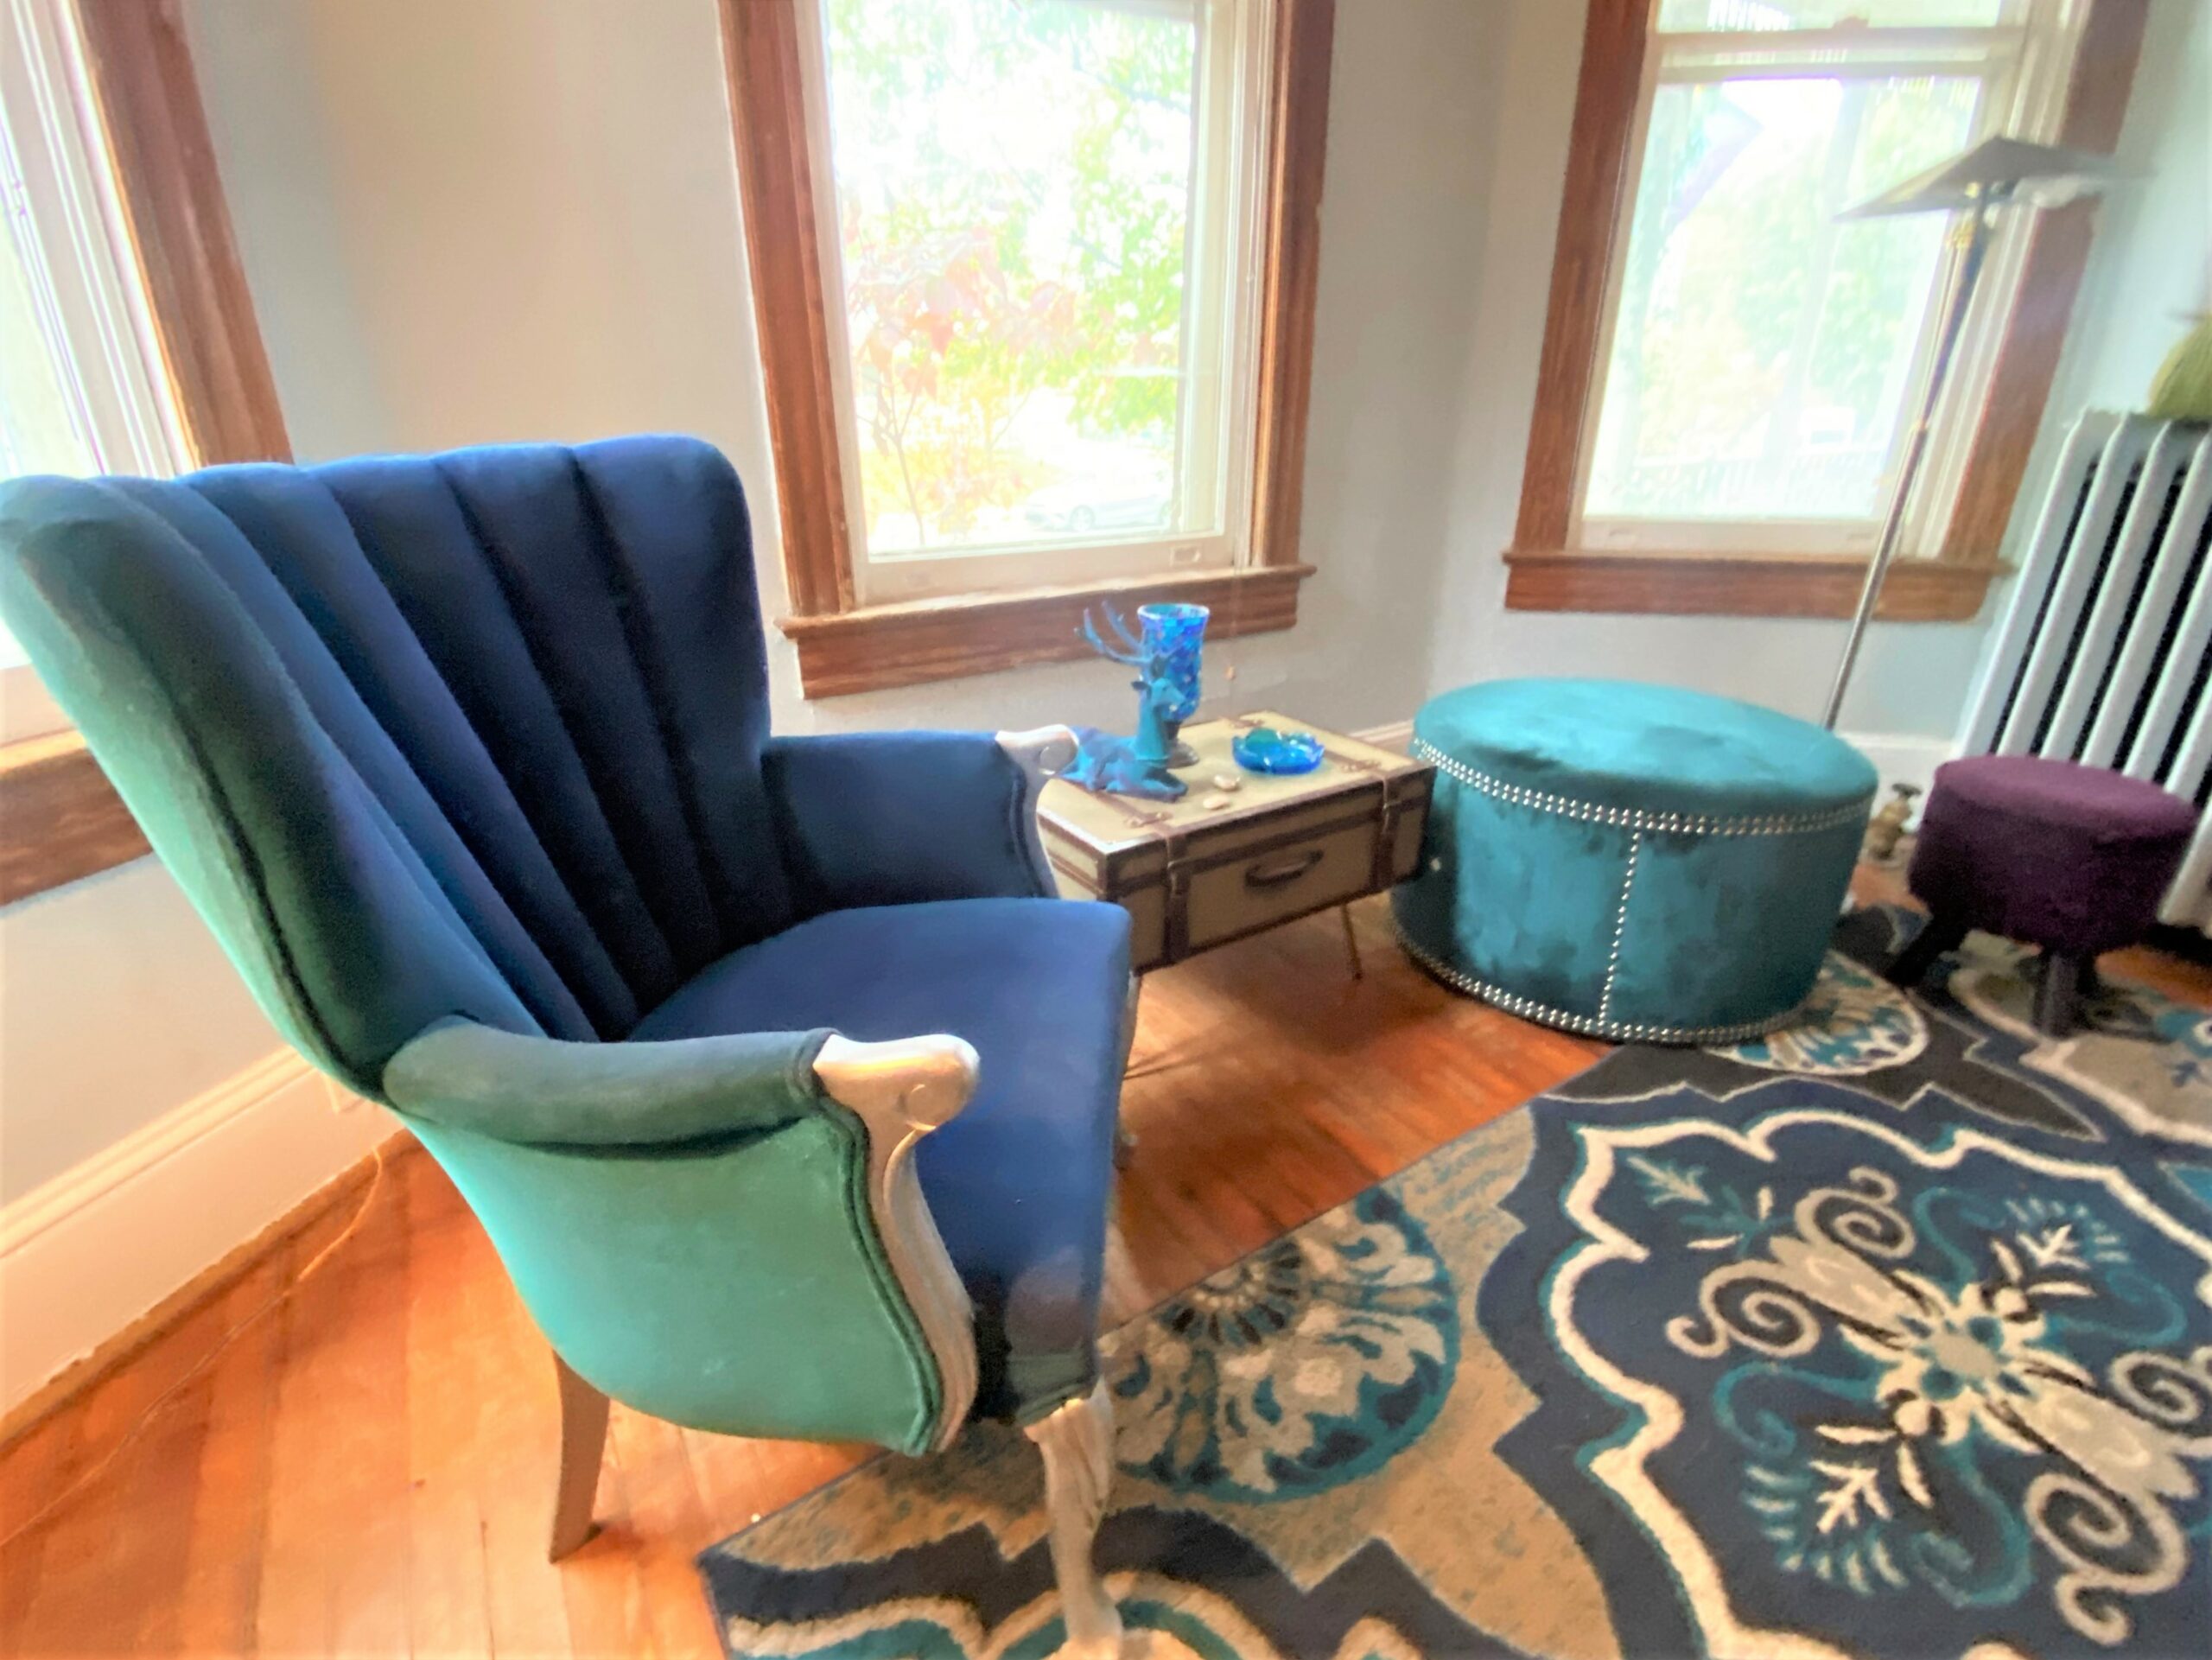
6. Put in place, add accessories, and plan your next trip
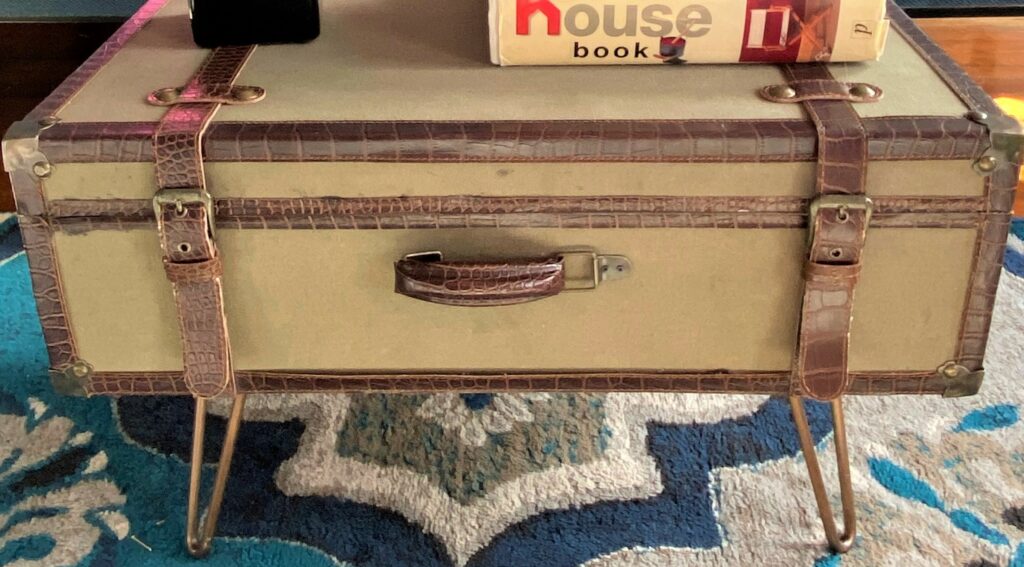
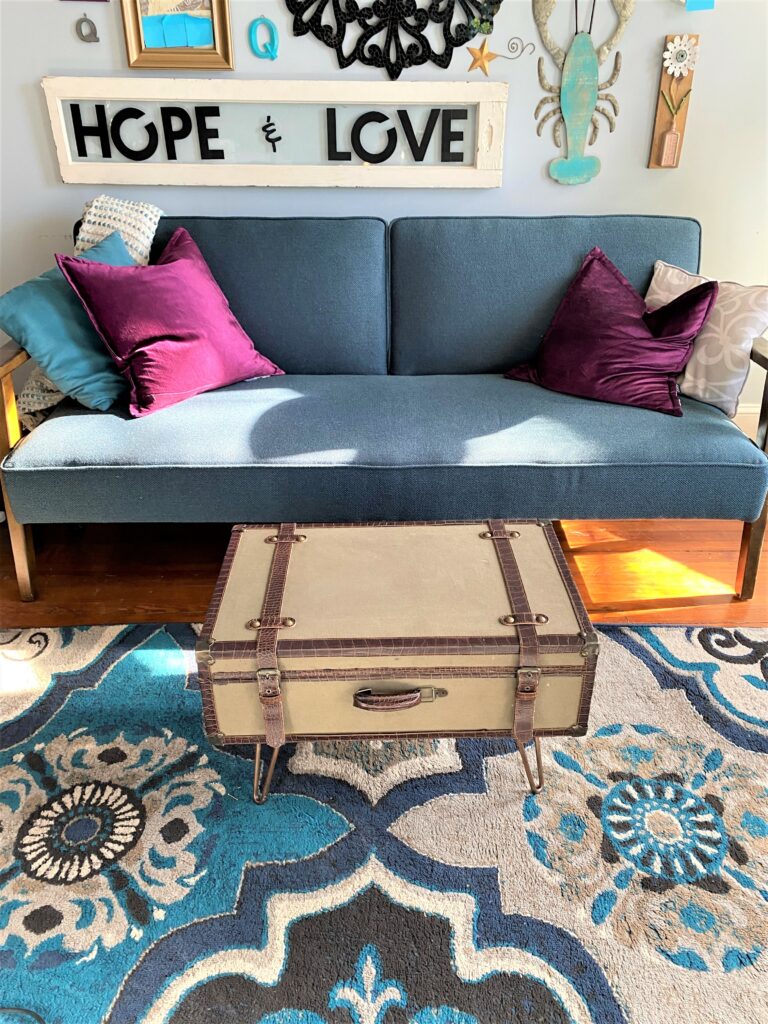
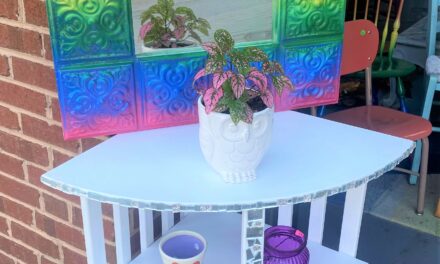
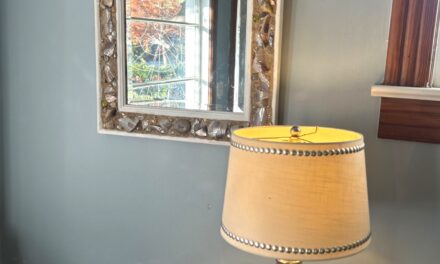
Add this charming table to your living space in front of your sofa, next to an Eames chair, or even beside your bed. Add books, candle holders, a coaster, a bouquet of fresh flowers, or even a small lamp.

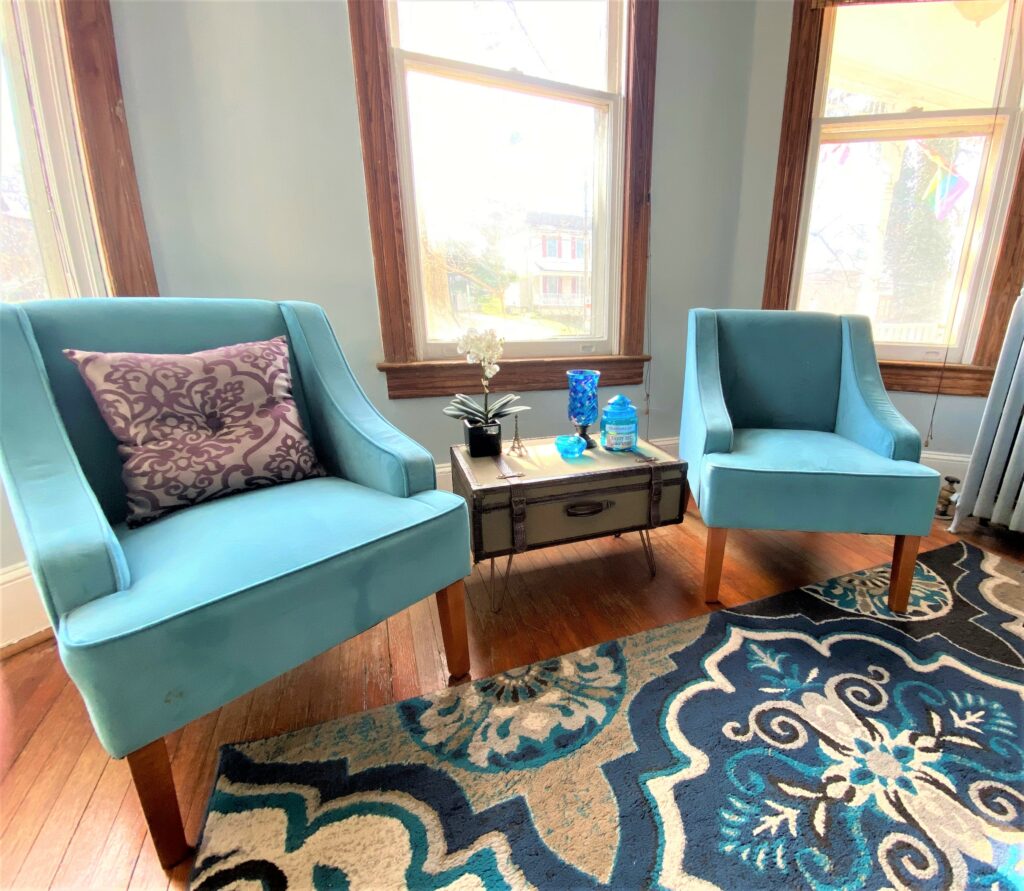
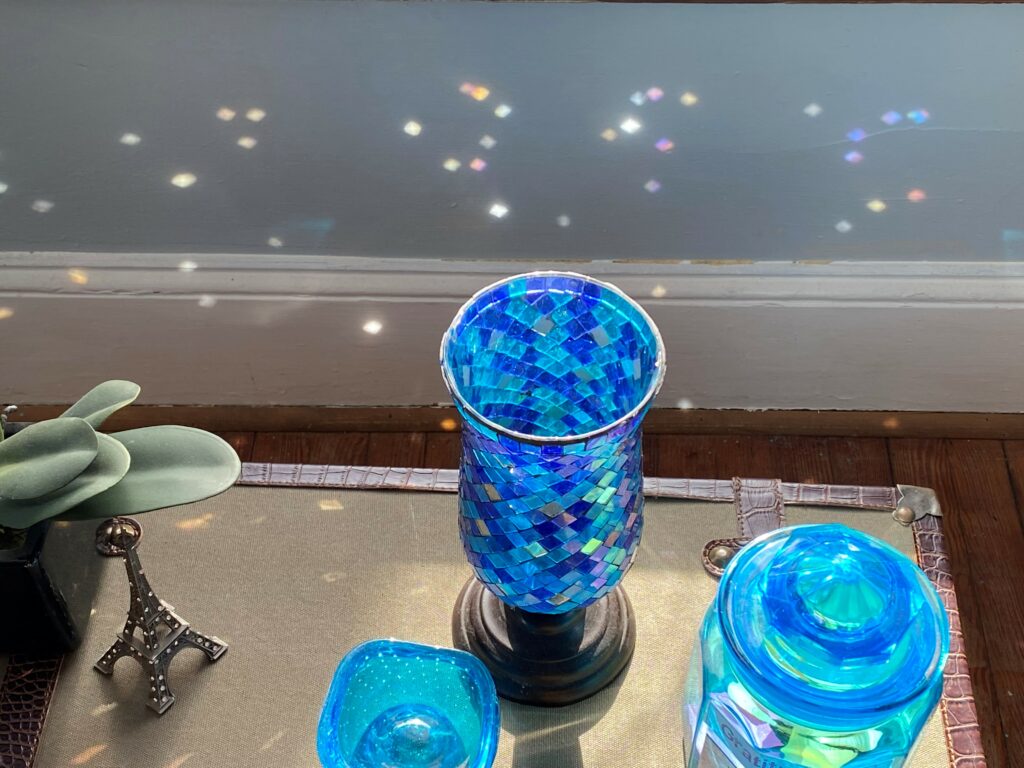
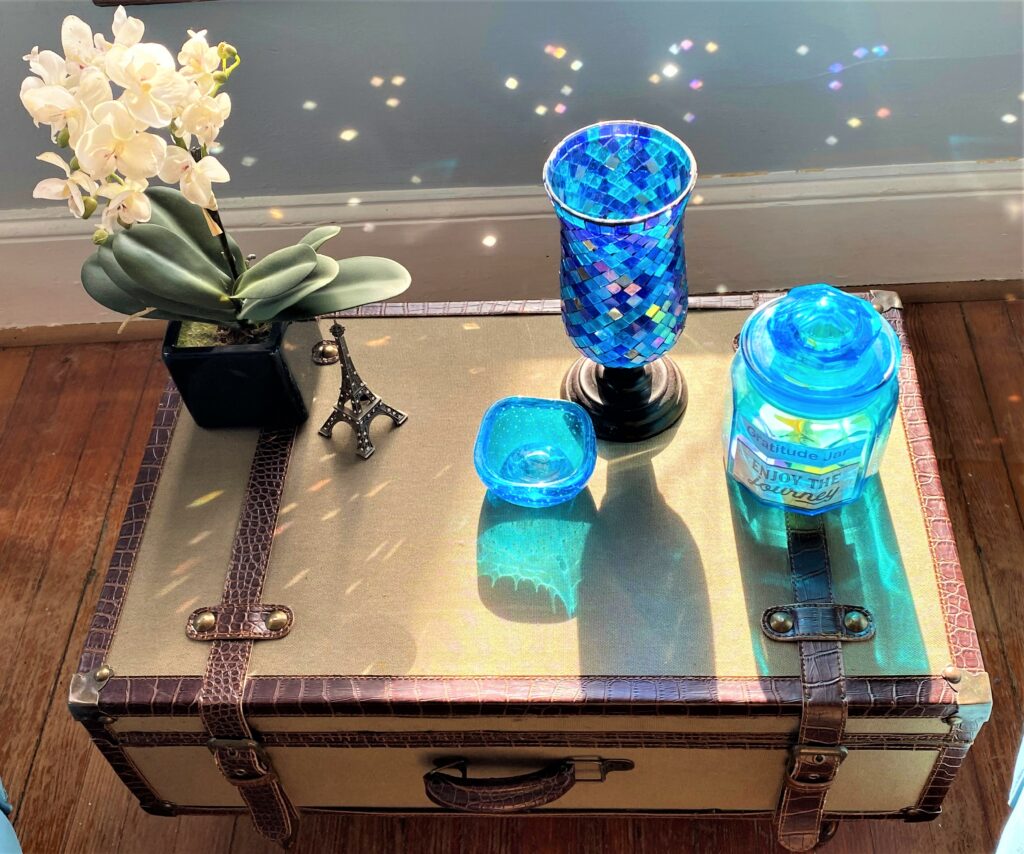
My suitcase was positioned in front of my living room couch, then moved in between two side chairs as another option. All the glass accessories, the silk orchid, the teal chairs, and even the patterned rug shown here were all picked up on previous voyages to Goodwill.
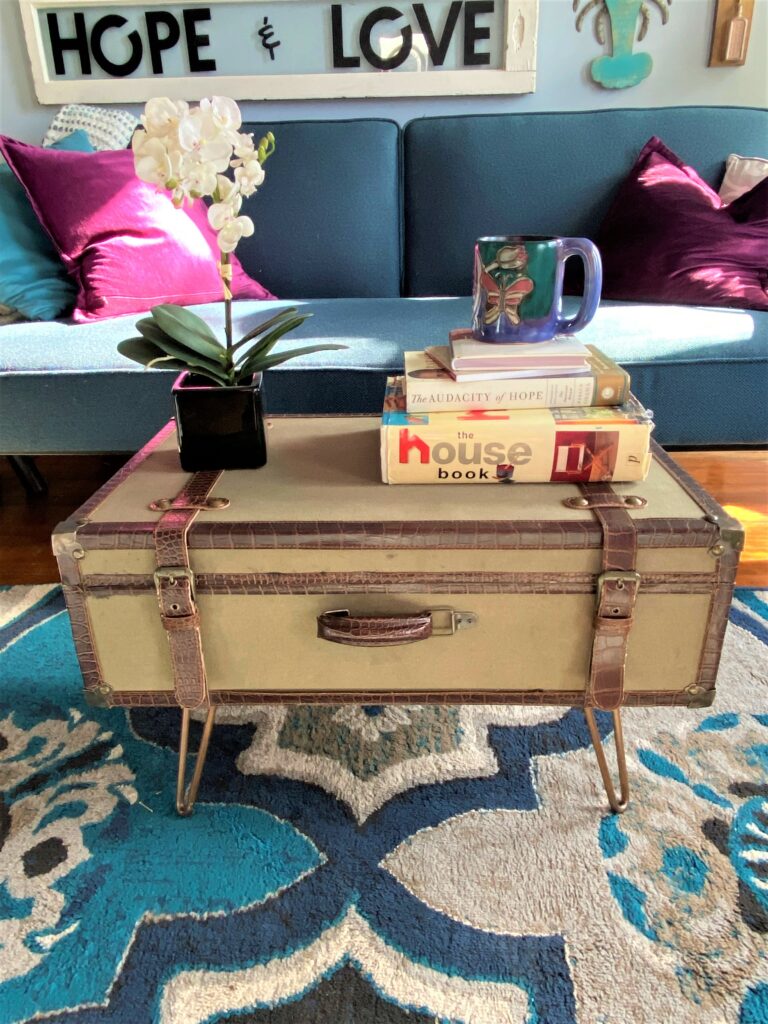
If you look closely, you will see a gratitude jar with the phrase, “Enjoy the Journey” on it, which was perfect to set on this suitcase coffee table. Click here to learn how to make your own gratitude jar.

As you look ahead to 2022, what adventures are you planning? Be sure to start mapping out your good and add “Stop by Goodwill” to your list of must-see sights to see!

Tim Kime
Artist, Motivational Speaker, Life Coach