Heart Collages: An old frame + used cards/calendars = repurposed Valentine’s gift!
Well, be still my heart! Here’s an easy, memorable Valentine’s Day gift (or any time of year) that your sweetie will love! Combine old frames with used papers to create love-filled art pieces. Look for images and words from discarded magazines, calendars, cards, sheet music and more to express yourself in these treasures that will stay up long after the love letters are put away and the box of chocolates is eaten.
You’ll be enamored with this DIY project that is great fun to do with friends and family…as well as your special someone! I AM in LOVE with this simple reused, recycled and repurposed approach to sharing one’s feelings.
Here are three design ideas for your consideration and inspiration!
Age: Totally fun for kids from 5 to 95
Ability: Easy as clip, clip, clip, tear, tear, tear, glue, glue, glue
Items needed:
1. Old magazines, greeting cards, calendars, maps, craft paper
2. Picture frames
3. Scissors
4. Tape measurer or ruler
5. Mod Podge
6. Brush
7. Pen or marker
8. Items to embellish (optional)
Cost: Under $10 for sure
- Frames: $3 each
- Paper items: $0
- Mod Podge: $5 with lots left over for more DIY fun!
Time: 2 hours each, not including drying time
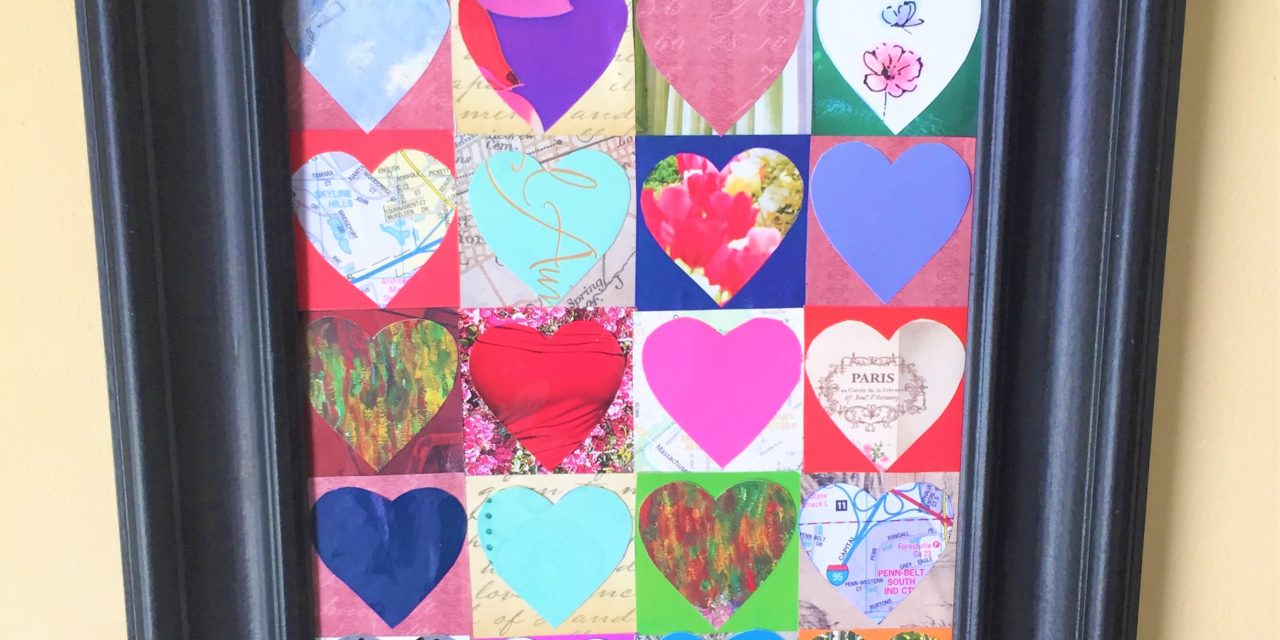
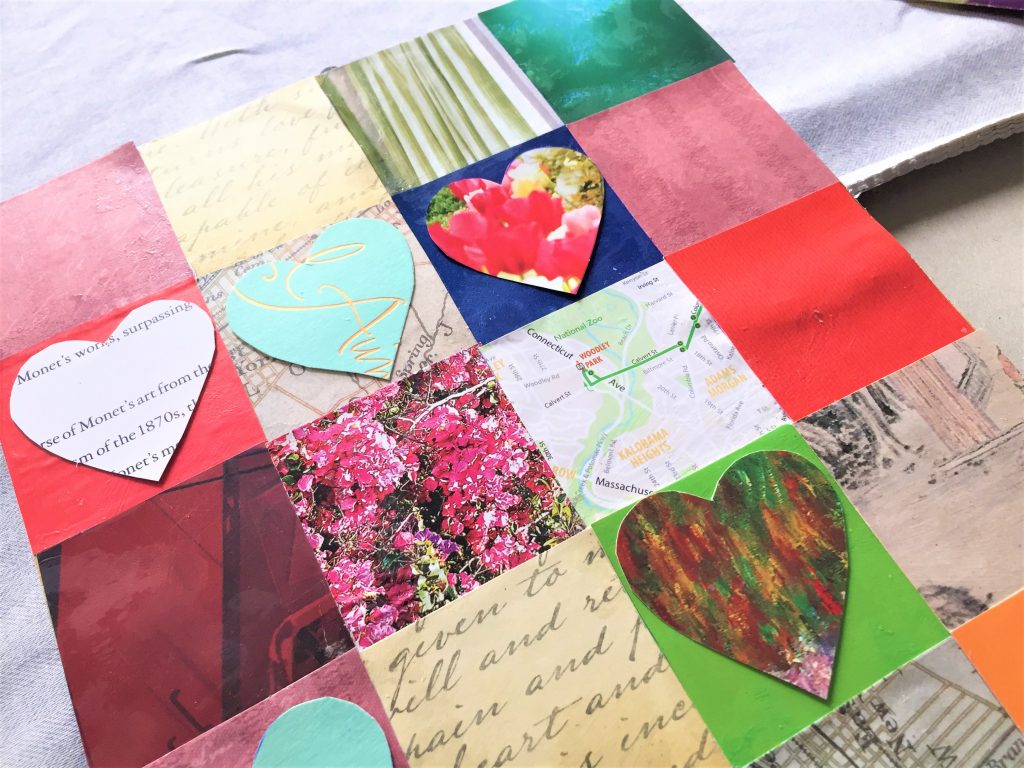
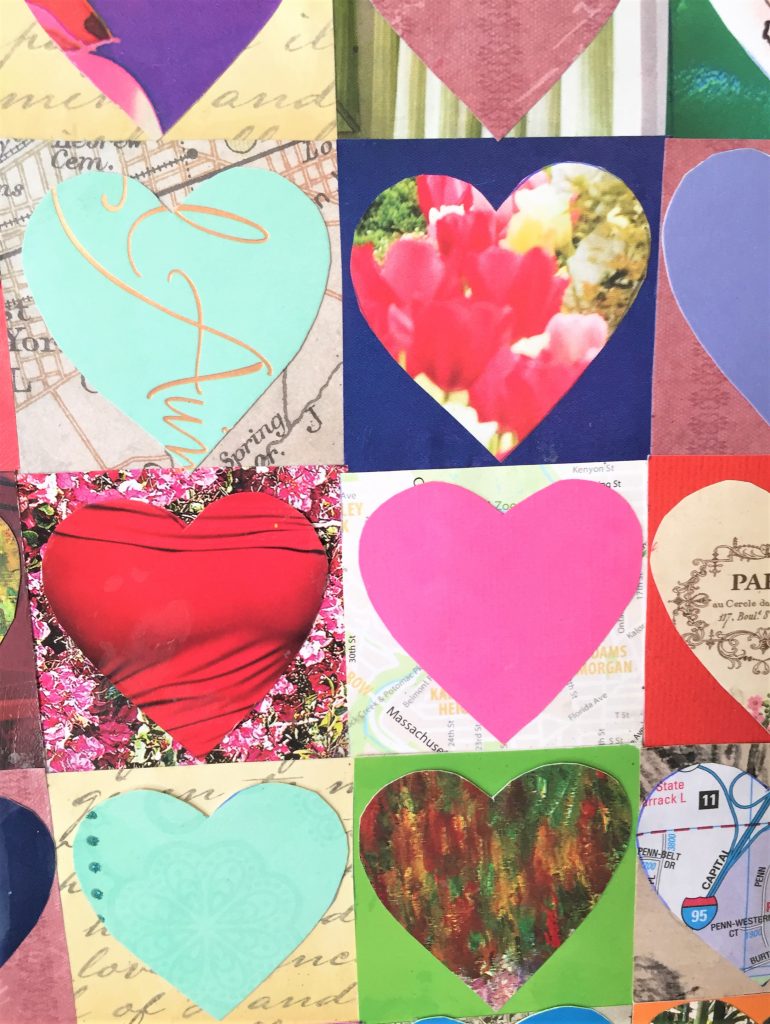
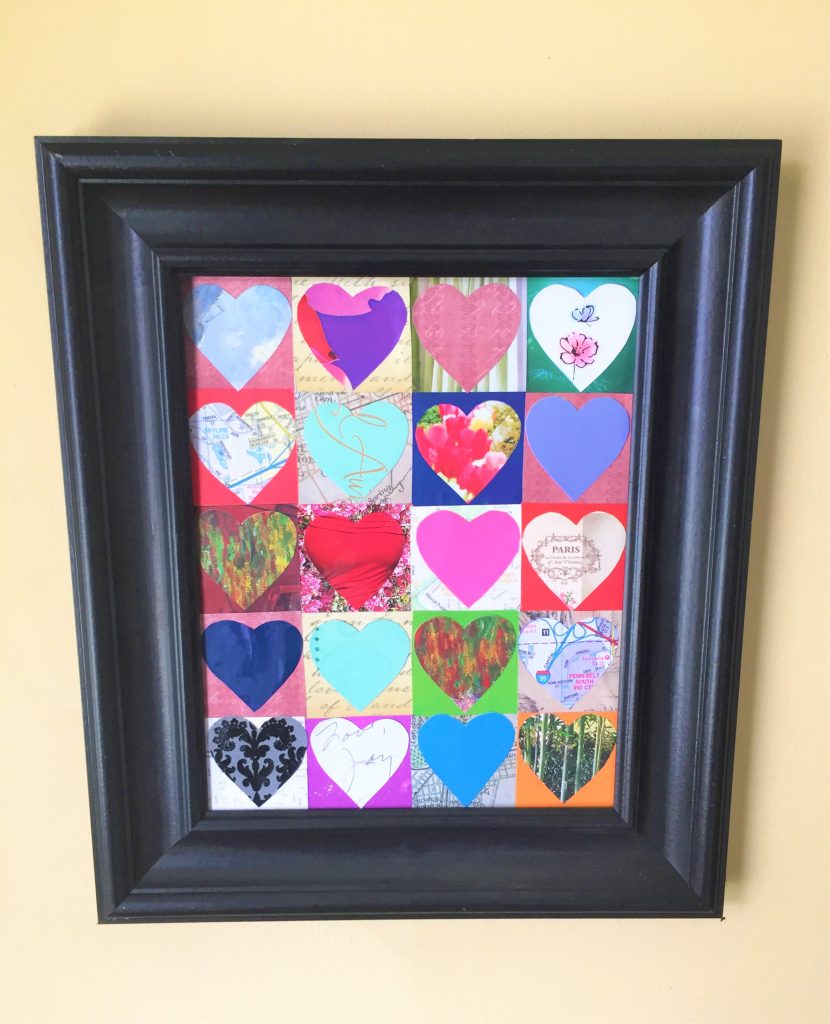
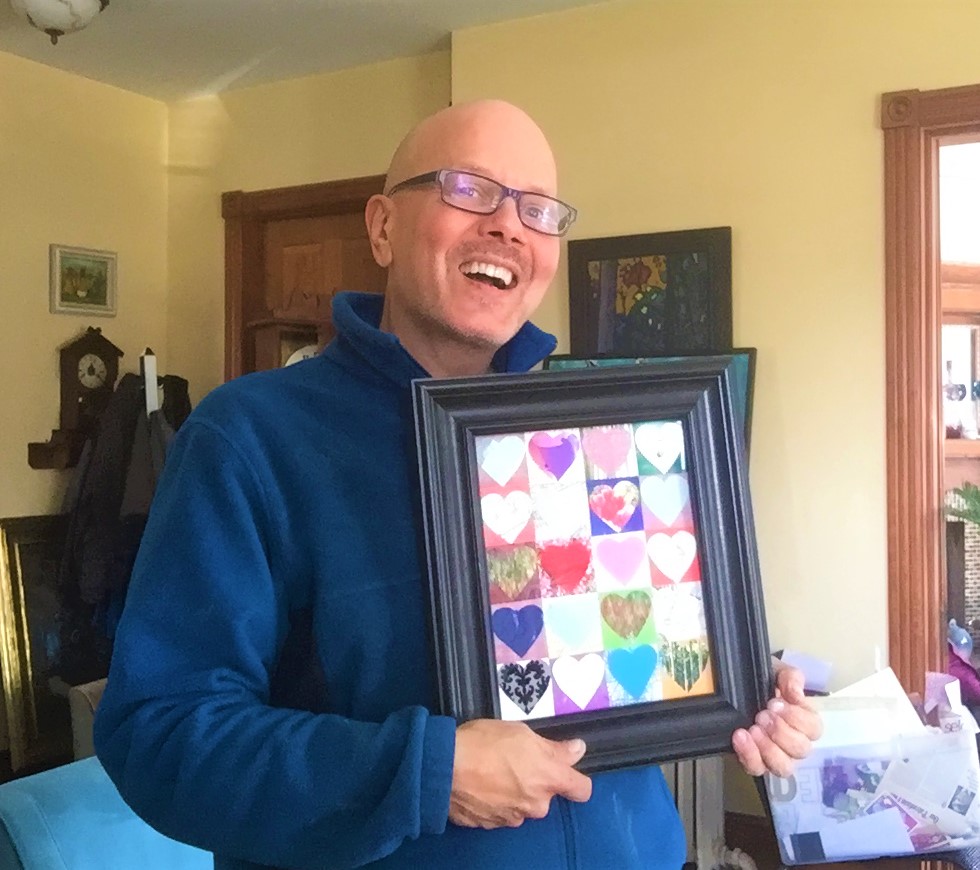
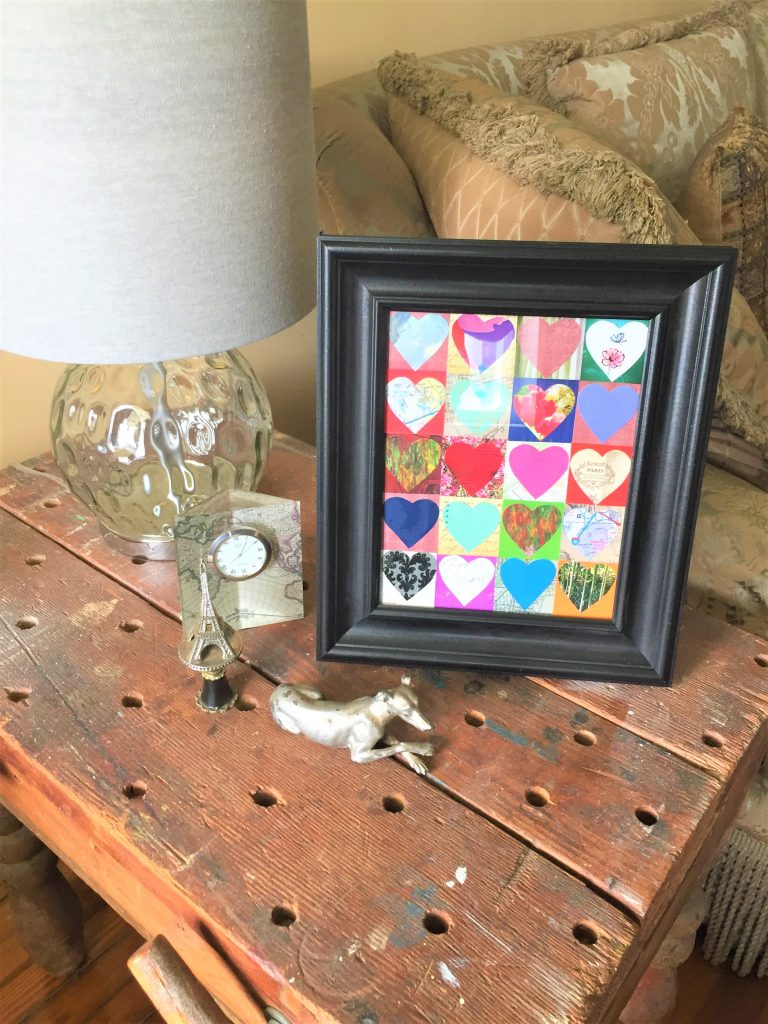
Design Inspiration 1: Hearts beating together
This idea lines up liked-sized images and allows you to express yourself in a mapped out and measured way.
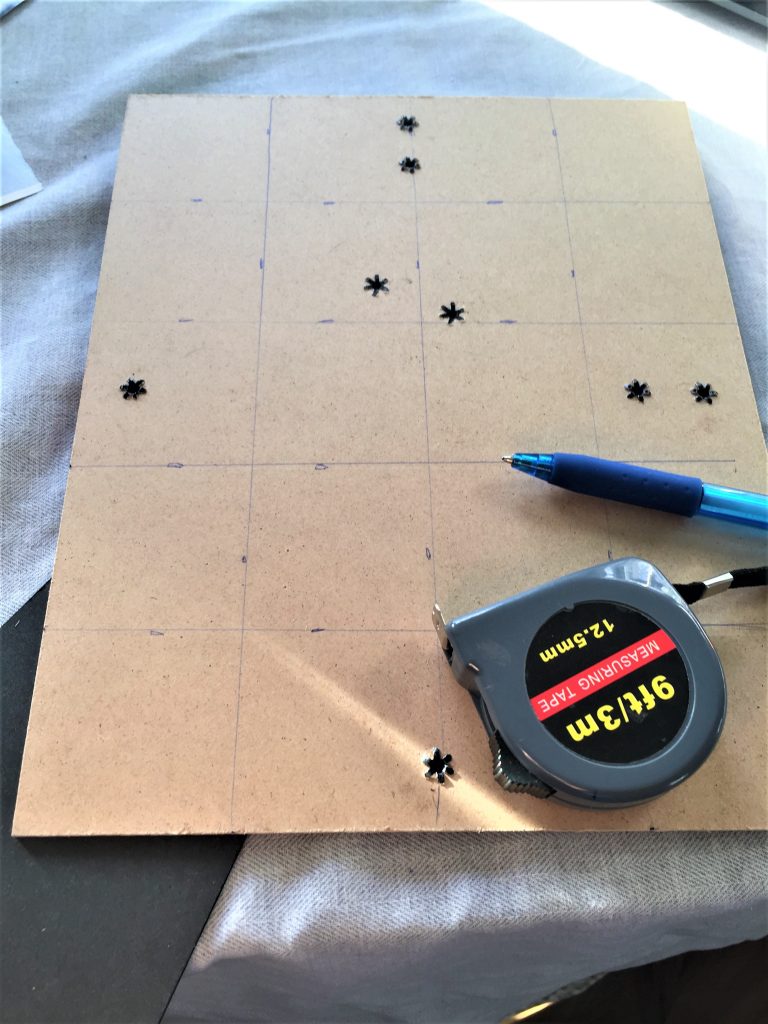
1. Remove the glass and back from the frame. Carefully set the frame and glass aside.
2. Using the inside of the frame’s back as your canvas, plan your space to ensure each box is square and the same throughout. The frame used here had an 8 by 10 inches space so it was easy to measure out sections that were 2 by 2 inches. Using your tape measurer or ruler, determine how big your squares will be, then use a straight edge to mark them off.
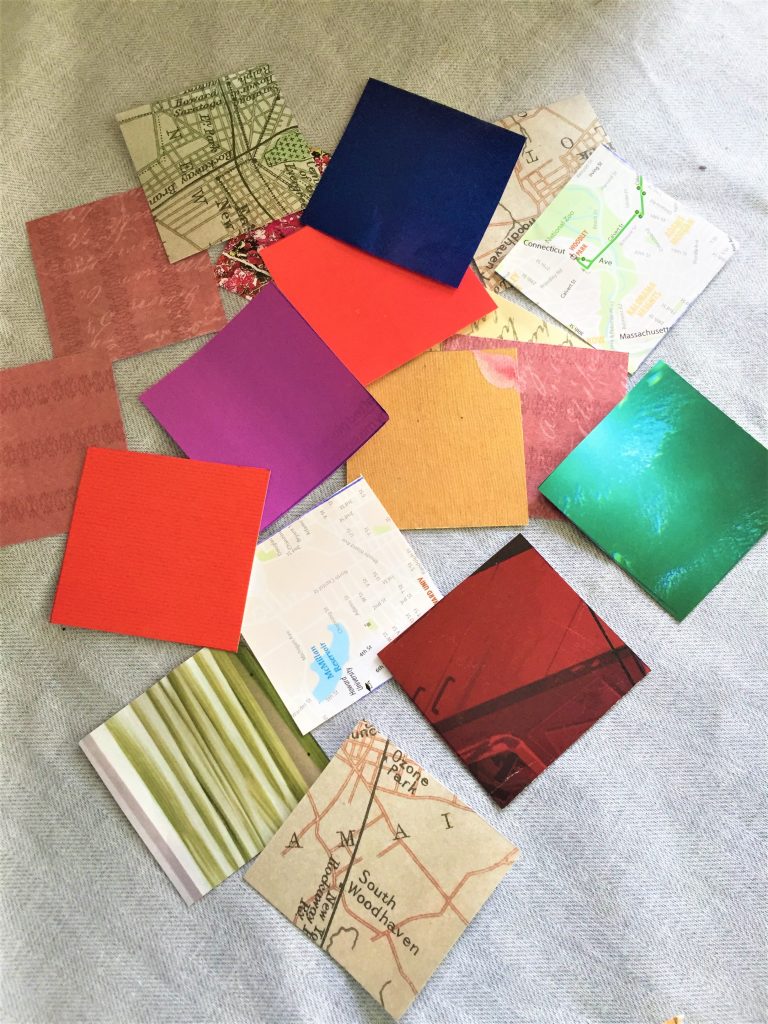
3. Using a scrap piece of cardboard also measure and mark out your square’s size; this will be your guide/template as you look for, select and cut out pieces from the various papers.
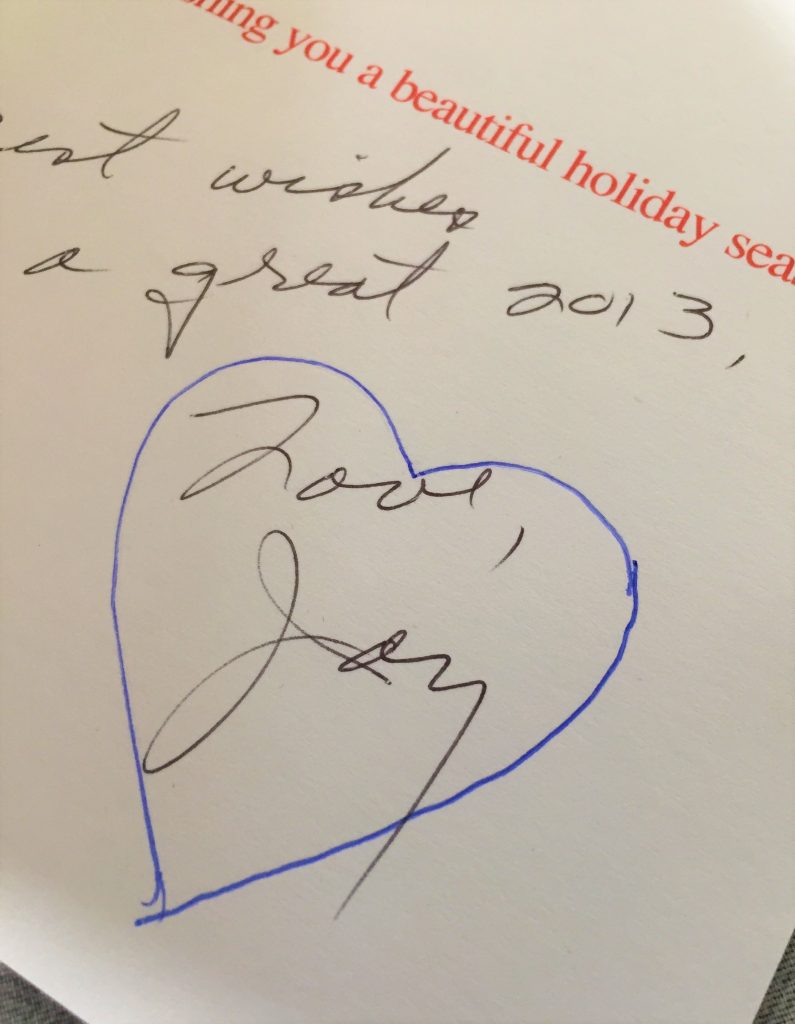
4. Trace, cut and ensure you have plenty of different colors and textures for your background squares. To add visual appeal, consider having some squares in a solid colors and others with varying tones. Also, look for interesting words or phrases to include. This is where you can really personalize your piece with papers that represent the person receiving it. Use a map from a special place or their hometown; cut photos of an admired artist; include their favorite colors.
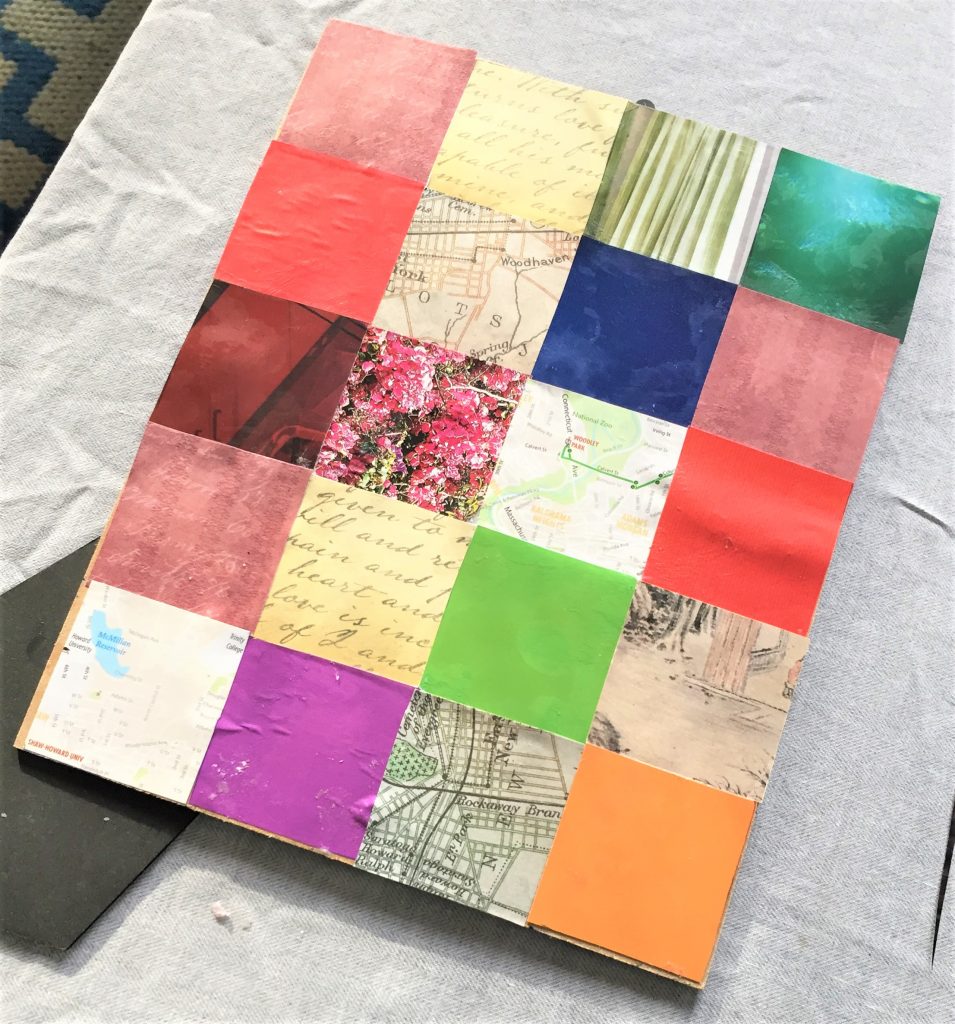
5. Once you have enough cut-out squares, lay them on the back/your canvas filling up the entire space. Move them around so they look nice together and so squares in the same paper or tones aren’t next to each other. Once you have them positioned in an eye-pleasing way, remove all but the top row.
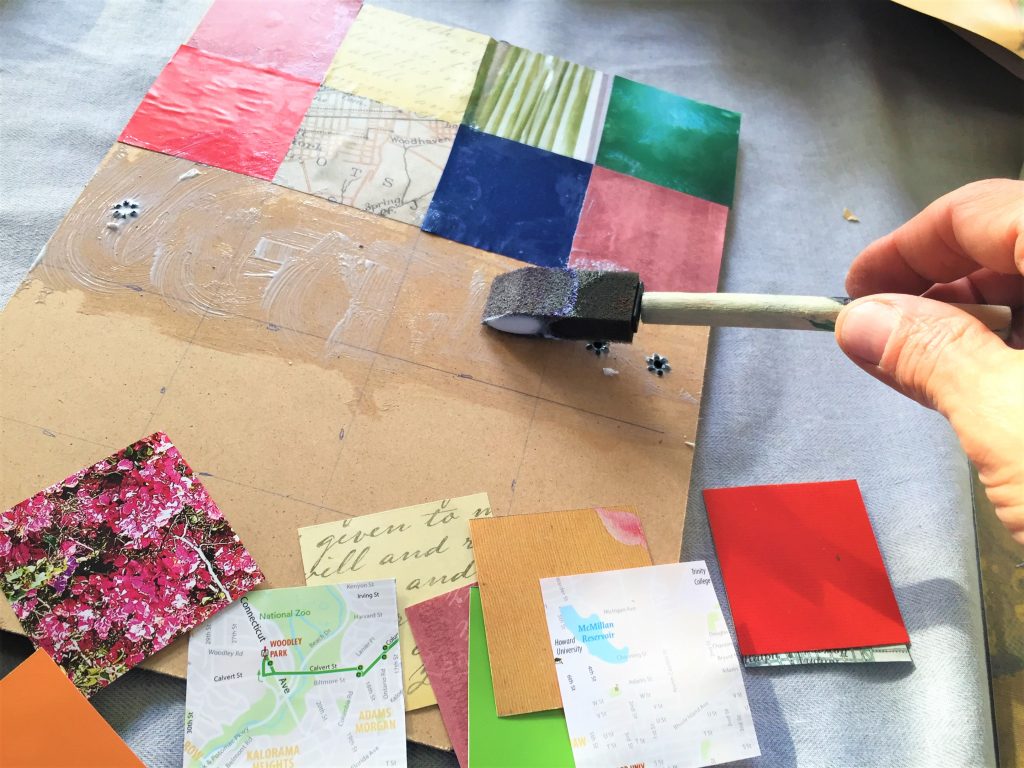
6. With your foam brush, add a light layer of Mod Podge, then return each square back to its desired position. Repeat, repeat, repeat until the entire surface is covered, being careful to line them up so the lines between squares are vertical and horizontal.
7. Take your square cardboard template and trace around it on another piece of paper. Cut this out. Fold this square in half, draw a half a heart on it, filling up most of the piece of paper then cut it out and unfold it so you have a perfectly shaped heart. This will be your heart template to be used to ensure each heart is the same size.
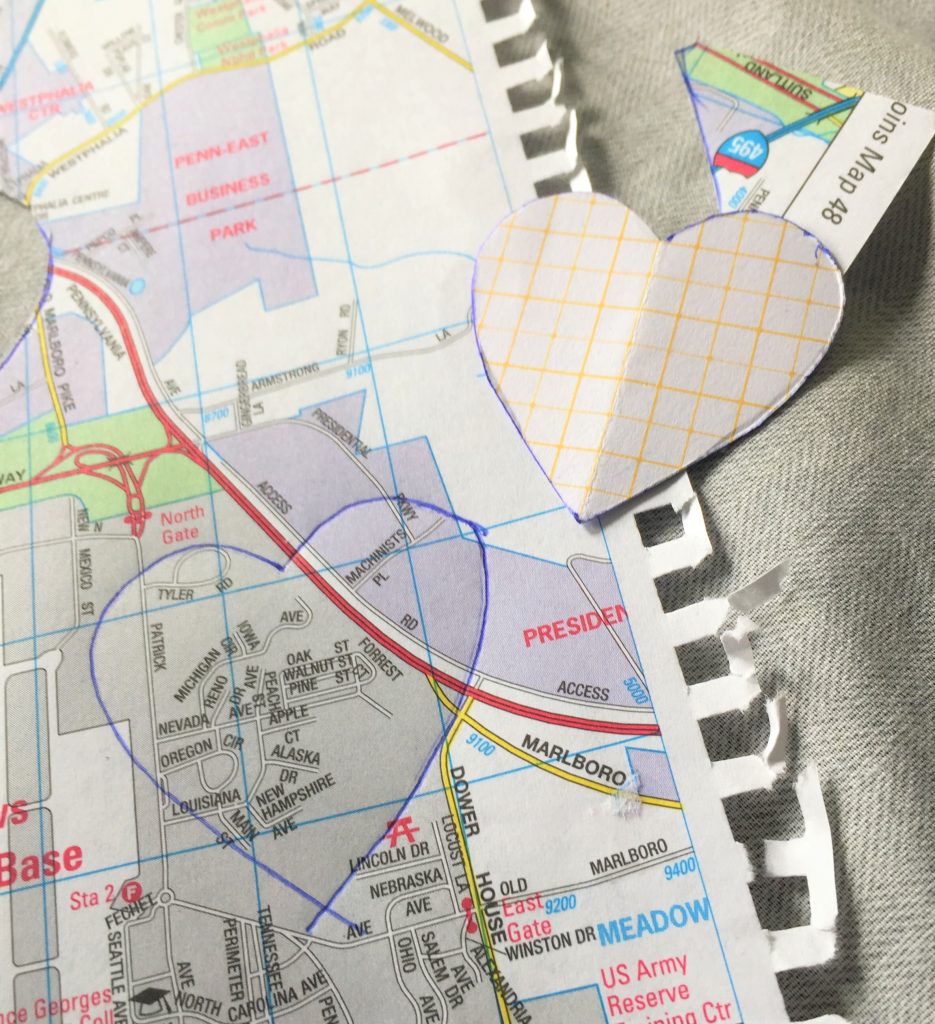
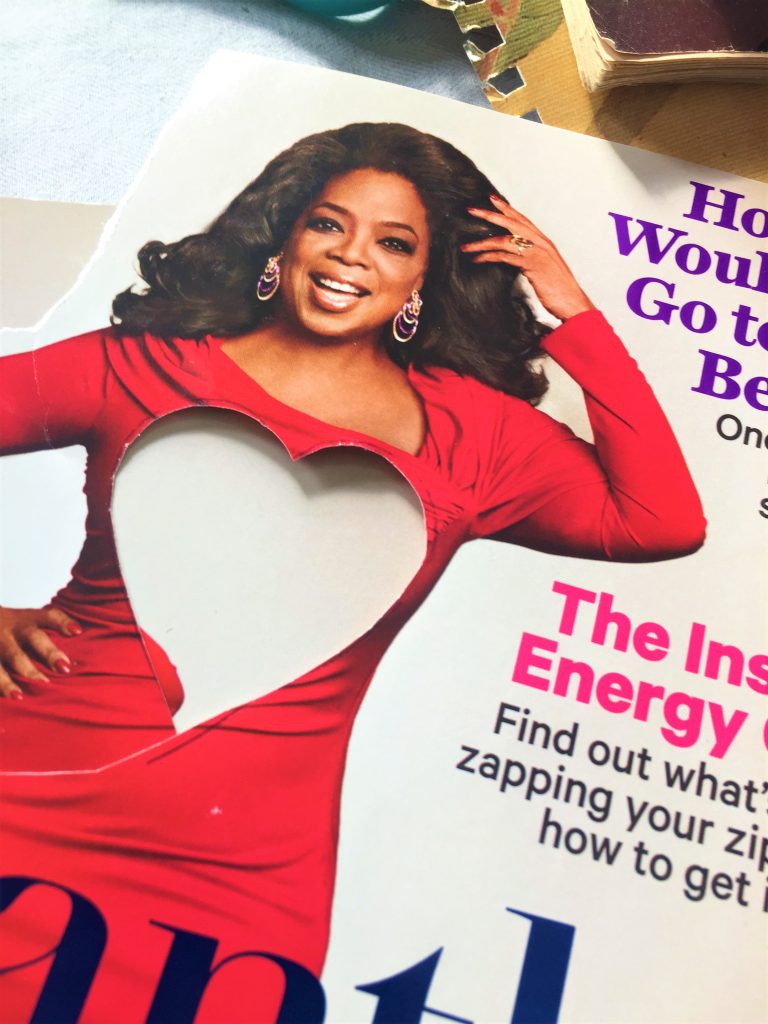
8. Search for papers you like, looking beyond any images. Trace your hearts, cut them out.
9. Place one heart in the center of each square. If need be, move them around like so that the heart looks nice on its backdrop. I like having a more solid colored heart on a square with more images or writing and vice versa. For example, a heart cut out of a map or with writing looks better on a single-hued square. You can’t go wrong so put your “inner critic” aside and have fun!
10. With each heart in place, then remove one at a time, apply some Mod Podge on its back and carefully return to its home in the center of the square. Again, continue until all hearts are secured. Brush on extra Mod Podge as need for a tight fit.
11. Let dry overnight, reassemble the frame and get ready for share this piece!
Expert Tip: Plan for the outer edge of the frame’s back (your canvas) to be slightly hidden by the frame when re-assembled. The hearts along the outer parameter were moved slightly in so the frame would not obstruct them. Before you start gluing your hearts, I suggest you put the frame on top, as though in place, so you may see any need to tweak your design.
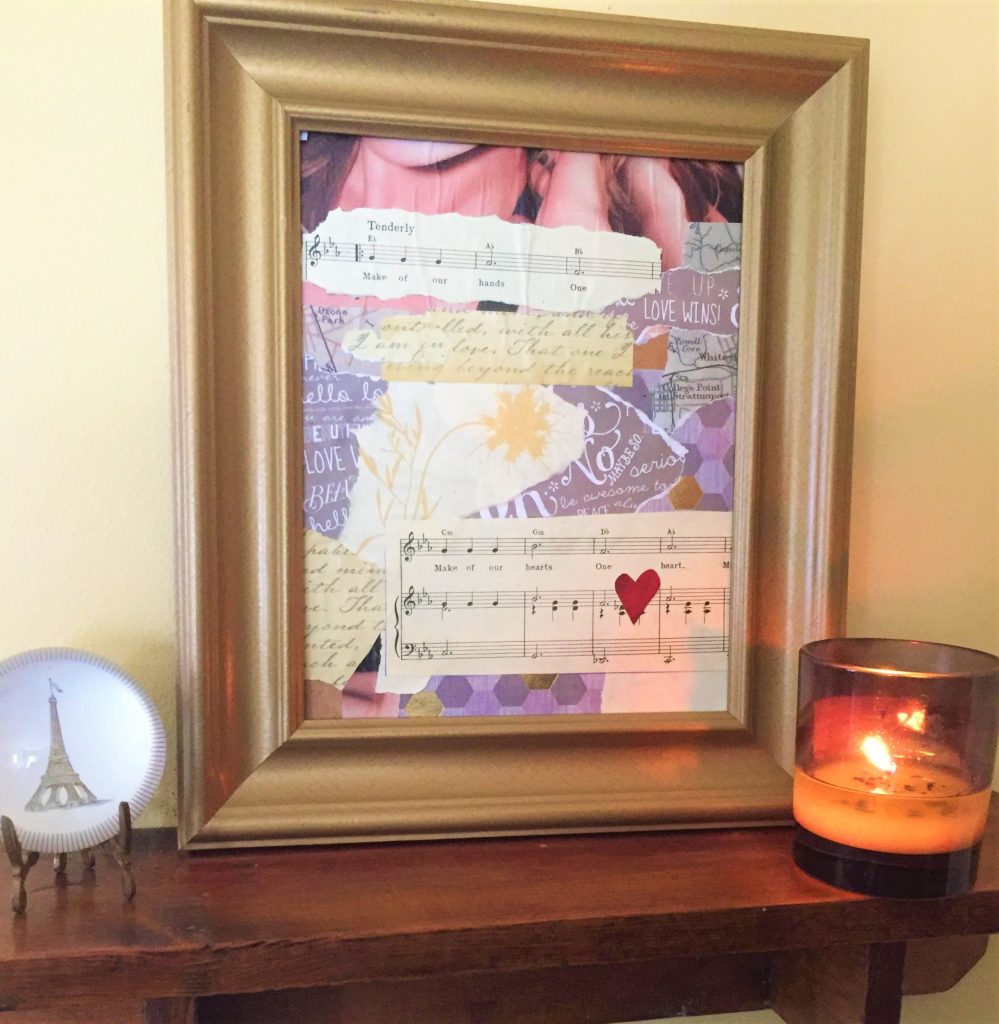
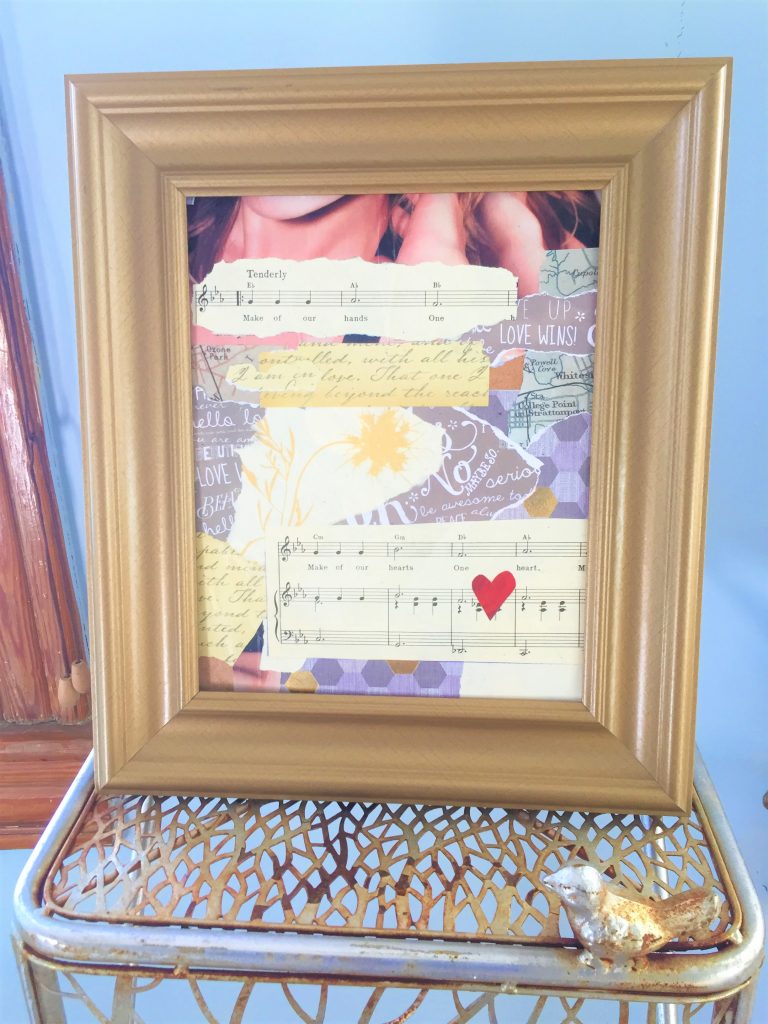
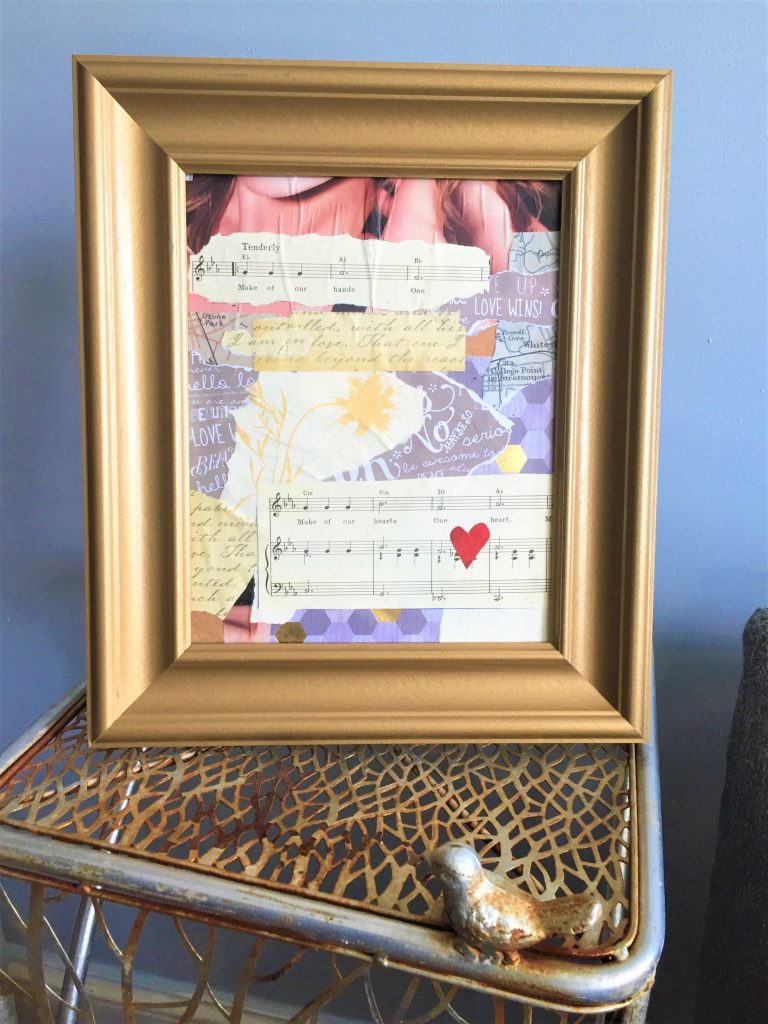
Design Inspiration 2: Monochromatic tones make the heart jump (out)
Unlike the first design inspiration which used lots of colors to give it energy and vibrancy, this approach invites you to select tones in the same family so that the one pop of color—the heart—truly stands out.
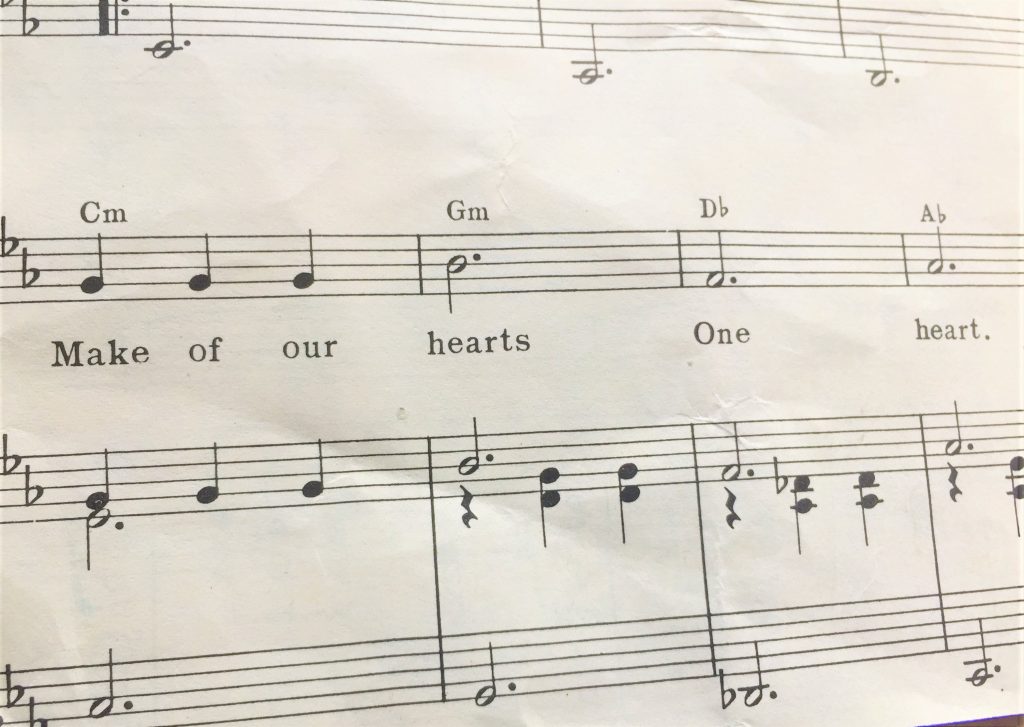
1. My color choice was inspired by the gold frame and sheet music I found in my bin of art papers; given its age, the paper turned a light brown/tan color which I thought was wonderful. And—a big AND—the sheet music was from a love song which tied into the heart-themed project. I also found several pieces that had writing on them with love-related words, too, so they had to be included. You could also go with black, white and gray tones which always look great together and feel timeless.
2. Once you have your papers picked out, tear and cut away. Add a layer of Mod Podge to the back inside (again, this is your canvas Picasso!), and place one paper in position. Cut or tear another and layer it on top. Keep covering the back and overlapping pieces as you go until it is covered from top to bottom, right to left. Remember, brush on very light layers of the Mod Podge which will dry clearly and securely.

3. As you go through the magazines, you look for words to include like “love,” “share,” “home,” or others related to your special someone. Again, keep them in the same color family so they blend together nicely.

4. Given the free-flowing feel of this design approach, consider tearing some pieces of paper while cutting others to make it visually interesting. I carefully cut the sheet music and added as the final layer. (Love, love, love it!)
5. Give your heart: find a piece of red paper from your various options. Draw on a heart and cut it out. Place it anywhere you like; I wanted my piece to be a little off-centered, so I put the heart in the corner and under the words of the love song.
6. Let your piece dry overnight then return it to its frame.
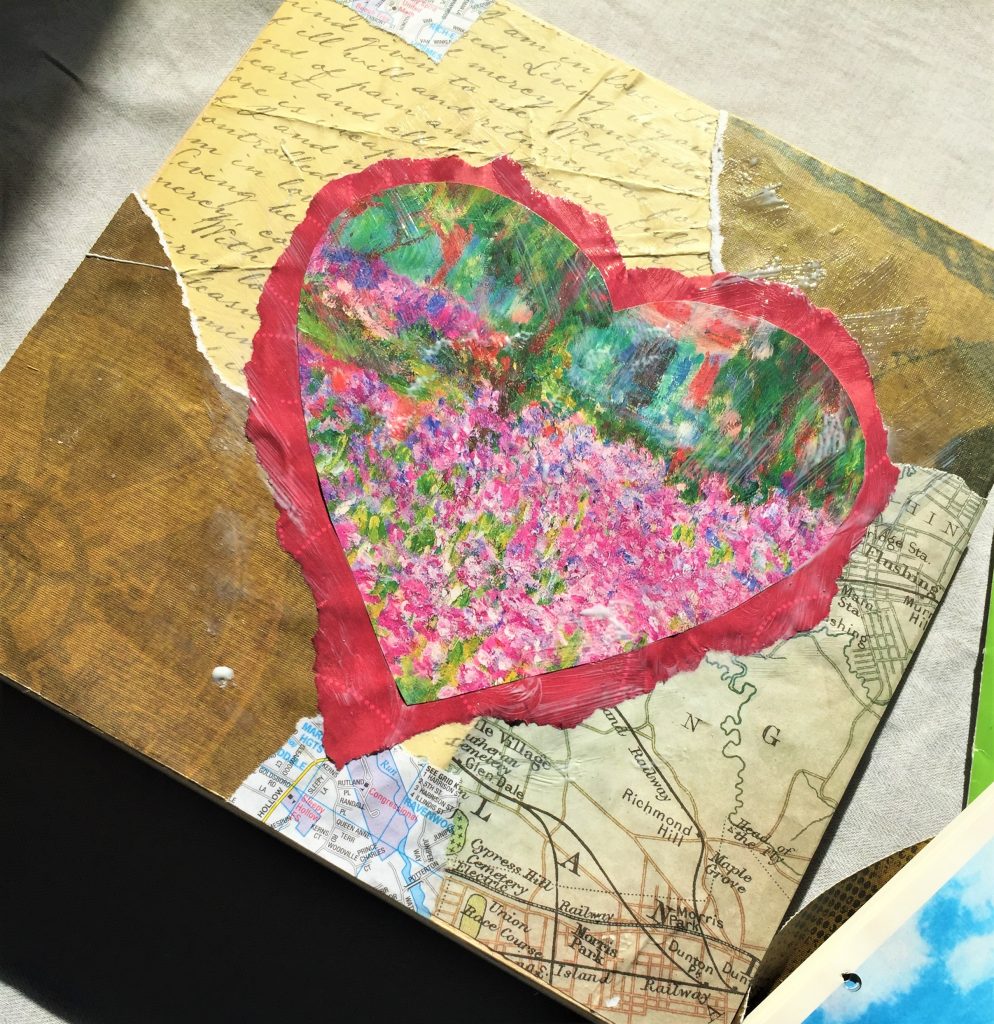
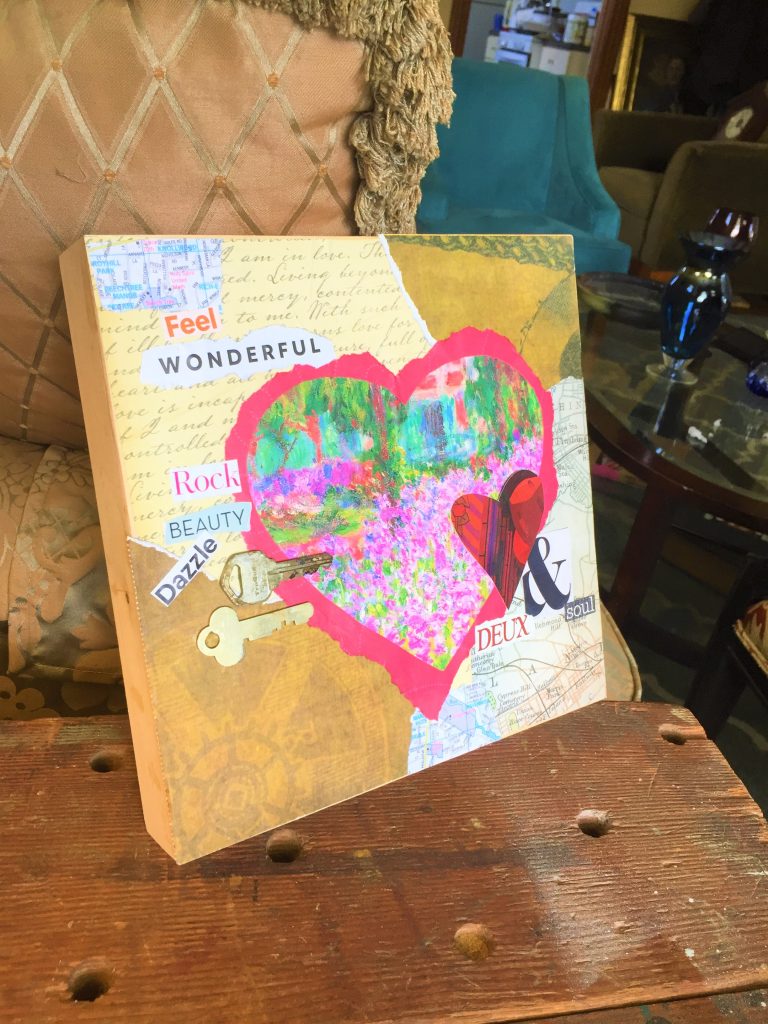
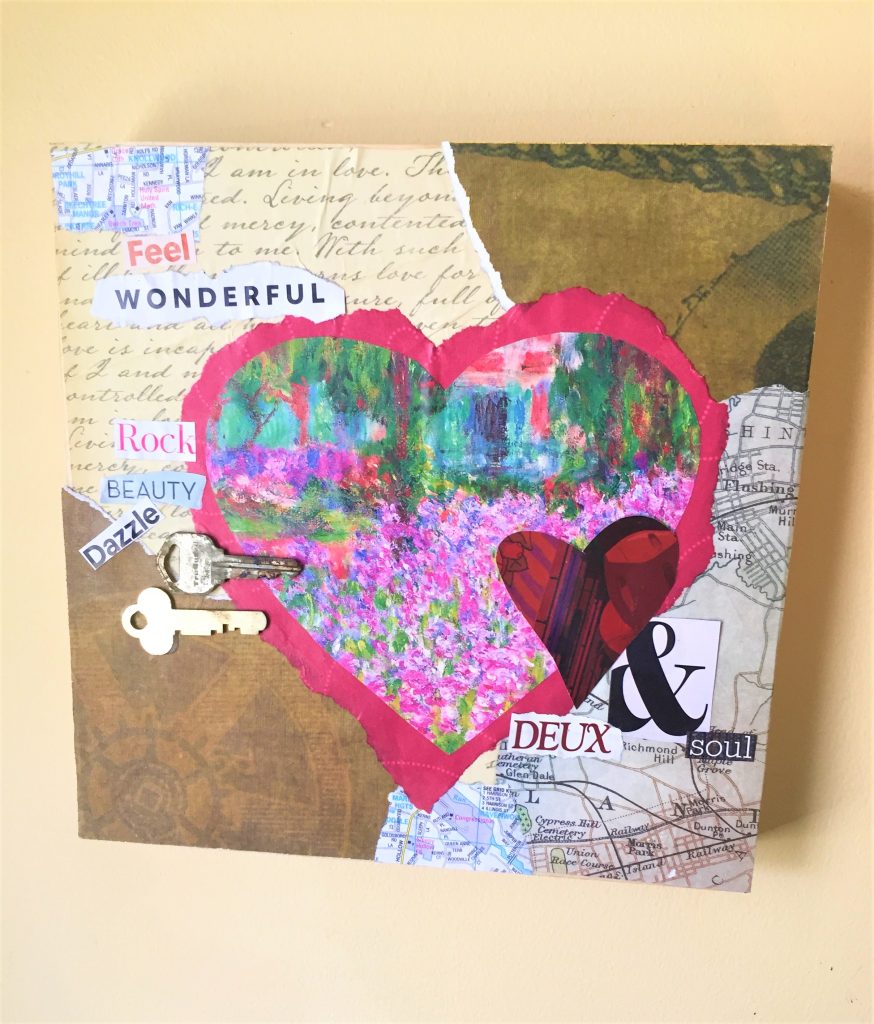
Design Inspiration 3: Think & feel outside the box
For a contemporary look, a slim wooden box was used for this unique approach that combines paper, words and real keys for a layered, lovely look.
1. Cut and tear images for your first layer, the backdrop. Brush on Mod Podge and secure as you go covering the entire piece. You will follow/model the steps above from Design Inspiration 2, step 2.
2. Modeling Design Inspiration 1’s step 7, select a piece of paper, fold it over and draw half a heart, but a big one that will fill most the space. Cut it out. Find another piece with reds in it. Flip it over then trace the big heart. Rather than cut this red piece, tear the shape of the heart leaving an edge that will bleed out (hey, a heart pun!) from the cut heart. Glue the cut heart on top then secure this piece to the center of the wooden box.
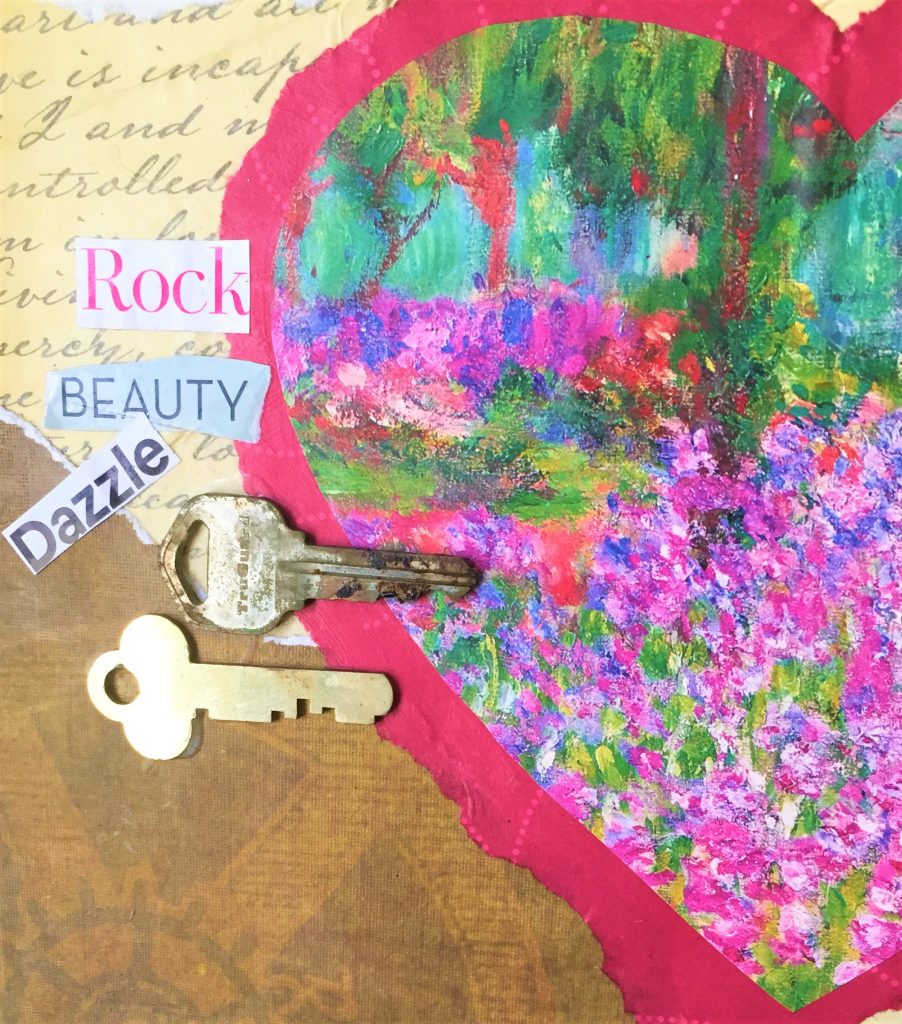
3. Look words in the magazines that speak to you about you’re the person who will receive it. Cut or tear them out, too. I cut out a smaller heart, too, to add and selected words that linked to two hearts together. Position them and add Mod Podge to adhere them.
4. If you have them available, glue on an old pair of old keys. You could also add other items like buttons, knobs, puzzle pieces, feathers and more that make you think of the person who will receive it. What about ticket stubs from a concert or a movie you saw together?
5. Again, let dry overnight before giving—or keeping!
Given the universal, timeless appeal of hearts, these pieces will be proudly displayed all-year long as a lovely reminder of the connection you share.
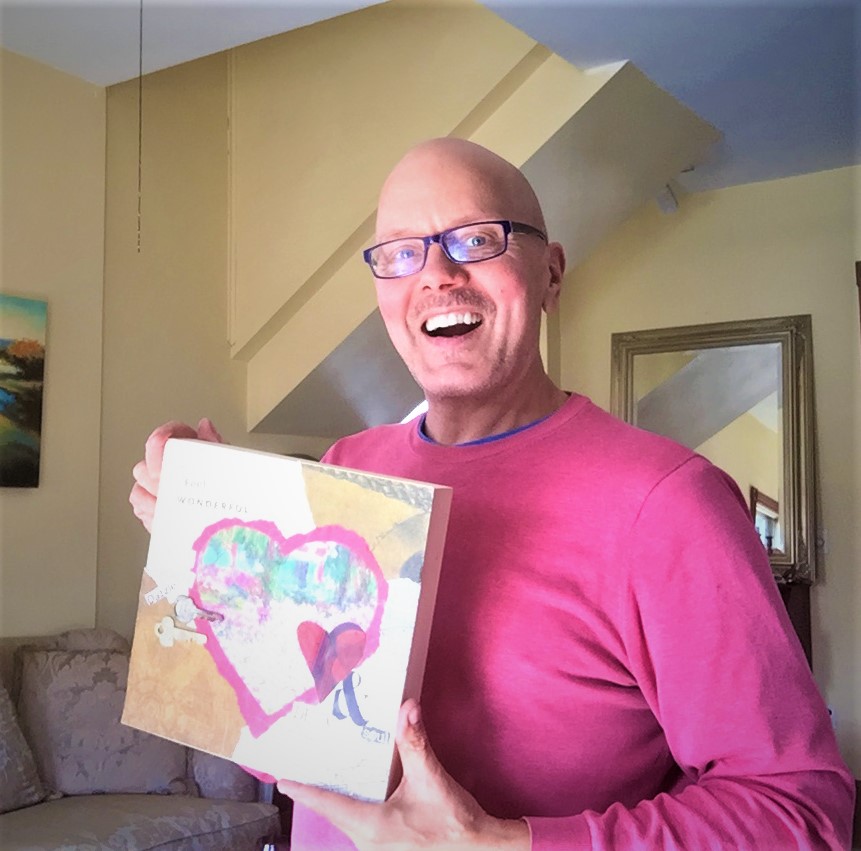
Thanks to a church friend, DJ, whose recent Vision Board Workshop gave me this idea. And heartfelt hugs to my chosen-family member, Dianne and her sister Beverly, for gifting me with many of the papers, calendars and cards used here that once belonged to their beloved late Mother. Grateful to each of you for your role in this project, so much so I might have to make one of these heart art pieces for you!

