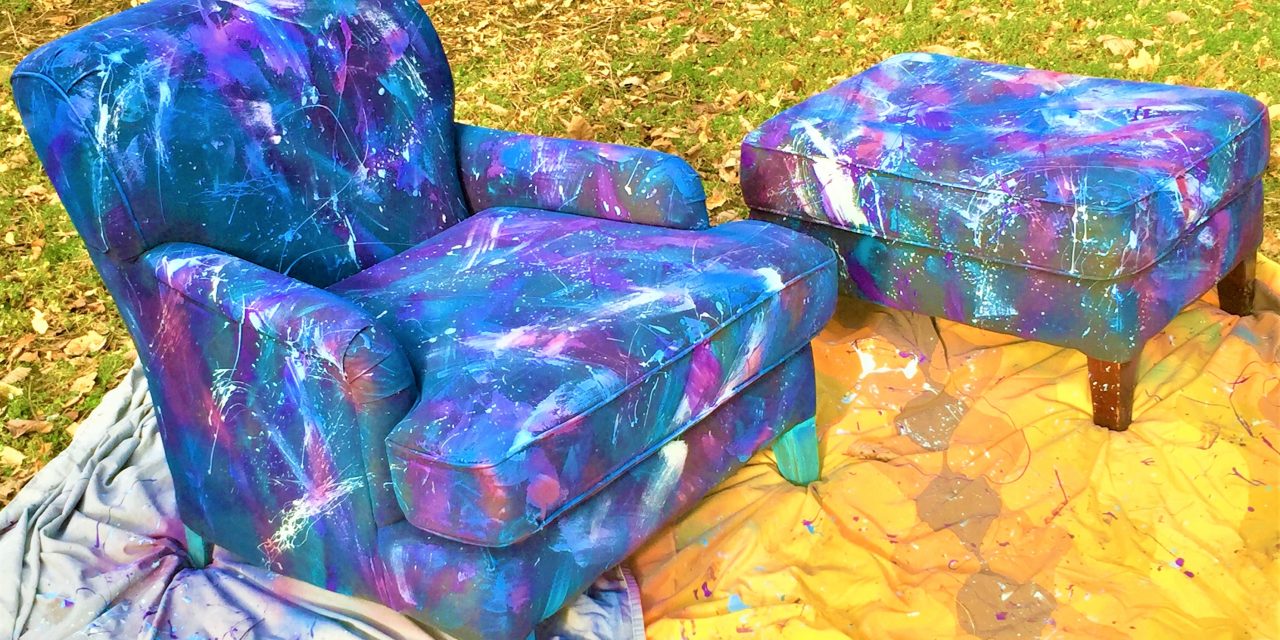
Paint can send a worn-out chair into orbit with a cosmically cool transformation!
You will see stars when you send an old chair into space–your living space (rather than the dumpster or landfill) using paint to transform it. Truly an out of the box, out of this world DIY project that will cost you next to nothing while launching loads of fun along with many compliments.
Part impressionist, part Jason Pollock and part George Jetson, this transformation will have you, saying “Houston, we have a problem” because everyone will want one in their orbit, too!
Age: Any age with some adult supervision
Ability: So easy you will make a smooth splash down
Items needed:
1. Old fabric covered chair; ottoman optional and a bonus!
2. Leftover latex paints, multiple colors
3. Leftover spray paints
4. Drop cloths
5. Painter’s tape
6. Silver craft paint
7. Foam brush
Cost: $0, nada, nothing, free, zip
Chair: $0 if you have one; $15-$30 at Goodwill
- Matching ottoman: $0
- Leftover paints: $0
Time: One hour, not including paint drying time
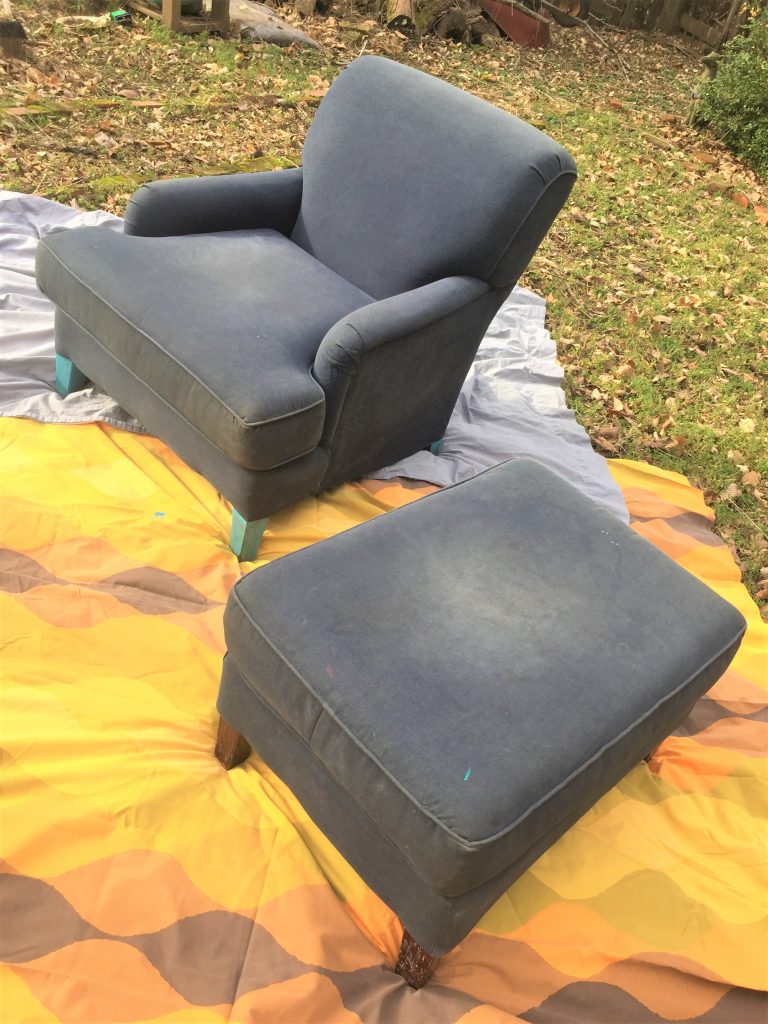
1. Hit Goodwill to find your “canvas”—a fabric covered chair
Do you have an old fabric covered chair that no longer fits into your décor? Maybe the material is out of date or its colors no longer match? If so, then it is perfect for this project. OR head to your favorite Goodwill to find something good there! Often, wonderful but not-so-cute chairs are available at turn-back-time prices so you have little to lose and lots to gain with this cool, clever and creative upcycled project.
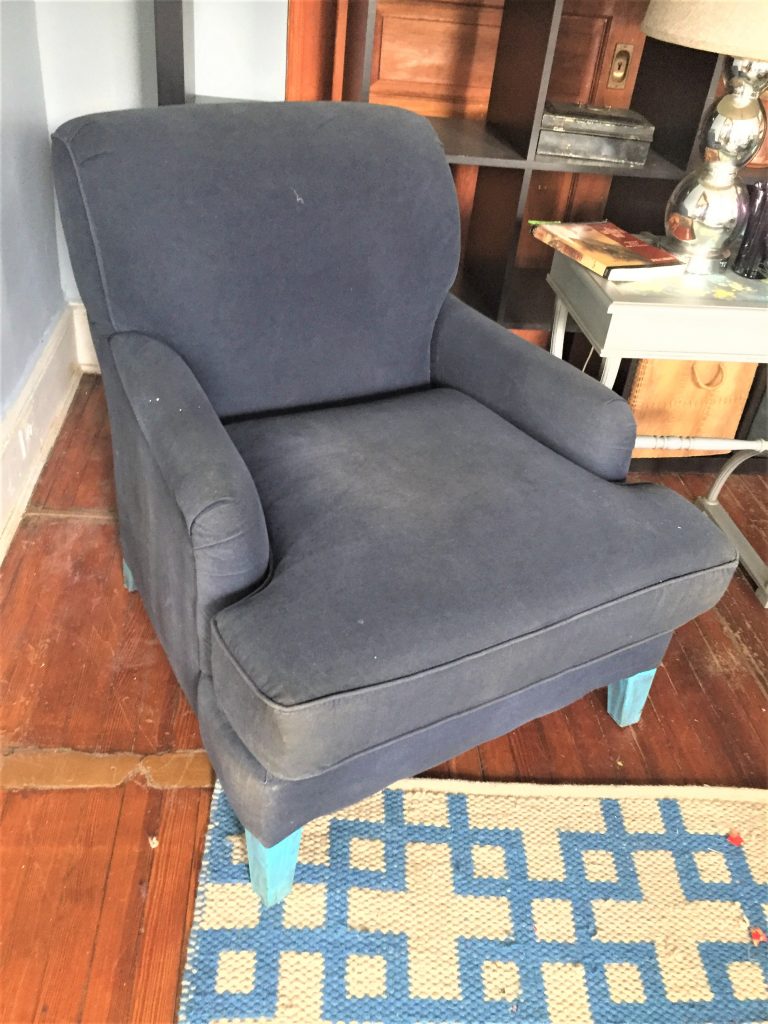
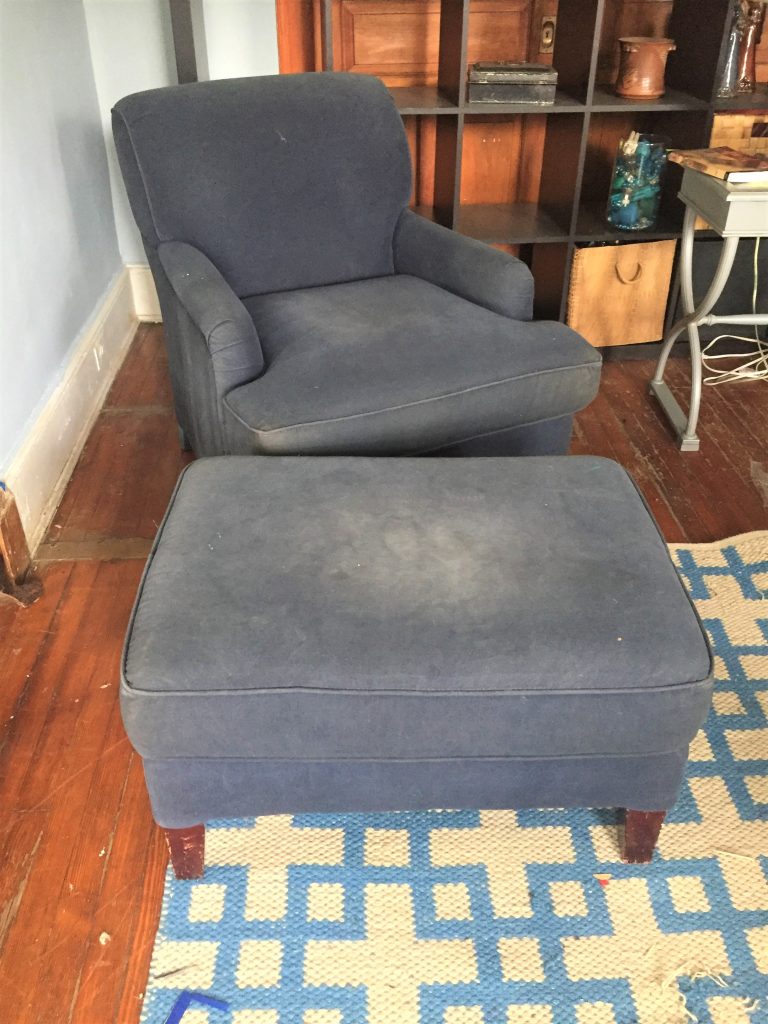
The matching pieces featured in this blog were great and had served me well over the years. Solidly built, super comfy and stylish profiled, their fabric was faded and worn out from frequent use. This set was tired looking which me think I needed to toss them out. Who would want them? So happy I tried this project, sparked by some pieces I saw on Pinterest. There was little to risk since they were destined for the dump…or so I thought!
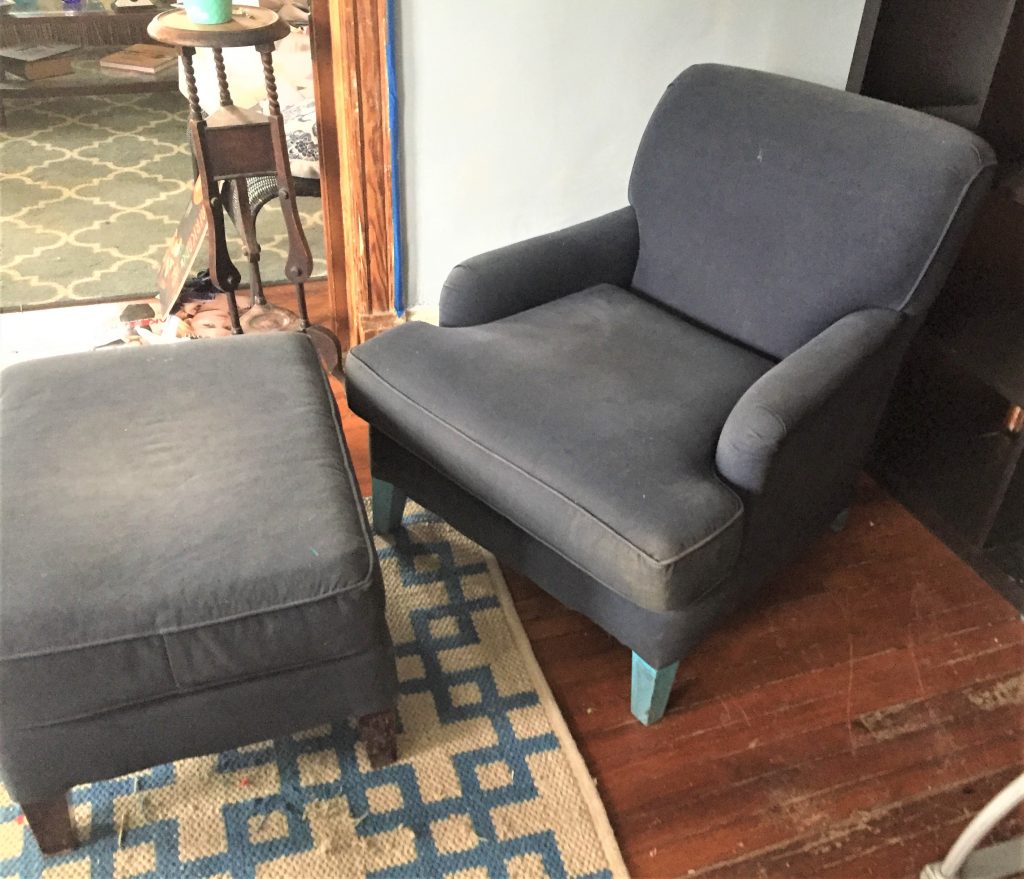
As always, look for a piece that fits your space and function, not focusing on its current appearance.
- Is it sturdy?
- Does it have lots of surfaces on which to express yourself?
- Any interesting lines or details?
- If you buy it a Goodwill, it will have to pass their approval process so it will be in good shape for sure, free of stains and tears.
2. Pick your color palette
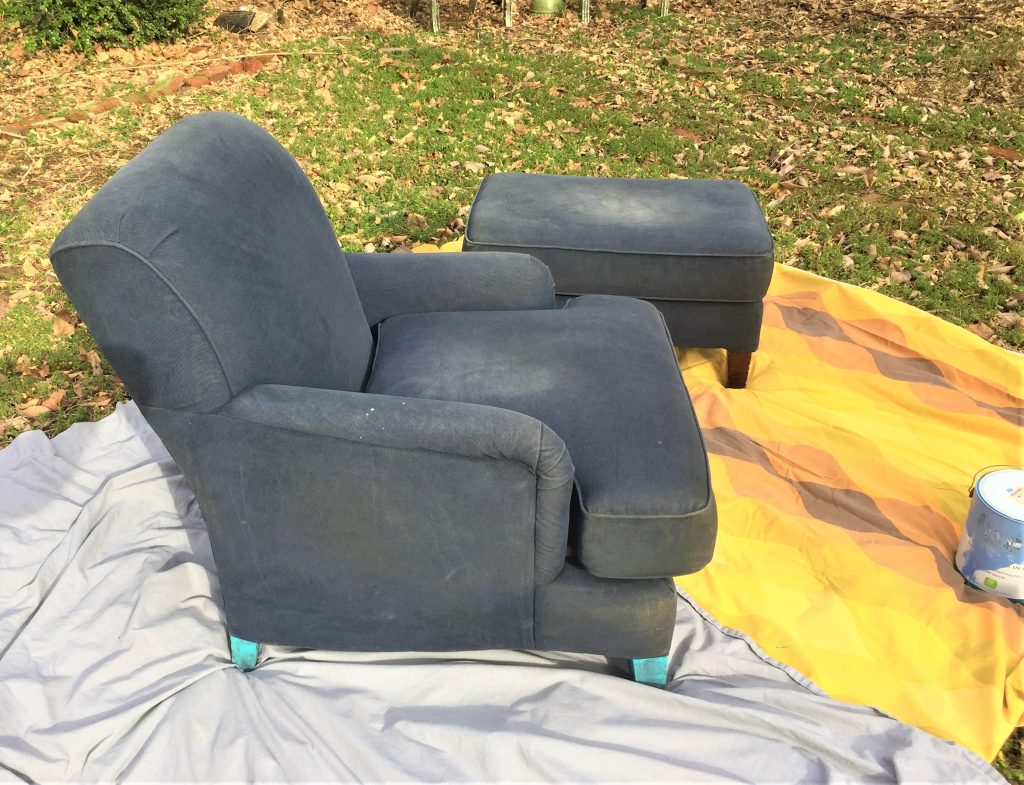
Thankfully, my pieces were already ahead of the pack because their navy color. It was a great tone on which to build the transformation because it was a hue that was already part of my décor. Also, the fabric was smooth with no detailing or textures as part of it so it also provided a more neutral canvas on which to be creative.
So many colors, so little time! How to pick the colors? Consider where will your transformed piece live once completed and build around that. In my case, my recent living room redo (to be feature in a future blog) included blues, purples and grays. To make this piece compliment the new look and color pallet, I selected only those colors from the many leftover paints I had on hand. And I love the way the universe works as I had just been given paints from a friend that she didn’t want which included were purples and grays, too! What colors can you use to play up on your piece? What paints do you have available now to blend in?
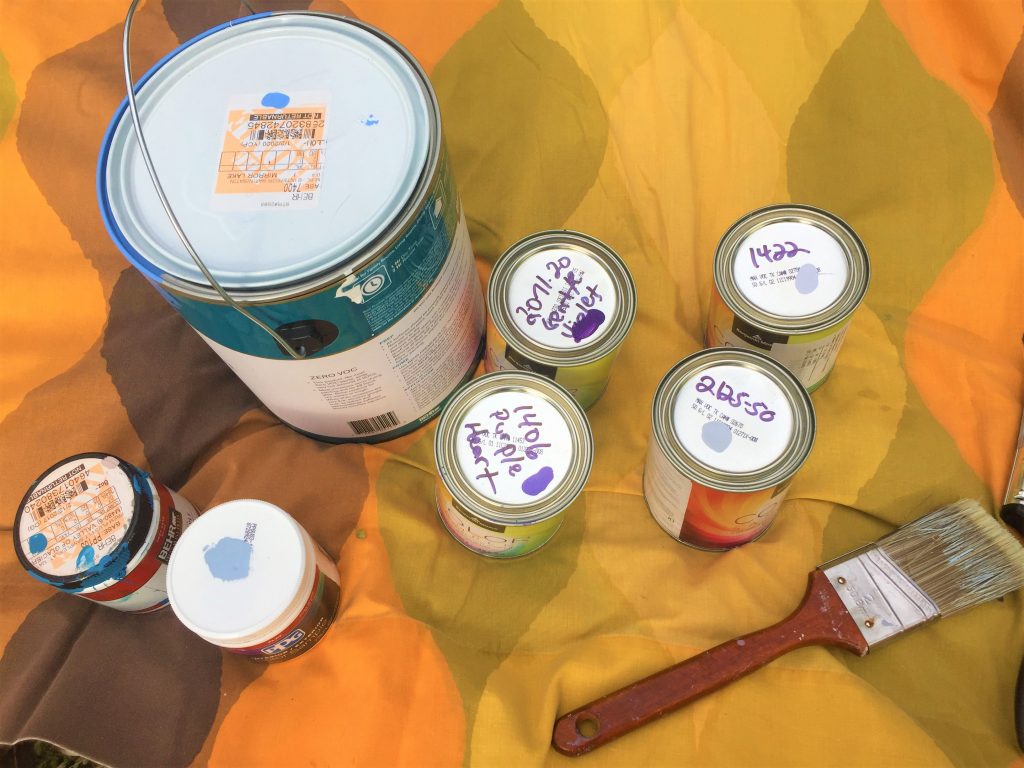
Expert Tip: If you don’t have many paints on hand, consider stopping by your local hardware store and hit the paint department. Often for sale are “rejected” paints which customers didn’t like the colors or had leftover cans so returned them. You can get them for remarkably low prices. Consider sending a message to your friends and neighbors to see what paints they have that they no longer need. You will be amazed at what is out there and available for next to nothing. Just ask for help and see what cool things (and colors) show up! This project only used latex paints which dry quickly and can be cleaned up with soap and water. It doesn’t matter if they are flat, satin or glossy finished. All will work well.
3. The bigger, the better—big drop cloth that is
Part of the fun of this project is that there are no limits or boundaries. Therefore, give yourself as much space (and permission) as possible to do this transformation. Use a large drop cloth (or old sheets and blankets) to cover your workspace. I totally lucked out with a day in January that was 60 degrees, so was able to do this project outside.
Spread your cloth out, place your piece or pieces on it, line up your paints and brushes and get ready for the countdown to a crazy, fun experience!
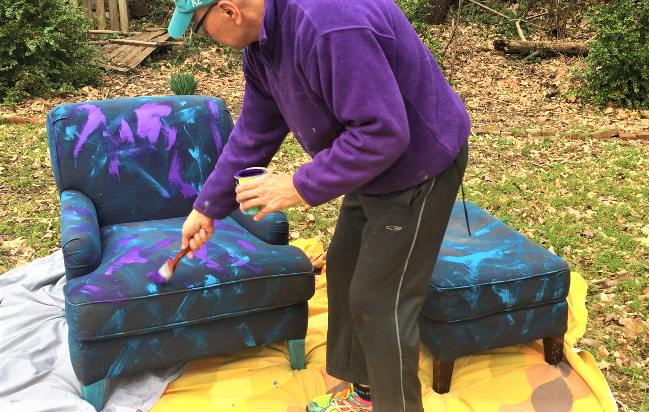
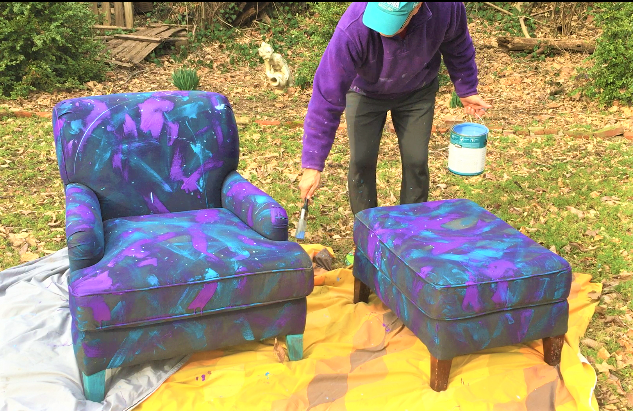
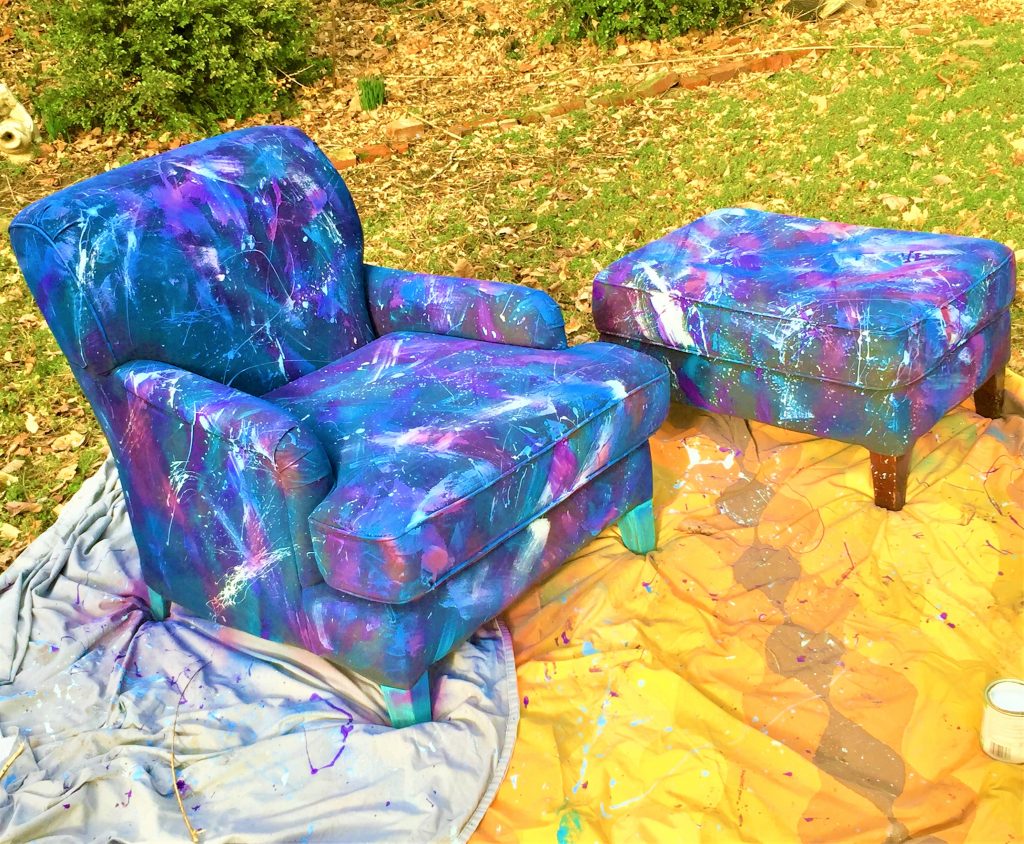
4. Layers of color, one splatter, spill, swipe at a time
- Select your first color of paint and a brush.
- Apply the paint generously with big brush strokes, flicking your wrist to splatter some on and by dripping more from your brush onto your chair.
- Move quickly, dancing around your piece to get coverage on all sides and from top to bottom. Since I wanted the chair and ottoman to match, I did them at the same time, so each layer was applied in the same manner and order. You might feel you are in a time warp or a black hole because the minutes will zip by as you go from can to can, color to color.
- Layer, splatter, swipe and wipe ‘em on.
Expert Tip: You will want to determine how much of the chair’s original color you want to show through when done. As previously mentioned, my chair’s navy blue tones were a great base on which to build. If your piece has fabric that is truly an eye sore, your first step might be to take a neutral toned paint and brush it over your piece before starting the splatter extravaganza. You might enlist a roller brush, too, depending on the size of your chair.
5. Spray on style
To match my room’s colors, I previously had spray paints in deep blue and plum/purple on hand. Once I had my pieces with various layers of the liquid paint on them, I sprayed on two more layers with the afore mentioned tones to ensure a cohesive look. Some of the lighter grayer tones picked up the sprayed-on colors adding another dimension of interest and pop.
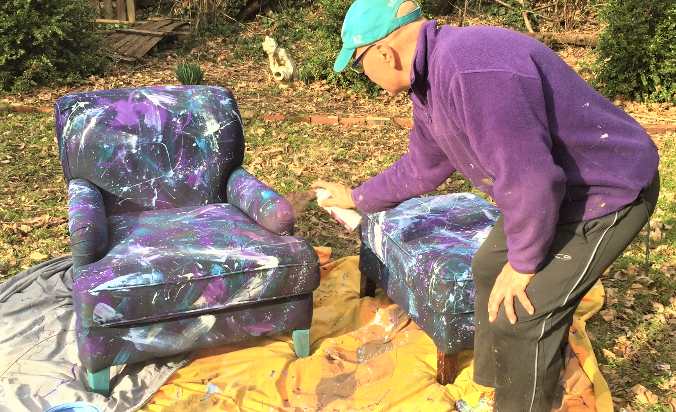
- Now that your chair is covered with layers of paint, let it dry overnight before moving. Since some of the drips might be thick, give it as much time as needed to ensure you don’t smudge your work.
- Gently touch the paint to ensure it is completely dried before handling it.
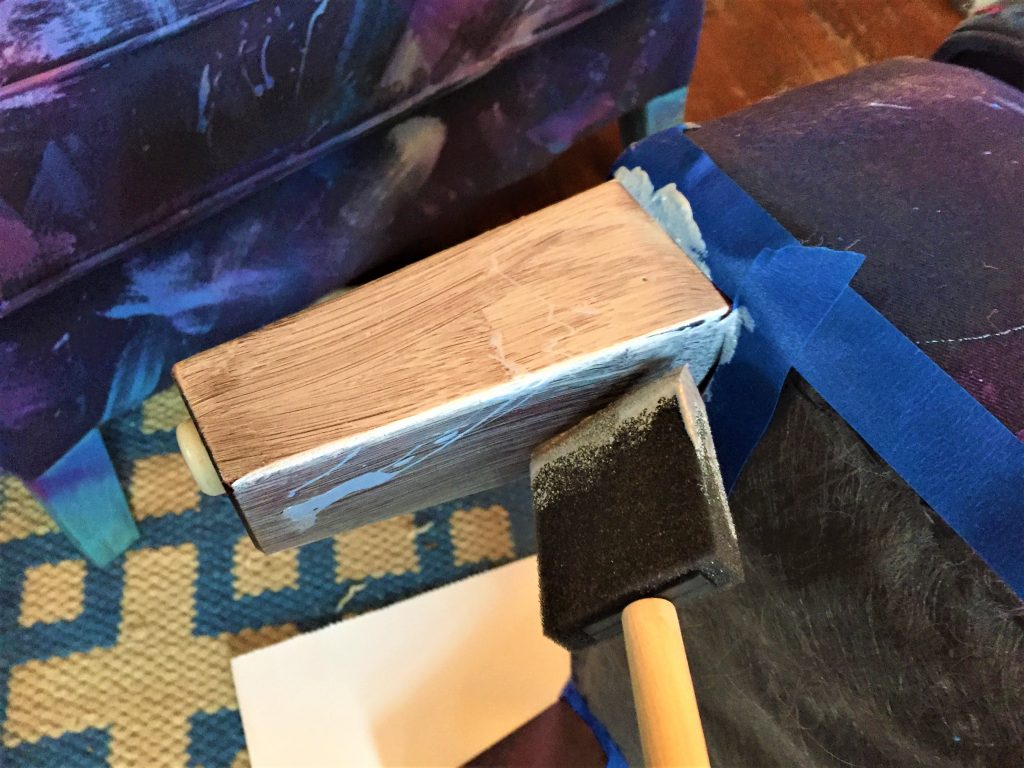
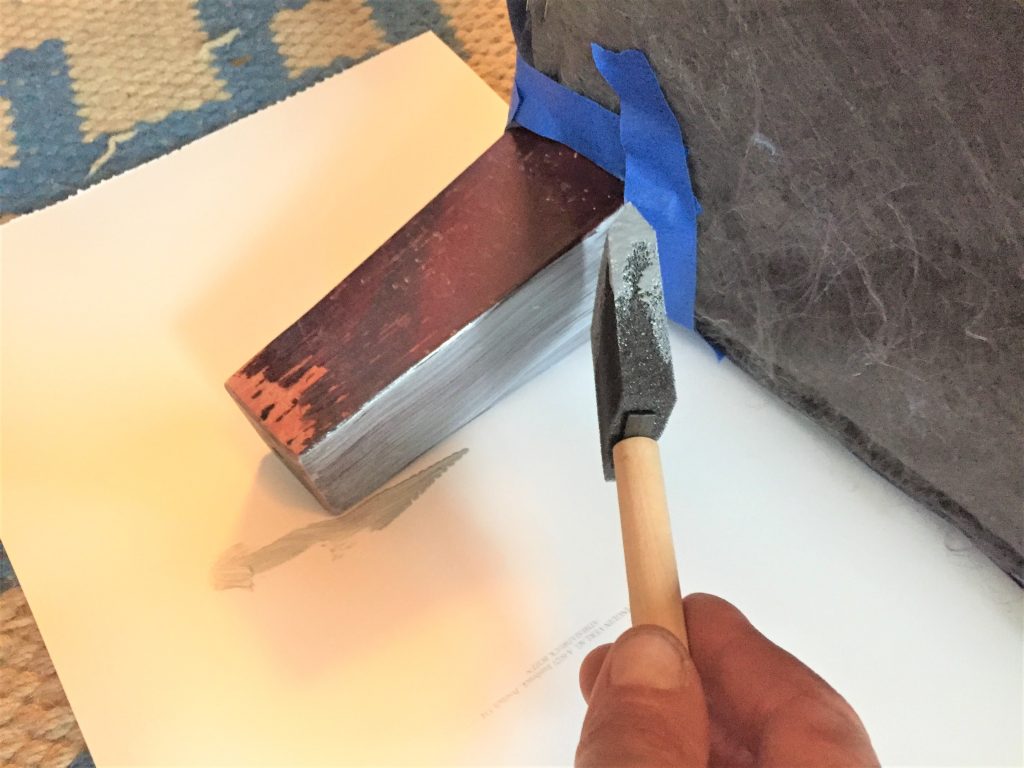
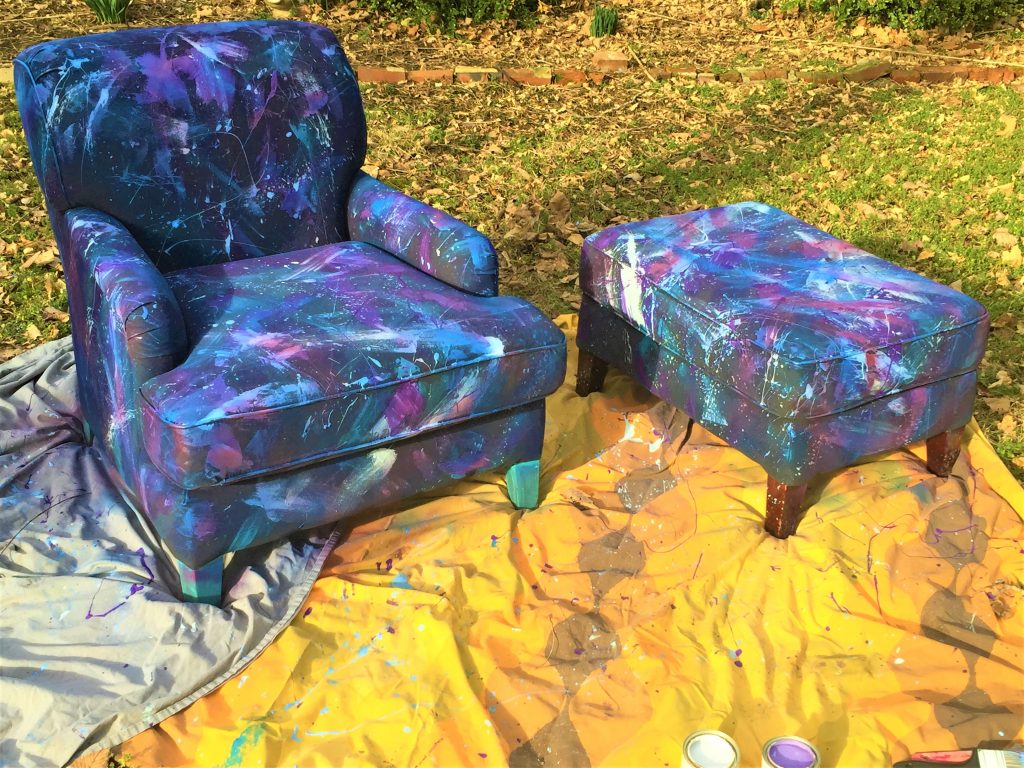
6. Loving the legs
For my piece, I knew immediately that I wanted the legs to be shiny and silver because I wanted them to stand out.
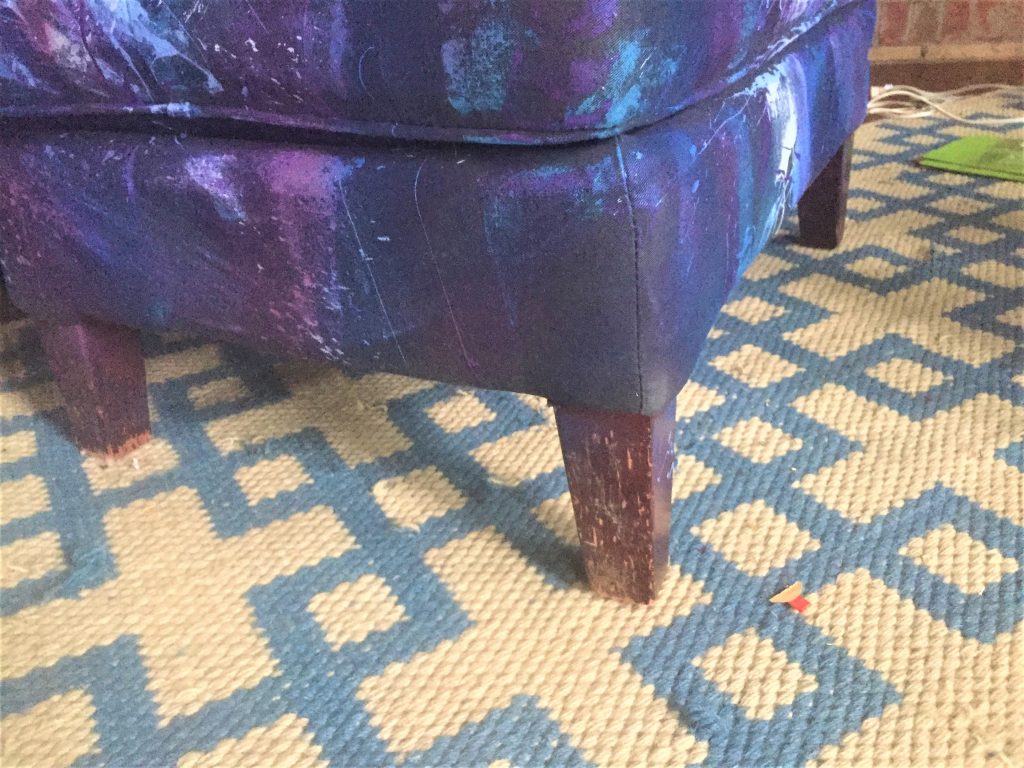
- With painter’s tape, cover your chair parts around the legs so the silver paint (or whatever color you select) only goes on the legs.
- You may need to apply several coats like I did to ensure solid coverage.
- Let dry overnight, too, and remove the painter’s tape. This last step gave the piece a finished look that I love!
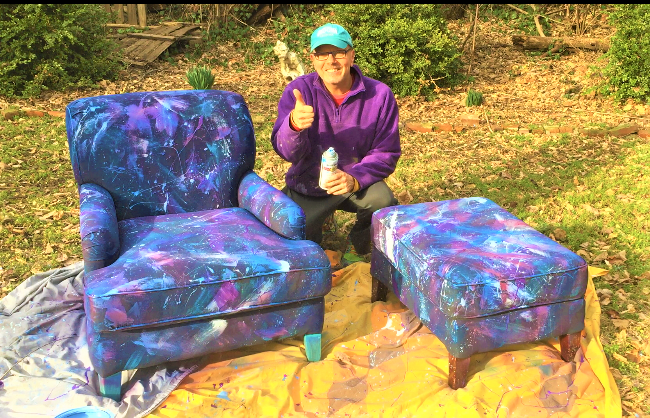
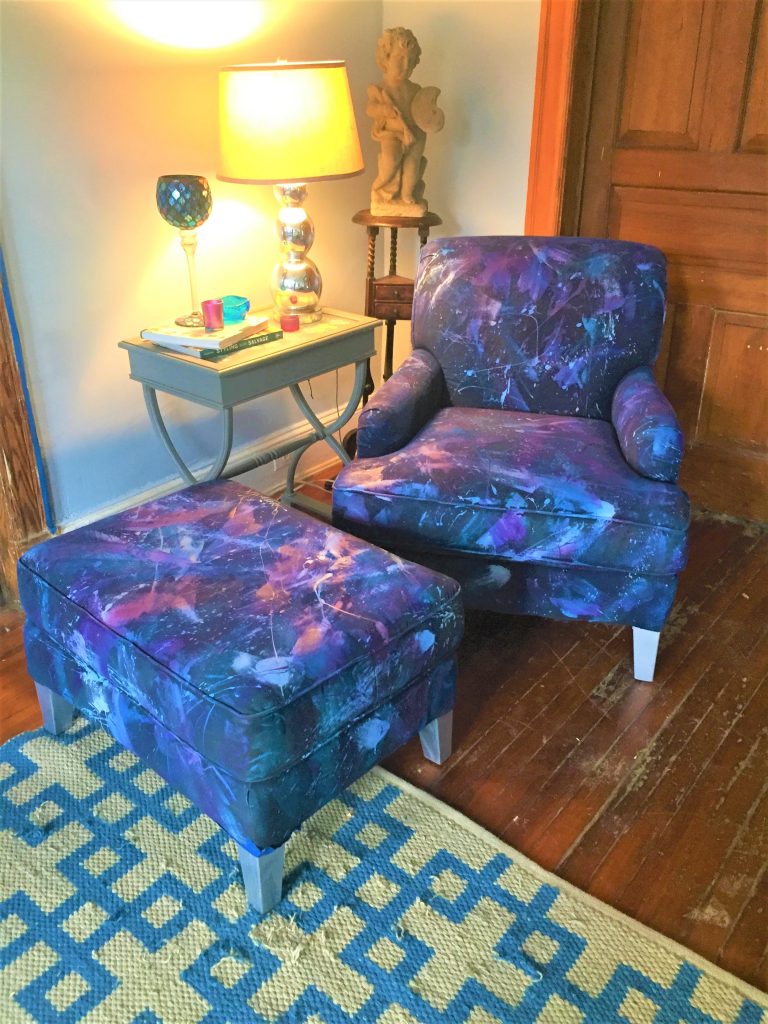
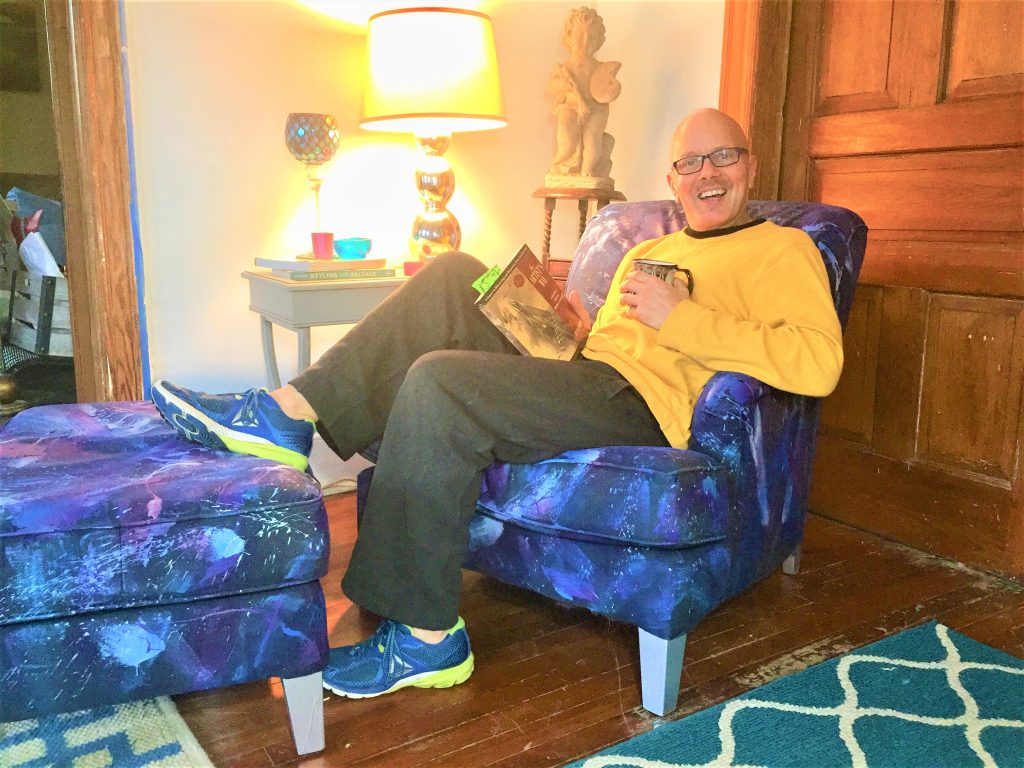
7. Position and Pow!
Where will you place your starry-eyed, one of a kind, transformed piece? It took center stage in my living room and was positioned with a side table and lamp so I could sit on it while reading and having a cup of coffee. Seeing how well it blended in with the other pieces, their colors and accents, made me so excited to be able to share it with Finding Your Good followers/readers.
Wouldn’t this make a totally cool project for a teen to do for his or her room?
You could select colors of your favorite team or school. I envision one with just black and white tones for a monochromatic, dramatic look.

There are so many ways you could take this project. Please, please share with us so we can see how you took an old easy chair and made it take flight!

Tim Kime
Artist, Motivational Speaker, Life Coach


