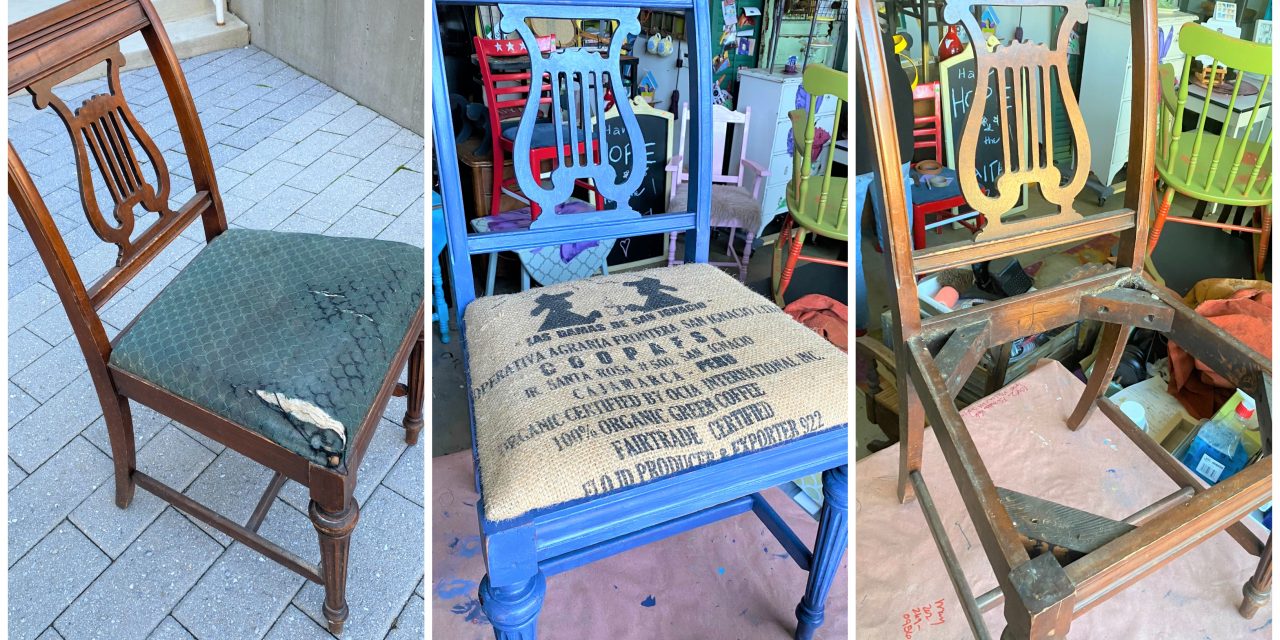
It’s time for some “Coffee Talk.” Leftover sacks, used to hold coffee beans, become the main course when used for upcycled projects. No sugar is needed as this project is already sweet enough. Using store bought fabric to reupholster pieces is sooo last year. Burlap sacks, with company and brand information printed on them, are sure to wake you (and your piece) up without any caffeine at all!
Supplies Needed:
1. Side chair
2. Used coffee bean sacks
3. Paints
4. Brushes
5. Scissors
6. Staple gun & staples
7. Screwdriver
8. Sandpaper
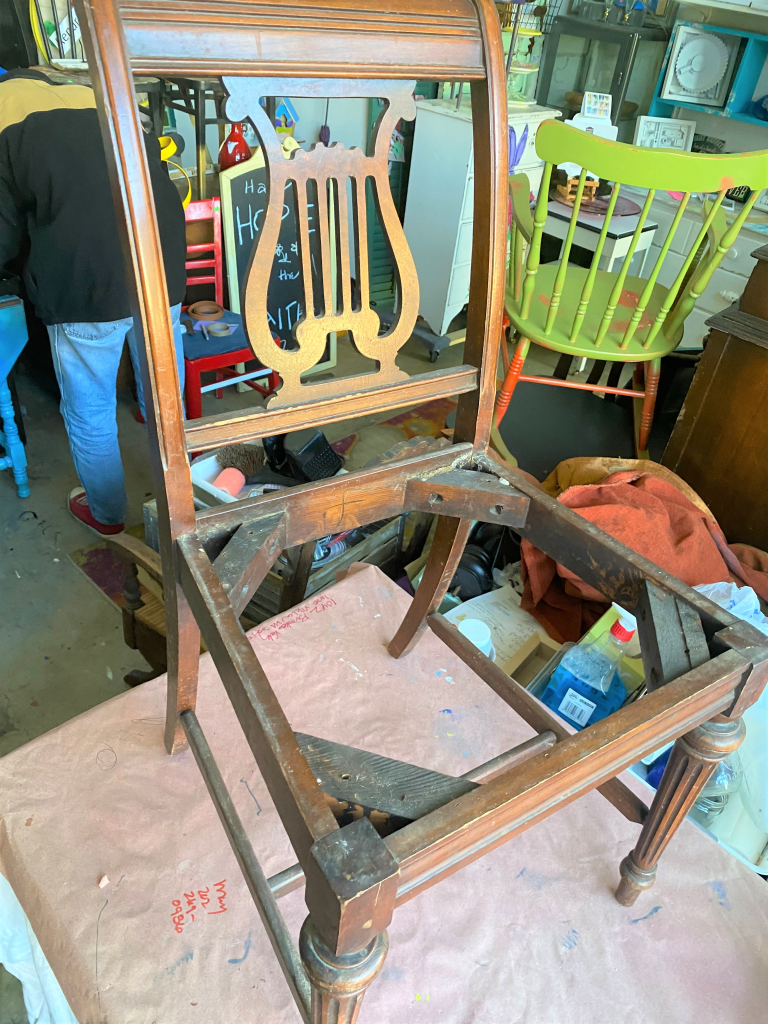
Step 1: Have a Cuppa Joe then head to Goodwill
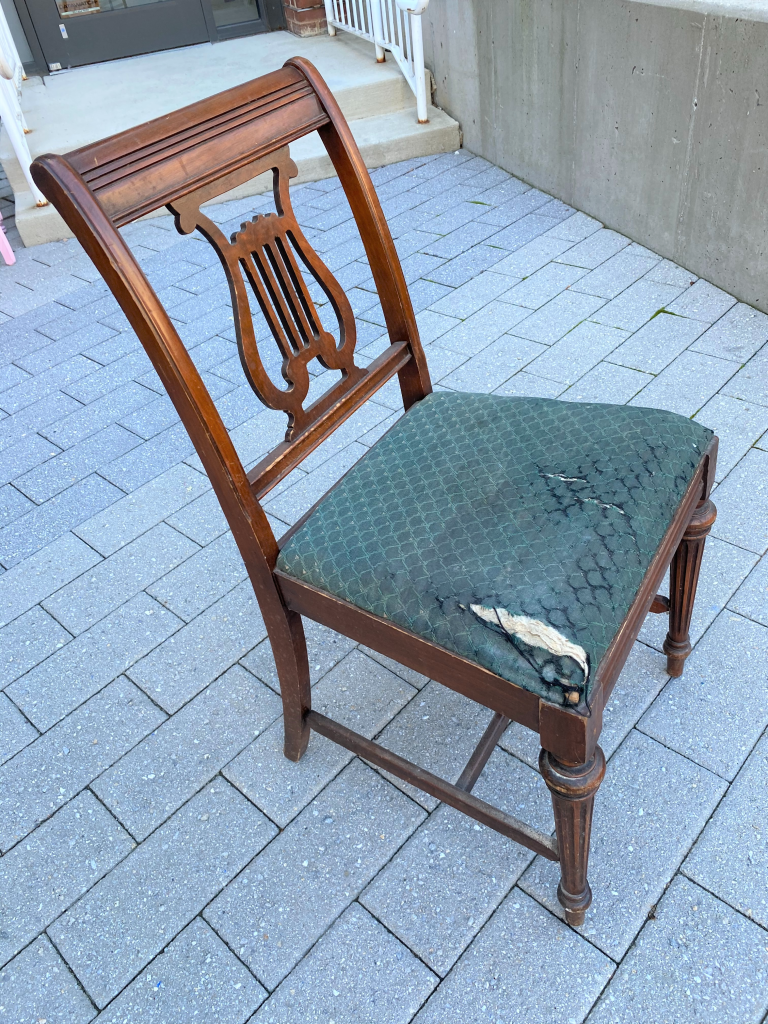
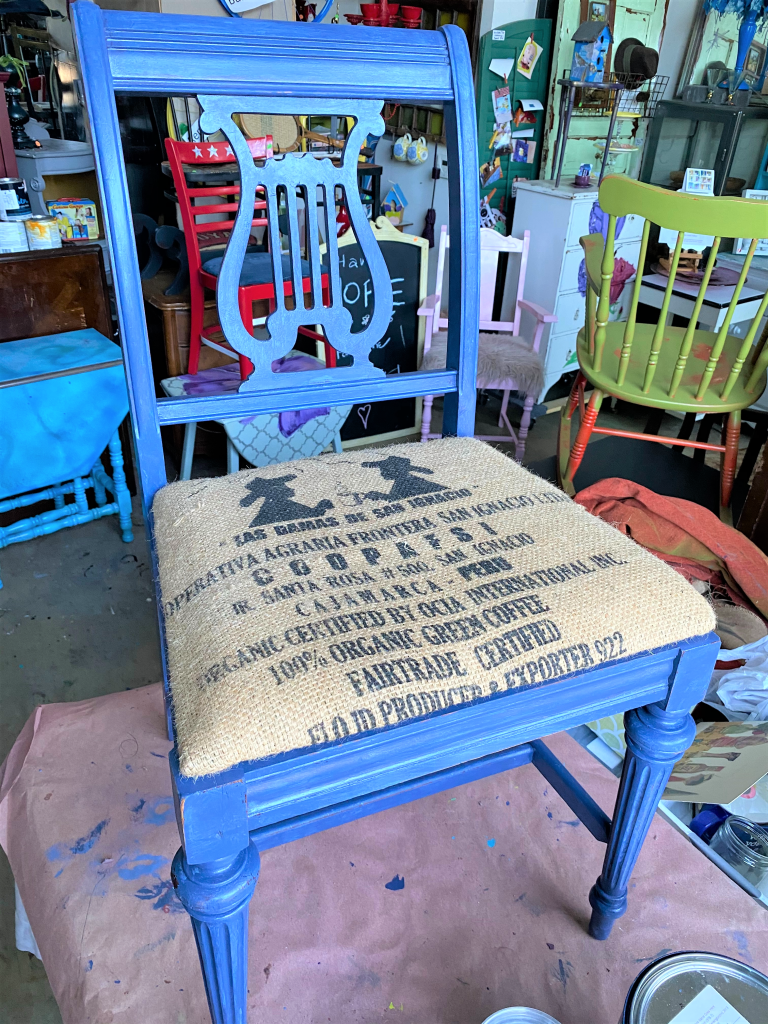
You will want to be as alert and awake as possible so you can easily find all the great pieces at Goodwill. They open early so you can a jump start with hunting for a piece (or two or three) for this project. A lonely side dining table chair, with its harp back and carved legs, was perfect to get perked up for this project.
Step 2: Stop by your local coffee brew house
Many locally based coffee shops often create their own coffee brews right in house.
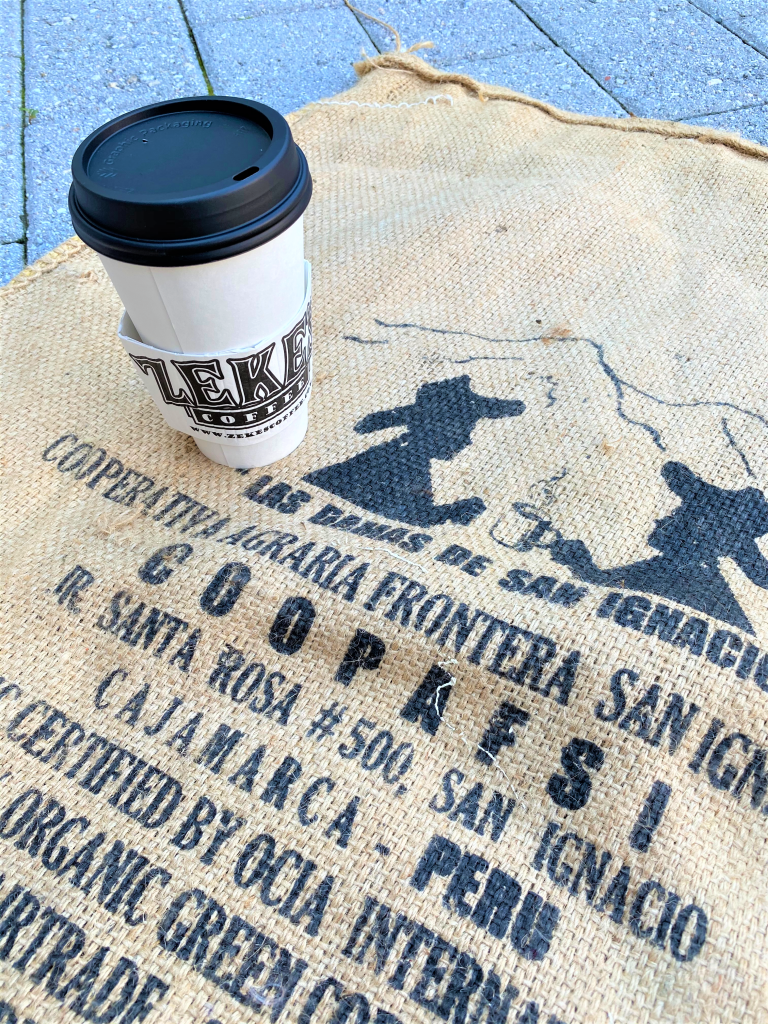
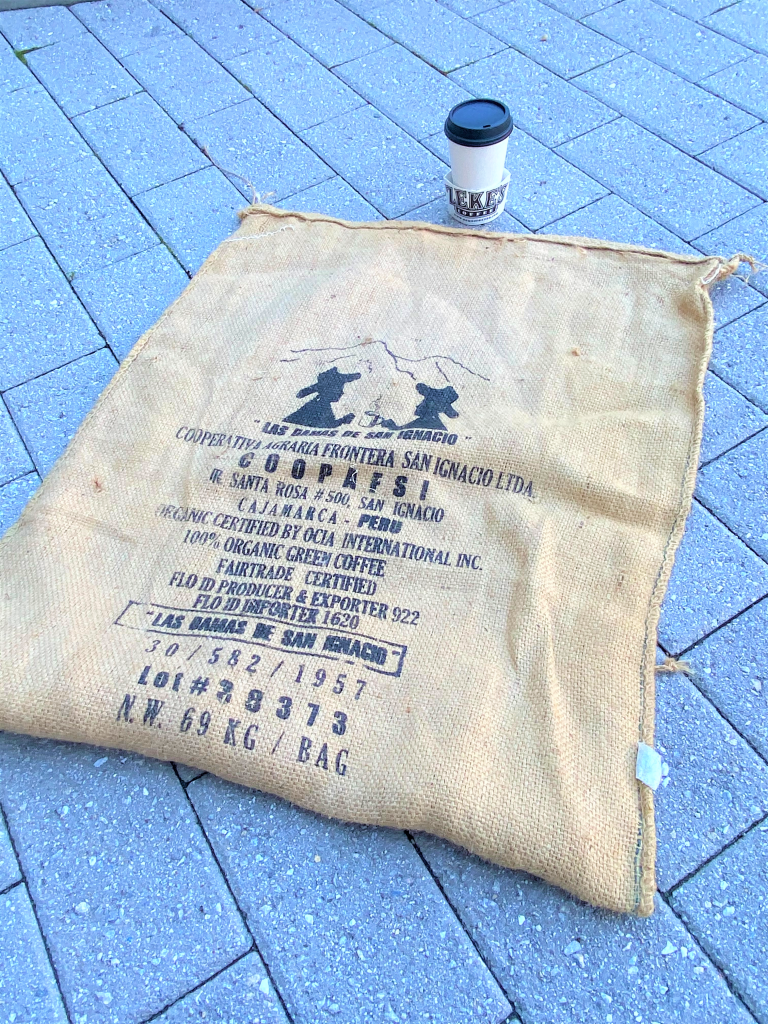
Stop by, buy some coffee then ask if you may have their leftover coffee bean sacks.
Zeke’s Coffee in DC (zekescofeedc.com) is a great place and important part of the community. They were very happy to see their sacks go to a cool project like this!
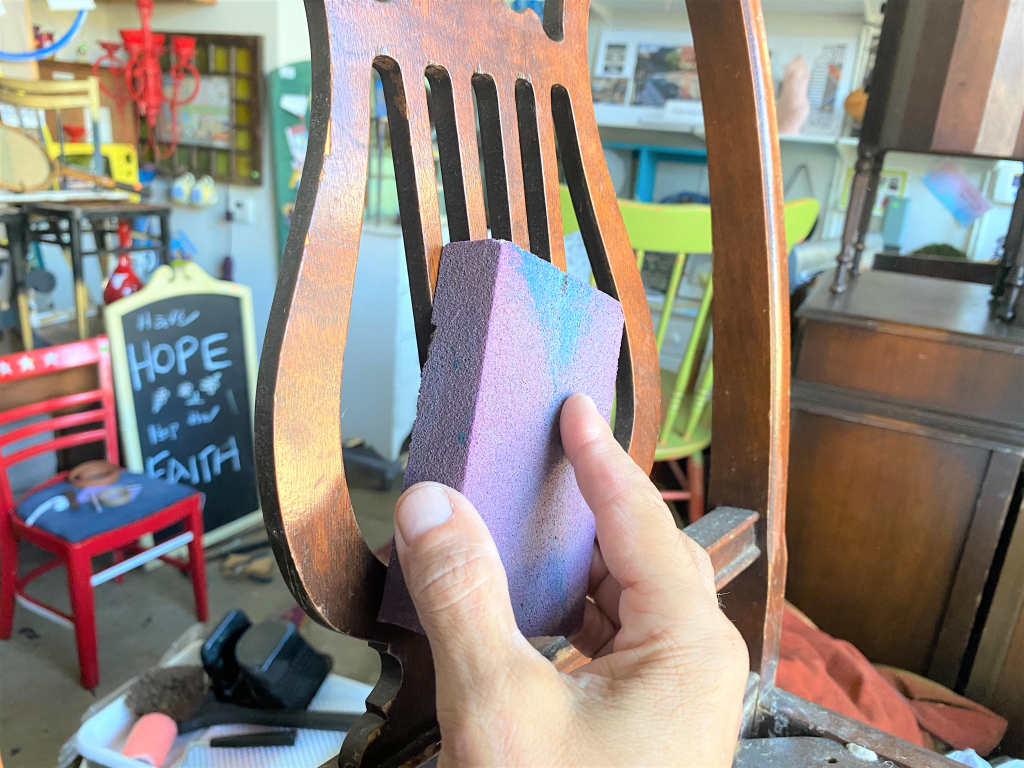
Step 3: Get your piece ready for painting
- With your screwdriver, remove the seat from your chair and set it aside for Step 5.
- Keep the screws together and put them in a place you can easily access them. Use a medium grade sanding block or sandpaper to buff your piece and get it ready for its makeover.
- Give it a good rub down but don’t worry about removing all of its current coat or finish.
- Once done, wipe down your chair with a damp cloth or rag to remove any of the dirt and dust created from sanding.
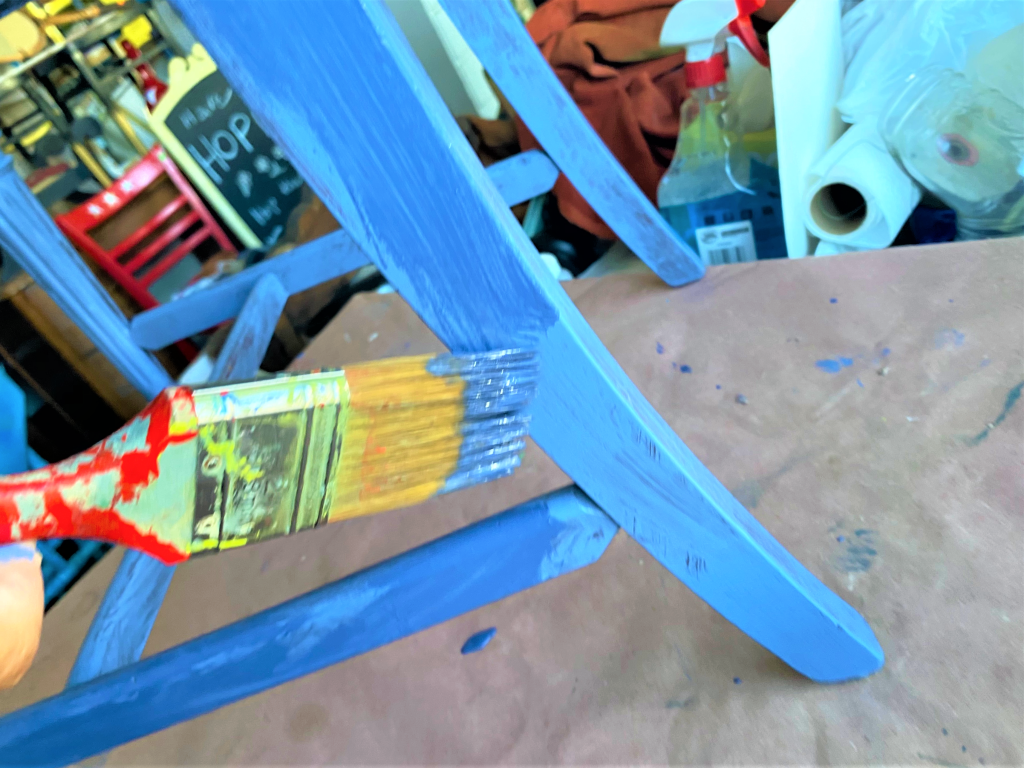
Step 4: Brush on the beauty
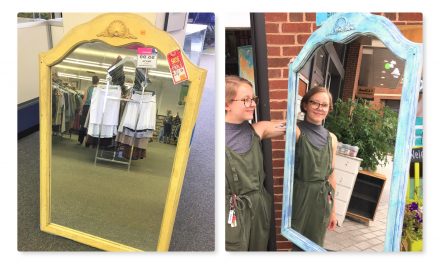
This poor chair had certainly seen better days! Now was time to give her the transformation she deserved for hanging in so long.
- With two shades of blue, I painted her from top to bottom and she want from Grannie to Gorgeous.
- Always one to save a penny or two, I used paints I already had on hand.
- What do you have available to use for this project? As with any piece you are painting, place it on a drop cloth then stroke on a light layer of paint.
- Turn it on its side and upside down to ensure you get color on every part of the piece.
To give your piece dimension, consider painting on a second or third layer of paint, but using a hue in the same color family. I like the look and feel of layers of paint on a piece to give it some depth. Also, this allows you not to have to worry about applying several perfect layers of each coat. It really is much more fun with this approach and the result is always much more cheerful and whimsical!
Step 5: Recover your seat with the sack
- As your chair dries, turn your attention to its next big transformation—the seat.
- Based on the current fabric which covers it, you may be able to just place the sack material right on top of it without the hassle of removing it.
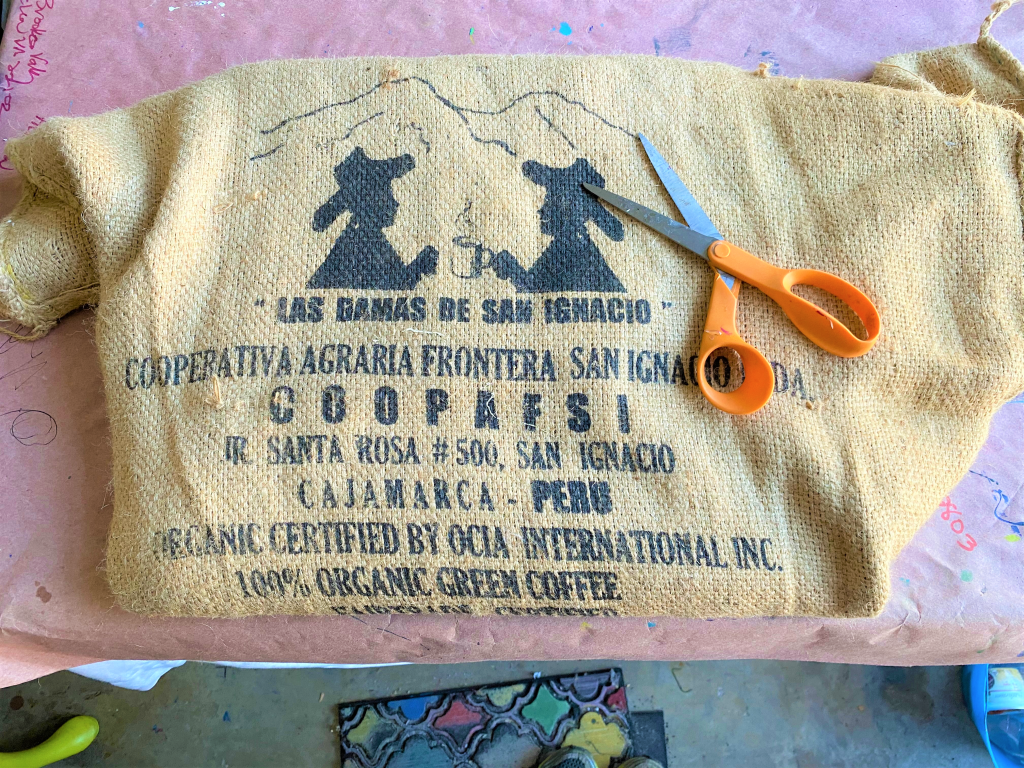
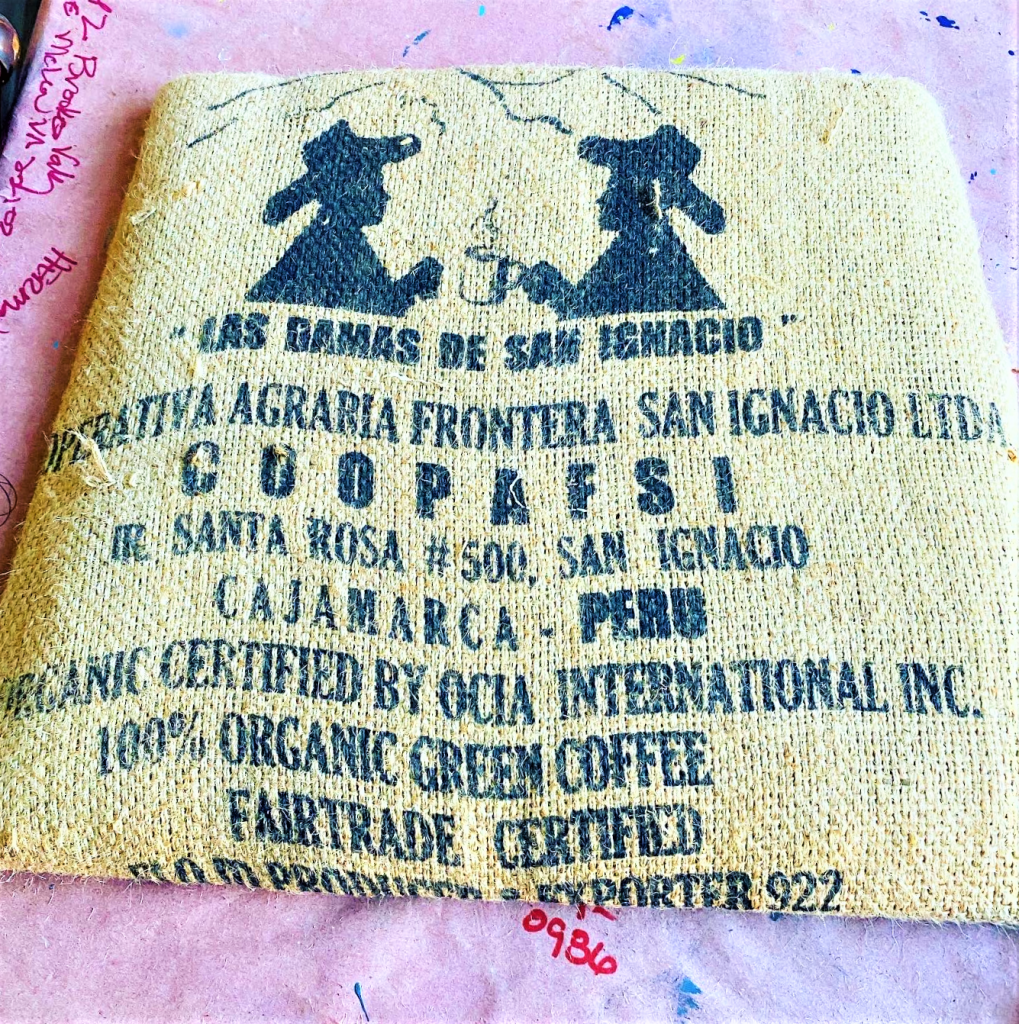
- Look at your sack to determine what part of the printed name and/or logo you would like to show. I liked the silhouette of the two men in hats on mine.
- On your workspace, put your seat down with its fabric side and with the back edge away from you. Basically, put it in position as though you were facing the chair with its seat in place. My point? You want to be able to read the printing on the sack and don’t want the lettering to look upside down.
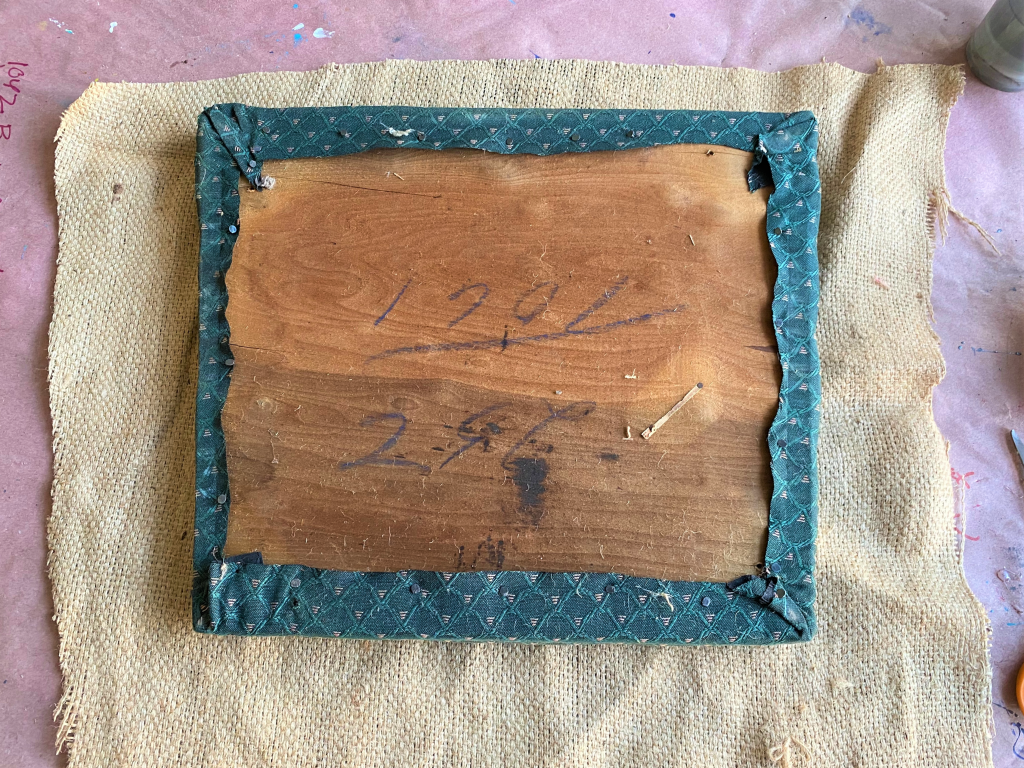
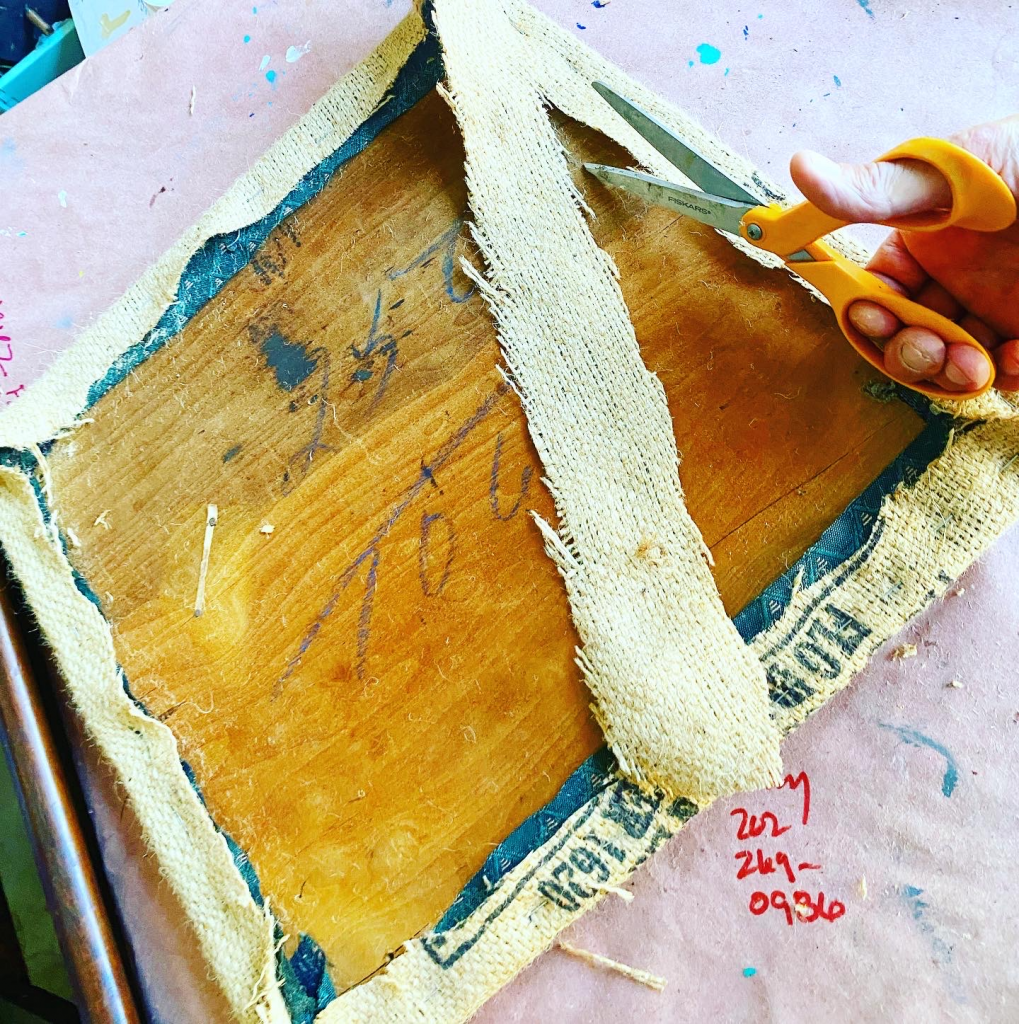
Once the fabric is position in the place you like on your seat, hold it together with your hands then flip it over so the design is now facing downward and the underside of the chair seat faces you.
- Cut the material to remove the access or unneeded parts. (If possible, save big pieces for future projects!)
- After folding the edge into place, add a staple. I suggest placing one staple along each underside edge, so it holds the material in place then fill in the gaps with a row of staples, keeping the material tight as you go.
- Be sure not to cover the holes that held the screws so you can easily reattach it. You may want to cut away extra material as you go.
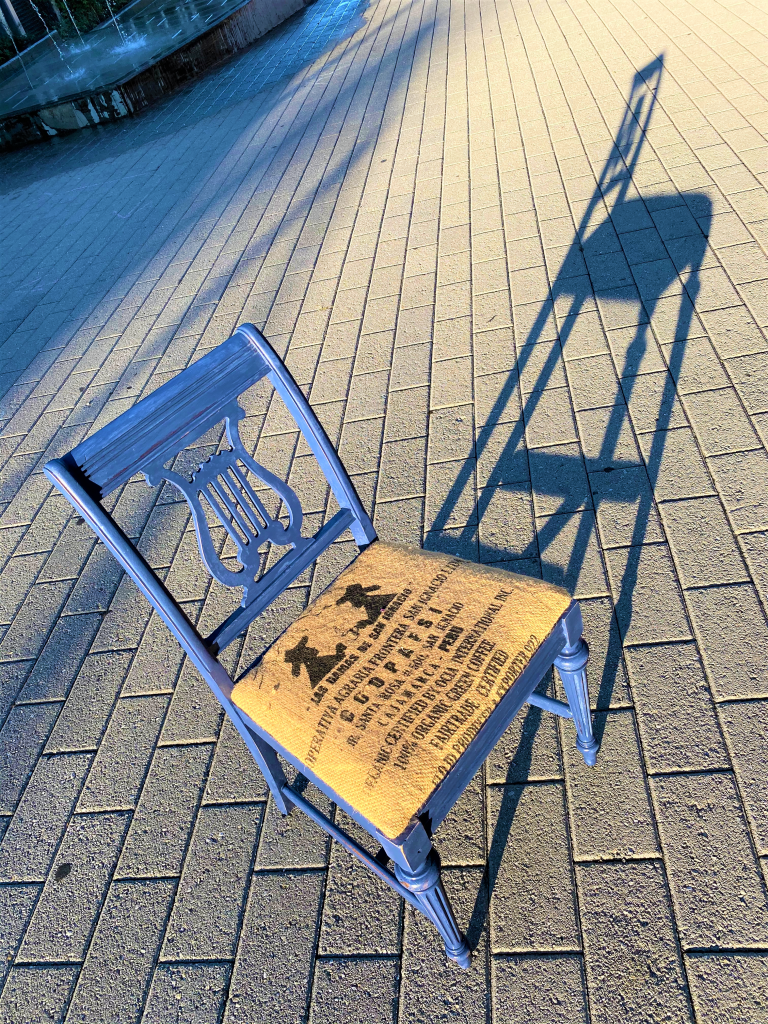
Step 7: Don’t stress about distressing
- To provide another layer of charm to your piece and to call attention to any interesting details, I encourage you to distress it.
- This is the process of sanding lightly along edges to bring out the wood tones below the paint. You are giving it an intentional worn and weathered look.
- This step truly makes a difference in its overall appearance.
- Sand away the paint so a thin line along edges appear or any spots on the the legs. Once done, wipe it down with a damp cloth.

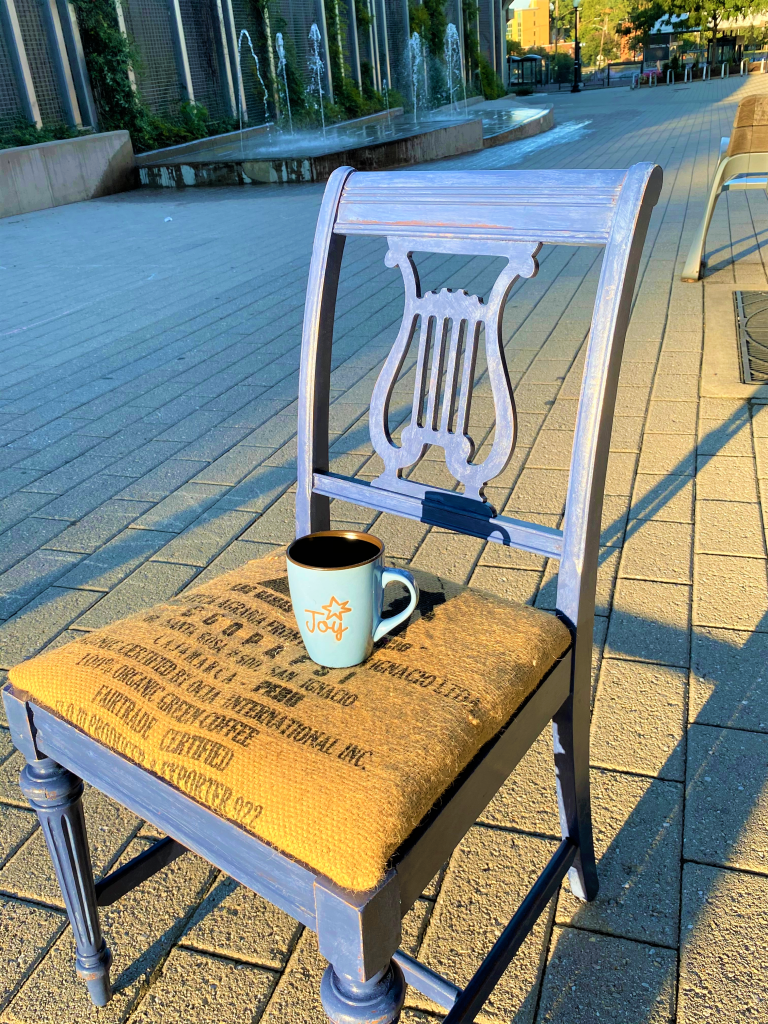
Step 7: Secure your seat & its place in your heart
Flip your chair upside and screw the seat back into place. Turn it over and try not to spill your coffee as you will be so excited about the total charm your upcycled chair will exude! It is easy to see a pair of these hanging out in your breakfast nook. Get a collection of different wooden chairs, paint them the same colors and cover their seats with burlap sacks for a totally unique yet cohesive feeling set. Or do what I did with my formerly lonely single chair: use it in your home office for instant style. This project just makes me happy and you will be too!


Tim Kime
Artist, Motivational Speaker, Life Coach

