During the winter, things get darker sooner with shorter days, so make your DIY projects brighter.
Also, ensure your 2024 is looking upward—literally and figurately—by transforming a chandelier with spray paint. Take advantage of the cold temperatures by tackling this inexpensive and impactful project which will leave you warm inside and allow your place to shine more, too!
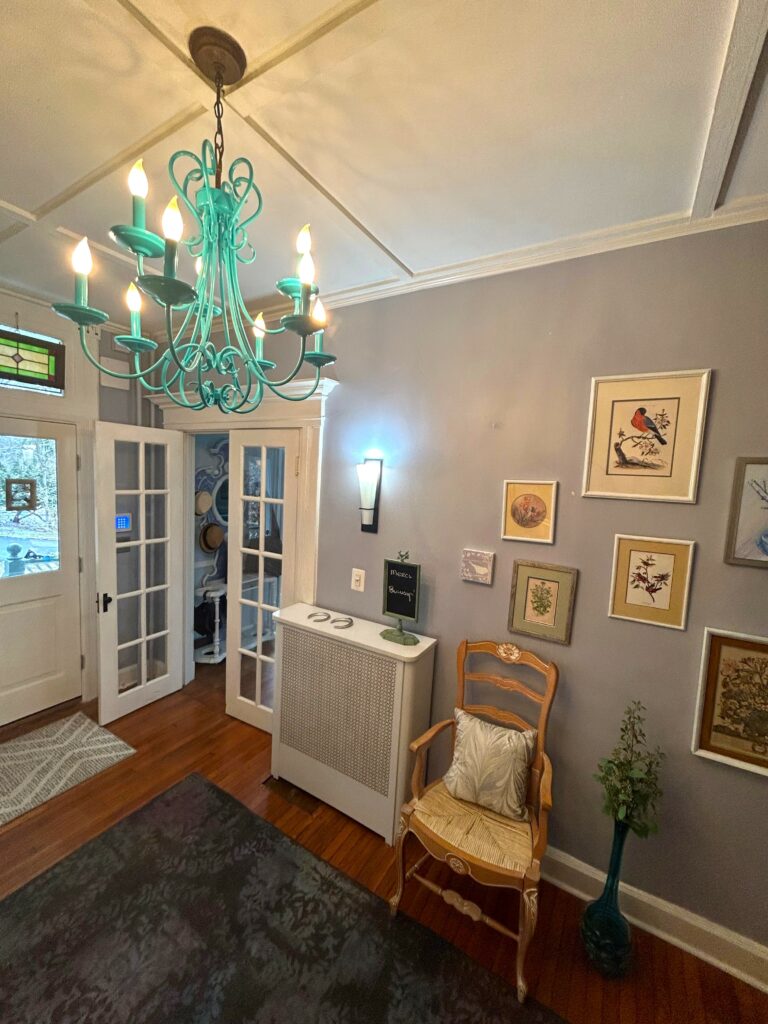
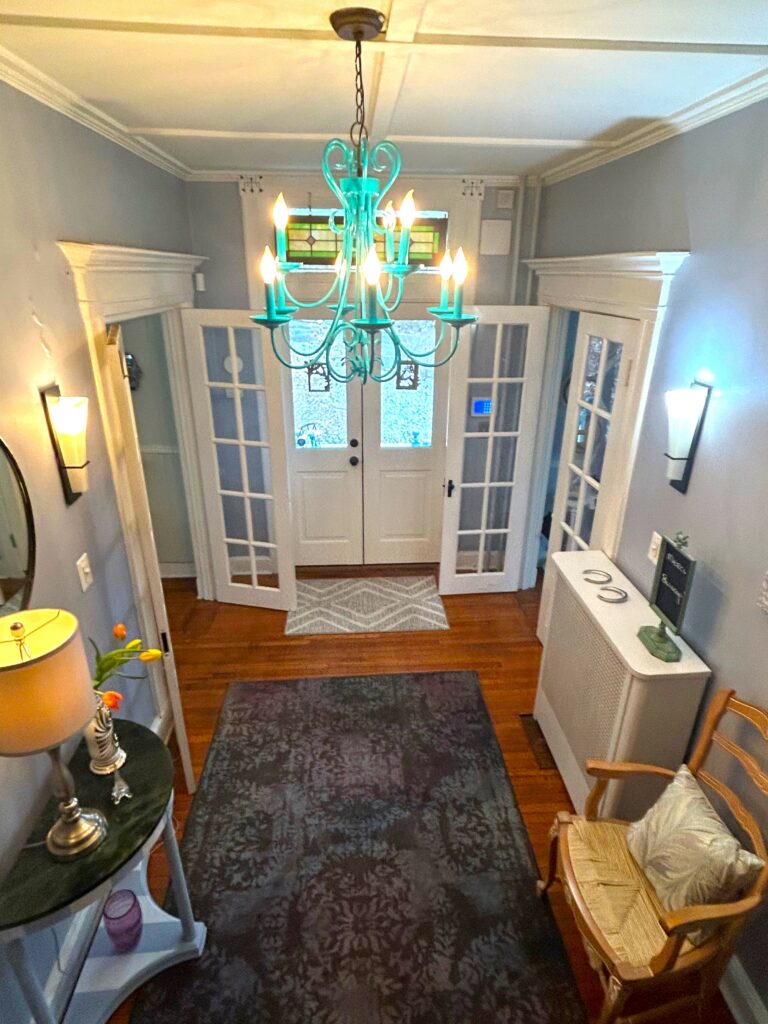
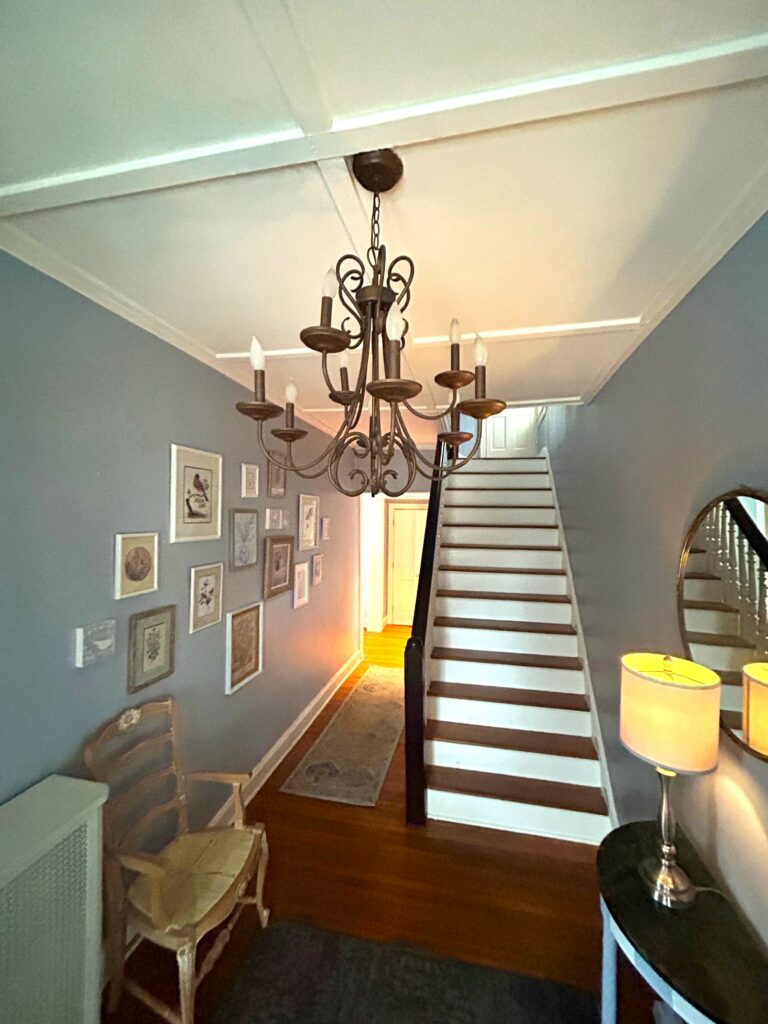
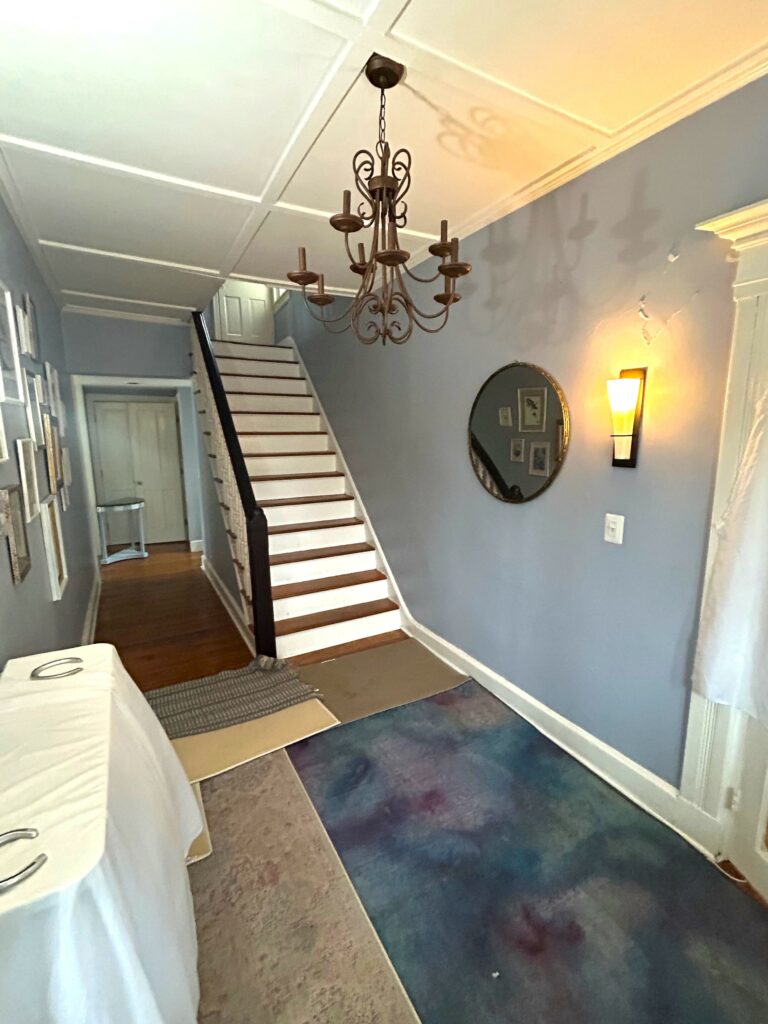
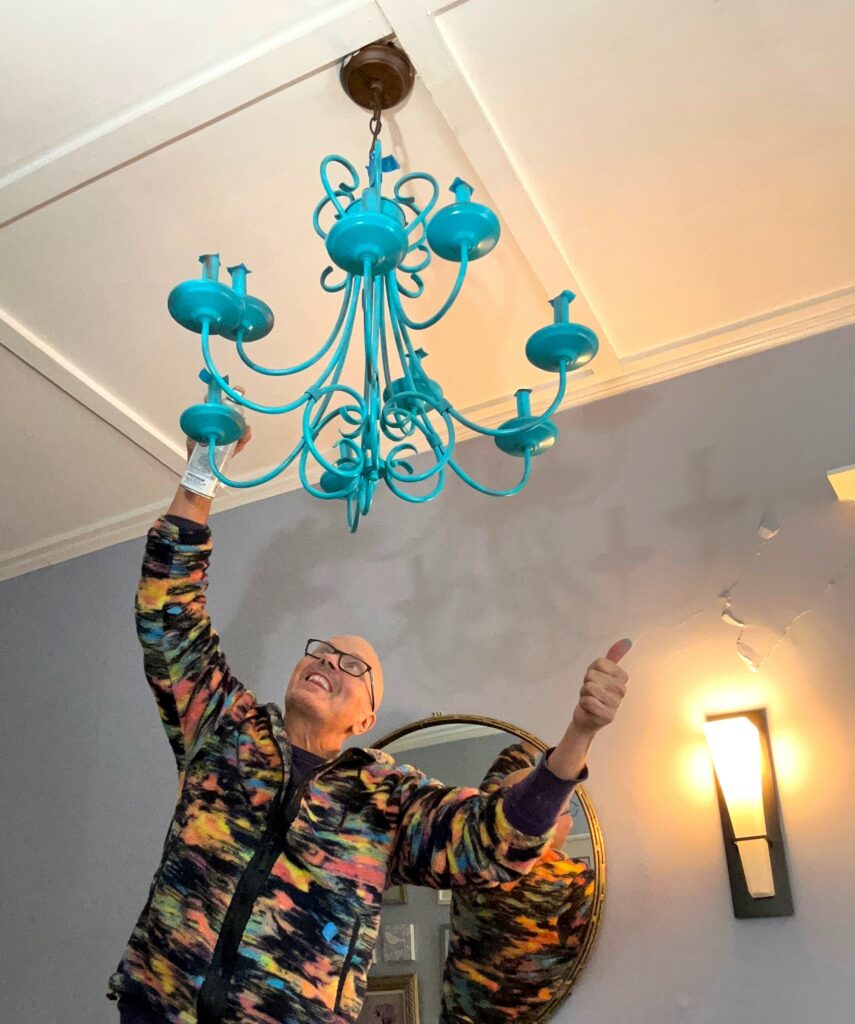
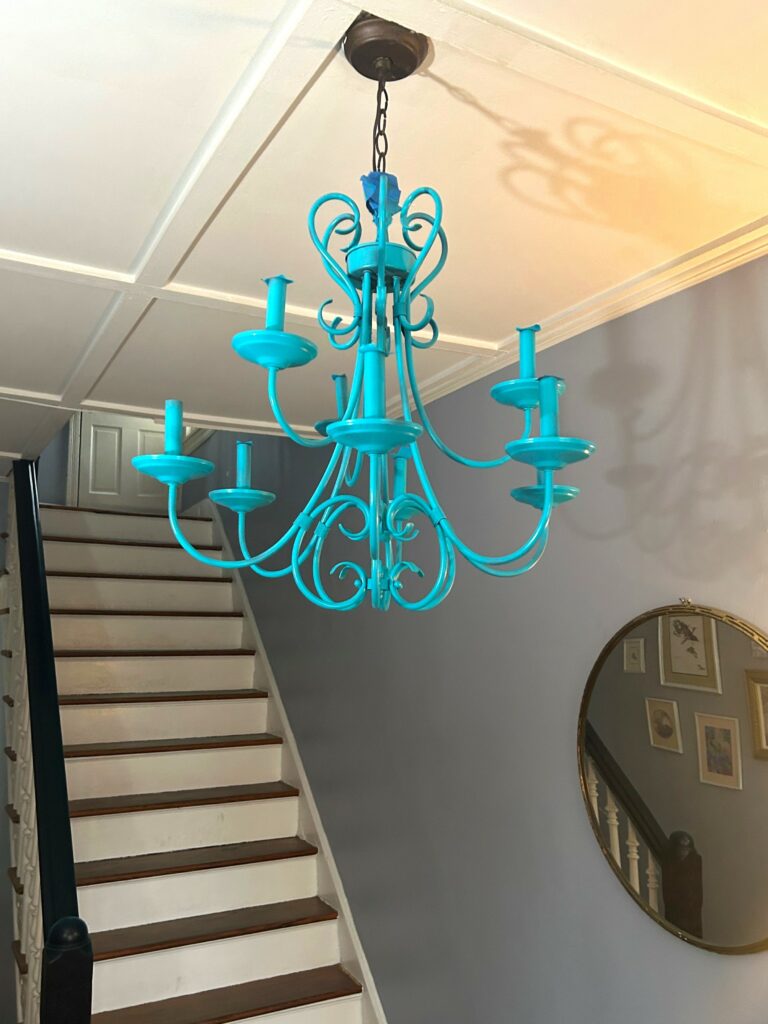
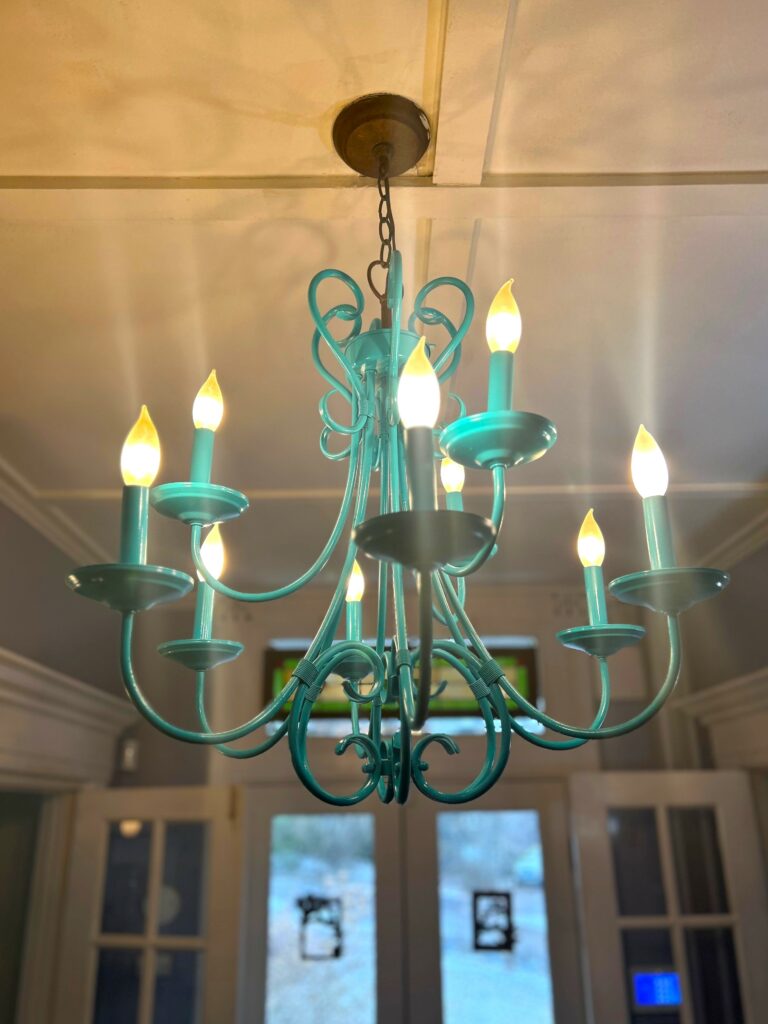
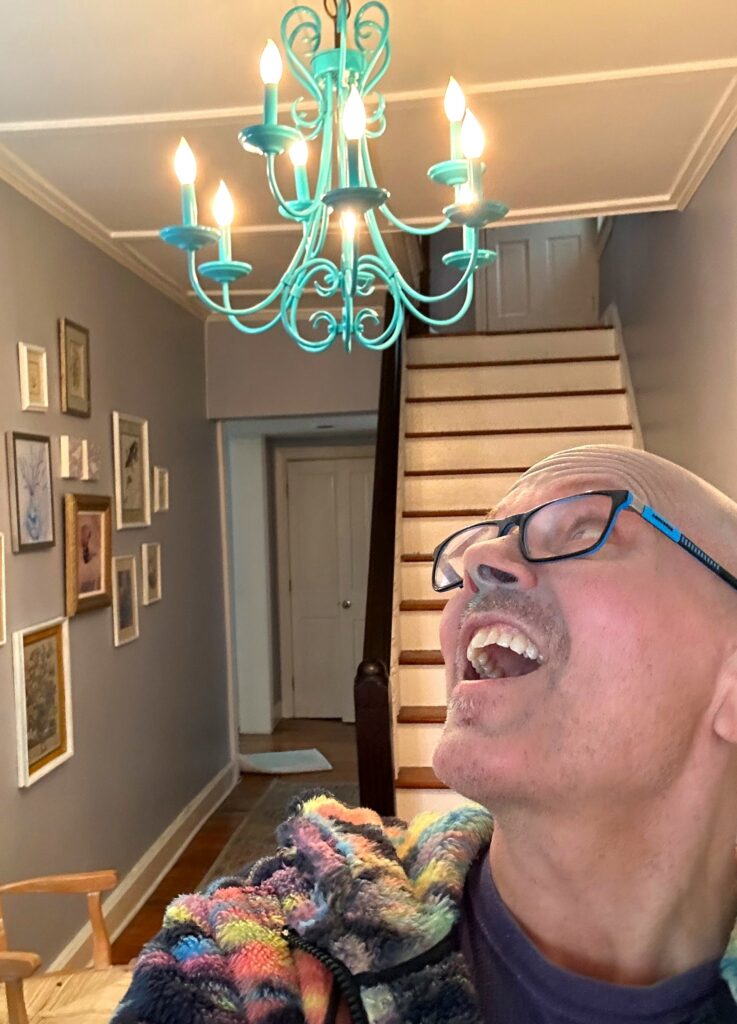
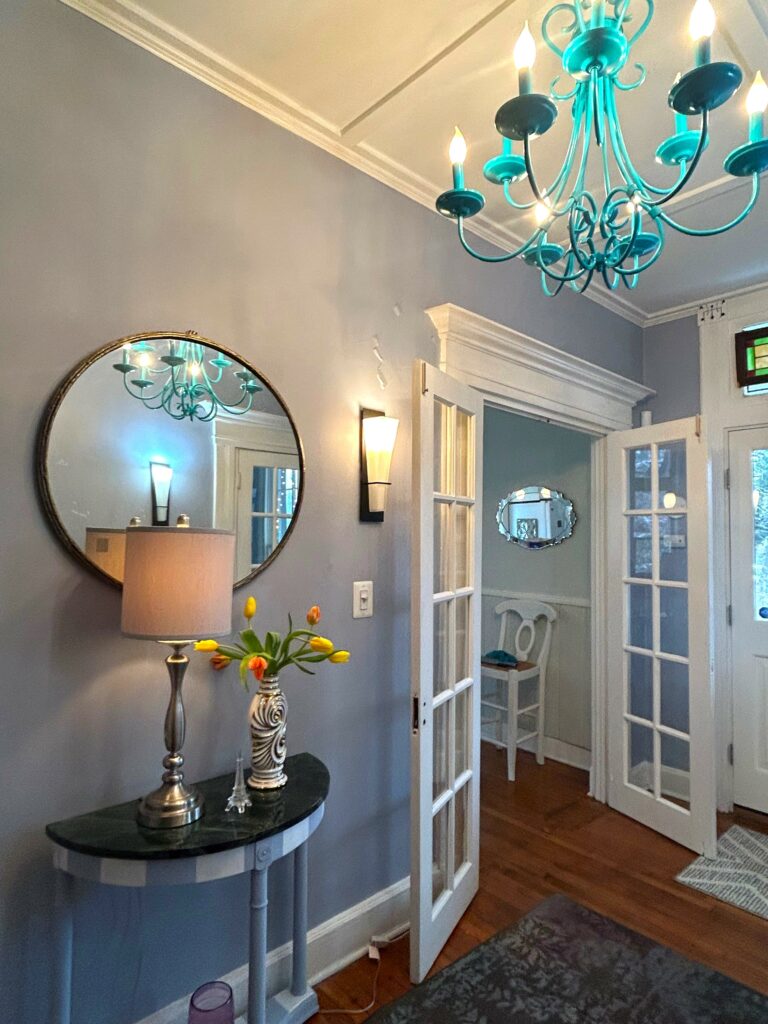
The chandelier featured here was one of those nice but very generic chandeliers that all those big box hardware stores sell. This one did its job just fine, but with its dark colors, it didn’t do much more than give a foyer space some light. A glossy turquoise/teal blue tone was used to pick colors that appear in other places in the living areas. Now when you walk through the front door or come down the stairs, this vibrant pop of color makes the chandelier like a floating work of art. This lighting fixture went from overlooked to OMG!
By the way, if you don’t have a ceiling lighting fixture or chandelier in need of some attention, you can easily transform a table lamp picked up from Goodwill. Follow similar steps here to help a thrifted lamp see the light of a new day with a new look too!
1. Prepare your lighting piece
- To ensure your chandelier or other lighting fixture is ready for this colorful transformation, remove all lightbulbs and set them aside in a safe place.
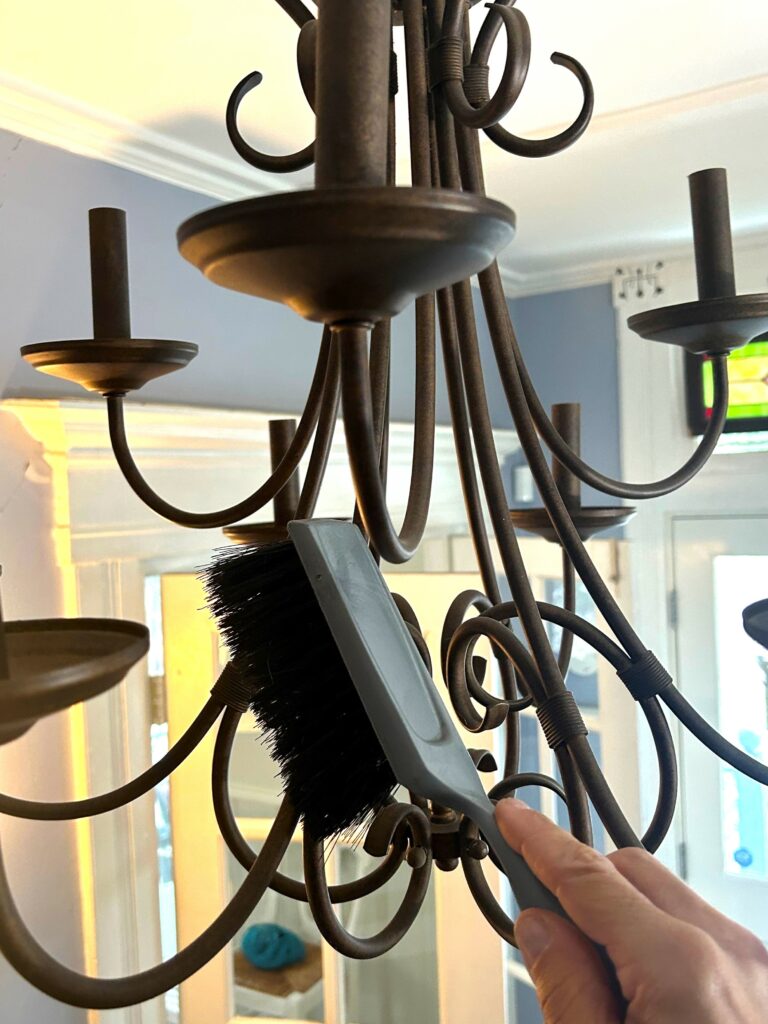
- Next, clean your chandelier using a small broom, feather duster, or a Swifter brush. Based on how often you clean it, there might be lots of dust and even a cobweb or two to remove.
- Consider wearing a face mask like the one used for Covid safety, so you are not breathing in all the stuff that gets stirred up.
- Also, with a damp rag, wipe off each light bulb’s glass part to remove any dust there as well. It is amazing how much brighter a light can be by removing layers of dust from its bulbs.
2. Protect your pad
Since you will be painting the chandelier while it hangs rather than dealing with the hassle and/or expense of taking it down, ensure the space around it is protected from the spray paint’s “overspray.”
- Remove tables, chairs, benches, and all accessories and items that have surfaces that might collect the spray from the paint.
- On your floor, add drop cloths to keep them paint-free. For this project, I flipped over the room’s area rug so its backside served as a drop cloth. Other rugs were flipped over, too, and placed on the floor to keep them safe while not getting paint on their good sides.
- Cover other items like banisters, radiators, doors, and other bigger, unmovable items with drop cloths, too.
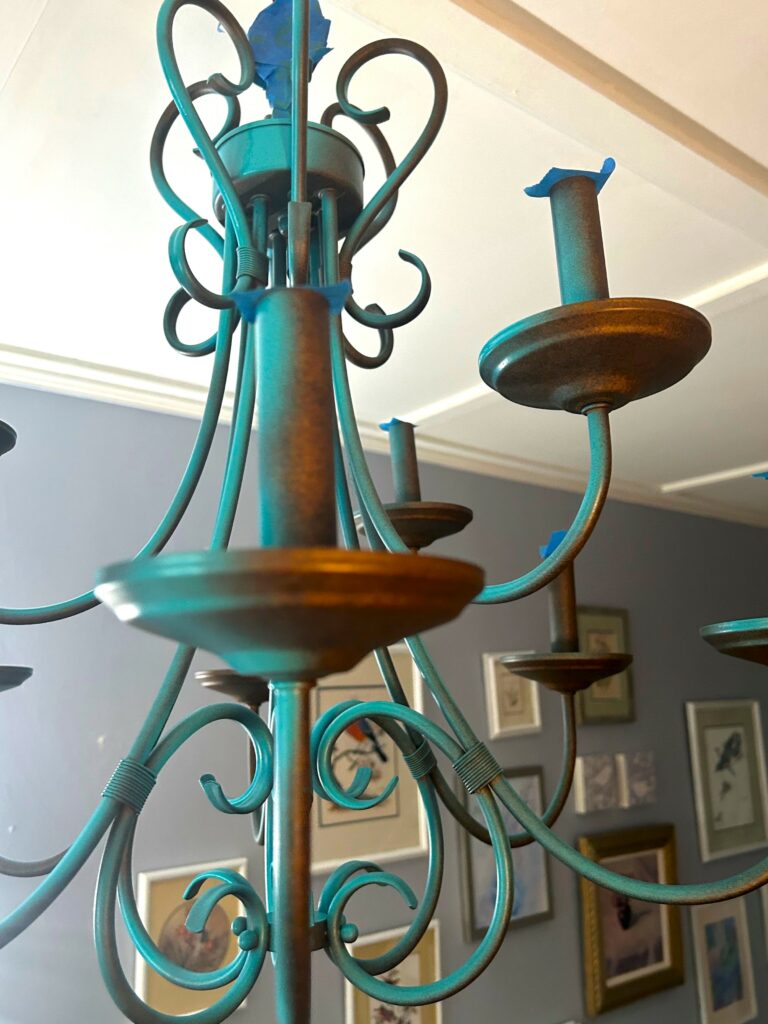
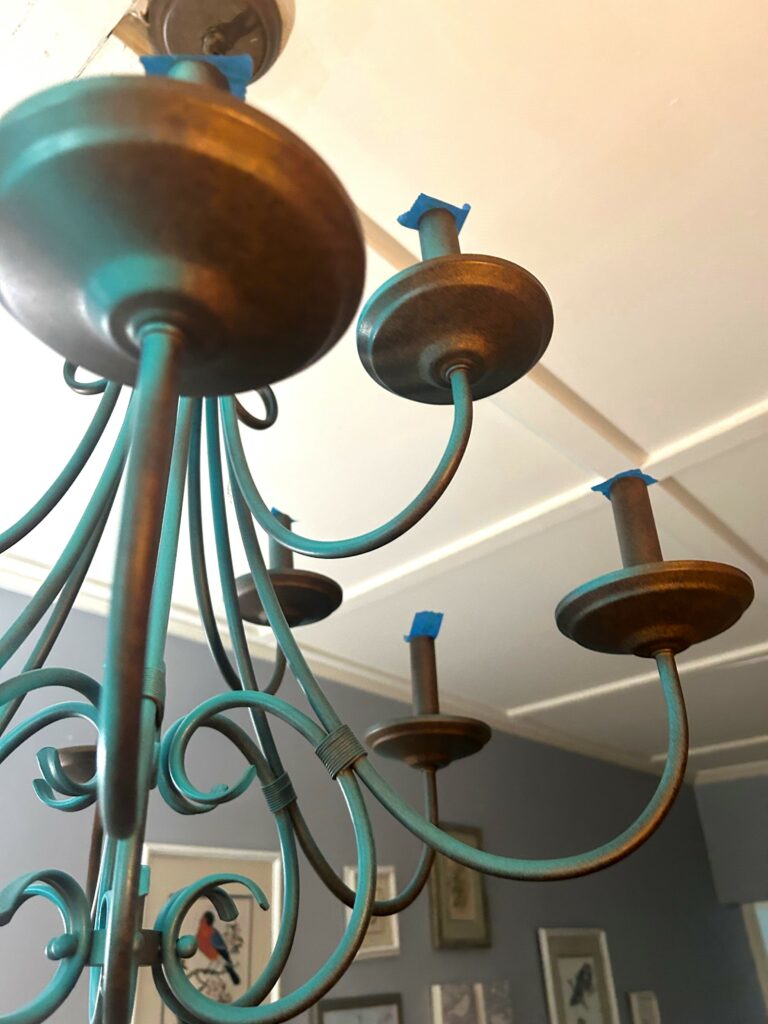
3. Keep things safe with painter’s tape
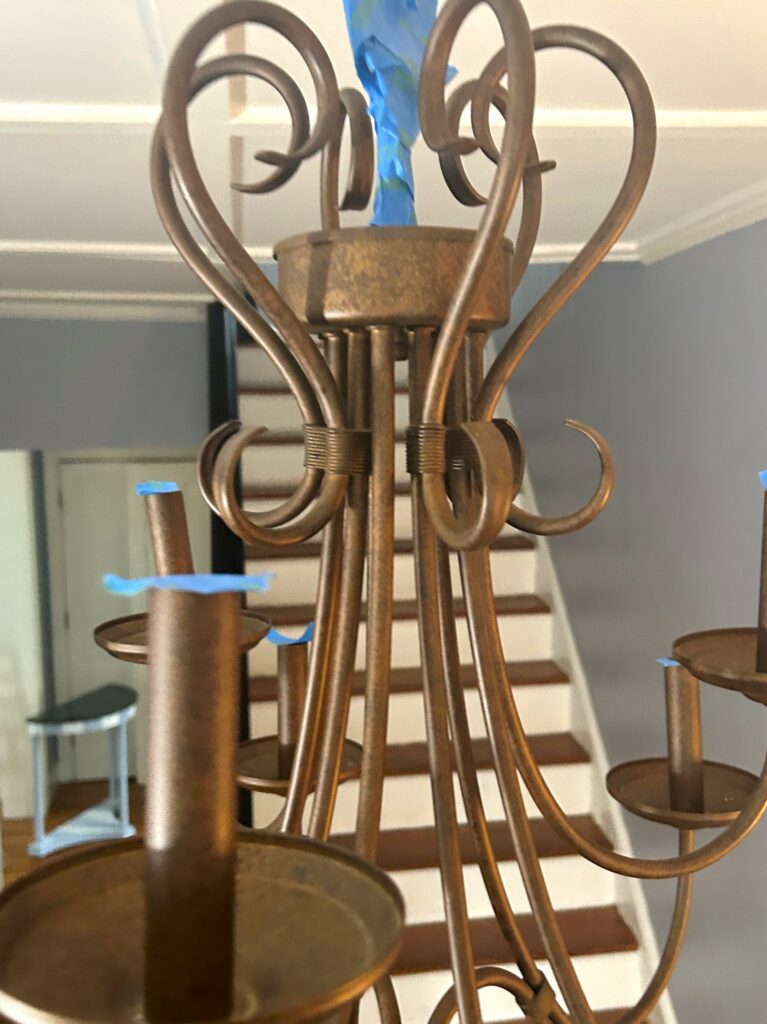
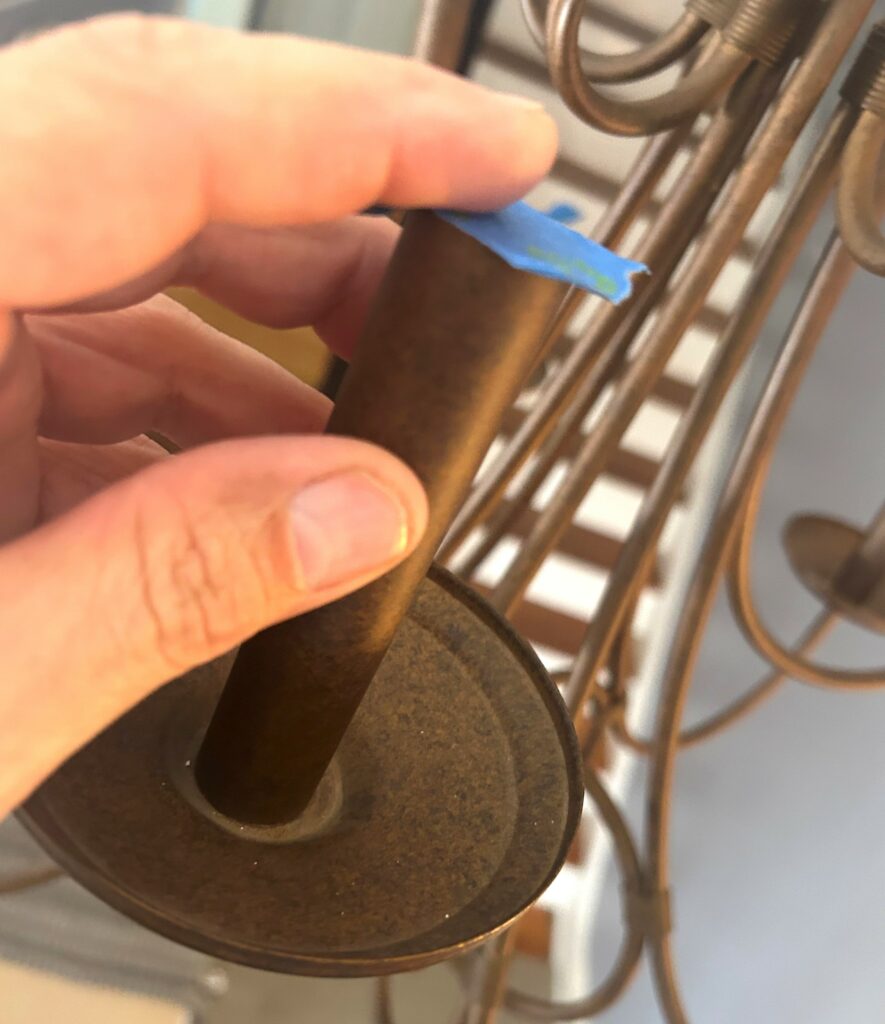
- To keep paint from being sprayed into the light sockets, add a piece of painter’s tape on the top of each fixture’s top where the light bulb was removed.
- Also, consider adding painter’s tape to the part that connects the fixture to the ceiling.
- To avoid getting spray paint on the ceiling, you might skip painting the light’s ceiling fixture cover and the chains holding it up.
- Part of the top of the chandelier was covered with painter’s tape as well so that the flowing and curvy parts of the chandelier were the only parts that got painted. This made it look intentional.
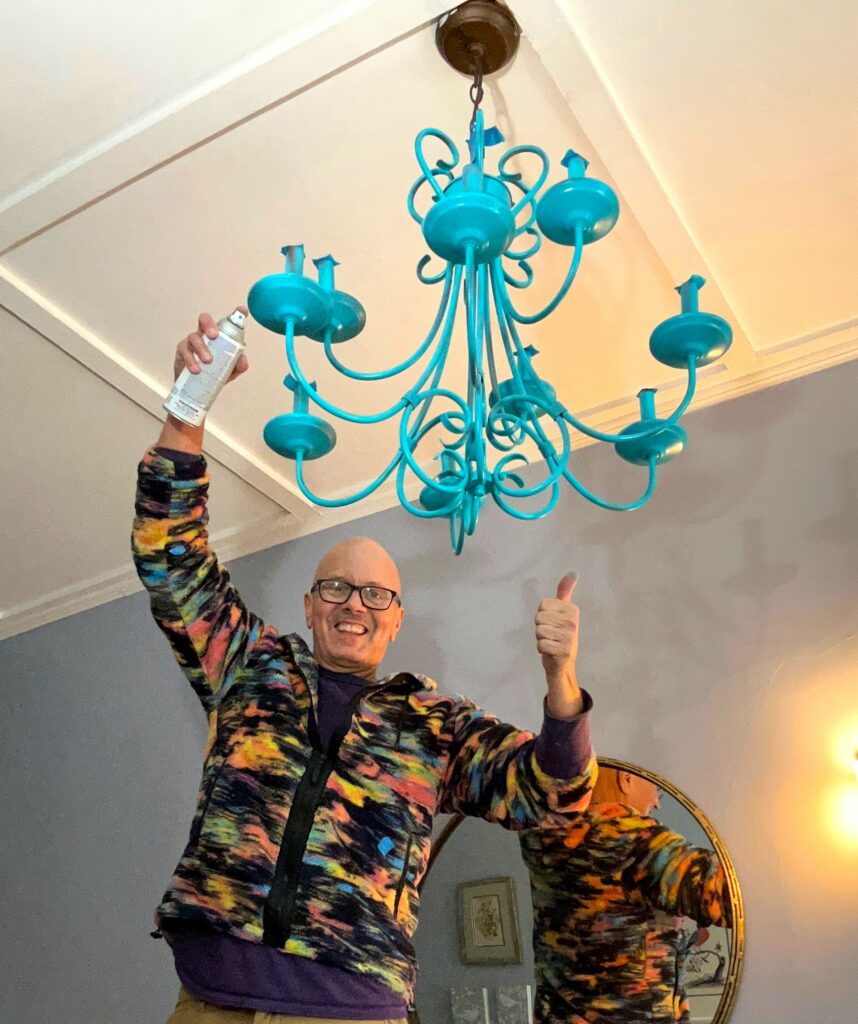
4. Spritz on light layers & dance around your light
Okay, step on your ladder and take a deep breath!
- Add light layers to each part and surface of your chandelier. Do your best to spray in a downward direction so paint is directed that way, and so you avoid painting your ceiling.
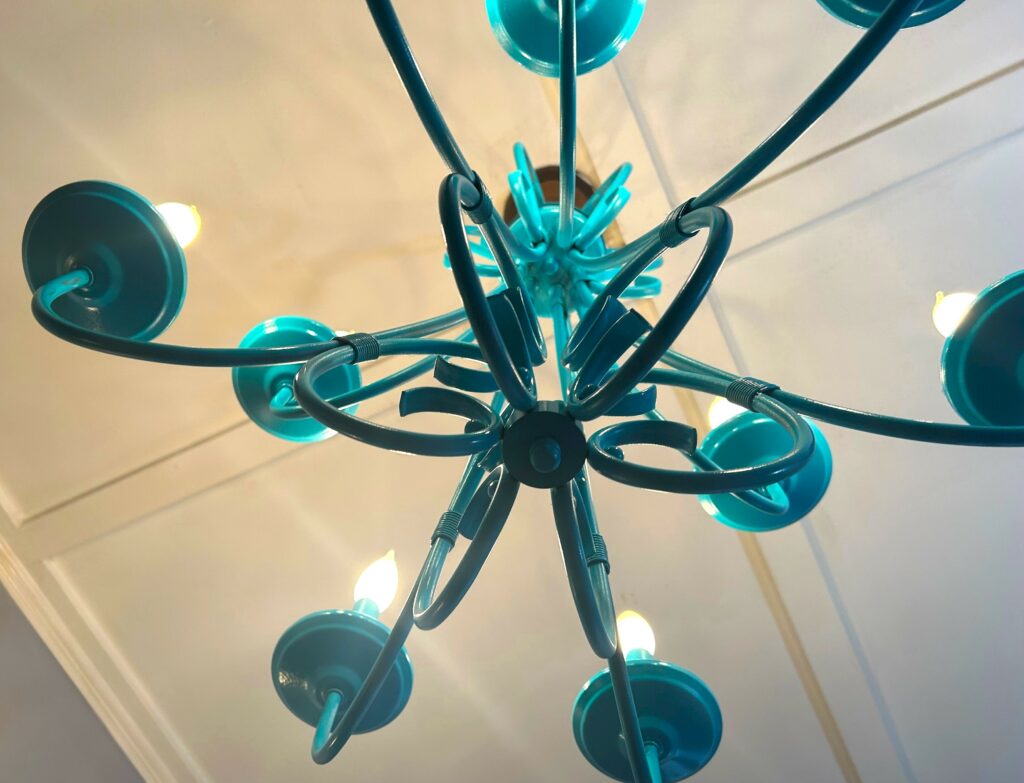
- Move the ladder around and repeat this step several times. Ensure you view your chandelier from various positions, both on the ladder and looking up from below.
- Rather than applying one heavy solid layer, which could cause drips and runs, approach this project and your spray paint with a soft, easy touch. Spritz on light coats, knowing you will add several light layers.
- After a first rough layer, step away, catch your breath, and then return with fresh eyes so that each part, piece, edge, and surface gets covered.
- Take your time and enjoy the process. It is so fun to see how quickly the spray paint gives your lighting fixture a new, vibrant look and feel!
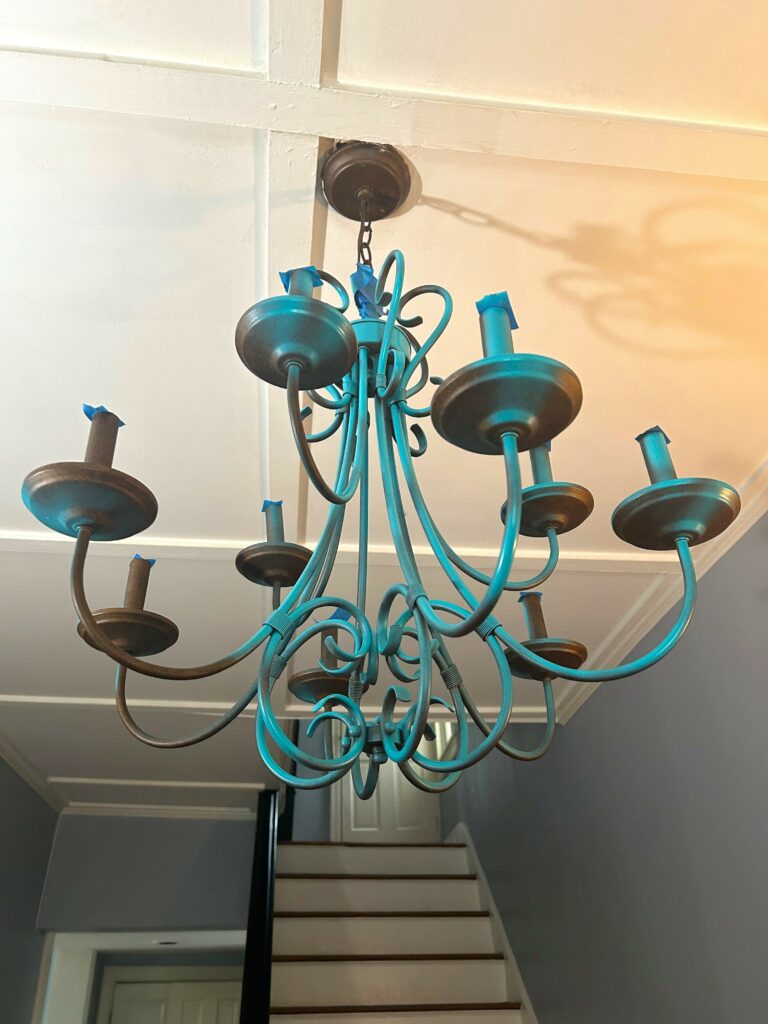
5. Replace light bulbs & turn on the transformation
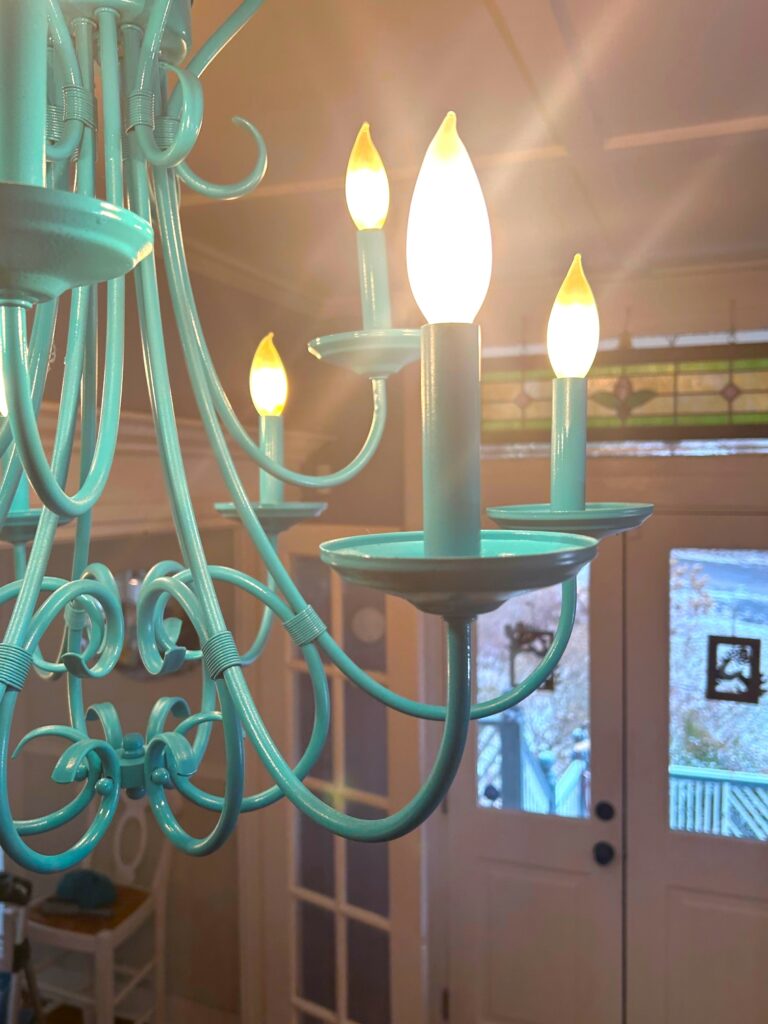
Give your painted chandelier some time to dry completely. Thankfully, for those of us who are not the most patient (that would be me!), today’s spray paints typically dry well within a half hour or so. Carefully remove the painter’s tape, then replace the light bulbs. Turn on its transformation and see its change with the flip of a switch!
6. Return items, add accessories & enjoy
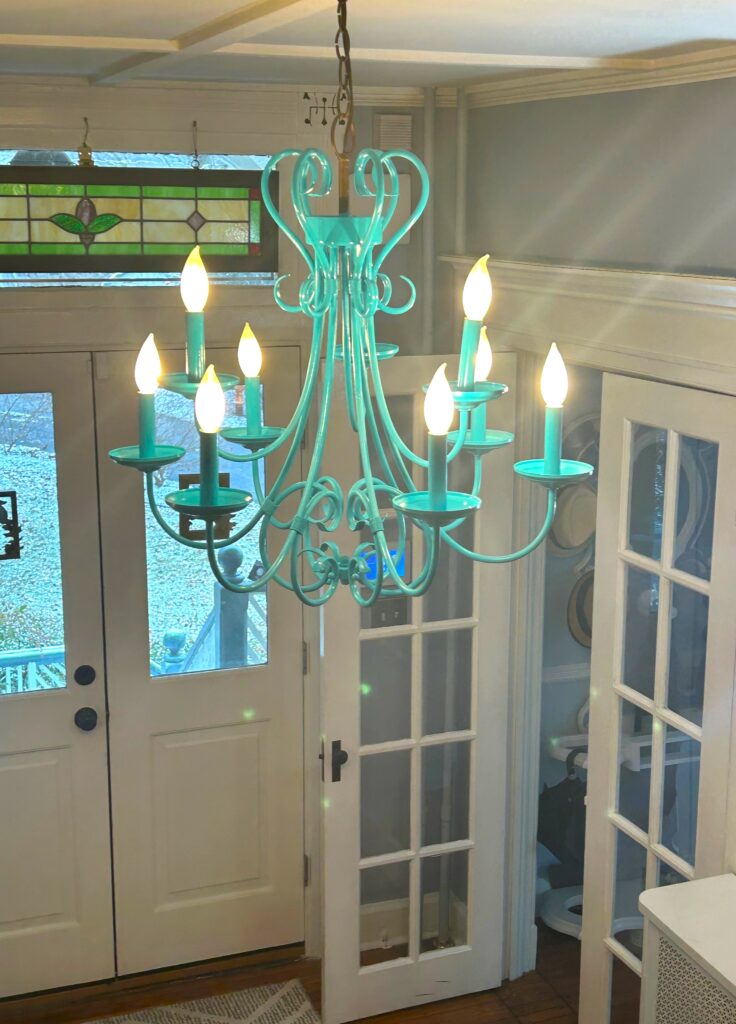
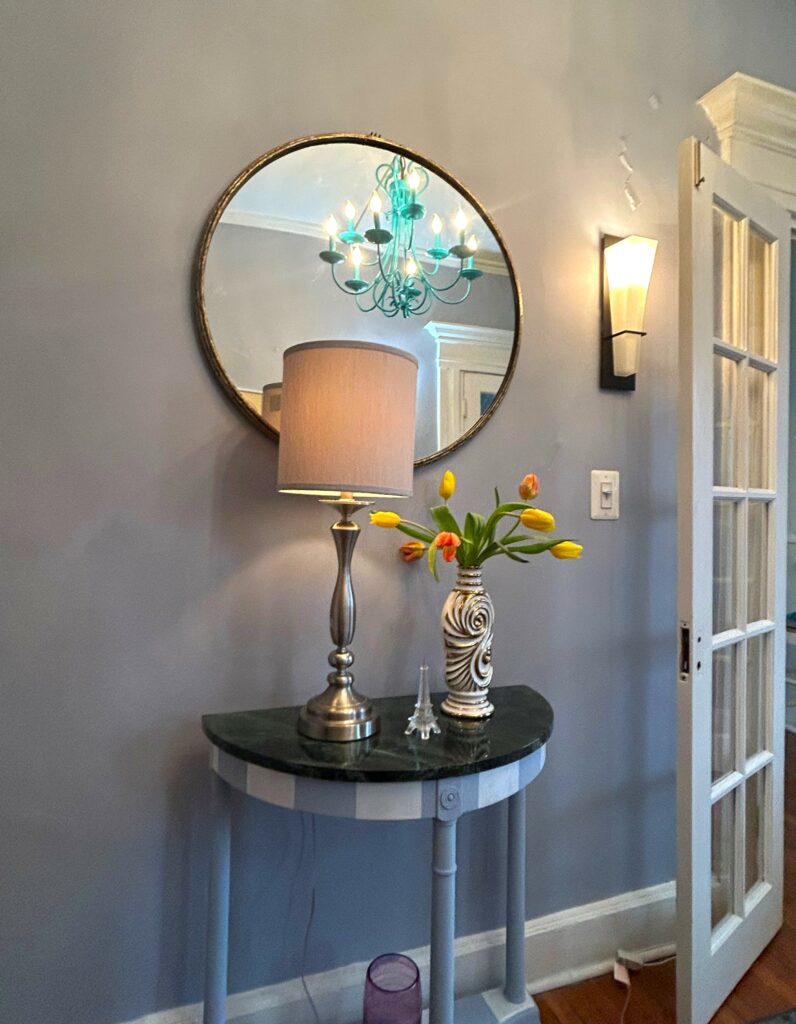
Put your rugs back in place. Return furniture pieces to their home spots. Add colorful accessories (all featured here were picked up during various Goodwill excursions) along with a vase of fresh flowers to make the whole space feel vibrant and welcoming as you enter 2024!

Similar Reads:
- DIY: Give Your Living & Dining Rooms a Spring Refresh in 6 Steps
- How to Repurpose Goodwill Finds & Make Festive Outdoor Decor
- DIY: Mercury Glass Table Decor
- DIY: Give Your Home Office an Update by Upcycling

Tim Kime
Artist, Motivational Speaker, Life Coach


