“It’s a Draw”-er: Turn Goodwill Dresser Drawers Into Stylish Shelves!
Pull out those dresser drawers to pull together unique shelving units. Transform old wooden drawers into funky and functional shelves with these simple steps.
Level: Teens and adults
Items needed:
1. Wooden drawers (from a dresser, desk or other wood piece)
2. Scrap wood
3. Left over craft or wall paint
4. Paint brush
5. Wood screws
6. Drill
7. Saw
8. Screw driver
9. D-shaped picture hangers
Time requirement: 90 minutes not including paint drying time
Cost: $15
- $10 for dresser or desk
- $3 for picture hangers
- $1 for wood screws
- $1 for paint (if not using leftover)
- $1 for wood (if no scraps available)
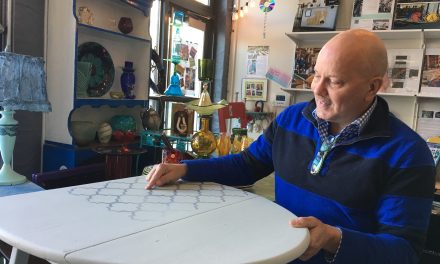
Step 1: Go happy hunting at Goodwill
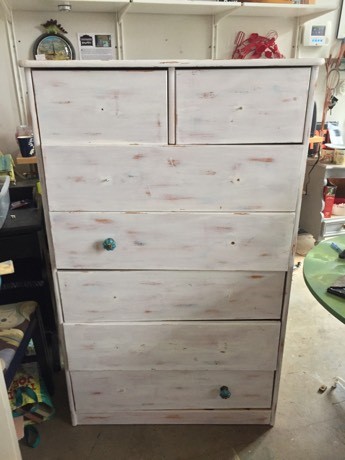
Every Goodwill has a furniture section filled with possible parts for this piece.
Make sure to look for solid wood furniture with several drawers for this DIY transformation. Other drawer considerations include:
- Tall dressers and desks will provide you with a variety of drawers for transformation.
- When you see a dresser at Goodwill, don’t be shy about pulling out the drawers all the way to ensure they are comprised of solid wood rather than metal or cheap particle board.
- Make sure that the drawer bottom is in good shape too.
By looking for good at Goodwill, you are likely to find what you need because they only offer pieces in good shape and in good working order.
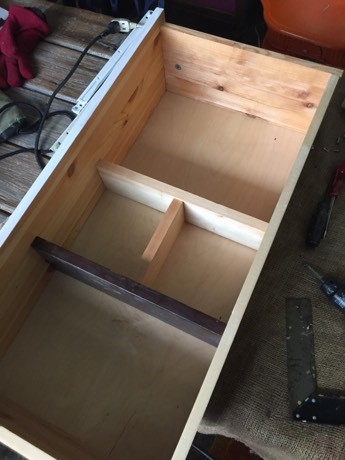
Step 2: Prepare your pieces
With a screw driver, remove knobs, handles, hinges or sliders from the drawer and save for future projects. Then, lightly sand the various sides of the drawers then wipe down to remove dust.
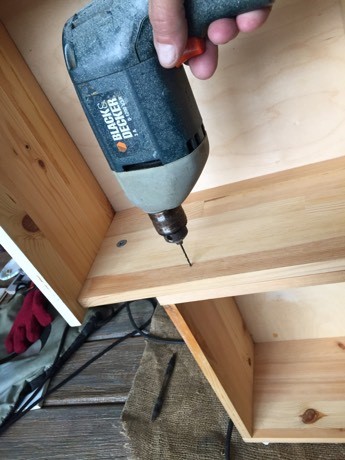
Step 3: Glue and screw
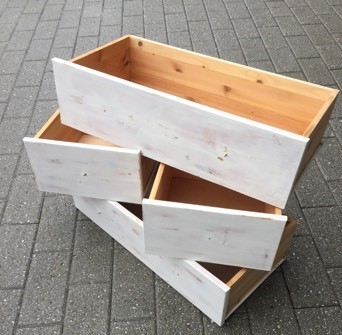
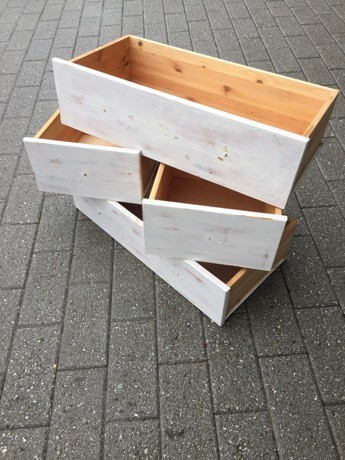
Based on the size of your drawers, you’ll want to attach two to each other to provide several shelves on which to place items.
- Turn them on their sides with the drawer fronts facing in opposite directions; the drawer faces will become the sides of the shelves.
- Place one on top of the other and leave space so they are not directly one over the other. This will provide additional areas to place items when done.
- Add wood glue between the two sides and use your drill to drill holes for the screws.
- Screw them in place to hold the two drawers tightly together.
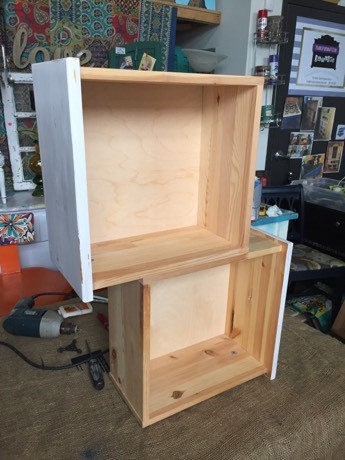
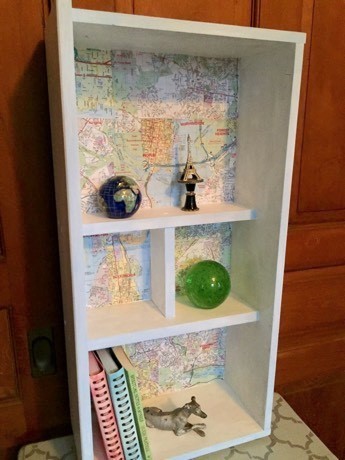
Another option: For a larger drawer, consider adding shelves inside of it using pieces of scrap wood. Measure, cut, drill and screw into place!
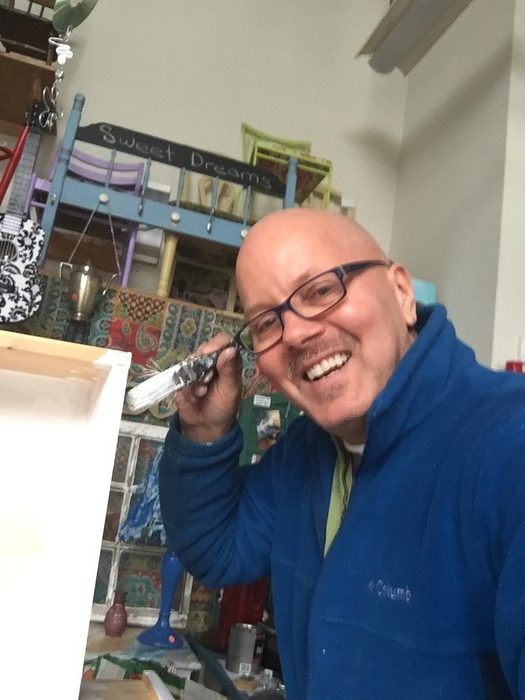
Step 4: Paint to provide pizazz
Most drawers are made from a variety of woods with the most expensive as the front.
Often, that means the woods used are different colors and tones.
To connect all the pieces and provide a fresh look, paint the drawers, now joined together.
- While you could use spray paint, leftover wall paint was used for this project given that it is cold outside.
- Using a paint brush does take more time; however the result always looks nice and provides the chance to layer paint to give additional dimension and/or texture if you like.
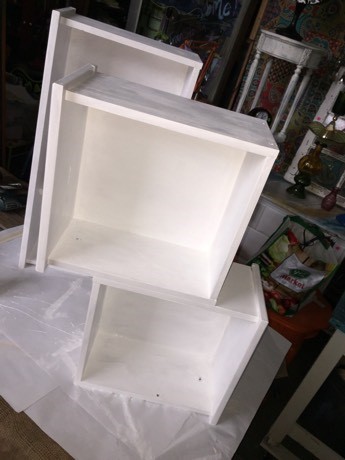
A crisp and clean white tone was used for this project so that it fits into most decorating schemes and has the most versatility. This step may require two to three coats so be patient!
Step 5: Make the backdrop pop
To add an interesting design element, paint the insight back of your new shelving unit in a different color to make it stand out and to create a colorful backdrop. You could decoupage it, too, which is the process of gluing paper with Modge Podge. A map was used for one of my shelving projects.
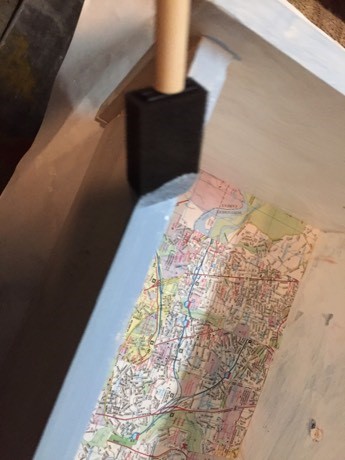

Expert Tip: Consider painting the front edge in another color. Light blue was painted along the edge to compliment the hues on the map affixed to the back.
Step 6: Give yourself an “A” for using D-shaped hooks
On the back upper corners, drill holes then screw in the D-shaped hooks. This will securely hold your shelving unit in place on the wall.

Design Tip: To provide another level of functionality, consider adding small hooks under the shelves. Hang coffee mugs, hats or jewelry there.
Step 7: Hang it up and give it a thumbs up!
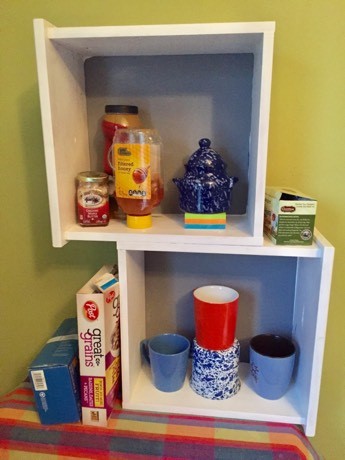
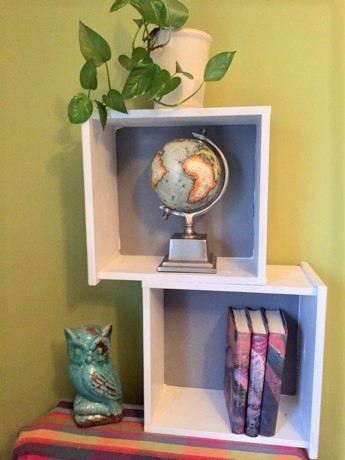
There are so many fun uses for this upcycled project!
- Use it in your bathroom to hold towels, and other supplies.
- Add books when used in your kid’s room.
- Add spices and containers holding utensils in your kitchen.
After seeing this project, the joke in my family is that my socks, undershirts and other clothes are now on the floor in piles since I have transformed all my drawers into cool shelves!


