Looking for Summer, Family Fun? Upcycling is Perfect for Kids of All Ages!
As the Dog Days of Summer approach, here is a cool idea to entertain and inspire kids of any age: upcycling items together! Part art, part connecting, part rethinking, it all adds up to 100% fun! Together, your group will create memories that will last long after the seasons change and the weather cools.
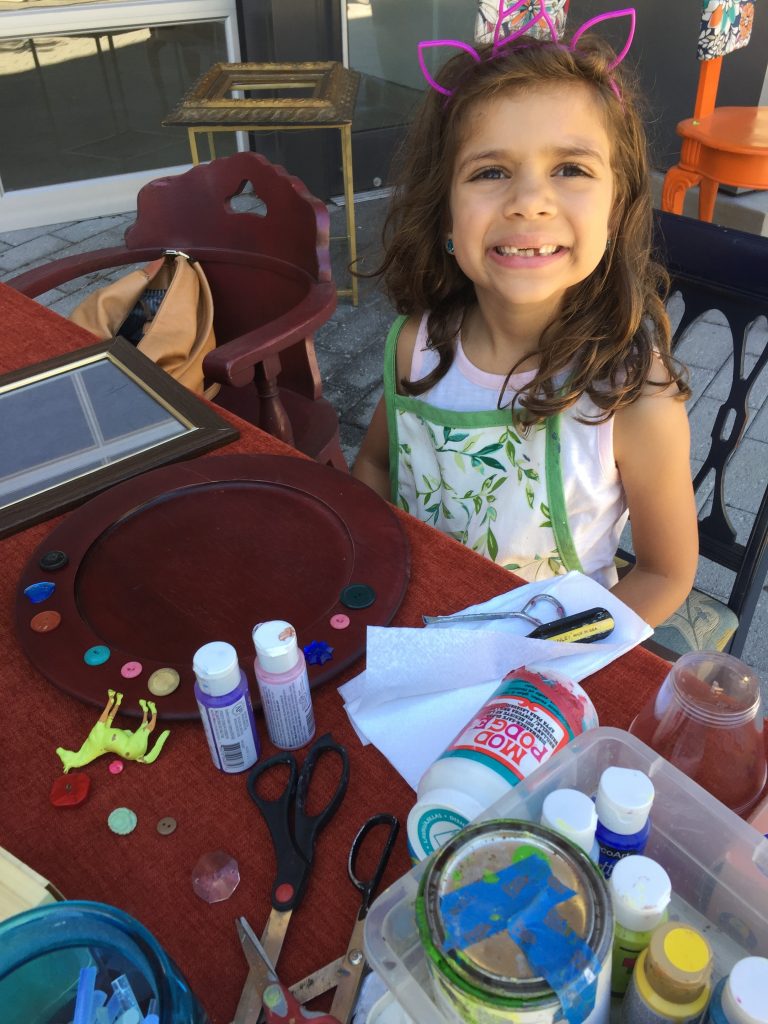
Thanks to Tamara and her wonderful grandchildren, Sam and Belle, for being the inspiration and “stars” of this family-friendly, DIY blog!

Age level: Fun for everyone, any age
Ability level: Easy as a summer breeze
Items needed
1. Simple, small items to transform
2. Craft paints of various colors and tones
3. Chalk board paint
4. Glue gun and glue sticks
5. Collection of papers
6. Mod Podge
7. Scissors
8. Paint brushes
9. Items to embellish like ribbon, plastic jewels, buttons, more
10. Spray polyurethane
Time requirement: 2.5 hours, not including paint drying time
Cost: $25 per person
- $5 to $10 for items to repurpose
- $20 for various paints, Mod Podge (more for the next family gathering!)
- $5 for embellish items
1. Start by thinking outside the box
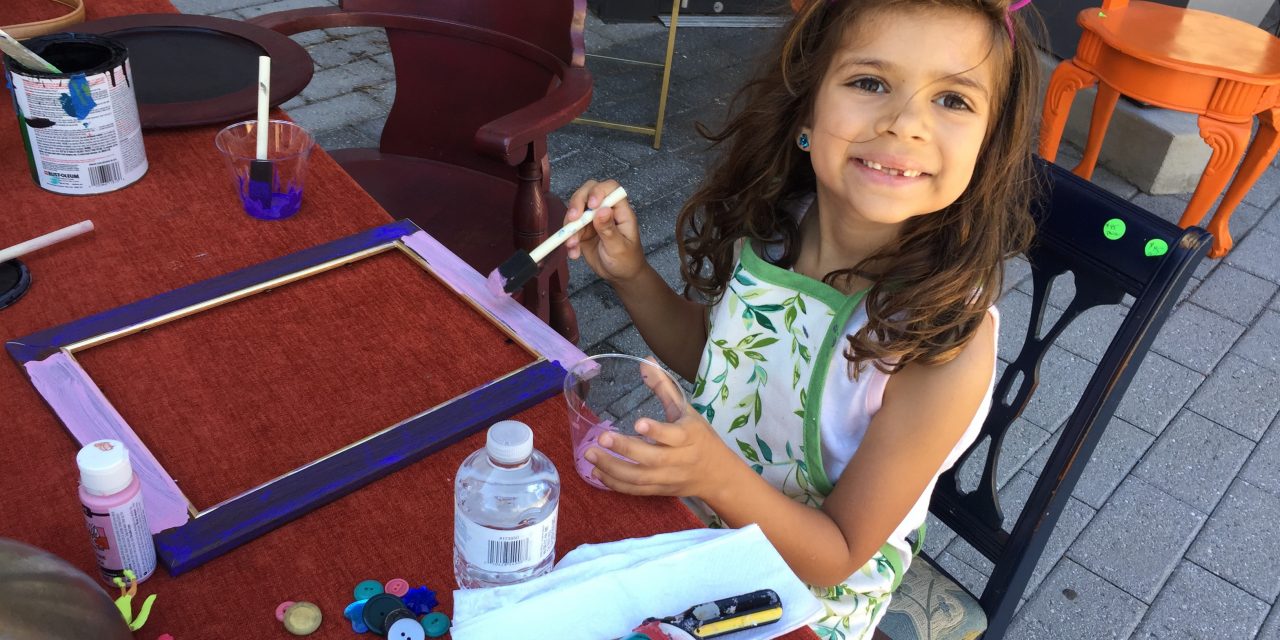
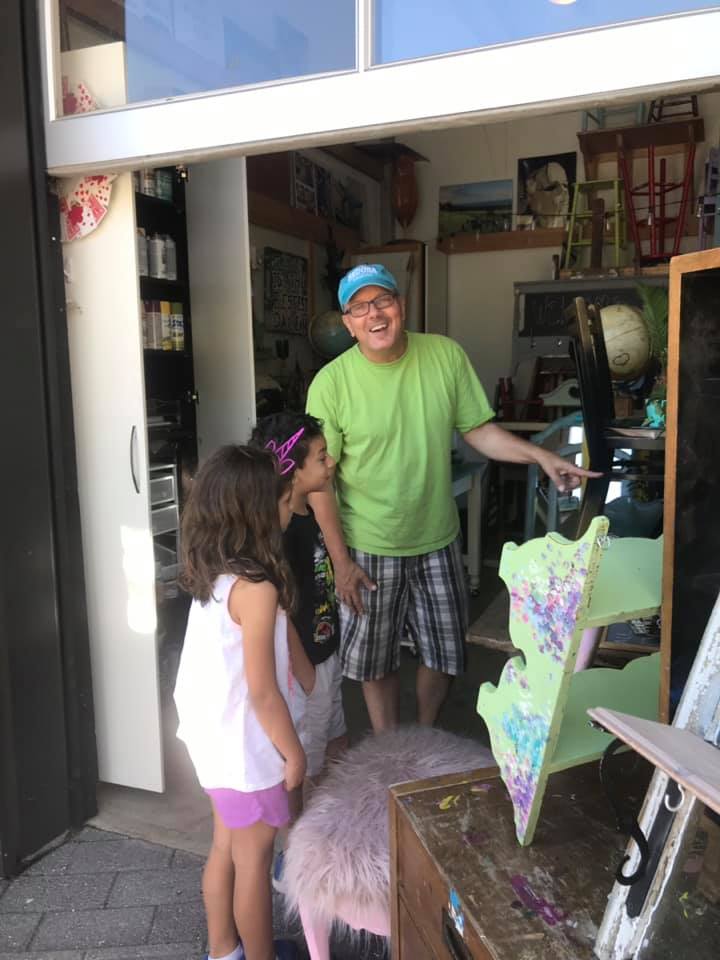
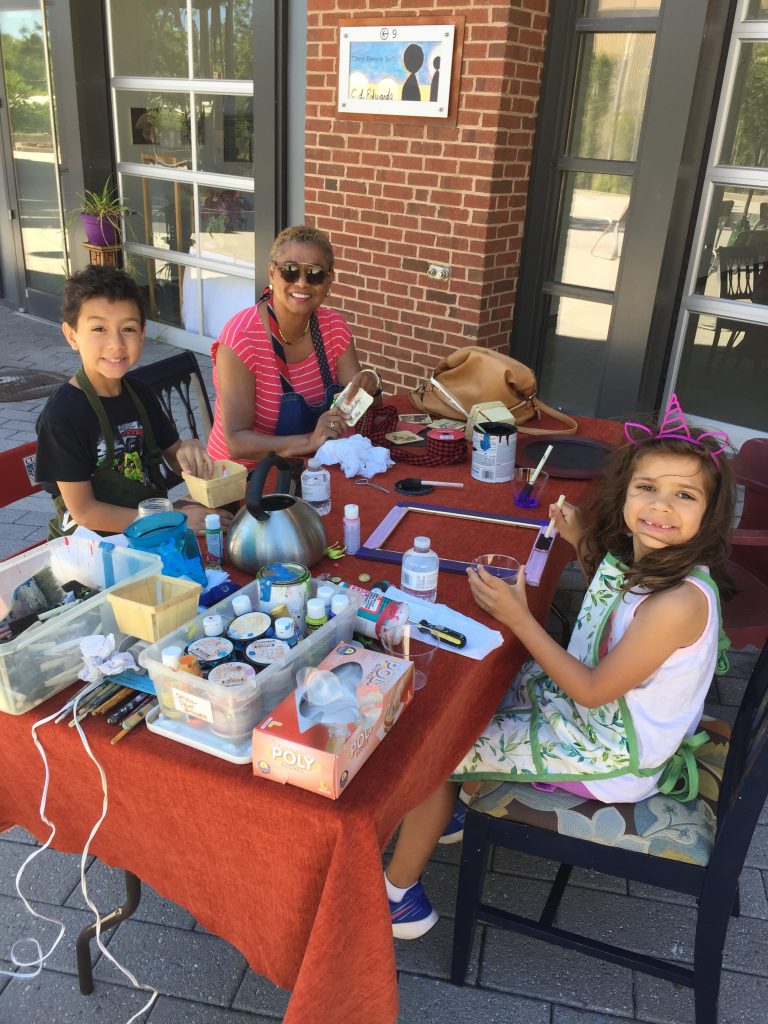
What a joy to spend a summer morning with Tamara (“Nana”), Sam and Belle and for the opportunity to create a meaningful time for them.
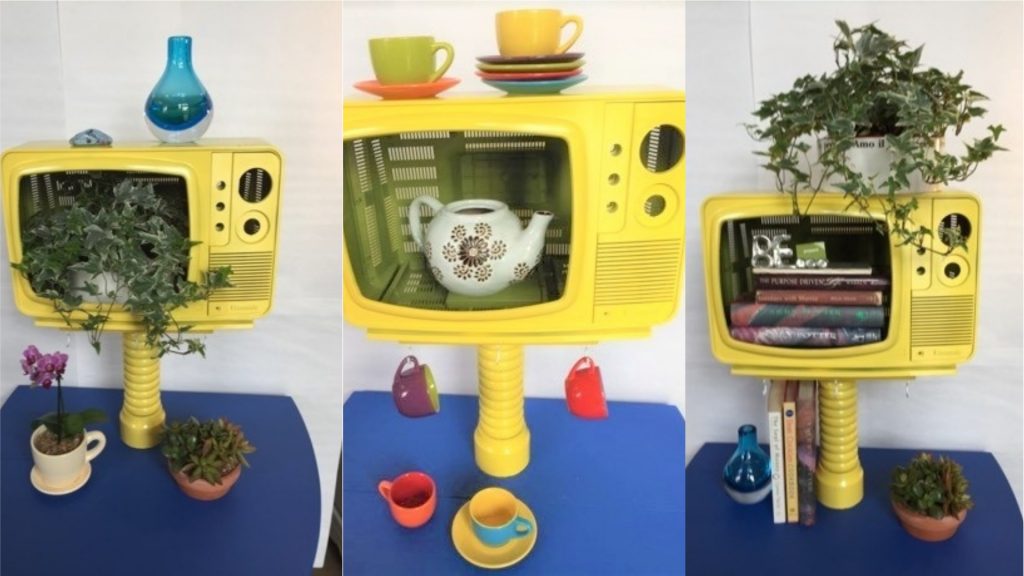
To help get them looking at everyday items in a unique way, we started our time together at my studio checking out my transformed items—a guitar turned into a lamp, graters into planters and side tables into funky chairs, among others. (Be sure to check out Tim’s other posts for more details on these upcycled pieces).
For other inspiration, you can easily go to the Pinterest app and/or Google and type in “upcycled items” to see what comes up.
There is so much creativity out there to get your group to think about ordinary items in extraordinary ways!
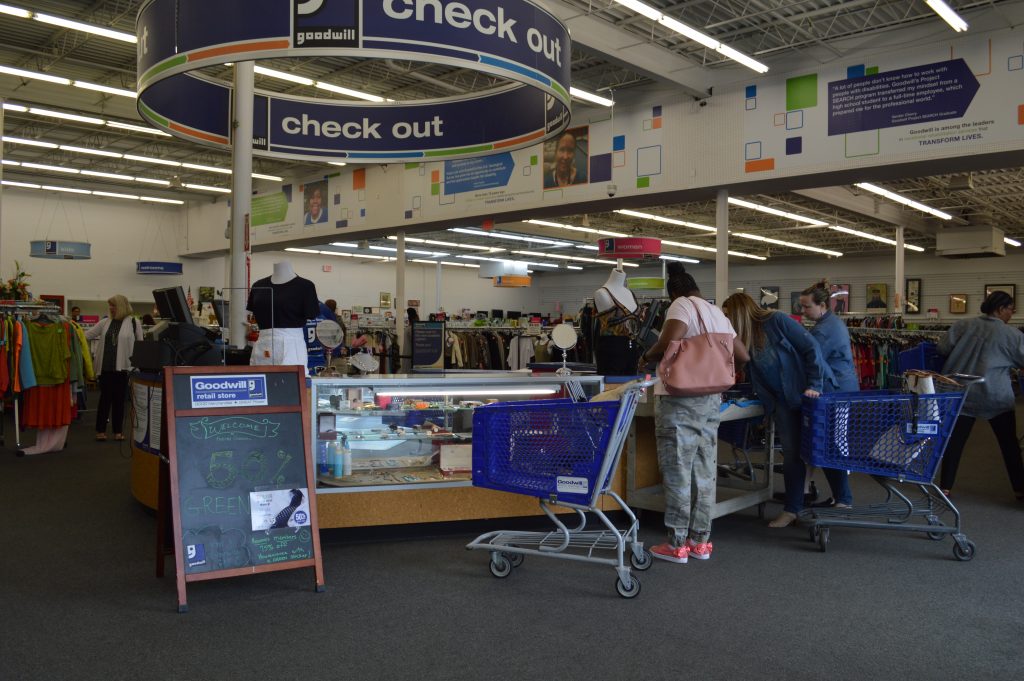
2. Road trip it to Goodwill
Your younger family members might say, “Are we there yet?” because they’ll be so excited to see what cool items await them at your local Goodwill.
Once there, hunt for simple and smaller items that can be easily transformed.
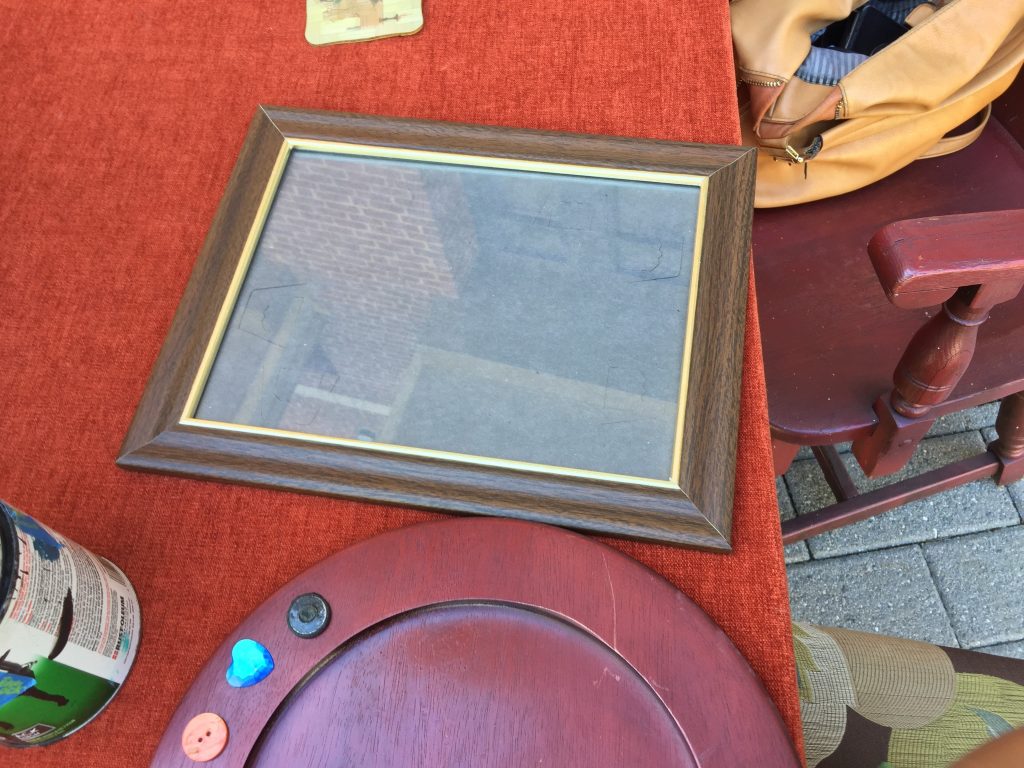
During our shopping excursion, we found a wooden plate, a set of coasters, a picture frame, small fruit cartons and green glass candle holders as items to use for repurposed projects.
It was fun to explore and consider what items could become with a little vision and creativity. And since we were at Goodwill, Tamara donated a bunch of items she brought from her home so the cycle of giving and getting continued!
Friendly advice: Consider giving all participants a price limit and time frame. For example, each person has $10 total to spend on items. You could make it a game, too, and see who can spend the least amount on their purchases. A friendly competition is always exciting!
Also, because there are so many great items at Goodwill, give your family just ten minutes to look and decide what to buy. There is nothing like a time challenge to get the creative juices going!
3. Set the stage
Take advantage of the warmer weather and set up outside if possible.
- Cover your worktable to protect the surface and allow a space for everyone to work closely together, which is part of the fun!
- Use another table or countertop as a place for all supplies, paints, tools and materials.
- You might need an extension cord for your glue gun so it can be handy.
- Aprons are great to capture any spills.
- Be sure to have drinking water and other refreshments on-hand, too, to keep energy high.
4. Let the games—and the fun—begin!
Be sure to take pictures along the way.
It is always so exciting to have before, during and after photos so you can easily remember what the items looked like before their transformations.
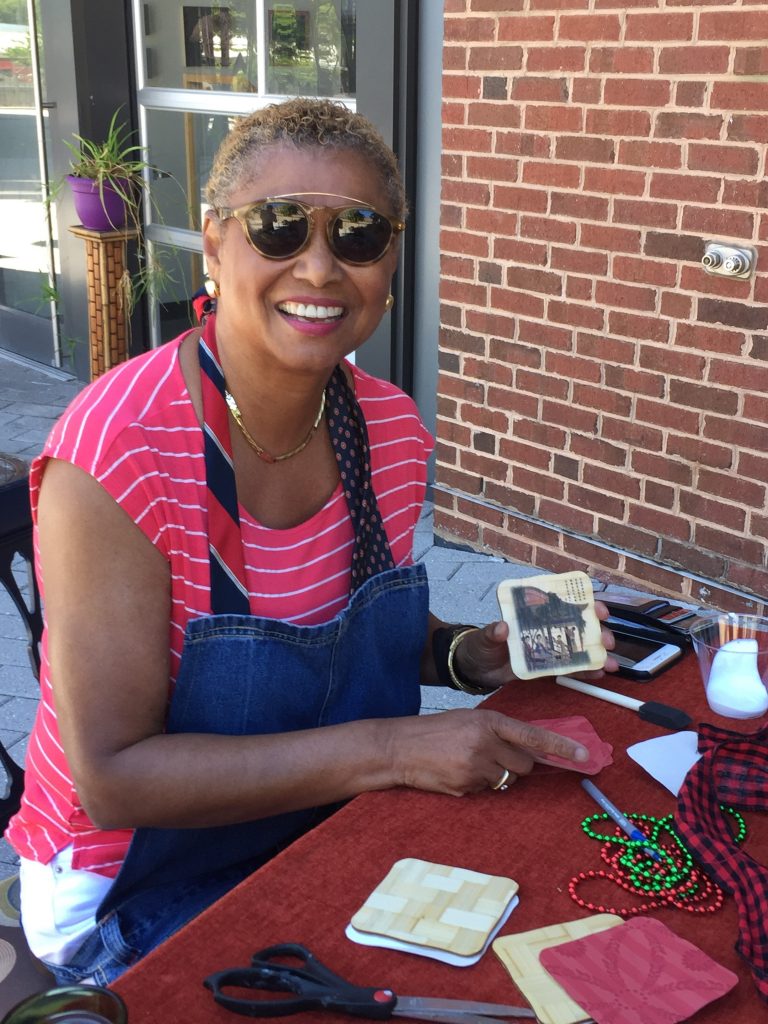
For our family session, Tamara transformed old wooden coasters. Sam found a metal tea pot, small fruit cartons and colorful, stubby glass candle holders. Belle was drawn to a wooden plate as well as a picture frame.
Projects featured here:
Coasters into Ornaments
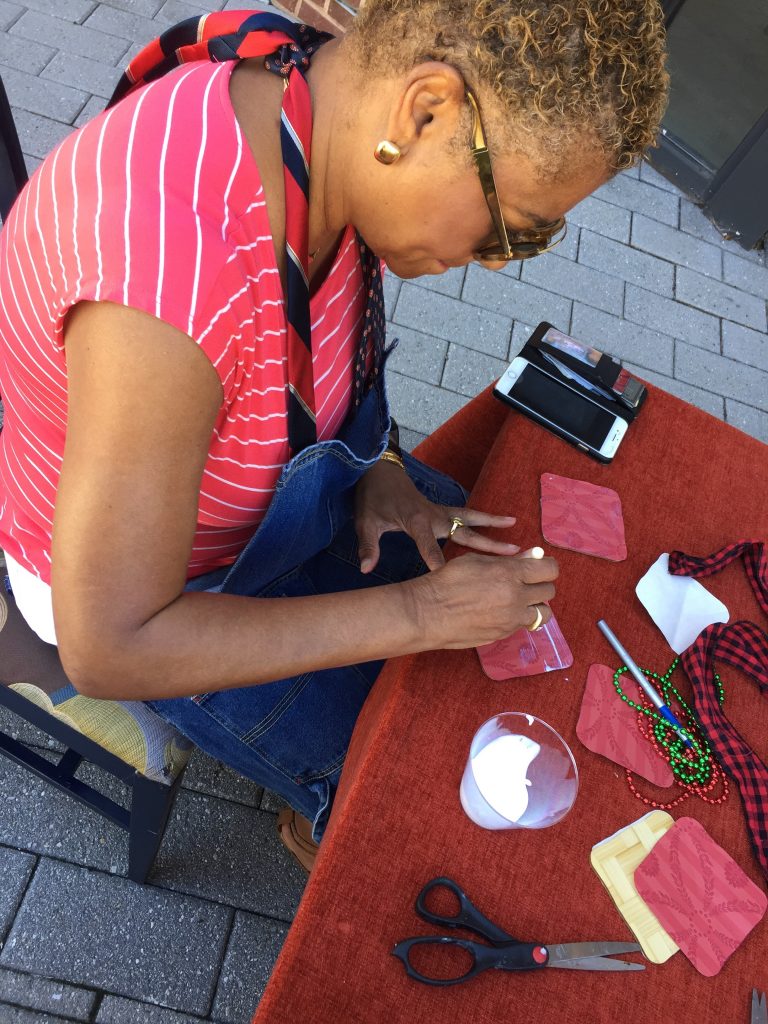
Using colorful paper, Tamara traced around her coasters, then cut and decoupaged (the process of gluing paper to items) the pieces on using a foam brush to apply Mod Podge.
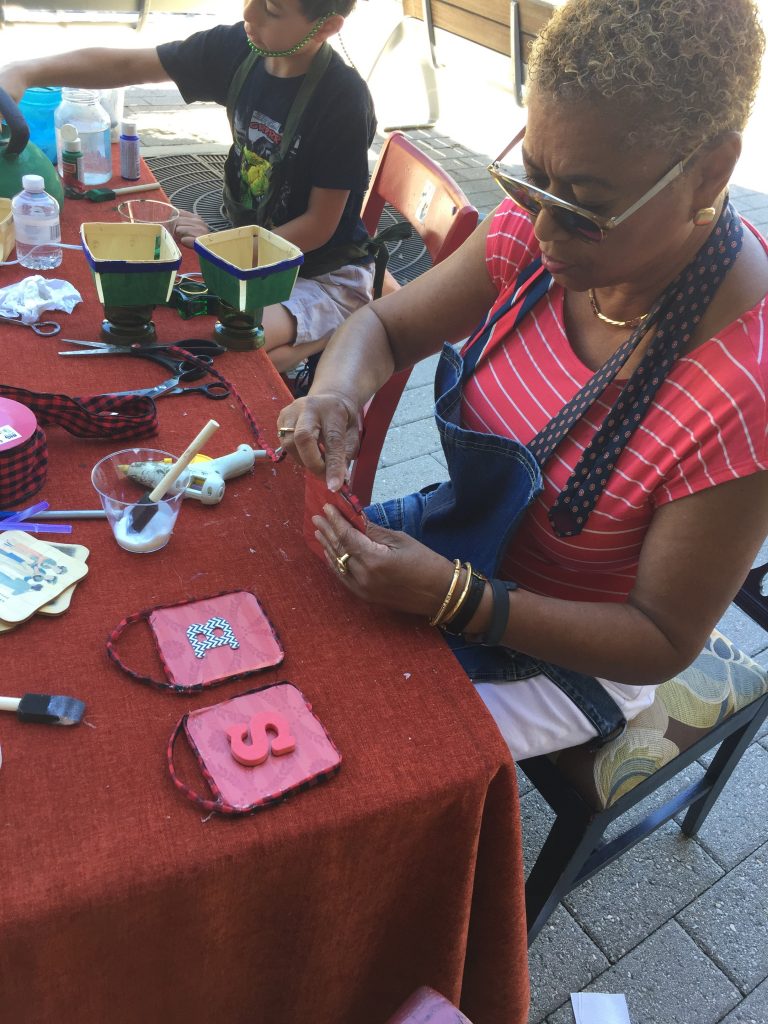
She selected matching ribbon, which she rolled up using the glue gun then attached around the coaster to give it a finished look as well as a hanger for displaying.
She found three letters (one each of the first letter of her grandchildren’s names) and enlisted the glue gun again to add them to the ornaments.
Given the tones she chose, these would look great on a Christmas tree or hanging around the house anytime of year.
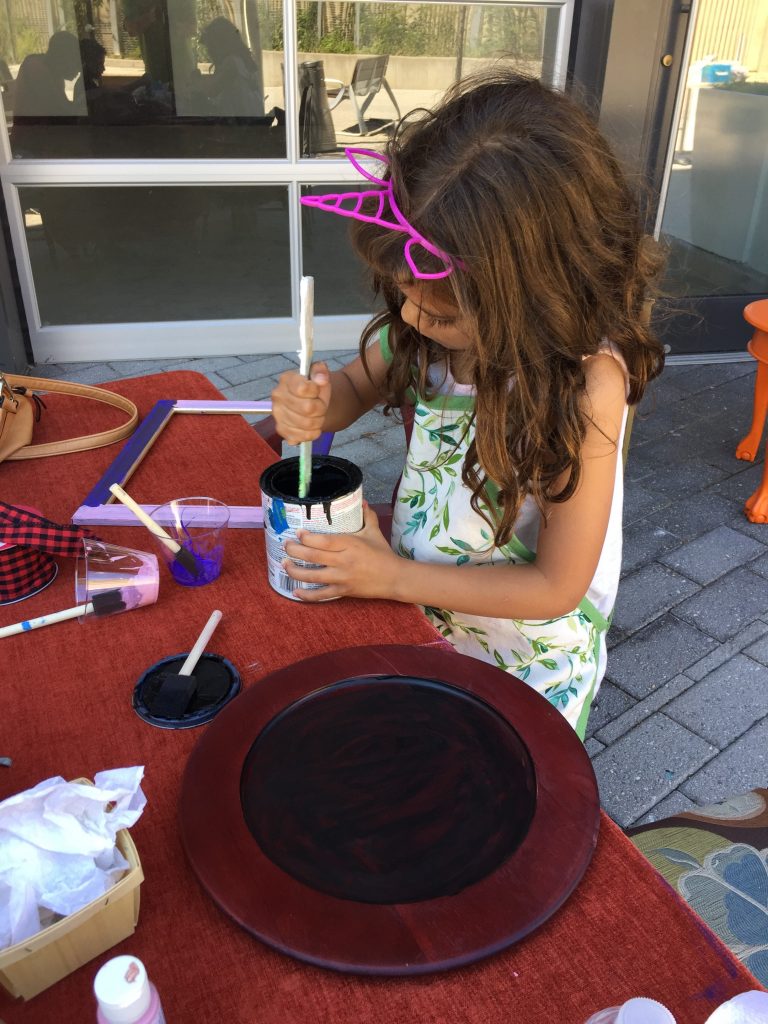
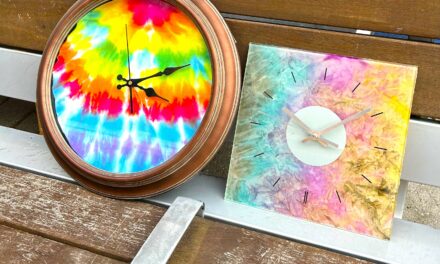
Wooden Plate into Chalk Board
Belle repurposed a wooden plate into a perfectly-pretty chalk board.
- She started in the center by brushing on several layers of black chalk board paint.
- In between coats, which gave them time to dry, she then painted on a blue hue around the outer edge.
- After additional coats of each and after more drying time, she found plastic colorful jewels, buttons, heart-shaped stickers and ribbon to add more personality to her piece.
- She used a glue gun for the first time (with lots of adult supervision!) to secure them in place.
- After letting it dry overnight, I added a small picture holder to the back for easy display.
- Now it is ready for messages from this little upcycler!

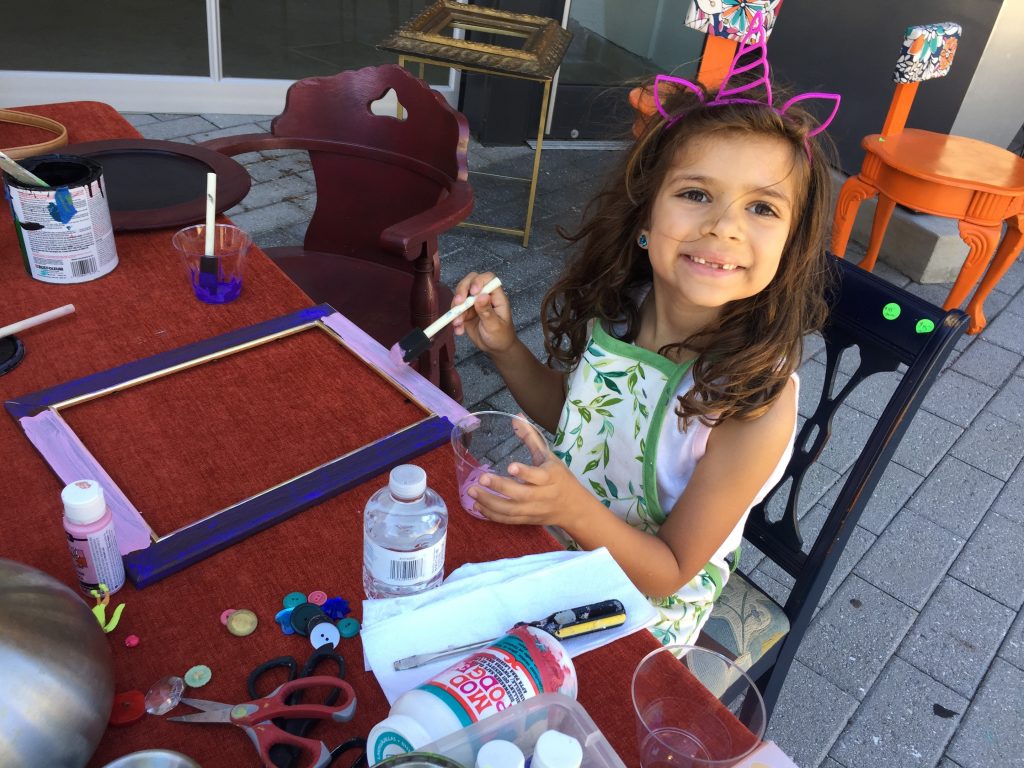
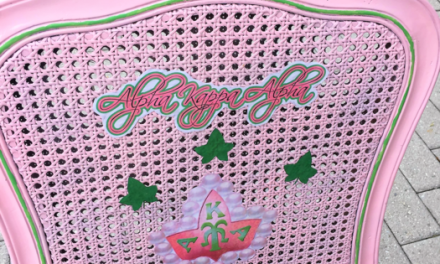
During this activity, Tamara worked on two projects at the same time.
She transformed a picture frame that was very generic into one fit for a princess. She followed the same steps listed above (minus the chalk board). Consider following her approach so that while one project is drying, you can turn your attend to another. What an efficient use of time, I’d say!
Fruit Cartons into Treasure Holders
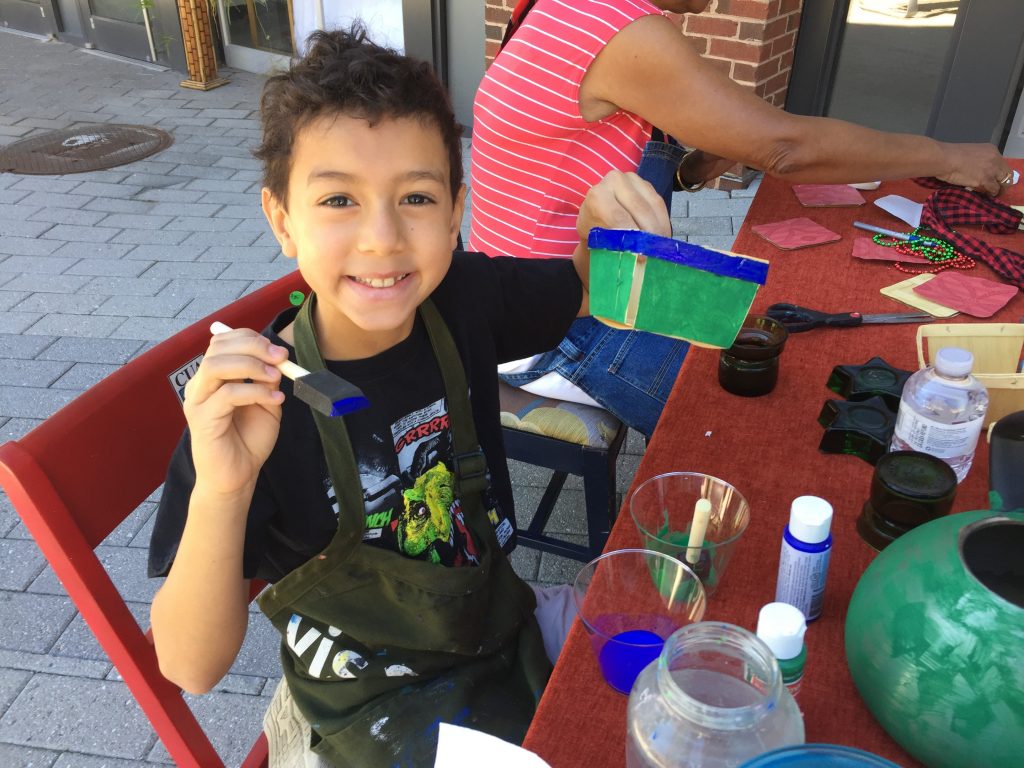
For his DIY project, Sam gave some pizazz to small fruit cartons, the kind you see at a Farmer’s Market.
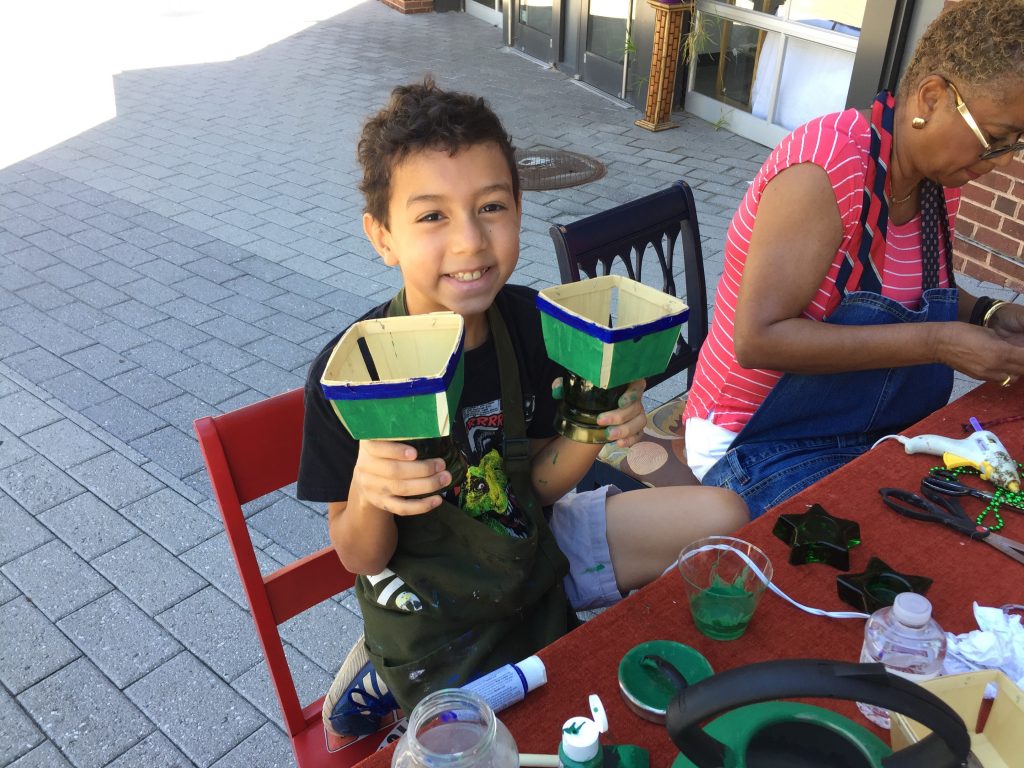
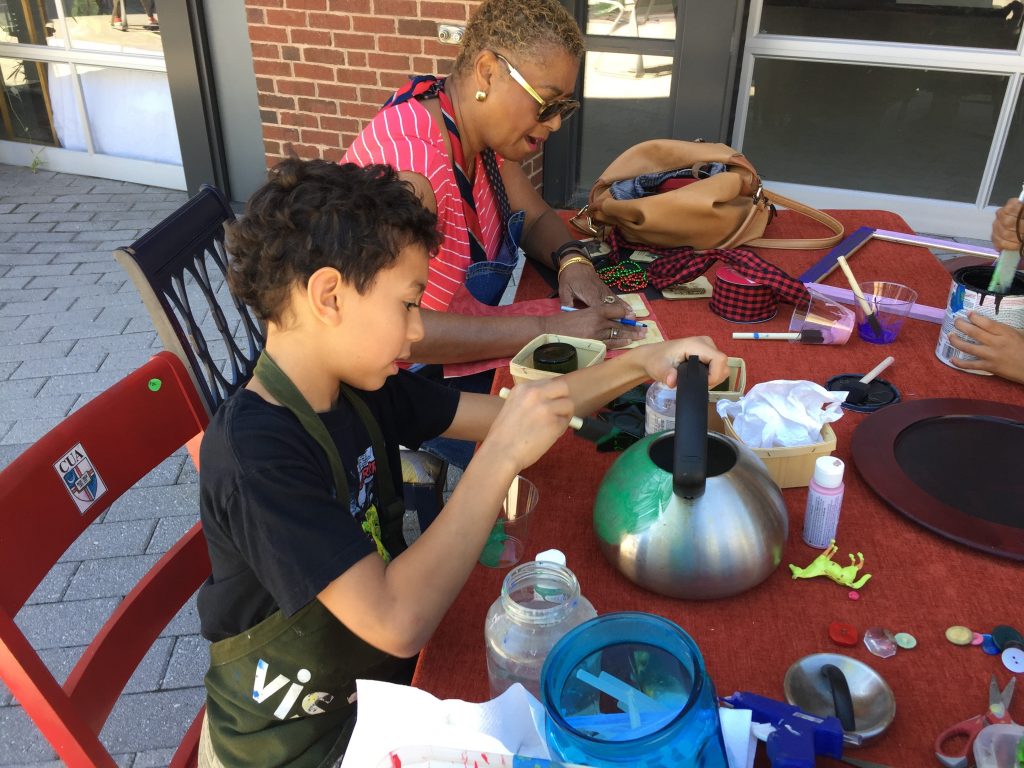
After carefully painting them blue and green, he then gave them some height by adding them to the top of the glass candle holders using a glue gun. What could they be used for? Maybe to store crayons or toys or puzzle pieces? How about a place for shells collected while on vacation?
Sam, too, tackled a second project by painting a metal tea pot bright green. Several layers of paint were added with time to dry in between. And what about this transformation? Maybe it becomes a holder for paint brushes or makers? What about a fort for plastic army men? It could become a planter for sprouting seeds. Whatever it becomes, it helped to create a fun memory!
5. Who is the timekeeper?
Something magical happens when you get involved in a creative project like upcycling items from Goodwill. Time flies by!
Based on your busy summer schedule, plan two to three hours for this activity to ensure all your DIY projects get completed. You could set an alarm to go off at the top of each hour so you, too, can get lost in the transformative fun!
6. Dry overnight, enjoy your items and plan your next Goodwill excursion
Once your projects are done, set them in a safe place to dry overnight. Your young participants will want to use the chalk board immediately after finishing it, so encourage them to be patient to allow things to dry completely.
The next fun activity together will be to show off your repurposed pieces to other family members and then determine where they will go in their new lives!
Thanks again to Tamara/Nana, Sam and Belle for being so open to trying things and for being so much fun! I had a great time, too!
