Spring means graduation is just around the corner, so here’s a great gift idea for that soon-to-be graduate or any alumni, Fraternity or Sorority member. Turn a piece of furniture into a fan favorite by painting it in school colors and adding the institution’s logos. Your unique and special transformation will certainly receive many cheers!
Items needed:
- A side chair, end table or another piece of furniture (lamps are great options, too)
- Spray paint
- Printer & paper
- Scissors
- Modge Podge
- Foam brush
- Spray on polyurethane
Cost: Approximately $15 to $20
- $5 per chair or table
- $4 per can of spray paint
- $5 for Modge Podge*
- $5 for polyurethane*
*You will have lots left over for your next project!
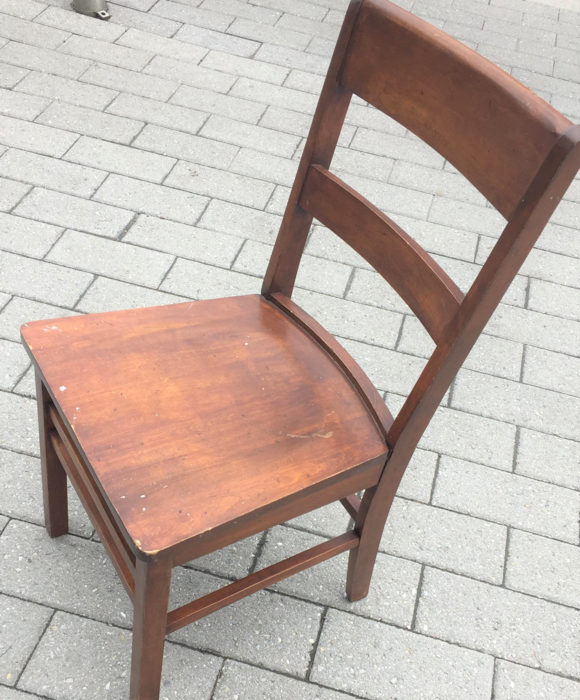
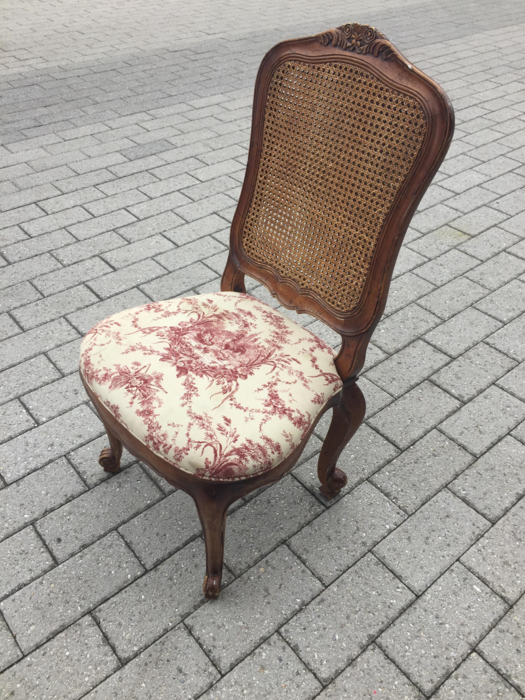
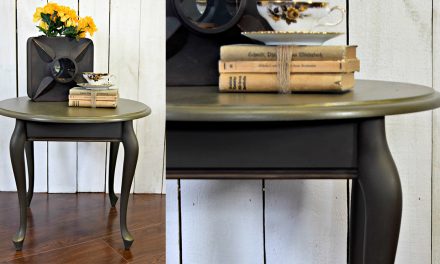
Step 1: Pick a Perfect Piece
At Goodwill, treasures that are ideal for this college-themed project await you! Any item with flat surfaces for embellishment will do. A lonely, random chair or a generic end table will look great when revamped and will fit in any bedroom, den or office. Based on your time and your ambition, you could use a medium-sized coffee table or dresser as both have lots of surfaces to add your school’s or Greek organization’s colors and logos. Consider a wide-based table lamp with flat surfaces, too.
Step 2: Preparing for Painting
Step 3: Spray It On
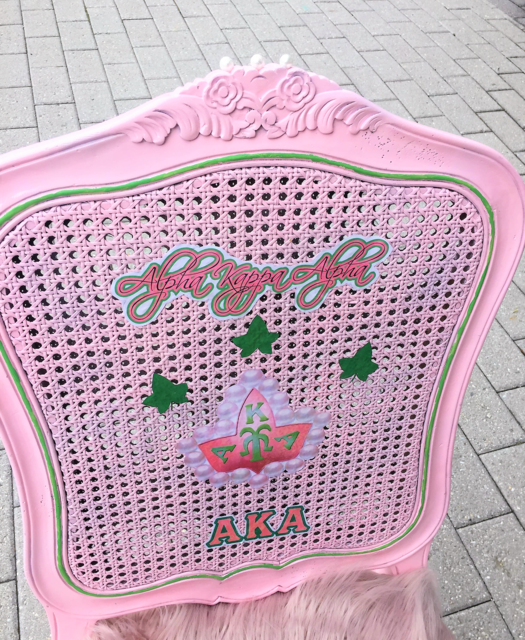
Step 4: Search On-line for Logos and Images
It truly is amazing what you can find online. Do a quick search by entering the school’s name and the word “logo.” Up will pop a bunch of options. Print out a variety of them in various sizes. If the institution is nearby, you might want to check out their bookstore for decals and stickers, too.
Step 5: Cut to the Chase
Use your scissors to carefully cut out each image.
Step 6: Lay It Out
Step 7: Modge Podge Makes It Happen
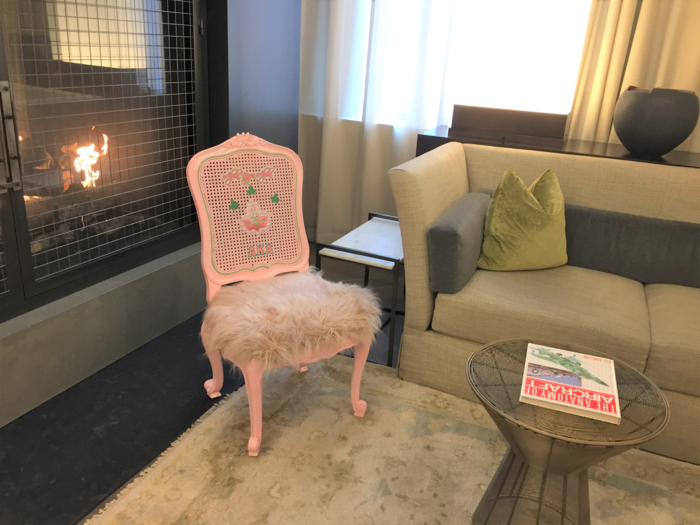
Step 8: Poly on Protection
When your piece is completely dried, take a can of polyurethane and spray on a thin layer covering your entire piece. Give time for this layer to dry then add one or two more coats. This will allow your wonderfully transformed piece to be protected from water, dirt, and dust. You too will be cheering when you see how easy this project is AND how thrilled your grad will be to receive it, use it, and show his or her school spirit with it.
What gift ideas have you created for a graduate or alumni?
