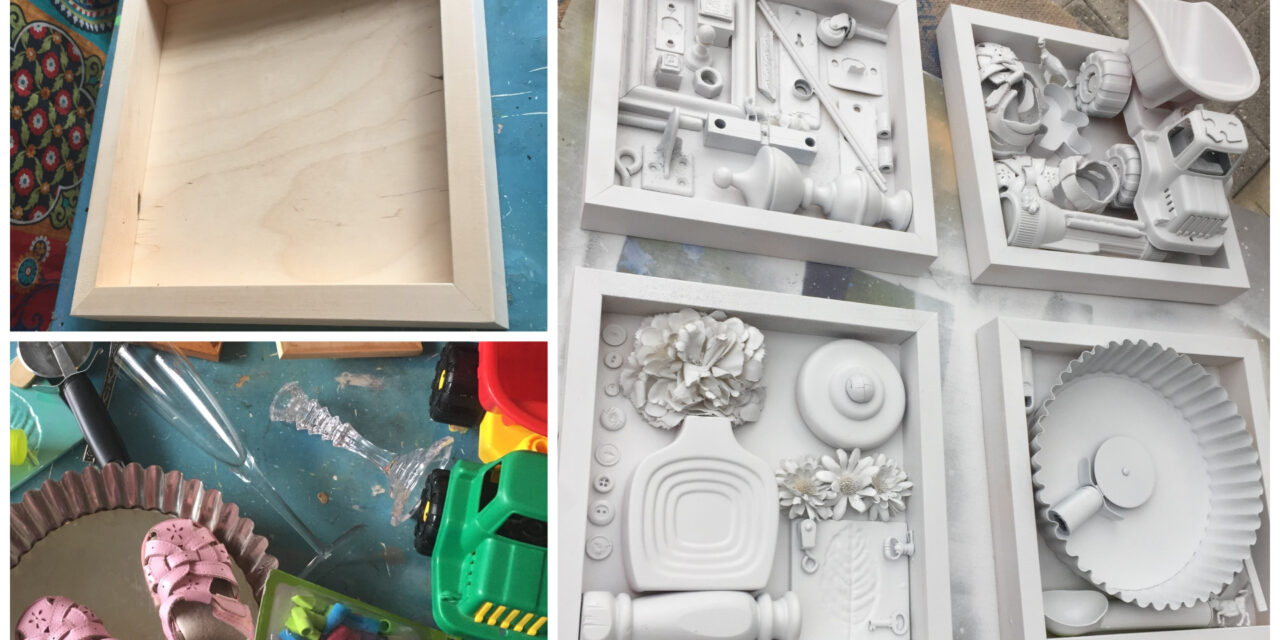
Combine items picked up at Goodwill with other knick-knacks and place them in wooden boxes. The result? Very cool and unique art pieces that look great in any room. Personalize them to fit your design décor and to give as memorable gifts. This easy and fun DIY project helps you to look at items for their shapes and textures. This would also make a great activity for kids and groups.
This week’s blog project was inspired in part by the late Louise Nevelson (September 23, 1899 – April 17, 1988), who was an American sculptor known for her large, monochromatic wooden wall pieces and outdoor sculptures.
This project was done on Memorial Day but maybe it should have been completed on GroundHog Day when the little guy might see his shadow and the interesting ones created here?
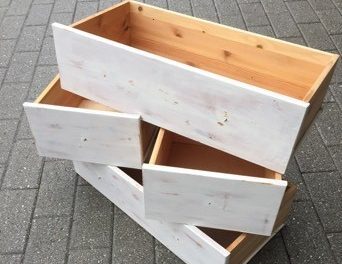
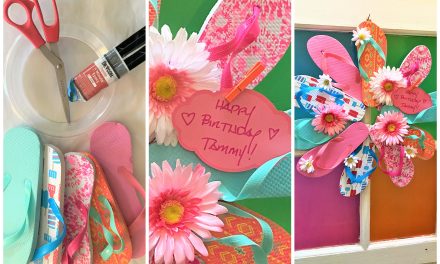
1. Pick up or order wooden art boxes
Most arts & crafts supply stores carry the wooden boxes highlighted here. This measures ten inches square; the outer frame, which creates the box is two inches high and one inch thick. Each cost around $10.
2. Shop for items to fill it
Go to Goodwill to fill your box with items to highlight and celebrate.
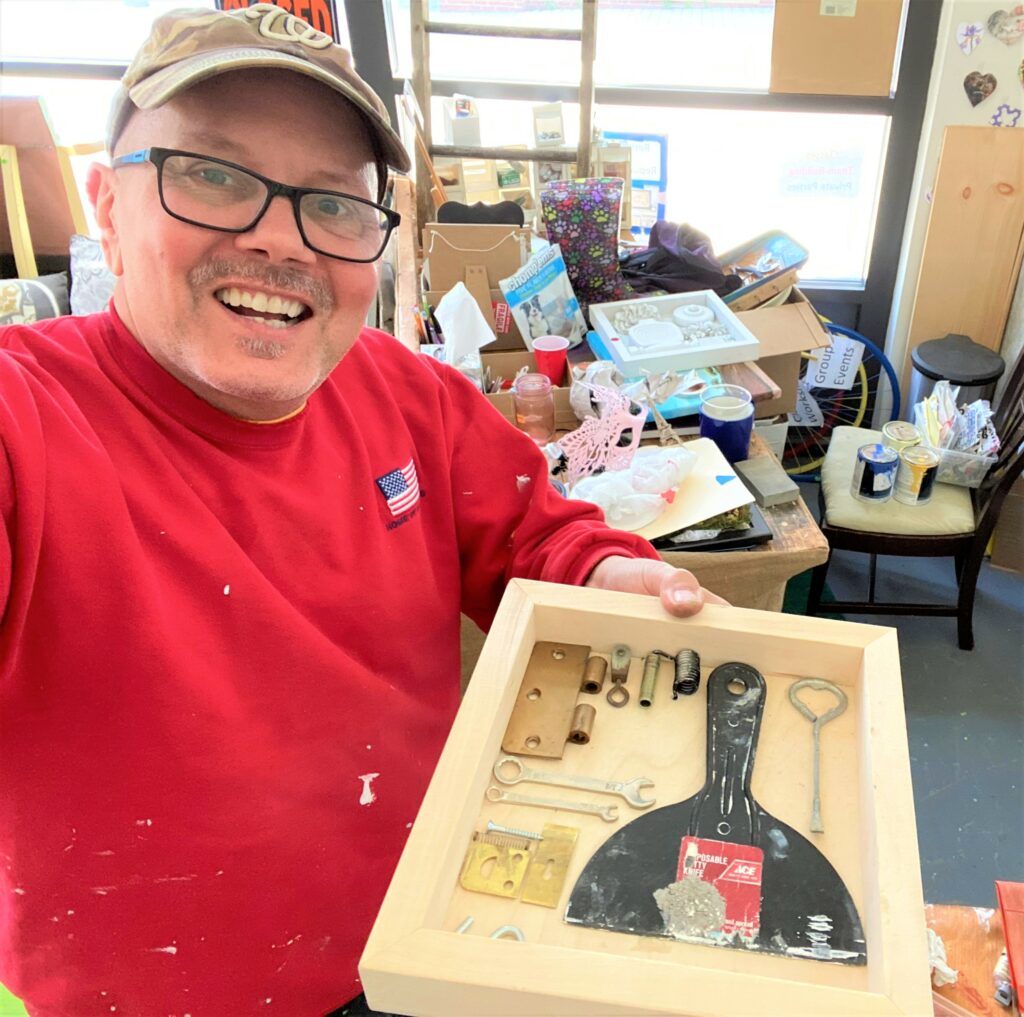
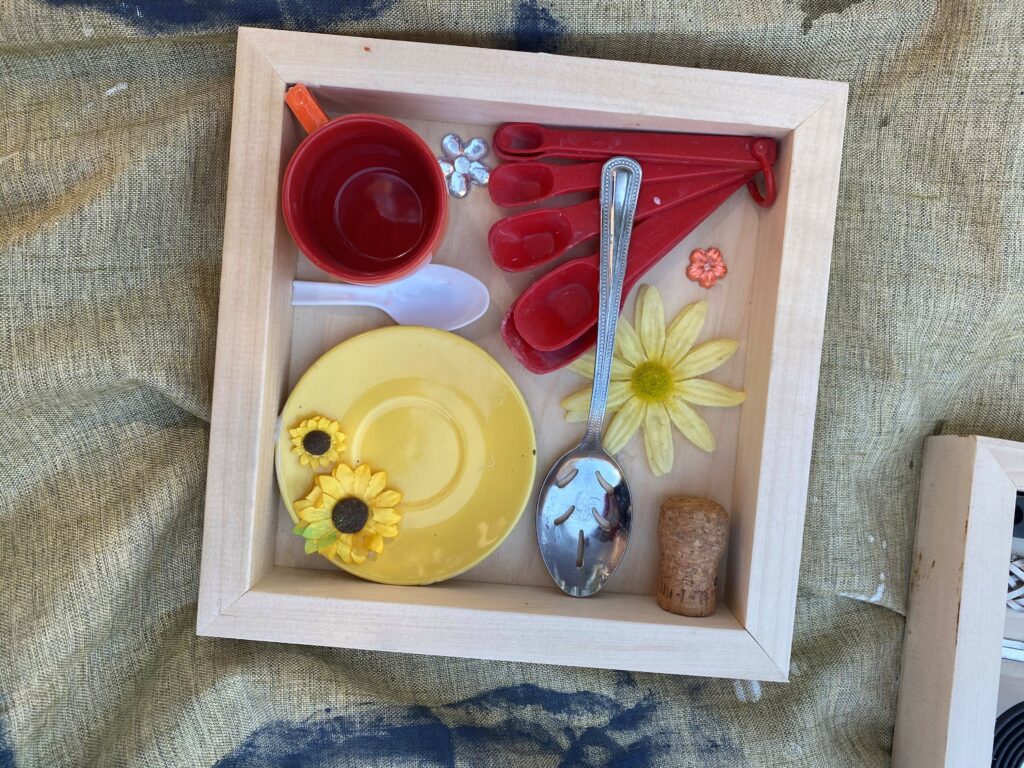
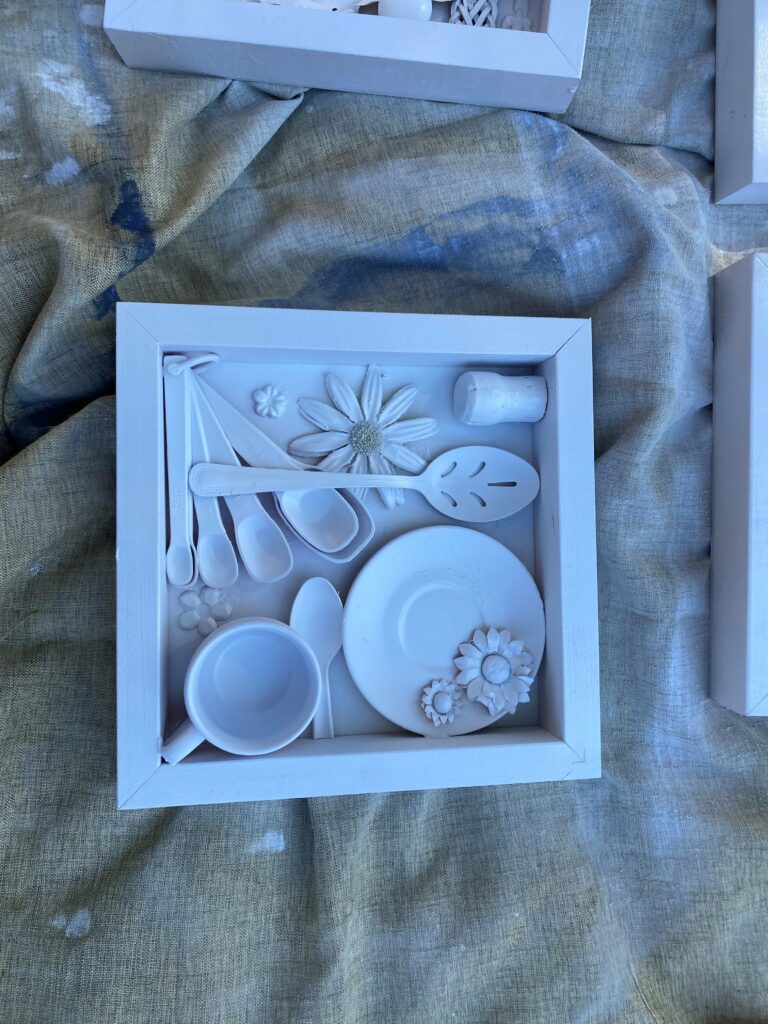
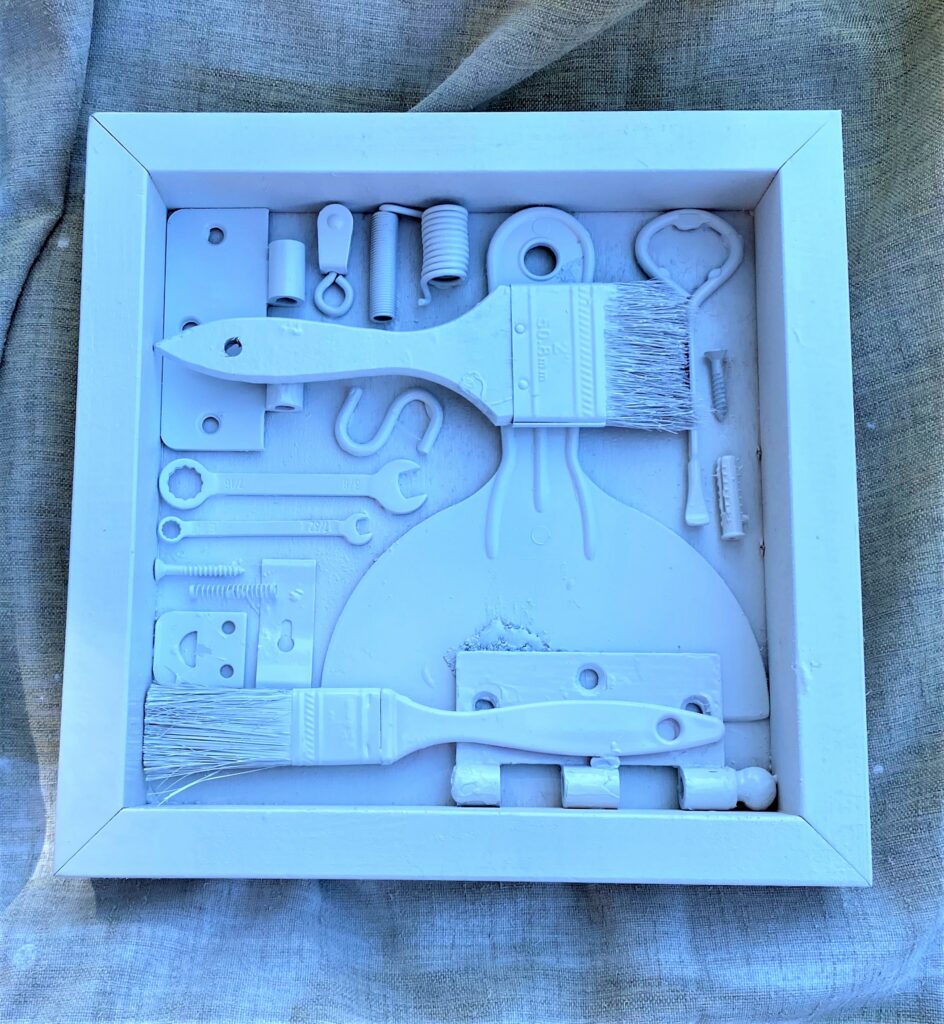
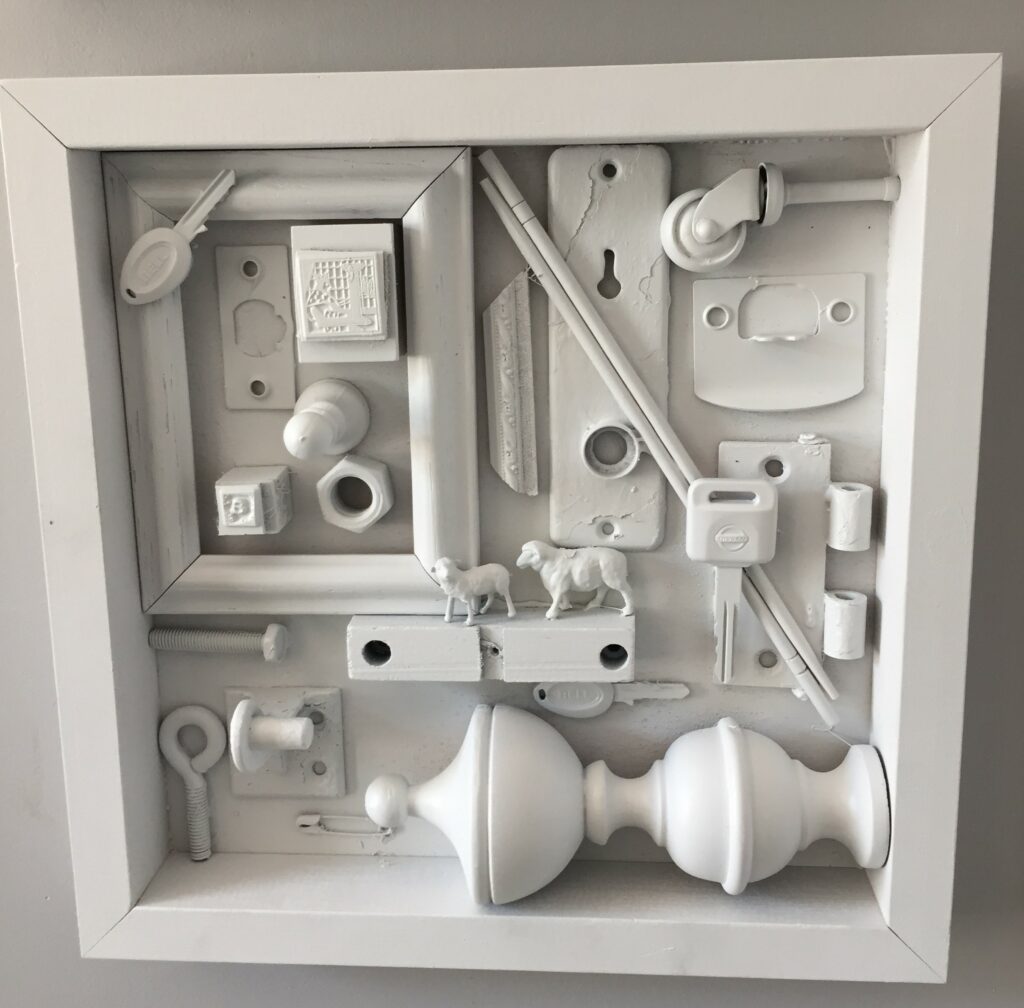
This makes a fun excursion for your family, with each person having a box to find unique objects to add to it. One box featured here has kitchen items like a slotted spoon, measuring spoons, and a small teacup and saucer. Another had small tools, paintbrushes, and screws.
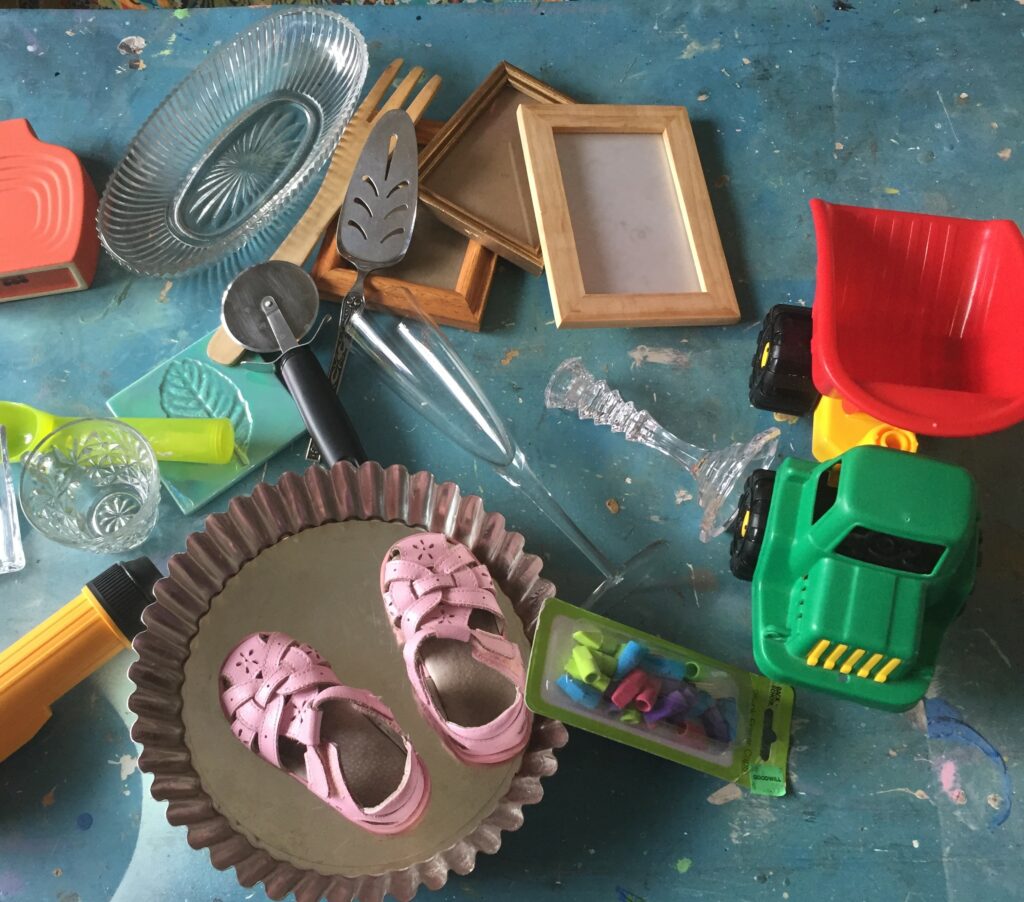
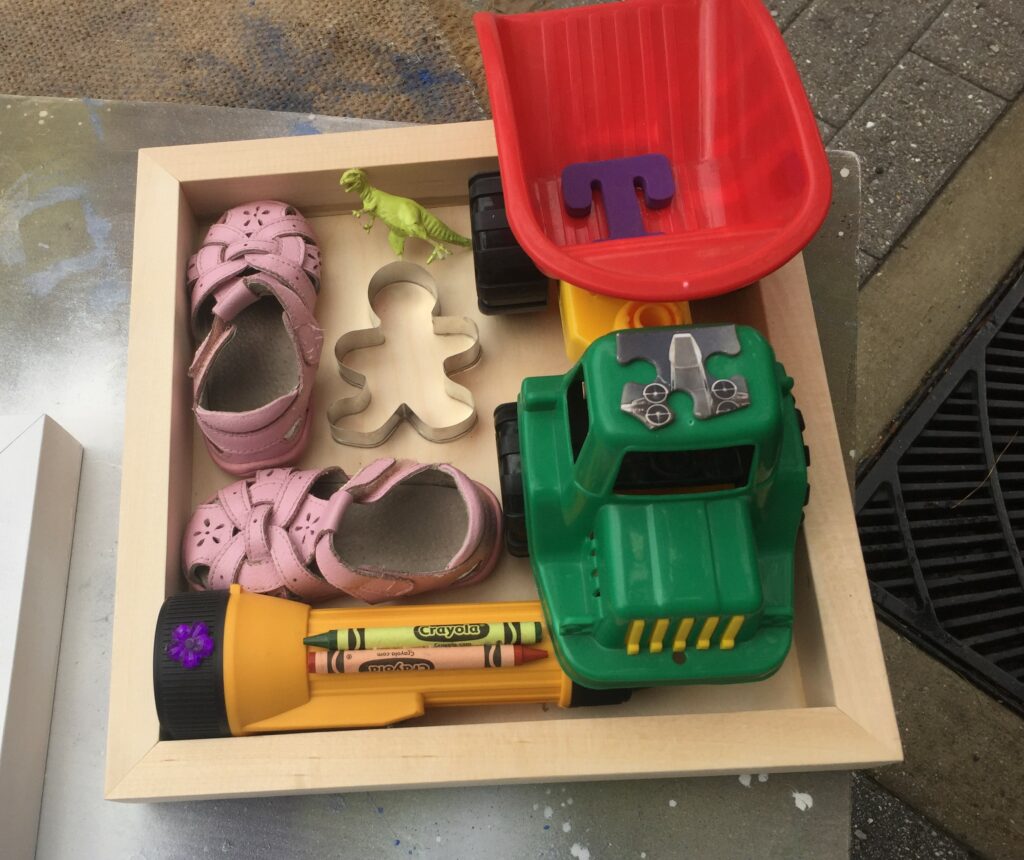
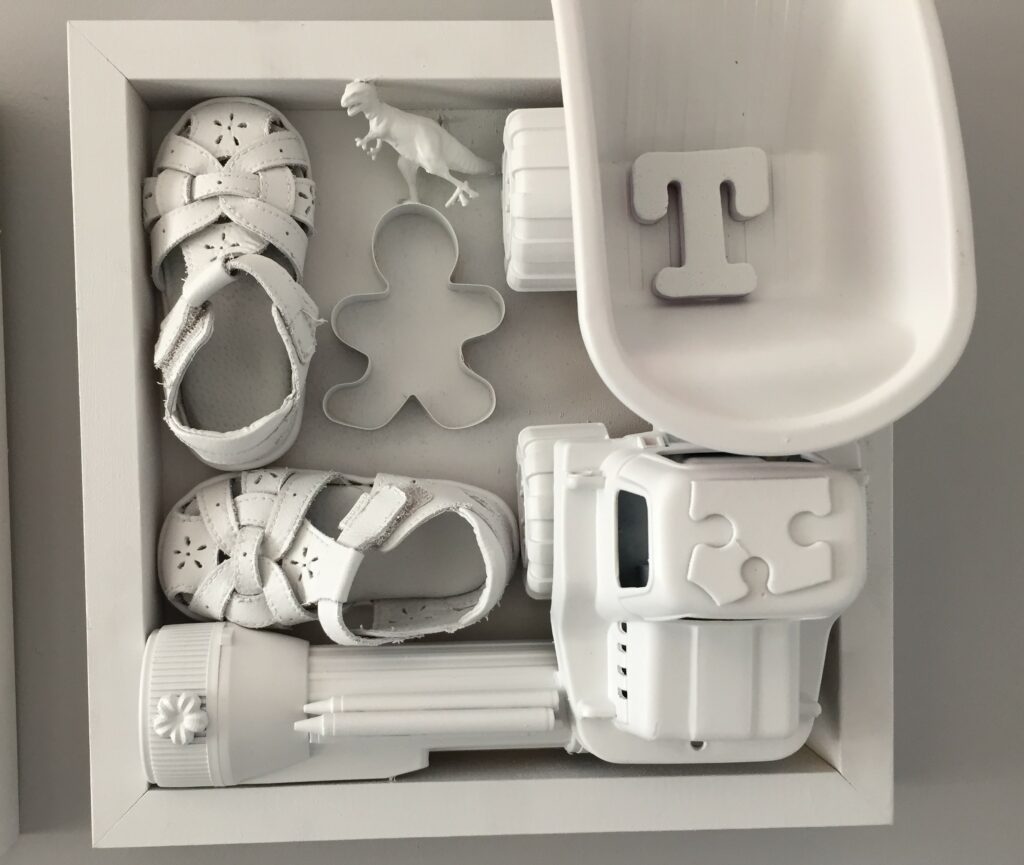
Still, another was filled with toys like a kid’s dump truck, puzzle pieces, and the like. What interesting and eye-catching items will you find to fill your shadow box? If doing so with a group, you could have a contest to see who can fill their box for the smallest amount of money!
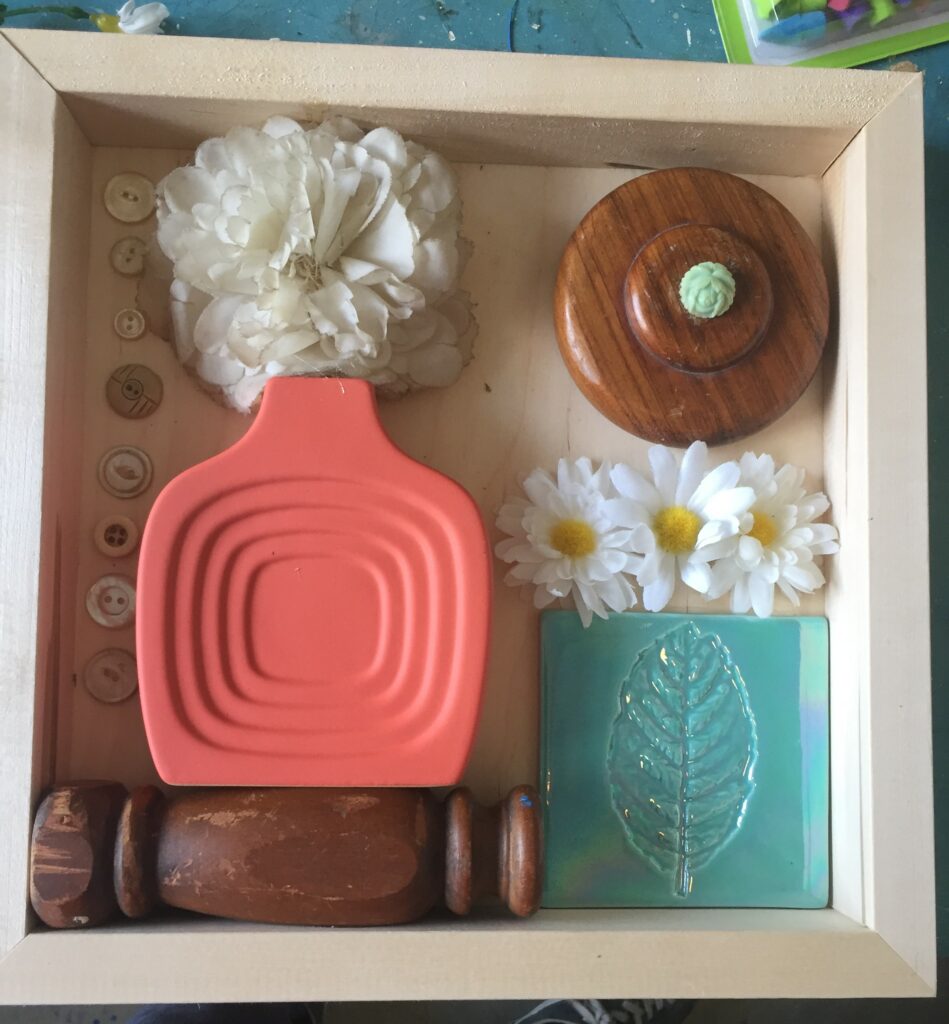
3. Add pieces from your junk drawer or knick-knack box
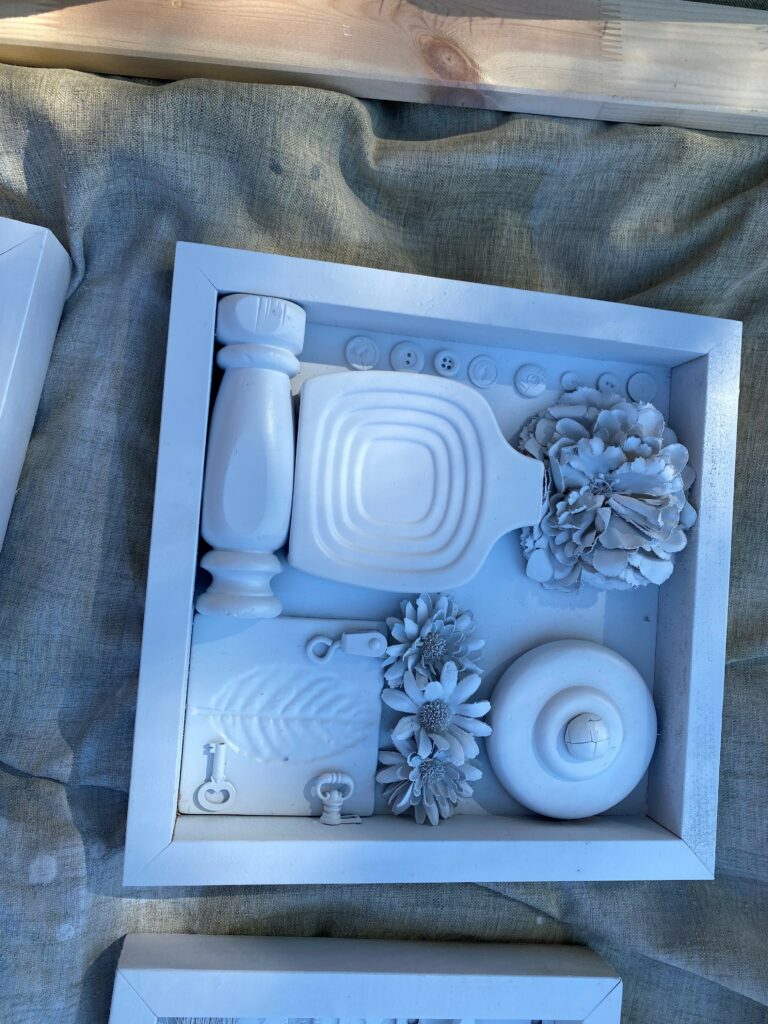
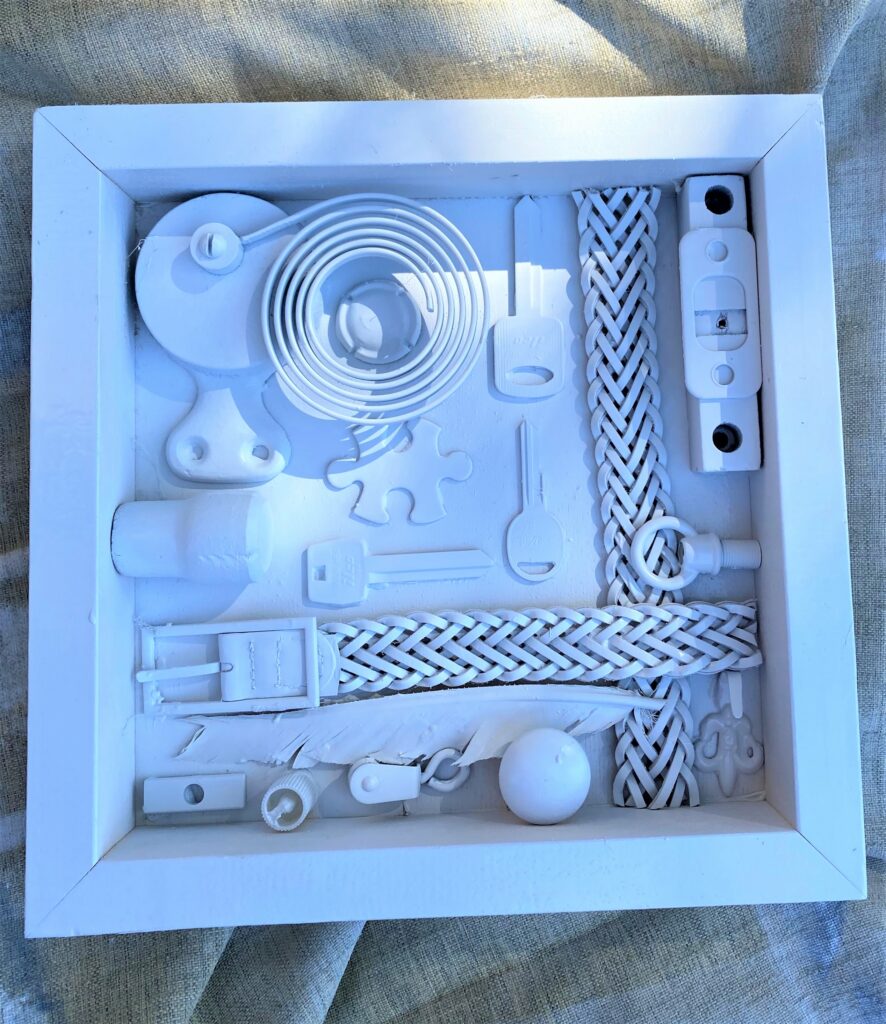
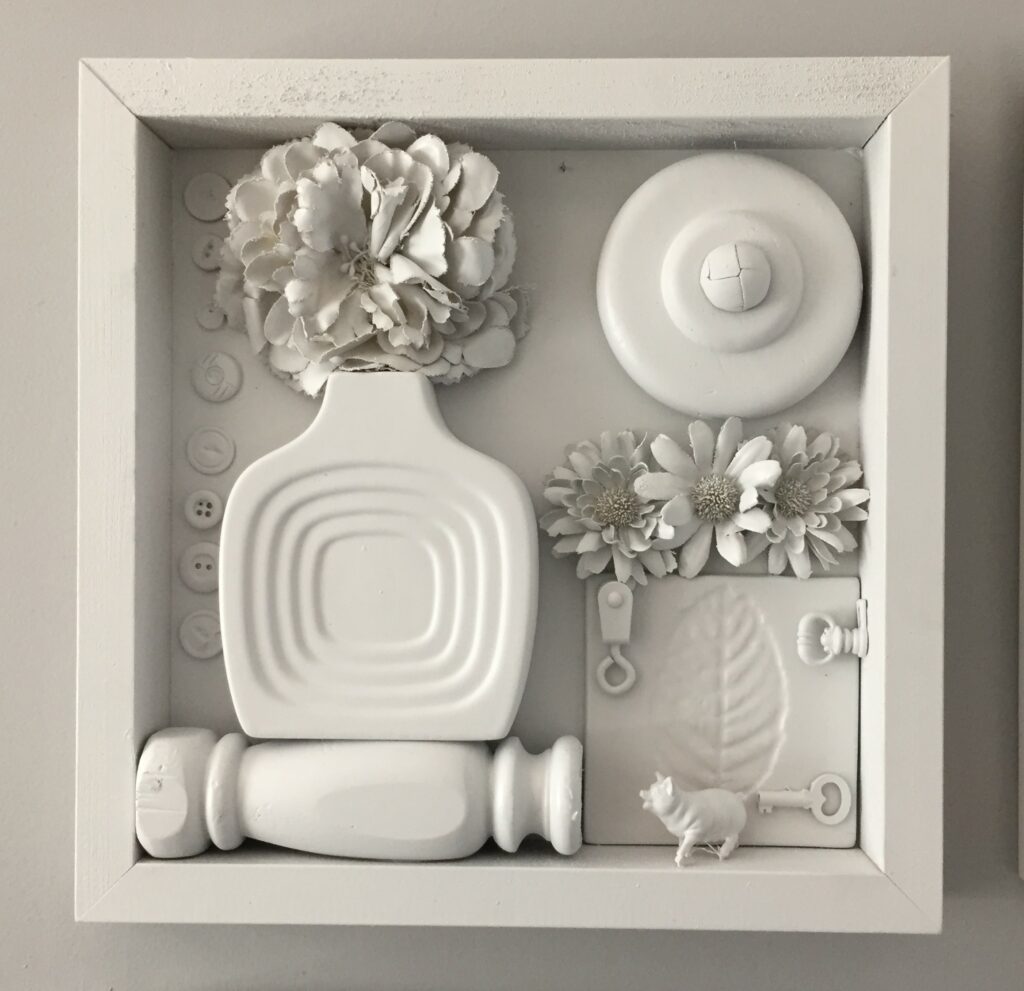
To add more whimsy and fun to your art piece/shadow box, open up your junk or catch-all drawer or turn to the box that holds all those random things. Buttons, belts parts, small springs, plastic animals, clock parts and fake flowers were among the treasures I found in my stash. Look beyond the object’s colors to focus on its shape, size and texture.
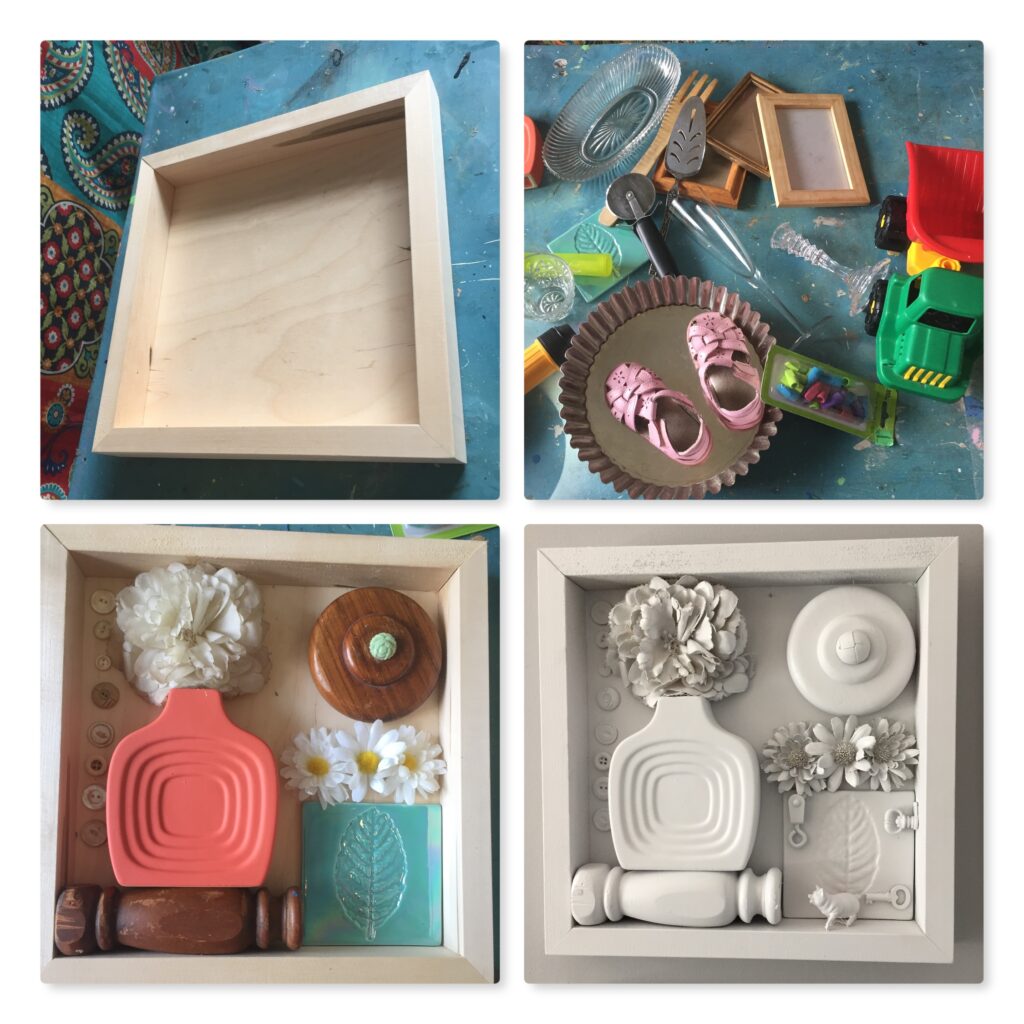
4. Arrange and glue in place
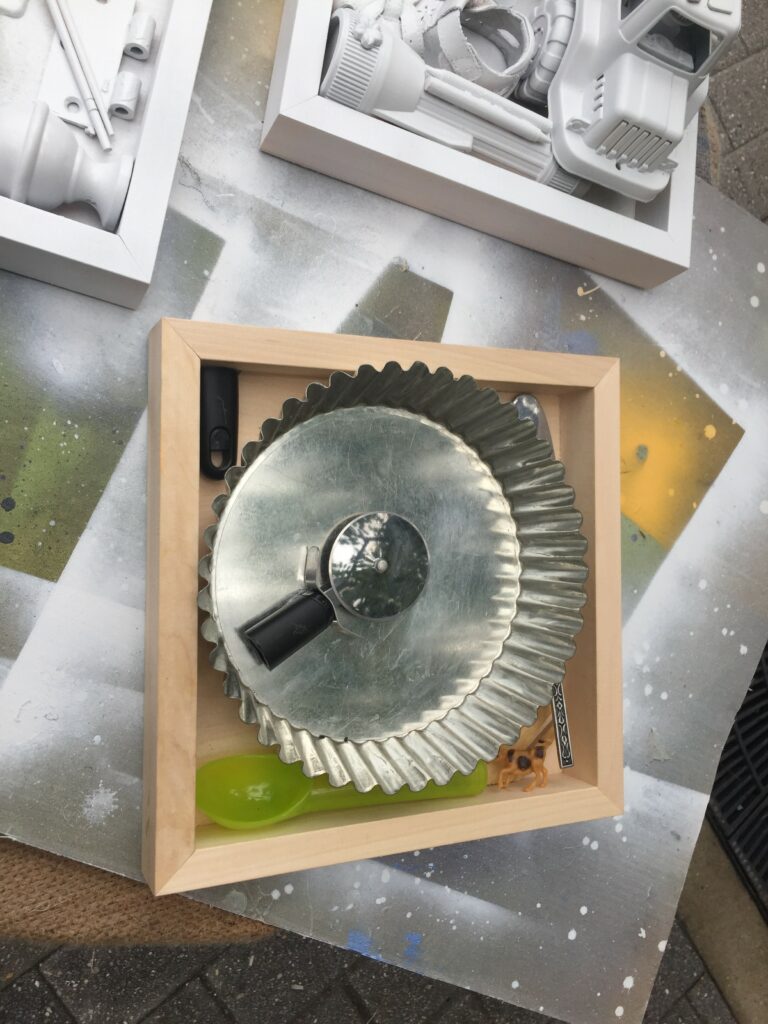
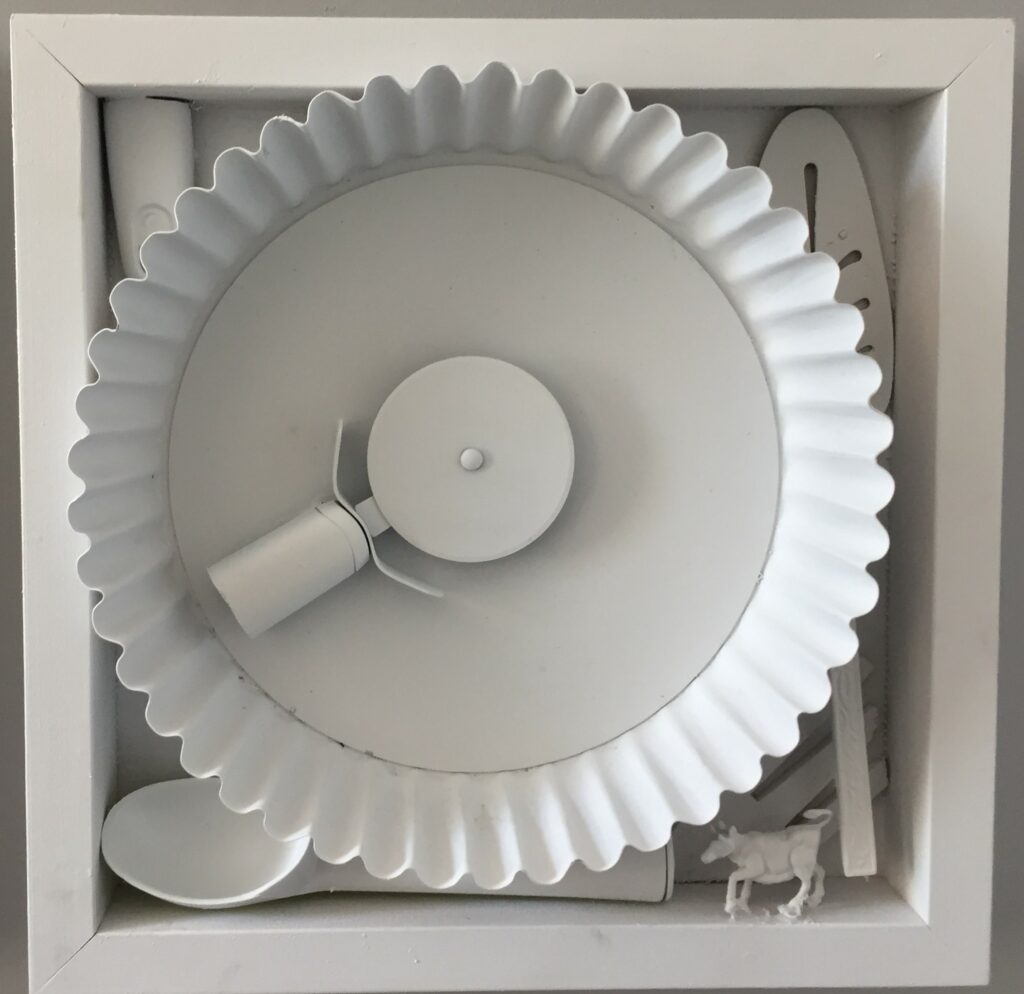
Have fun with how you position items in your box. For the one with kitchen items, I added several silk and plastic flowers that complimented the round shapes of the dish and cup. Another box had items facing both horizontal and vertical. One box had a round clock part, so I picked several other items that were circular, too, to replay that look through it. The cool thing is that you can’t go wrong!

Expert Suggestion:
This project can be totally personalized for you or the person who receives this as a gift. Do they like to play games? Add chess and checker pieces, dices, jacks, dominos, and other game items to it. Does the person like to sew? Fill it with scissors, thimbles, buttons, and other related items. Golfers? Tees, parts of clubs, golf balls all would be so fun!
- After your items are positioned in such a way that you like, take a picture on your phone as a reference.
- Using quick-drying epoxy glue, remove items, add the glue and return to its place. If you can’t recall exactly where they go, look at the pic on your phone.
- Allow the glue to dry completely.
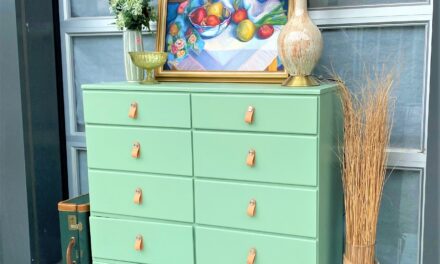
5. Spray paint to neutralize and emphasize
- Place your filled and finished shadow box outside on a drop cloth.
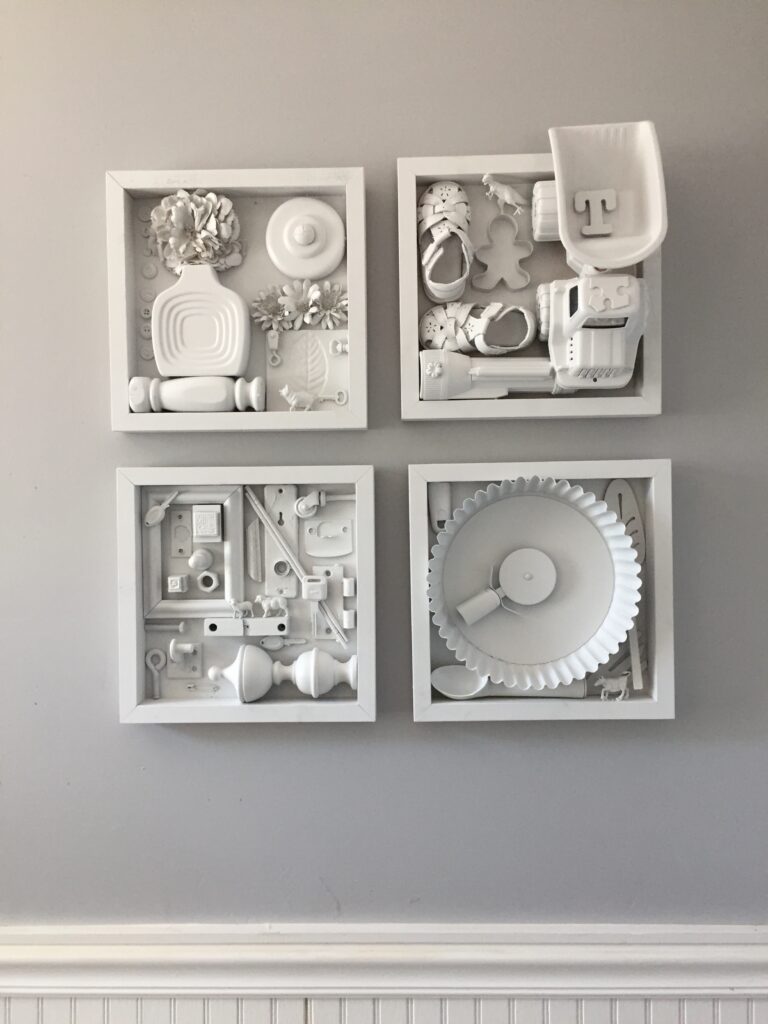
- Using white spray paint in a matte finish, give your box several light coats ensuring you get all sides of the items. You will love this step because it instantly connects all the pieces with color and emphasizes their unique shapes and textures.
- With several simple sprays, your thrift store items and repurposed pieces will look beautiful and very artsy!

Design Suggestion:
I wanted my final project to be light and airy so I selected a bright, crisp white spray paint. This color allows those seeing the boxes to focus on the items inside and not the color of the piece. Louise Nevelson, the artist who inspired this project, did many of her pieces with black which looked very cool but not very friendly to me.
If giving as a gift, you could paint it in the favorite color of the recipient or in the tone of the room in which it will be displayed. If you paint it a color and don’t like it, simply pick up a new can of spray paint and you can easily make the change for just a few dollars.
6. Hammer on picture hangers and place on your wall
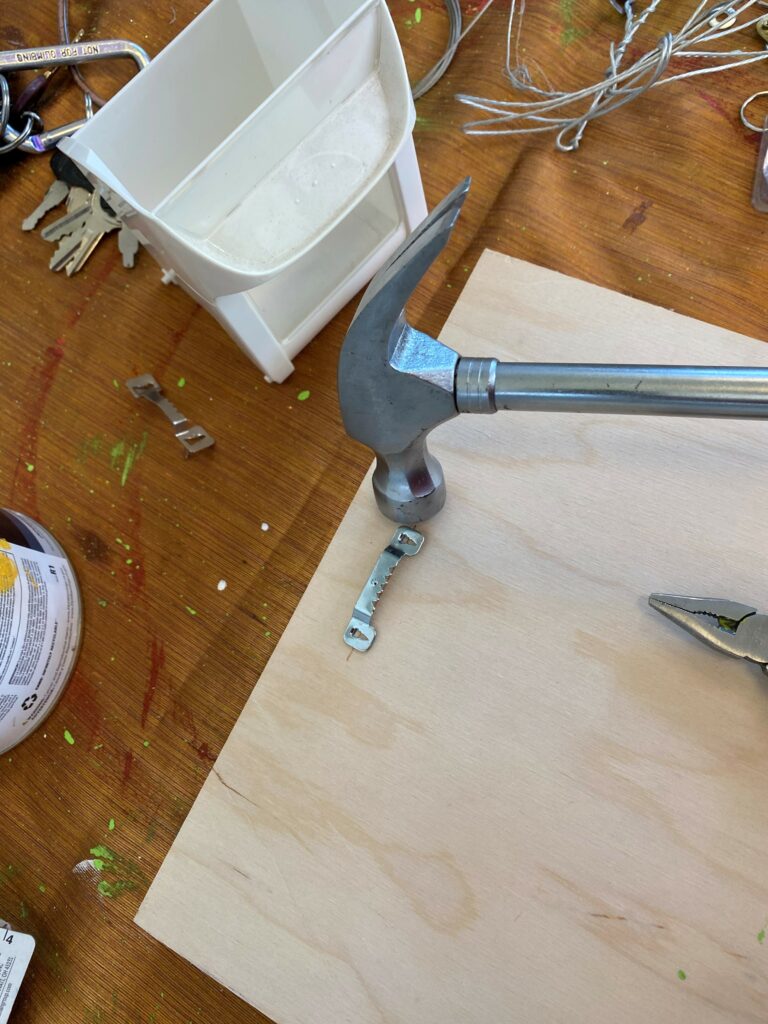

- Once the paint has dried completely, carefully turn your piece of art over and secure picture hangers with a hammer.
- Finally, place it on your wall and admire the million-dollar-looking piece of art you created for just a few bucks! What will you find to fill your art box with? Please share pics to inspire us and our fabulous followers!
No matter the time of year you do this project, I think that Punxsutawney Phil would like this project, don’t you?


Tim Kime
Artist, Motivational Speaker, Life Coach