There are certain DIY projects that bring everyone joy—and I am thrilled to say this week’s one fits the bill.
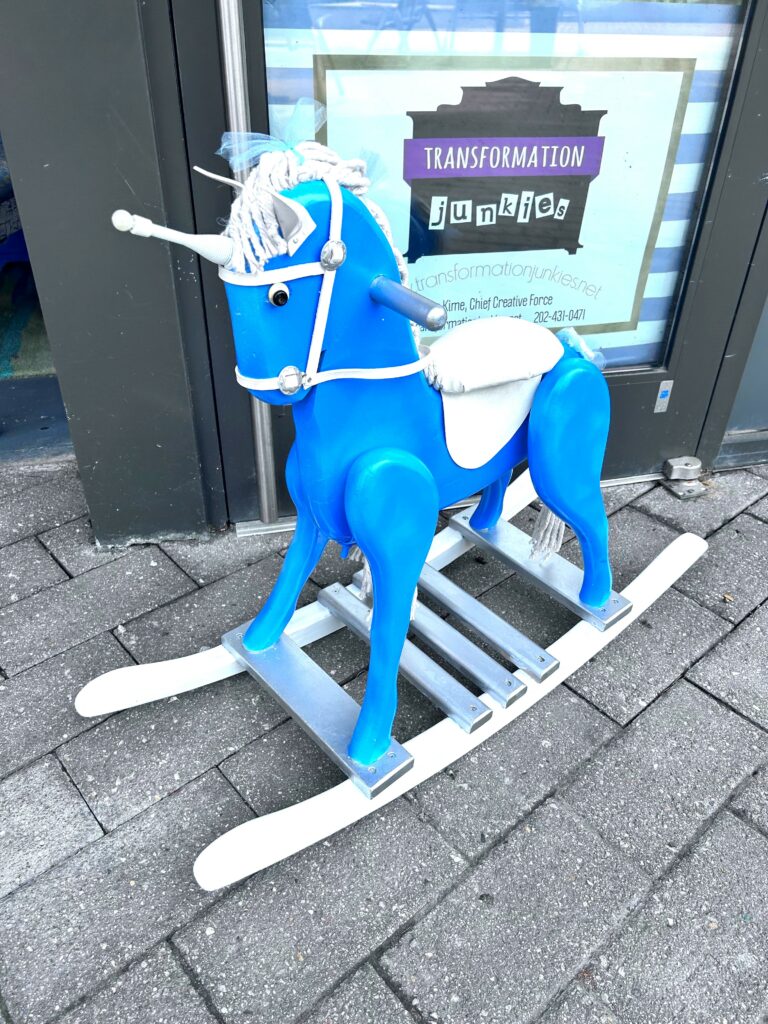
A worn and weary child’s rocking horse now struts a delightful new look and life as a rideable Unicorn. Kids of all ages will love how much fun it is to use some paint, sparkle, and vision to upcycle this toy with a vibrant new look for another generation to ride toward their dreams.
Items needed:
· Wooden rocking horse
· Spray paint in shades of blue
· White, silver craft paints
· Mop replacement part
· Buttons, ribbons, and other items to accessorize
· Scissors
· Hammer
· Painter’s tape
· Glue gun & glue sticks
· Crazy glue
· Small paintbrushes
· A cute kid!
1. Dream big & find your good at Goodwill
Consider making time to shop at Goodwill as part of your regular schedule because you are sure to find unique items that others only dream about!
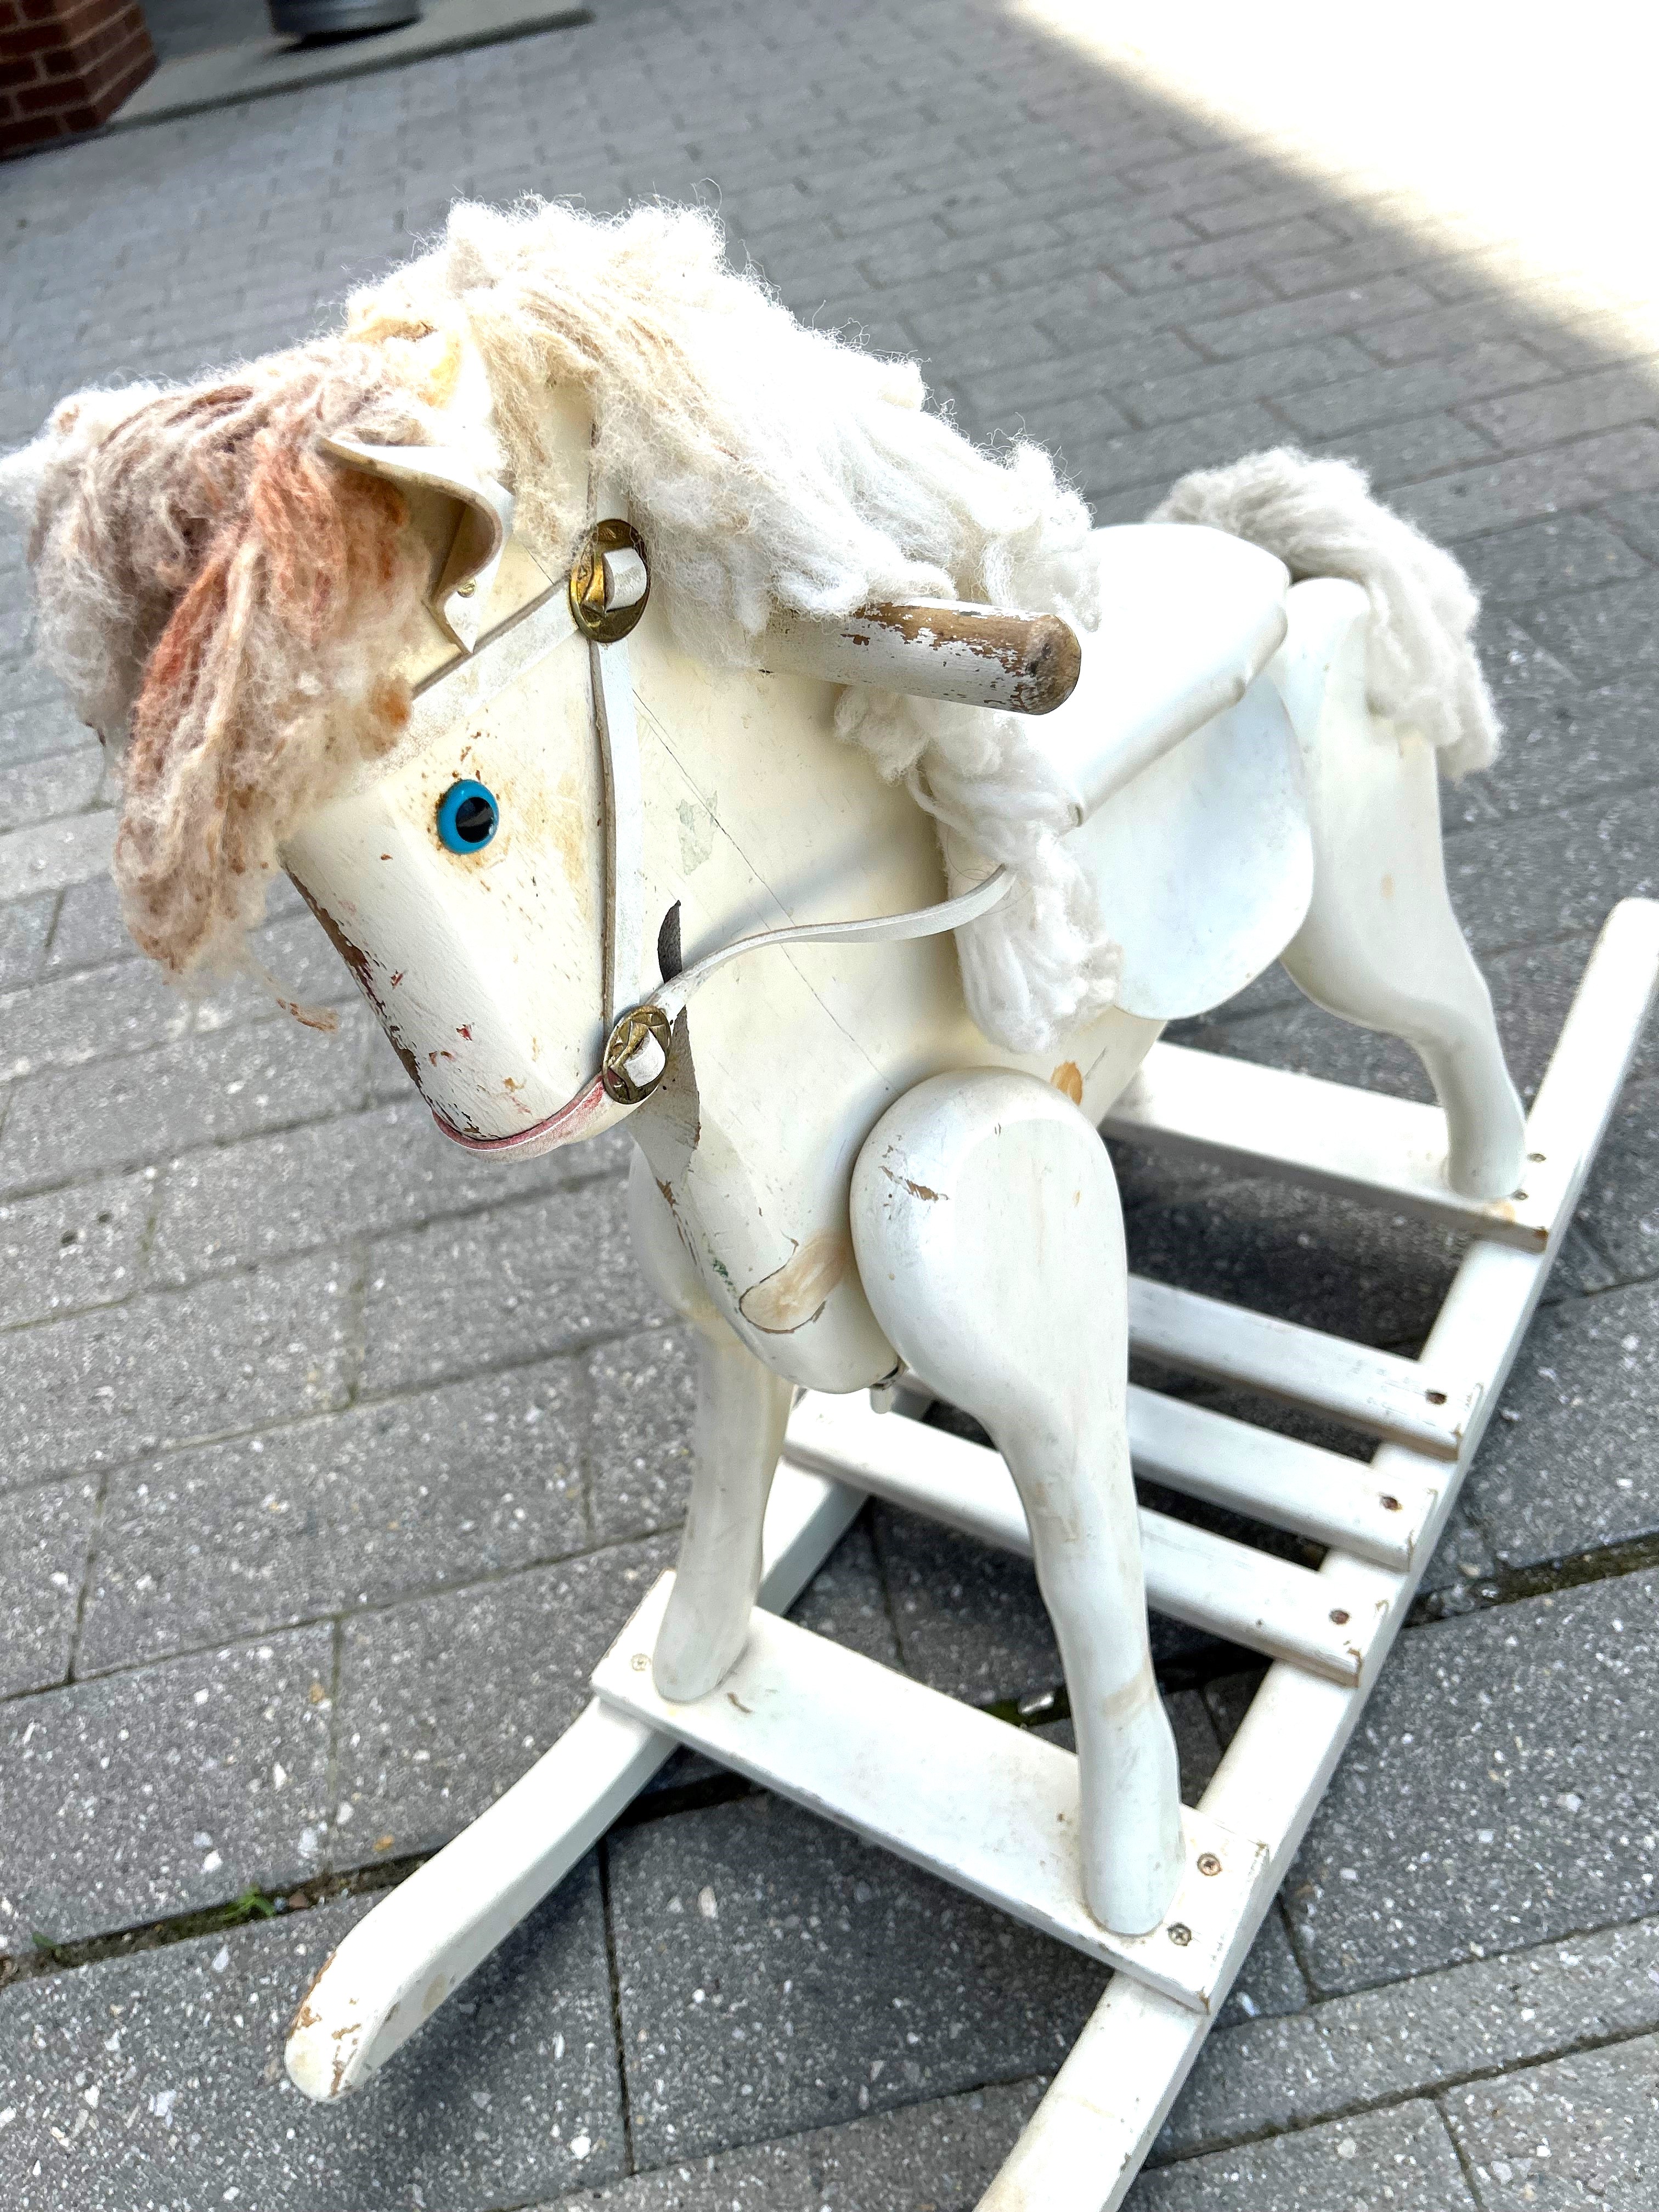
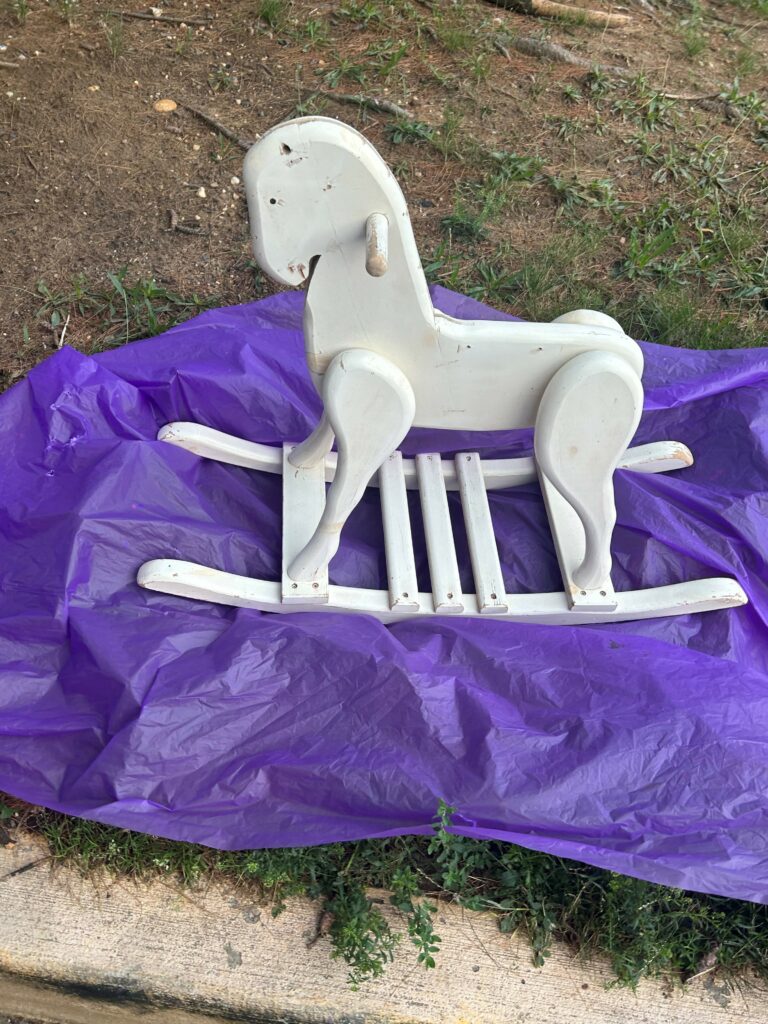
Don’t all small children hope to have their own special horse to ride as they chase their dreams and imaginations? I believe they do (or I did!), so when I saw this rocking horse, it was a must-have.
Check out your favorite Goodwill’s children’s section, which has games, balls, kid-sized furniture, and other items just for them. And if the stars are aligned, you’ll come across a rocking horse to make your own, and for a low price, that will make you see stars!
2. Remove your horse’s harness
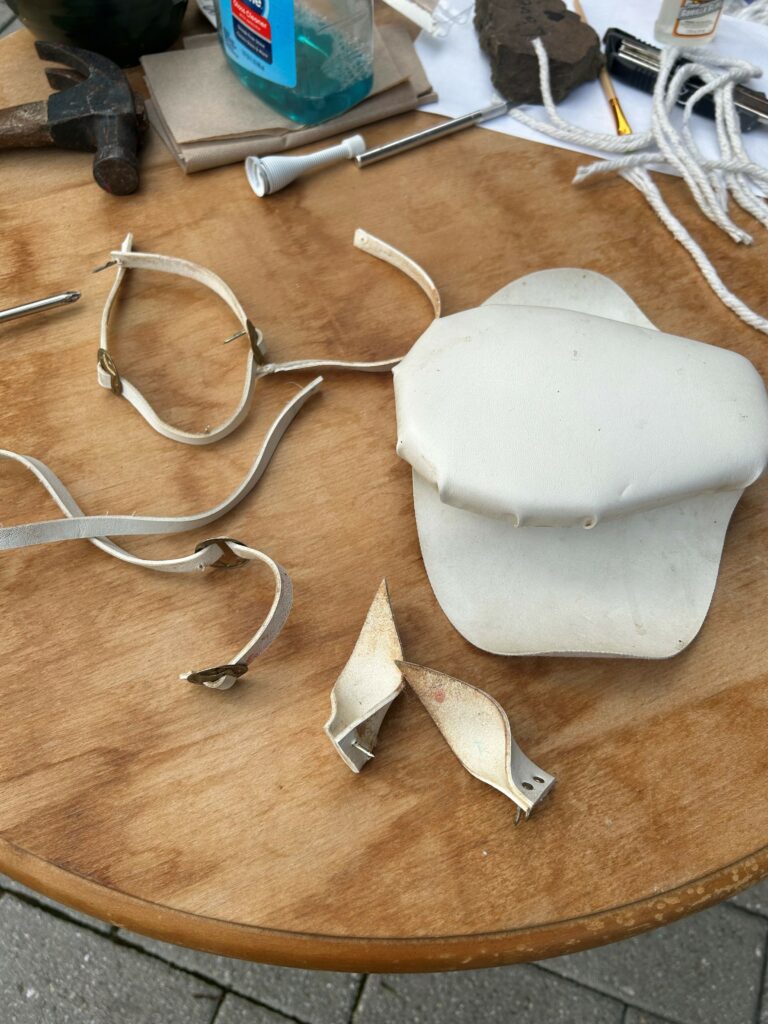
- Place your rocking horse on your workspace and start to remove any parts to be saved. This horse had a harness and saddle, which were tacked and screwed into place. Leather ears were nailed into place, too. Plastic eyes were glued on each side.
- A screwdriver was all it took to take these pieces off.
- Finally, place them in a secure spot, like a bowl or a basket, so all parts are safely together.
3. Cut its mane away
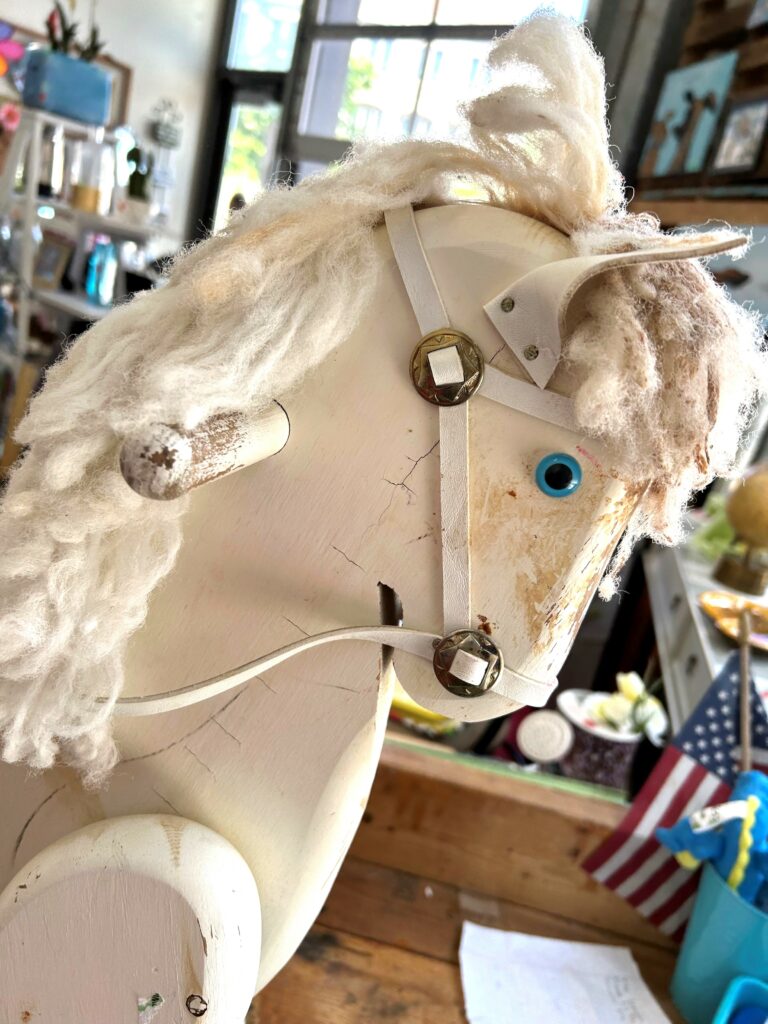
Based on the age and condition of your rocking horse, you might need to remove its mane and tail. From many years of use and after being touched by many little hands, the mane and tail were dirty and frazzled looking.
Use a pair of scissors and some pulling to get these items off the horse’s frame.
4. Spray on some sparkle
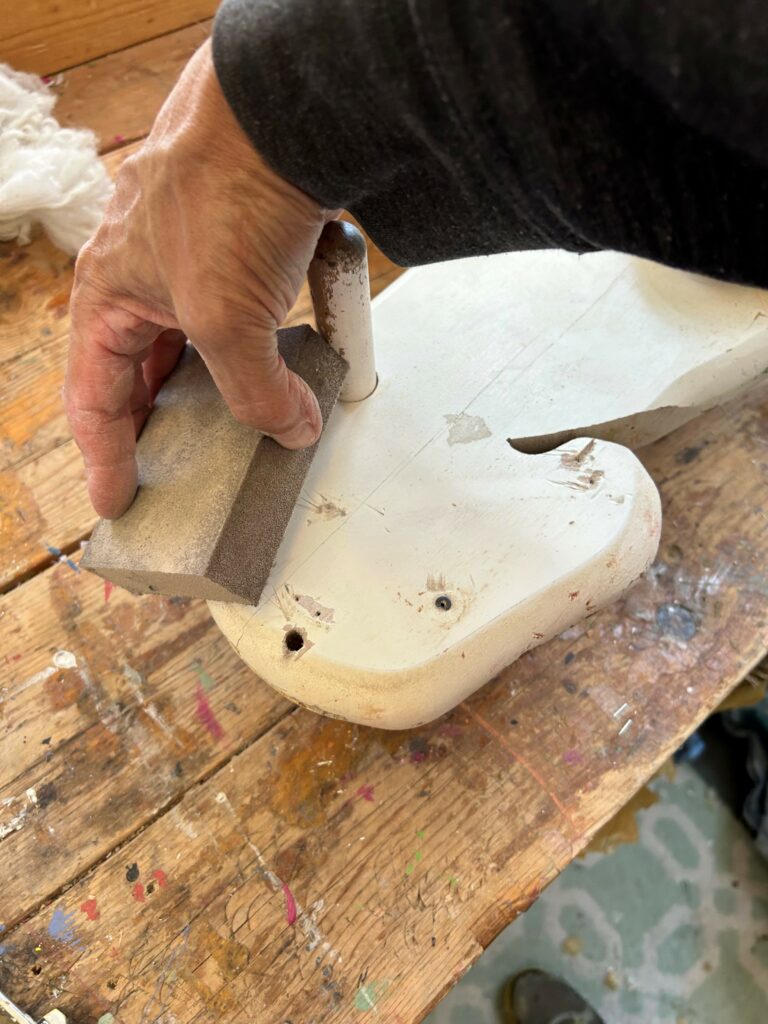
- Prep your piece for painting by giving it a good rub down with medium-grain sandpaper. Sanding blocks are a great option since they are so easy to use, so consider enlisting one to do this step.
- After a light sanding, wipe your rocking horse down with a damp rag to remove any dust or dirt created by sanding or collected over years of use.
- Next, let it dry.
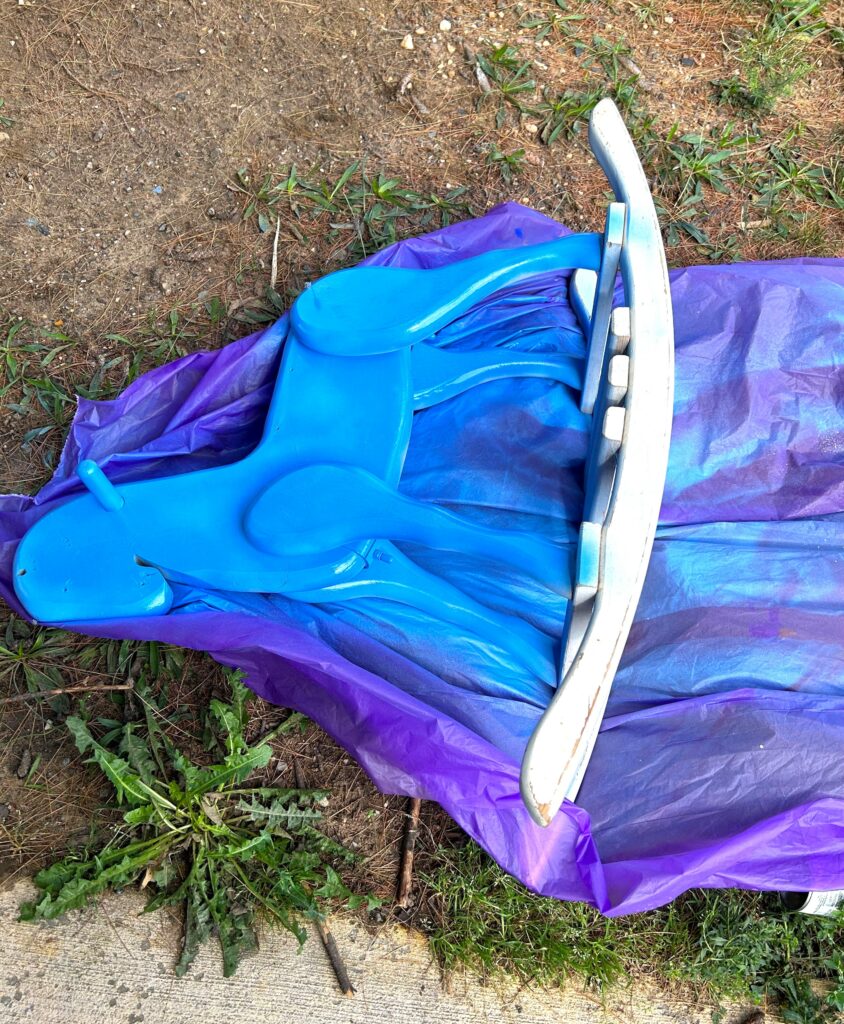
- Place your rocking horse on a drop cloth positioned outside if possible.
- Add a light layer of your colorful paint in a semi-gloss finish. A happy and friendly sky blue was selected. Choose blue, too, or consider the favorite color of the child who will receive this as a gift or use it when they visit you.
- Carefully apply several light coats of that hue. Lavender, yellow, bright green, or pink are also delightful color options.

As with any project, add a light layer of paint and move around your piece to get all sides and edges. In between coats, place your horse on its side to get all parts.
5. Brush on the brightness
After your spray-painted rocking horse has dried completely, use a smooth, craft paint brush to bring out details and add some light and love to it.
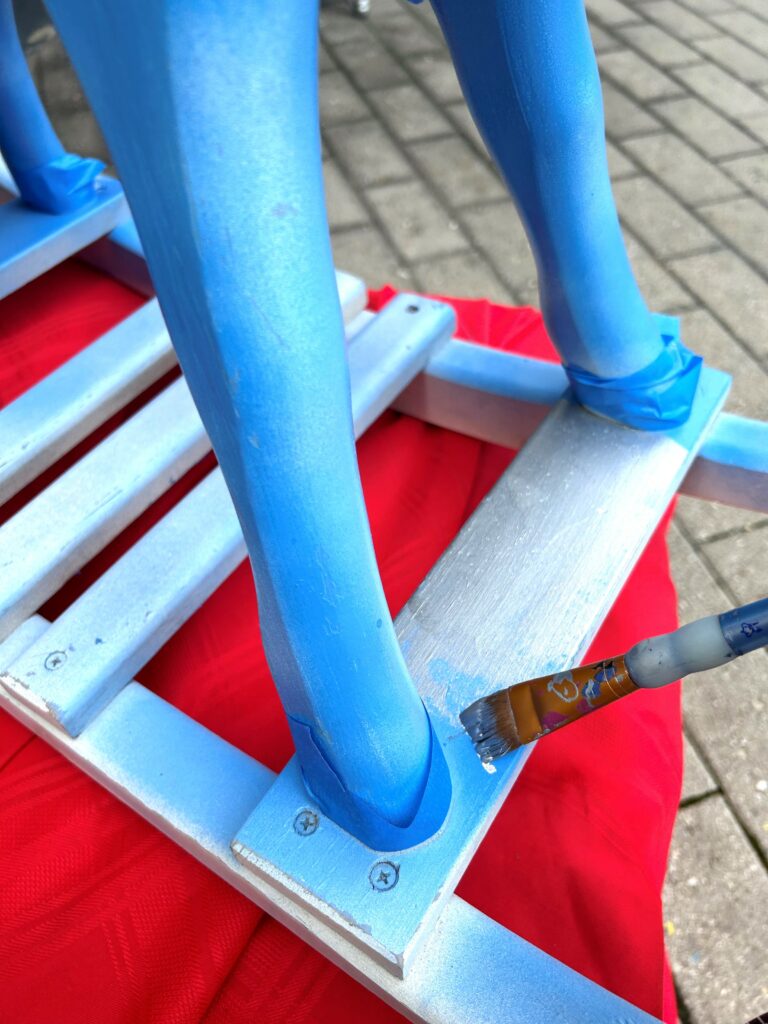
A crisp white paint was brushed on the rocking horse’s rocker/base; several parts received some shiny silver paint. The combination of blue, white and silver look magical together, don’t you agree?
You may want to protect parts of your horse’s body with painter’s tape as you brush on other colors to its various parts.
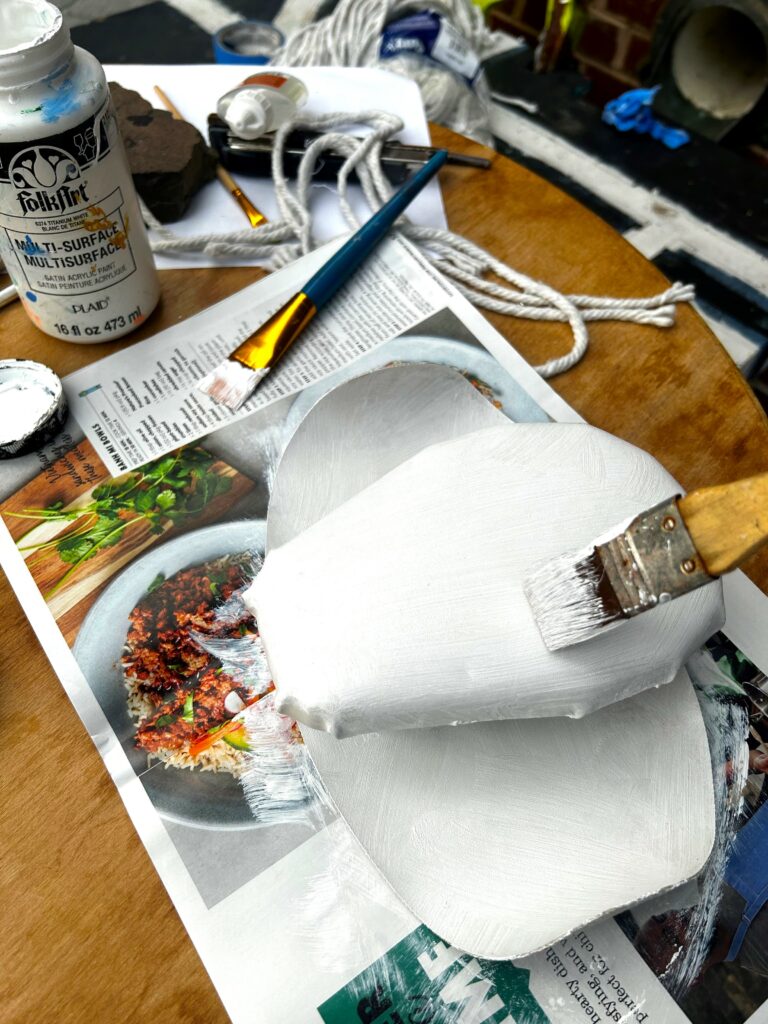
The harness, saddle, and ears got painted, too, with crisp white to make them vibrant, bright, and look like new.
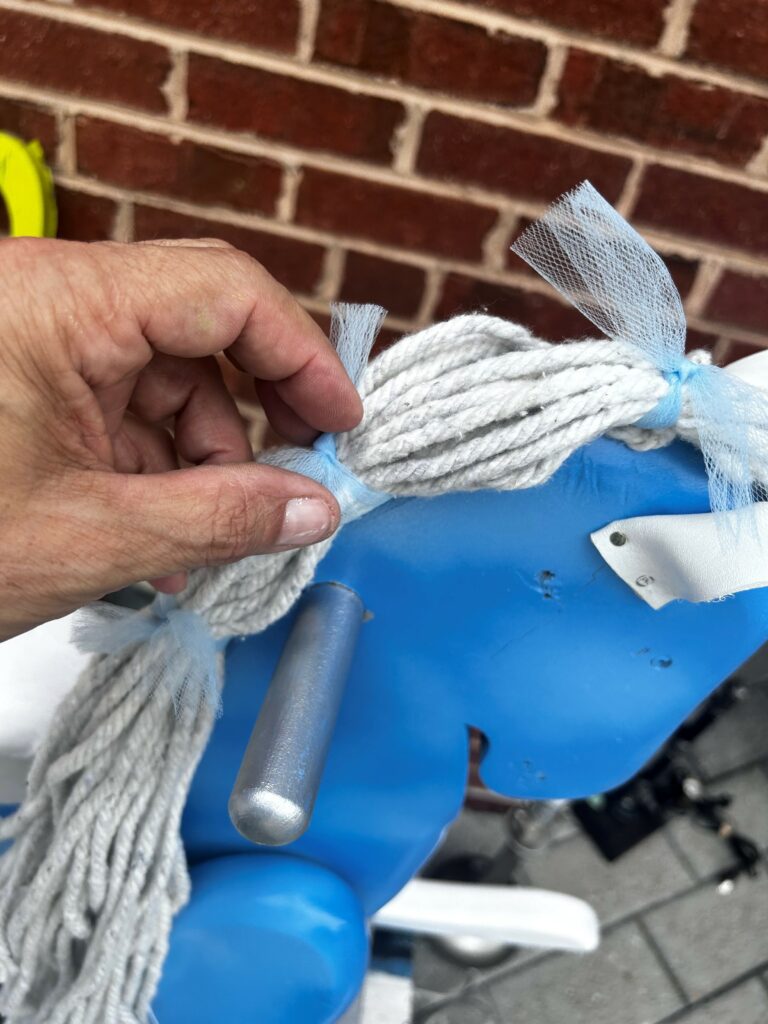
6. Glue on its new mane; add its tail, too!
A mop head replacement part was cut into pieces and carefully and lovingly put into place as its mane.
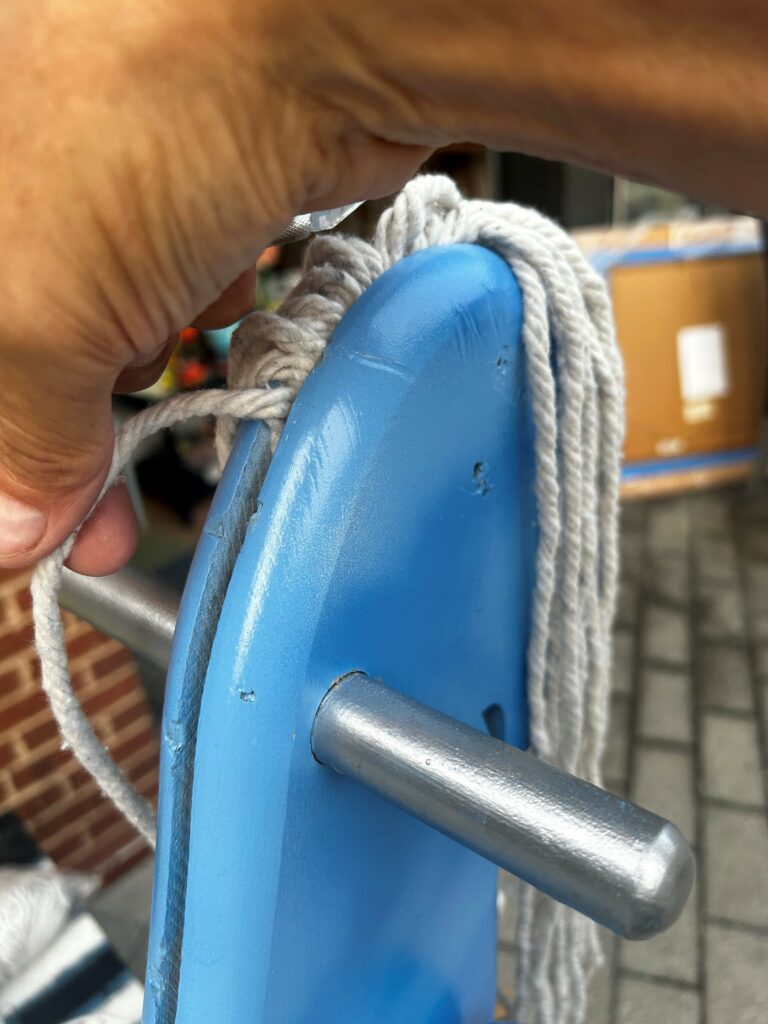
Crazy glue was used for a super secure hold, given all the little ones who are likely to pull and tug at it.
One by one, the mop strings were added. Smaller pieces were glued into place, too, on its forehead.
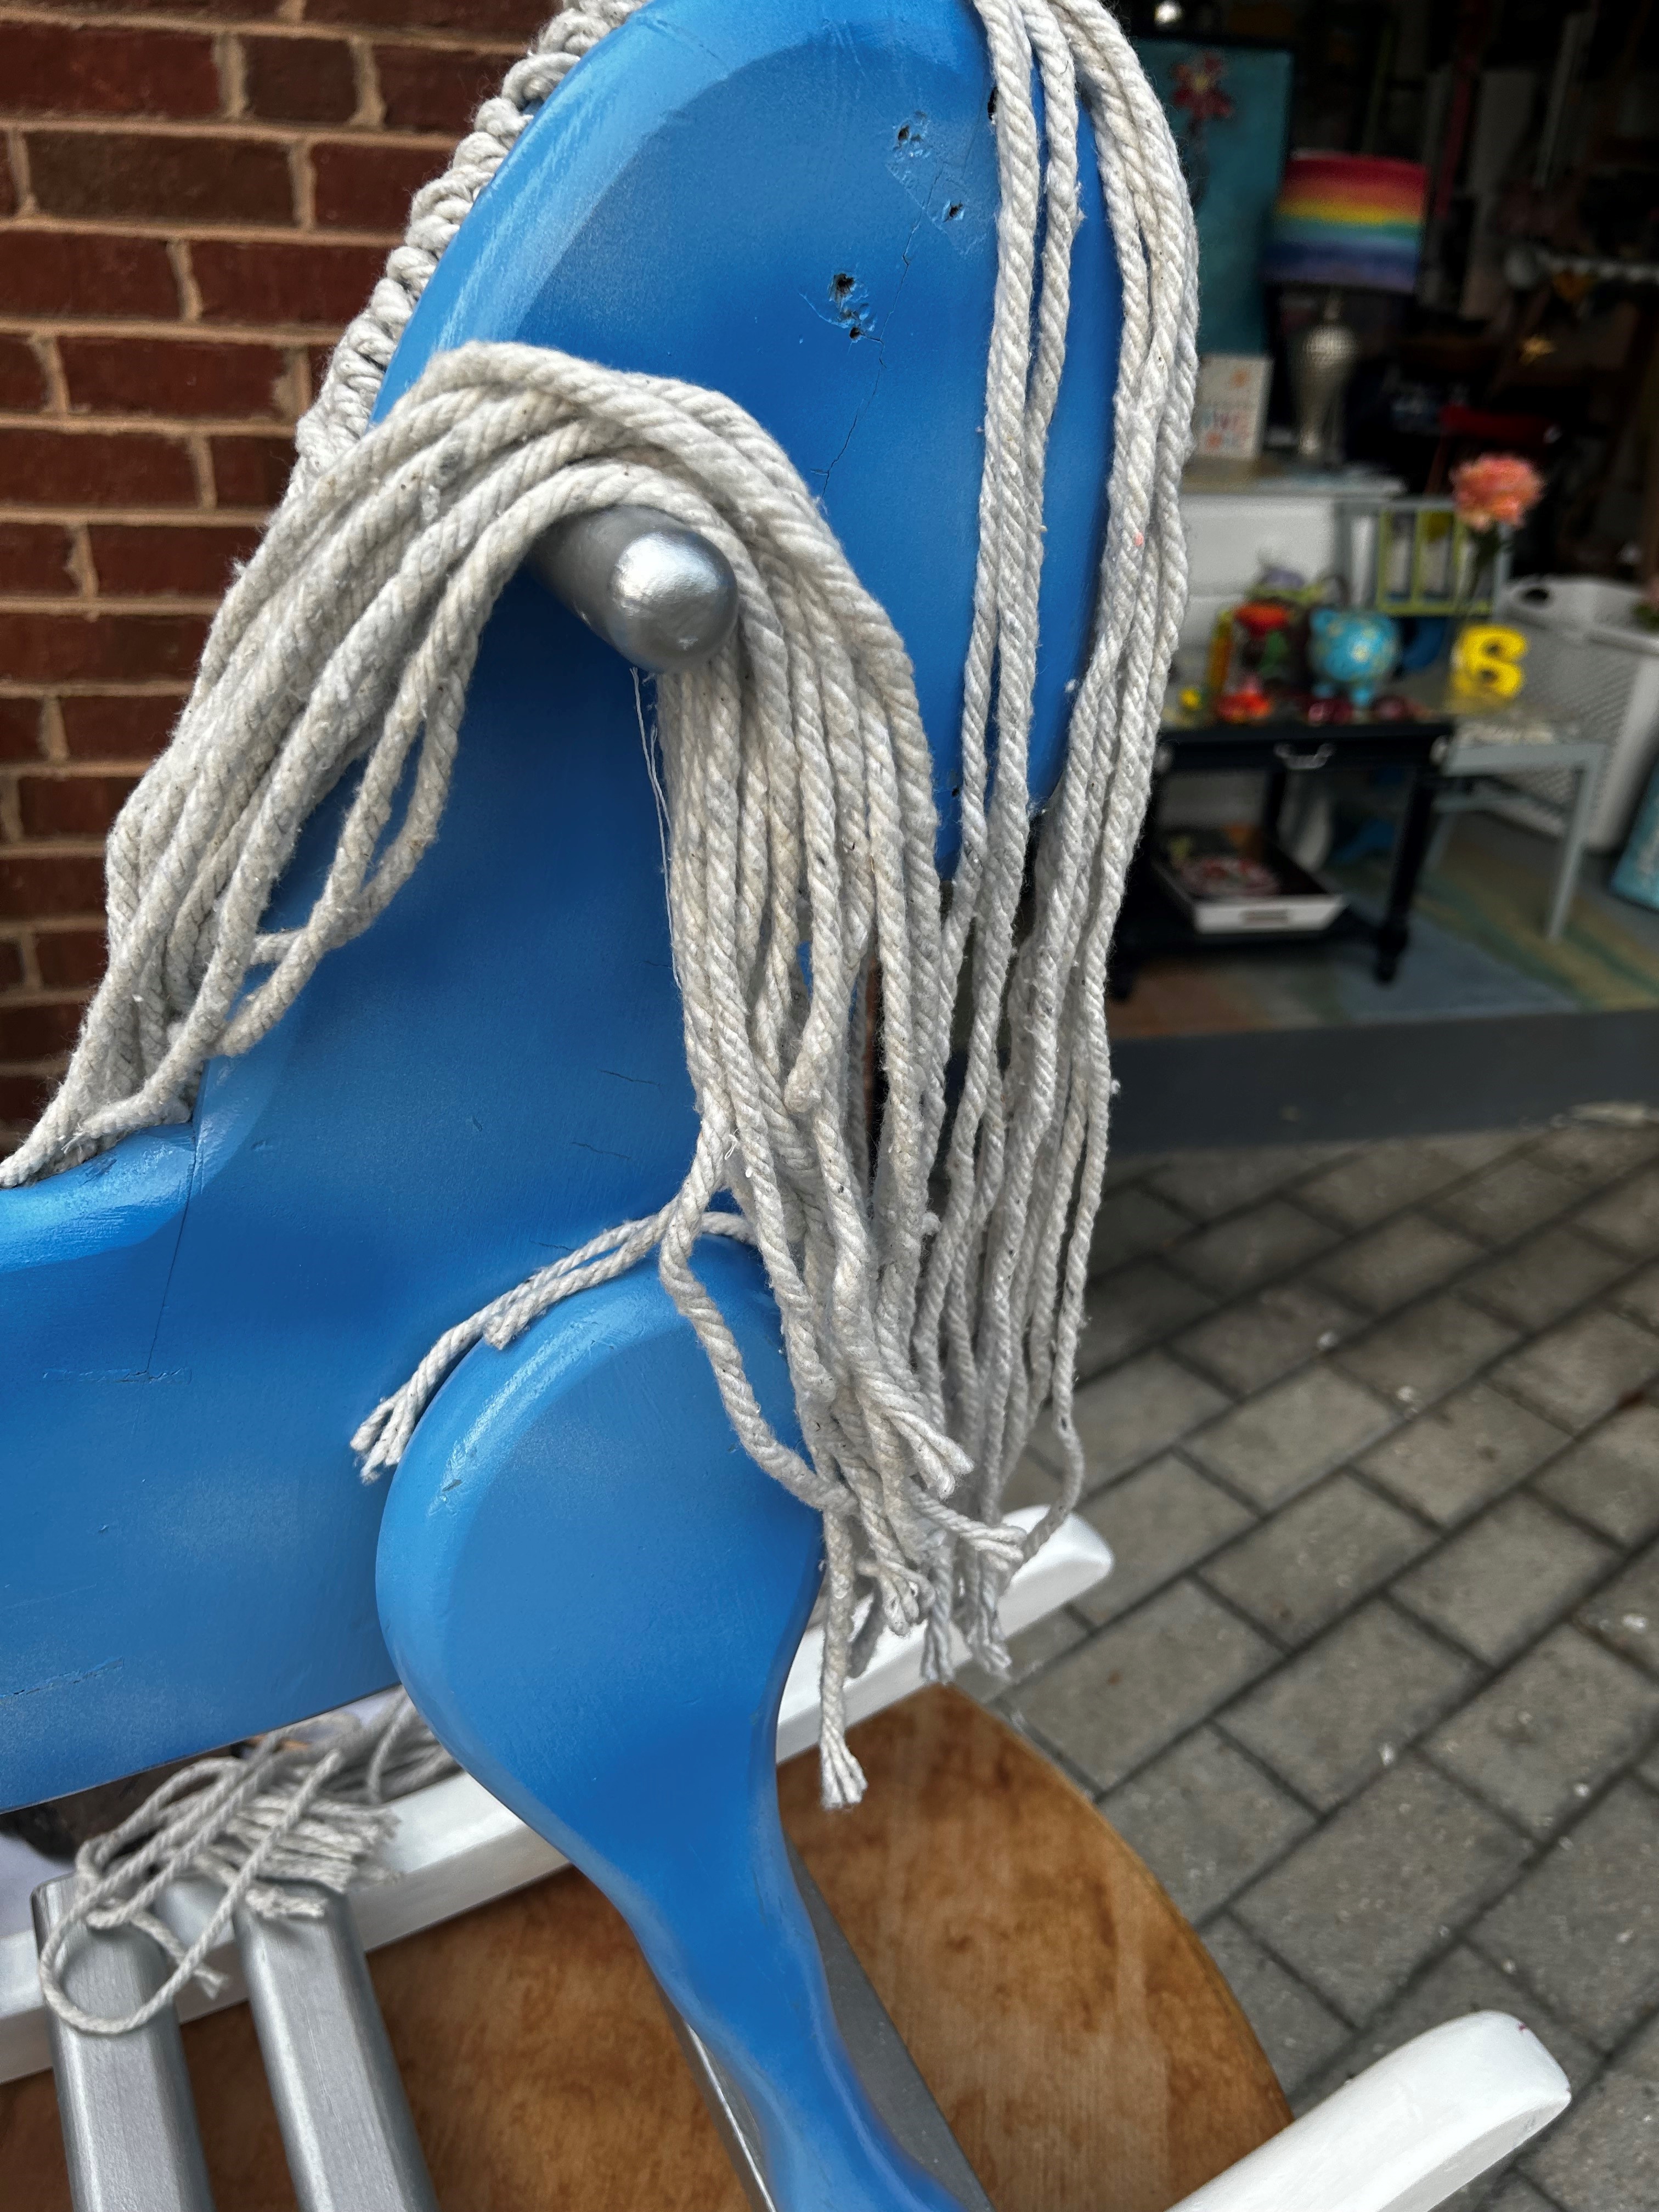
A row of mop parts was secured on its back side with glue; a second and third row were placed on top, and more glue was added.
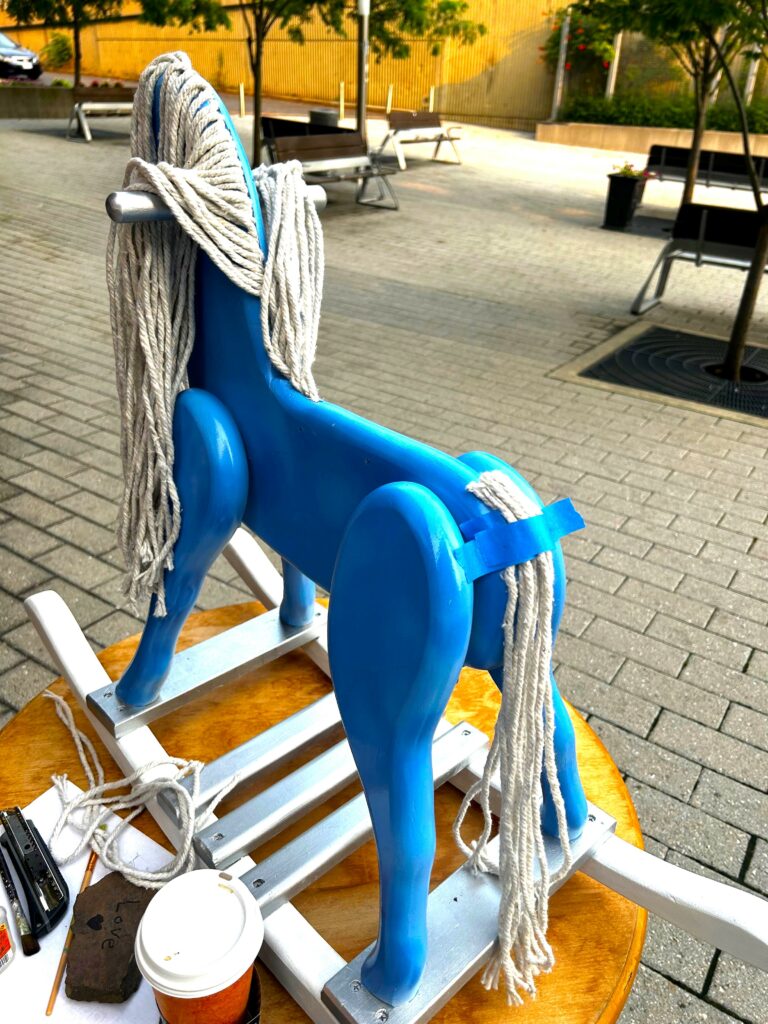
A light blue tulle fabric was cut into small pieces and then tied into the mane and tail to dress them up. Ribbon would work really well here, too.
7. Add a horn to make it a Unicorn!
To transform your rocking horse into a unicorn in an instant, screw a spring-style door stop to its forehead. You can pick a new one up at your local hardware store. These springy devices are used along the baseboard in a room to stop the door before it hits the wall and is perfect for this project because they will bend when touched. Therefore, it won’t poke or hurt the girl or boy wanting to check out this toy. My local hardware store, Annie’s Ace Hardware, has a great collection and even several in white!
I scored again, thanks to Annie’s!
As you see in the pictures, a large fake pearl from an old necklace was repurposed, too, and added to the doorstop/unicorn horn’s tip for some more sparkle!
The perfect finishing touch!
8. Reassemble
The saddle, harness, and ears were tapped into place with a hammer or secured with a screwdriver.
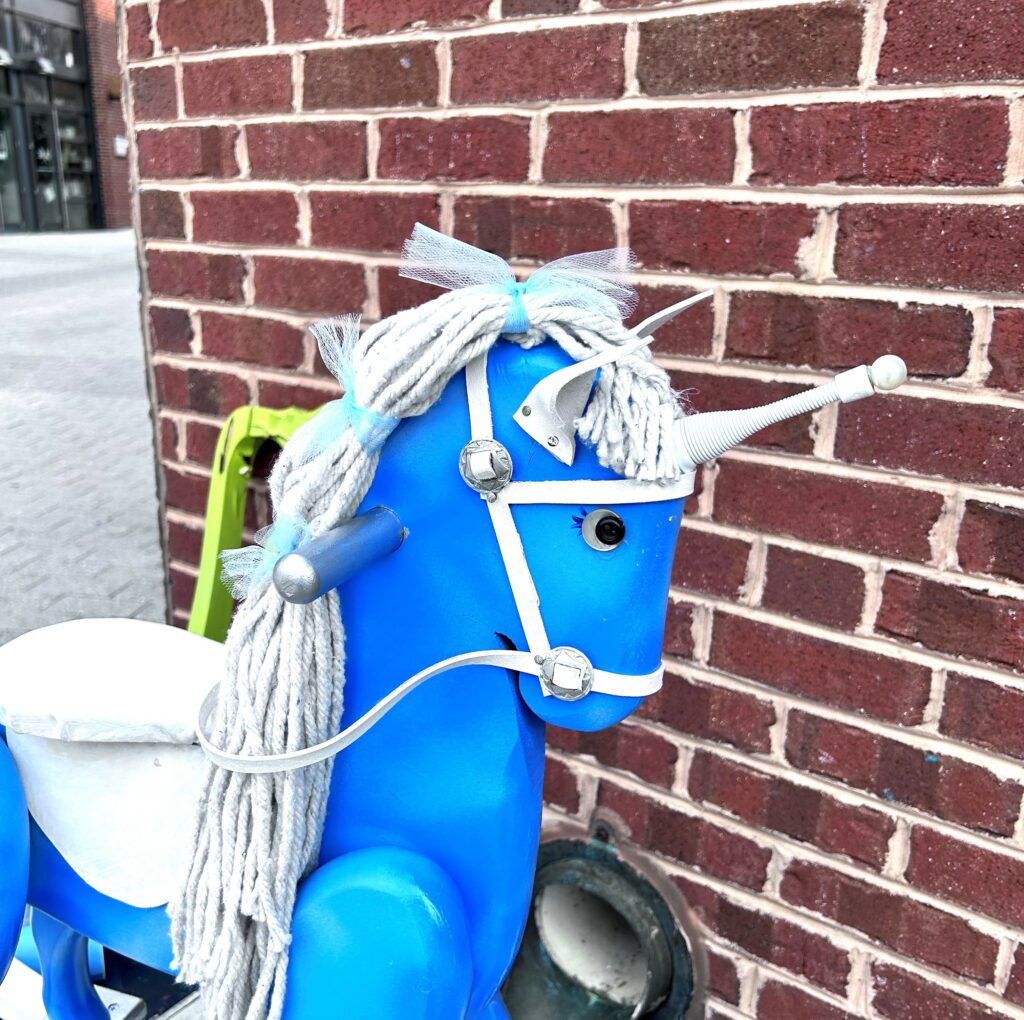
Old buttons were glued together and reused as the unicorn’s sparkling eyes. Eyelashes were added using craft paint and a finely detailed paintbrush.
9. Get ready for riders, princes & princesses, too
This bright and bold unicorn now needs a name!
Give it as a gift for a special birthday or holiday. If you have little ones who visit, keep it in your place space so they can rock away and ride towards their dreams.
Don’t have children? Celebrate the child in you by using it as a happy decorative accent piece in your living space.

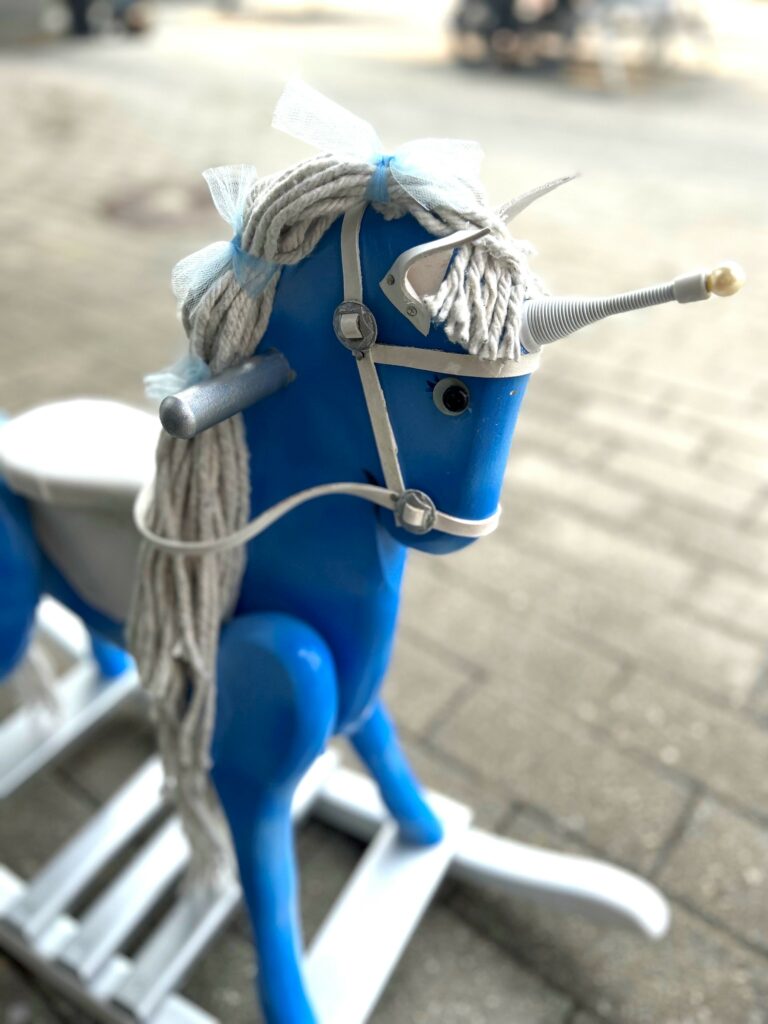
Unicorns are special creatures, and you will feel special, too, when you use your creativity to make one!
Similar Reads:
- Take a DIY Voyage by Upcycling a Suitcase Into a Side Table
- Transform Butcher Blocks into Desk Organizers
- DIY: Celebrate Earth Month and Create an Upcycled Birdfeeder

Tim Kime
Artist, Motivational Speaker, Life Coach

