Get ready to get back-to-school cool by turning a butcher block into a desk organization station! This craft is ideal for your student, home office space, or your kid’s arts and crafts supplies. These also make great gifts, especially when you pick a theme that matches the recipient’s favorite hues or school colors.
Ability level: Moderate
Age Level: Teens and adults
Items needed:
- Wooden knife block
- Spray paint
- Drill
- Empty soup cans or other metal containers
- Small wood screws
- Scrapbook or other paper
- Modge Podge
- Scissors
- Painter’s tape
- Additional options like clothespins, pipe clamps, small hooks
Time requirement: 2 hours (not including paint and Modge Podge drying time)
Cost: Approximately $10 each
- $3 per knife block
- $5 per can of spray paint (lots left over!)
- $5 for Modge Podge (lots left over!)
- $.50 for clothespins, pipe clamps
- $0 for old cans, tins
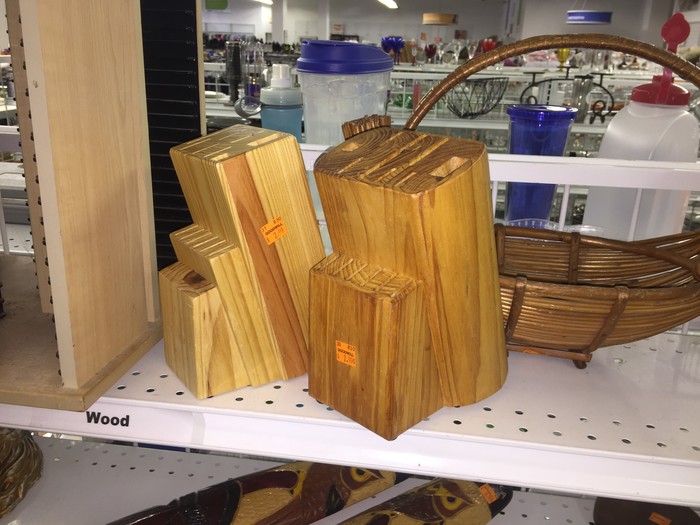
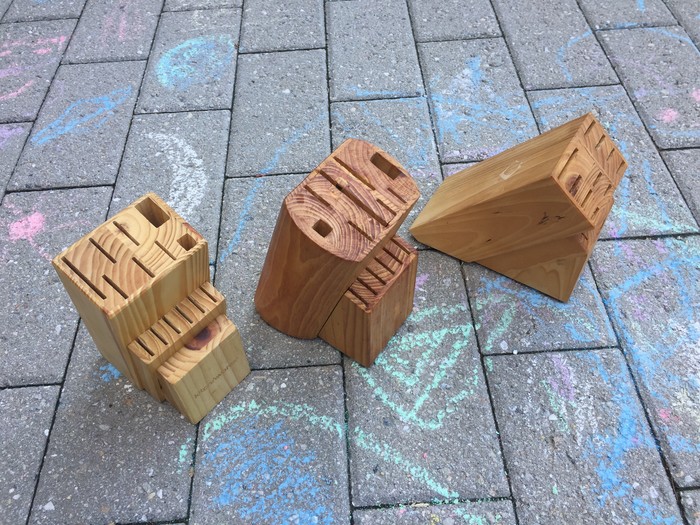
Step 1: Hunting Time
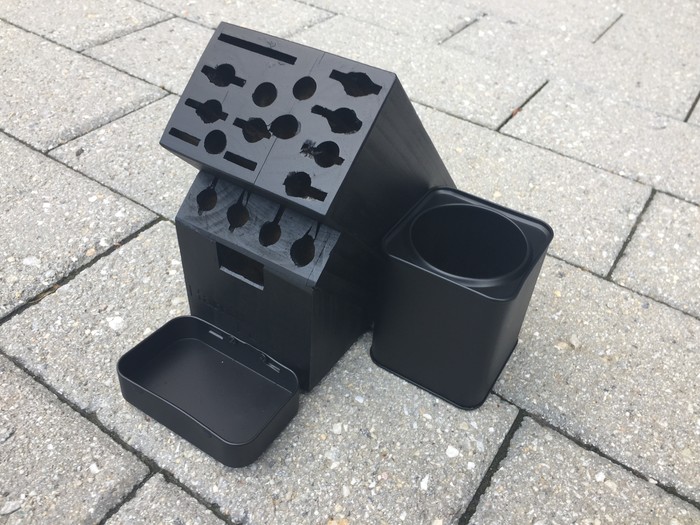
Every Goodwill retail store has an aisle full of baskets and wooden items. Waiting there will be a variety of butcher blocks that look a little lost without any knives or tools in them. These make a great, solid base which is ideal for this fun transformation.
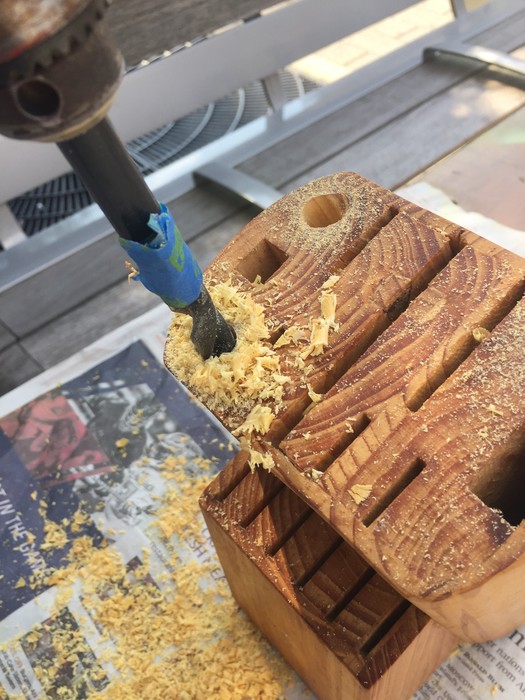
Step 2: Drill in the transformation
To ensure all of the holes you drill are the same depth, place a piece of painter’s tape on the end of the drill bit where it goes into the drill. Remember, to put on your goggles or protective eyewear before you begin drilling. With a large-sized drill bit (3/8 or bigger) drill holes in the place where there are currently slits used to hold knives.
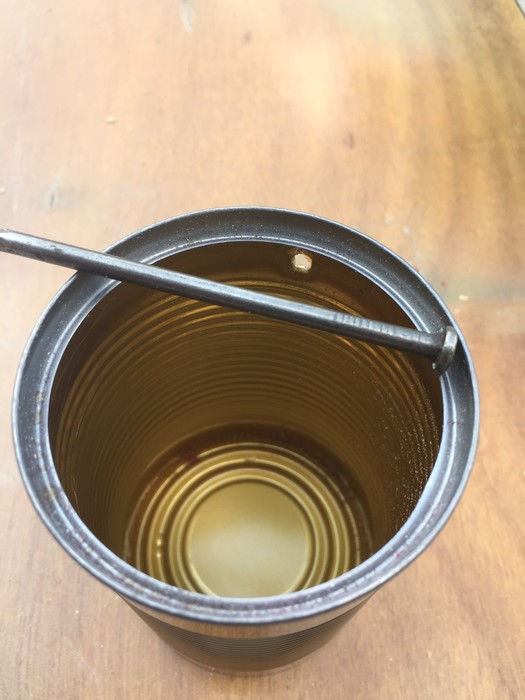
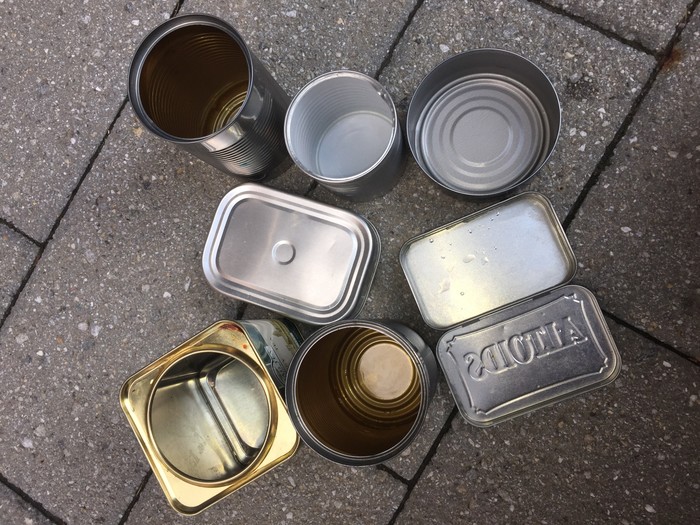
Step 3: Screw on additional containers
To give additional storage options, use empty soup cans or other small metal containers. For my project, I even used an Altoids box!
Place the can on its side and with a hammer and nail, create a hole that will be used to attach it to the knife block. Position the can next to the block with the hole created by the nail so that it is flush against the wood. Next, use a Sharpie to mark the hole. While using a much smaller bit, drill a small hole. Grab your screwdriver and screw in a wood screw to secure the can/container to the block.
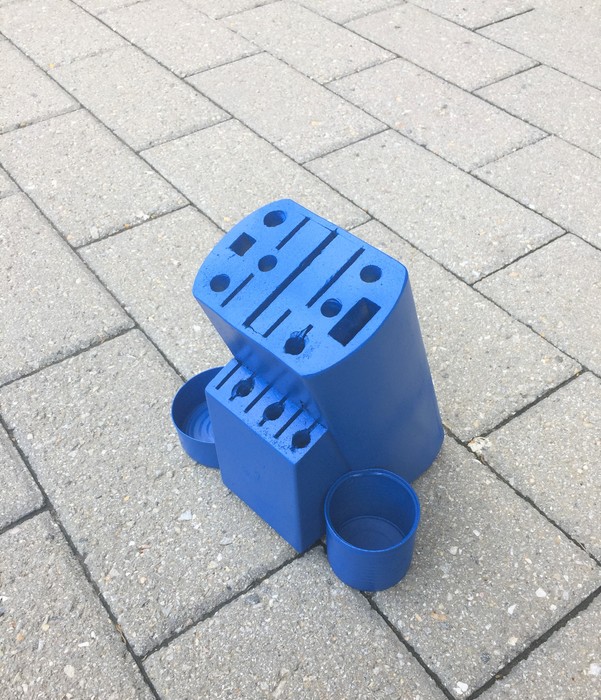
Step 4: Spray paint connects pieces
Place your knife block with the attached cans on a tarp outside or in a well-ventilated space. Add a light coat of spray paint over the entire piece. Be sure to add a layer of paint on the inside of the cans, too. Let it dry, then place it on its side while you add another light layer. Repeat as needed to ensure solid coverage.
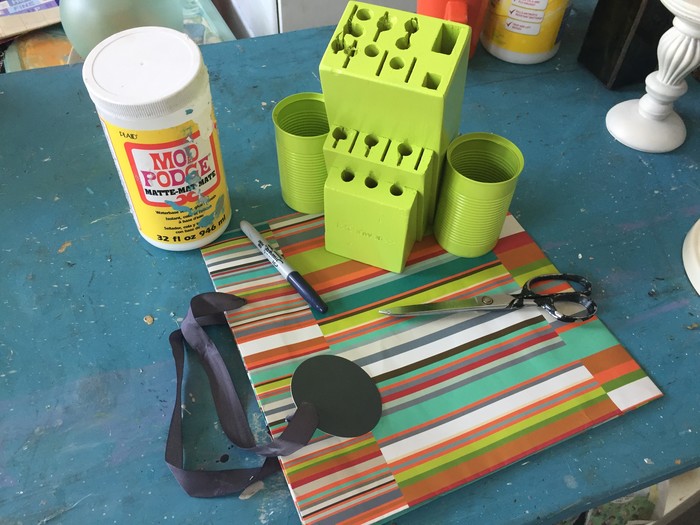
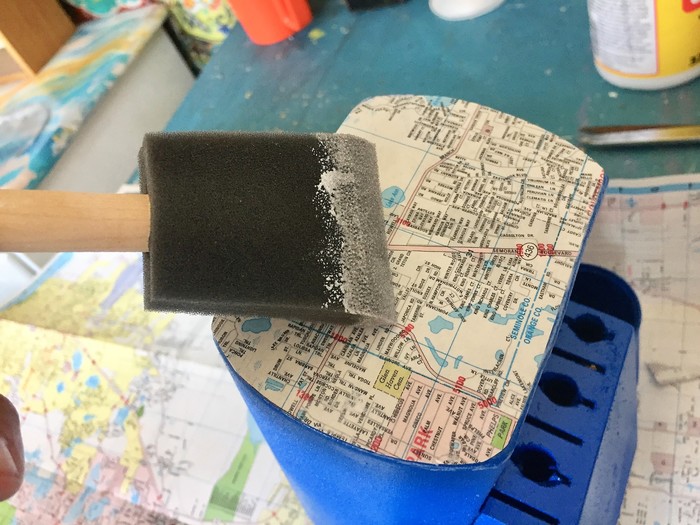
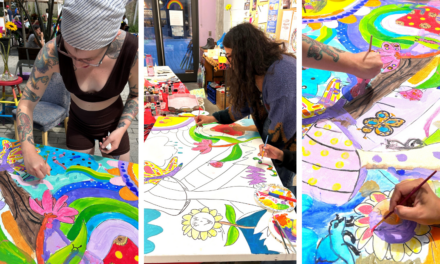
Step 5: Paper hides old slots
To mask the old knife slots and to give the piece a polished look, trace and cut a piece of paper (maps, craft paper, and gift bags are fun options) to place over any of the surfaces where you drilled. Use Modge Podge to adhere the paper to the piece; brush on a light layer to the surface. Next, place on your paper and add another layer of Modge Podge. Let this dry.
Step 6: Pop out holes
With a screwdriver, puncture the paper over the areas where you drilled the holes. Based on the thickness of the paper, you are likely able to feel the holes beneath. You may want to use a sharp craft knife to trim away any access paper from the holes.
Step 7: Add additional storage accessories
Consider adding clothespins to hold small papers and notes or hooks for a place to hang keys. Use your drill and wood screws.
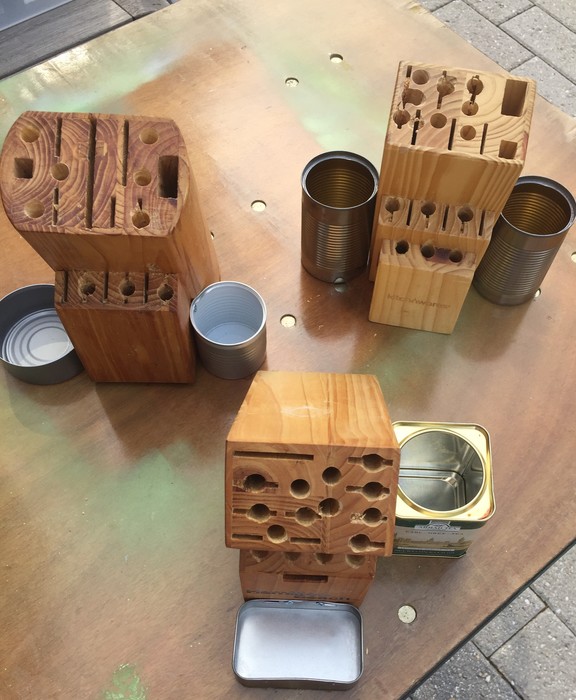
Step 5: Place in your workspace!
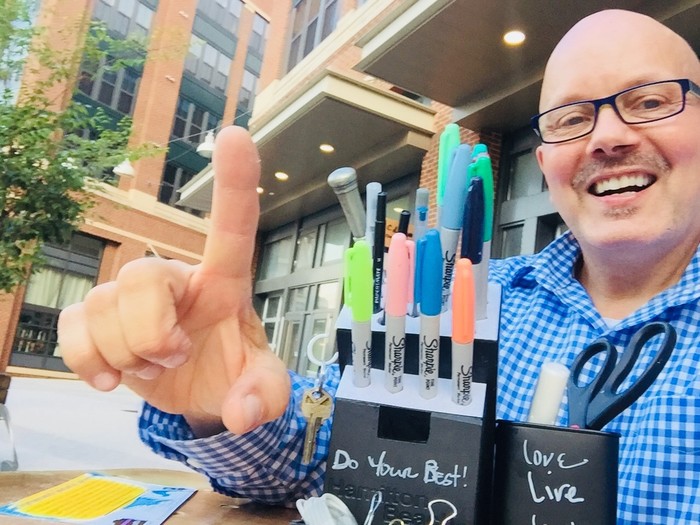
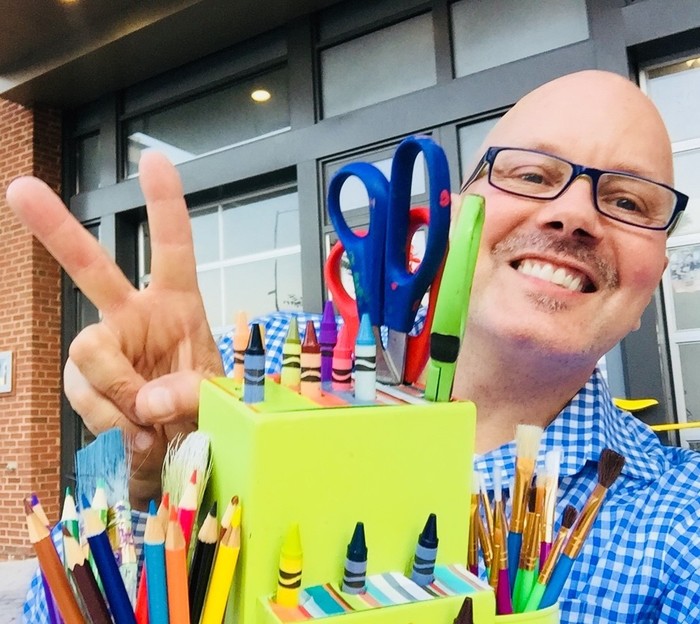
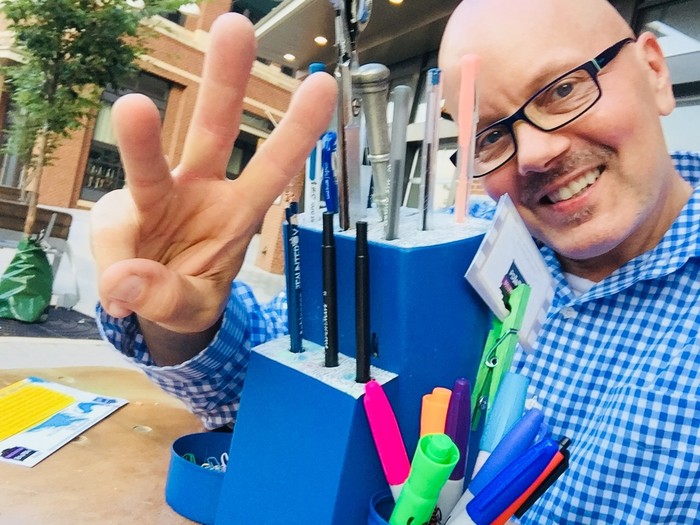
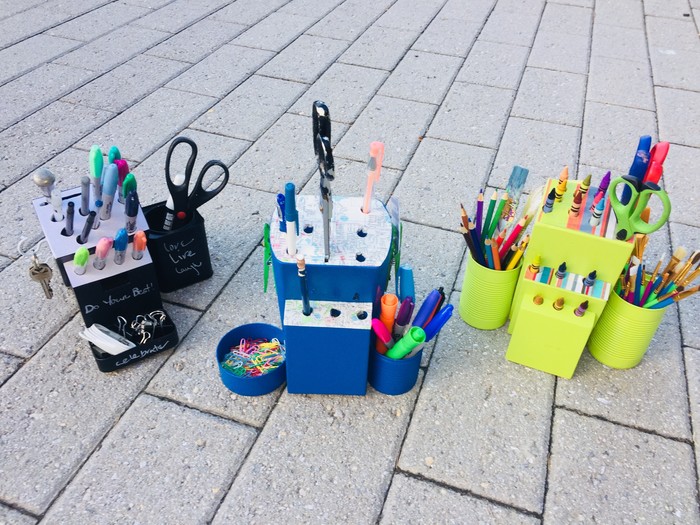
Based on how you will use this creative organizer, add items now. One of my options holds kid’s art supplies. The second is ideal for your home office as a place for paper clips, pens, letter openers, and more. A third, painted with chalkboard paint, gives you a space to write messages and reminders. Though this repurposed project no longer holds knives, it certainly is sharp!
Tim Kime is an artist, life coach, connector. He is President of Kime Leadership Associates offering executive coaching, meeting facilitating and motivational speaking. He is also Chief Creative Force of Transformation Junkies which upcycles furniture and other household items into functional works of art. He combined his two passions—unleashing the potential in people and transforming items with the launch of the Art of Possibilities Workshops. These workshops are part upcycling, part dreaming, part goal setting.