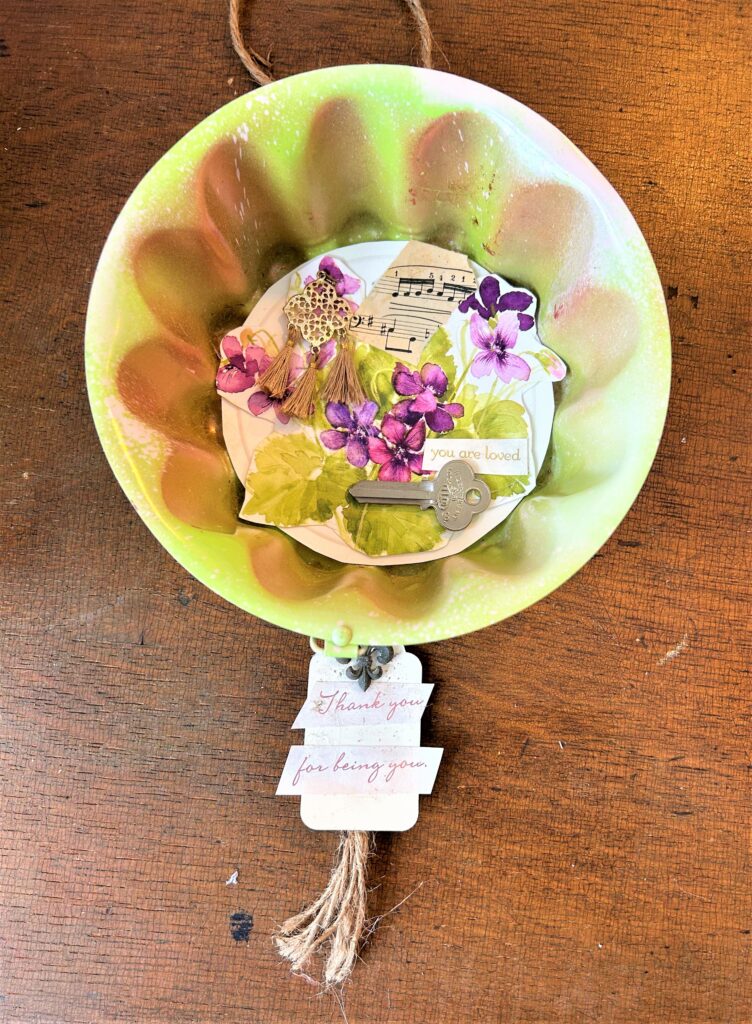
Here’s a DIY riddle: What do a jello mold, picture frame, house key, and calendar have in common? When combined, they make beautiful art pieces, perfect for Spring!
There’ll be no joking, only lots of creating when you pull together thrifted picture frames with parts of old cards and calendars and add in keys, jewelry, and buttons. These seemingly random items, often tossed aside, come together as lovely collages that make wonderful gifts to share or to keep for your home or office.


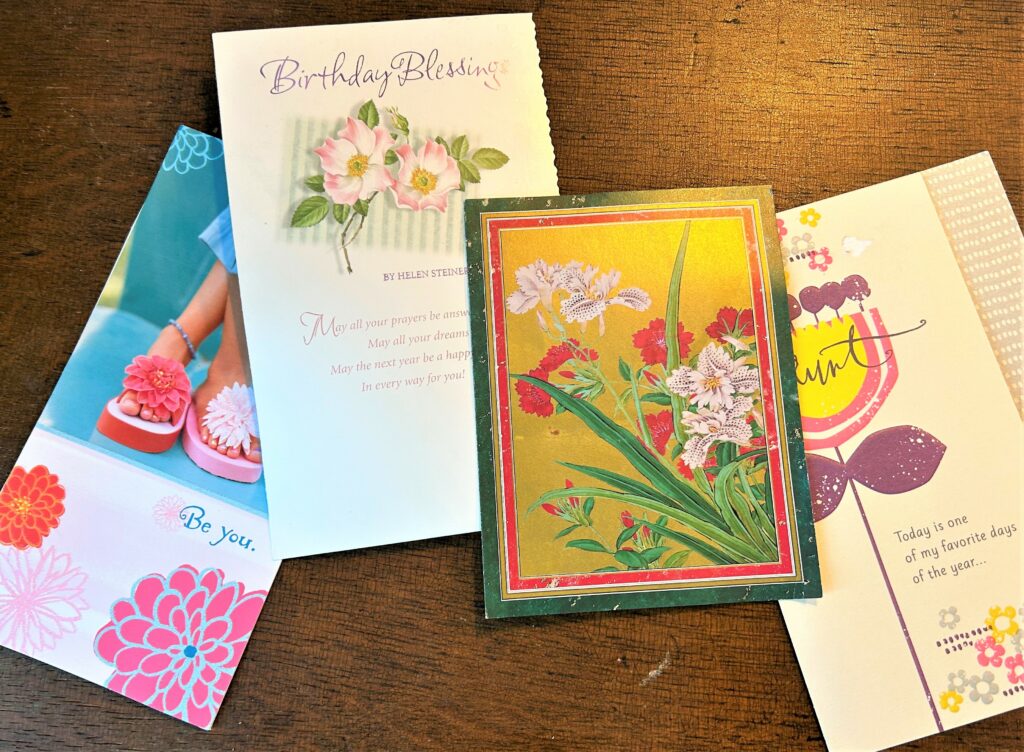
Many thanks to my dear friend Dianne and her sister Beverly for gifting me a whole collection of greeting cards and calendars that were reused to make these charming art pieces.
Items needed:
· Wooden picture frames
· Jello mold
· Spray paints in Spring colors
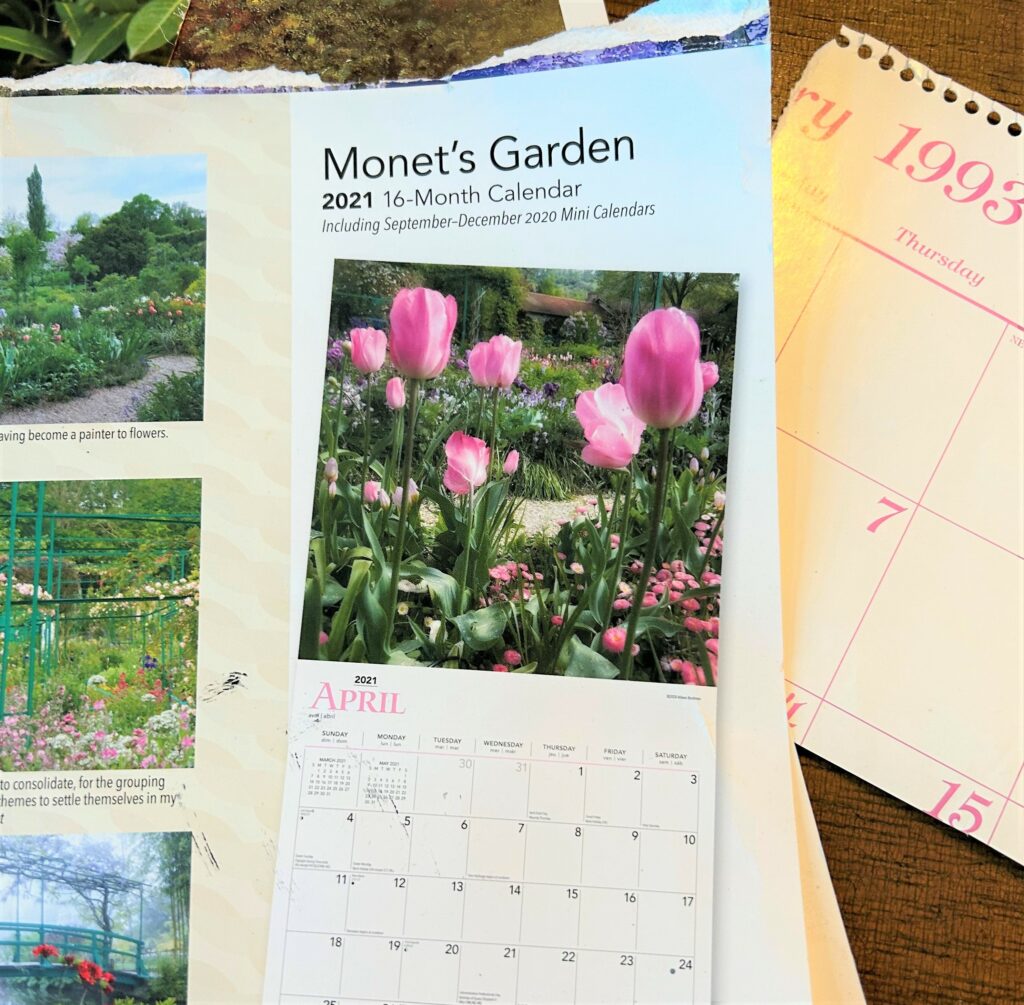
· Old greeting cards, calendars, sheet music, magazines
· Scissors
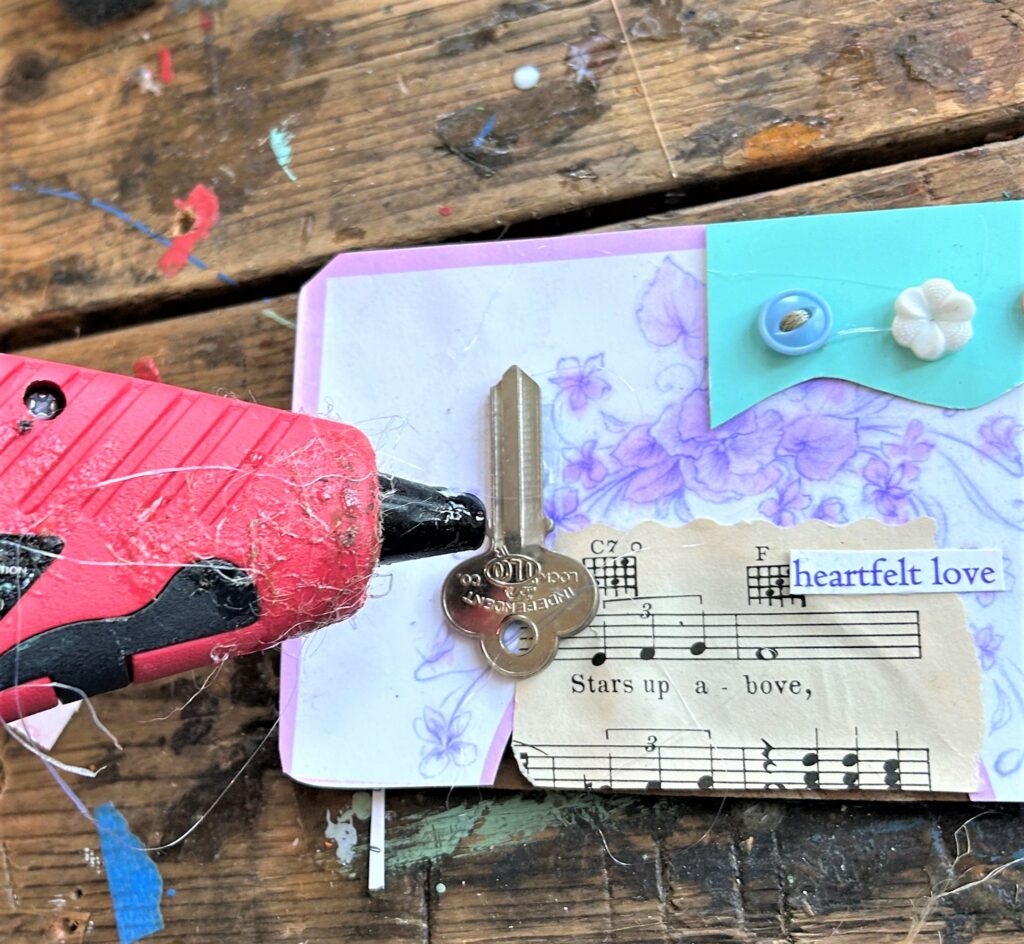
· Glue gun & glue sticks
· Mod Podge or school glue
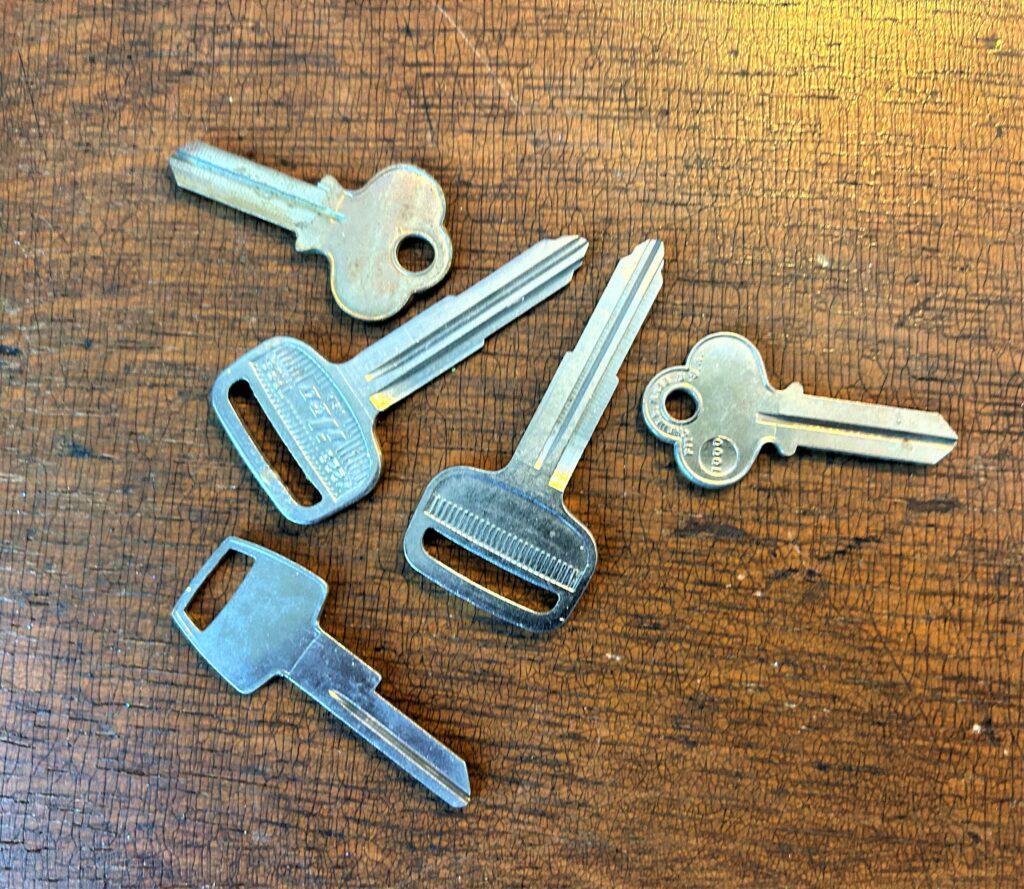
· Parts of jewelry, old keys, buttons, and other items to embellish
· Twine or ribbon
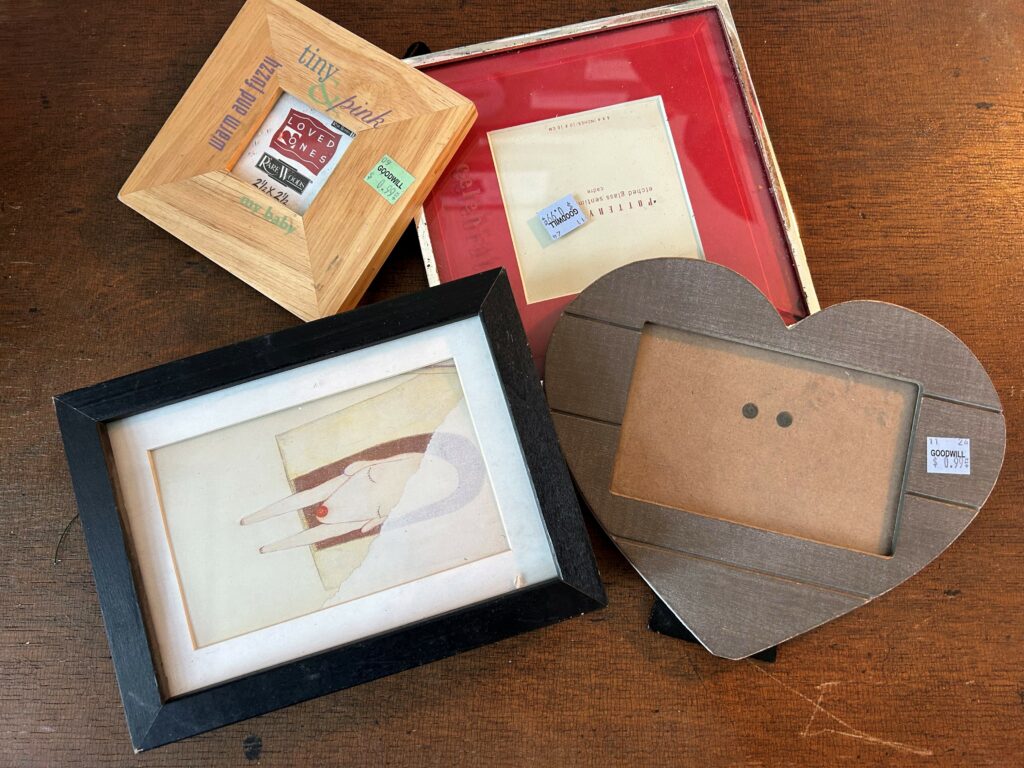
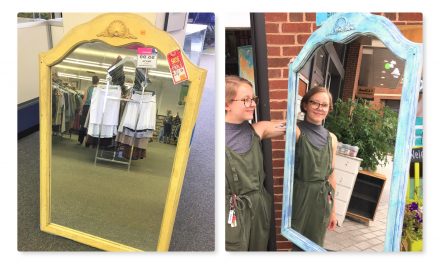
1. Get over to Goodwill to find your good
This super simple and pretty project starts with a picture frame on which to build your collage. Goodwill typically has scores of wooden frames that are in great shape and solidly built. Look for wooden ones with flat surfaces to give you space to add and embellish. Each of the frames featured here was 99 cents each! Quite the deal for the making of a priceless masterpiece, I’d say.
Expert Idea:
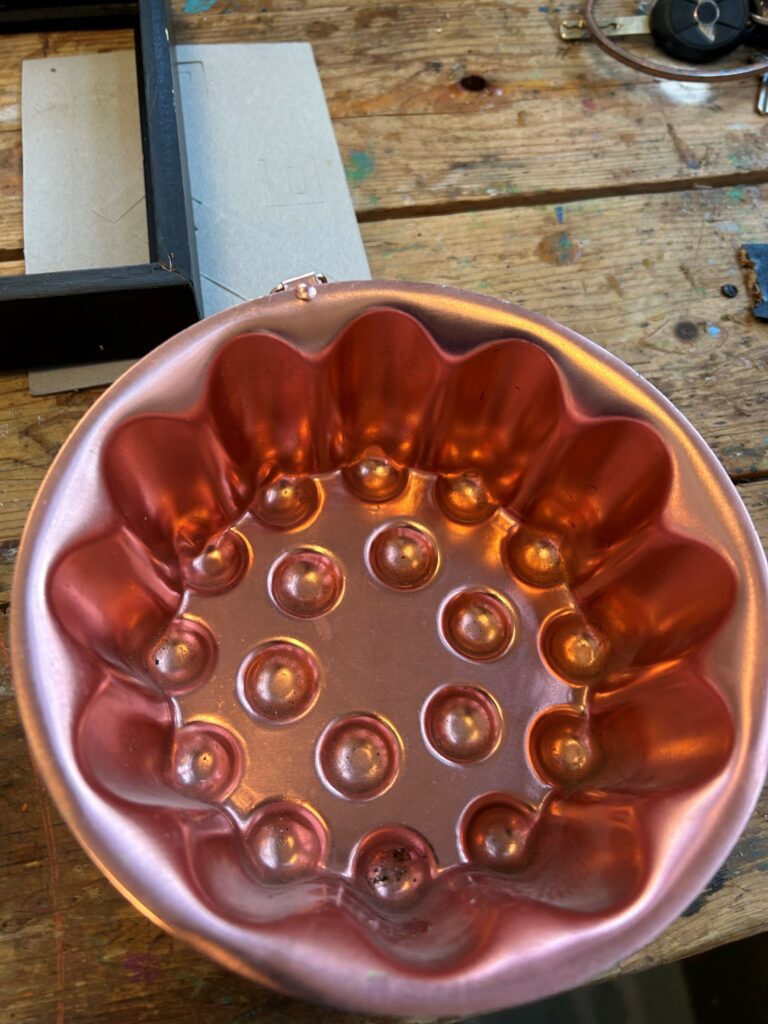
You can never go wrong with upcycling frames for DIY projects. What else could you use for this collage collection? A metal jello mold was repurposed as a round, flower-shaped foundation. Given the Spring-themed/focused, the mold already had a flowery shape to it and was small, sturdy and very light-weight.
2. Spruce it up with spray paint
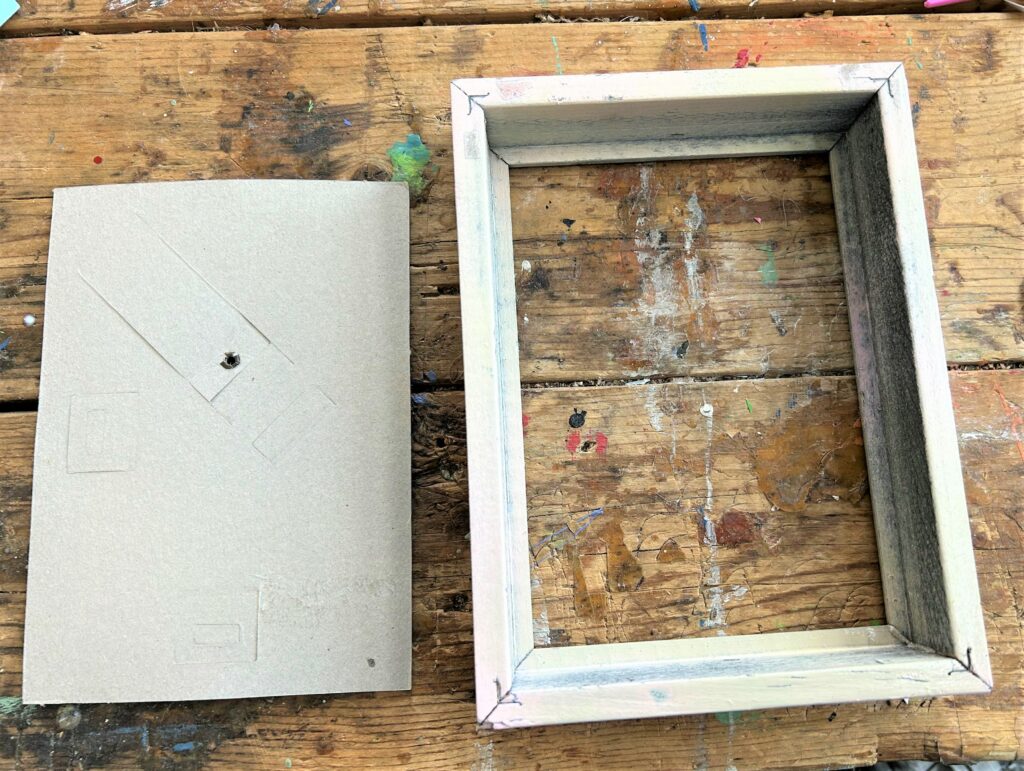
- Take your picture frames apart, leaving only the wooden outside section. Place the glass and backing aside.
- Put them (as well as your jello mold or other foundational pieces) on a drop cloth outside if possible.
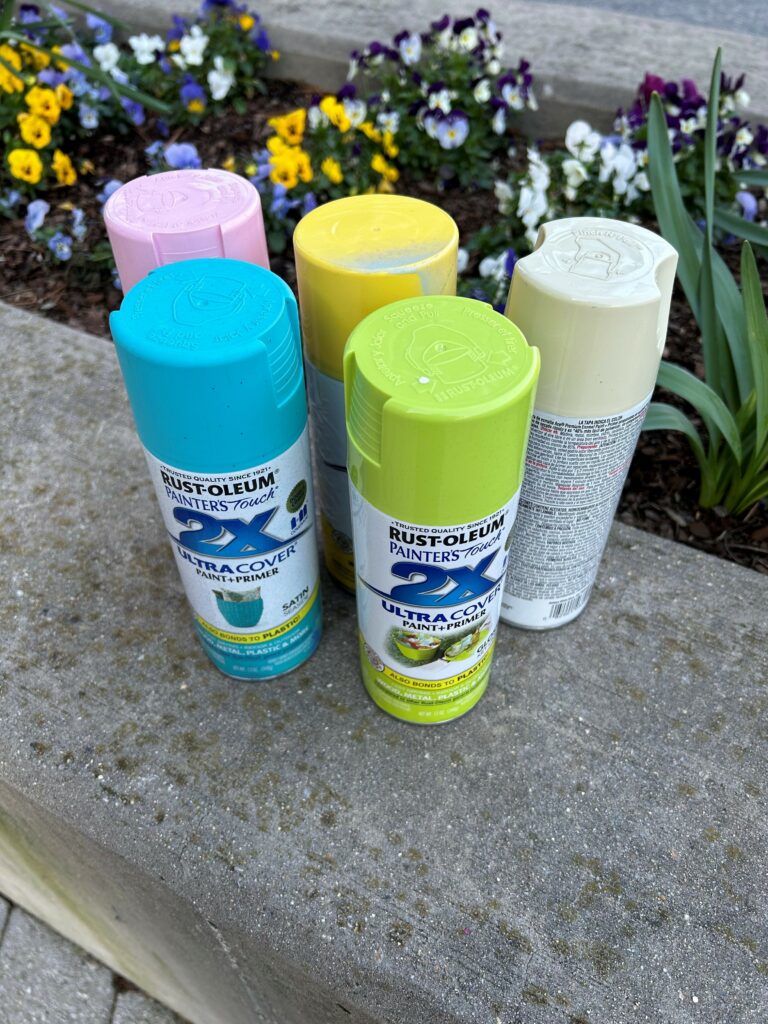
- Add a light layer or two of spray paint in seasonal colors—pinks, greens, yellows, light blues, lavenders, and ivory tones are ideal and reflect what Mother Nature is showing us now, too.
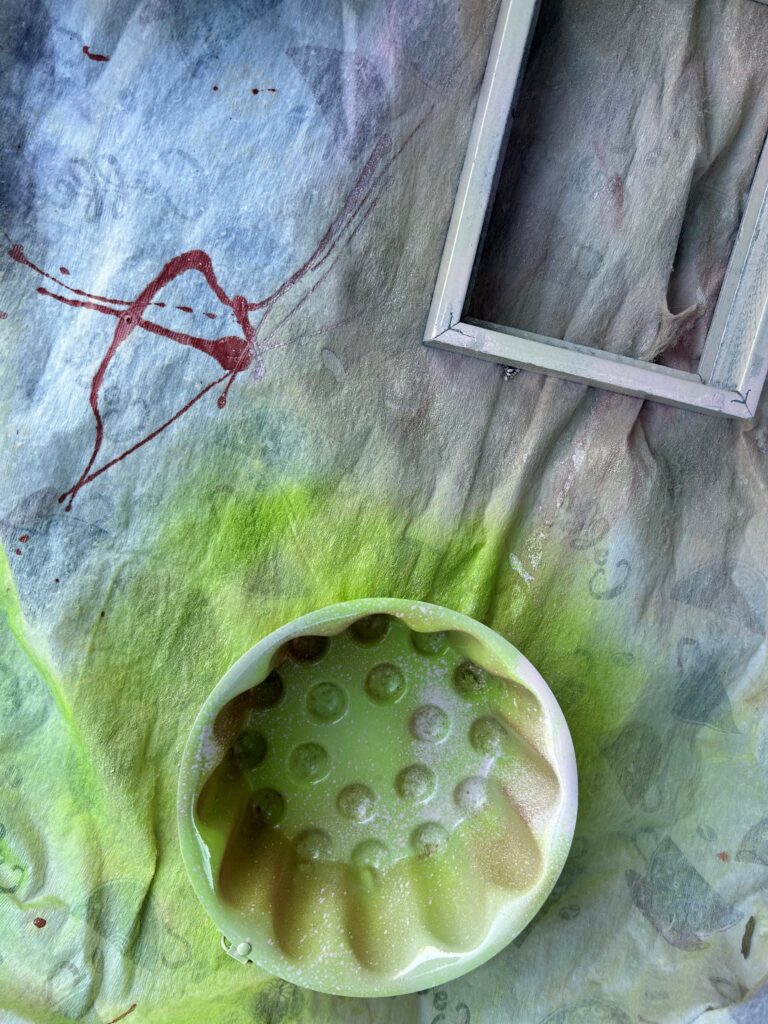
- After you add a couple of light layers, ensuring you get all outer and inner edges, consider “spritzing” on another color to add visual interest.
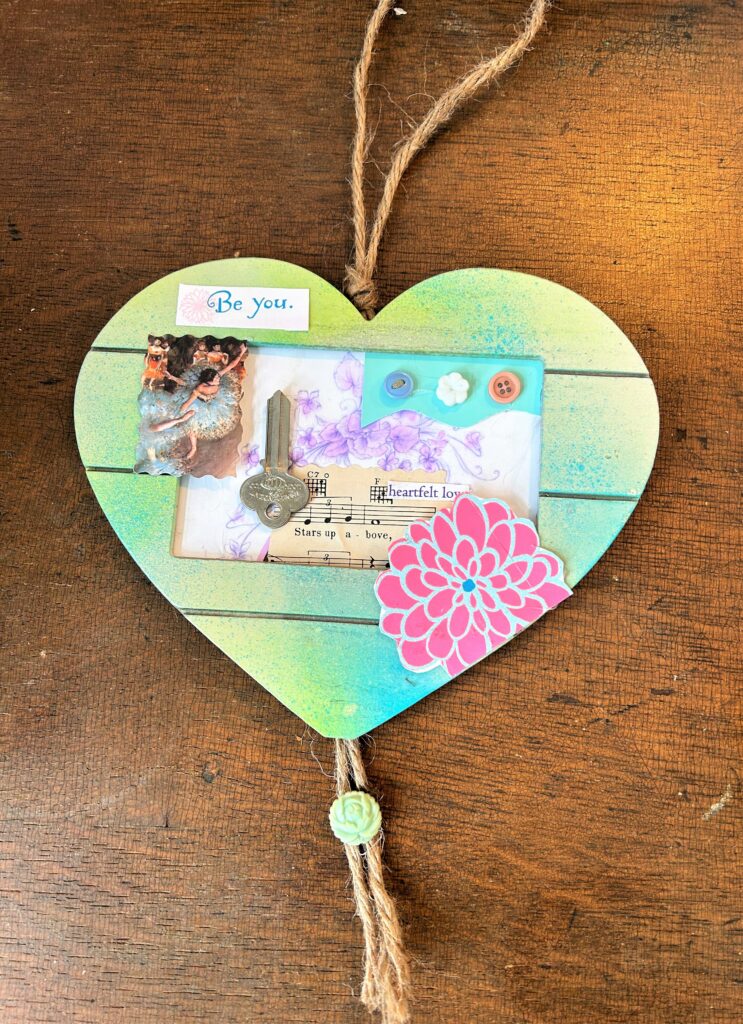
- For example, the heart-shaped frame feature here was given a solid coat of ivory to brighten it up, then spritzed with green and blue for a splattering of color and brightness. This a simple step that you will love!
- Let your pieces dry well before touching them.
3. Collaging creates cuteness!
- Use the inside backing of your picture frame as the canvas on which to build and create your collage.
- Remove any hooks or standing parts from the back, leaving just the piece that will fit inside the frame.
- Cut a piece from an old calendar, card, or other paper in the shape of the frame backing and secure it in place with your Mod Podge or your glue gun.
- Use it to hide the cardboard or wooden backing, then build your collage.
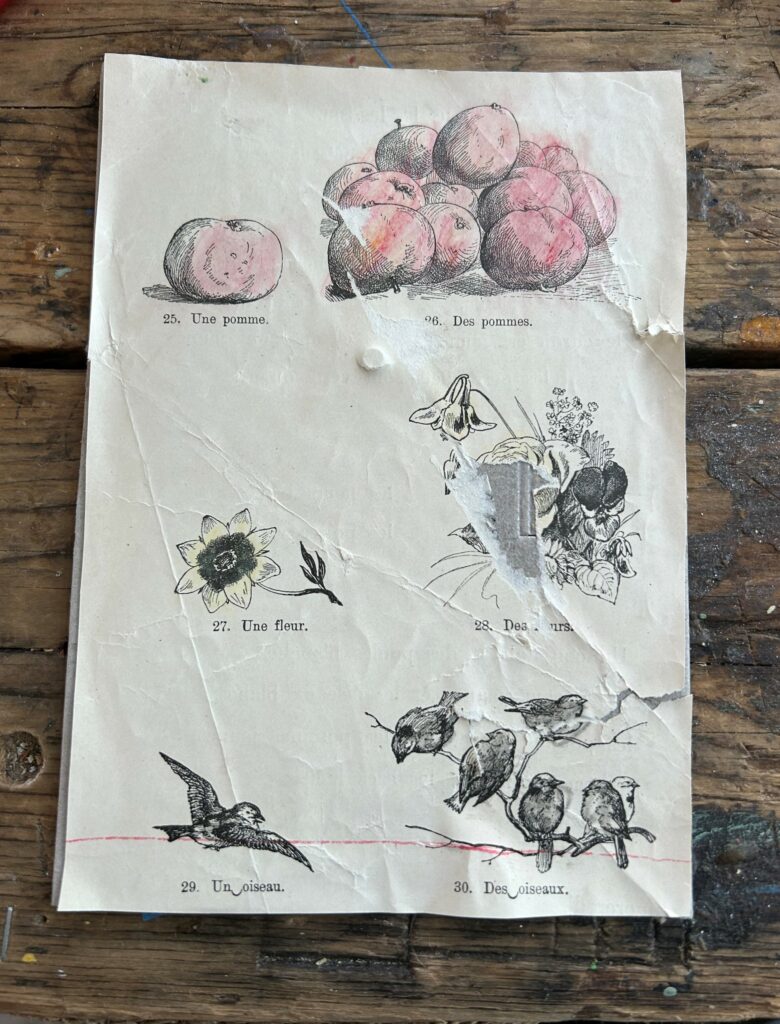
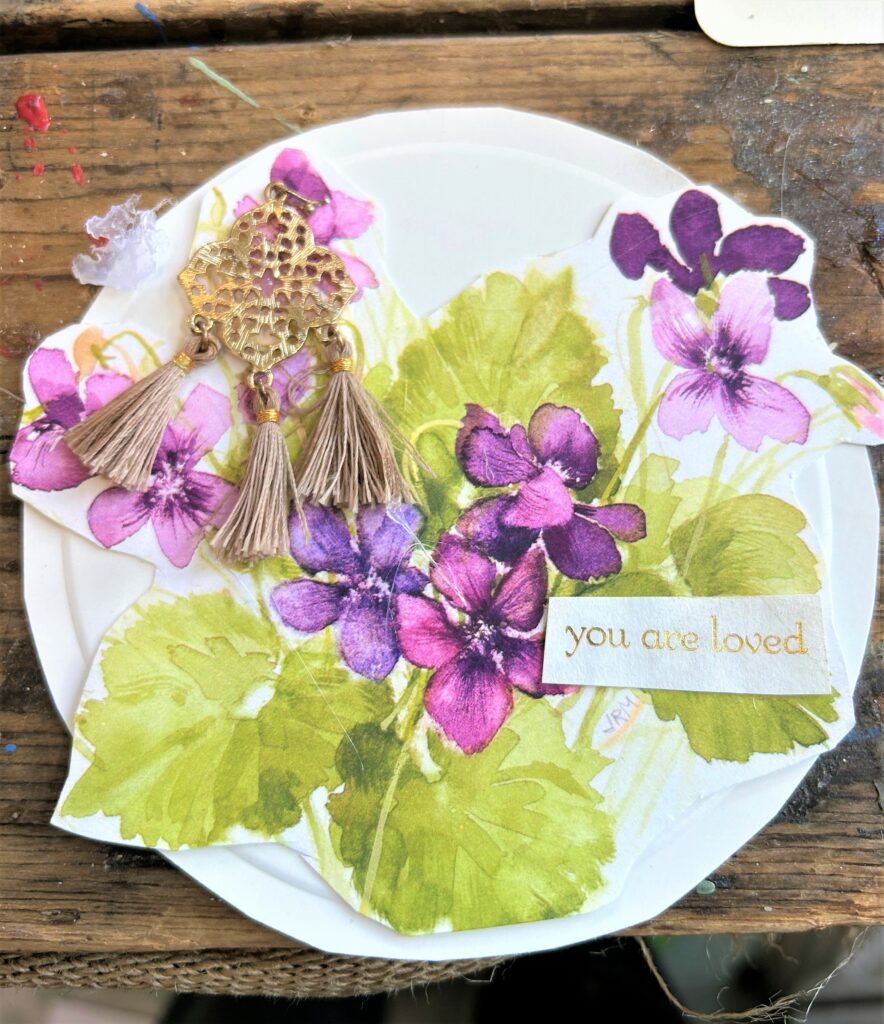
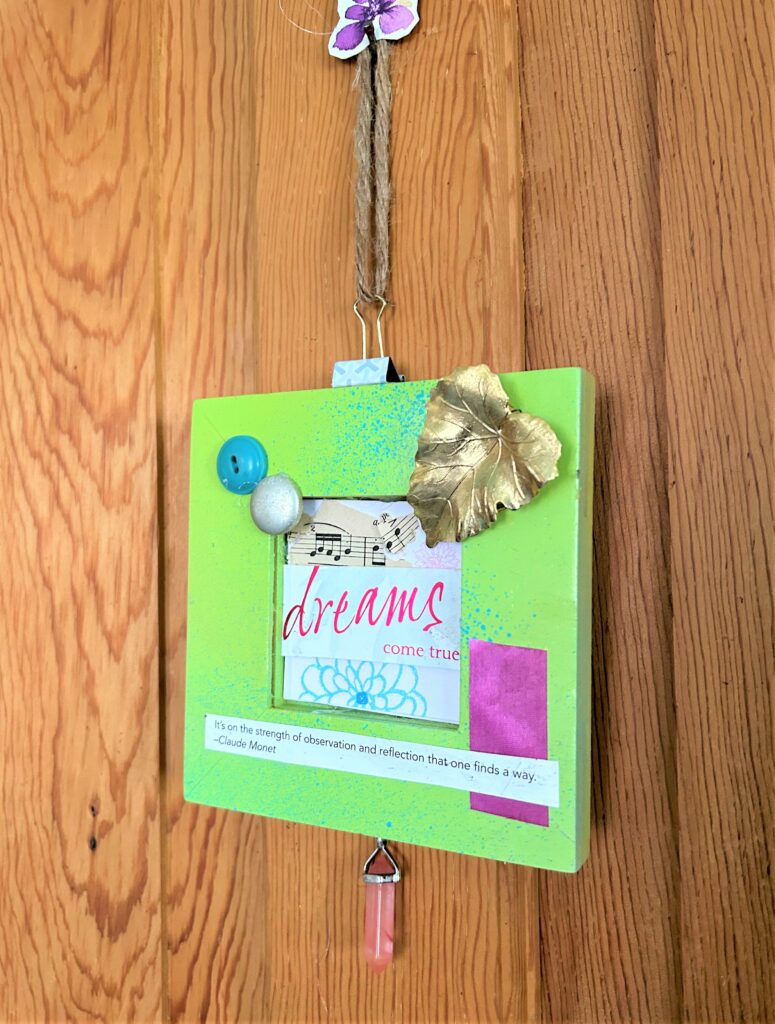
- Next, cut flower, leaf, or plant images from cards or magazines.
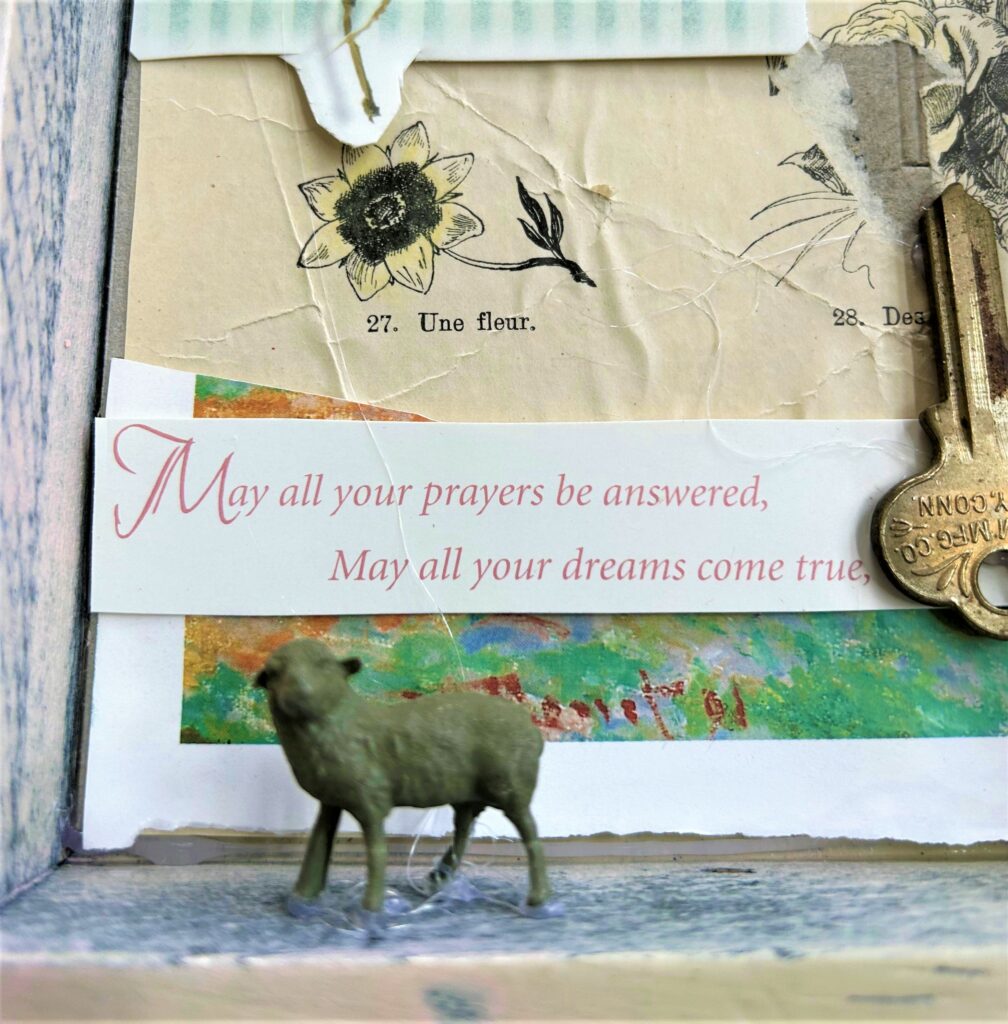
- Look for words and phrases to add inspiration; old greeting cards are perfect for this because they have lovely messages in them already.
- Clip parts of calendars, sheet music, or books to add interesting layers.
You can’t go wrong with collaging; just keep in mind colors, shapes, and textures and find ways to make them match and look cohesive. Collaging is so much fun to do with others and is great for kids of all ages! This DIY project is both family-friendly and good for Mother Nature because you are reusing items, possibly heading for the trash and a landfill.
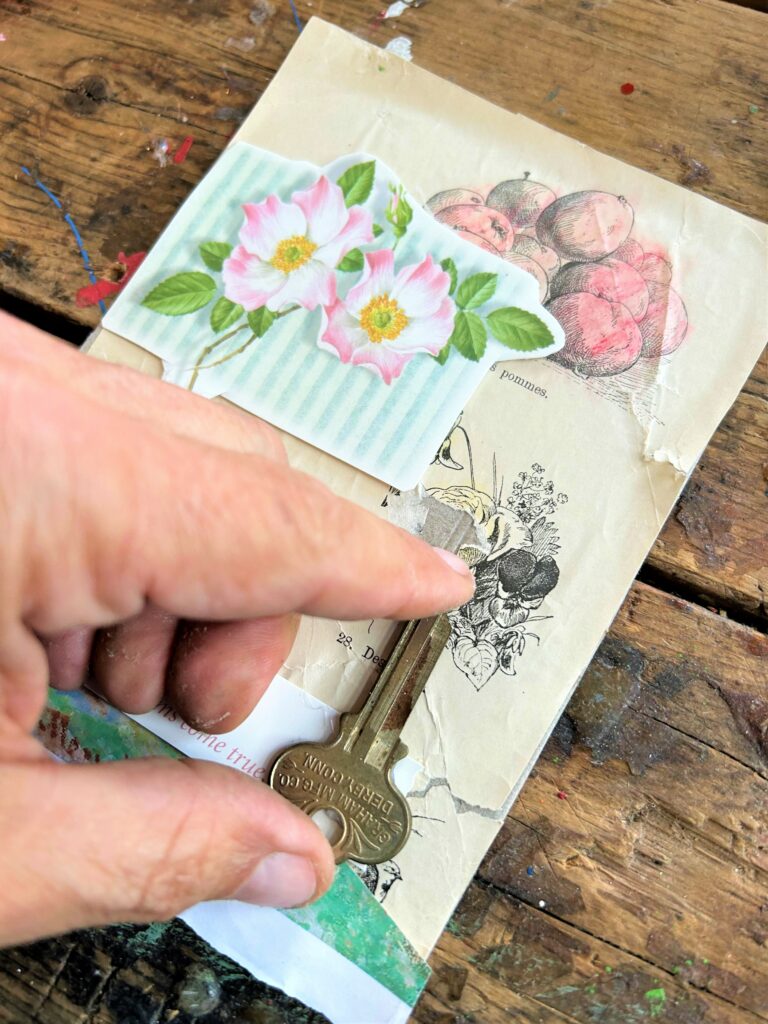
4. Decorate with dimension
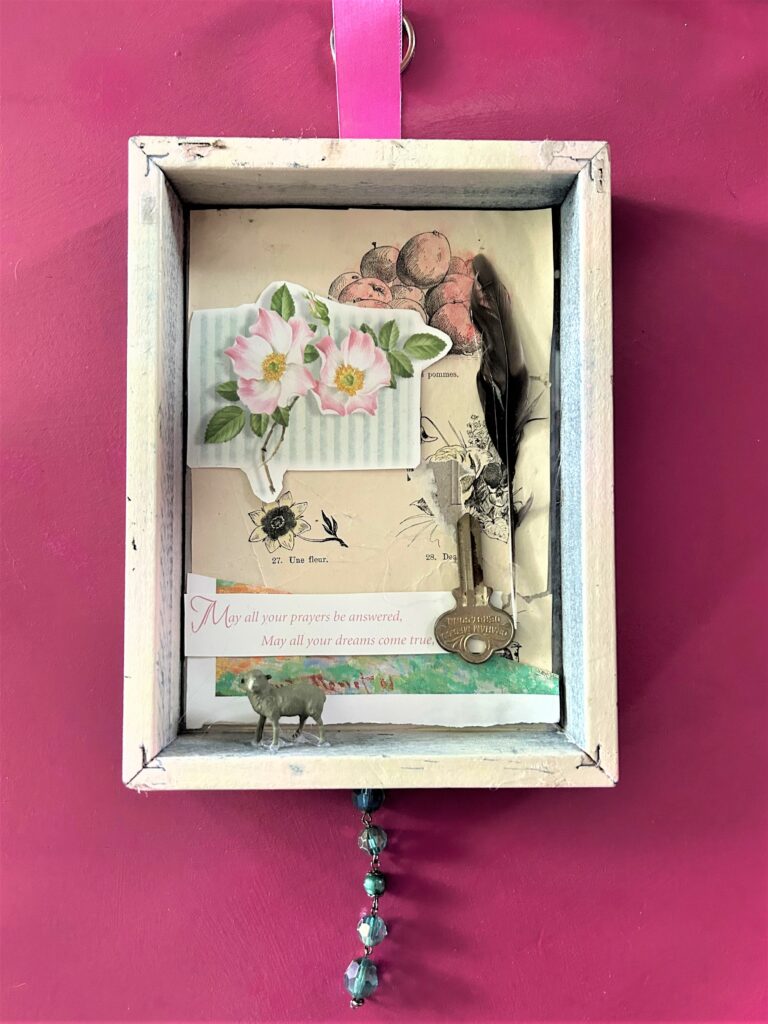
Use your glue gun to secure old keys, pieces of jewelry, found feathers, and small toy parts. These items will add whimsy and charm as well as a third-dimensional look.
What items do you have around your home already that can be upcycled as part of a mini-masterpiece? I found a small, plastic sheep from an old farm game that was added along the frame’s edge, and it looks so happy out of the barn and part of the art.
5. Hook on some hangers
When your former picture frame is now a collage work of art, you will want to ensure it is able to hang on your wall, front door, or anywhere you want to add some charm.
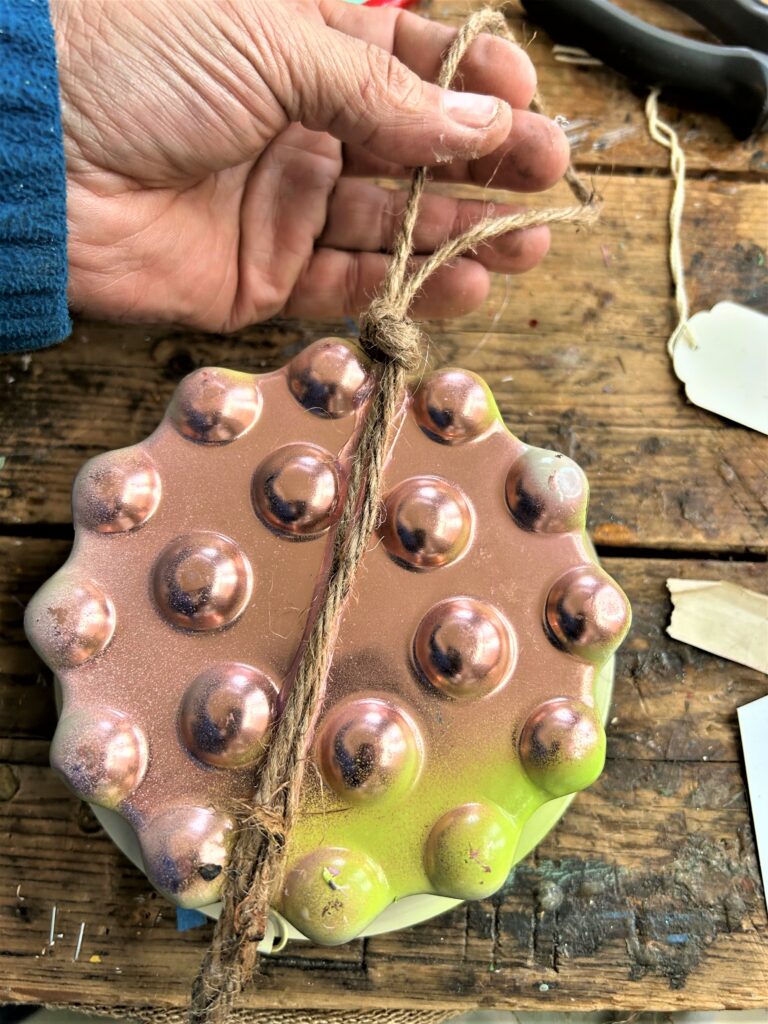
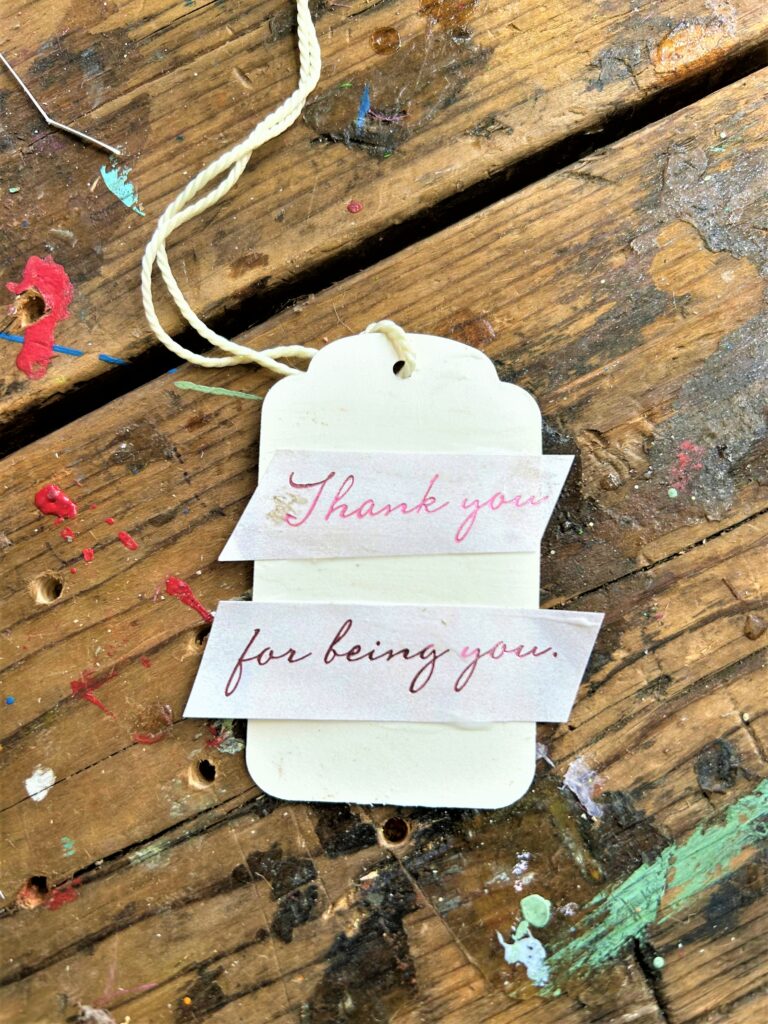
Cut twine or ribbon and secure with your glue gun. Consider embellishing your hangers, too, by adding images or words to them, too.
6. Display & delight
Hang your collage/upcycle/repurposed mini-masterpieces where you and your loved ones will see them often. Celebrate Spring and a person’s birthday by giving these as gifts that will be treasured and appreciated by the receiver.
Mother’s Day is just around the corner, and every Mom will love getting one of these, no matter who makes it for her. Pet parents will enjoy getting one, too. You can easily personalize it for someone to show you care about them and our planet, too! The possibilities are unlimited for sure!
Thanks to Finding Your Good for all the ways you make our community a masterpiece, too!
Similar Reads:

Tim Kime
Artist, Motivational Speaker, Life Coach


