
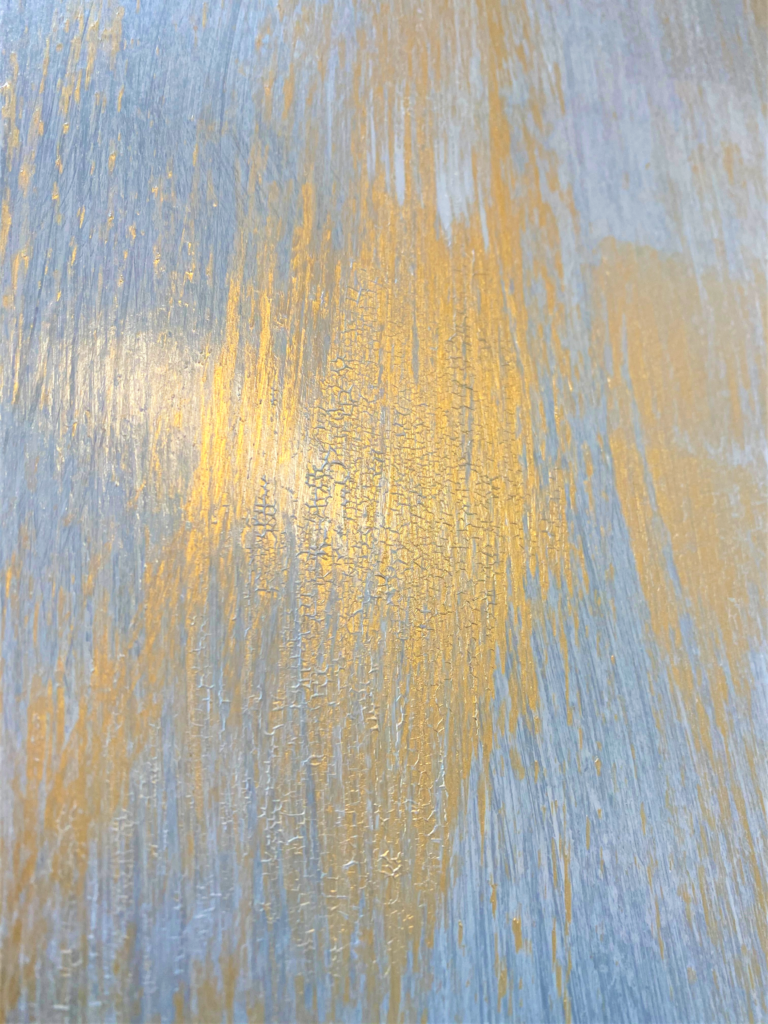
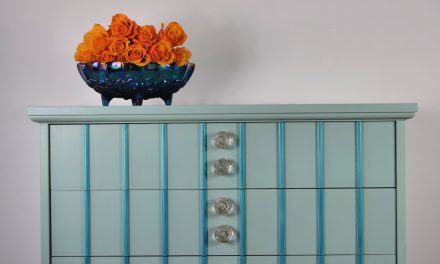
Go for the Gold! Add some shimmer and shine by adding gold layers and highlights to give your piece that special touch. Take your furniture item from flat to fantastic by giving it depth and delight with golds & grays and allowing your brush strokes to show to add extra sparkle.
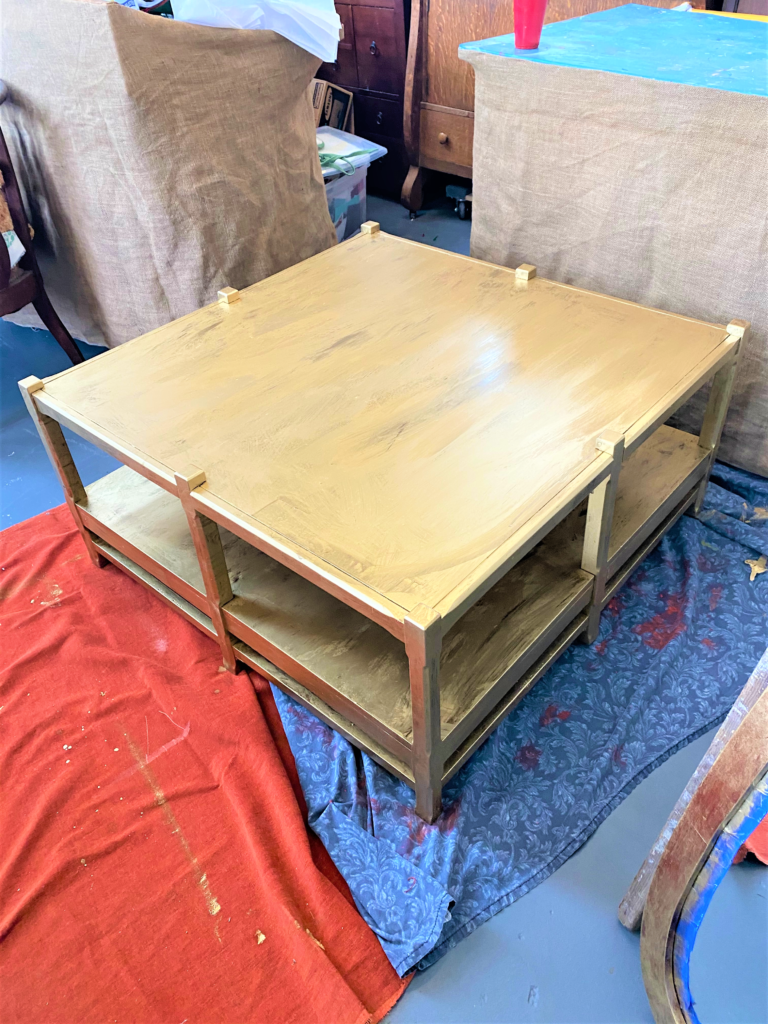
Thanks to Bryant and Horace for the opportunity to work with them again and to give their functional coffee table a bright new look for the New Year.
Supplies:
1. Furniture piece with flat surfaces
2. Gold paint
3. Gray paint
4. Paint brushes
5. Coarse sandpaper or sanding block
6. Steel wool
7. Polyurethane
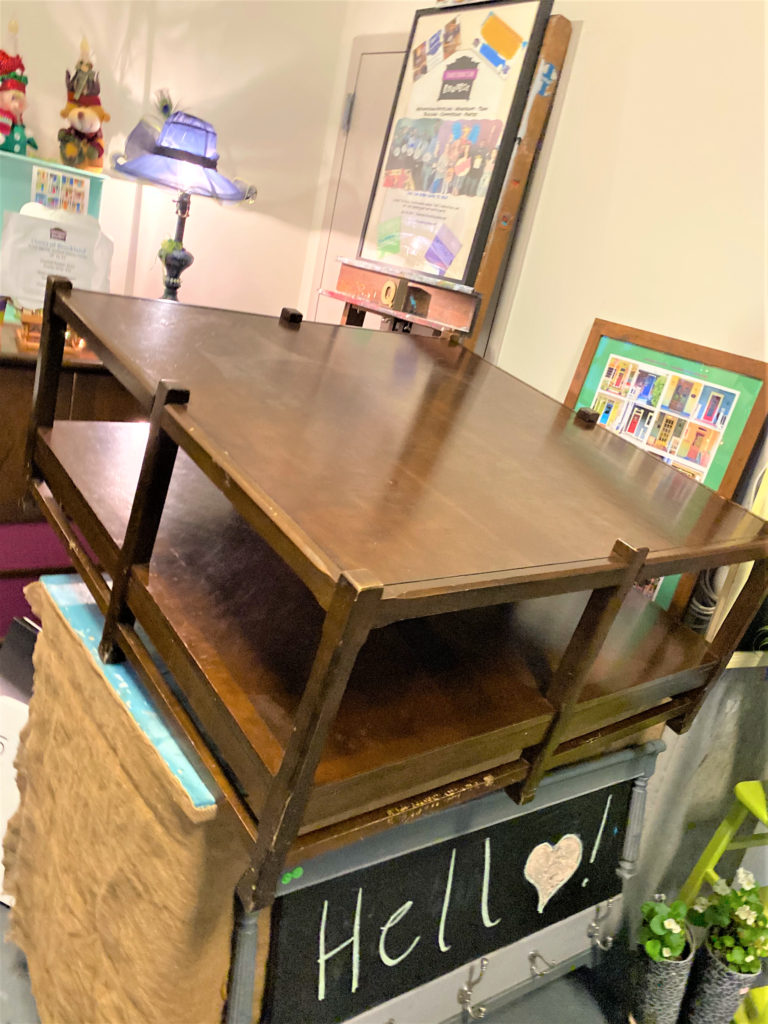
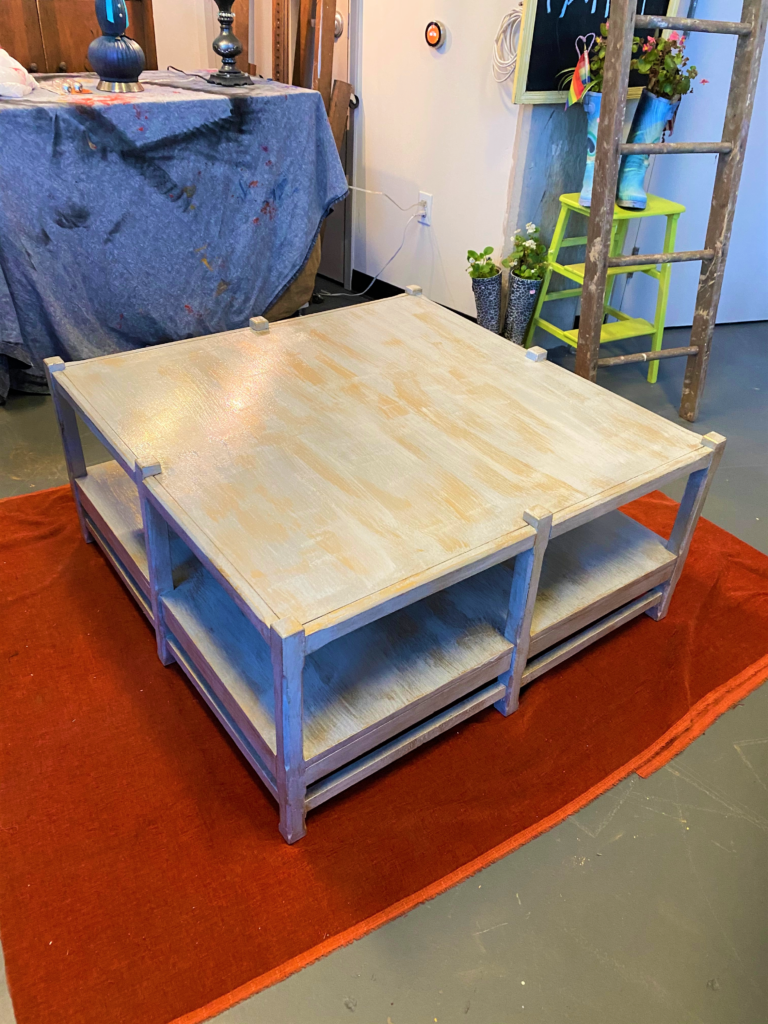
1. Repurpose the perfect piece, if possible….or find some good at Goodwill
What I love about this project and working with Bryant and Horace is that they took an existing piece that worked well and was super solid yet would benefit from a new look. I so appreciate them giving me the chance to give it an artistic touch and some shimmering style. They were good to Mother Earth by reusing what they already had on-hand rather than buying something new.
We always encourage you to look at what you have that could be refreshed, reused or repurposed with a little vision and some elbow grease. Another way to be good to our planet is to shop at Goodwill. They have so many great donated items which are kept out of area landfills and would love to be transformed!

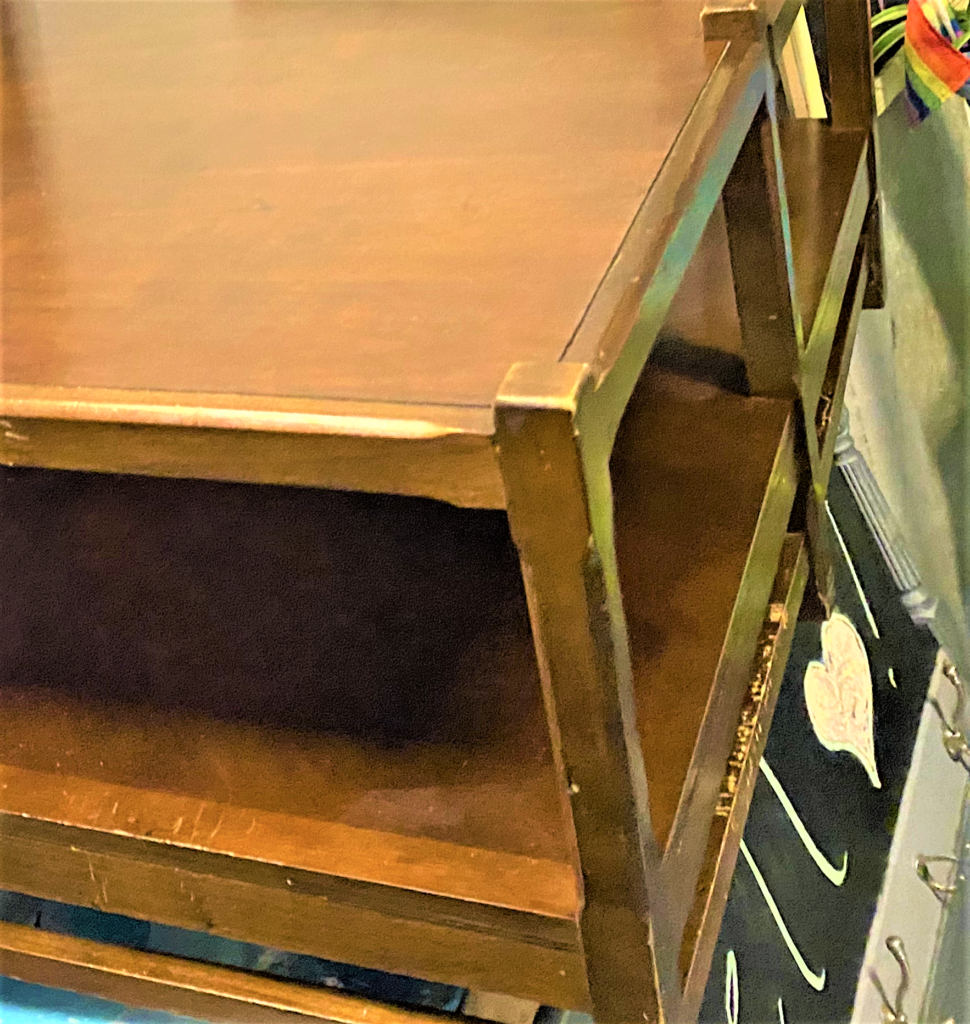
Expert tip: The piece featured here was well-built and had great lines. Look for furniture pieces that are made of solid wood so that they provide a great base on which to paint while ensuring better durability. While newly-manufactured pieces might look great off the assembly line, so to speak, I love older pieces due to expert craftsmanship and quality materials.
2. Get her buffed
To make your piece paint-friendly, use a coarse-grained sanding block or that grade sanding paper to buff up its current finish. Sand all over your piece hitting all edges and sides. You are not striping the entire finish down to the bare wood, just buffing it up to make it less smooth and to give the coats of paint something more to “hang” on to as you add layers.
This step can be very dusty so when done wipe down your items with a damp cloth to remove all debris. Use a dry cloth to remove any moisture or let sit for a bit to allow any water to evaporate.
3. Painting on layers of transformation
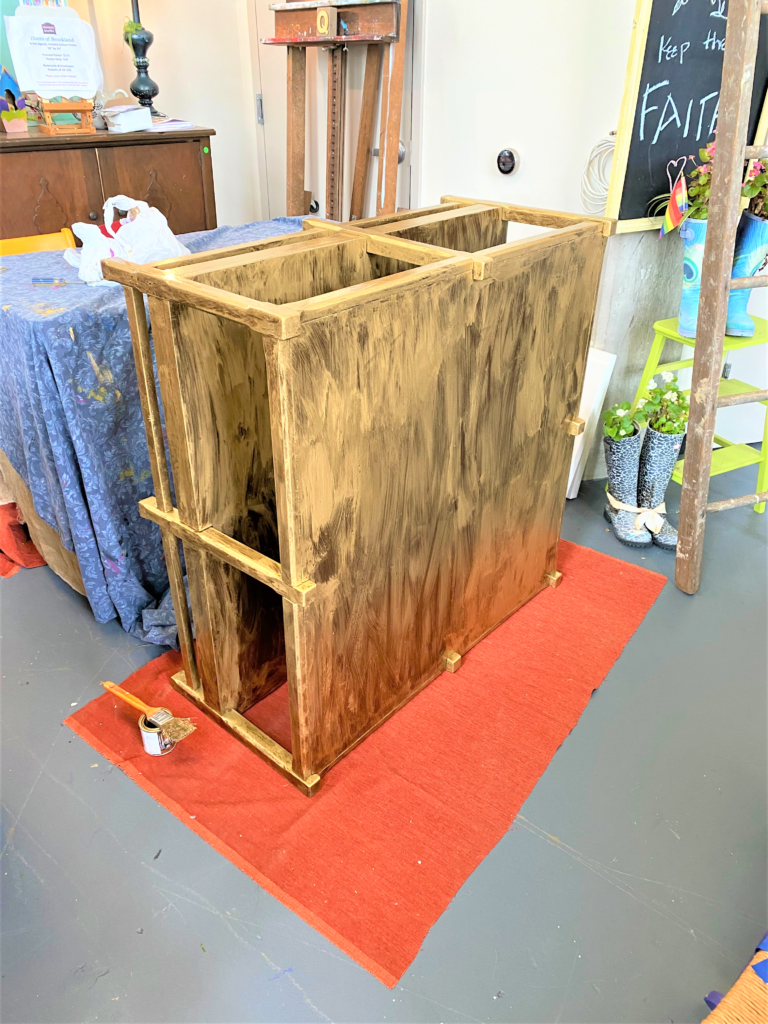
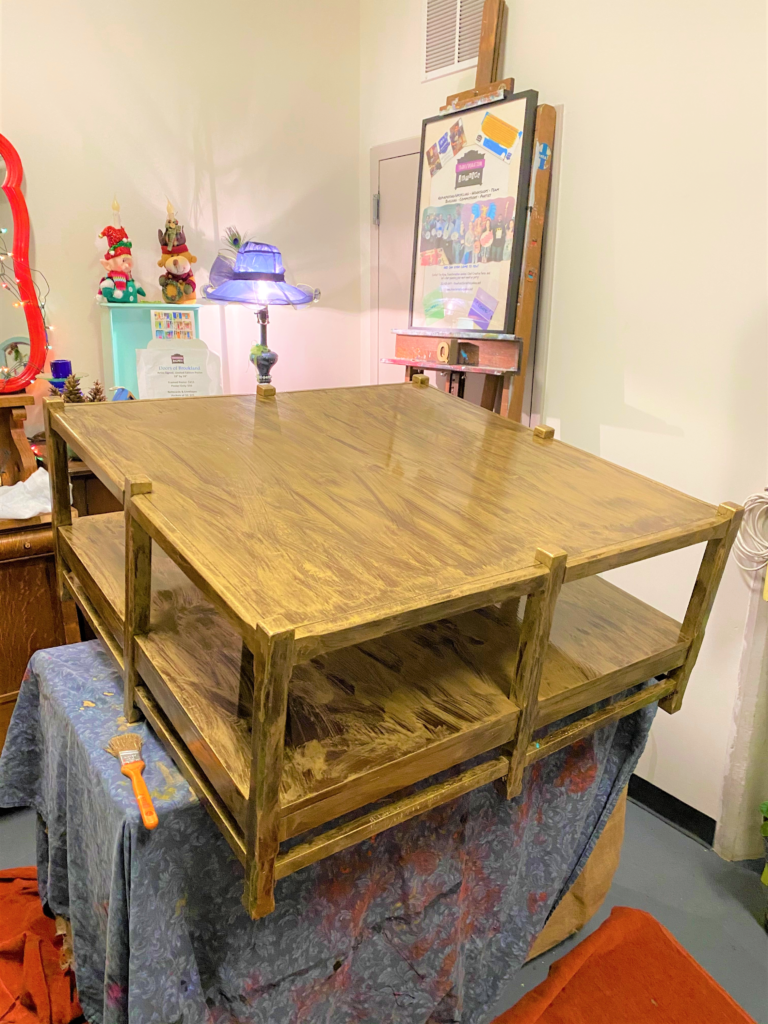
Gold:
The first layer of several was the gold layer. Two solid coats ensured every side and part was covered with a foundation of this beautiful metallic paint. For those who have followed me before on this Finding Your Good blog, you know my words of wisdom for great, solid coverage: turn your piece on its sides and back to get every angle and every nook and cranny covered. Let the paint dry well between each coat and each layer.
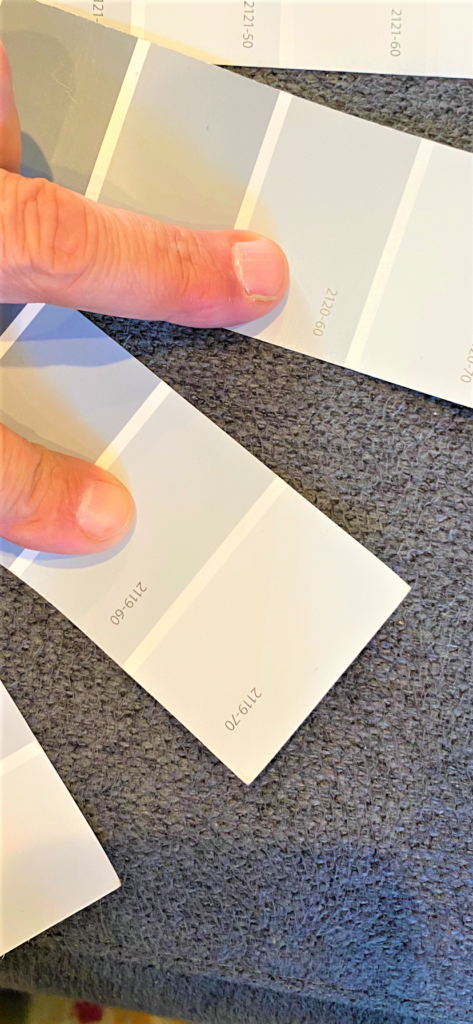
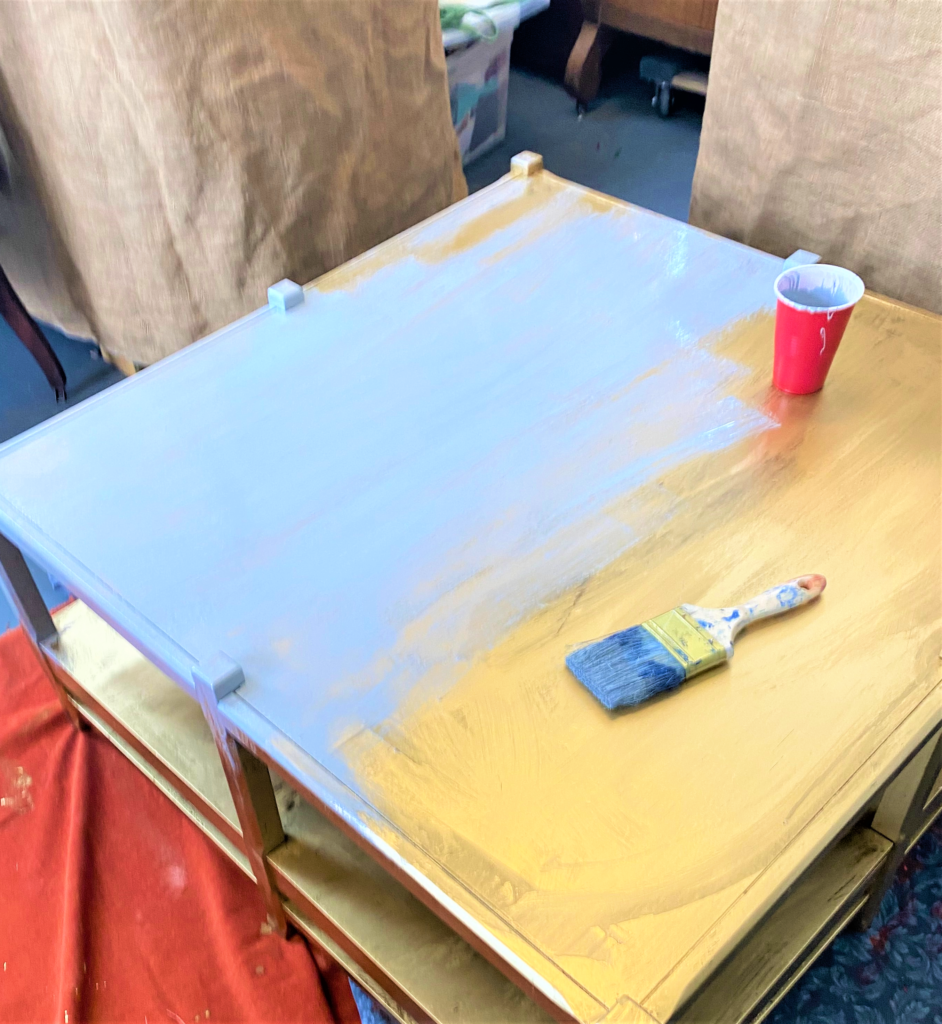
Gray:
Now covered in solid gold, she looks like that vixen from the classic James Bond movie, Goldfinger. And it would have been nice as it at this point, but we wanted this to move from amateur status to the pros. The next layer was a light gray that matched other elements in Horace and Bryant’s beautiful home. The vision was a piece that would compliment things like the couch and counter tops but feel lighter, so that tone was selected. This layer was brushed on without worrying about solid coverage since we wanted the gold layer to show through and wanted to the beauty of the brush strokes to be seen. Again, the piece was put on its sides so all edges and parts got a layer of gray. Let it dry.
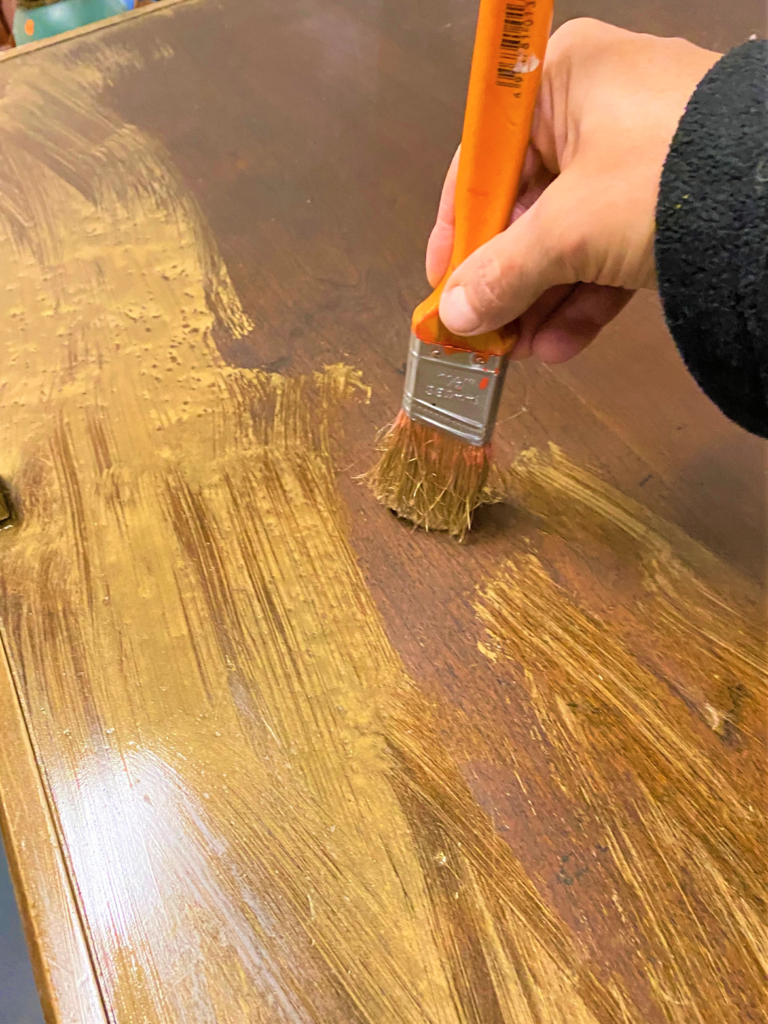
Gold:
- The gray layer looked nice but I wanted more of the gold to show so with a “dry brush” technique, I added more gold. What is a dry brush technique you say? Well, I lightly touched my paint brush onto the gold paint then dabbed it on some cloth to remove most of it.
- Then I brushed on the gold, so it was a “dusting” so to speak. It helped to bring out the highlights and edges adding a very thin layer of gold that was translucent and allowed the gray and first gold layers to show through.
- Give it time to dry well.
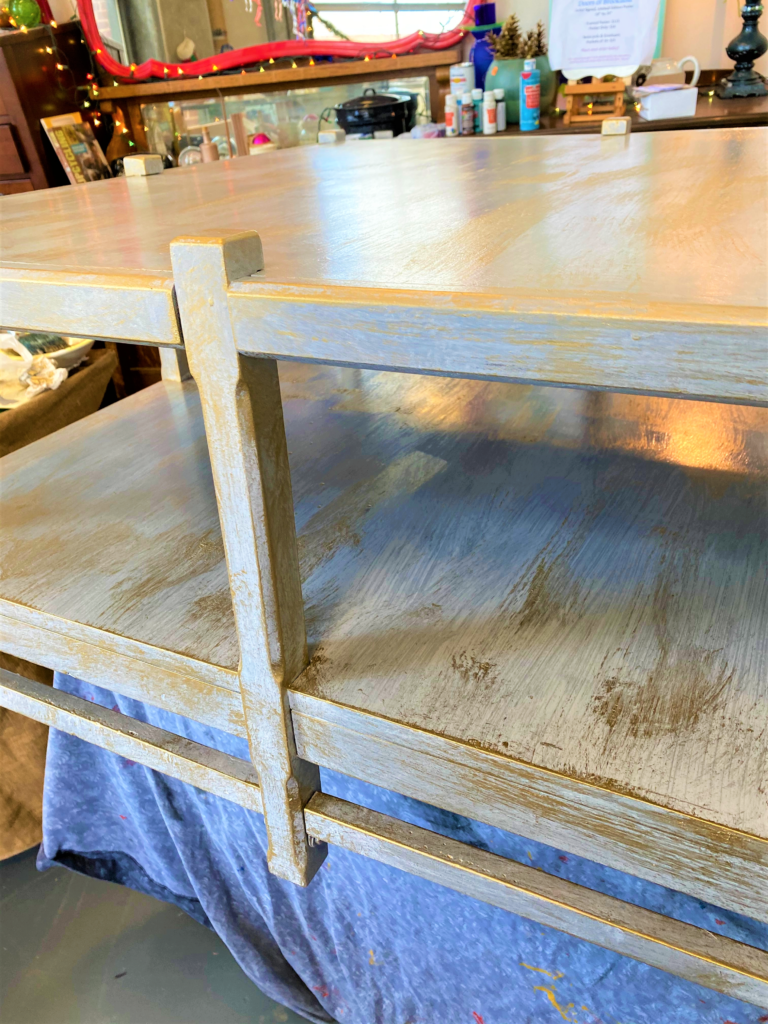
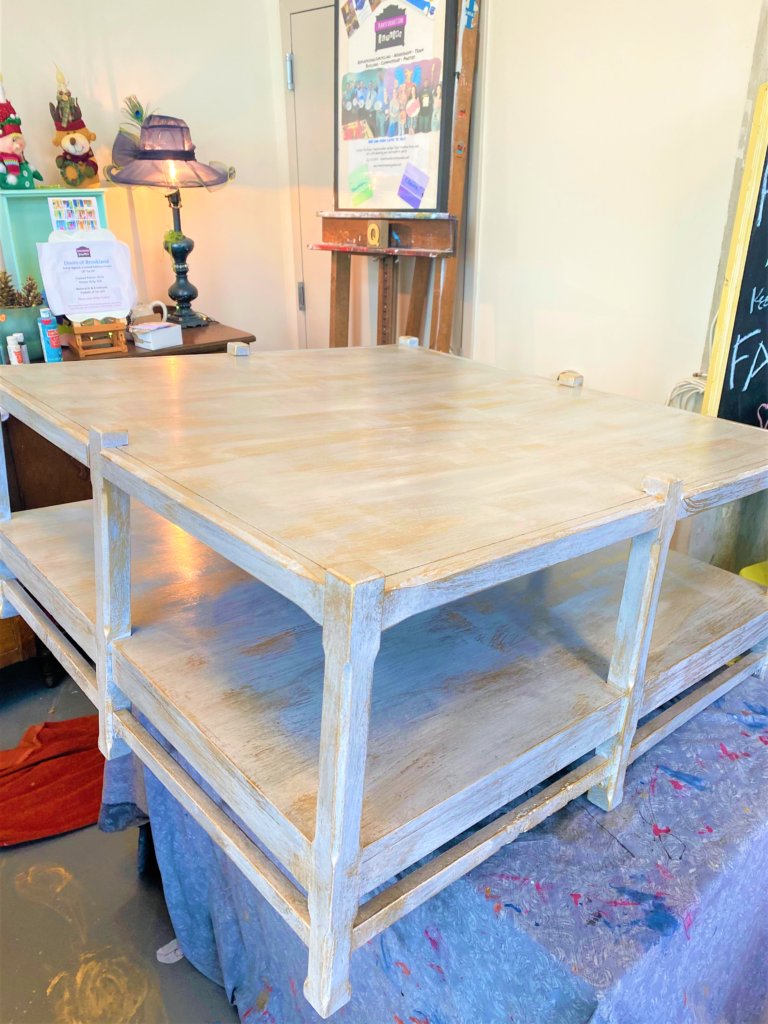
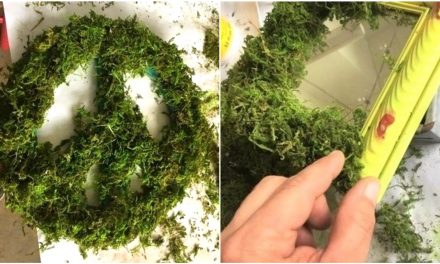
4. Distress to delight
This step truly adds such an artistic touch and depth to your piece.
- With your steel wool, rub off the paint along the edges where, if aged, would naturally wear off from being touched or handled.
- This step will help to showcase the various layers of paint and will call attention to any edges or interesting details.
- If you want to use a lot of strength, you could remove all the paint layers to reveal the original color or wood of your piece.
- This adds even more interest to your piece.
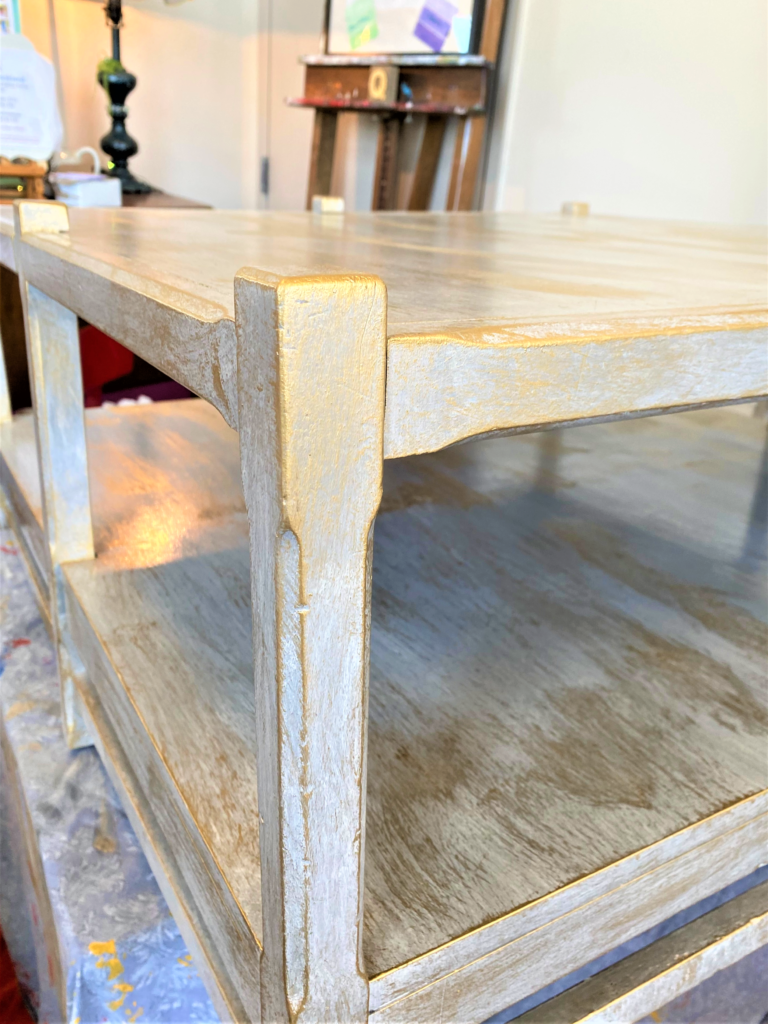
- This distressing sort of ages your piece in a really thoughtful and charming manner.
- Wipe down your piece with a very lightly damped cloth to remove the paint dust created.
Expert Tip: If you remove too much paint and more of the original wood tones show through than you prefer, not to worry.
- You can always go back and touch it up with one of your layers, then let it dry.
- Return with a softer touch so less paint is removed.
- You really can’t go wrong because any possible “mistakes” can be easily tweaked. Also, I have learned first-hand that some of what I thought were mistakes, actually turned out to be some of the most beautiful parts of the project!
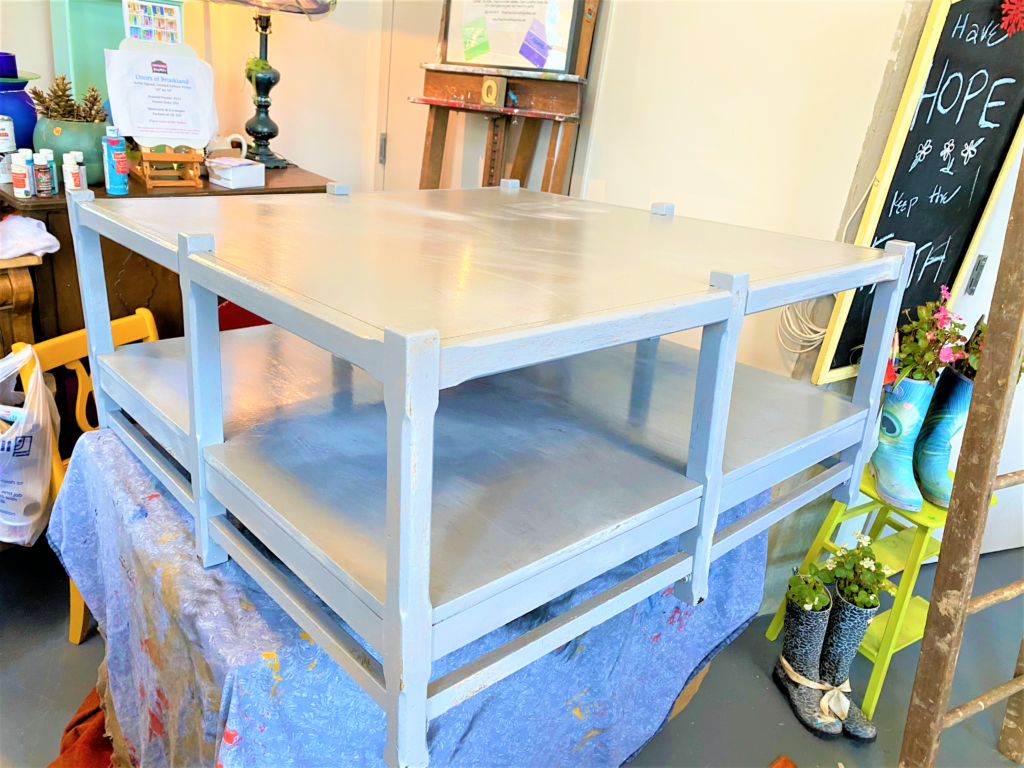
5. Protect her with poly
The final step is to use polyurethane to help protect your piece and your lovely transformation. This project used a semi-gloss poly that added a little shine but not too much or too little. I guess it was the Goldilocks of finishes….it was just right.
- Brush on a thin layer, being mindful of any drips or runny areas.
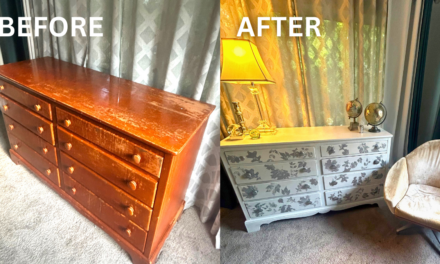
- Let dry and add another layer and, “Presto!”—you have a beautiful piece that is both artistic and functional and will win the hearts of all who see and use her!
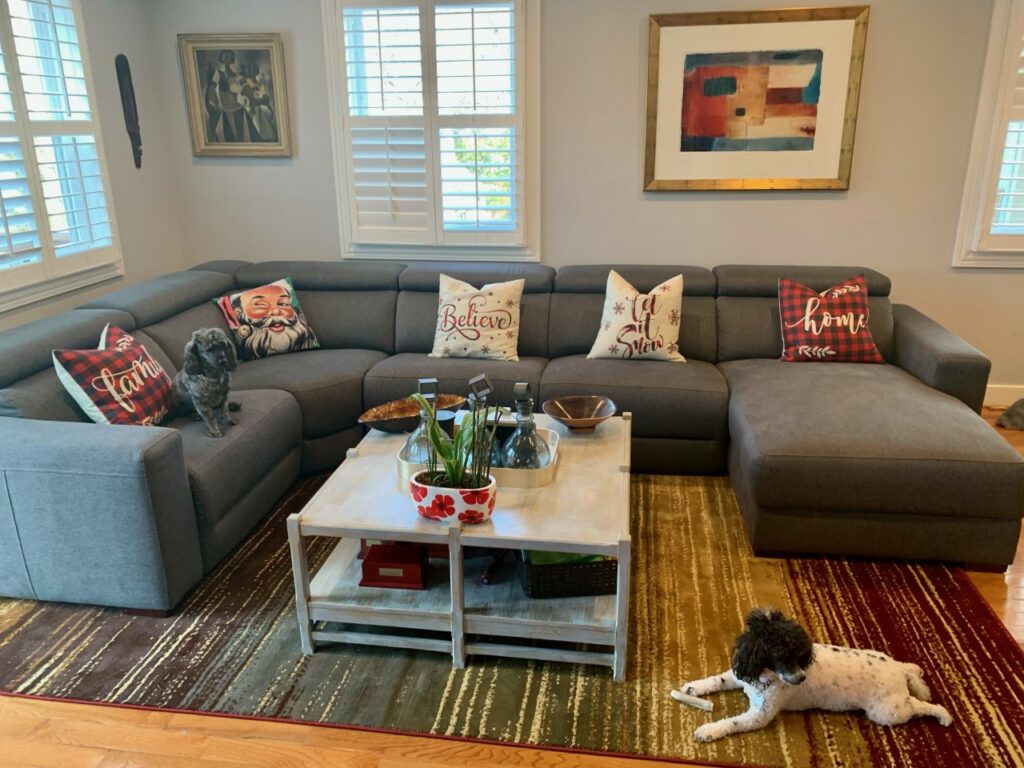
Thanks again to Bryant and Horace for the chance to add more creative beauty to their home. See another one of their upcycled projects (of which I had the joy of doing for them) by following this link.

Tim Kime
Artist, Motivational Speaker, Life Coach