
The residents of The Wizard of Oz’s Emerald City would love this piece with its green jewel tones and gold sparkling highlights. Give your project the magic treatment by layering green on gold paints. This console was nice and functional and now is an art piece that says, “We are definitely not in Kansas anymore!”
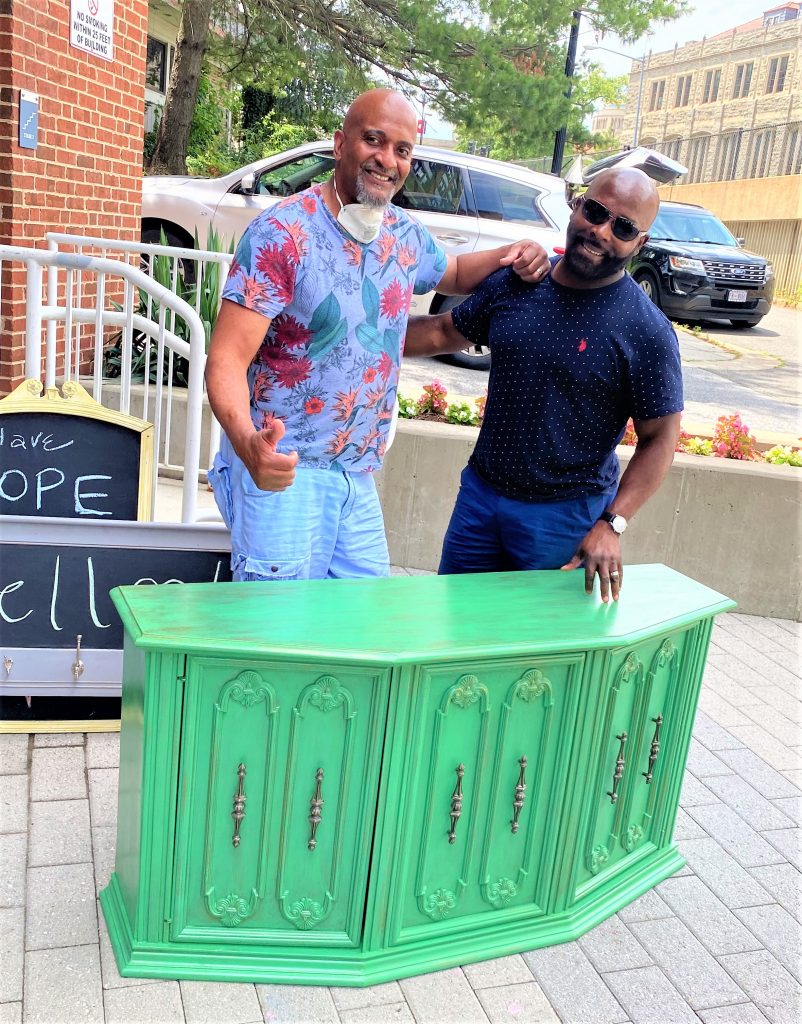
Thanks so much to Bryant and Horace for the chance to take this piece from a late relative and turn it into something that truly has Hollywood style.
You can do it too! All it takes is some courage to try your skills, some brains to follow these easy steps, and some heart as you will love the process!
Supplies Needed:
1. Wooden piece with interesting lines and details
2. Green paint
3. Gold spray paint
4. Paint brushes of various sizes
5. Sandpaper or sanding block (very fine)
6. Polyurethane, satin finish
7. Mineral spirits (to clean brushes used with poly)
8. Screw drivers
9. Damp rags
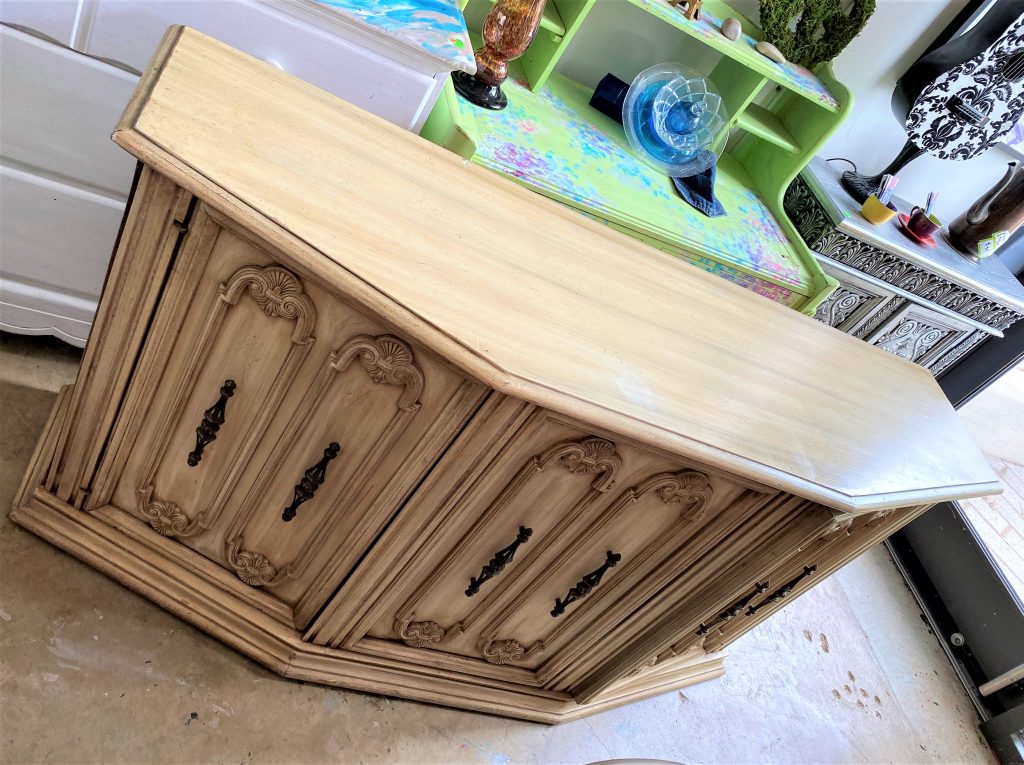
Step 1: Prep your piece
Didn’t Dorothy begin her adventure by taking a first step down that Yellow Brick Road? You can take a simple, small first step, too, on this creative journey by getting your piece ready for its transformation.
- Remove any existing hardware and be sure to keep it in a safe place.
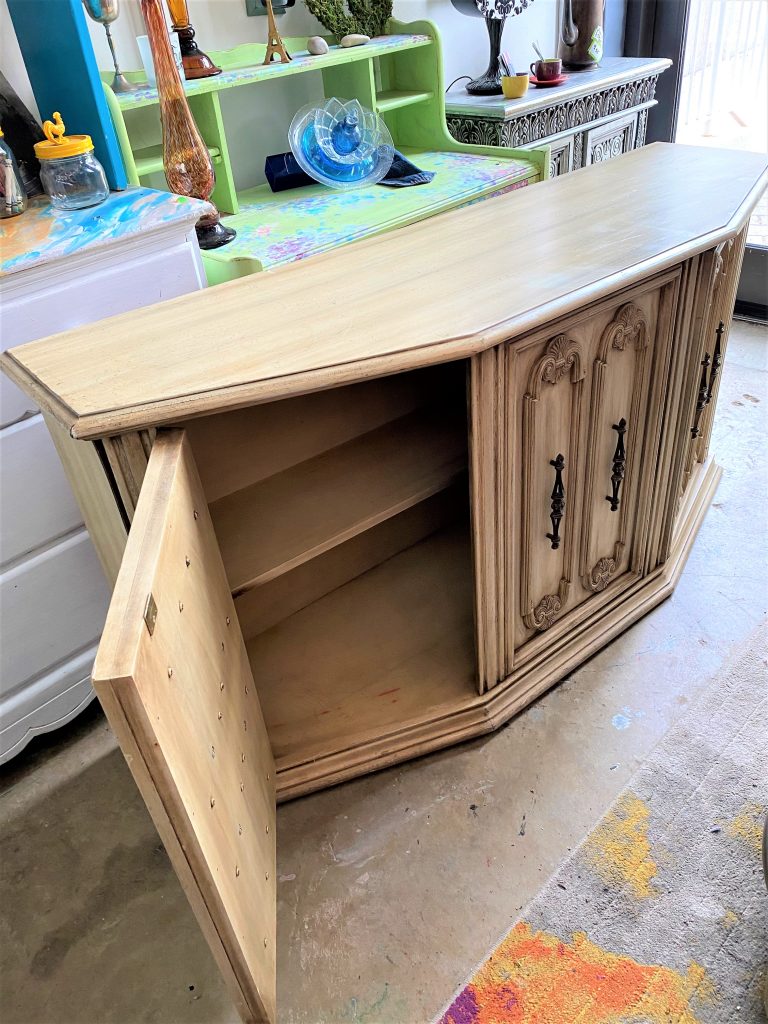
- If it has doors or drawers, then remove them, too, now.
- With a fine sandpaper or sanding block, give your piece the once over to make its smooth surface more paint-ready. Don’t worry about removing the current finish or paint color since we will be adding our layers on top of it.
- Once done, wipe down your entire piece from top to bottom and from inside out to remove any dust caused by the sanding as well as any dirt and fingerprints.
- See, that was an easy first step!
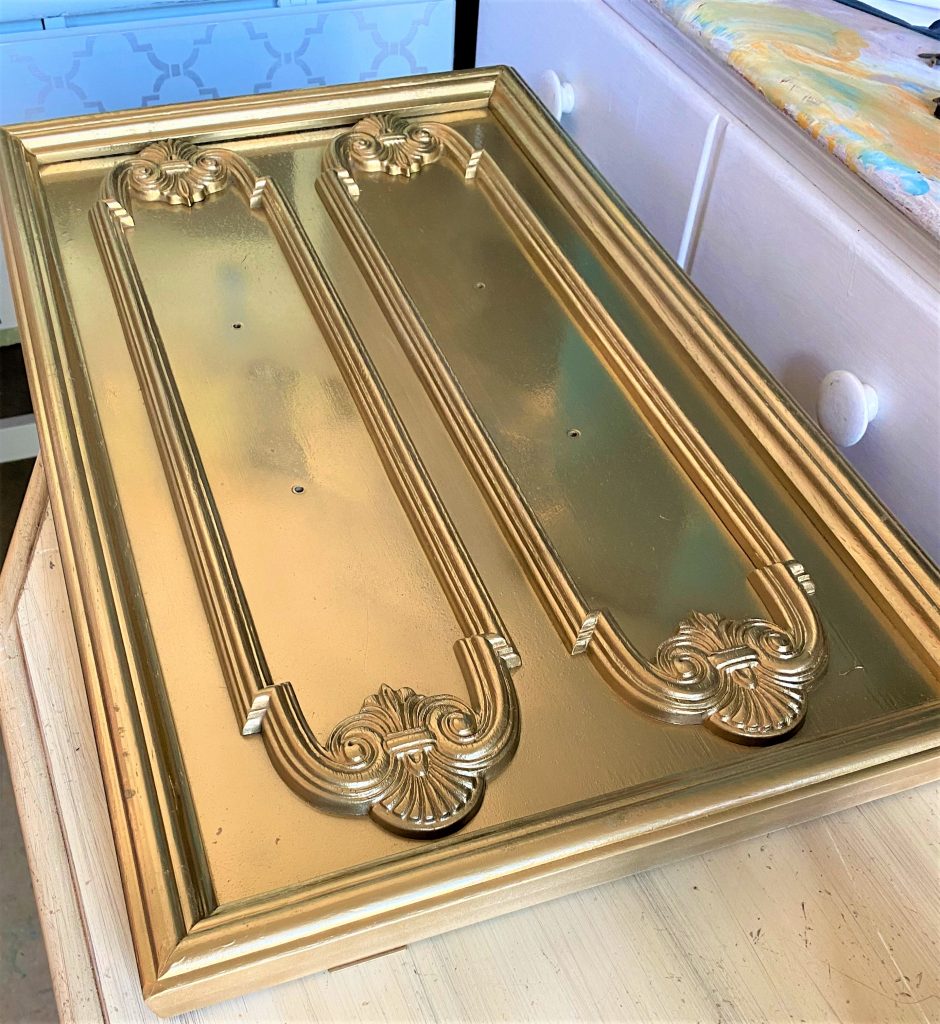
Step 2: Go for the Gold!
- Given the summer weather, find a place outside if possible, with lots of shade and, if you are lucky, a breeze or two.
- Place your piece on a drop cloth, put on plastic gloves and use your mask, too.
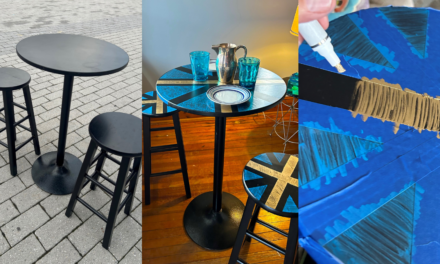
- Very lightly spray on a coat of gold on every outside visible surface, nook and cranny. Don’t worry about doing on in the inside of your drawer or console/cabinet/dresser interior. Do anything that will show then it is put back together and the drawers or doors are closed.
- Let dry.
- Repeat this step and be sure to look at your piece from a variety of heights and angles to ensure solid coverage. For the piece I was transforming, I did both sides and all edges of its doors that that the final look would show on the doors when opened.
Expert Tip: After spraying on this step, I found that it also caused some gold dust which required additional wiping with a damp rag to remove it. With all the spray painting I have done over the years, this was the first time I experienced this. While it wasn’t a problem at all, I just wanted to alert you that this might happen to you. You will be glad you have your mask on to keep the dust out, too!
Step 3: Grace it with green
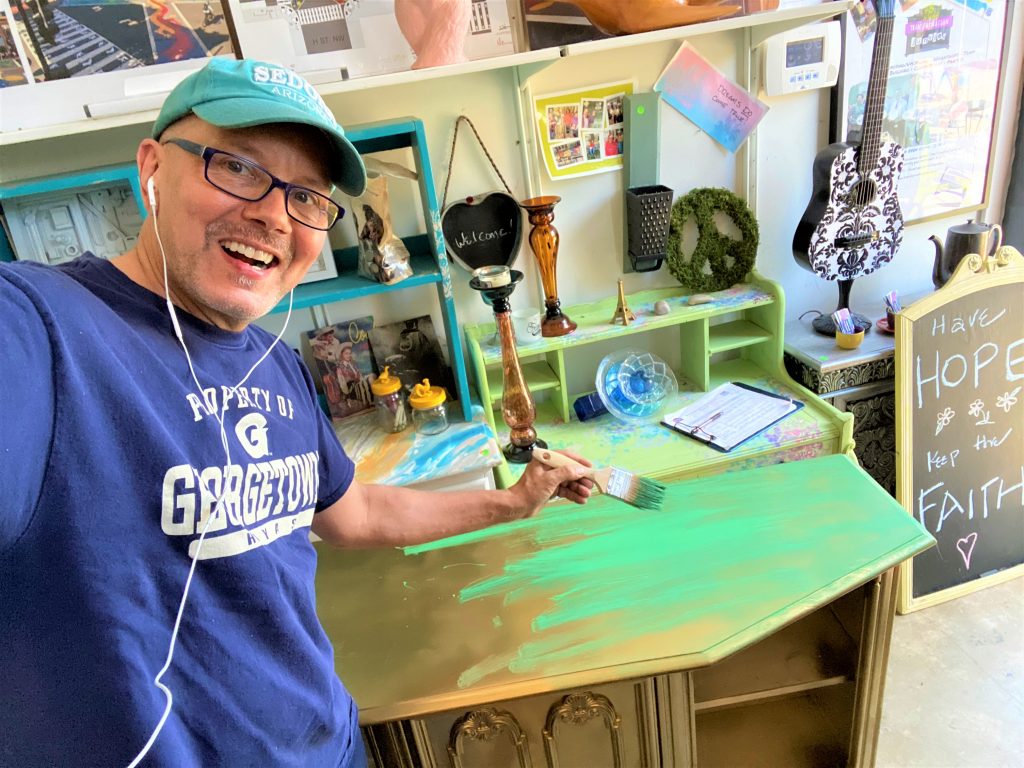
- To allow your gold layer to shine through and to add a million dollar look to your piece, apply a very thin coat of green allowing your brush strokes to show. You are doing an exterior paint coverage, almost dry brush process.
- Rather than getting a lot of paint on your brush, just “touch” the green to get small amounts on it and be big and bold with your brush strokes.
- You will want to ensure you get into various corners and fill in carved details, so that they are green but don’t want it to be solid and thick.
- With intention, you are adding color and allowing the gold layer to come through it. Also, I found that moving quickly with this green layer of paint worked very, very well. And you will be amazed at how far a little green will go!
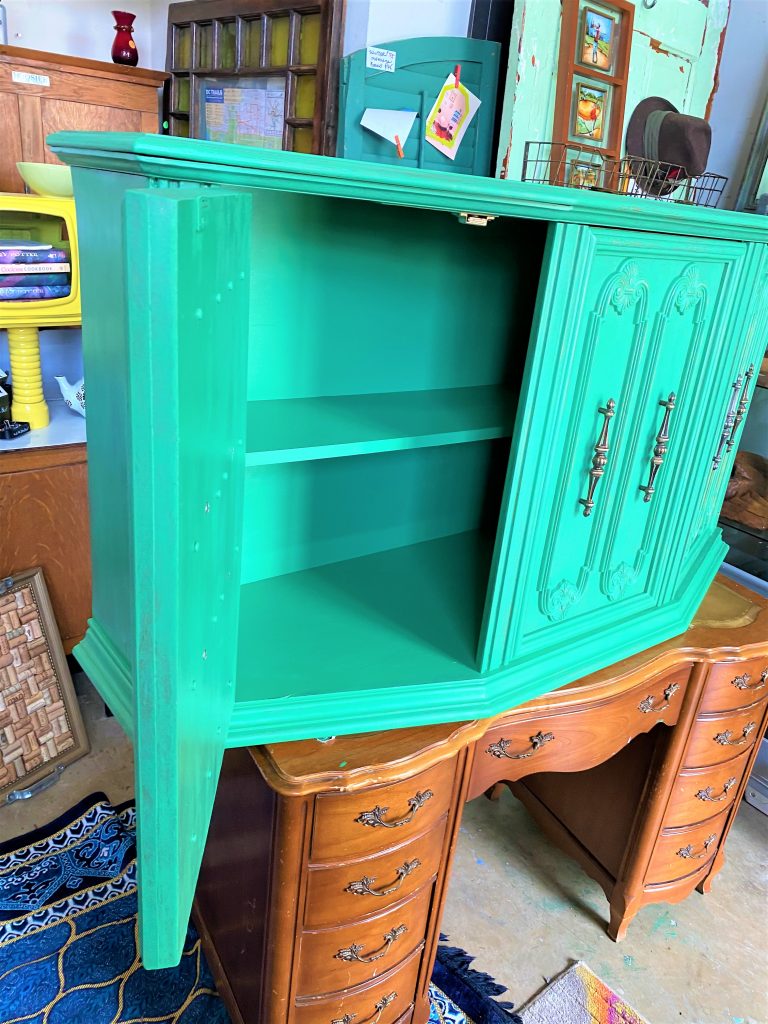
Step 4: Paint interior pieces
- Using several layers of the green, I painted the inside shelves and surfaces of the piece to provide a pop of color when it is opened.
- You could paint the inside of a drawer if your piece has one of those.
- This step will help to make your piece feel totally special as most prefab or mass produced furniture items don’t address the inner workings like this, even though we see them each time we use it.
Step 5: Touch it up
When your green layer has dried completely (ideally overnight), return to your piece with fresh eyes.

- You might need to add more green paint to certain parts to ensure solid yet see through coverage.
- After you do any touch ups and add additional strokes of green, please let your piece dry well overnight, too. Let me be candid, this elegant project is not for those in a rush….not even a gold rush!
Step 6: Bright out the shine
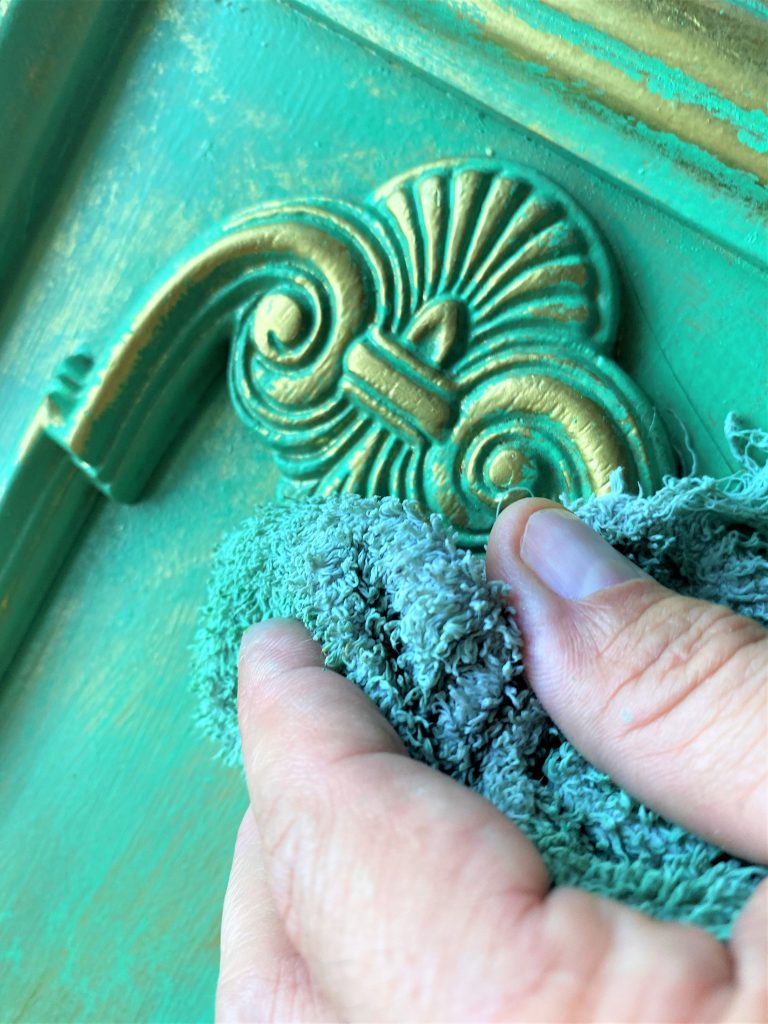
- With some very fine steel wool, gently rub off the green layer along the edges or on the top of any details to allow the gold to come through brightly.
- Bryant’s and Horace’s piece had lovely carving that sparkled with this step. Be gentle so that you don’t remove too much of the green paint.
Expert Tip: If you do find that too much green has been removed, you can always use your big brush to add it back. Also, if you remove too much green AND gold, you can carefully “spritz” on a small spot of gold too. Let these paint additions dry well, too, before repeating the earlier painting steps.
Step 7: Poly it up
- To help protect your extraordinary efforts from fingerprints, dirt and scratching, now is the time to add layers of polyurethane.
- Use a slimmer paint brush and apply a very thin coal over your entire piece getting every inch.
- A little poly goes a very long way and ensure it is lightly coated to avoid drips.
Again, your patience is required because it might two to three days for it to dry completely.
If possible, add at least three layers to provide a great protective coating. As they say, “Patience is a virtue.” Honestly, I am still learning that one myself.
Step 8: Bling up your hardware
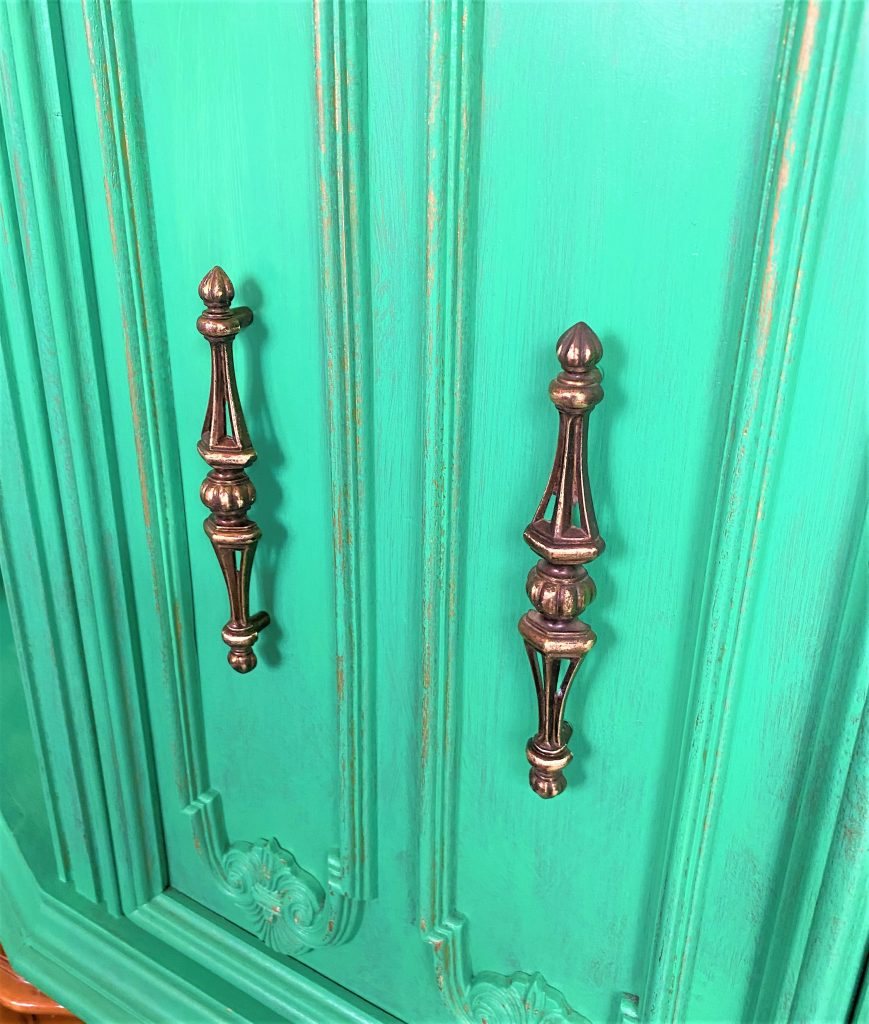
While the poly layers are drying, now turn your attention to your pieces knobs and handles and any other hardware.
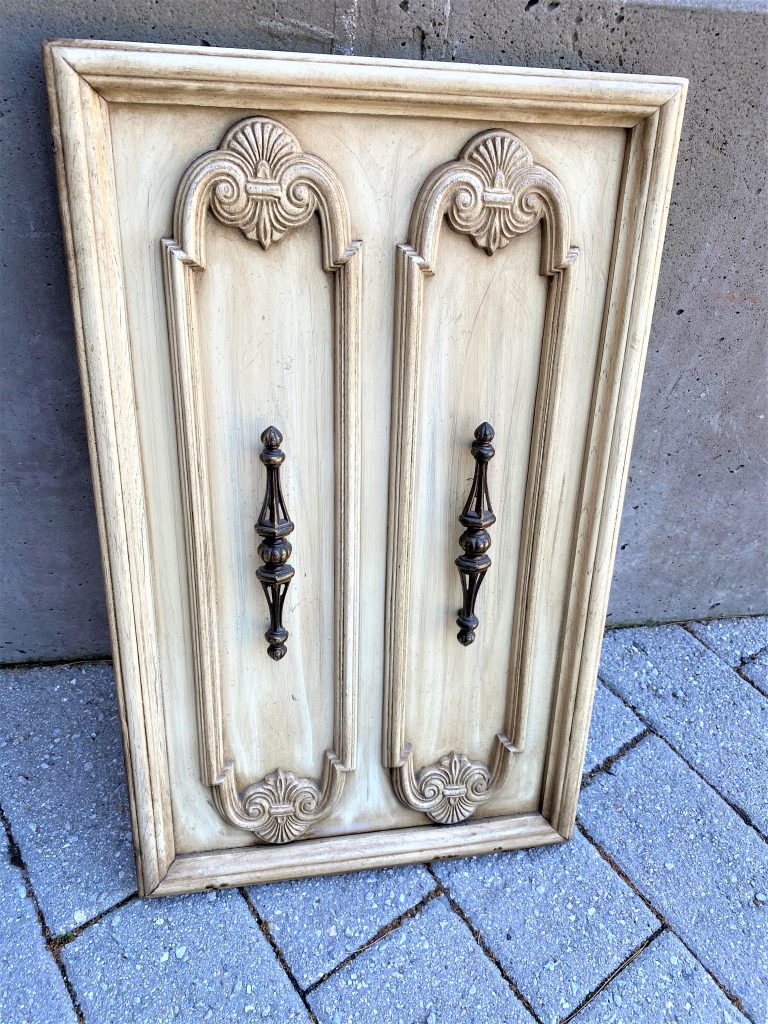
The guys’ piece here had these amazing and interesting handles which are works of arts all by themselves.
However, after many years, their original finish had tarnished and darkened. To make them sparkle and radiate, I took a small piece of very fine sand paper and lightly buffed up the edges and any parts that were raised up.
This step is called “distressing” and brought out the gold color underneath.
Such a simple and small step that turned the handles into the piece’s jewels!
Wipe down and screw back into place, being extra careful not to scratch or gouge your piece.
Step 9: There’s no place like Home….
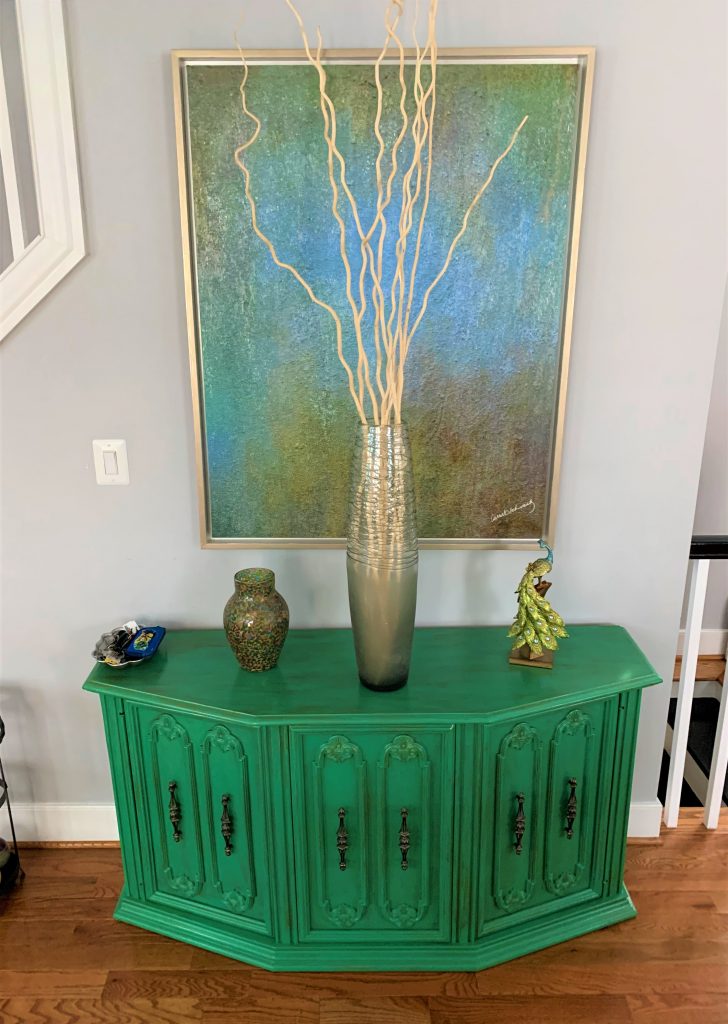
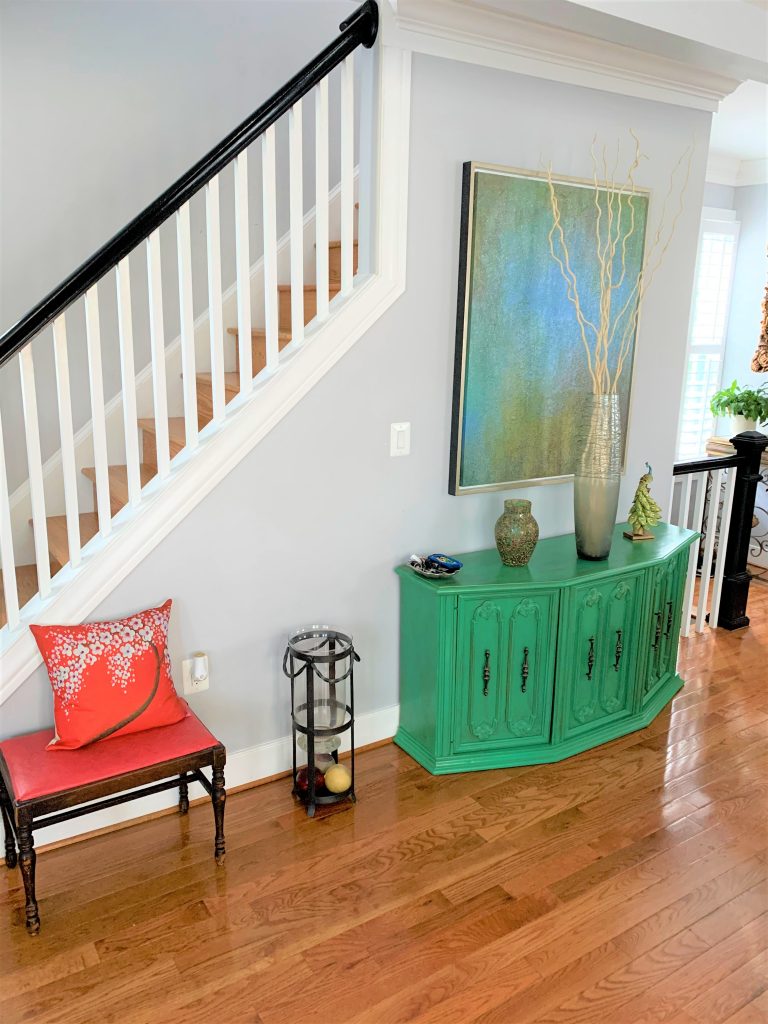
It was such a thrill to see how beautiful this green and gold piece looks in Bryant’s and Horace’s lovely home. They placed it below a painting that had some of these lovely hues in it and added special accent pieces on top that made it look like it was in the place it was destined to be.
Unlike the story of the Wizard of Oz, you won’t be dreaming when you see your finished piece because it is real and YOU made it happen!
Again, so many thanks to Bryant and Horace for this opportunity!

Tim Kime
Artist, Motivational Speaker, Life Coach

