With spring around the corner, transform items with moss to welcome in the new season.
Here are four options for this earthly appealing DIY project.
Level: Teens and adults
Items needed:
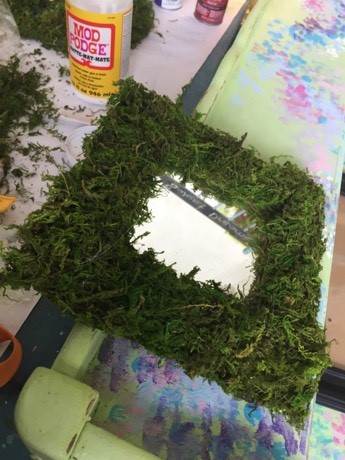
1. Small framed mirror
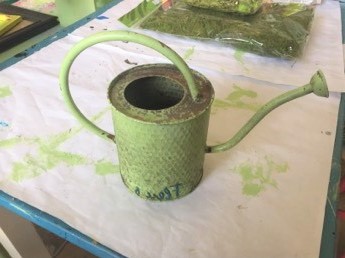
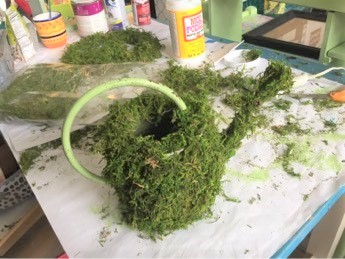
2. Pitcher/small watering can
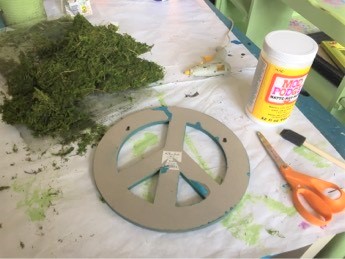
3. Wooden letters/peace sign
4. Wooden candle holders
5. Moss packets
6. Glue gun & glue sticks
7. Scissors
Time requirement: 30 to 60 minutes each, depending on project
Cost: $10 for each project
- $3 for small framed mirror
- $3 for pitcher/small watering can
- $3 for wooden letters/peace sign
- $9 to $18 per moss packet
Step 1: It’s natural to find your good at Goodwill—and cool items for this DIY project
This DIY project was inspired by a recent Finding Your Good posting which highlighted a moss-covered, large letter used as wall décor.
Well, I was up for the challenge to see how I could build on this idea to make it one that Goodwill shoppers and fellow DIYers will enjoy.
Part of the fun of shopping at your neighborhood, friendly Goodwill Retail Store is that you never know what will be there to capture your creative eye.
Head to the Housewares sections featuring vases and wooden items to hunt for items!
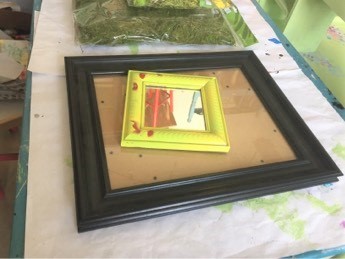
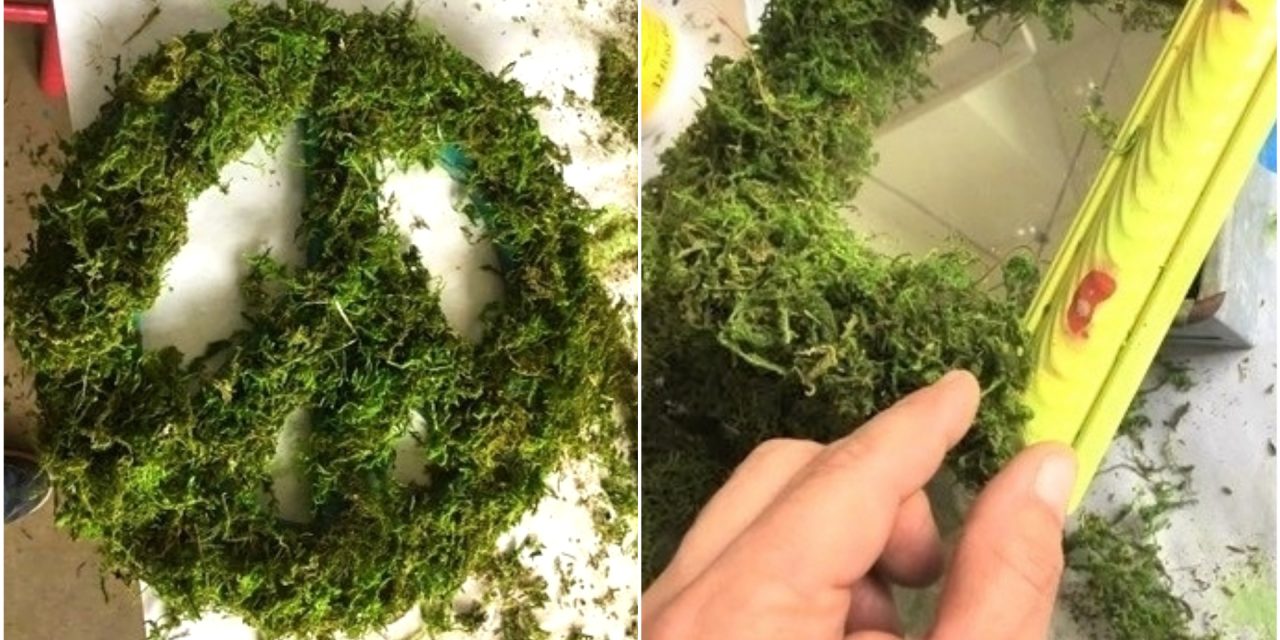
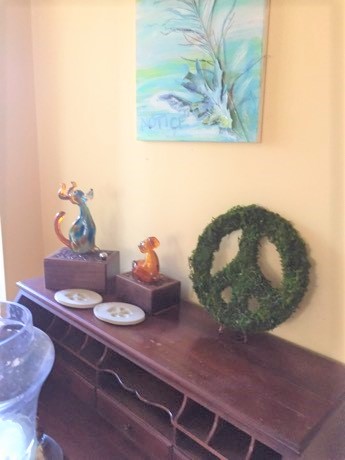
For this project, a peace sign was turned into wall art, a ceramic pitcher and small watering can were paired with wooden candle holders for table décor, and a small mirror was given an ethereal look.


While the projects are different, the steps from bland and boring to mossy and magical are the same!
Step 2: Pick up moss at your favorite arts & crafts store
Most larger arts & crafts stores will have moss packets in a variety of colors.
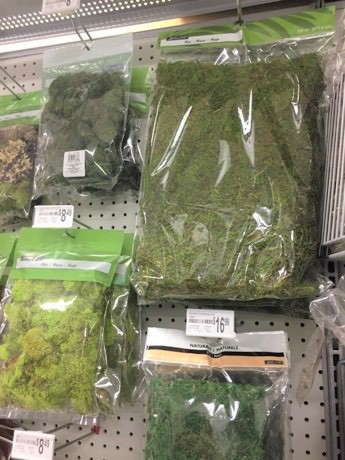
The green was the most inviting hue and looked more natural than others that were painted other tones. Also, you may find packets of fungus with other organic items to use as embellishments.
Once back home at your creative work-space/table, remove it from the packets and pull it apart in “bite-sized” pieces for perfect applying.
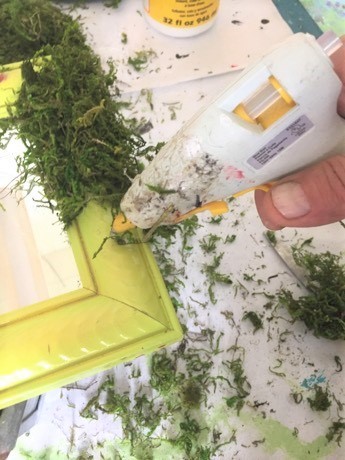
Step 3: Glue gun, go for it!
Being very careful as the glue gets hot.
- Use your glue gun to put on a layer of glue on a section of your item.
- Work in small areas as the glue does dry quickly.
- Add the glue, gently place on some of the moss and make sure it is secure.
- Repeat, repeat, repeat.
- You will use lots of glue sticks and will want to work swiftly as soon as you put on the glue.
- Continue the process until your all surfaces to be covered are done so completely.
Expert Tip: We all love our Modge Podge which is great for adhering paper to items, but it doesn’t work well for this project. The thickness of the glue gun’s glue and its quick drying makes it better suited for this upcycle.
Step 4: Shake, rattle and roll
Now, turn your piece over and shake it gently to remove extra moss. (No worry about rattling and rolling your piece, I just liked the phrase!)
You may want to use your fingers to carefully brush off lose moss pieces.
Flip it back over, right side up, and continue.
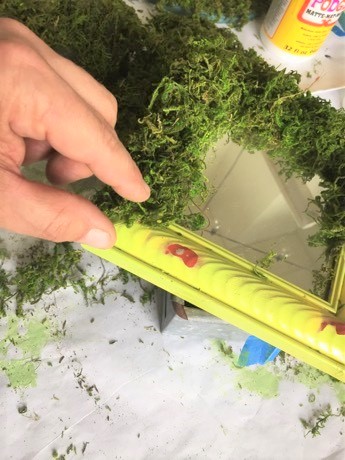
Step 5: Look for gaps
Return to the gluing process by filling in any spaces with more moss and covering any edges.
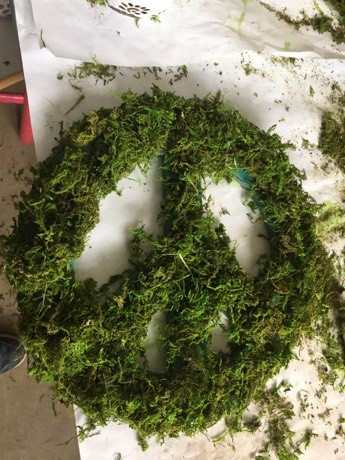
Step 6: Squeeze and trim
- With your hands, squeeze and pat down the moss to ensure it is close and tight to the piece.
- You will want to see the shape of your piece so this step will help add further definition.
- Then, with a pair of sharp scissors, trim off any extra moss that may be over hanging over along the back, bottom or edges.
Step 7: To embellish or not to embellish is the question
Depending on your transformed piece, you may want to glue on some of the colorful fungi and moss pieces to add extra visual interest and dimension.
I bought some silk daisies that I added to the peace sign to make it feel more “groovy,” but didn’t like the look so removed them.
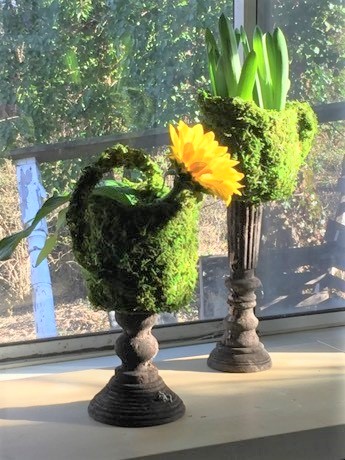
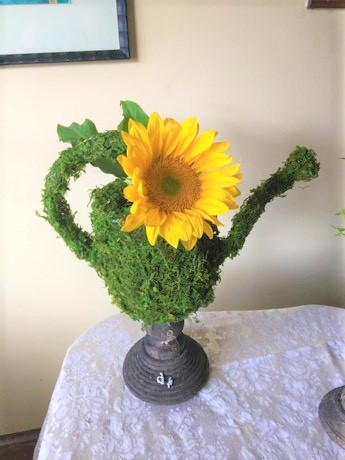
Also, I wanted to raise up the pitcher and watering can to truly make them stand out (and up!) so I glued them to old, weather worn wooden candle holders which tied into the natural look perfectly!
Step 8: Spray on poly for extra hold
- To help keep the moss in place, spray on a couple of coats of satin polyurethane.
- It will dry clearly and without a sticky feel. Let this dry for an hour or so.

Expert tip: Do you use hairspray? Consider it as an option for this step to help keep things secure.
Step 9: Hang, display, cheer
Hang your Peace Sign anywhere it will be seen often.
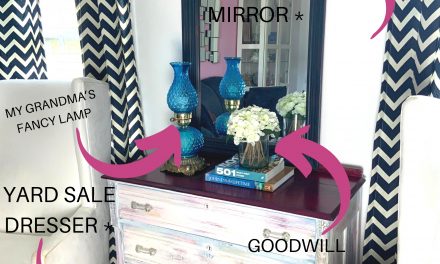
Place the small mirror on a shelf to add some charm.
Add plants to the planters and place in the center of a table. Whatever you decide to make over using moss, you will marvel at the magic it creates!

The spring sun hitting these gorgeous creations! Sunflower power!
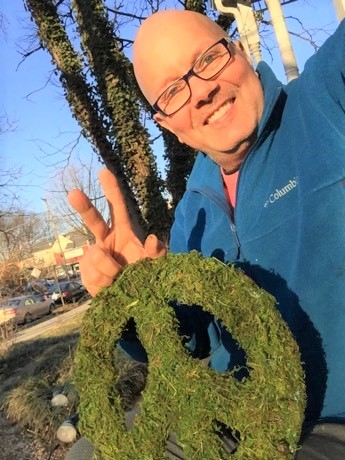
Peace and love in a zen space Selfie with a DIY twist!


