“Leaf” Your DIY Worries Behind When You Use Oak Leaves as Stencils
Seems like it happened overnight–the Autumn season has started to arrive as leaves are dropping all over the place. No need to “Fall” down or behind when you are looking for inspiration for your next DIY project: it’s literally under your feet!
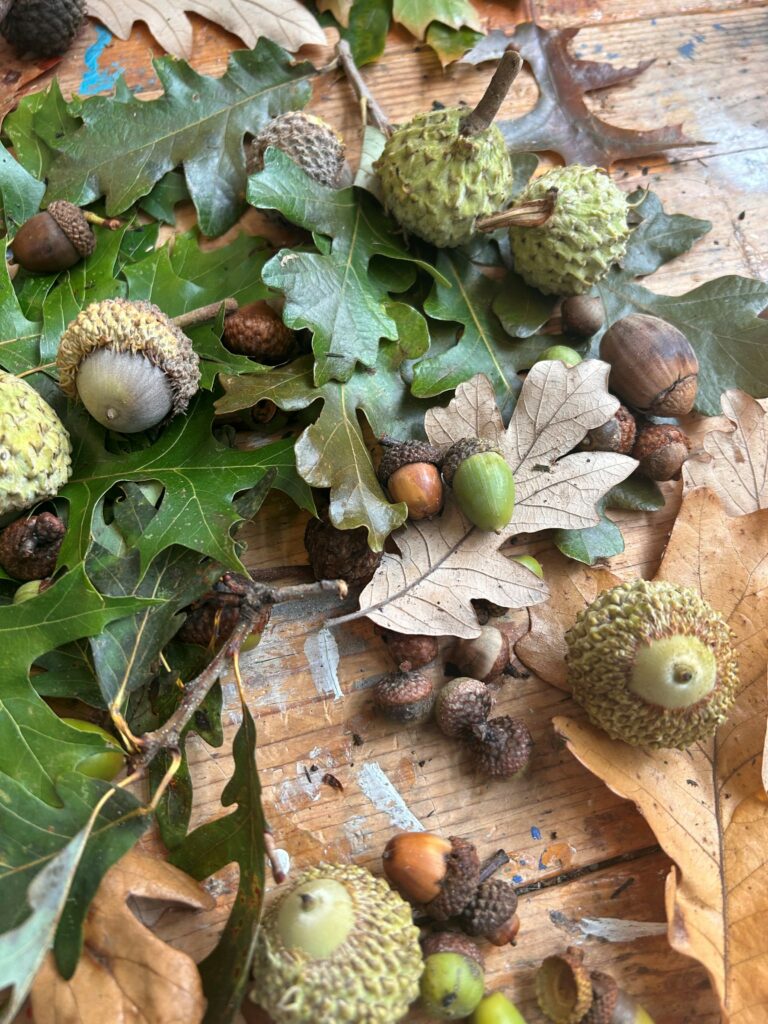
During a recent walk around my neighborhood, I collected oak leaves—and acorns—to decorate for the changing seasons. Who knew that oak leaves come in a variety of shapes and sizes? Now I do—and will you, too, when you use them for upcycling and transforming Goodwill finds.
Leaves make great stencils which help to capture the feel of this lovely time of year. They add a classic, timeless look to any room and go with any design style.
An extra bonus: picking up oak leaves and acorns is a fun, family-friendly activity, too. Or invite a friend for a stroll as you hunt together outside for items to incorporate into your upcycling projects.
1. Scope out Goodwill for an item or two to transform
The cooler weather is perfect for doing DIY projects outside and the time is always right to find your good at Goodwill. Hit the furniture and wall décor sections for items to upcycle this way.
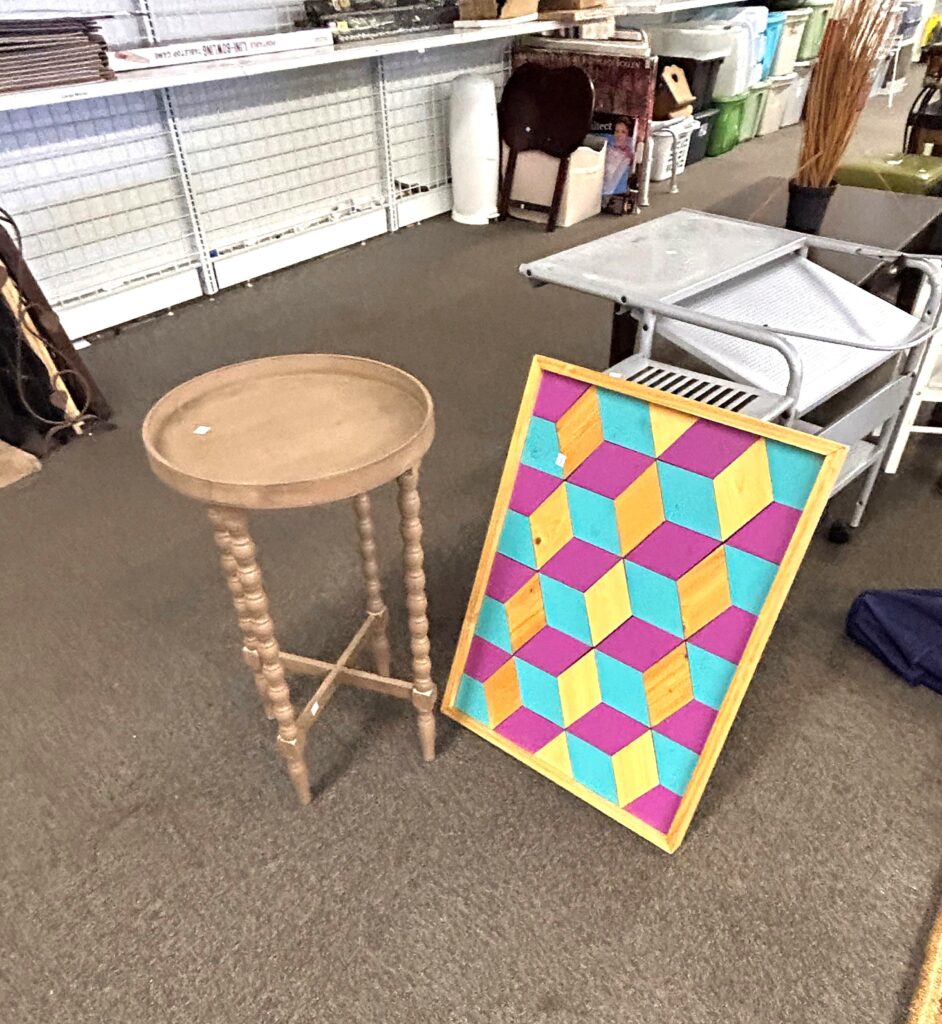
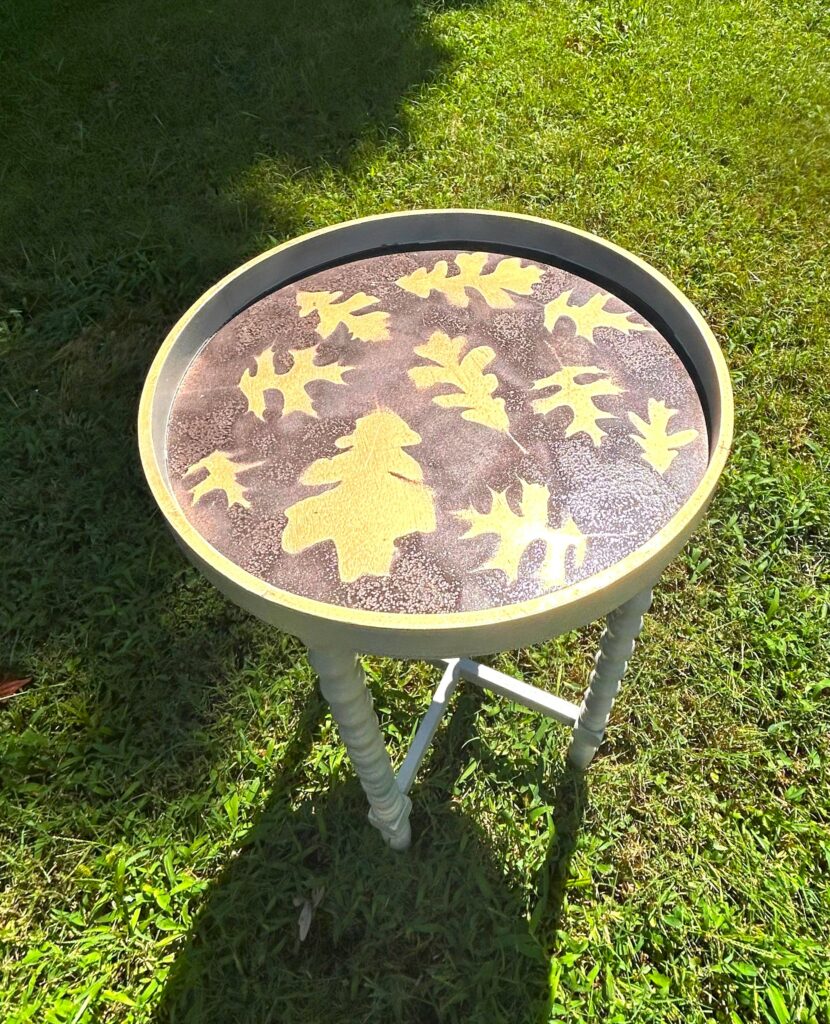
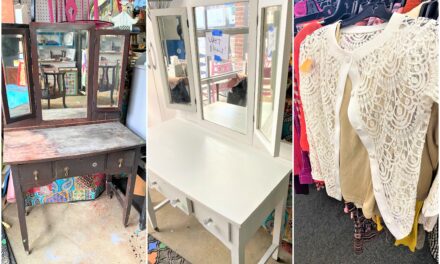
A charming, round-top side table with carved legs was perfect and priced so low, I nearly fell down, too! A thick-framed square mirror with an already distressed look was another good choice to get a leafy makeover.

Both items were sturdy and well-made of real wood, another score!
Any flat surfaced items are ideal for this project including serving trays, coasters and picture frames.
Consider using wood items for this project to tie into the rustic, outdoorsy feel of the final look.
2. Prepare your pieces for some painting
As always, place your pieces outside to enjoy the weather—and to give you some breathing room and fresh air.
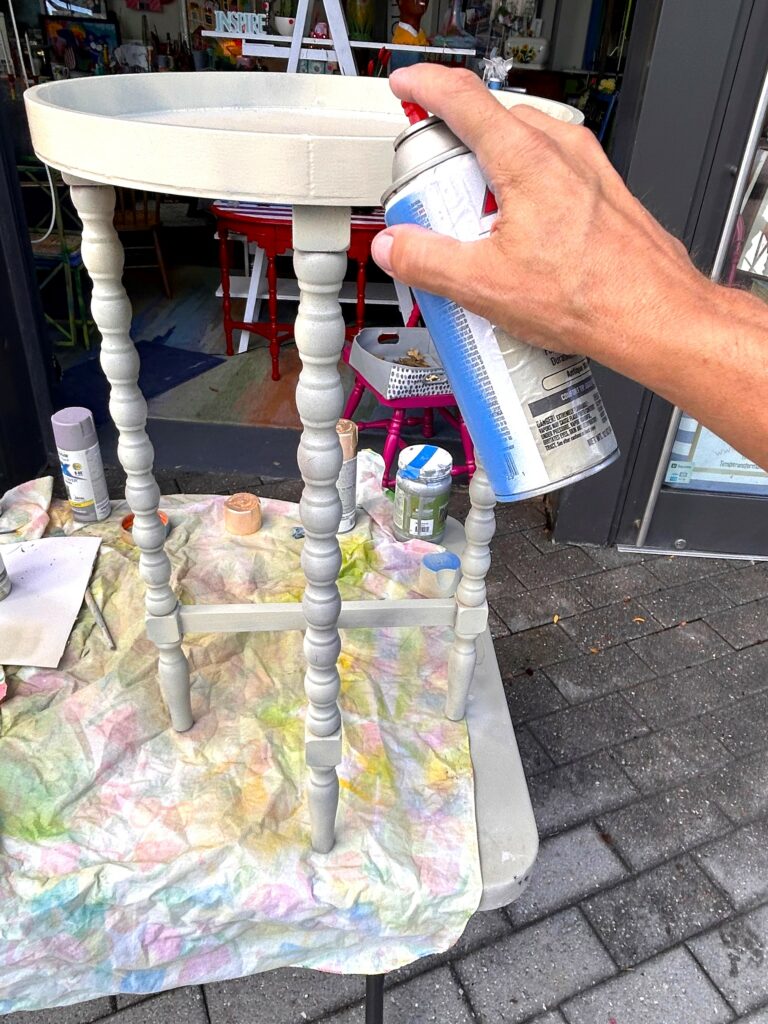
- The little table had a brown-stained but also dings and scrapes here and there.
- To mask those and to warm it up a bit, an ivory spray paint was applied all over it.
- The technique used was light spraying and not a solid coat. The goal was to allow some of the original brown to show through adding to its visual delight.
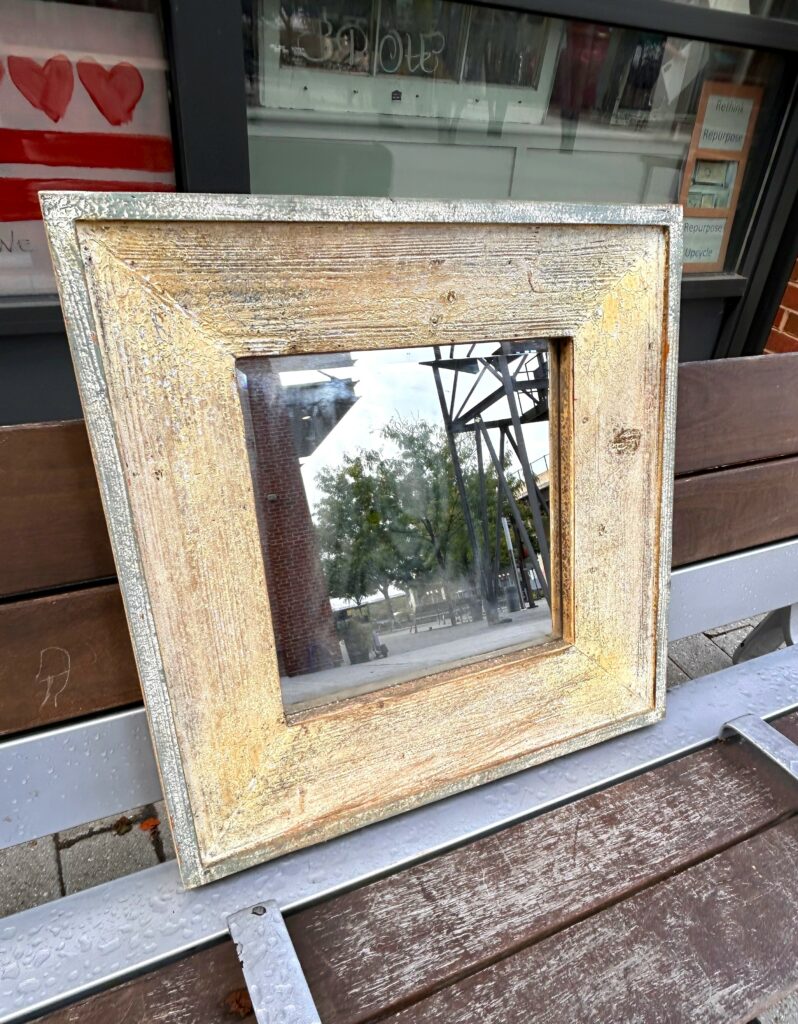
- The framed mirror was scrubbed down with a damp cloth to remove dirt and loose paint. Its weathered appearance was appealing as it was so this light clean-up was all that was needed.
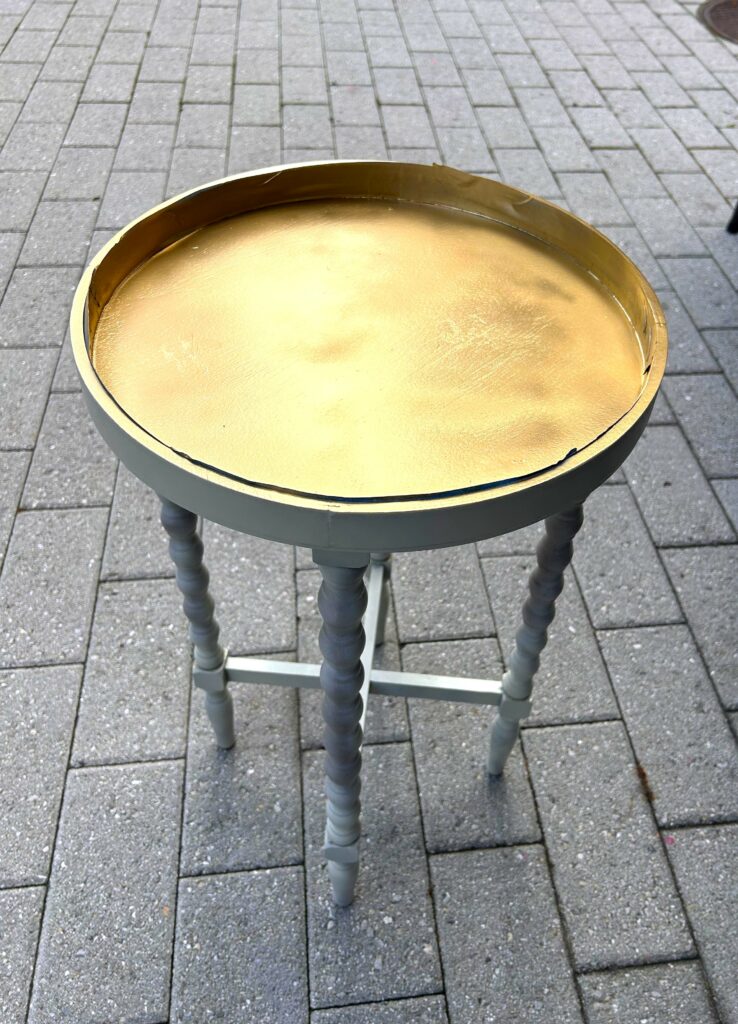
3. Go for the Gold
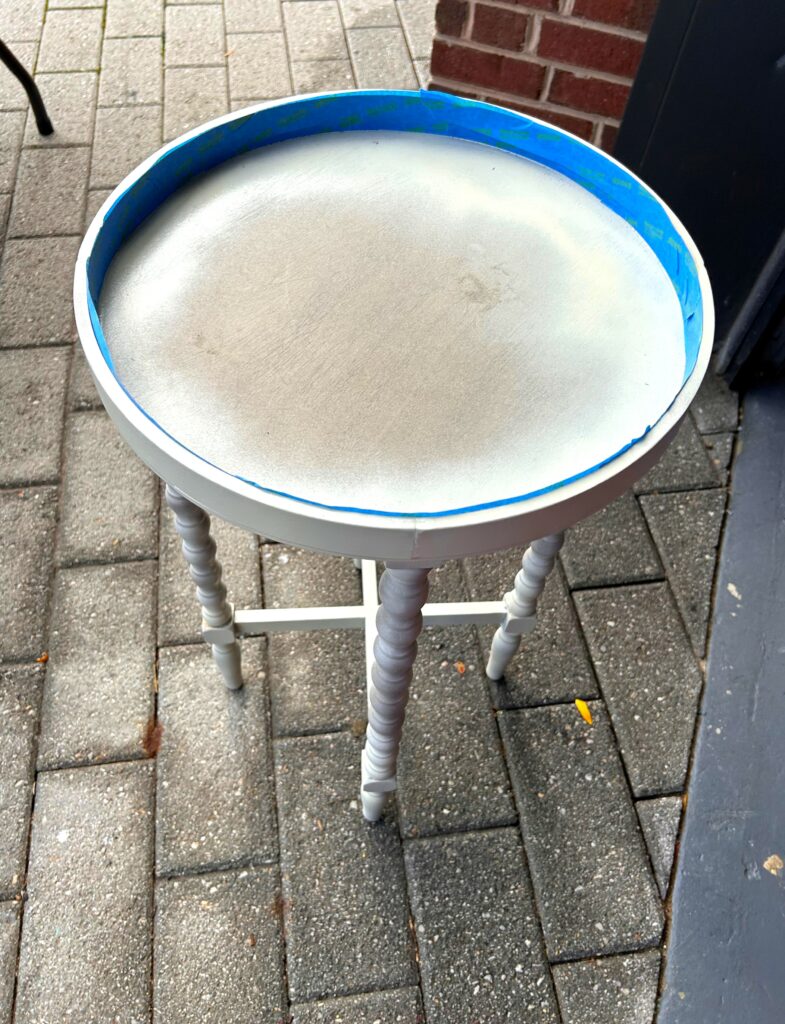
- Use painter’s tape to protect any parts of your pieces from getting the gold treatment.
- The inside edge of the table’s top got covered as did both the inner and outer edges of the mirror frame.
Several very light layers of gold spray paint were applied. The tabletop popped with its new shimmery look. The mirror went from distressed to divine with a broad band of gold.
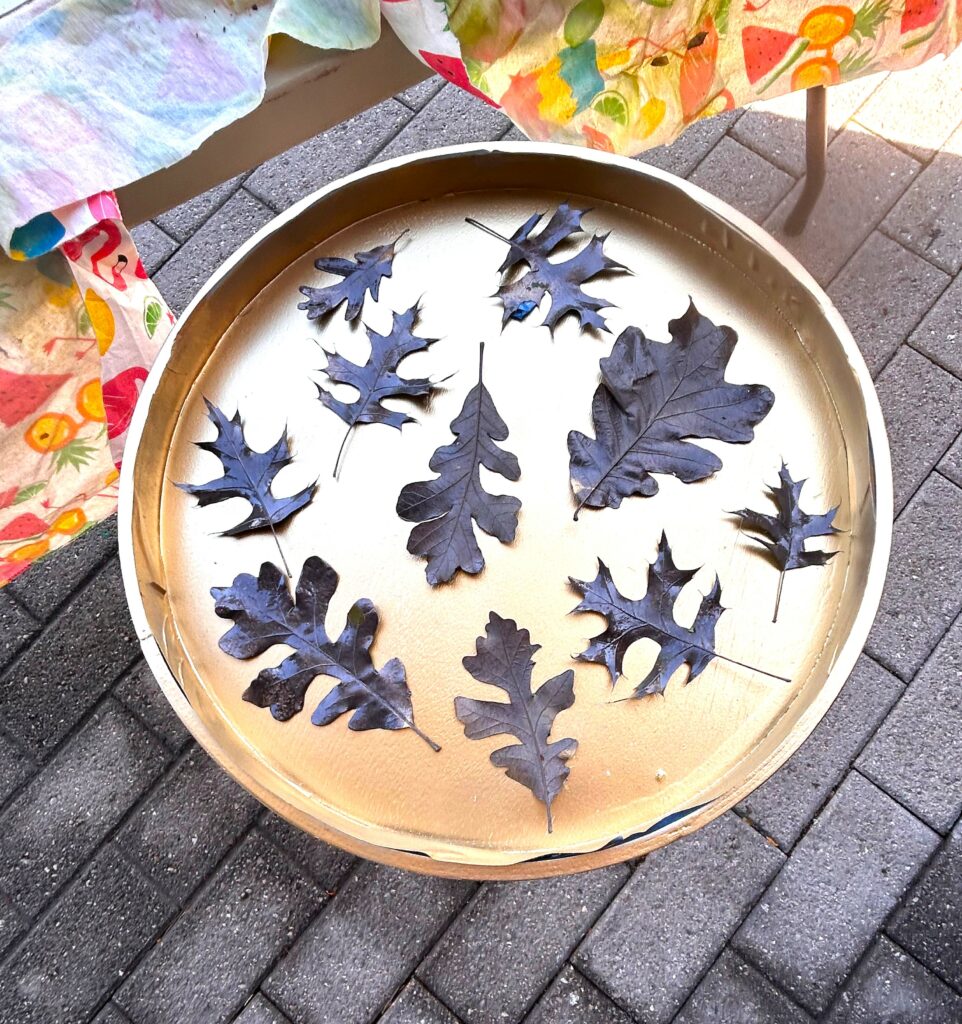
4. Leaf your cares behind as you apply your nature finds now
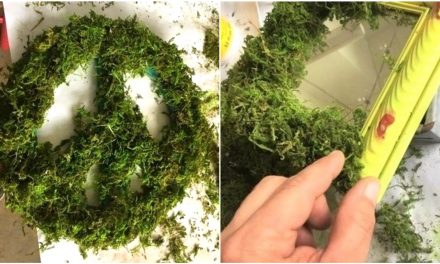
With your gold layer of paint now dry, place your oak leaves on the tabletop and mirror frame and secure in place with painter’s tape.
You know how you roll it on itself to make both sides stick, place on the bottom of the leaf then put in place. Design-wise, the leaves should go in a variety of directions. After all, they should look like they are falling, too.

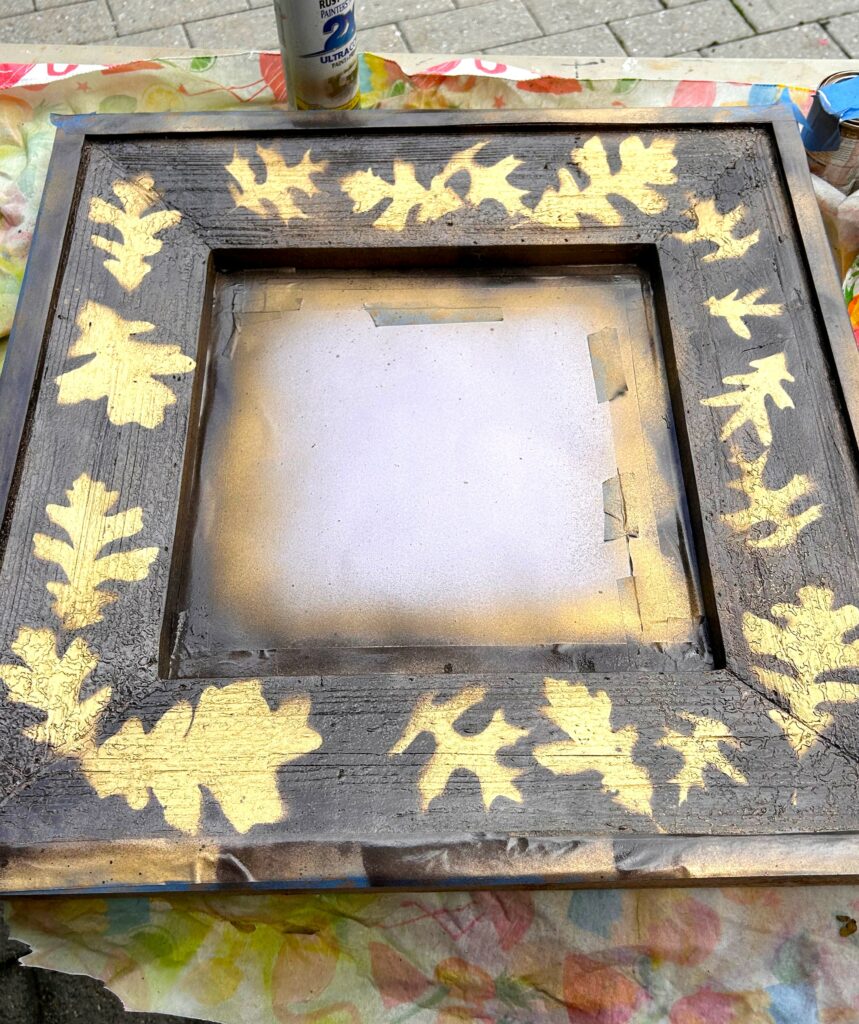
When your leaves are positioned in a pleasing way, then spray on a light layer of bronze, hammered-finish spray paint. This interesting looking paint will have brown tones with a sheen and a textured finish. Most hardware stores have this sort of spray on-hand, or you can order it online, too.
Add a couple of quick, light layers, too, and ensure you cover the entire surface and all the taped-on leaves.
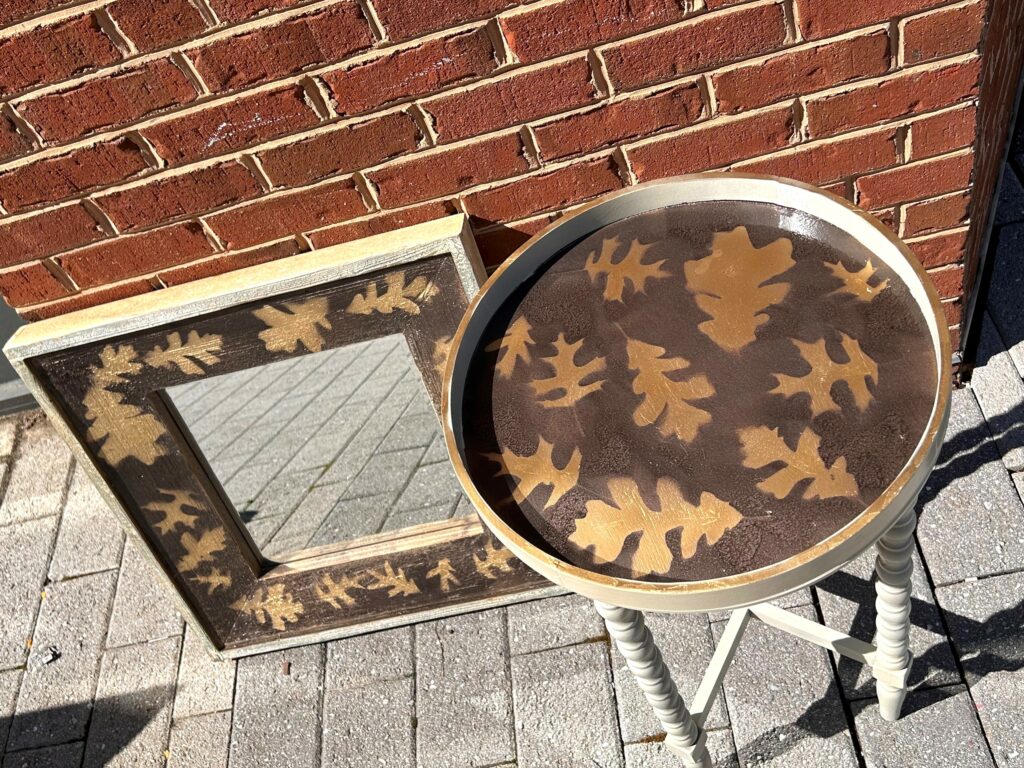
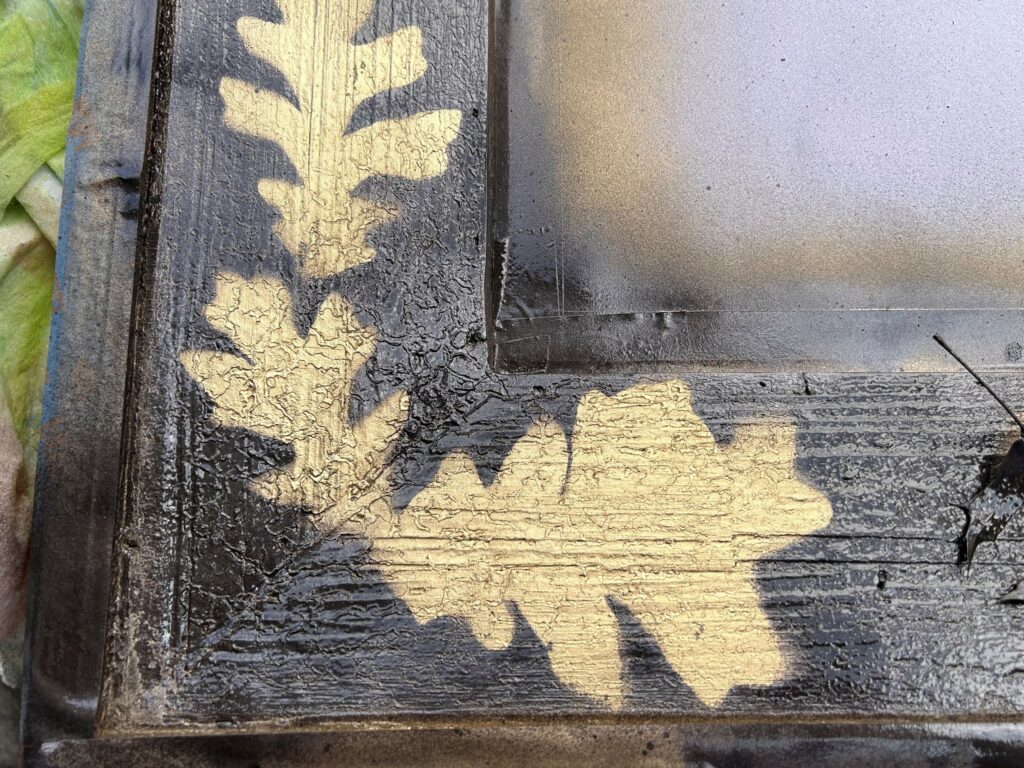
5. Remove leaves to reveal loveliness
Before the bronze paint layer dries, carefully remove your oak leaves from your pieces.
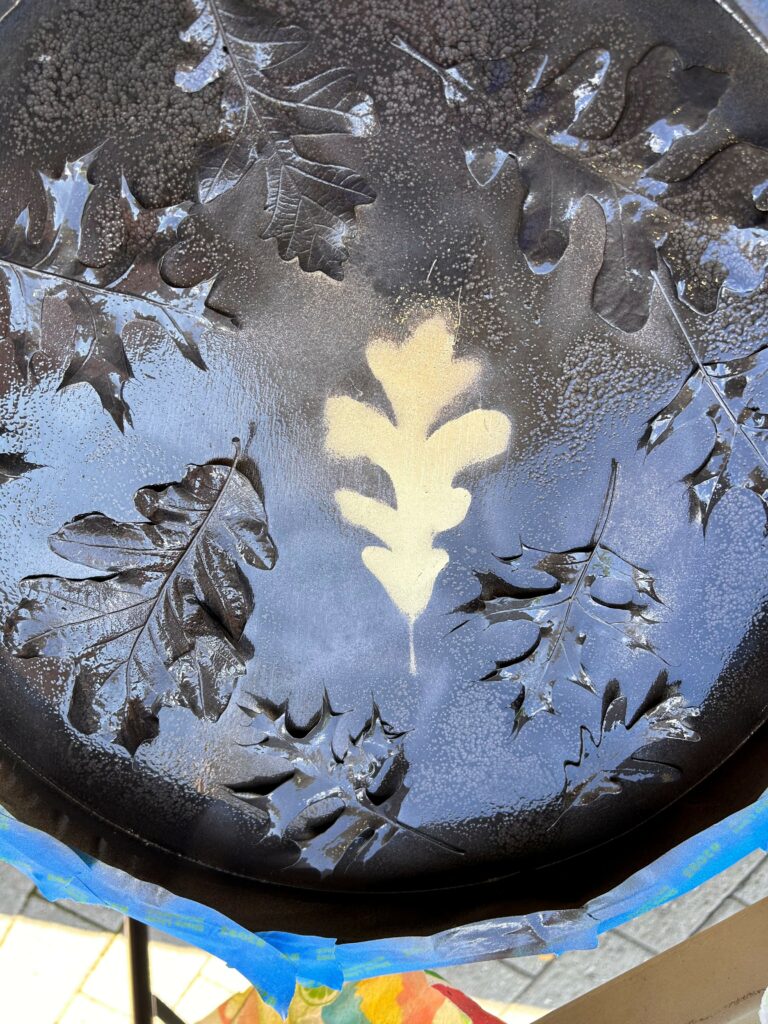
You will want to do this step before the paint dries to avoid the leaf or parts of it from being stuck and left behind. Your fingers will get the bronze-toned paint on them as your remove the leaves, so be careful not to touch the gold paint or other parts of your upcycled items.
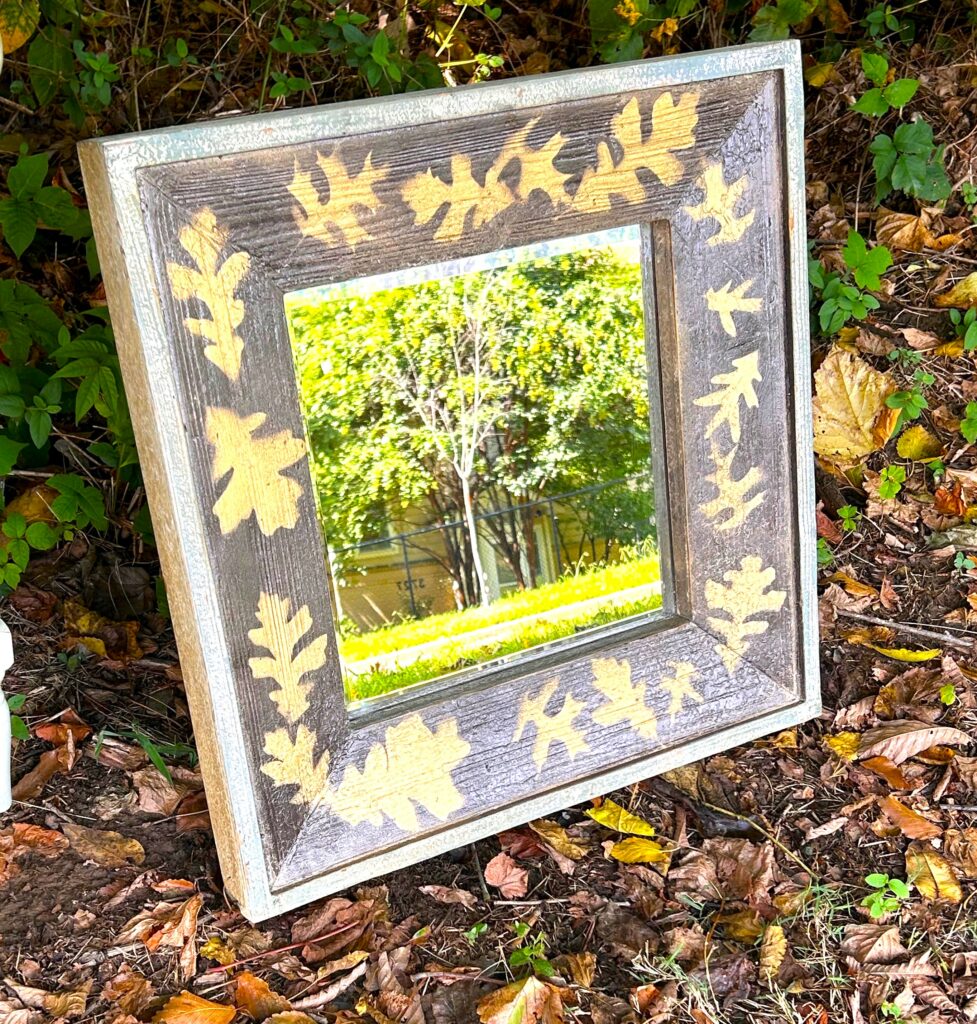
Immediately, you will be able to see the oak leaves’ shapes across your project. They will now sparkle with gold. No waiting for another season as you will get instant gratification when you see how beautiful they look!
6. Do a little distressing to add dimension
Now that your items have their shimmery gold oak leaves on them, consider using sandpaper or a sanding block to bring out additional details.

For the table, the top’s edges were lightly sanded to remove the gold and ivory paint to allow the original brown tone to show.
Along the legs and bottom cross supports, more new paint was gently removed on the edges, too, to call attention to these parts and the lines created.
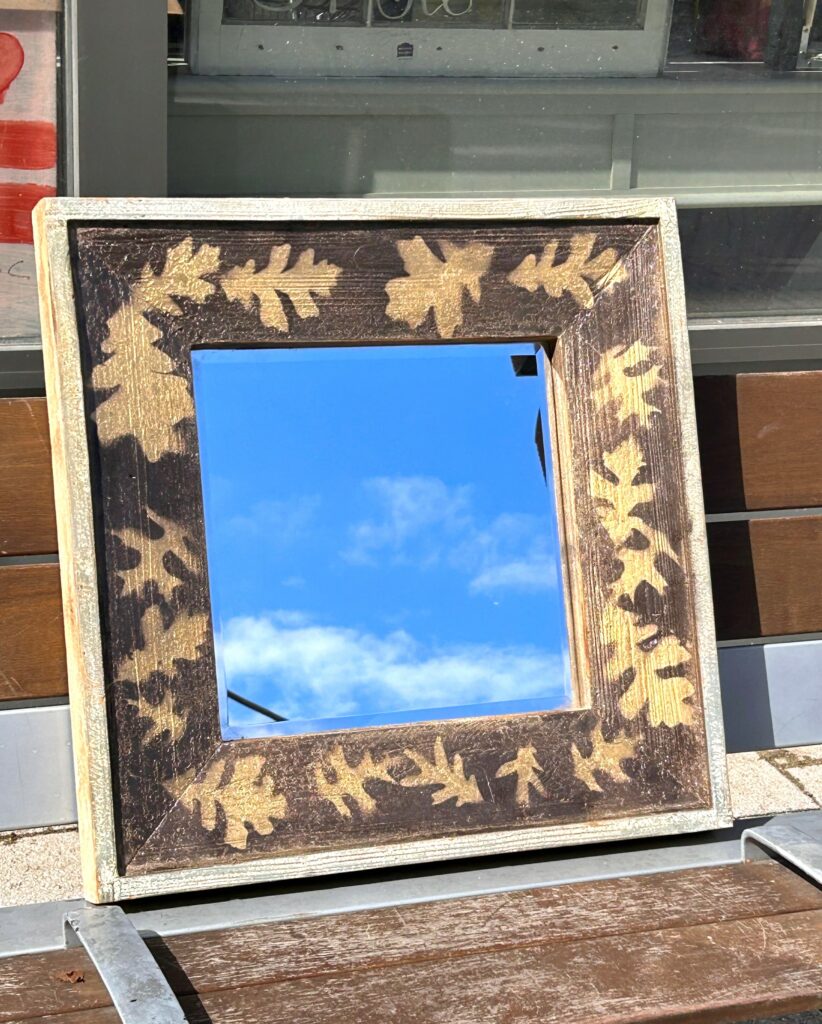
For the mirror, the inner edge was destressed to help frame the gold and bronze section. It was the perfect final touch.
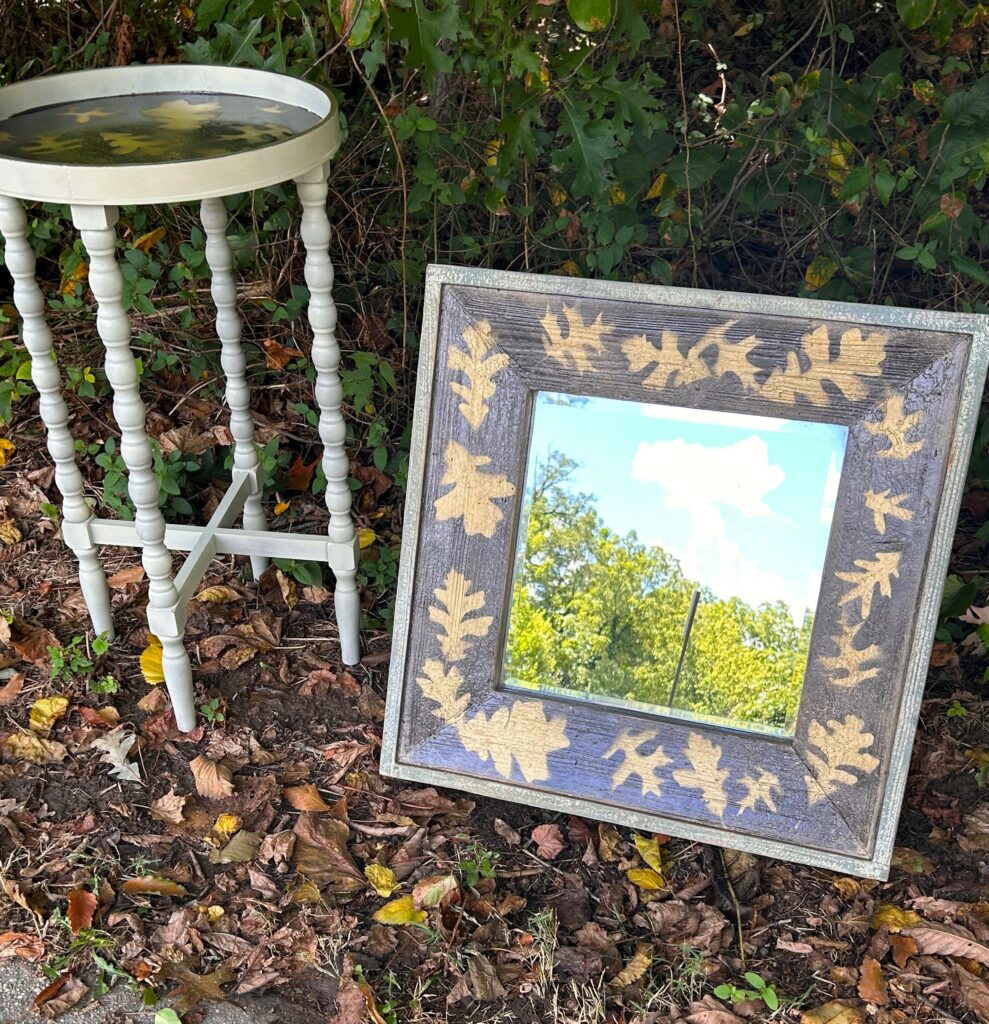
7. Position, hang, accessorize & be proud
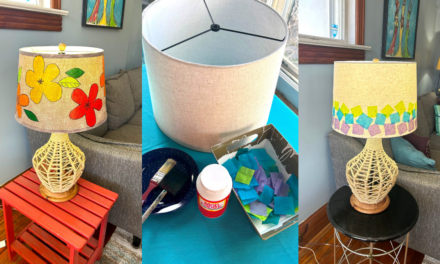
Position your oak leaf stenciled and painted table next to your favorite easy chair and add a small reading lamp and a matching coaster—all picked up at Goodwill, too, for only a buck or two. Hang the Autumn-feeling mirror by your front door above a table on which to place your keys and mail as you come and go.
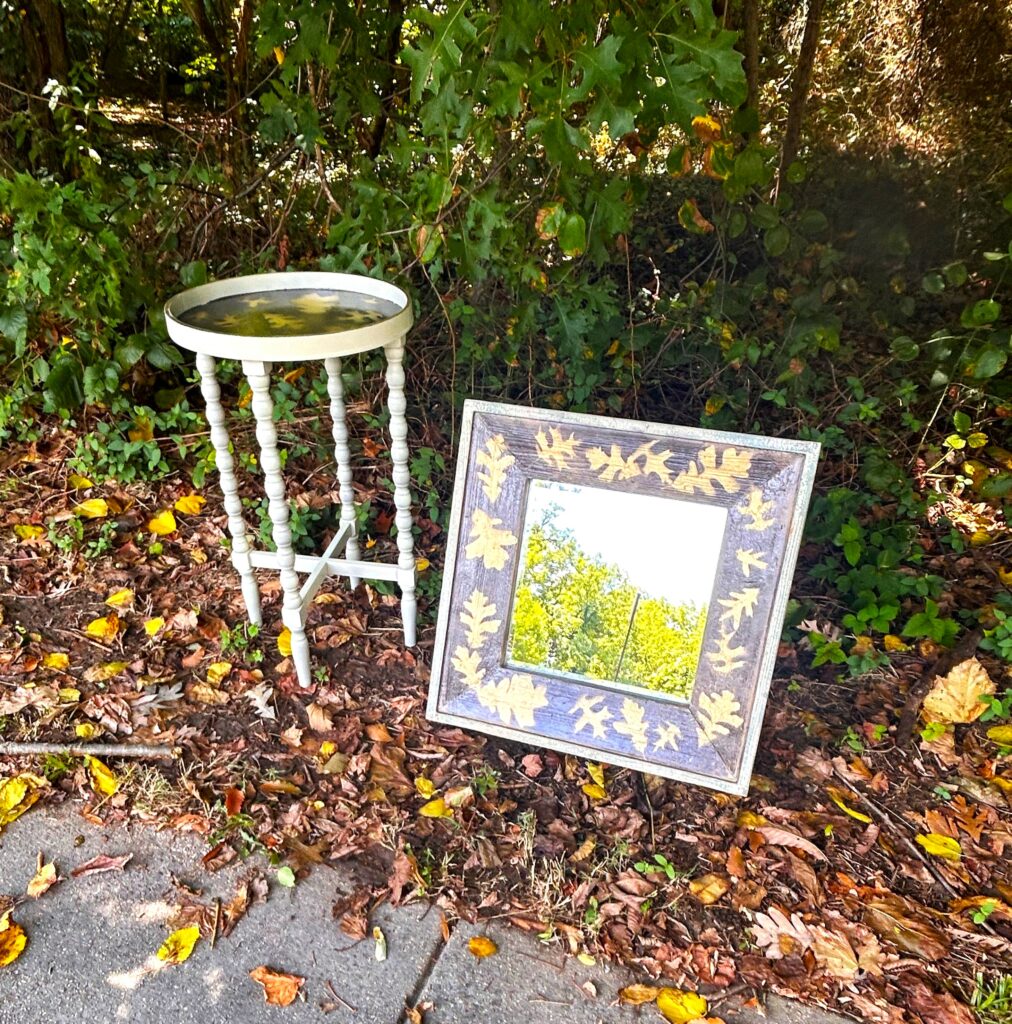
Wherever these transformed pieces call home, you certainly deserve to be proud of your DIY talents and your special celebration of the season!
Similar Reads:
- DIY: Don’t Leaf Mother Nature Out of Your Artwork
- Upcycle a Rake into a Fall Wreath or Funky Wall Art
- Stenciling on Style: Fume-Free Table Transformation
- Make Your Own Exquisite French Bistro Set

Tim Kime
Artist, Motivational Speaker, Life Coach