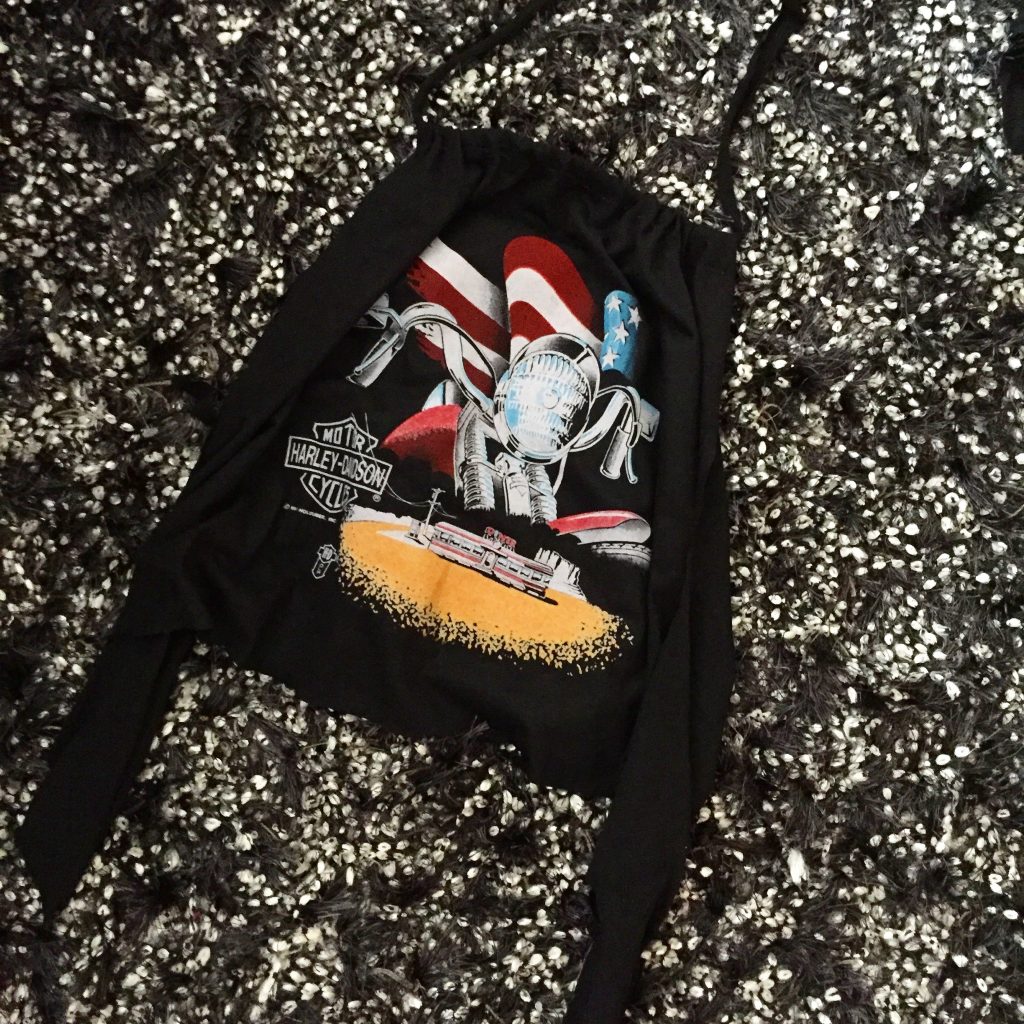
Fashionistas, this past weekend, I picked up an old (dated 1990) Harley Davidson shirt for only a couple of bucks. Even though it was DEFINITELY not my size, I knew I had to take it home with me, because I’m such a big sucker for everything and anything vintage.
After taking it home, I thought to myself, how the heck am I going to wear this?! So I went on a DIY excursion and attempted to turn this oversized tee into a fun summer halter. Here’s a step-by-step process of transforming this oversized tee into summer halter:
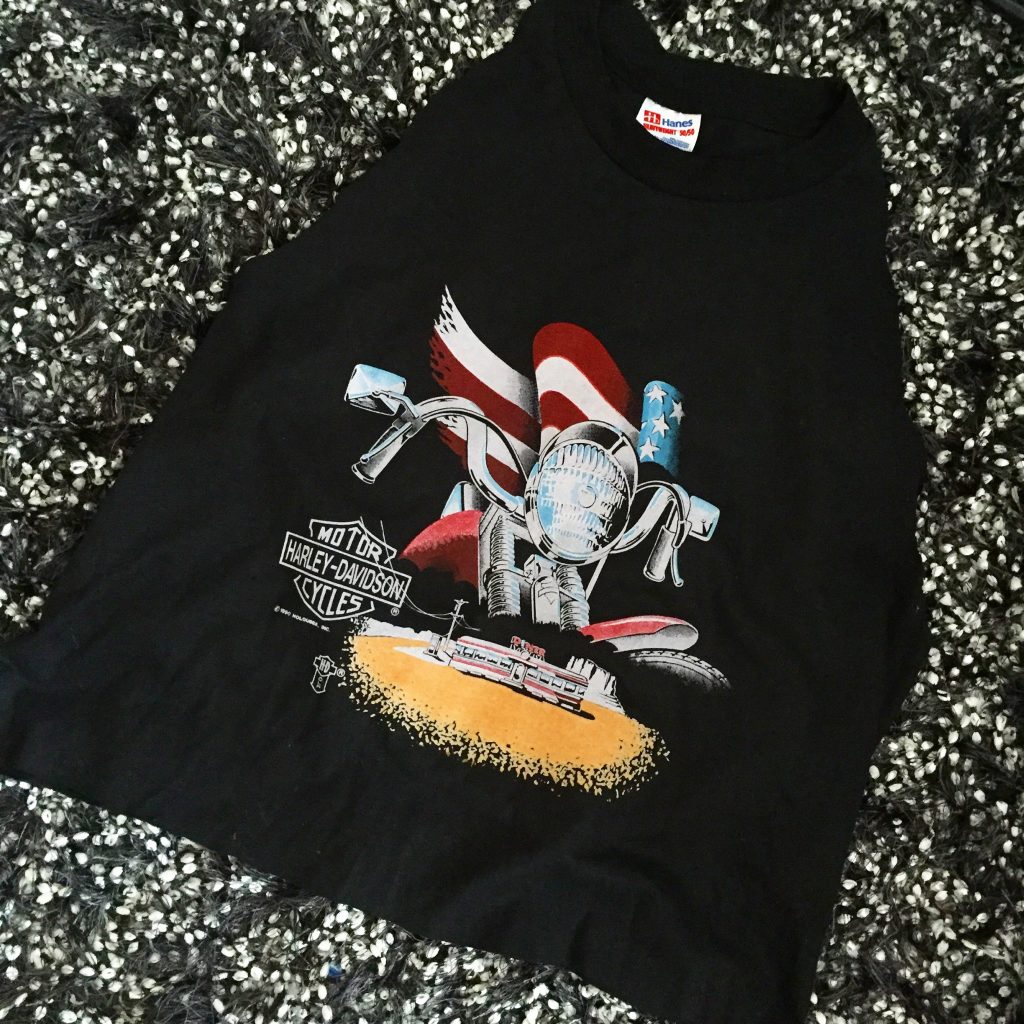
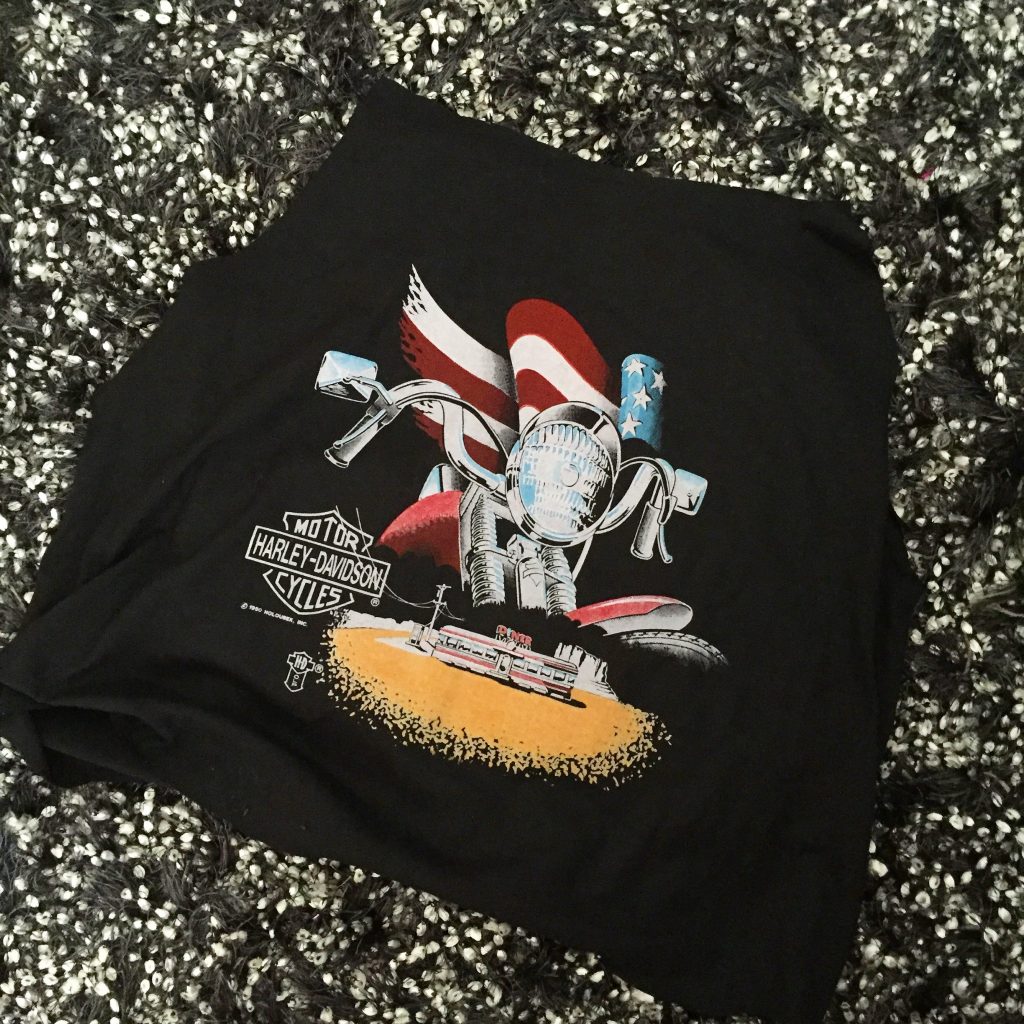
1) Cut Off Sleeves
The first thing I did to transform this tee was cut off the sleeves in a trapezoidal shape. The top would house a drawstring, and the bottom, I envisioned, would just be a tie.
2) Cut Off Collar
Then, I cut off the collar, sleeves, and excess fabric to ensure I’d have the right sized top.
3) Add Drawstring
From there, I hand sewed a drawstring at the top and cut a “rope” from the excess t-shirt fabric so that the halter could be adjusted to any size….especially mine. This part of the project was the hardest, because it required minimal hand sewing. But, in general, compared to most techniques, this was easy as pie. Next, I cut most of the fabric off on the back of the shirt, but left a bit at the bottom to function as a tie, so that I can tie the shirt on the back as tight or loose as I’d like.
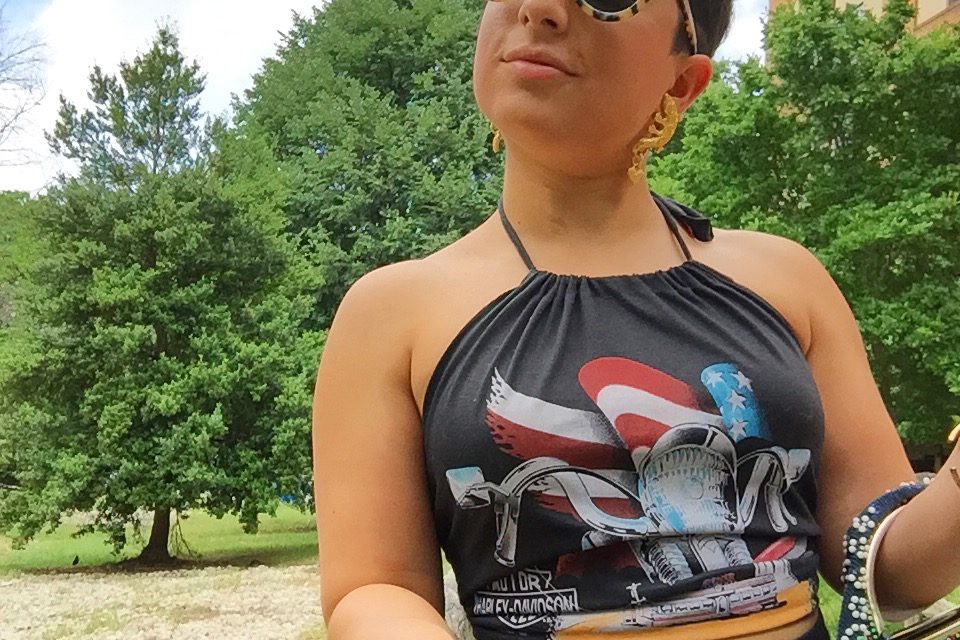
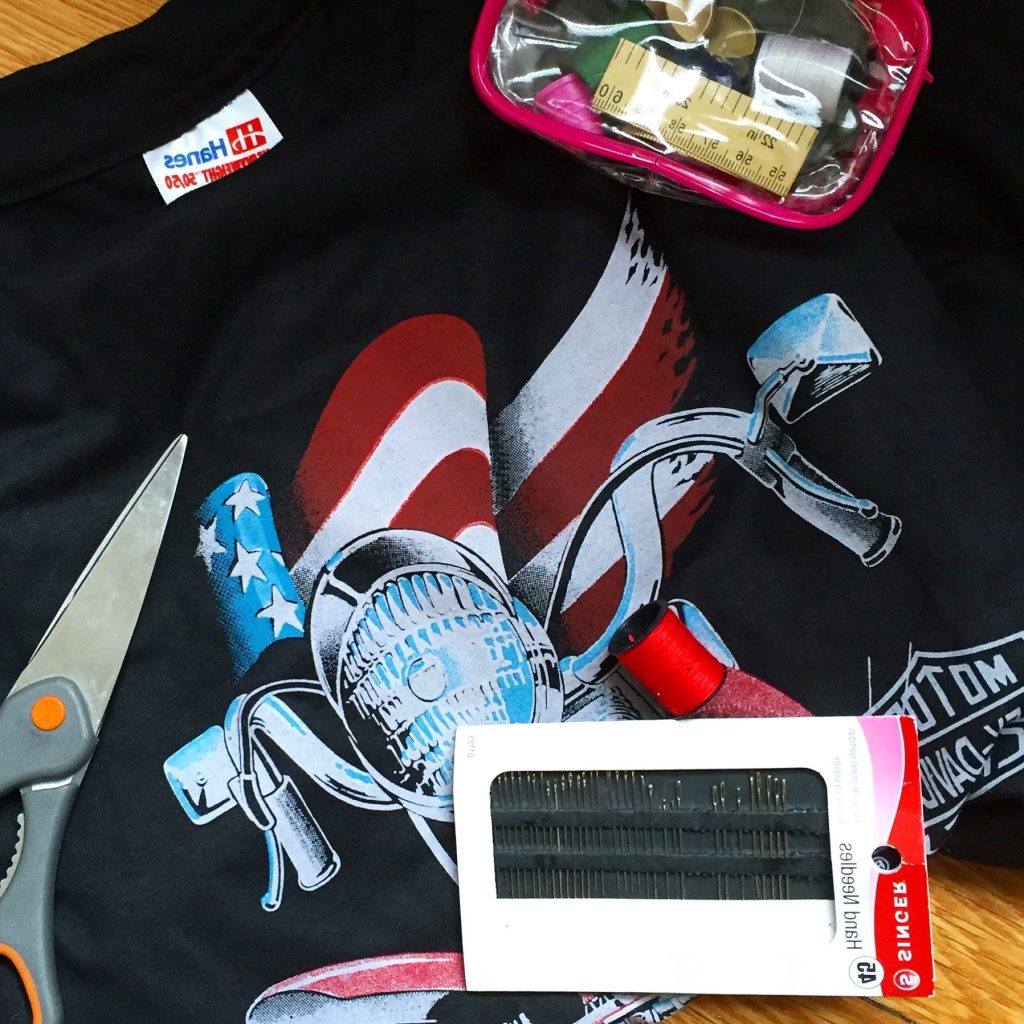
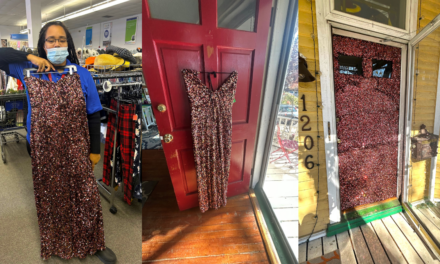
Finally, I tried my halter top on, and voila, a success! Overall, this project took maybe, 1 hour? It was really easy and only required scissors, pins, thread, and chalk (if you need that to draw out a pattern). In total, this DIY transformation cost me under $10! So, about $2 for the shirt, and the cost of other supplies (which I already had in my home).
What do you think of this project, fashionistas? Have you ever done any t-tshirt transformations?


Super creative! You go gurl!
Thank you, Rhonda!