From sunsets to bird feathers, from coral reefs to rose petals, Mother Nature certainly knows how to make masterpieces all around us, big and small. Tap into her earthly talents to create your own wall art!
With this easy and wallet-friendly project, you will use leaves to “leaf” their mark on your pieces. Nature-inspired stencils are timeless and welcoming. And spray painting is easy and fun!
Inspired by this project, I came across this quote from Everett Mamor,
“We can learn a lot from trees: they’re always grounded but never stop reaching heavenward.”
Everett Mamor
So fitting!
Supplies Needed:
1. Large canvas (wooden or fabric)
2. 4 or 5 different colors of spray paint
3. Tree, bush, plant leaves
4. Plastic gloves
Step 1: Canvass Goodwill for a canvas
It is so great that Goodwill stores have reopened and are ready to welcome you back safely and socially distanced. Given all the decluttering that folks have done during the stay at home time, you are sure to find a perfect piece for this project. In the section that has the store’s collection of framed artwork and wall décor, look for a large canvas or painting to use as the foundation for this project. While I used a wooden canvas, you are likely to find what you need if you look beyond what is currently in the frame.
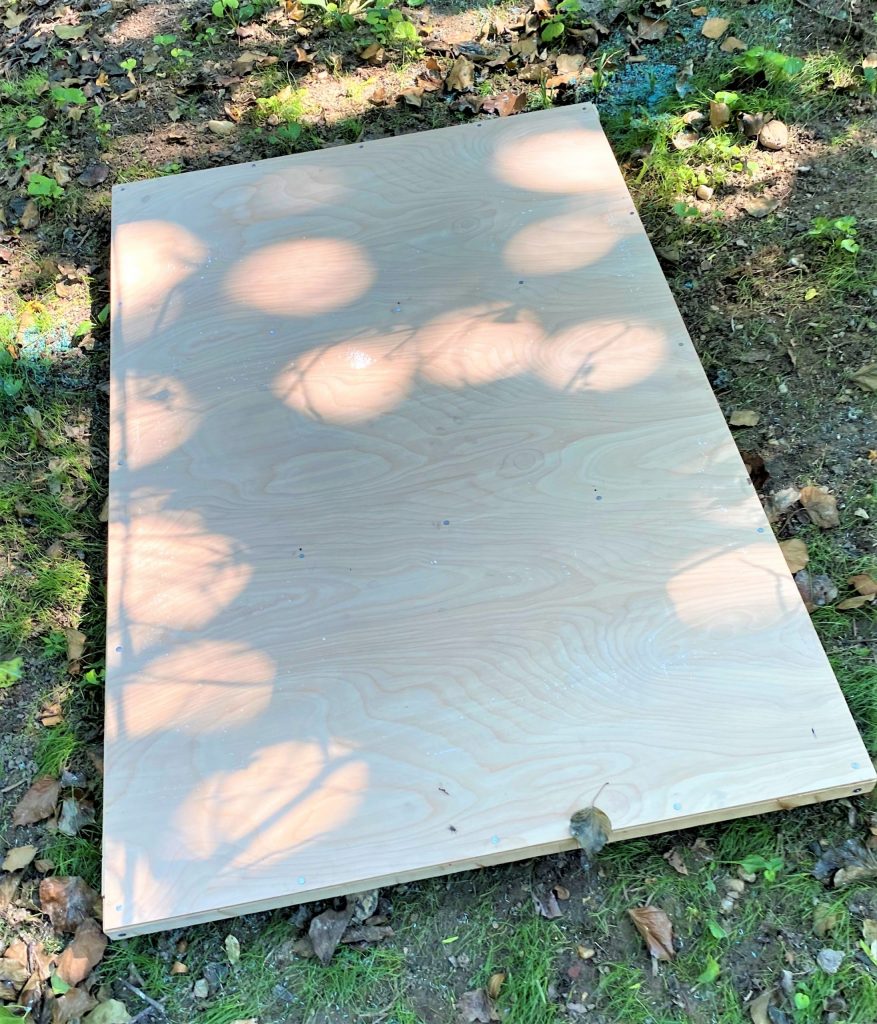
If you are repurposing or reusing an existing piece picked up at Goodwill, take it a part so your creative surface is exposed and ready for a transformation. You may want to use a white or light-colored spray paint to “erase” the existing images and create a neutral backdrop on which to build your art piece.
Step 2: Pick your pallet
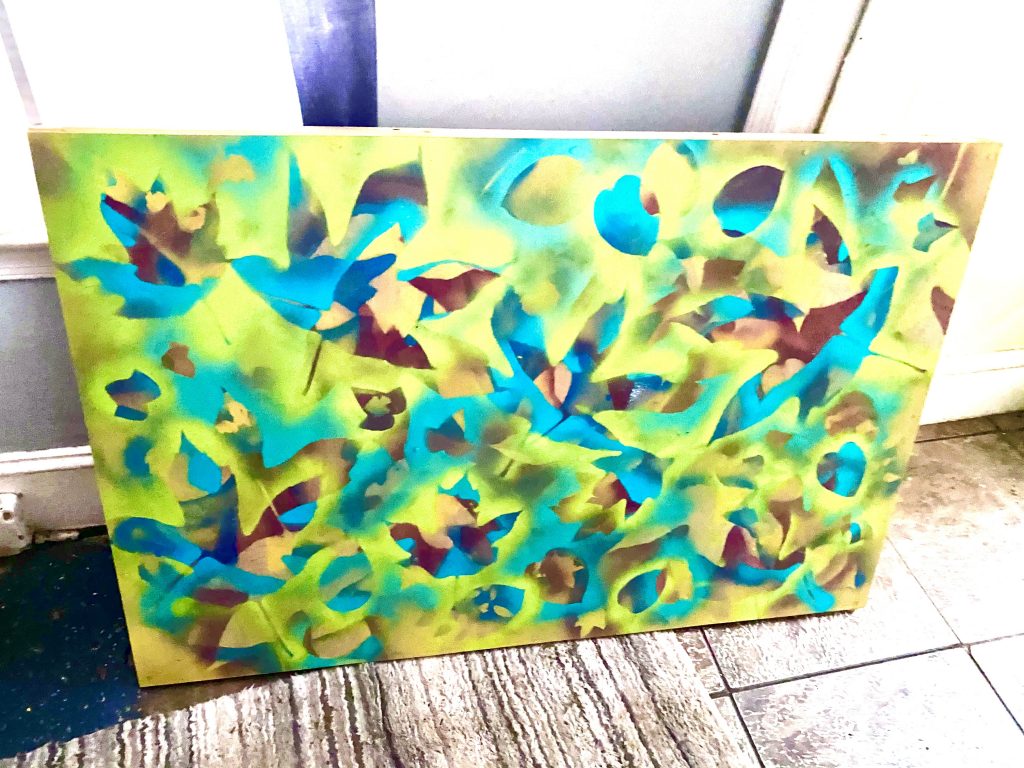
Look at your existing collection of spray paints to see what you already own. This project tapped into some of my favorite tones including royal blue, plum purple, sunny yellow, turquoise blue and lime green – all of which just happen to look great together.
However, this project also would look great in shades of black, grays and whites. Maybe you have a place in mind where you know you want to hang this creation so you could pick up colors in that space to make cohesive!
If you need to purchase paints, look first in the sale aisle at your hardware store to see what things are being offered at reduce rates. If you are like me, part of the fun of shopping thriftily (is that a word?) is finding a good deal on a great item or product! I am proud to share that this project cost me zero, nada! A canvas gifted to me, leftover spray paints and leaves from my yard. Cha-ching, I hit the jackpot! What might be a way you could do this project for just a few pennies?
Step 2: Search for stencils
This project really helps you to look at what already you have or around you in a different way. It also gives you the chance to see everyday things with an artist’s eye.
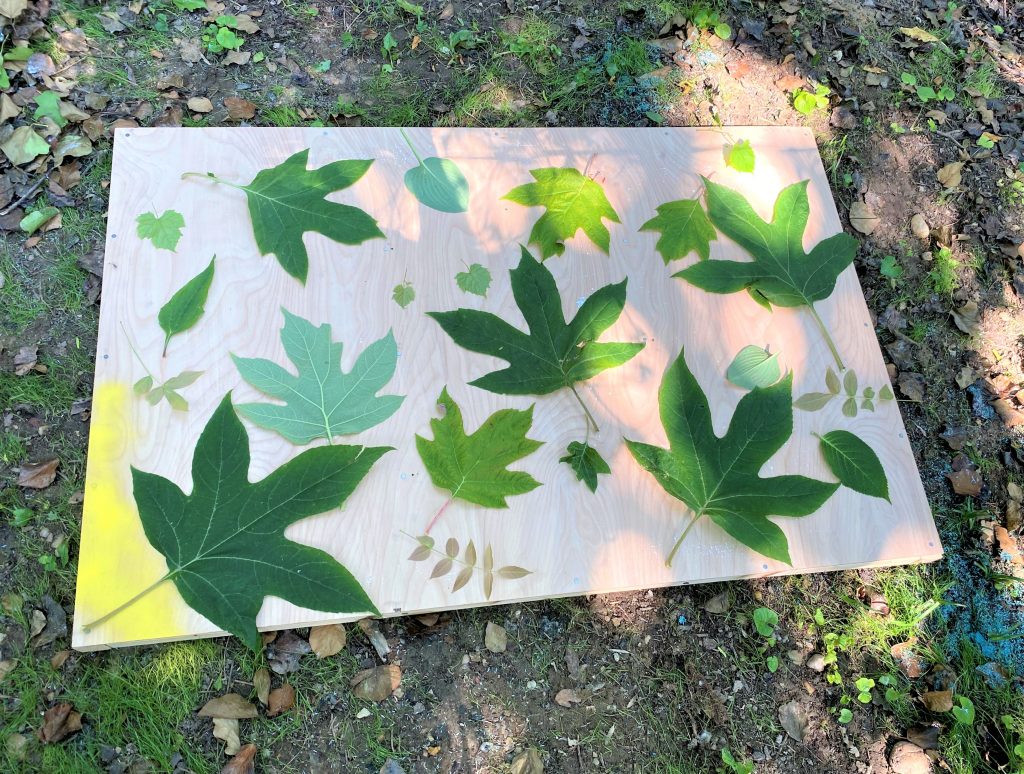
While I am very blessed to have a tree, bush and plant-filled yard, I really never paid attention to all the beautiful shapes and sizes of the leaves that are right outside my door. What do you have in your garden or neighborhood? If you live in an apartment or condo, you might take a stroll and see what is out there and “borrow” a leaf or two as you go. Stop by a park to get some fresh air, stretch your legs and pick up some parts for this project.
Another option: buy a floral bouquet from the store and use it for your stencils. Most come with flowers and leaves, both of which would look so lovely for your art!
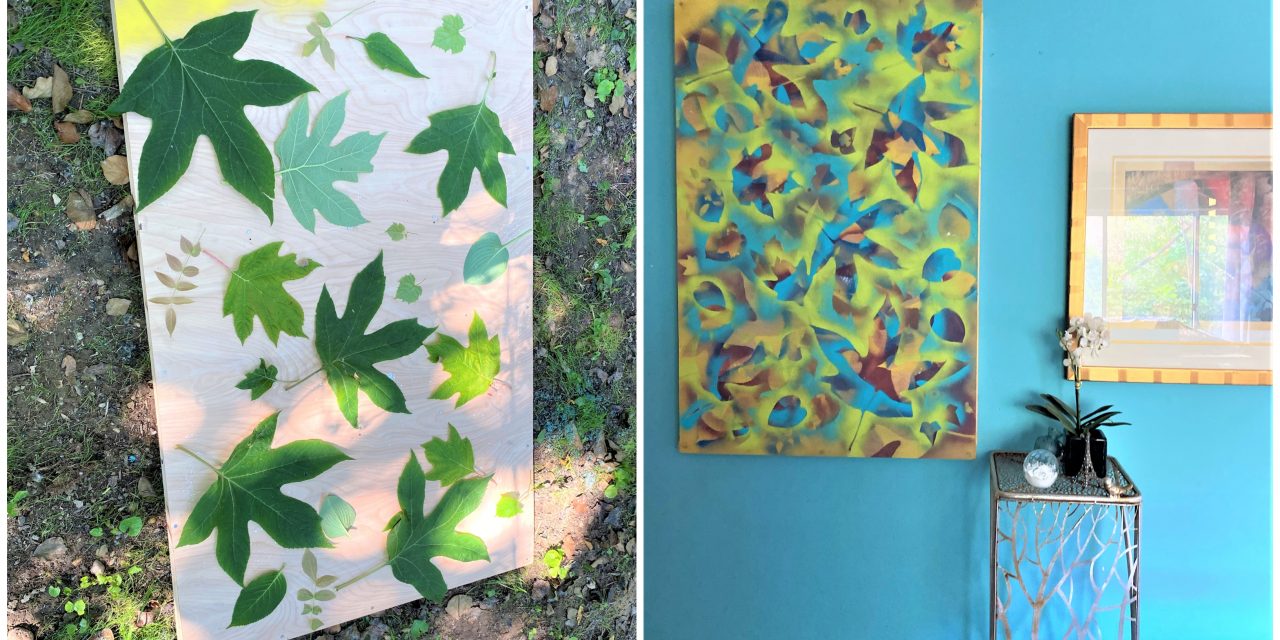
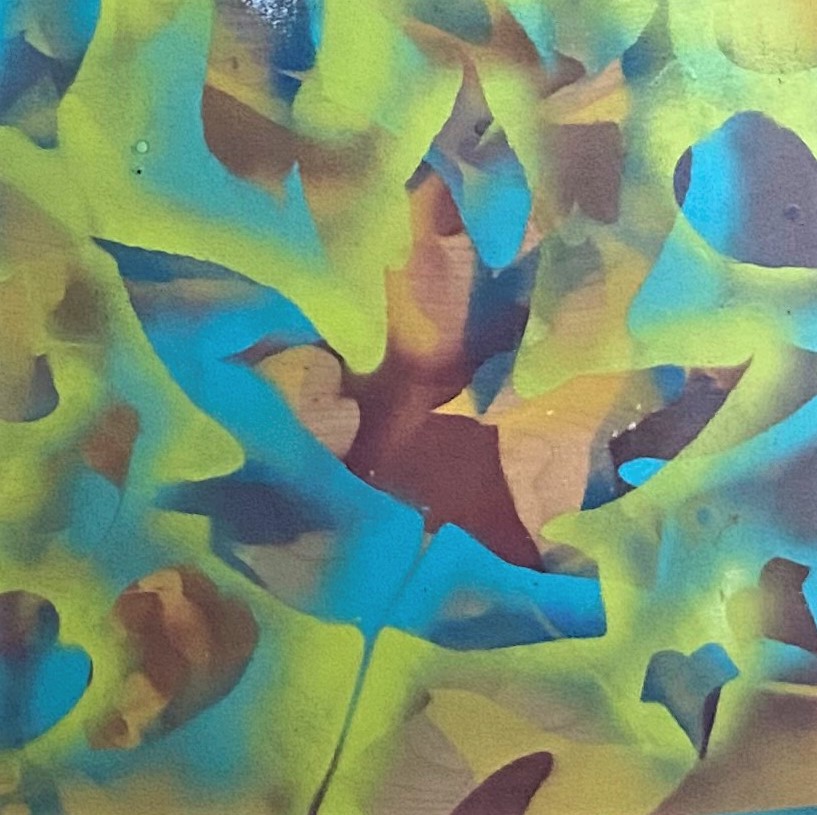
Step 3: Spray on layer, move leaves, repeat (repeat, repeat)
- Place your blank canvas (whether purchased that way or created) outside in the shade, if possible, or in a very well-ventilated area.
- Use a drop cloth if you need to catch the extra paint sprays.
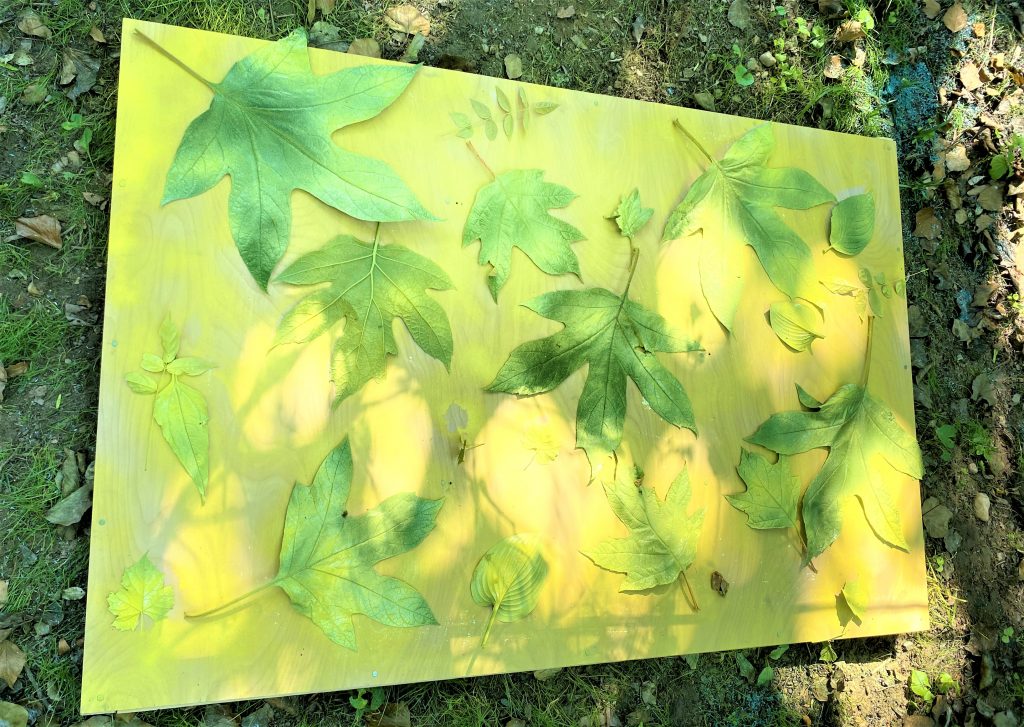
- Place your leaves on it with the various shapes and sizes spaced in a visually pleasing manner.
- With a gentle touch, lightly spray around each leaf so its shape is outlined. You may need to carefully hold down each piece as you spray on it so that spraying doesn’t blow away or move it. (This is where your plastic gloves will come in handy).
- Let things layer dry for at least a half hour.
- Return to your piece and reshuffle the leaves.
- Move them around so they have new positions, then add your second layer/second color of paint repeating the directions above.
- Let dry, repeat and repeat.
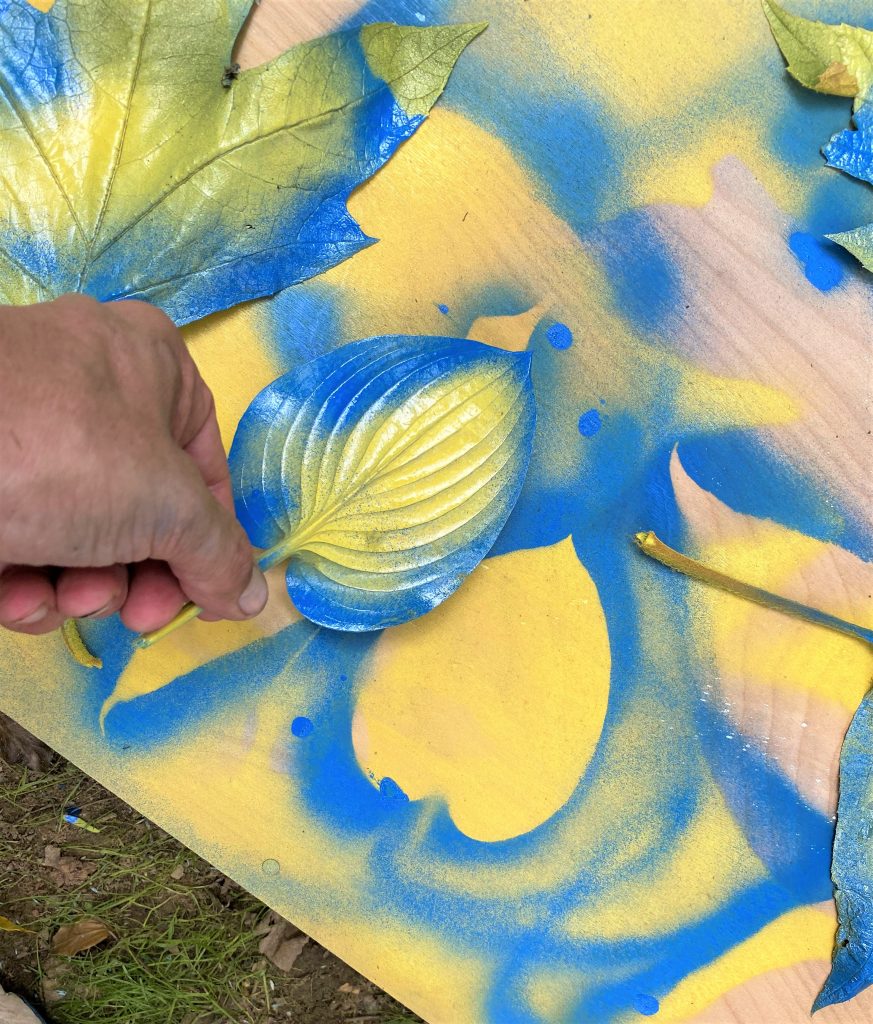
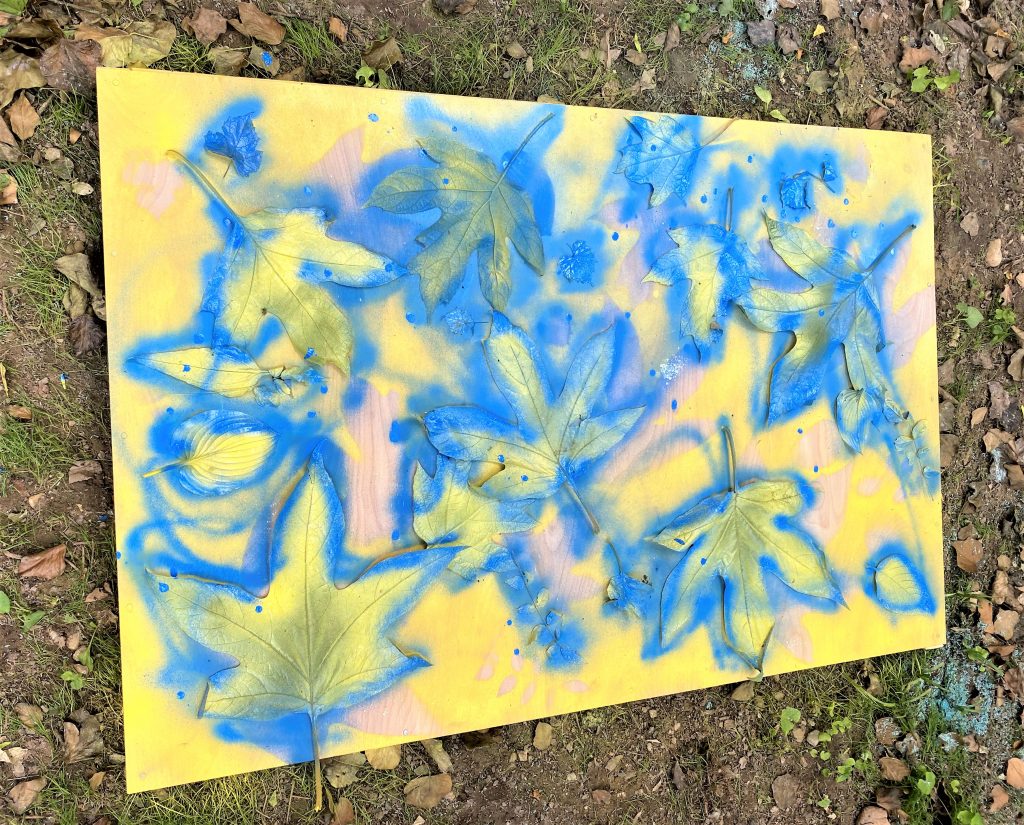

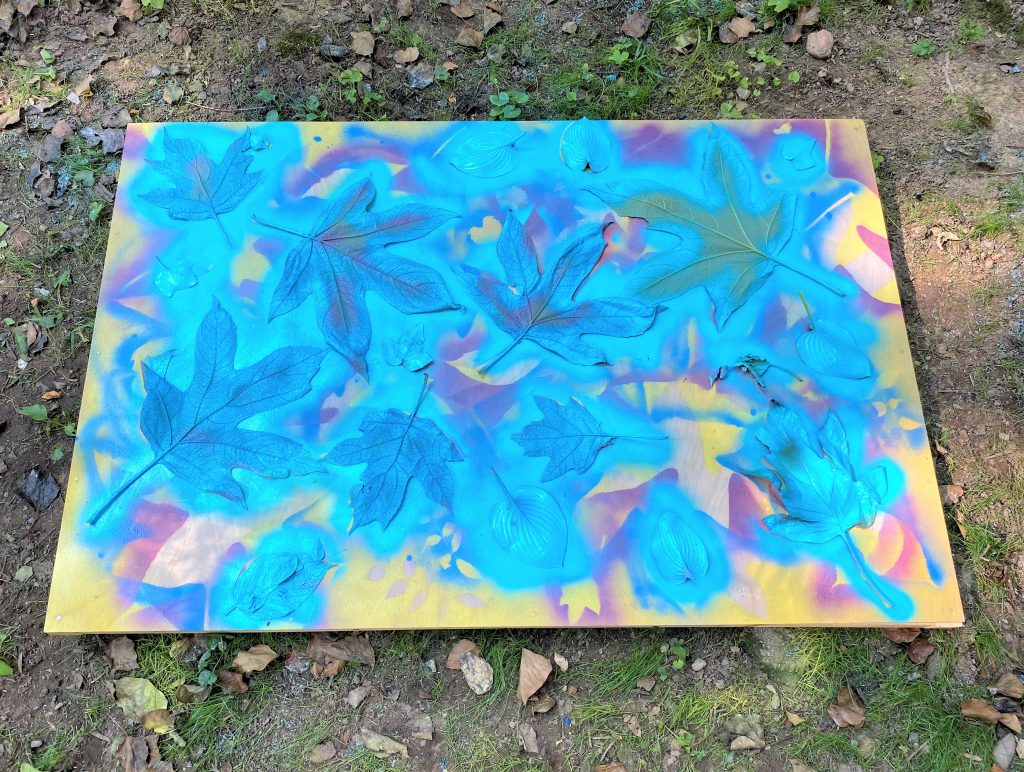
Design tip: Given that leaves are green and I wanted my piece to be bright, I used my lime green spray can as the last layer. I also wanted to ensure you could tell that I had used leaves for this project so made sure I had arranged them in such a way to intentionally make this happen. If you are using a mono-chromatic color palette, I suggest you go from darker to lighter tones for a more pleasing finished look.
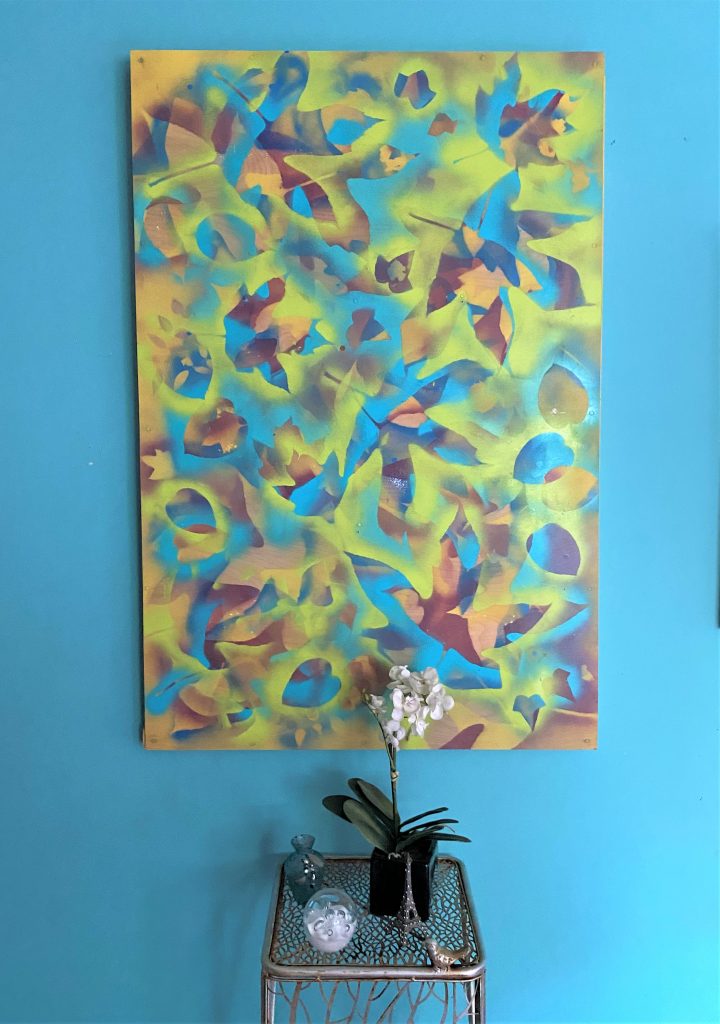
Step 4: Display with delight
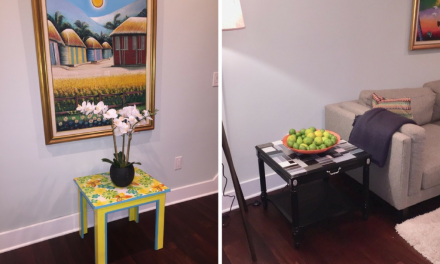
Based on the size of your canvas, your masterpiece might look great over a couch or above your bed.
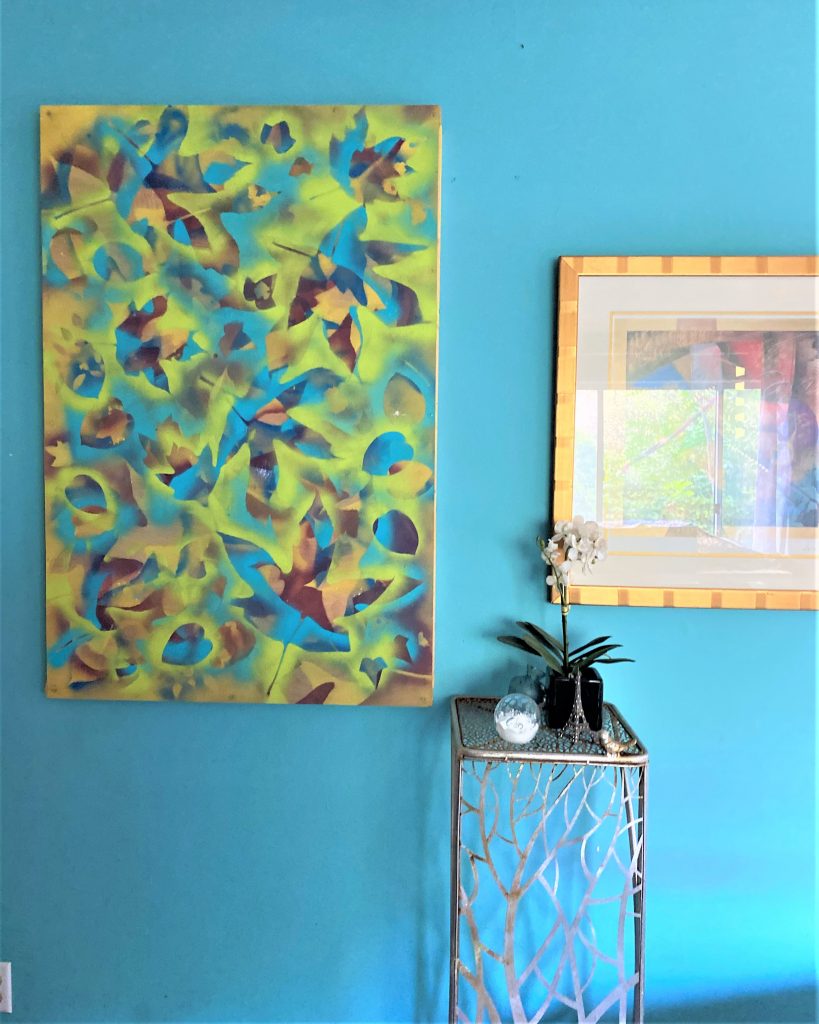
A smaller sized pair would look beautiful in your foyer or bathroom.
Mother Nature looks perfect in any room and with any décor.

We would love, love, love to see your earth-inspired creations and where you chose to display them. Send us pics for more inspiration!
To conclude this blog, here is a very fitting Chinese Proverb.
“Keep a green tree in your heart and perhaps a singing bird will come.”

Tim Kime
Artist, Motivational Speaker, Life Coach

