DIY Project: Let “Barbie” Fever Fun Focus Your Furniture Flip
With the hit movie Barbie in theaters now, use it as your inspiration for your next fun furniture flip. When you see groups of folks out and dressed in hot pink and other very bright tones, it is not a stretch to think they are heading to see the film or a party related to it.
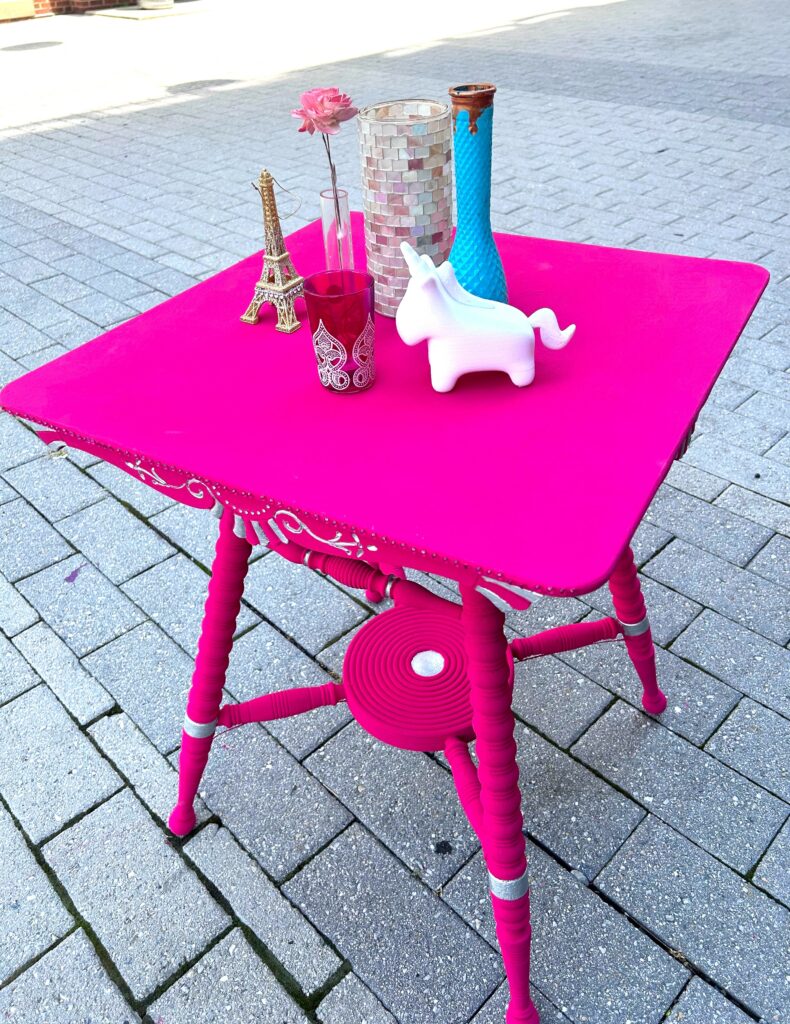
Did you know using those super pink and cheery hues in your home decoration is actually referred to as “Barbiecore”? I kid you not! This week’s blog project features a great table with lots of charm thanks to its flowery details and carved parts. Worn and weary, it gets super special with a brighter-than-bright, hot pink/fuchsia paint job and some added blingy embellishments.
You may have heard the saying, “Barbie has it all!” Well, you can, too, when you take this bold approach to your next upcycling project.
Items needed:
- Wooden side table
- Chalk paint in bright pink
- Silver craft paint
- Paint brushes in various sizes, including very small detail ones
- Fake small diamonds in hot pink, silver
- Sanding block, medium or coarse-grained
- Quick-drying epoxy glue
- Clear furniture wax
- Soft cloth rags
- Drop cloth
- Damp rag
1. Barbie likes the best, so get over to Goodwill & find it there
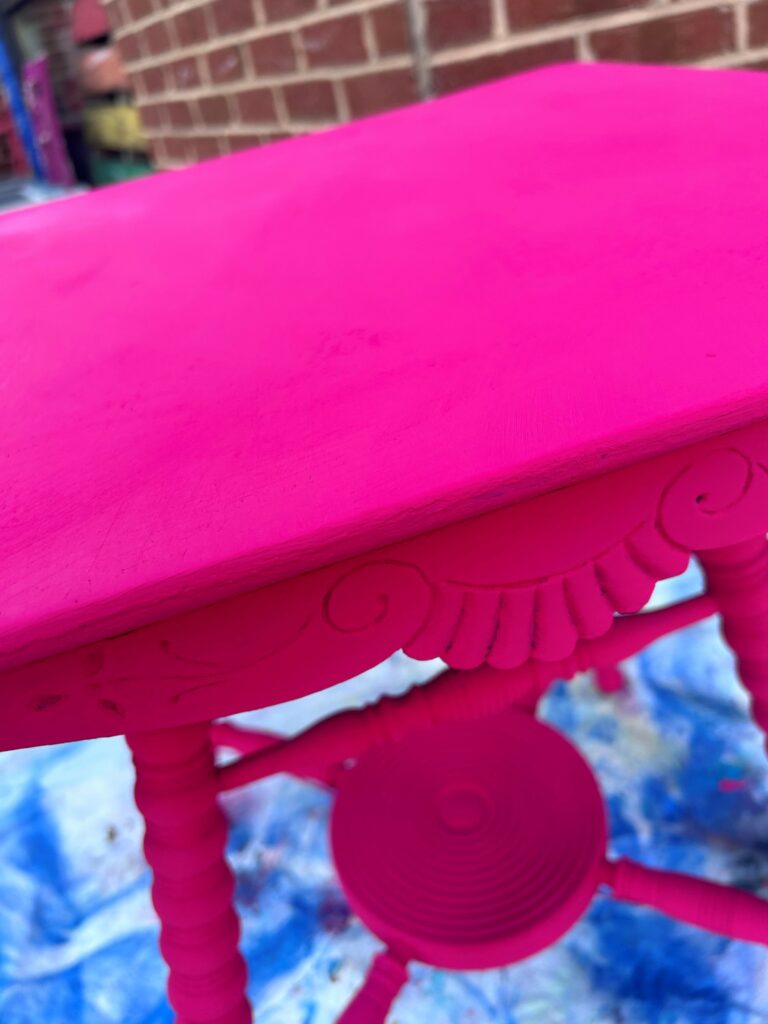
The character of Barbie is known for her style and glamour, so hit Goodwill to find a piece to upcycle inspired by what the doll represents. Any solid wooden piece of furniture will look sassy and sharp sporting a vibrant pink color, so look for an item or two with solid construction and interesting details.
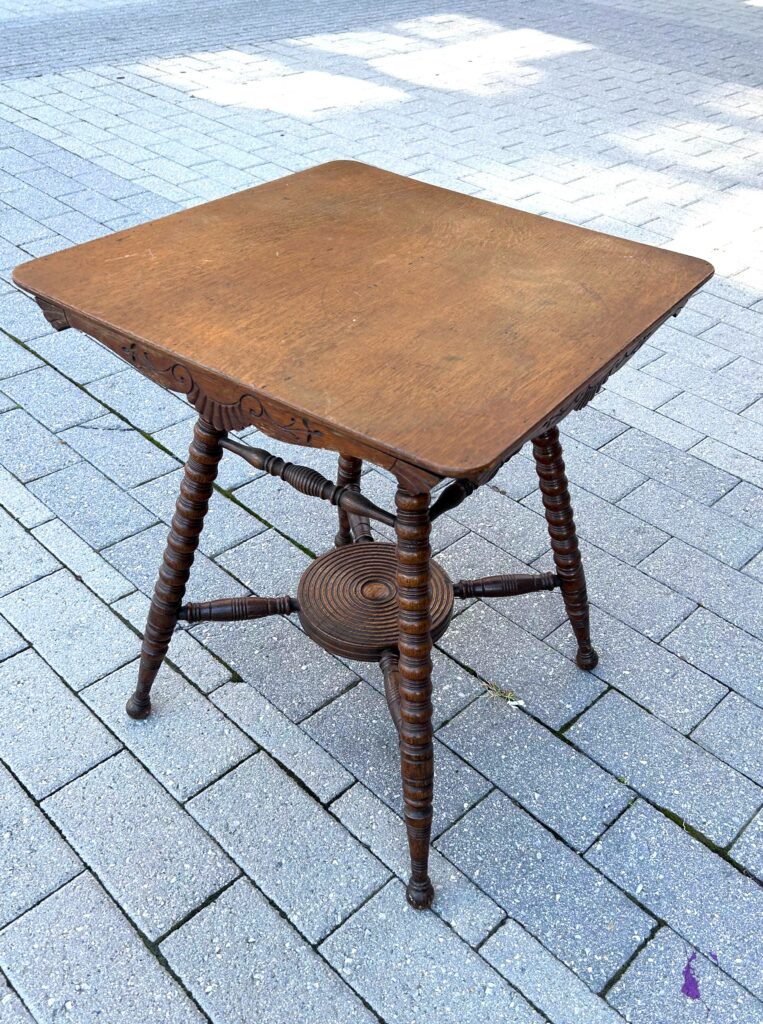
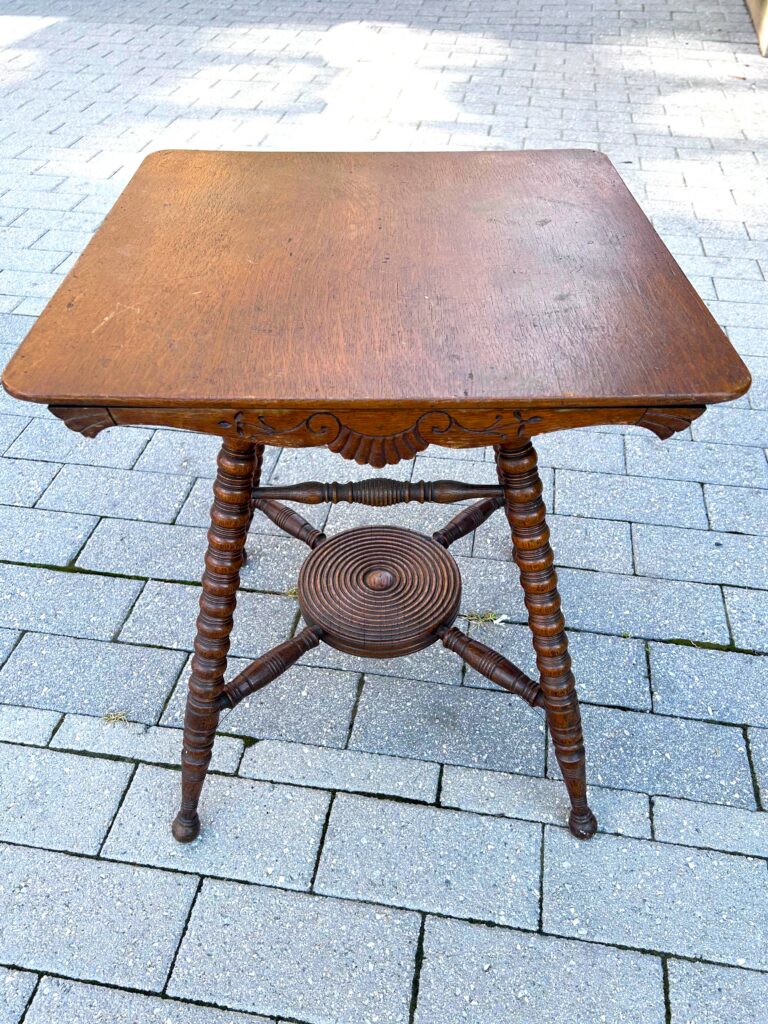
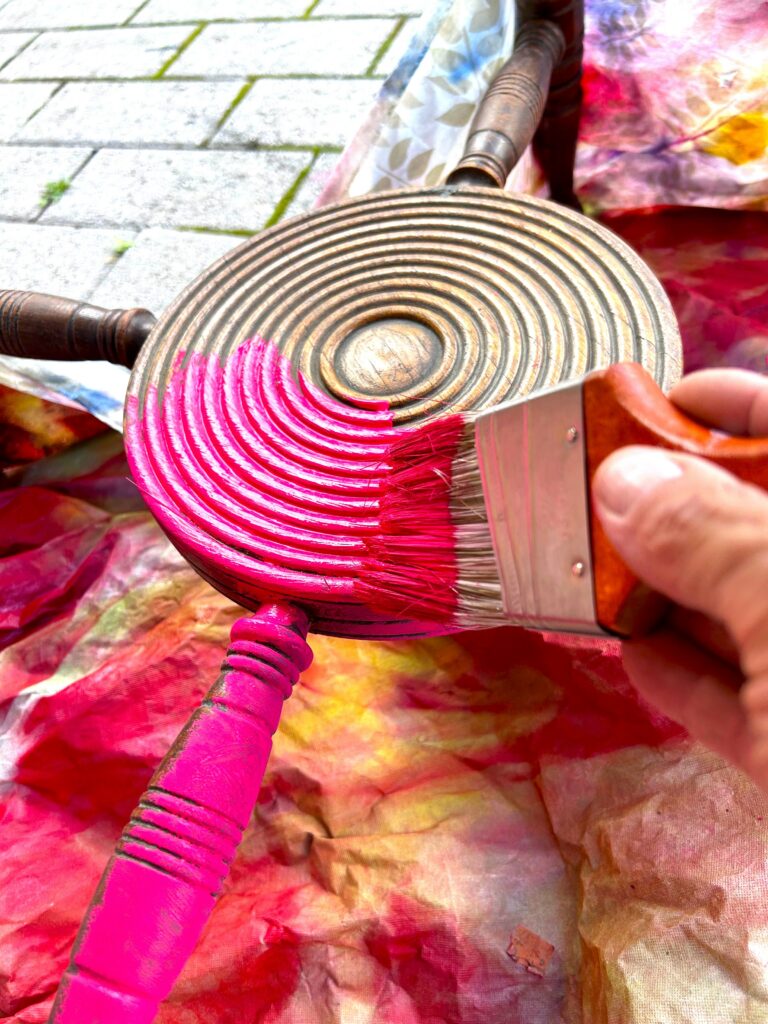
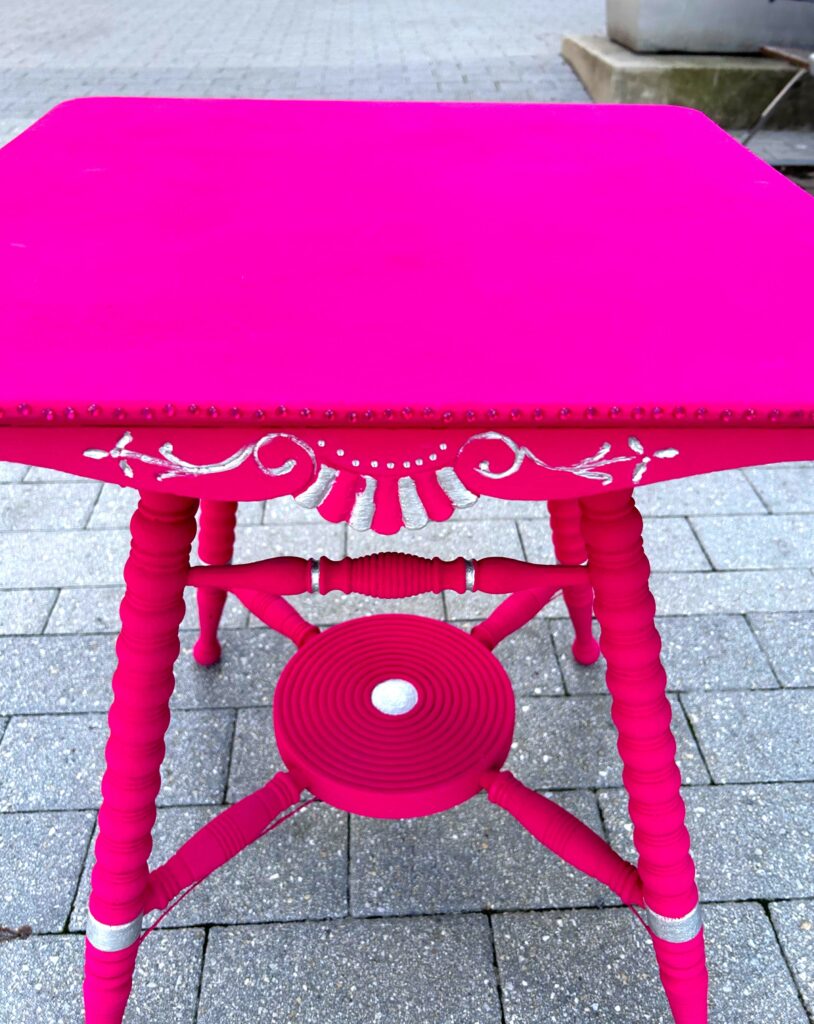
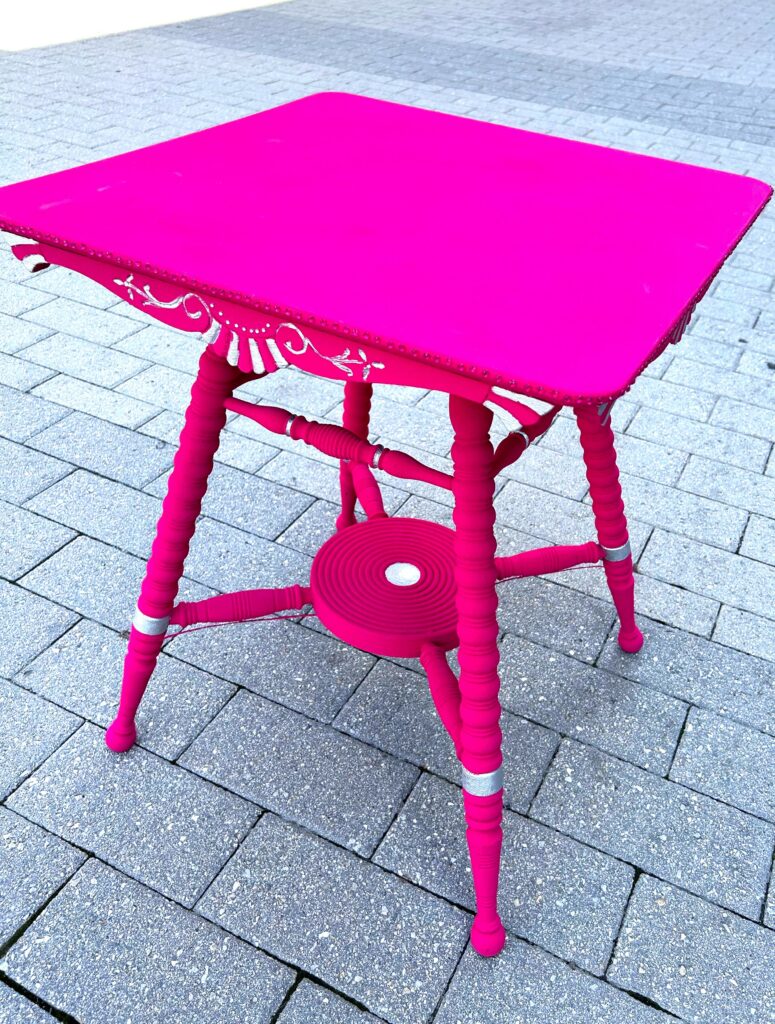
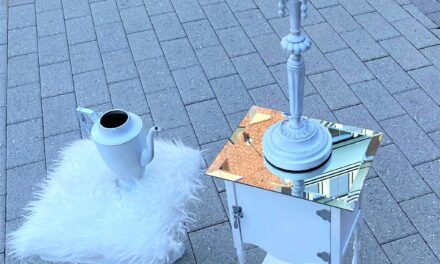
This antique side table already had a unique look with its carved legs and flower-like side pieces. The circular wooden piece in the center of its legs was another reason to love it—and buy it for a special transformation.
Consider a pair of wooden chairs, a round coffee table, or even a small dresser to get this fun makeover. What items have you seen or bought at Goodwill which would make Barbie fall in love with them, too?
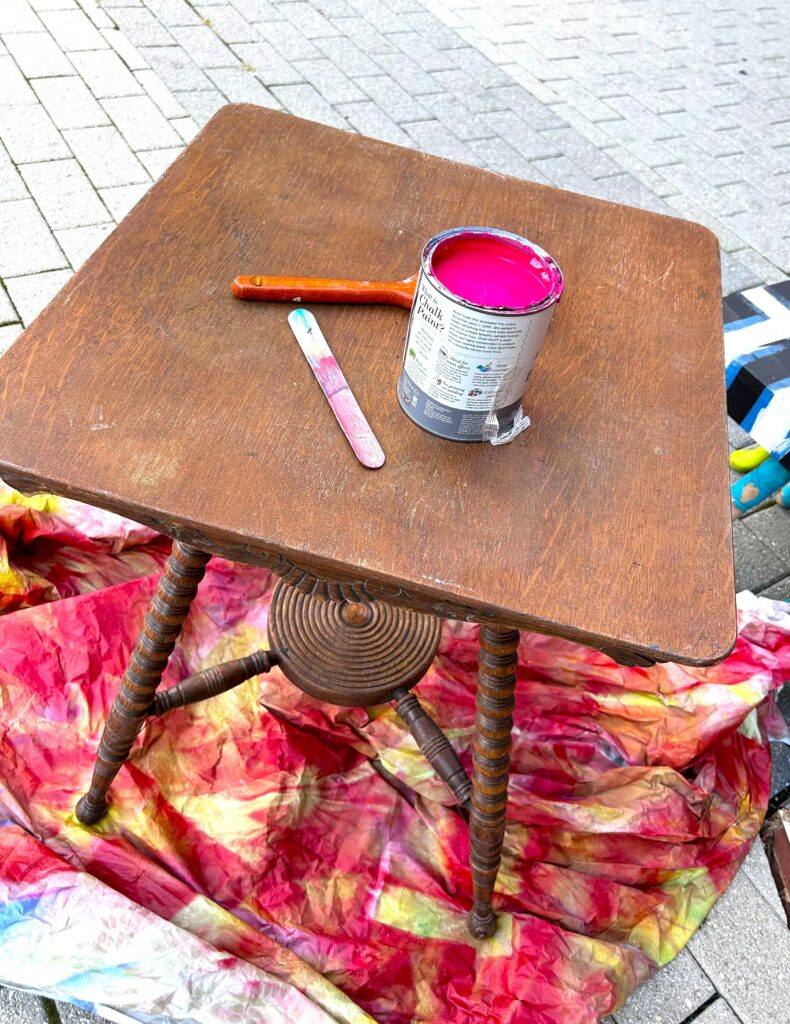
2. Prep your piece for painting
Any good DIY project begins with ensuring your piece is ready to go before you pick up a paintbrush or roller. Tighten any screws or add wood or epoxy glue to get rid of any wobbles or wiggles.

With your sanding block, rough up its current finish to provide a more paint-friendly surface. Don’t worry about removing all of the current finish; just buff it up a bit.
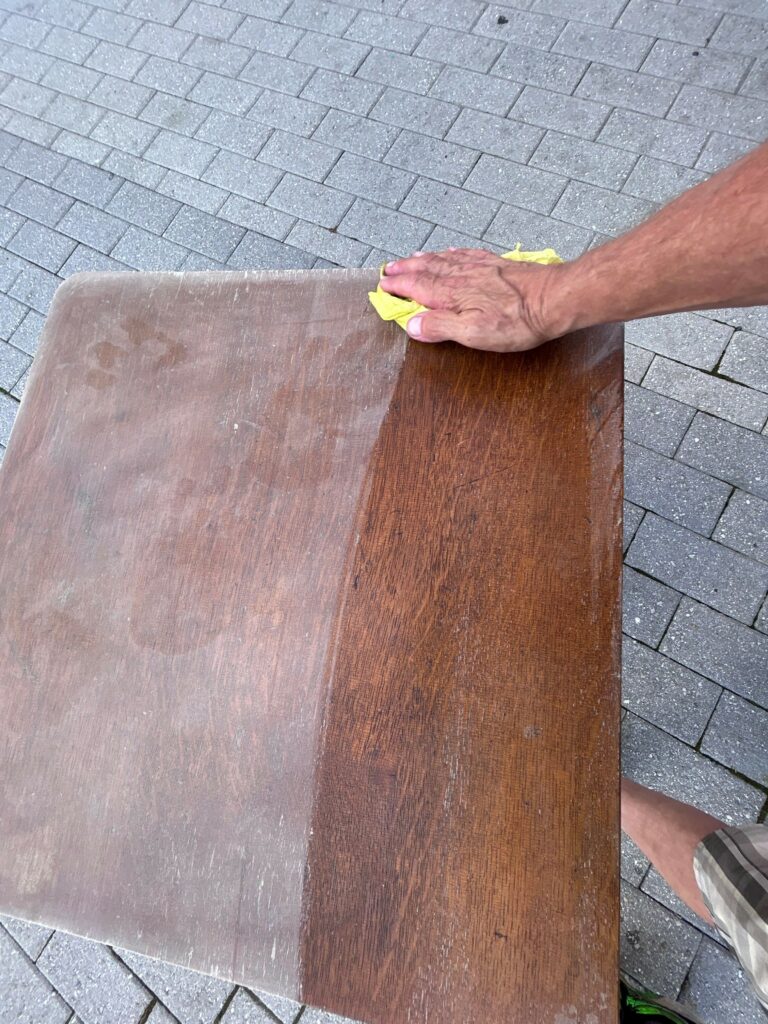
When done, use a very damp rag to remove the sanding dust created and any dirt acquired along the way. Let it dry well. You now have a perfectly clean and pristine platform for painting!
3. Dance the night away: add light layers & move around it often
Okay, I am trying to weave in as many Barbie references as possible here. Doesn’t she like to dance or go to parties?
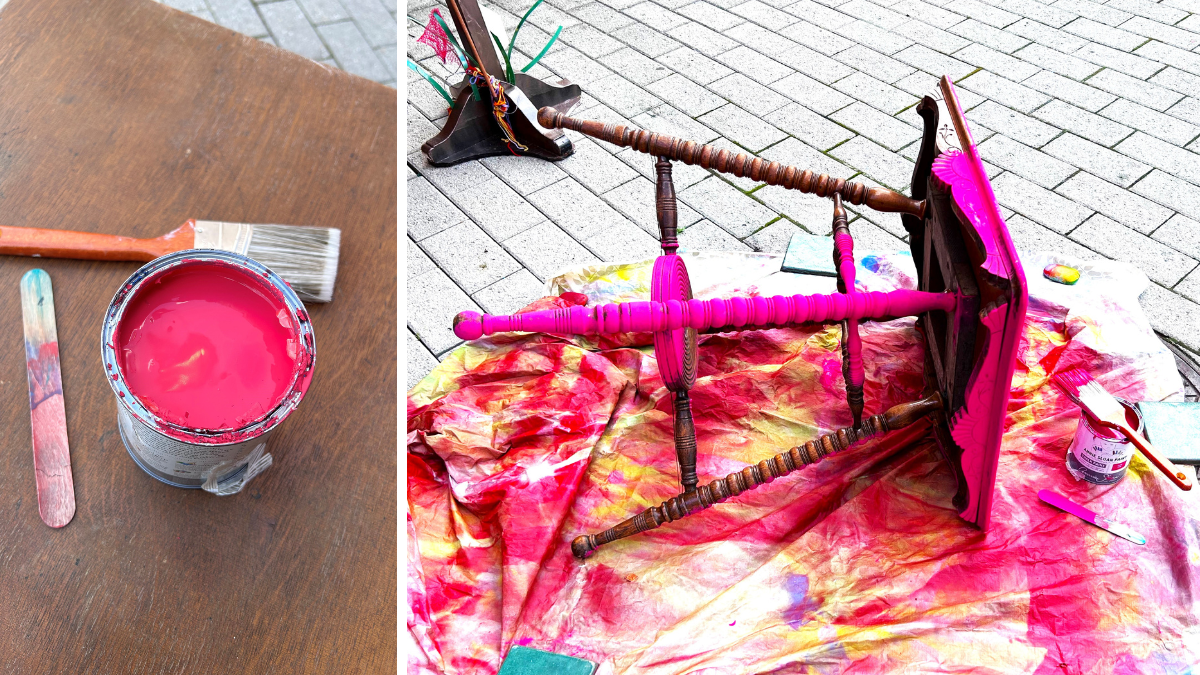
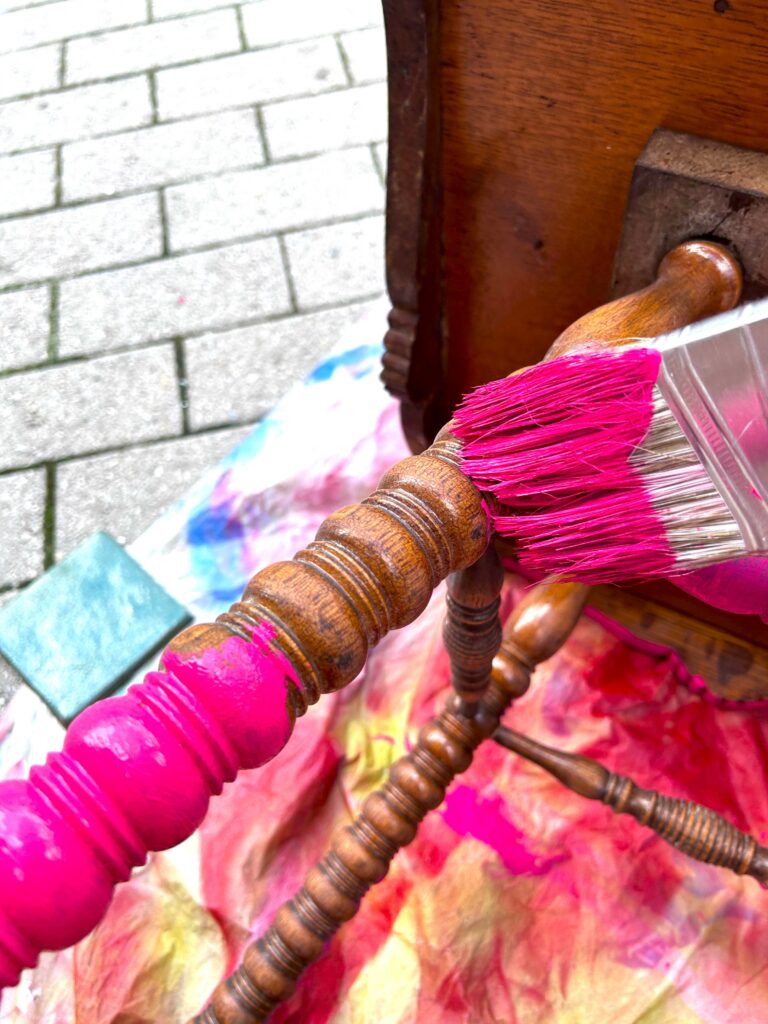
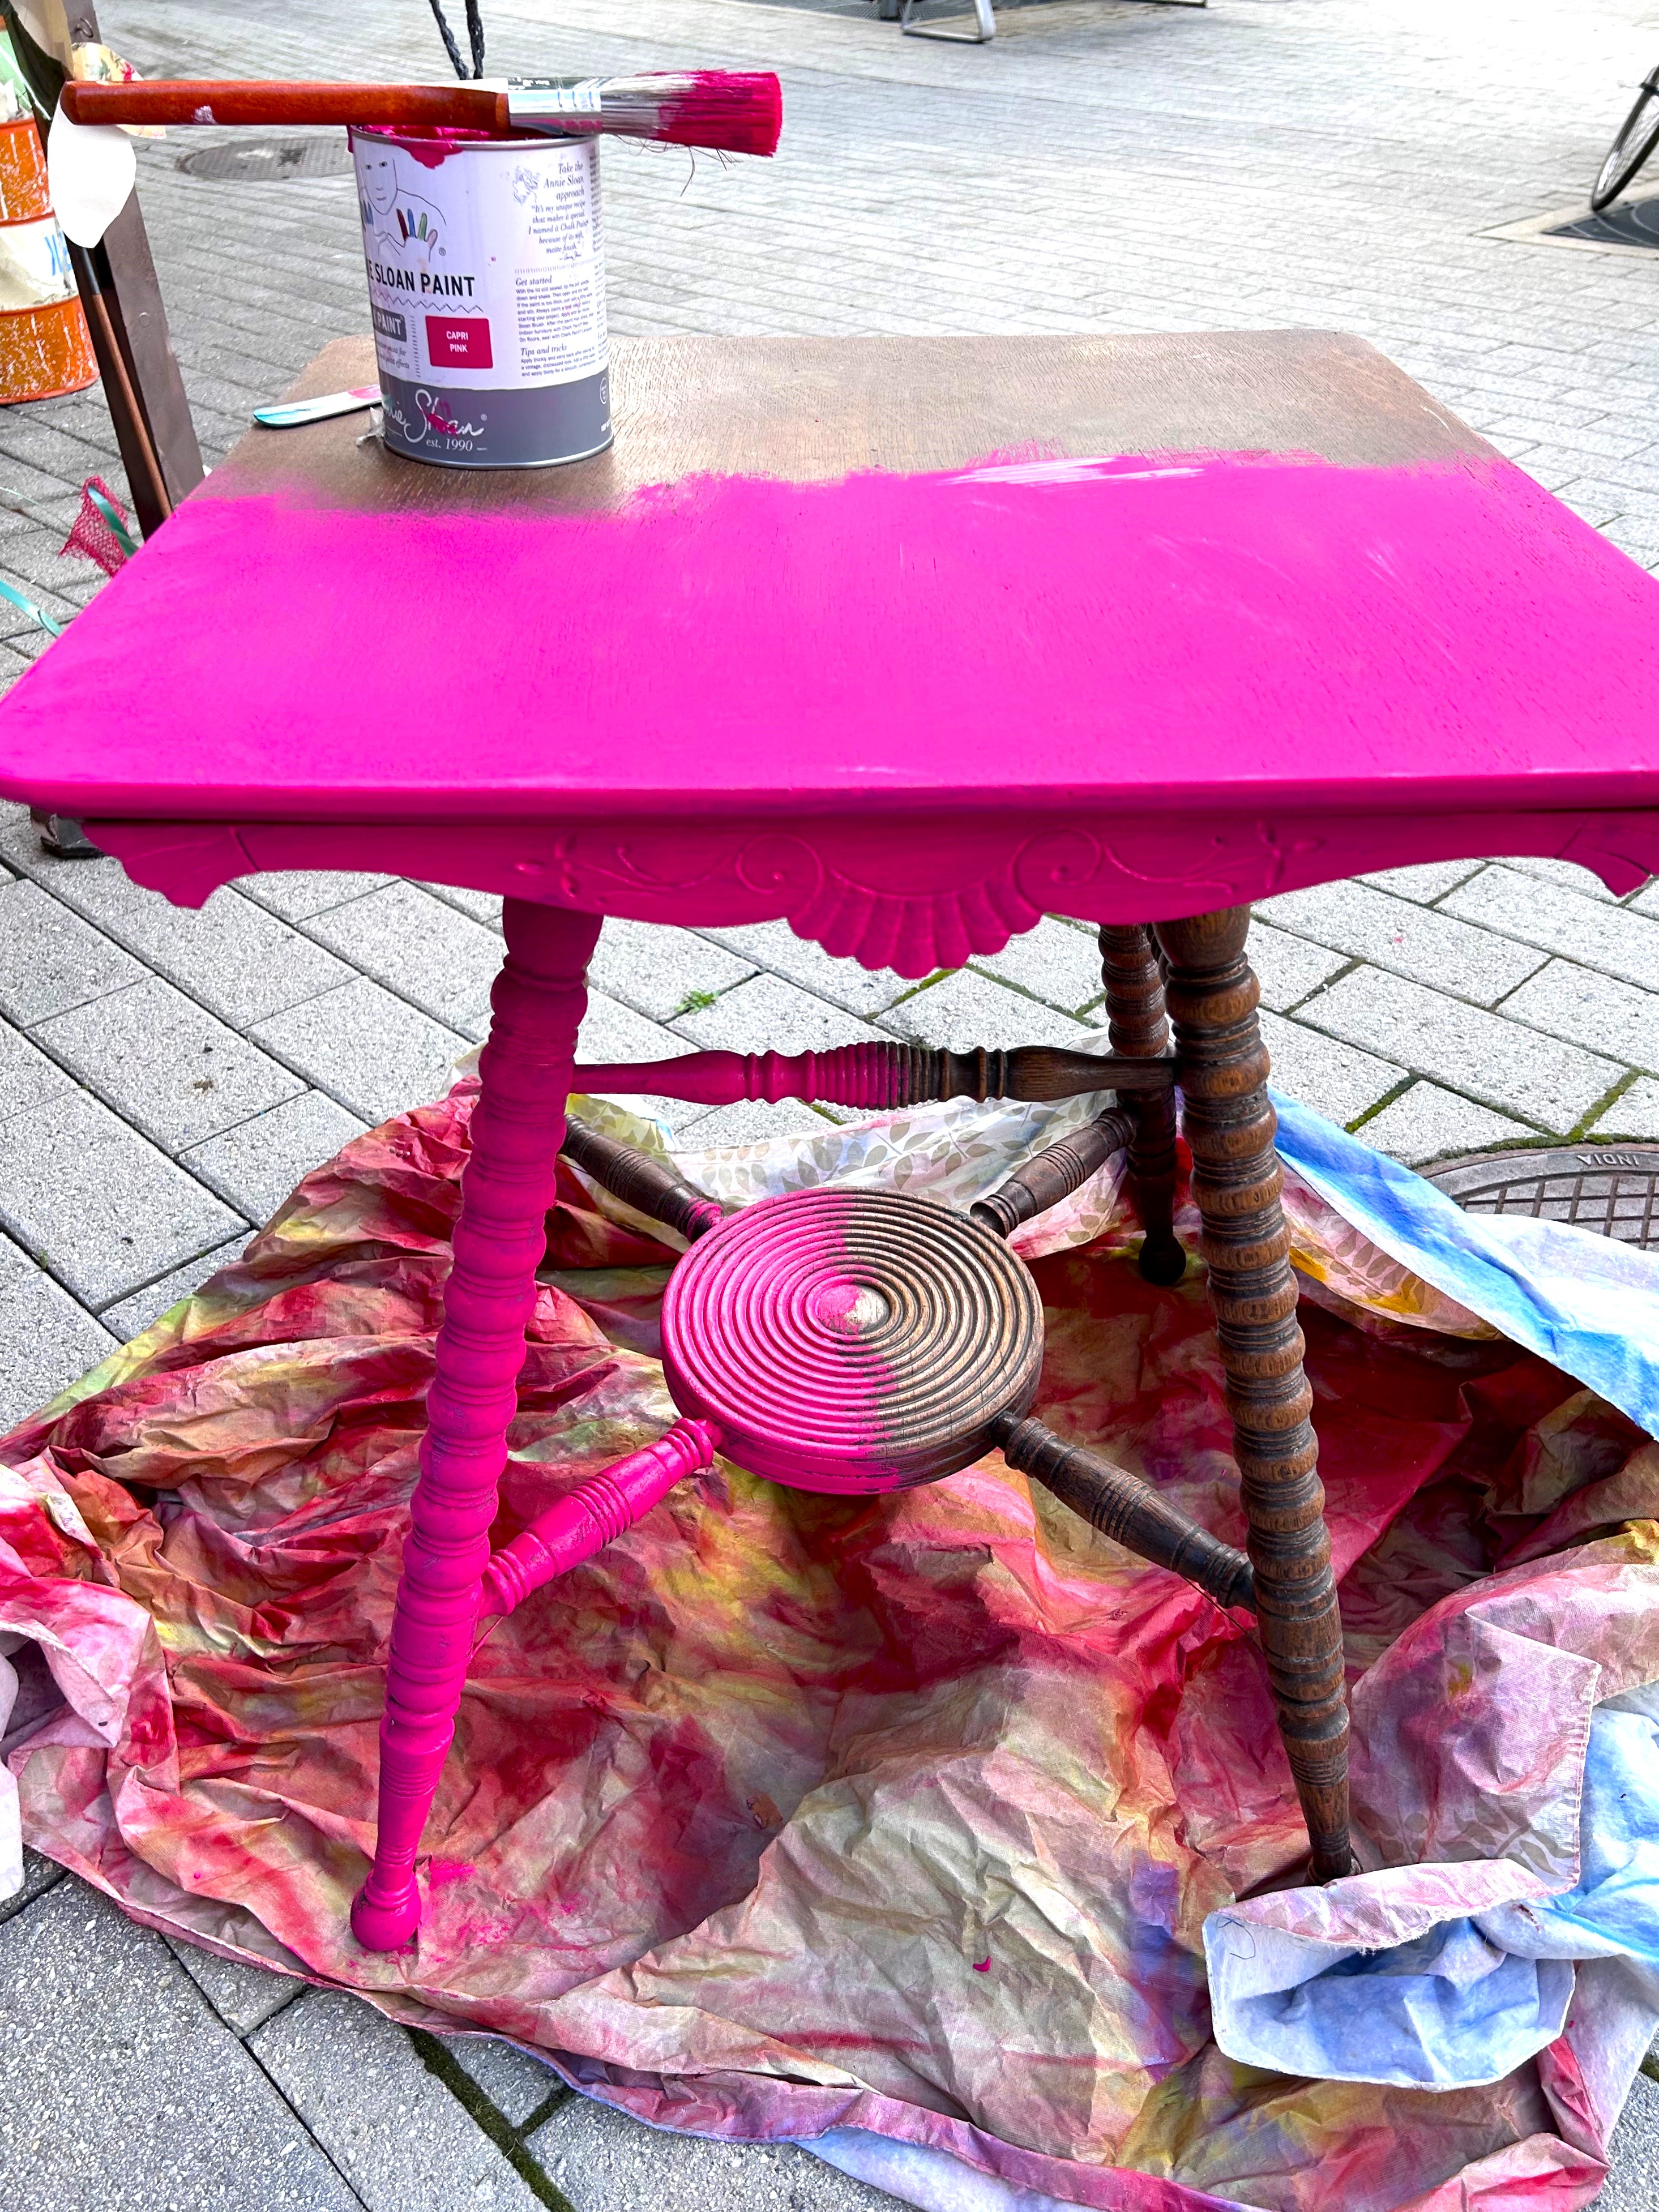
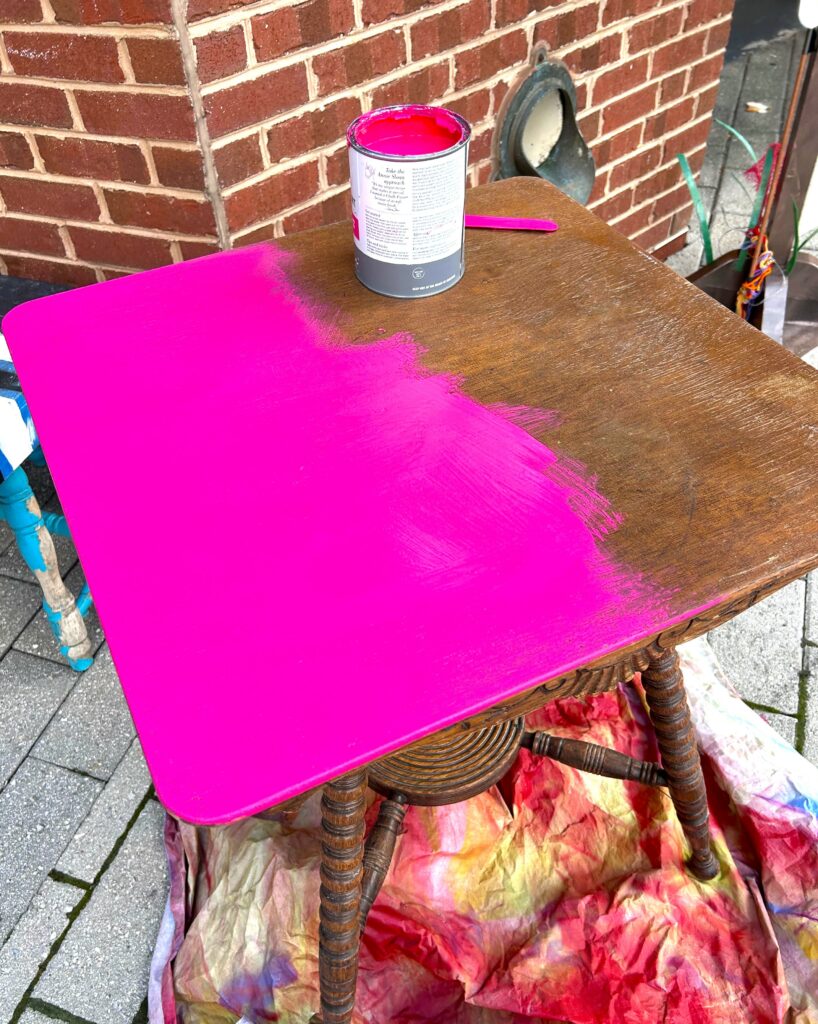
- As you begin to paint your piece, brush on a light layer all over it. The previous color or tones may show through at first, which is fine as you will continue to add more layers until you have a solid coat on each piece and part.
- To ensure this happens, place your table on its side and totally upside down as you add second and third coats.
- Move around it so you are able to see it from all sides and perspectives. This is where the feeling of dancing with your piece comes into play!
Expert Tip:
Consider investing in chalk paint for a super solid, thick layer of paint. Chalk paint is easy to apply with little prep work and provides a great final look. Also, given the thicker nature of chalk paint, it is great for “distressing” a piece by sanding and removing paint layers along parts of your piece where natural wear might happen to bring out details.
4. Stroke on some sparkle
This step is when we start to take the table from good to totally glamorous. Based on your piece, look for special details to bring attention and sparkle with silver paint.
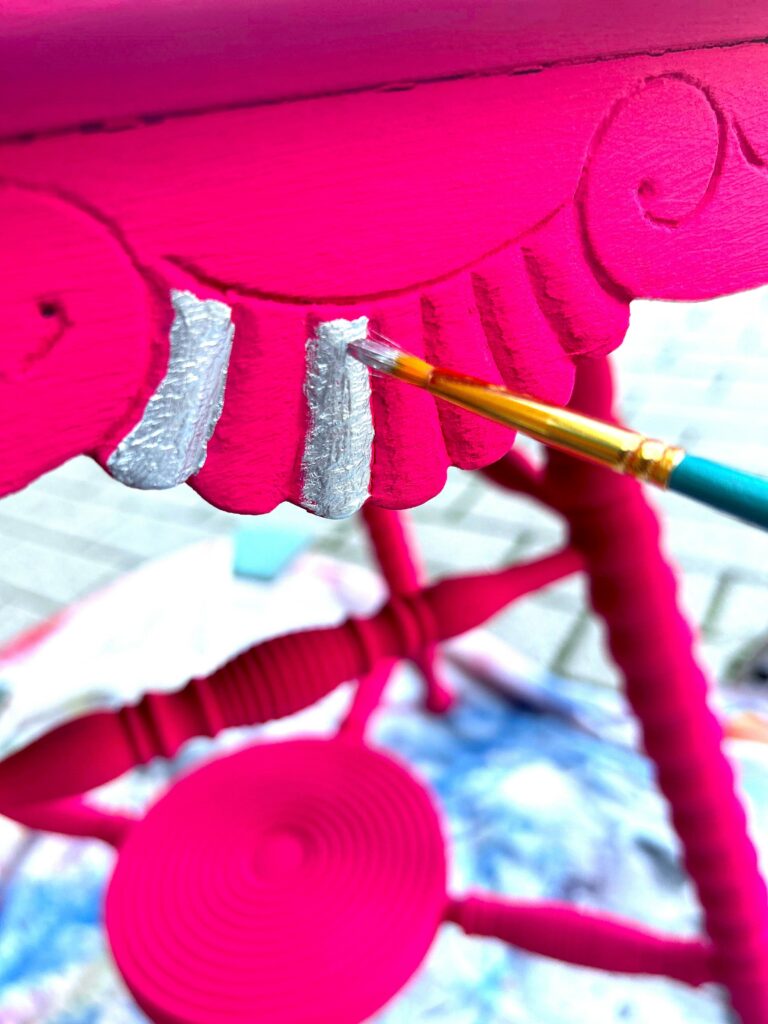
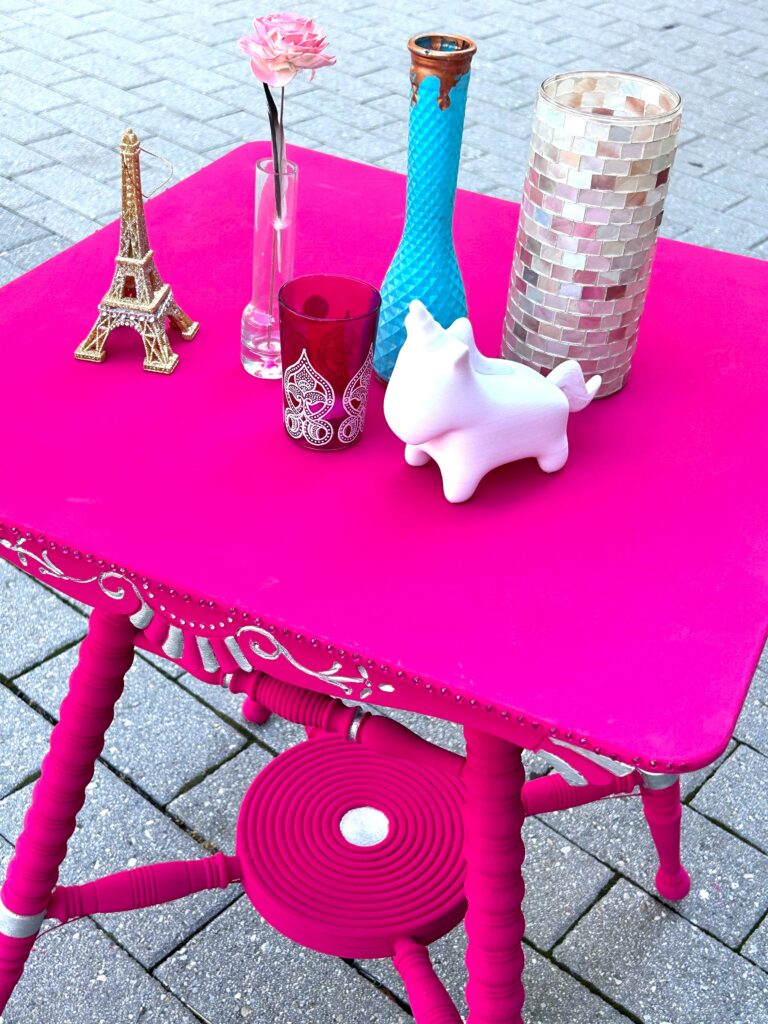
This table had many interesting and one-of-a-kind details that were given the spotlight using a shiny silver tone and a small detail paintbrush. The flowery detail along the top’s edge now pops out, thanks to the paint.
The dot right in the center of the carved centerpiece was ideal for a little attention, so your eyes are now drawn right to it.
The hot pink and cool silver make for a pretty pairing, color-wise.
5. Wax on
If you are using chalk paint, then now is the time to apply this important finishing step. Apply layers of furniture wax all over your piece with a soft cloth/rag and allow it to dry overnight.
Remove any excess wax with a clean cloth/rag, then buff it up. This step takes a little elbow grease and will ensure your paint job is well-protected.
6. Barbie believes in bling, so bring it on
No Barbiecore piece would be finished without adding some bling to it; truly the icing on the cake.
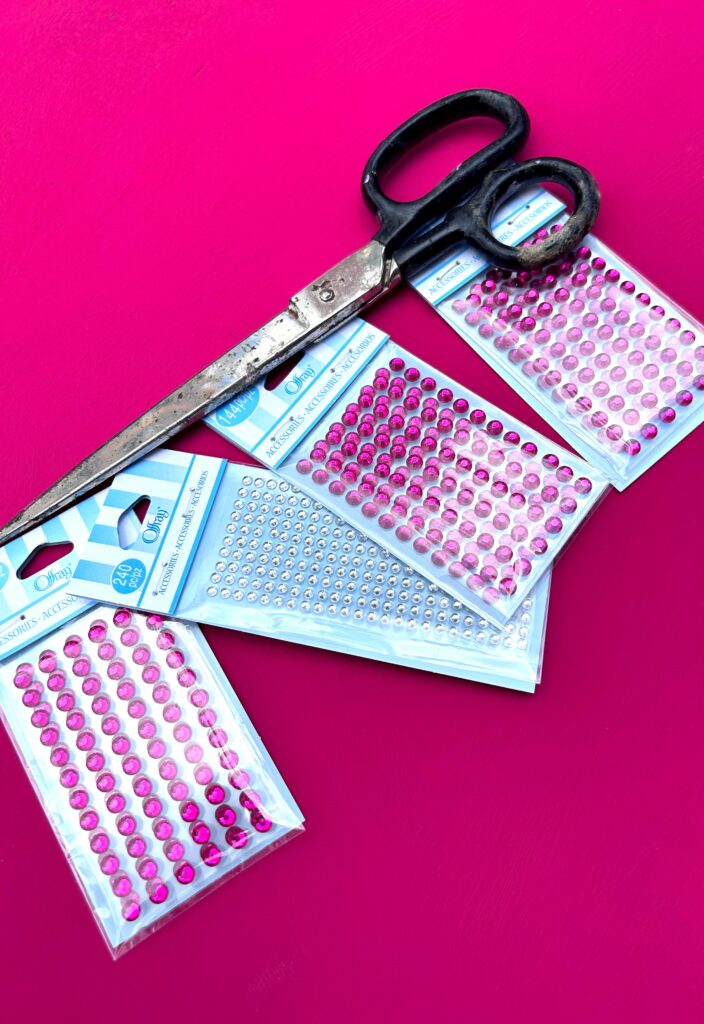
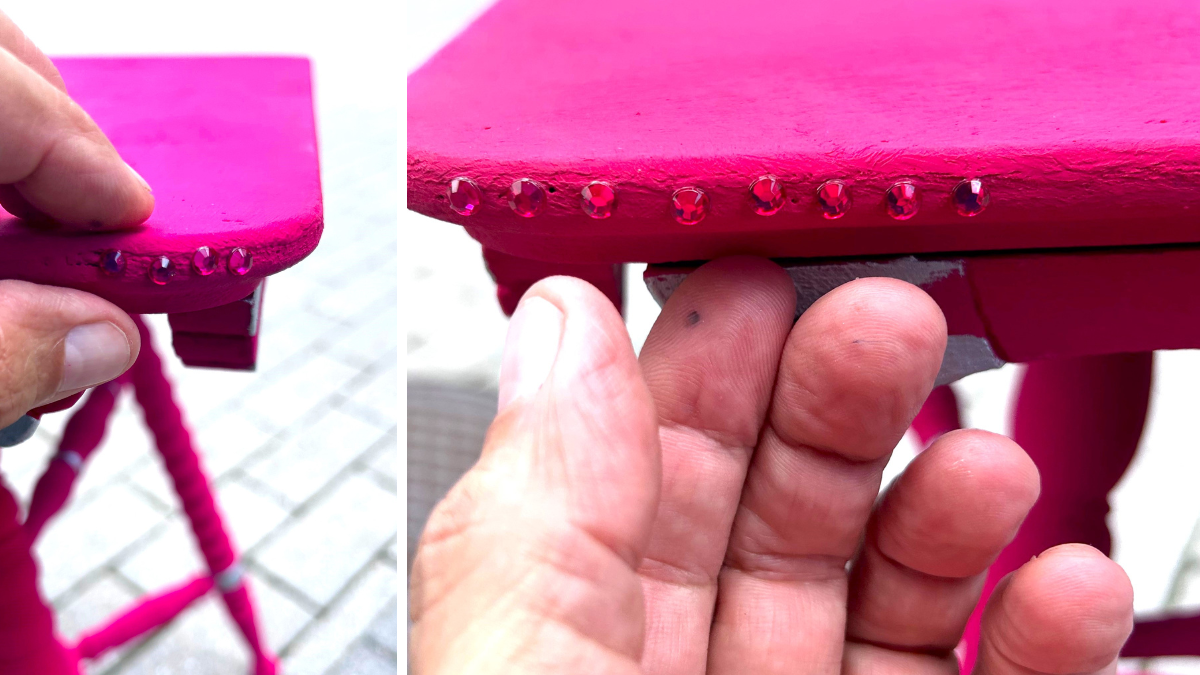
Around the edge of the table, hot pink, fake diamonds were carefully secured into place. Use your quick-drying epoxy glue here and apply it with another very small detail paint brush, then secure it in place.
Mini white diamonds (I guess it goes without saying that they are fake!) were added on the sides, too, for more sparkle along this flowery detail.
Now she shimmers and shines from top to bottom!
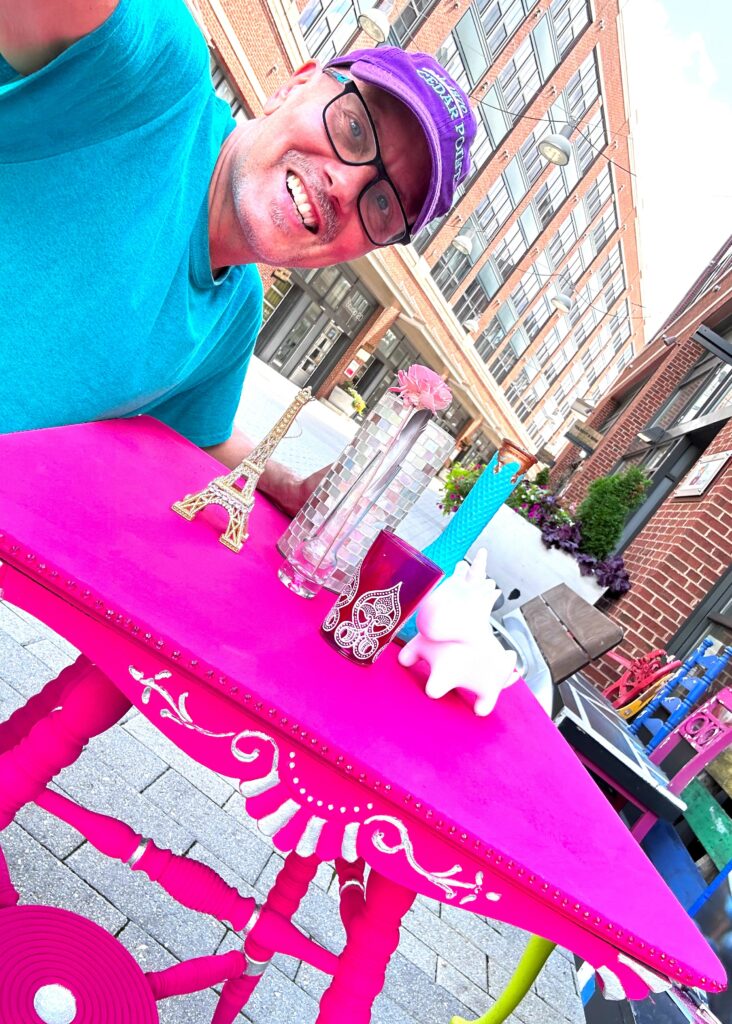
7. Share with your favorite Barbie fan—even if that’s you!
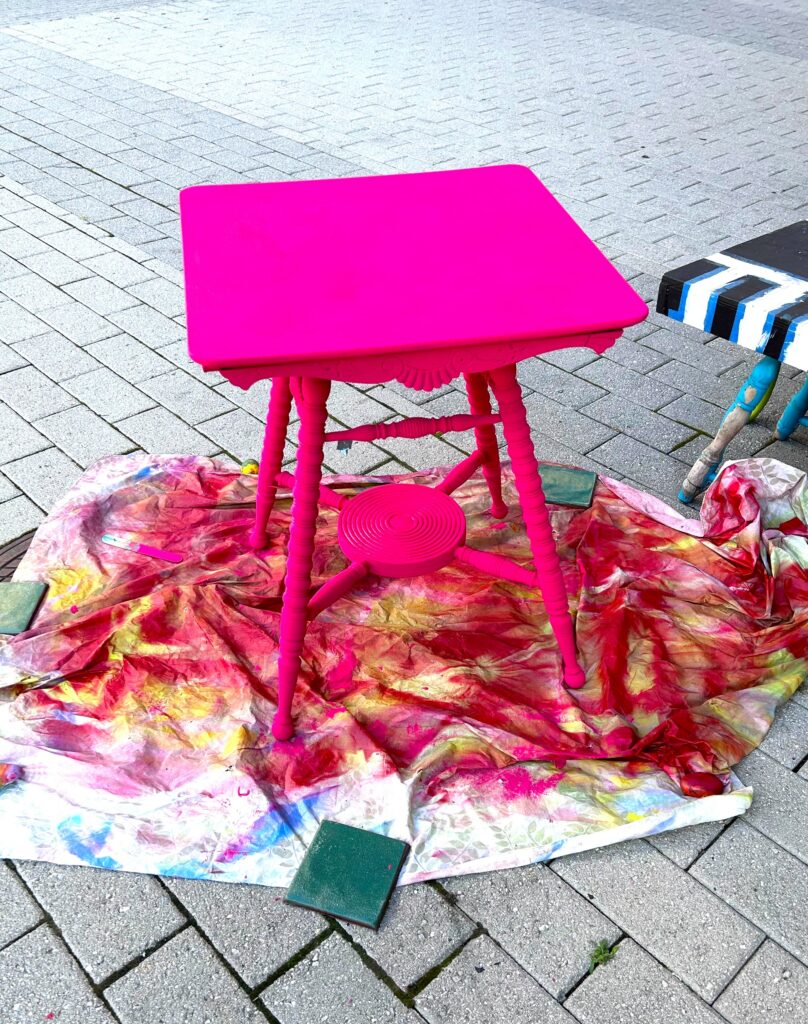
A table this size and with this bold, bright pink, and blingy detail will always be the center of attention, even if placed in the corner of your room or office. Of course, add more colorful accessories also picked up at Goodwill for just a penny or two.
When you see how beautiful your Barbie-inspired piece looks and how happy it makes you feel, you, too, will say, “I have it all!
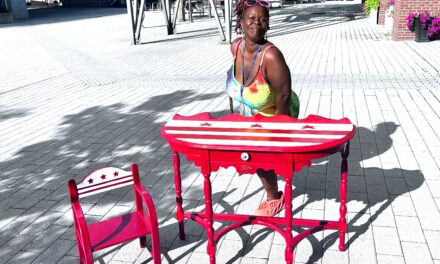
Similar Reads:
- DIY: How to Create a Dreamy Unicorn from a Dated Rocking Horse
- DIY: Bling Out Your Best With a Mirror-Accented Table

Tim Kime
Artist, Motivational Speaker, Life Coach