You’re gonna definitely want to toss your hat into the ring for this easy way to make a fashion statement with your head apparel. This simple DIY project gives new life to an old fedora and an old tie when combined for this stylish upcycle. So you see, two olds—not two wrongs—do make a right—a rightly handsome and unique piece of attire!
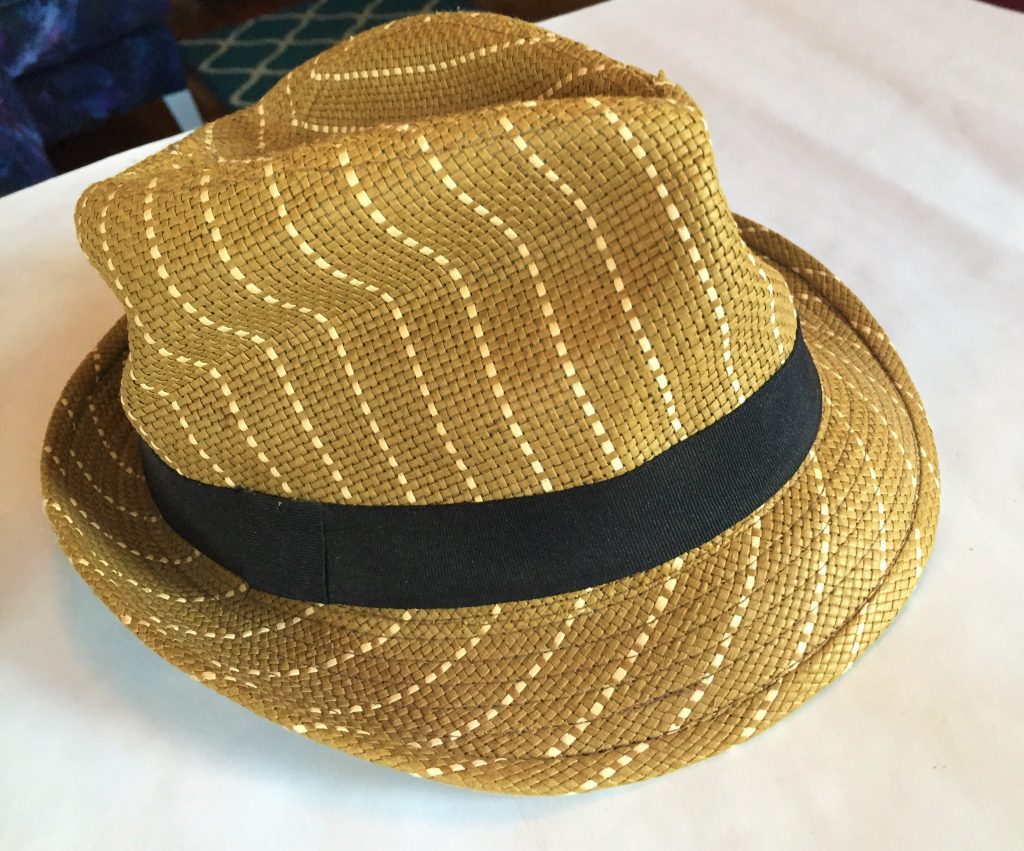
The inspiration for this project was a red fedora found at Goodwill for a scratch-my-head great price. Each time I wear it, I receive compliments on it, so I looked for others like it with no luck – lots of black, gray and brown options.
Given my recent blog when I splatter painted an easy chair, I thought I would try using paint to transform a hat into the colorful look I wanted. Here are two versions that I love and will have your head spinning with all the “ohs!” and “ahs!” you’re gonna get!
In the spirit of this blog, here’s today’s corny hat joke: What did the hat say to the tie? “You hang around here…I’ll go on a head.”
Age: Older kids and adults
Ability: Sew easy because there is no sewing!
Items needed:
1. Hat with brim (great project for men, women AND kids’ hats)
2. Colorful necktie
3. Spray paint (optional)
4. Scissors
5. Glue gun & sticks
Cost: $8
- Hat: $4
- Tie: $4
Leftover spray paints: $0
Time: One hour, not including paint drying time
1. Strut yourself and your stuff over to Goodwill
It doesn’t matter what you wear so get on over to your favorite Goodwill store today to check out the plethora of head wear for sale each and every day.

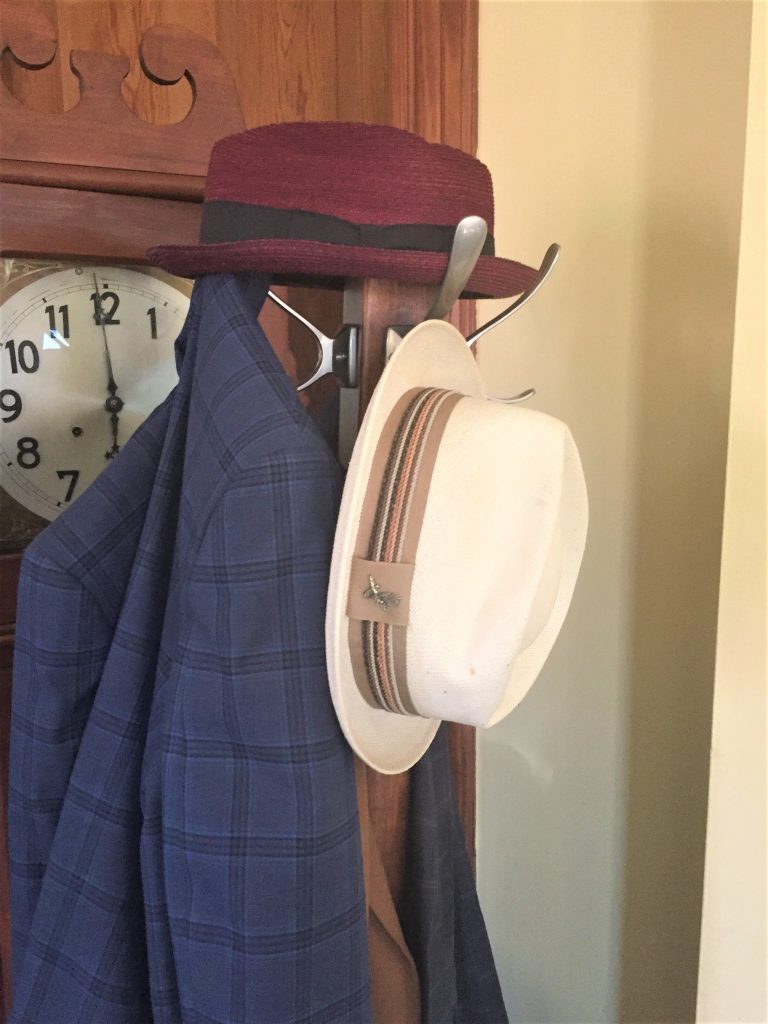
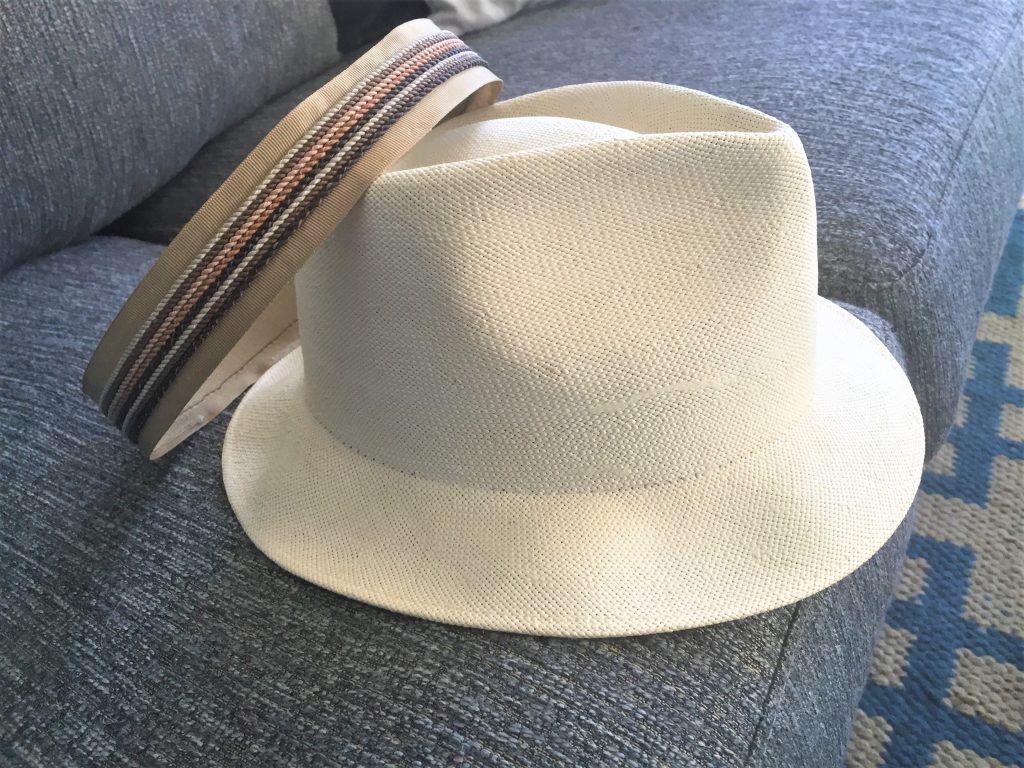
- Look for a hat with brim and a band around it.
- Find one that fits your head (or that of the person who will wear it), not worrying about its current color or style of the band around its crown.
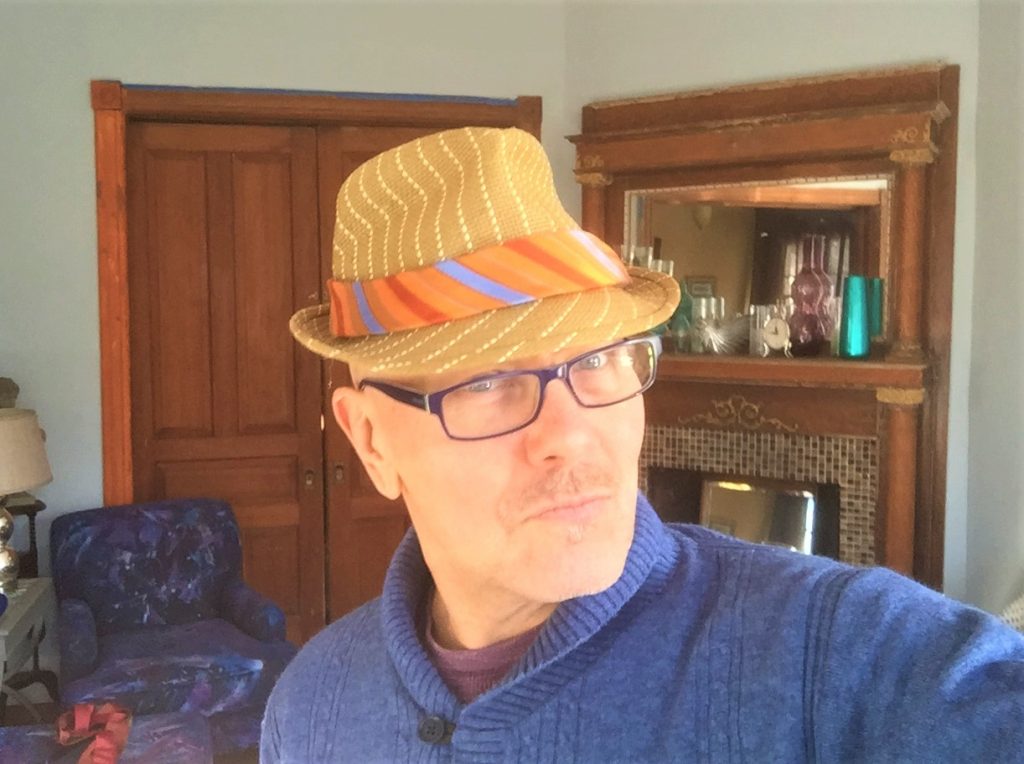
With your hat in hand, hit the section where the ties hang out (can’t help myself as the puns are so easy!) and look for a colors and designs that you like. Wrap the tie around the crown to see how it looks until you find one that you want to take home, too.
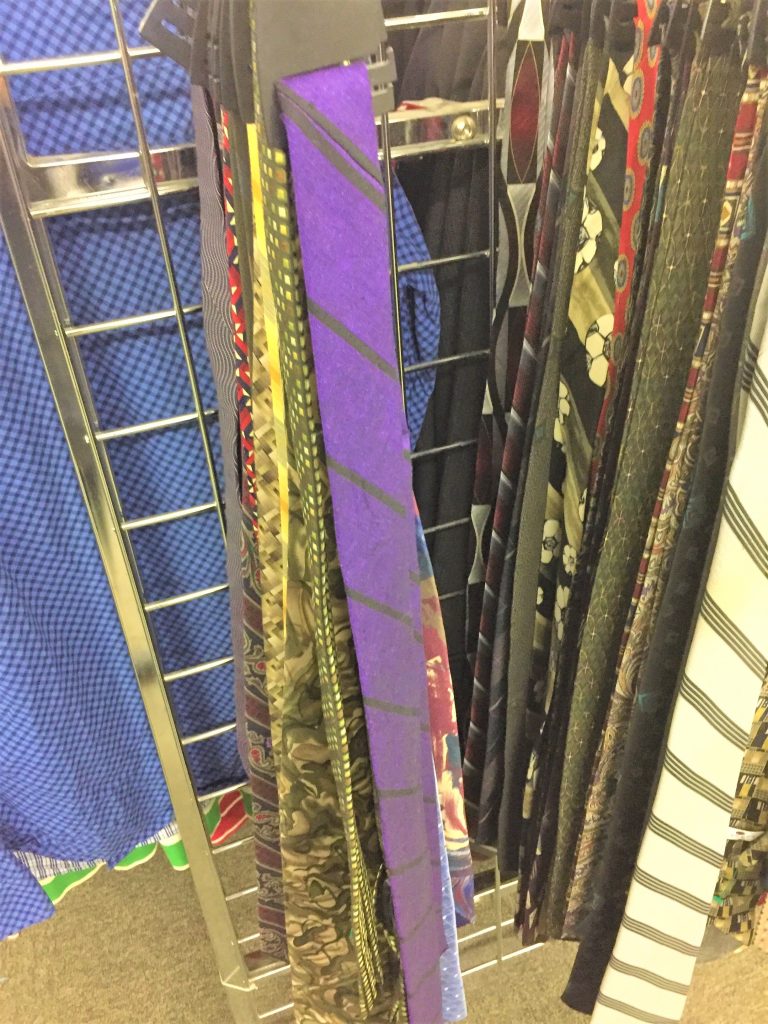
Design Tip: While neckties where used for the two hats featured in this blog, you could also tap a belt for a role as its band. Personally, I wanted bright colors to make mine stand out and there are many more vibrant options with ties.
2. To paint or not to paint, that is the question…
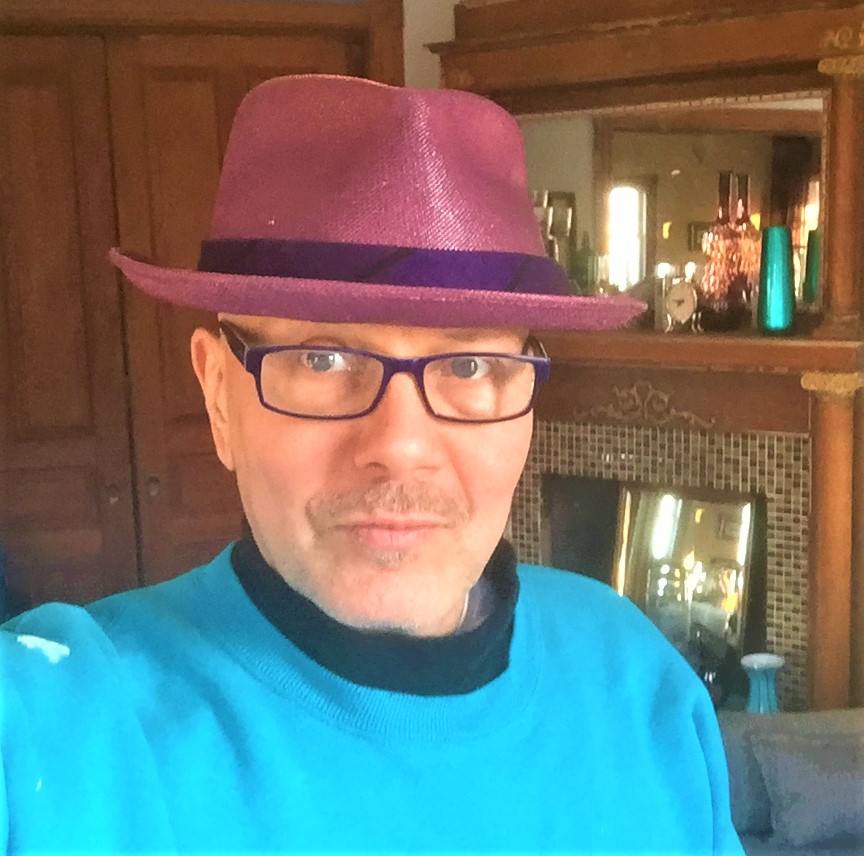
Given the style, color and material of your chapeau, you may want to spray paint it to truly transform its look.
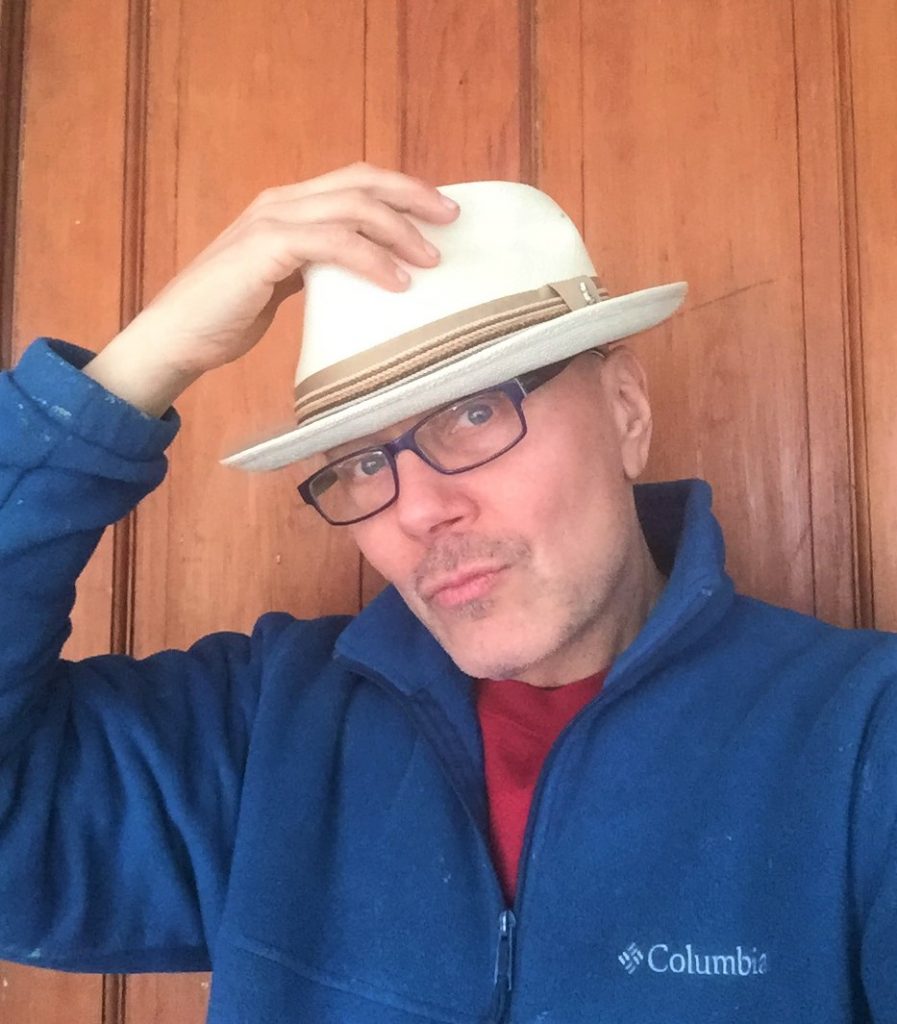
One of the hats here was perfect for a paint job. It was out of a stiff straw material and it was white—not my color style at all, but it has great construction and is handsome with its wide brim, tall crown and deep pinch on the front. And there was little risk in trying this approach given the small financial investment for this project.
- If you go the painting route (which I strongly encourage!), place your fedora on a drop cloth outside or in a well-ventilated area.
- Lightly spray the top side of the hat and let it dry for an hour.
- Add another light layer to ensure solid coverage.
- A very gentle touch is important at this step so that there are no drips or excess coverage.
- When totally dry, flip it over and get the underside of the brim, again lightly applying two or three coats of paint.
- Let dry overnight if possible.
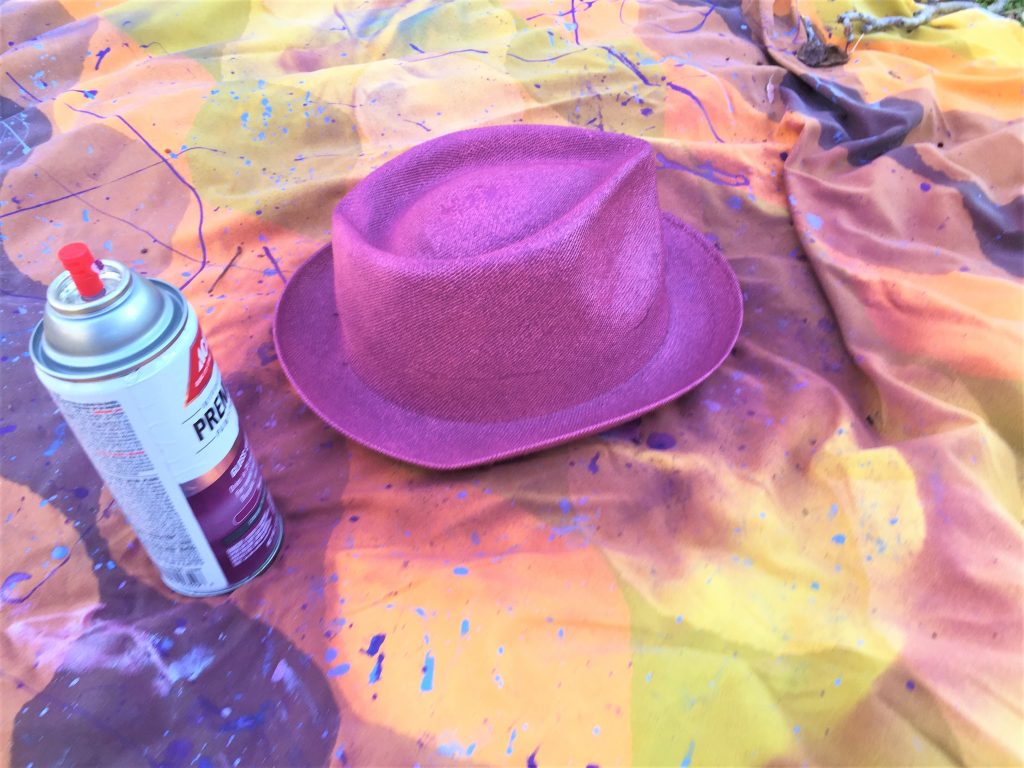

Expert Tip: The paint used for this blog had a glossy finish so left the hat a little shinier than preferred. A matte or satin finish is a better option so I encourage you to go that route if possible.
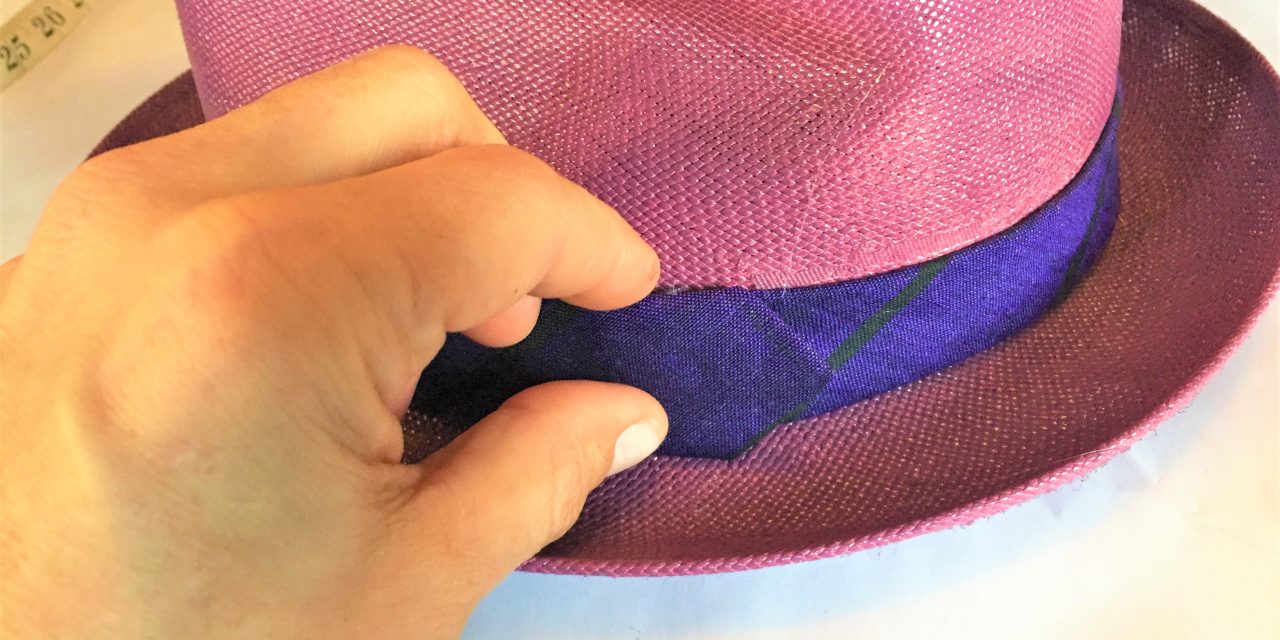
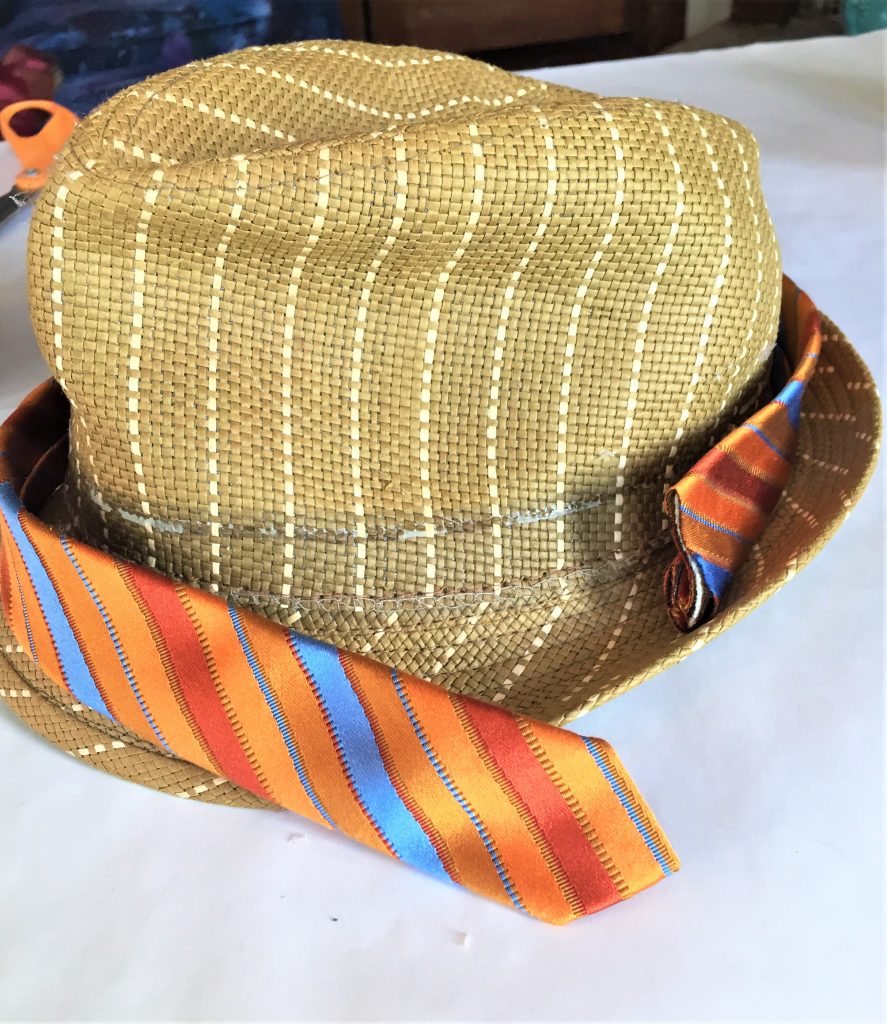
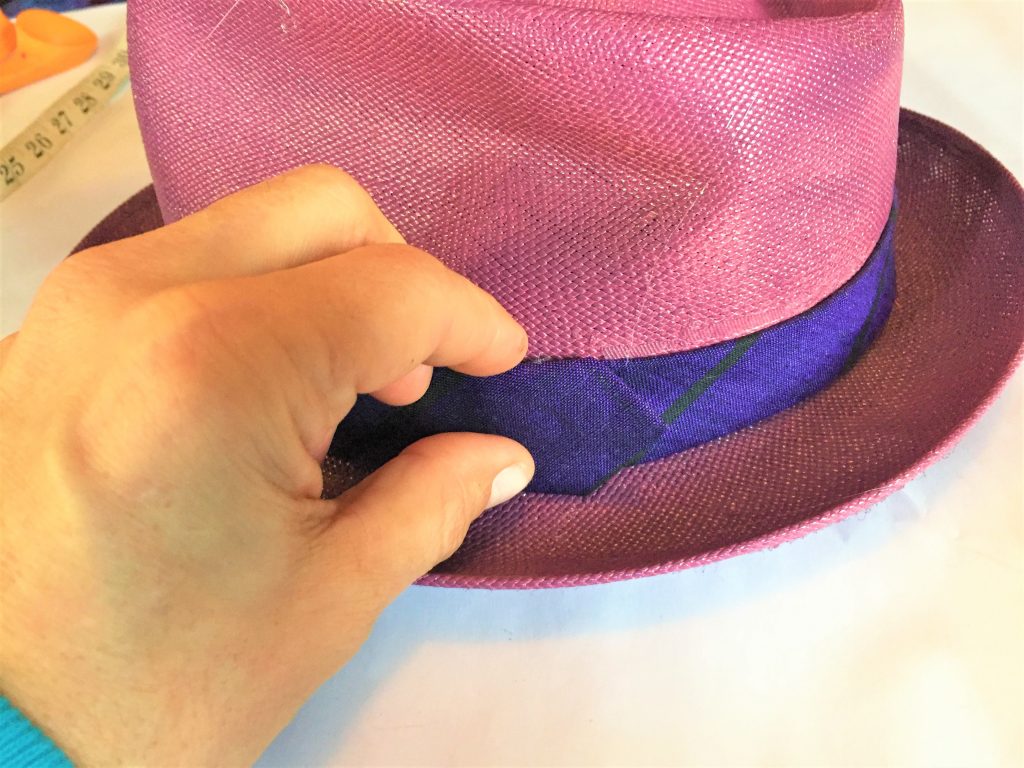
3. Band-it…Bandit, get it?
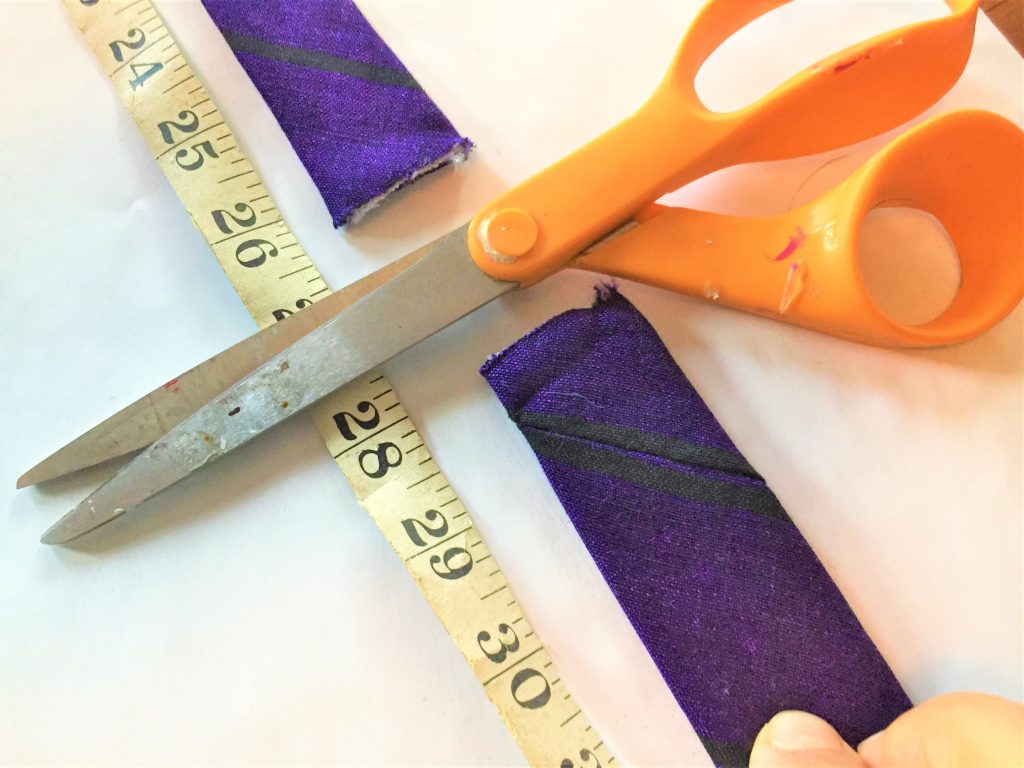
- From the tie’s skinny end (the part not seen when tied around the neck), measure that length then cut it.
- Using your glue gun, adhere the raw end you just cut to one of the hat’s crown’s sides. You will want the good side of the tie to show and face outward.
- Carefully add more glue and secure in place, turn the hat and continue along in small “bites” so you can ensure a tight fit as you work around it hat. The pointed should overlap the part you cut so it has a nice finished look to it.
I love using a necktie for this project because the skinny end will easily wrap around most hat sizes, has finished sides and the pointed end looks so sharp.

4. Flaunt your fashionista flair
Place your piece in place and get ready to turn heads. You will feel part GQ and part Martha Stewart as you wear this totally unique and totally you hat that will make you feel part Albert Einstein, too, because you look like a million bucks for just a few!
And here’s one more while I am at it: Spotted a chap playing tennis in a hat the other day. Think it was Roger Fedora. (Did I hear groans?)

Tim Kime
Artist, Motivational Speaker, Life Coach

