Halloween is coming up soon, so here are three more creepy DIY projects for your apartment, condo, or haunted house! Pick up items for Goodwill for super scary low prices and transform them into unique pieces to add delights—and frights—to your Halloween setup.
DIY Project 1: Bike wheel upcycled into spider’s web
Turn a bike wheel from Tour De France into Tour De Fear when it becomes a hub for spiders and their prey.
Here’s how:
1. Remove all parts to leave just the wheel rim
Goodwill does sell bikes that are in great shape for keeping you in shape; they function well as is. However, you could pick one up and pick it apart to use its wheels for this cool and creepy project.
Cut away the tire and inner tube to leave just the metal wheel rim. (And all the leftover bike parts are prime for other DIY projects, for sure!)
2. Spray on some scares
Place your bike wheel on a drop cloth and apply several light layers of black spray paint, satin, or flat finish.
Flip it over between coats to ensure you get all parts, edges, and sides.

3. Weave your own web
Use string or twine to turn your wheel into a web. Start at the center and glue your string onto the spokes. Start with a small ring near the center; add a second line and ring of string in the middle; repeat this a third time with another piece between the middle section and outer rim.
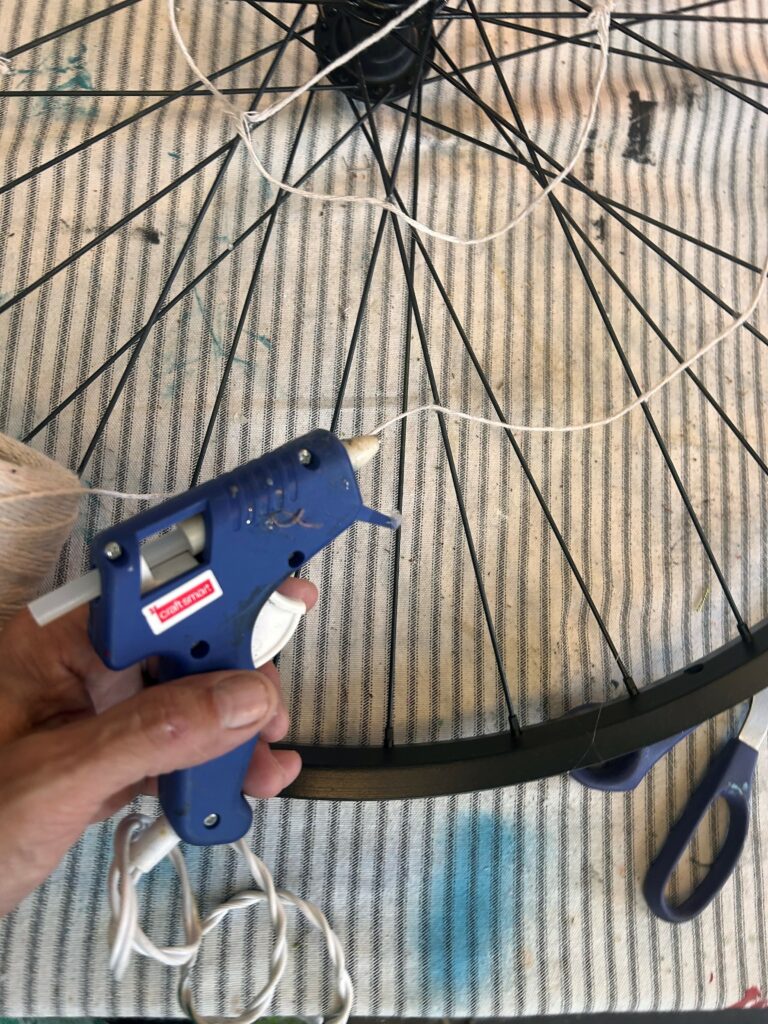
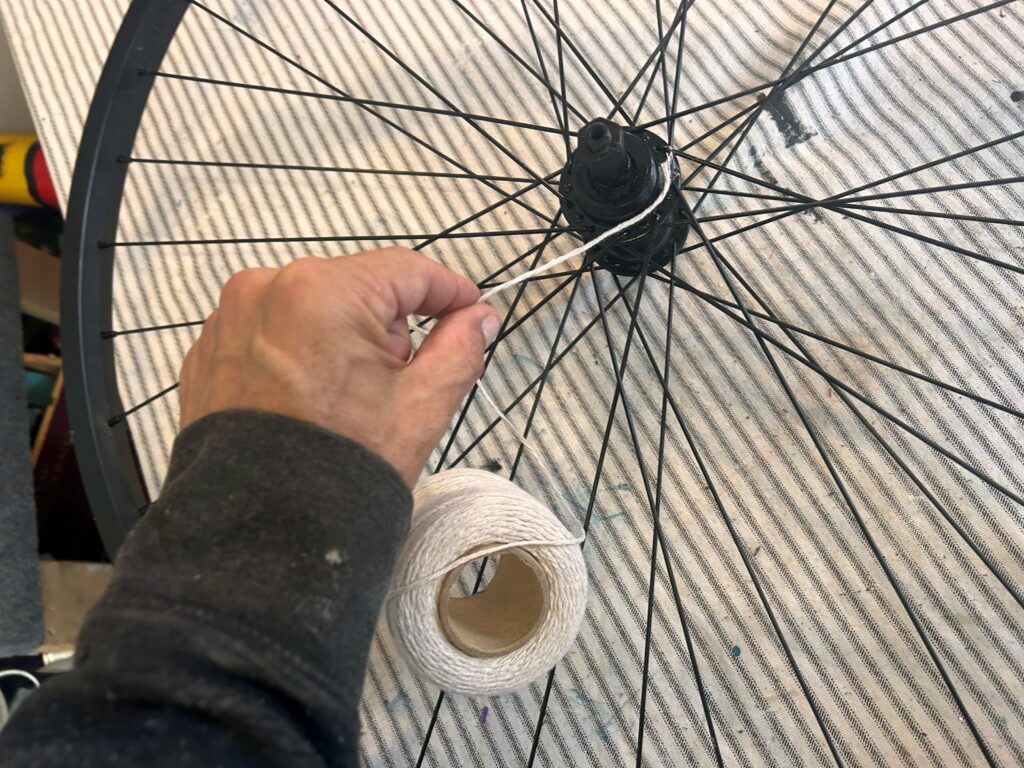
Ideally, you will use your glue gun to secure the three string circles along the same spokes, just further out each time. When done, place it again on your drop cloth and add layers of your black spray paint to help the string blend into the other painted black parts.
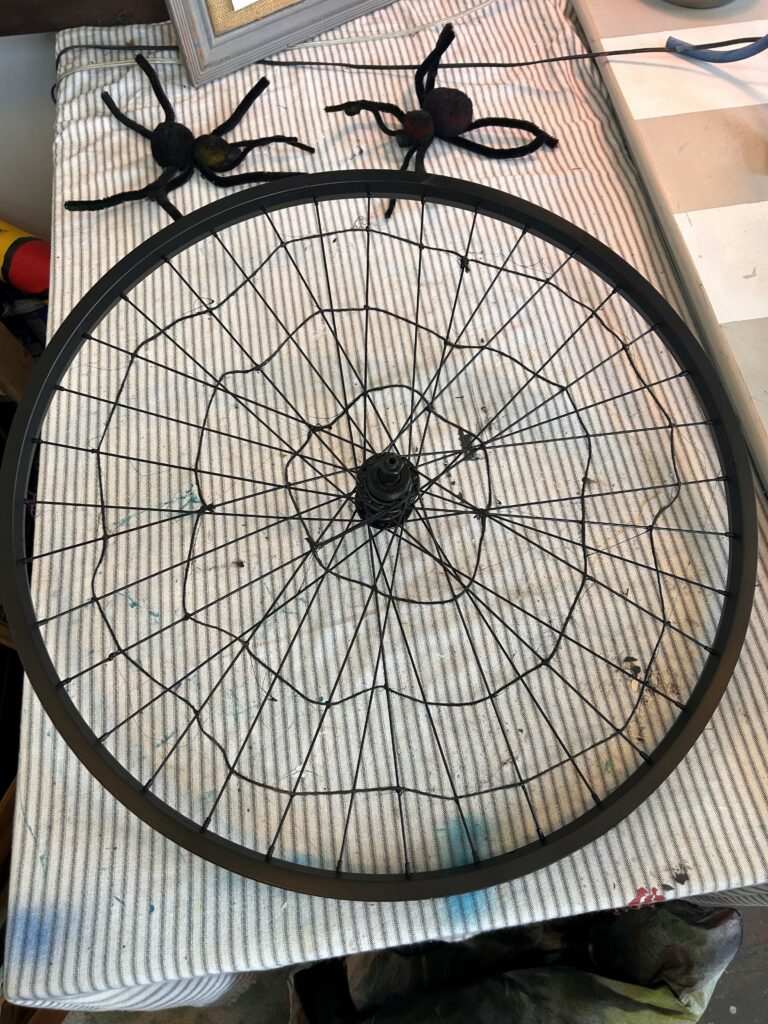
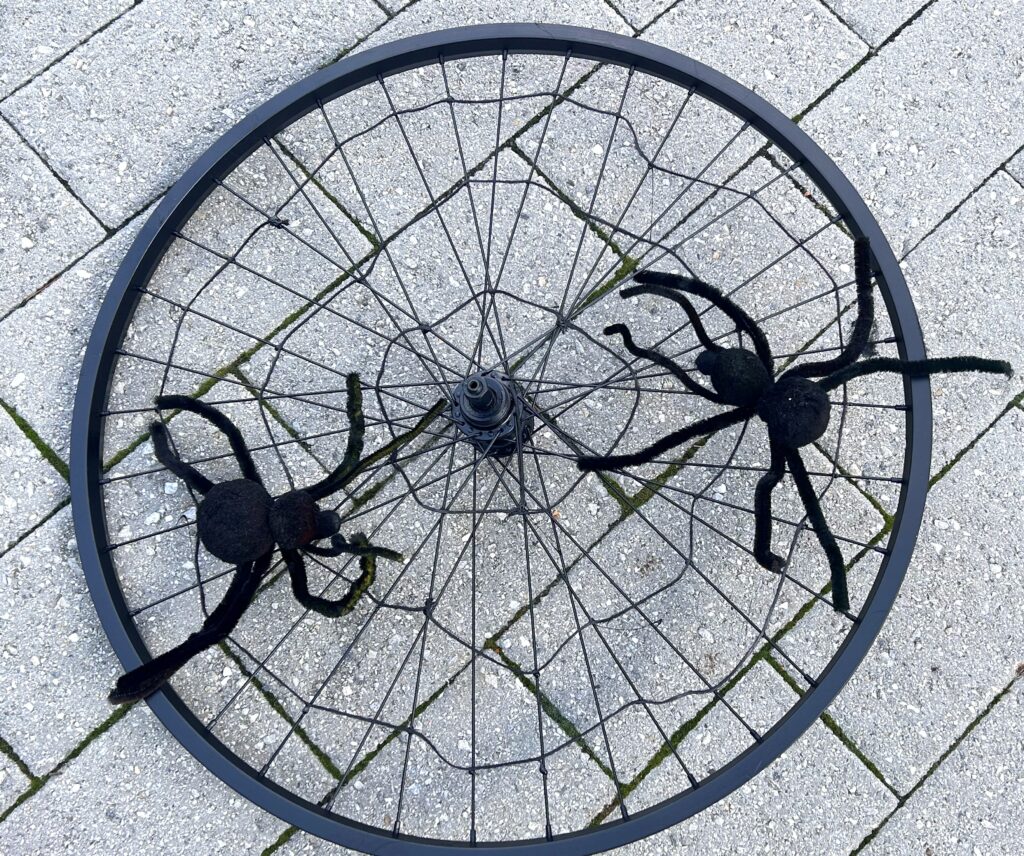
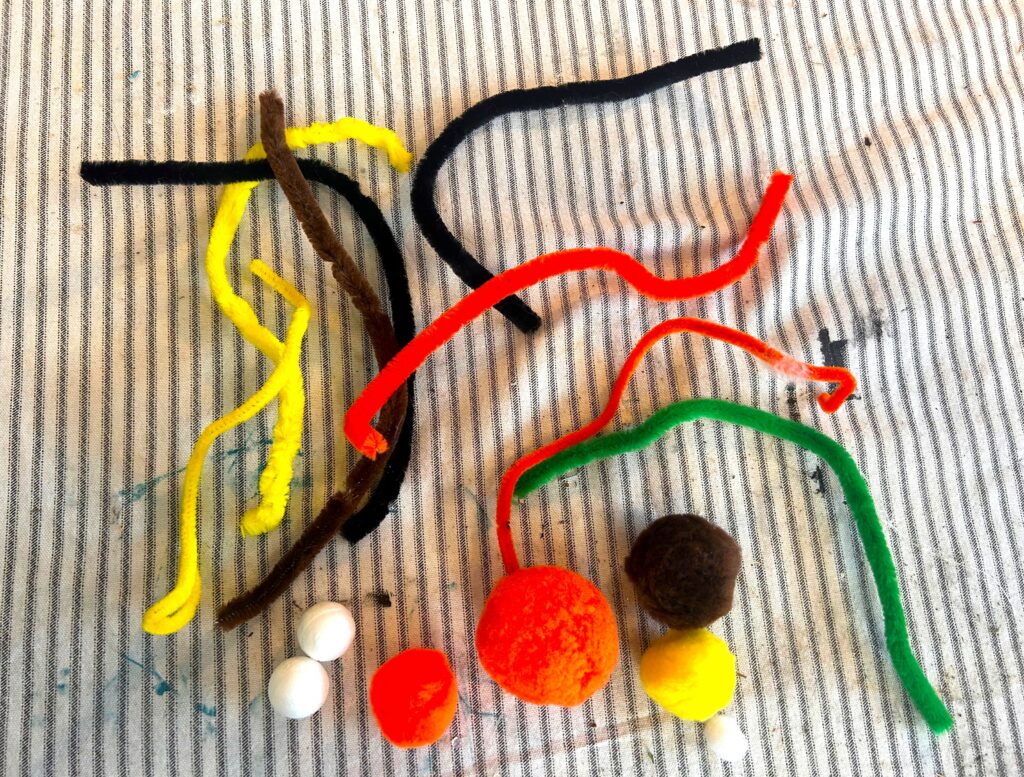
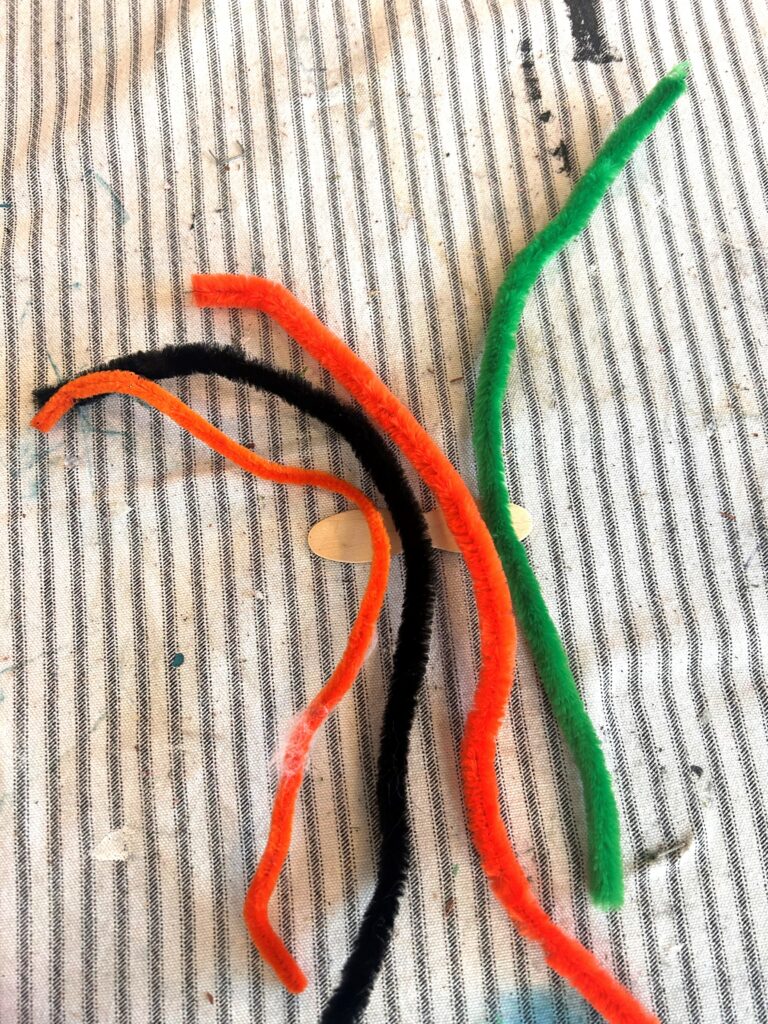
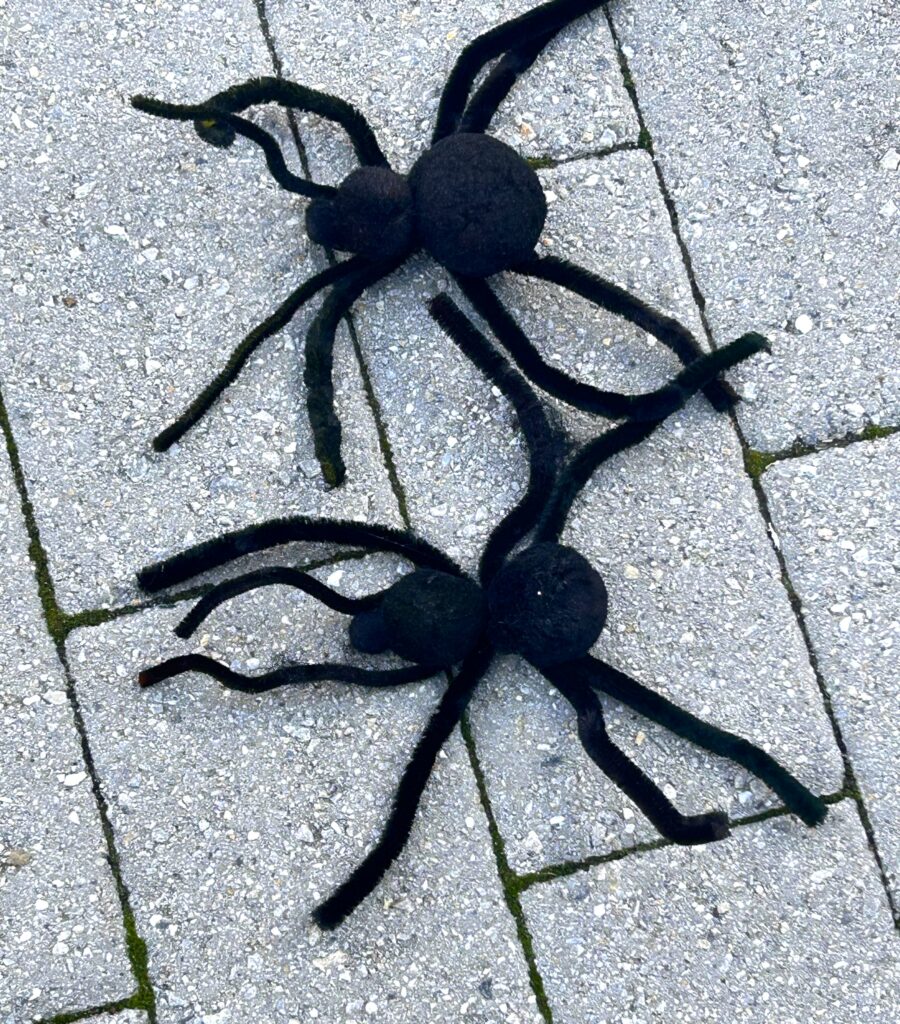
4. Spin a spider or two
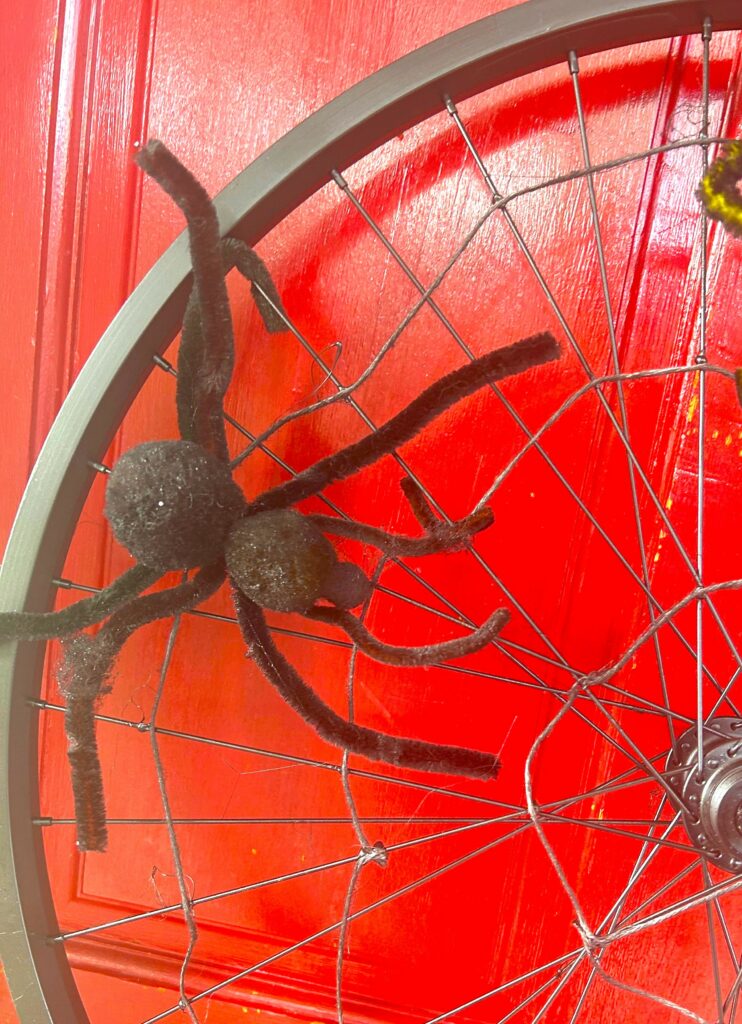
Every web needs a spider or two to call it home, so create a pair by combining pom-poms, pipe cleaners, and small pieces of wood. Two small, wooden, flat spoons, used for eating ice cream, become the spider’s spine. Four pipe cleaners were glued on top, and finally, three pom-poms were added on top going from small to large. Place these critters on your drop cloth, too, and add several layers of the black spray paint, too; flip them over to ensure solid coverage and maximum creepiness!
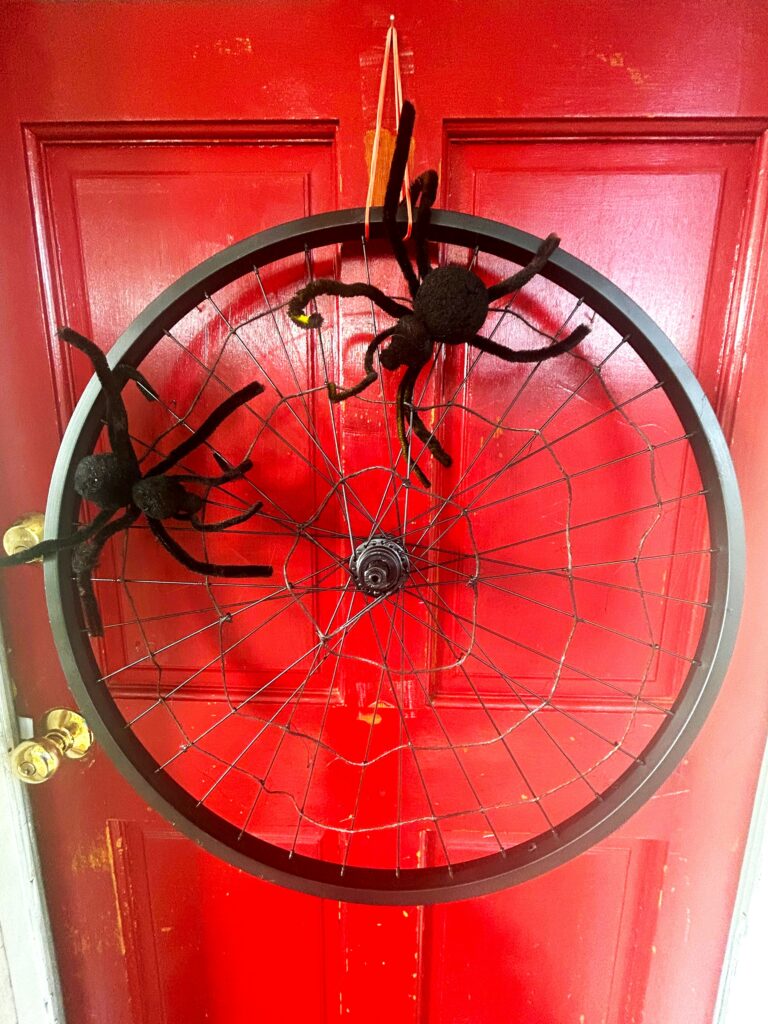
5. Display on your door, hang on your wall
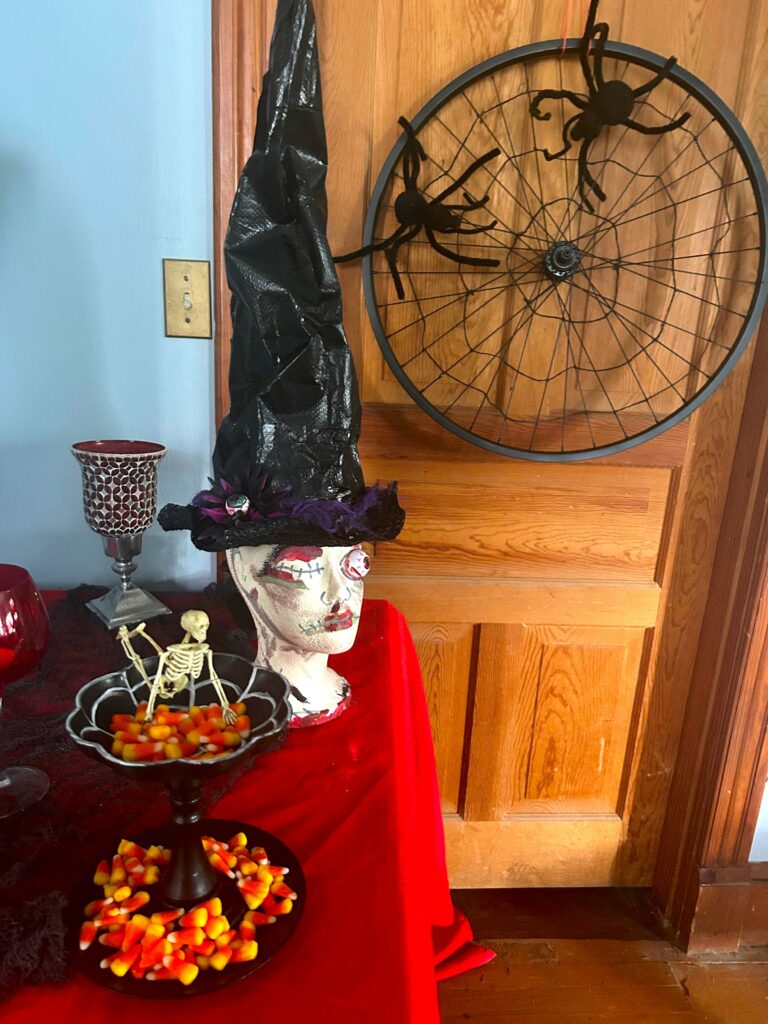
With a small piece of wire, create a hanger for your wheel web. Hang it up on your door or on a wall, then position your scary spiders on it. Embellish with any other creepy décor you have, and you are good to go to welcome your friendly neighborhood goblins and ghosts.
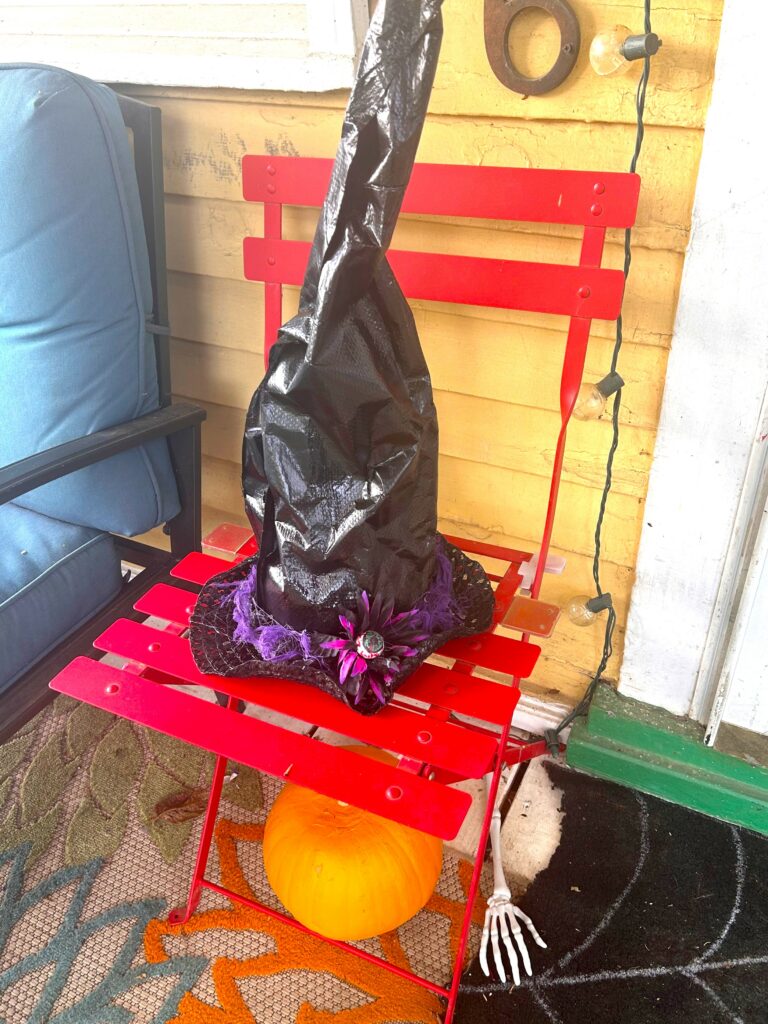
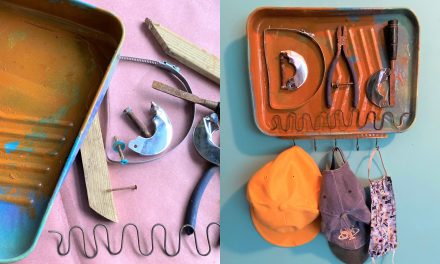
DIY Project 2: Spring bonnet becomes witch’s hat
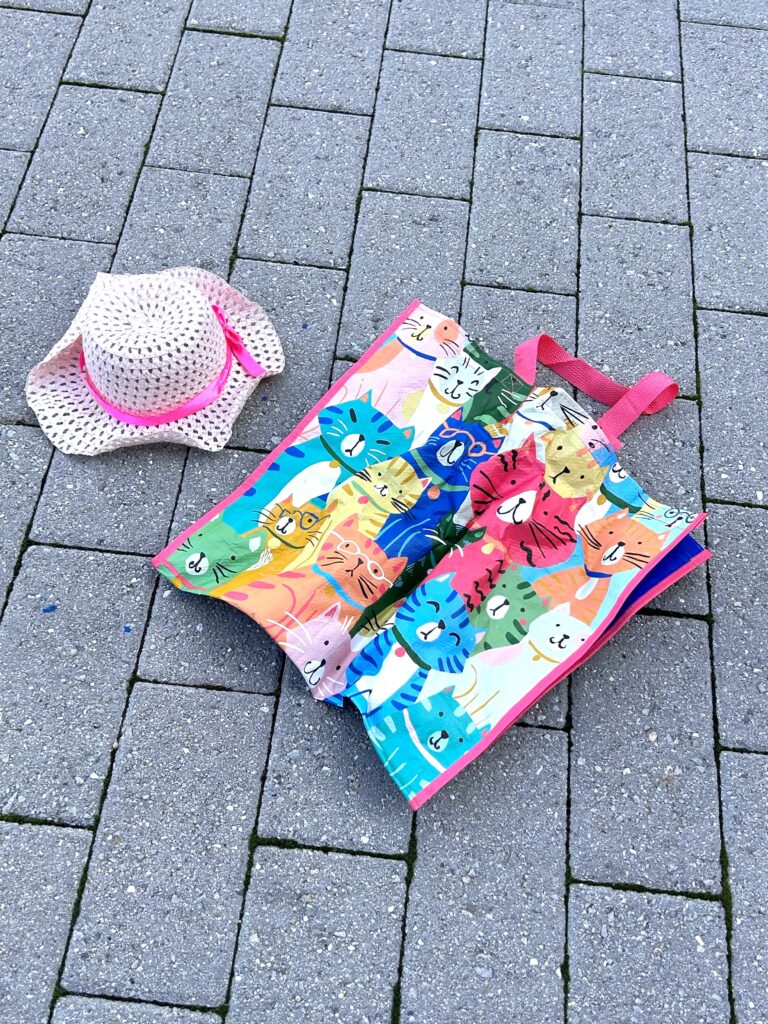
Upcycle a Spring bonnet into a spooky hat, perfect for the Wicked Witch of the West.
Here’s how:
1. Cut apart a reusable shopping bag to make a point
- A heavy plastic shopping bag was cut apart to make a happy bonnet into a witch’s hat.
- The bag’s material was both sturdy and lightweight.
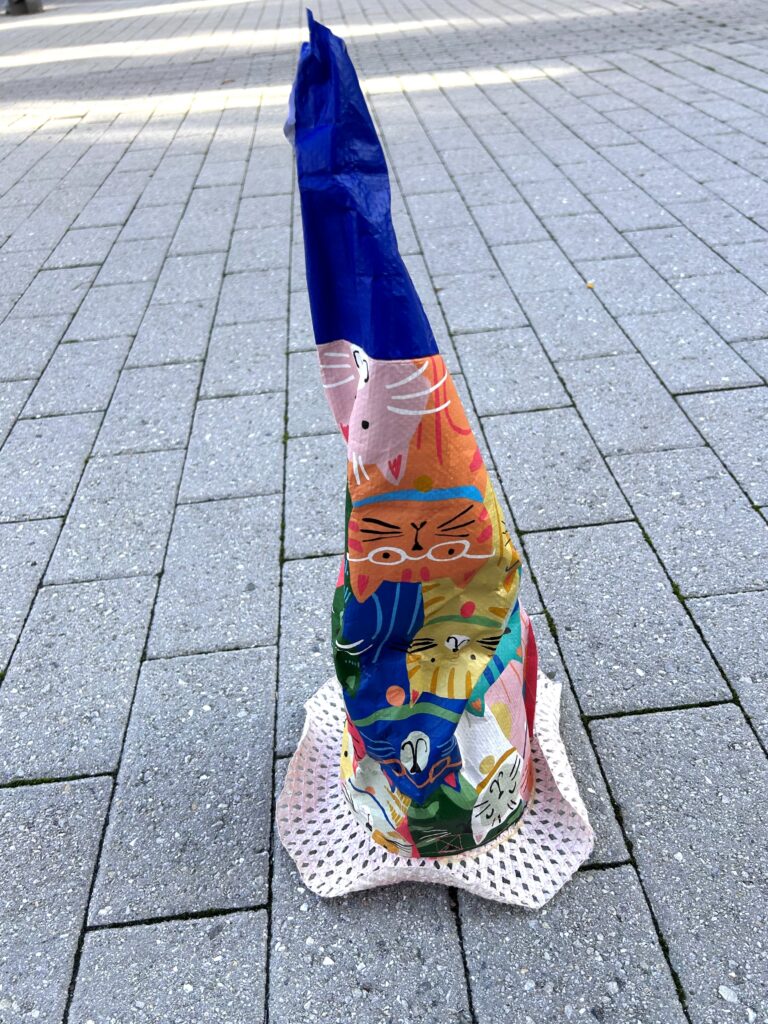
- Measure the circumference of the hat, along its band, to ensure you have enough bag material with which (or should I say witch?) to work.
- Ensure you have material that is long enough; then cut the remaining fabric into a triangle with the measured part (matching the circumference) along the bottom.
2. Glue gun the pointy part in place
- Wrap the measured fabric piece along the band of the hat; glue it in place as you go with your hot glue gun.
- Overlap the cut edges and add more glue.
- Gently wrap the cut edges together to make the point needed for the hat.
- Glue as you go.

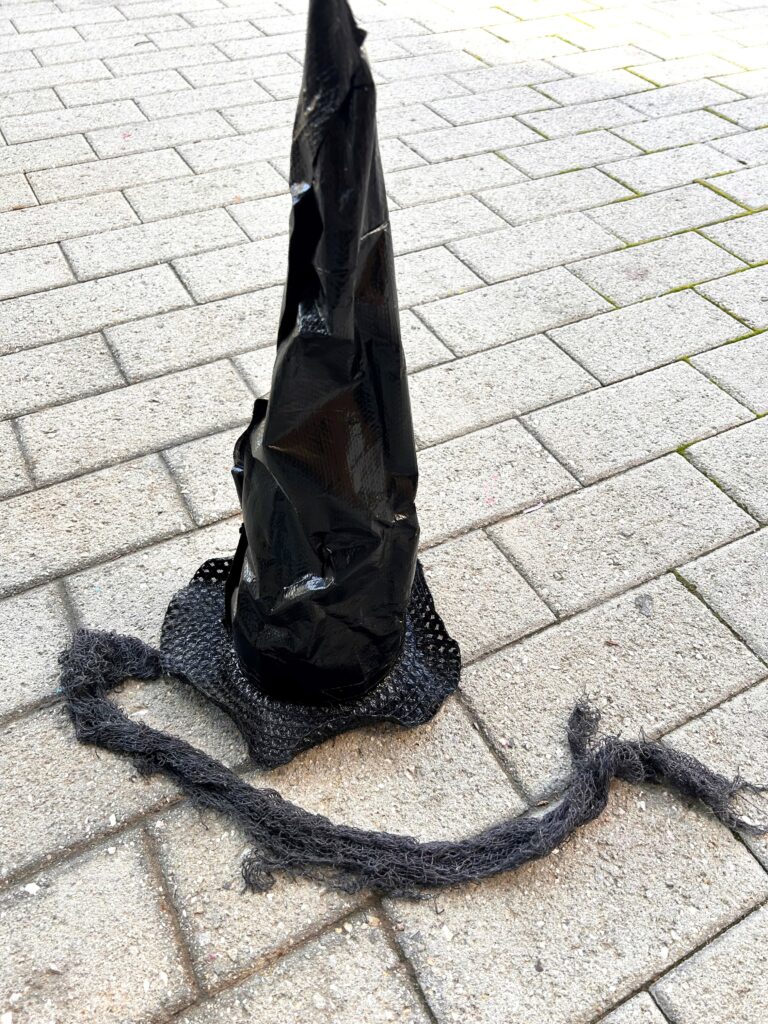
3. Add some fright with black paint
- Place your bonnet with its point top on a drop cloth and spray on several layers of your black spray paint.
- You will want to lay it on its side, once dry, to ensure you get all the parts and pieces.
- Let it dry well.
4. Add on embellishments
What items do you have on hand to add to the witch’s hat brim to make it super spooky?
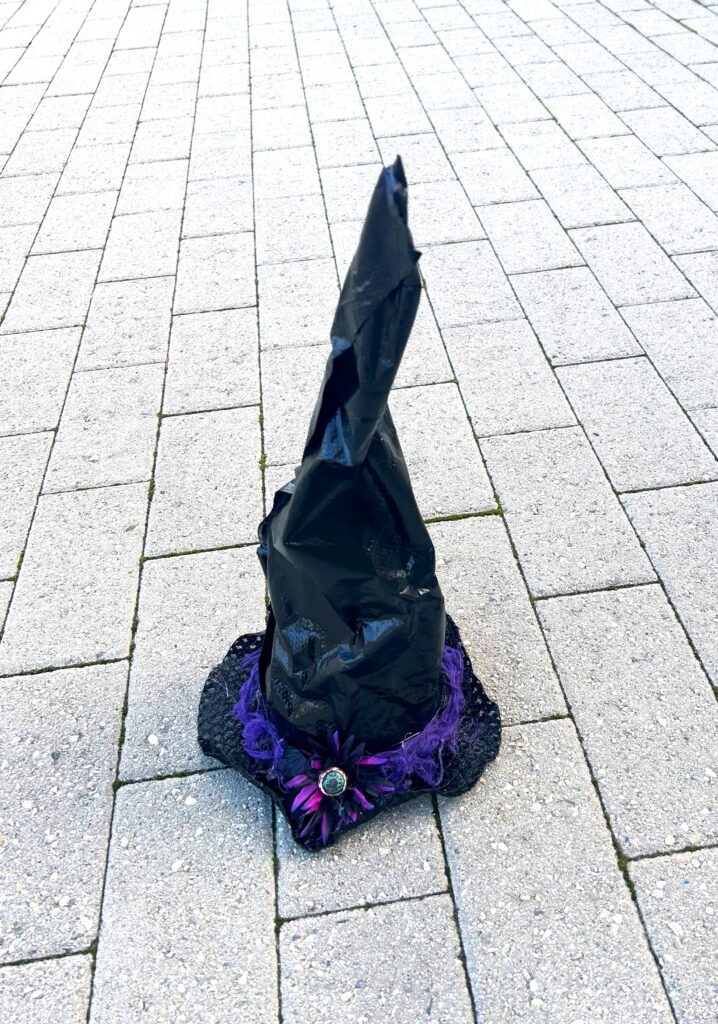
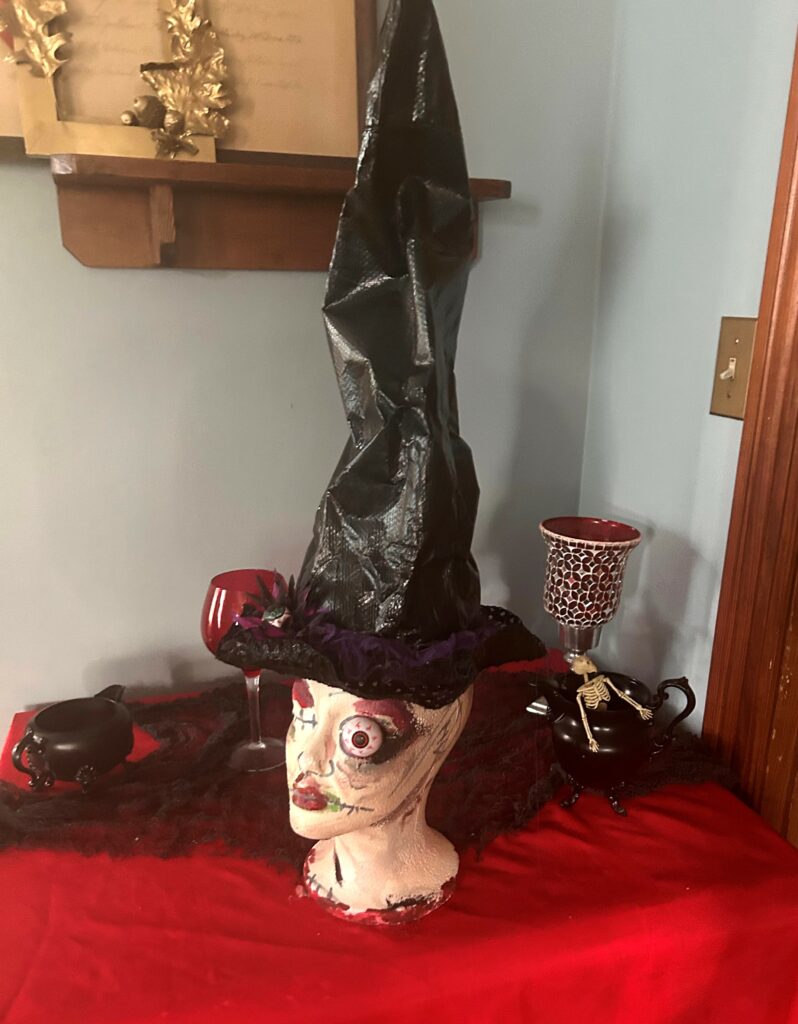
Gauzy black and purple fabric was twisted and secured in place with the glue gun.
A silk flower, also in black and purple, was glued along the trim, too.
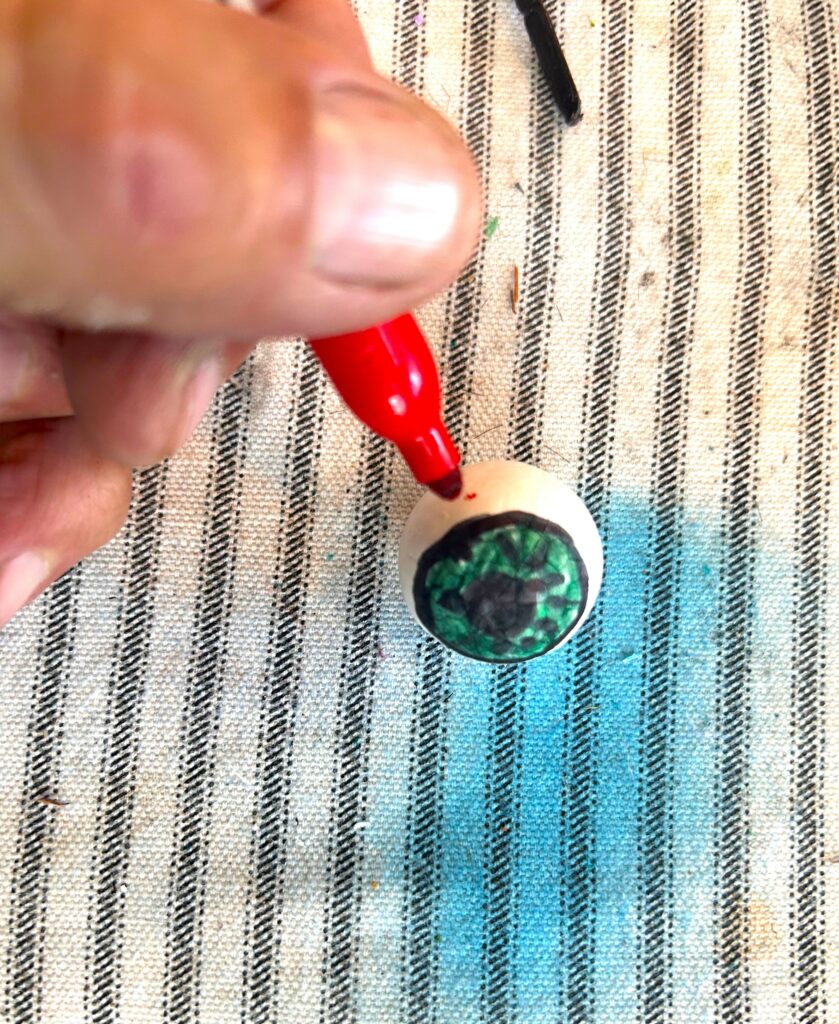
And lastly, a small Styrofoam ball was drawn upon to look like an eyeball, then added on top. It was truly the icing—I mean ickiness—on top!
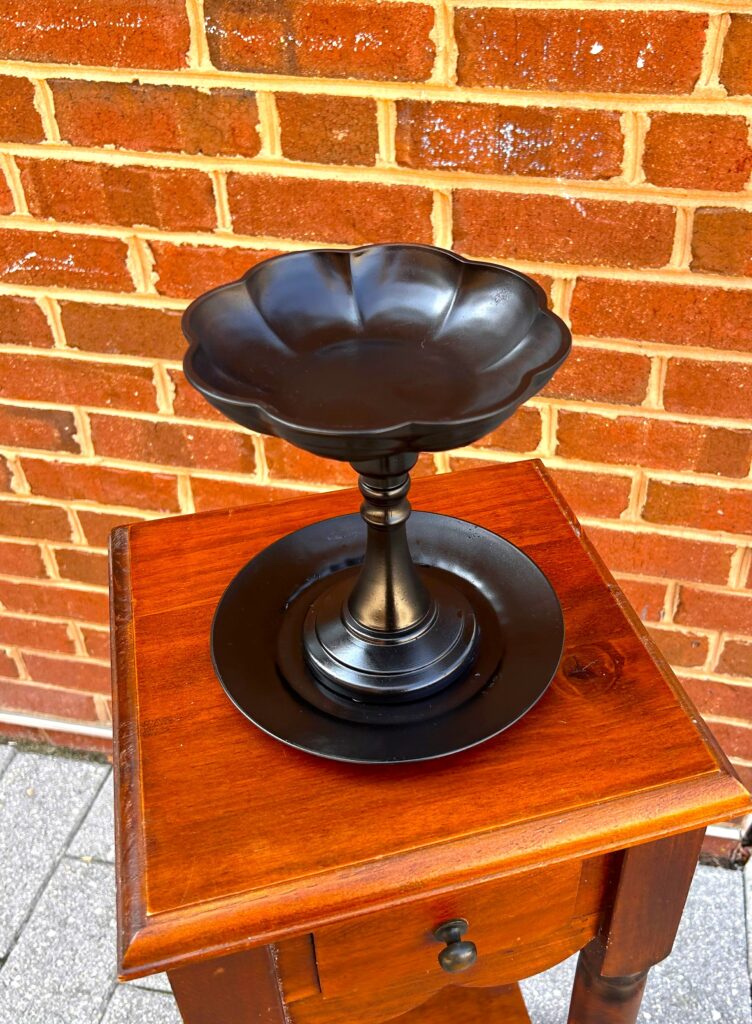
DIY Project 3: Dainty dishes upcycled into a creepy candy container
Put two small dishes together with a candleholder to make a staked candy container that will serve up sweets with a spooky style.
Here’s how:
1. Stack and secure two dishes and a candle holder
Goodwill is sure to have dishes and a candle holder to upcycle for your Halloween festivities.
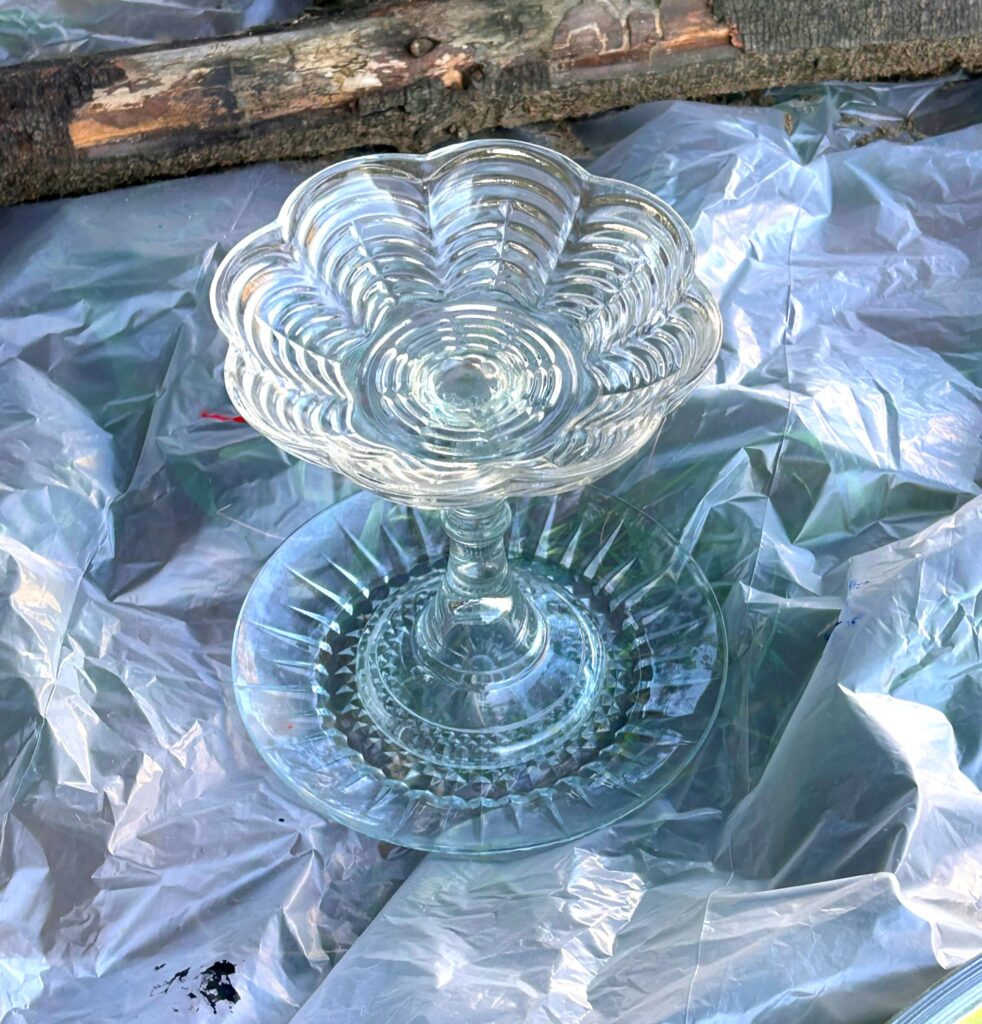
Look for two medium to small-sized dishes; one used here had some scallops as part of its design which made me think of a spider’s web. A small glass candle holder was picked up for pennies there, too.
- Add epoxy glue to the bottom and top of the candle holder; place the bottom on top of one dish and use painter’s tape to hold it in place.
- Stack the second dish on top of the candle holder so the glue touches the underside of the dish.
- Again, enlist your painter’s tape to keep a hold on it while it dries.
- Remove the tape.
Expert Tip:
Use epoxy glue for this project. A glue gun’s gun won’t be strong enough and won’t stand up to the addition of candy and other items to your stacked dishes. All hardware stores carry this kind of glue for less than $10.
2. It’s time to spray on the bleak and black
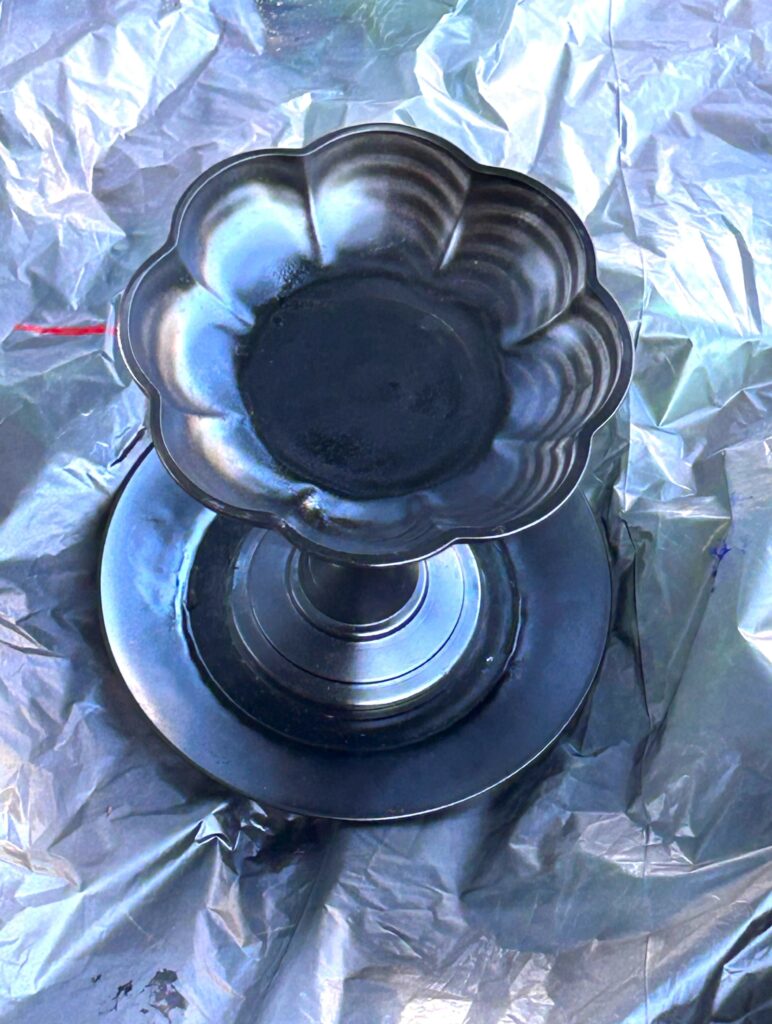
- Carefully place your stacked dishes/candy container on a drop cloth.
- Add several light layers of your black spray paint.
- Allow ample time to dry, then gently place it on its side and add more black paint. Again, you want to ensure solid coverage.
- This part is so much fun as it pulls together the various parts into one “bootiful” piece!
3. Write in the web
With a white or silver paint pen, write/draw in lines to mimic a spider’s web. From the center outward, draw straight lines like the spoke of a wheel.
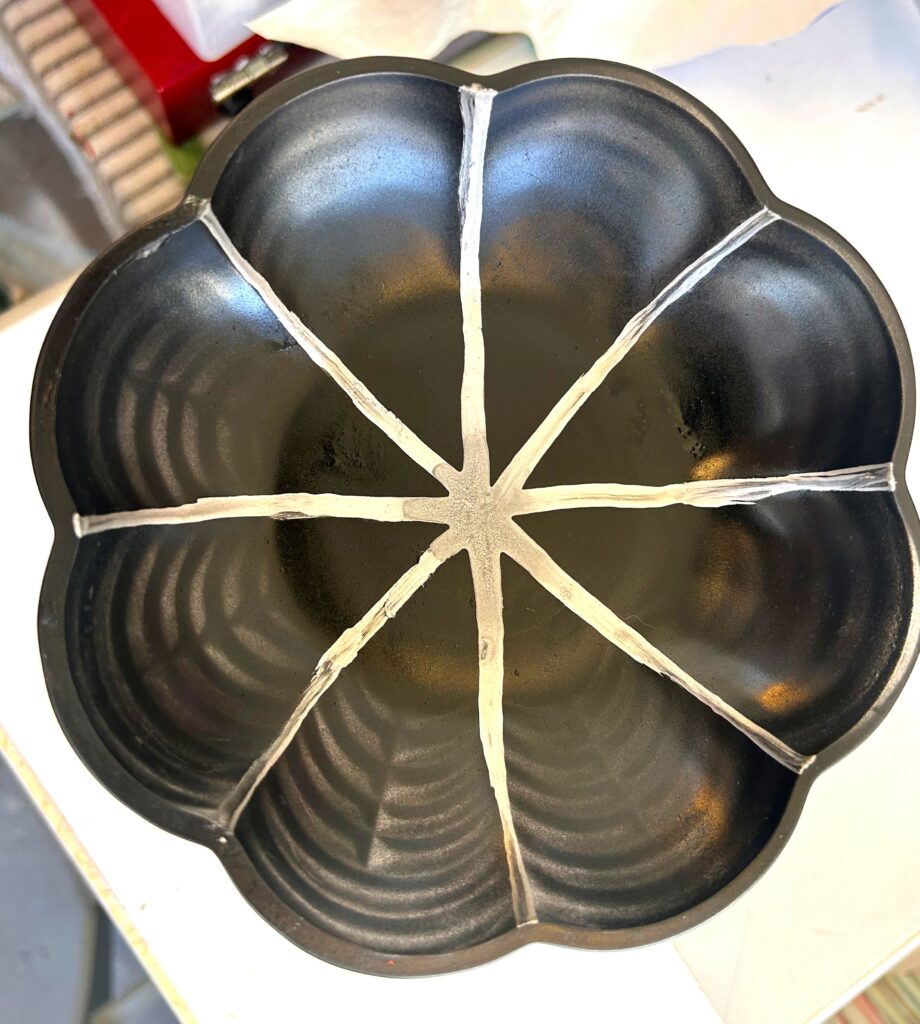
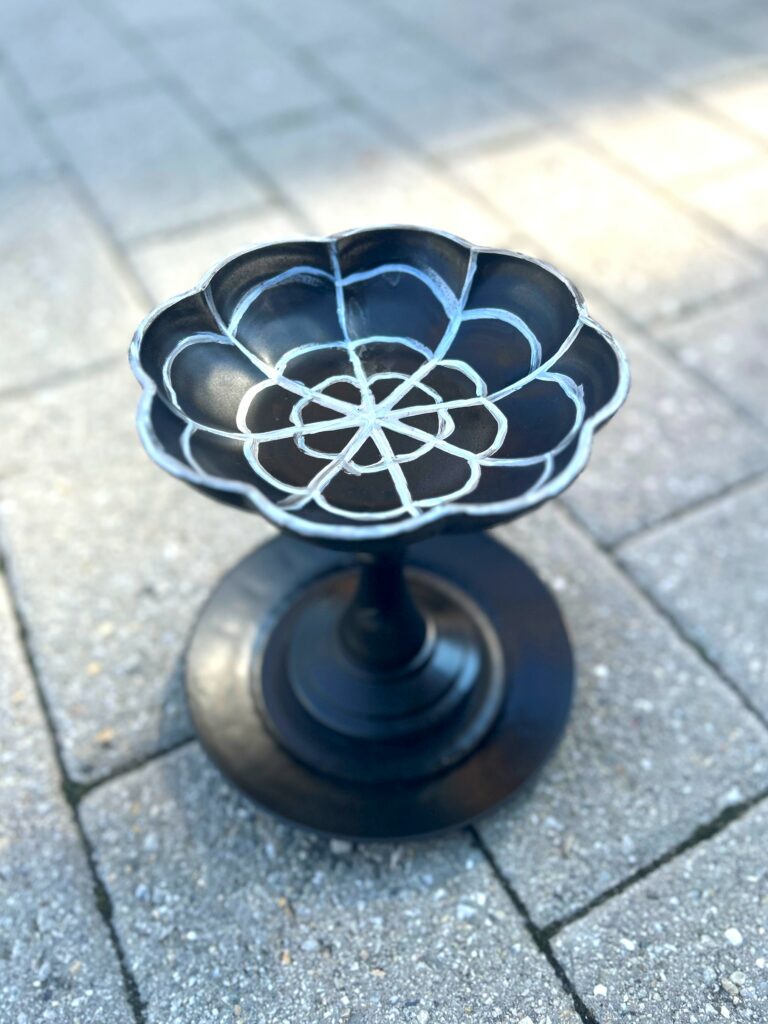
Connect them with scalloped/curvy lines. Viola! Your dish is now delightfully dreary and ready for service!
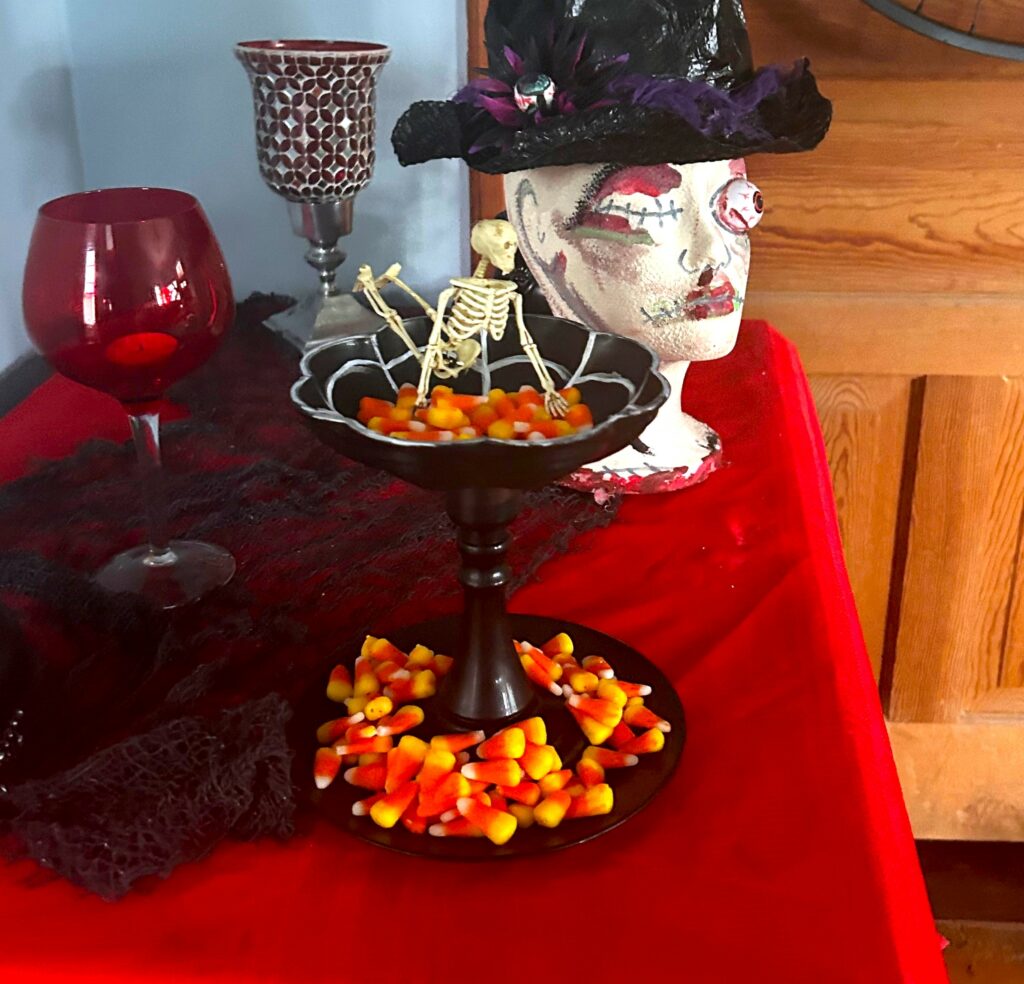
4. Add sweets and treats
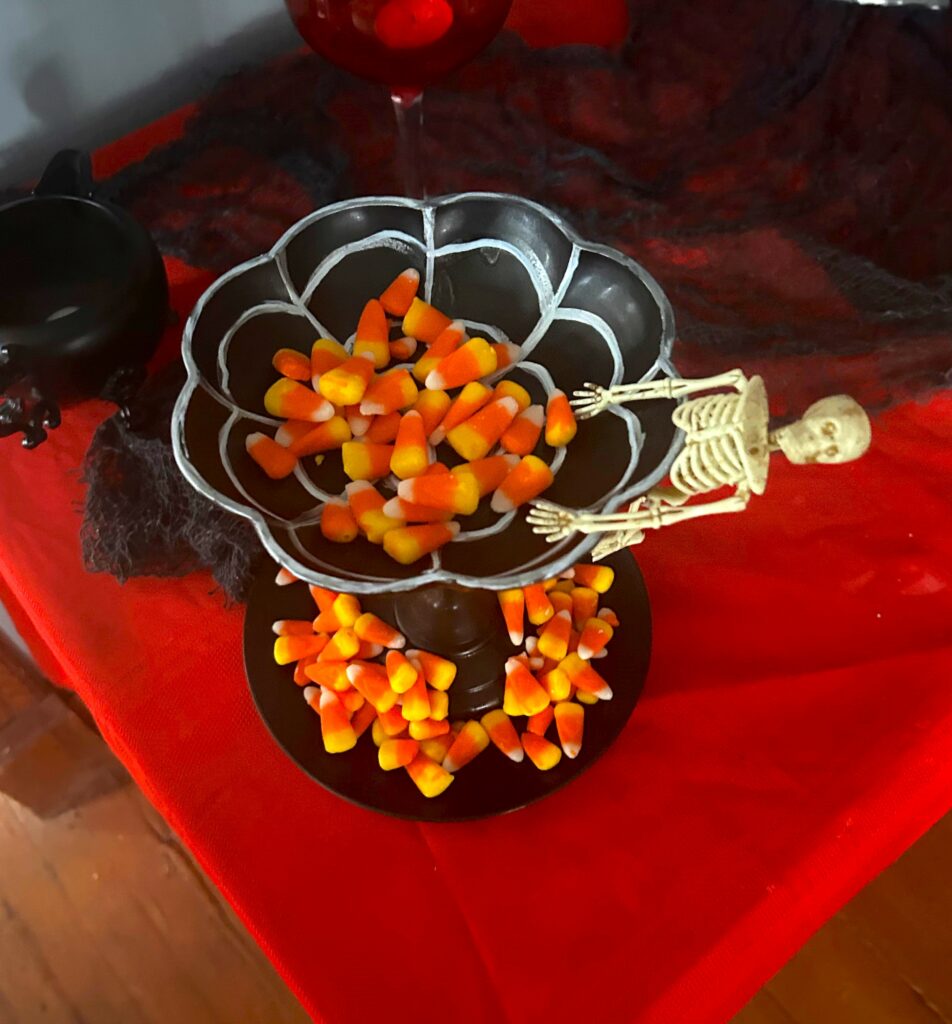
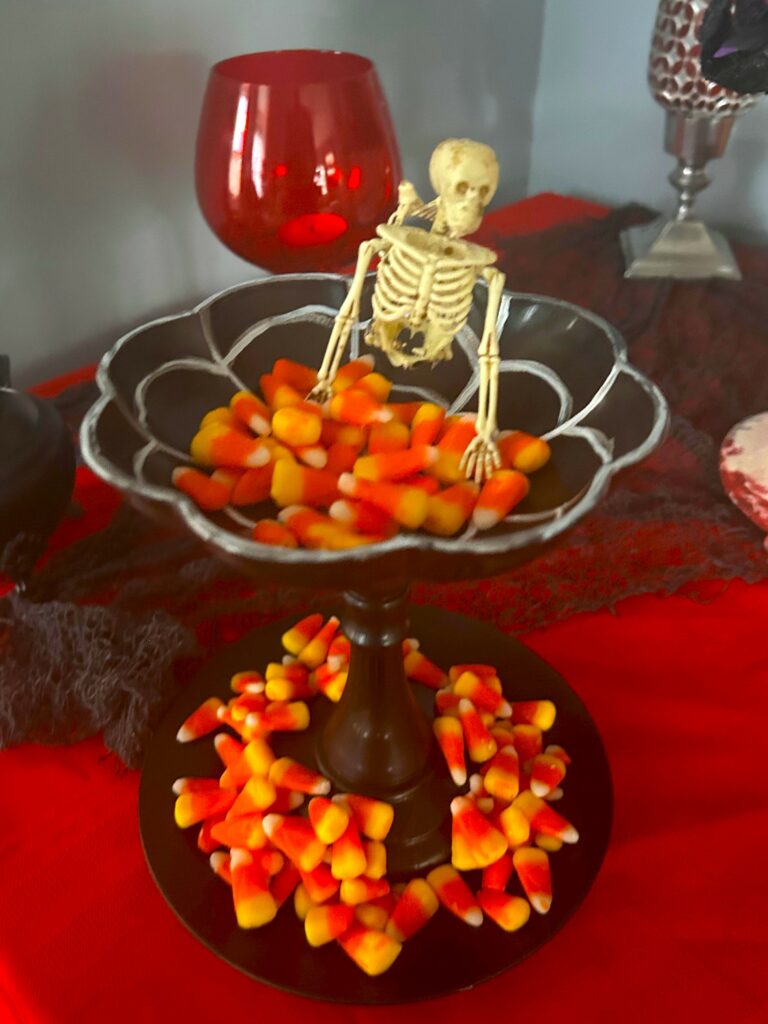
Position your creepy candy dish on your Halloween-decorated table. Pour on candy corn or add other tricks or treats! Yummy and yikes together, what’s not to love?
Similar Reads:
- The Easiest DIY Halloween Décor Ever!
- Halloween DIY: Decorate Pumpkins with Repurposed Items
- Halloween Home Décor Ideas to Make Your Space a Little Spooky

Tim Kime
Artist, Motivational Speaker, Life Coach