Spring is such a hopeful and happy time with brighter, longer days as well as gardens and yards full of blooming flowers, bushes, and trees. Mother Nature is full of surprises when she shows us all of her creative talents that have been asleep over the winter months. And if you are like me, each Spring seems more vibrant and colorful than the previous year.
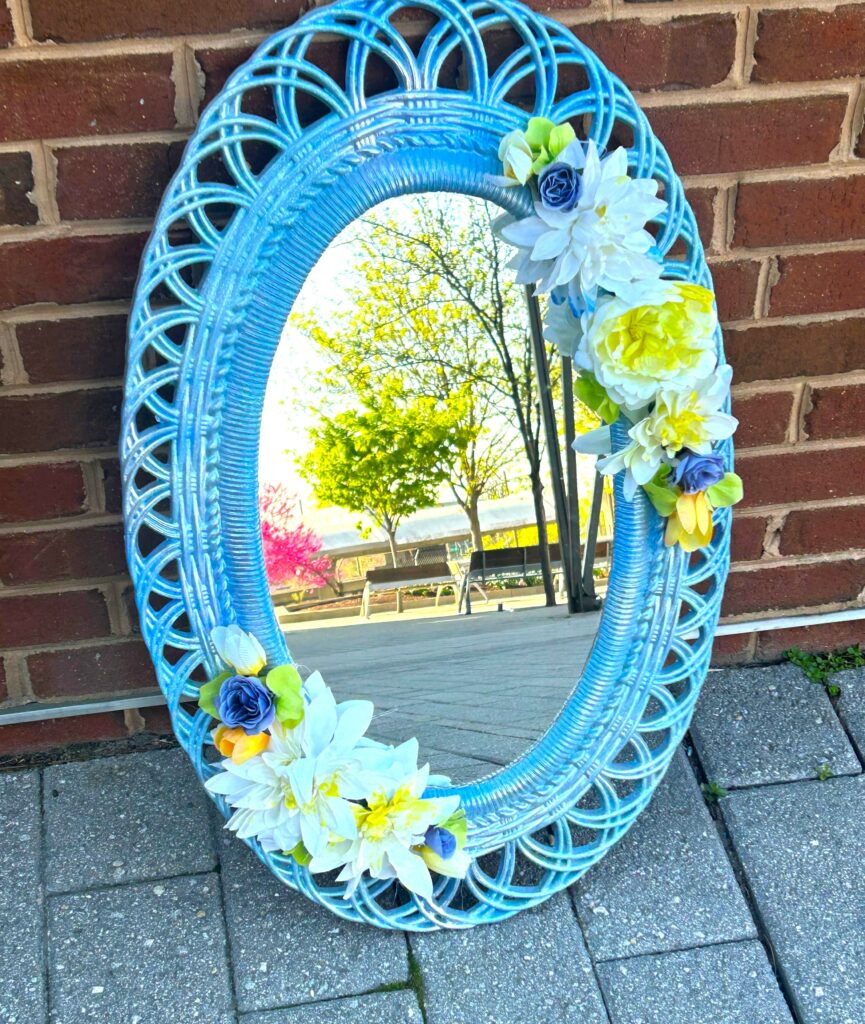
Keep this positivity in front of you all year long by upcycling mirrors with Spring tones. Use yellows, pinks, purples, greens, and blues to make a dated and dreary mirror come to life and bloom!
Items needed:
· Medium-sized mirrors with interesting frames or shapes
· Spray paints in Spring colors
· Craft paints in Spring colors
· Silk flowers
· Glue gun & glue sticks
· Paint brushes
· Screwdriver
· Drop cloths
· Spray paints in Spring colors
· Old greeting cards, calendars, sheet music, magazines
· Scissors
· Glue gun & glue sticks
1. Shopping at Goodwill reflects well on you
Hey, it’s okay to pat yourself on the back when you shop at Goodwill because you are stretching every dollar and getting great items in the process. In addition to finding unusual items there, you are also being a good steward of the earth by keeping items out of landfills. Your purchase dollars also support the transformative programs offered by Goodwill, so truly, everyone wins!
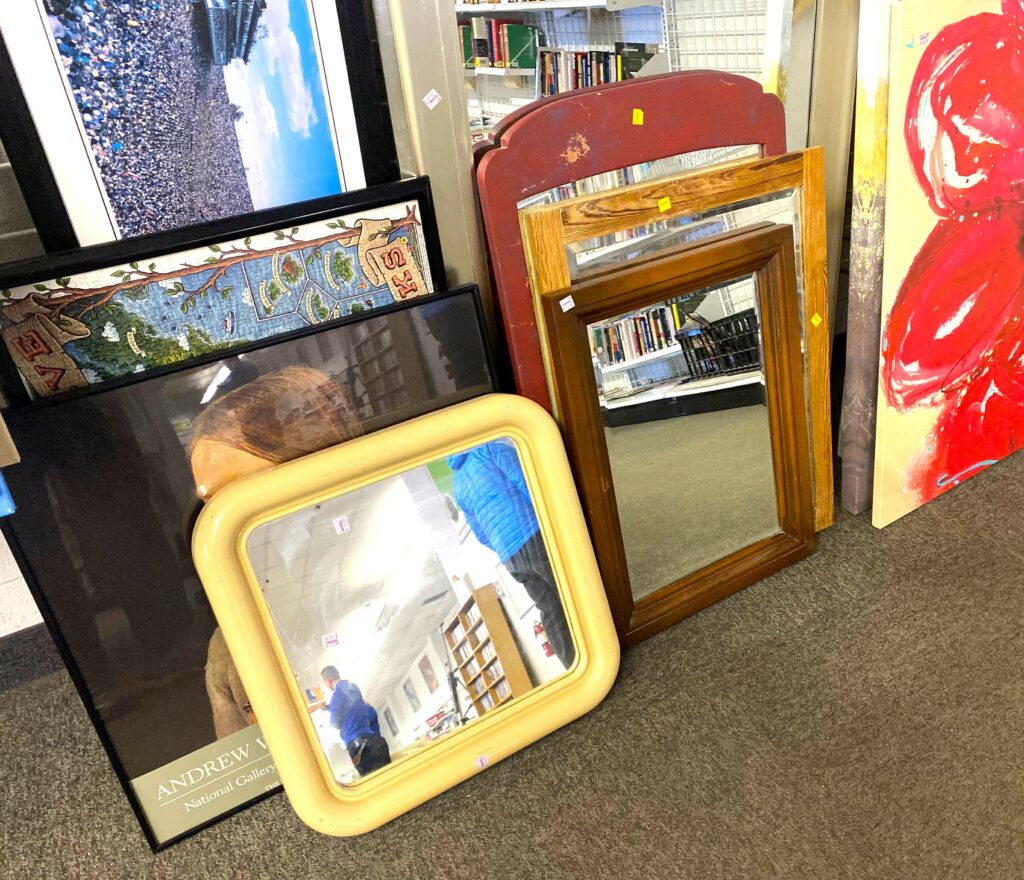
You want to pick up something that reflects your budget-savvy style, so look in the Home Section when framed prints, painted canvas, and other wall décor hang out. A staple at all Goodwill stores is the collection of donated mirrors for sale. The prices will make you look twice, and you can do so by checking out your very own reflection!
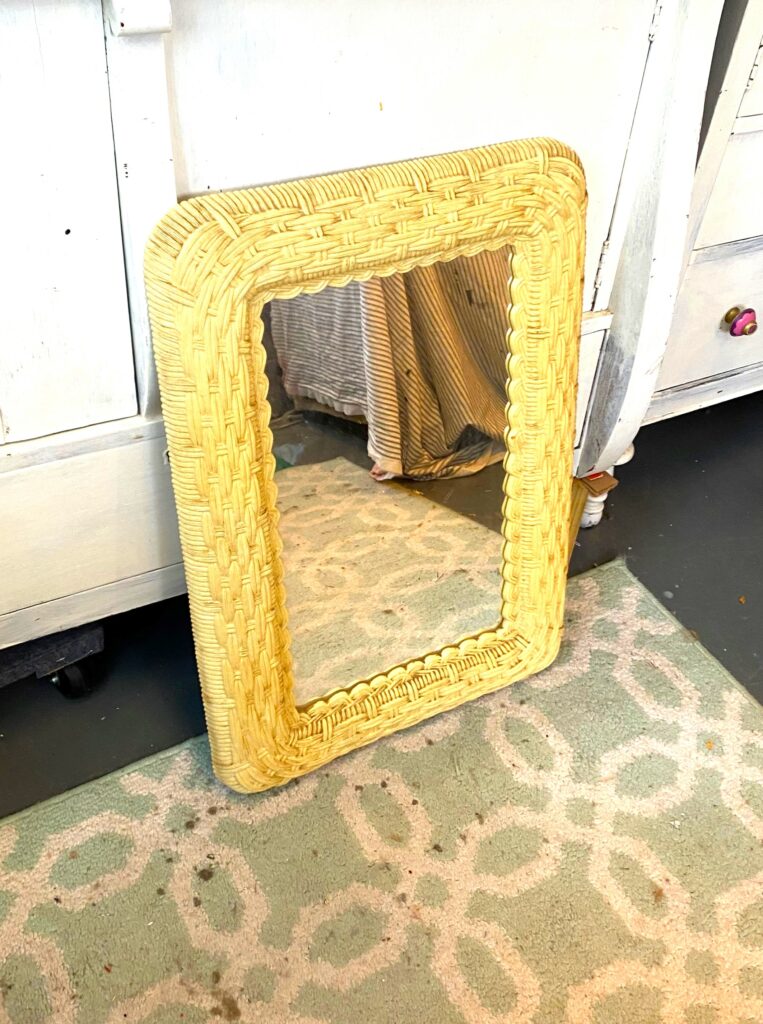
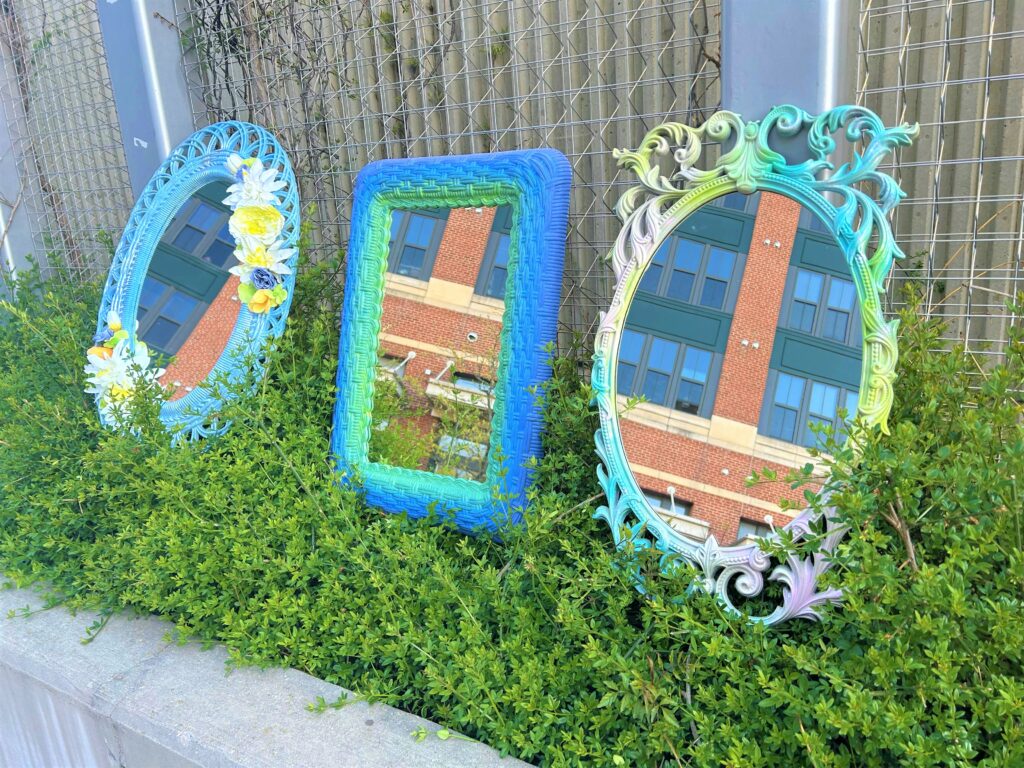
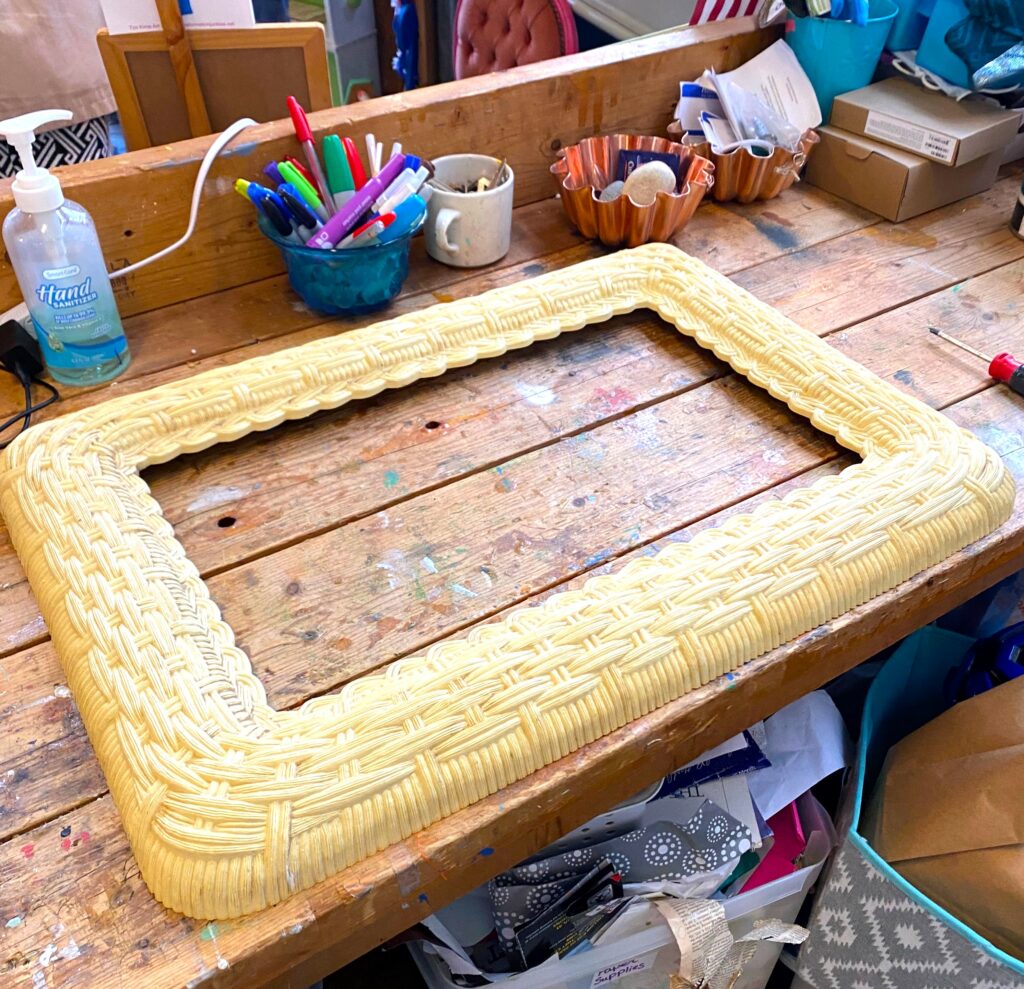
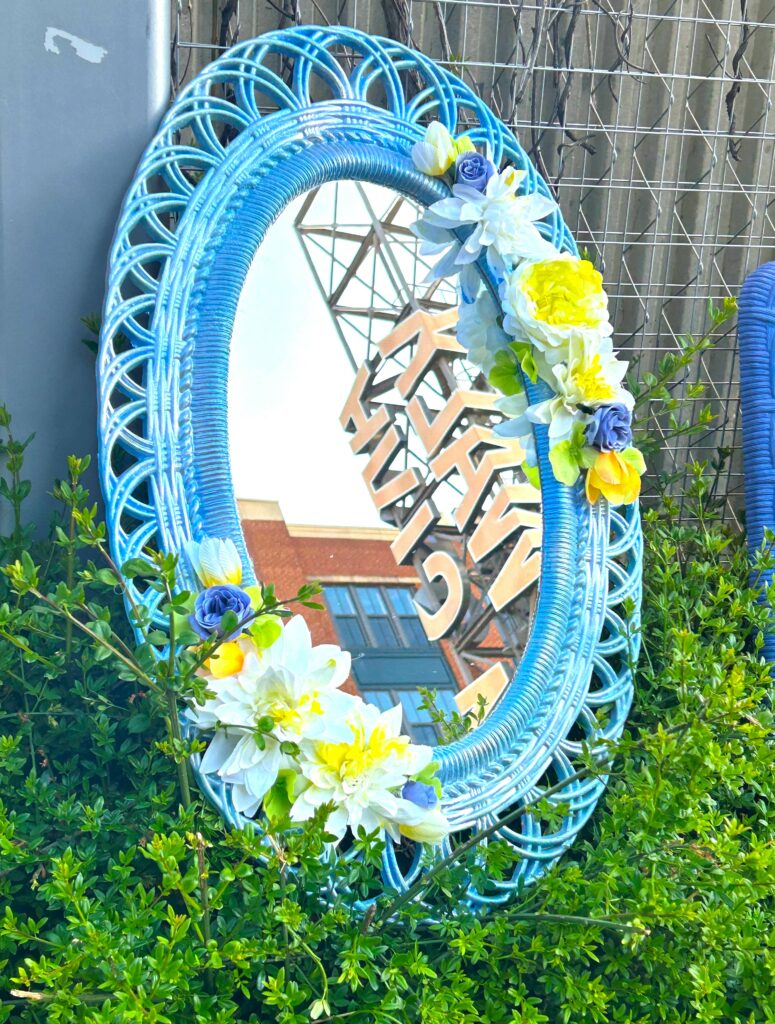
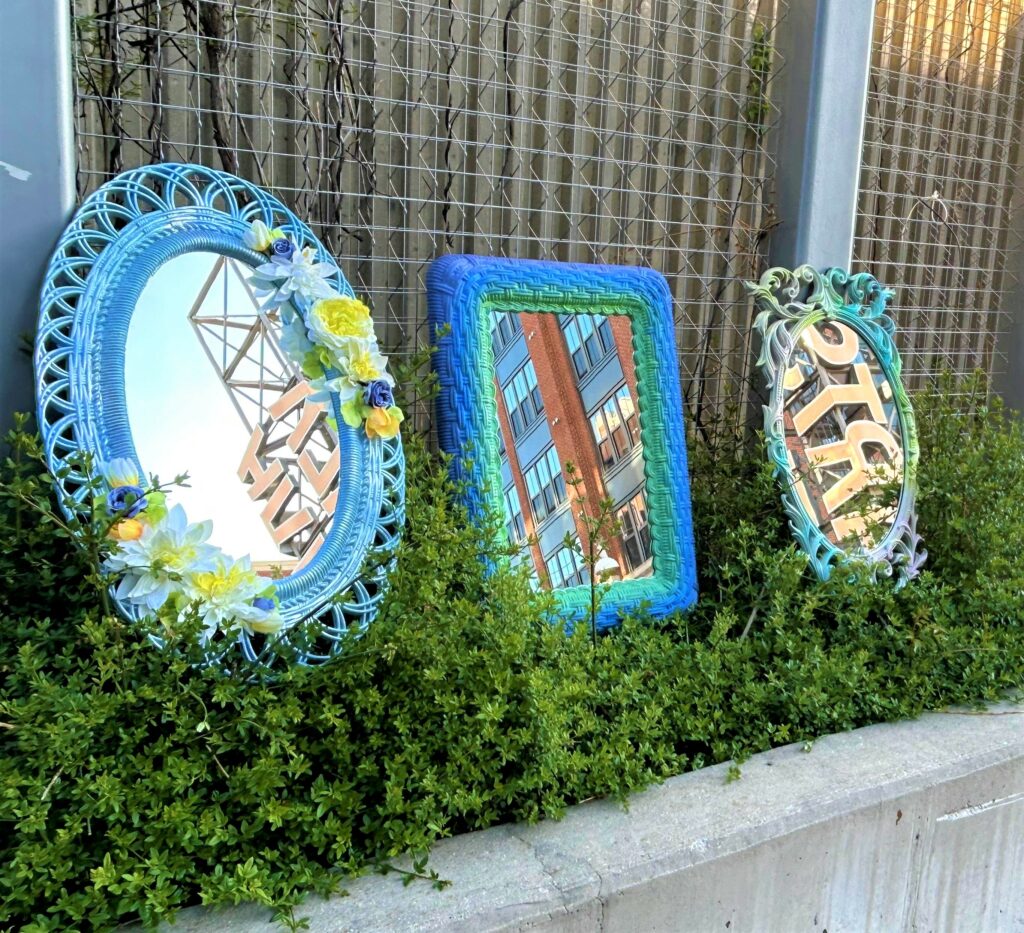
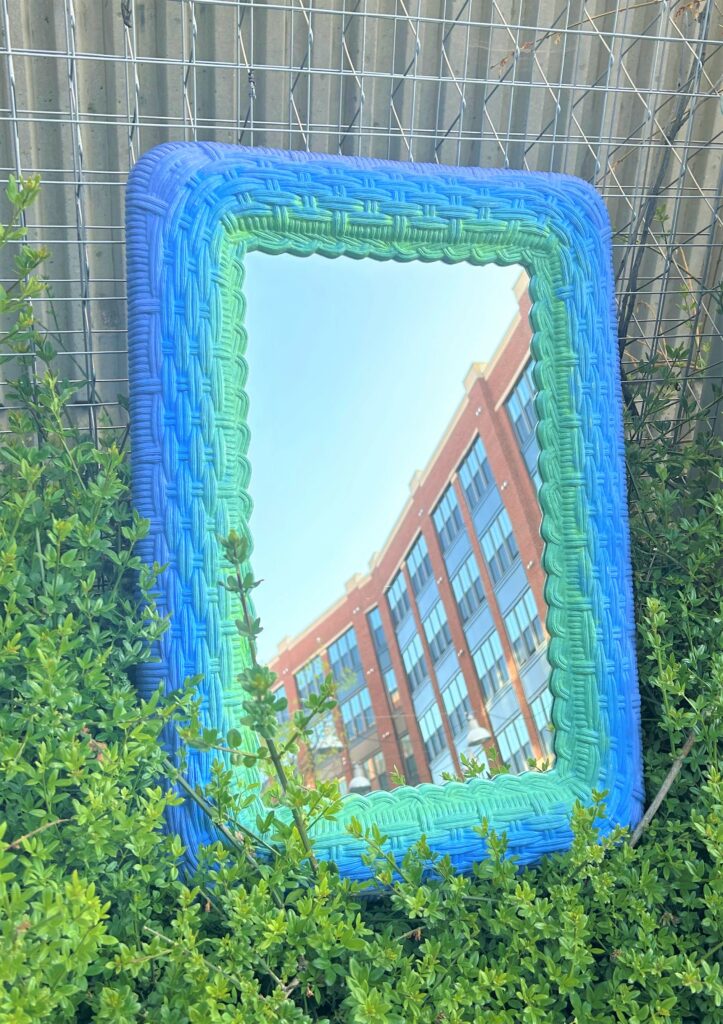
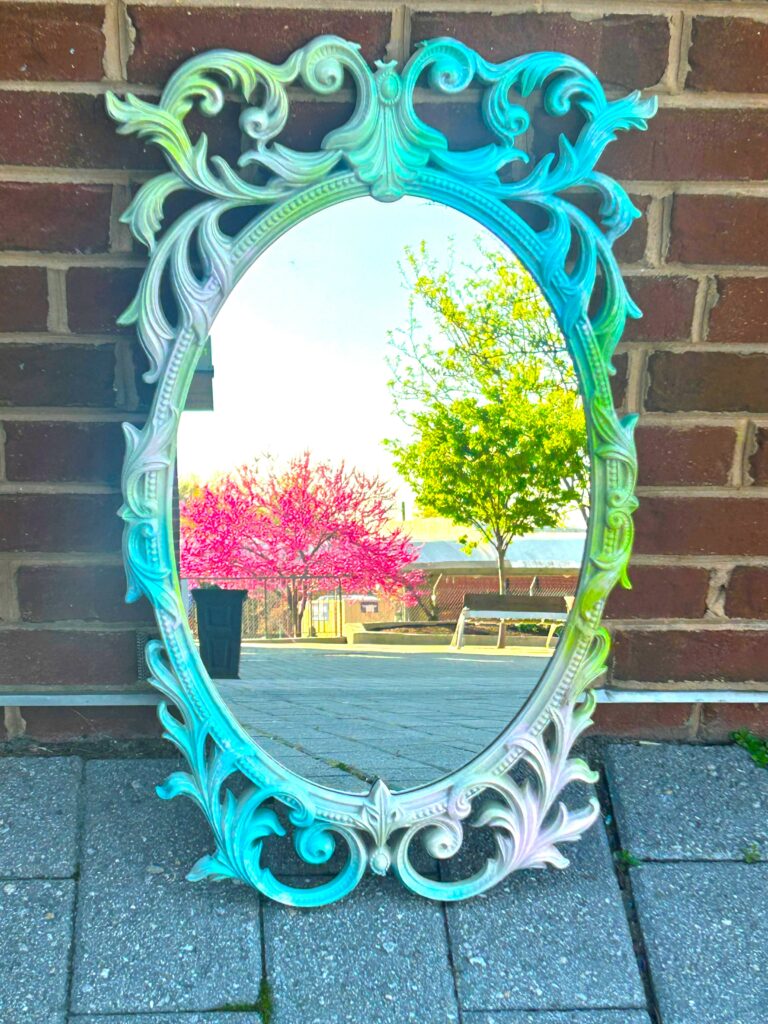
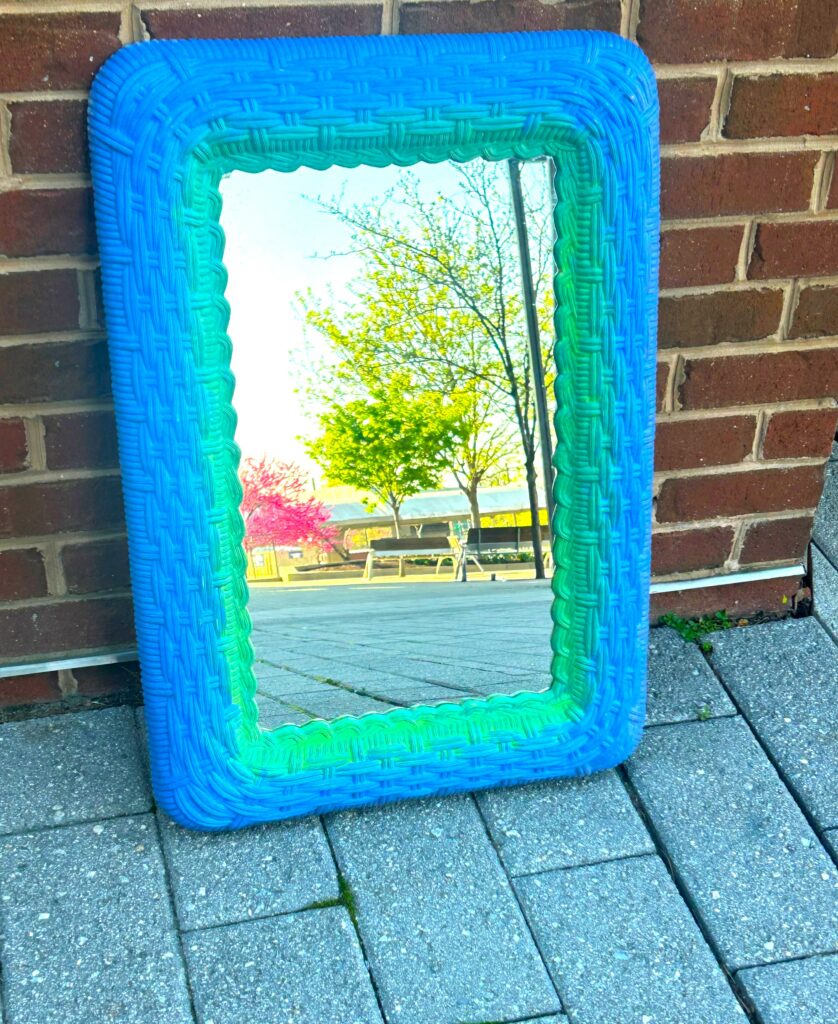
The mirrors featured here were selected for their interesting frames and sizes. Oval mirrors also look so friendly; one had happy curly parts. The other oval mirror and the rectangular one looked like they were baskets with a woven look to them. They made me think of rattan furniture, often gracing a front porch or sunroom. In addition to their interesting shapes (and check-your-eyes low prices), they were all rather bland and washed-out looking. Like all items at Goodwill, look beyond current colors/appearance and focus on shapes, details, and construction.
2. Remove the glass, put aside the parts
- Carefully, flip your mirror on your worksurface so its backside faces you; consider putting down a towel or blanket to provide extra protection to the frame and mirror glass.
- Unscrew the back and hooks/hangers to separate the glass from the frame. Set those parts aside, leaving only the frame. You might want to use work gloves during this step to keep your hands and fingers safe from sharp edges.
3. Spray or brush on Mother Nature’s favorite Spring tones
Before starting this step, you might need to give your mirror frame a good scrubbing. The mirrors featured here were older and had collected years of dust along with a dirty fingerprint or two. Wash and wipe them down to ensure a clean and clear canvas on which to create!
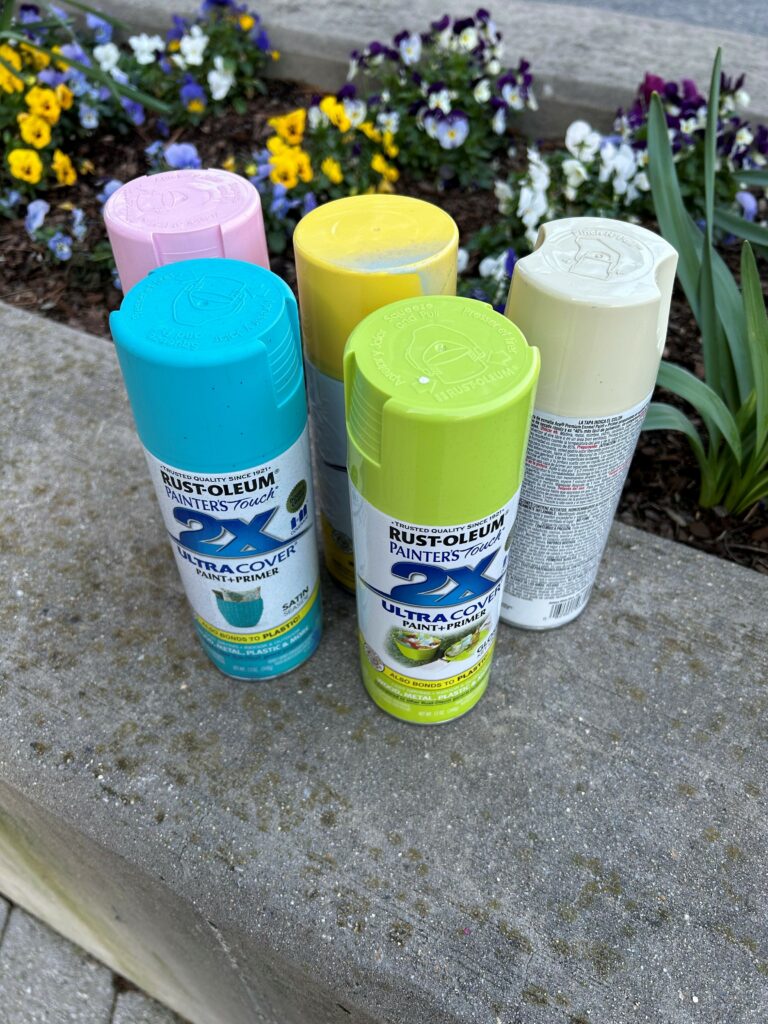
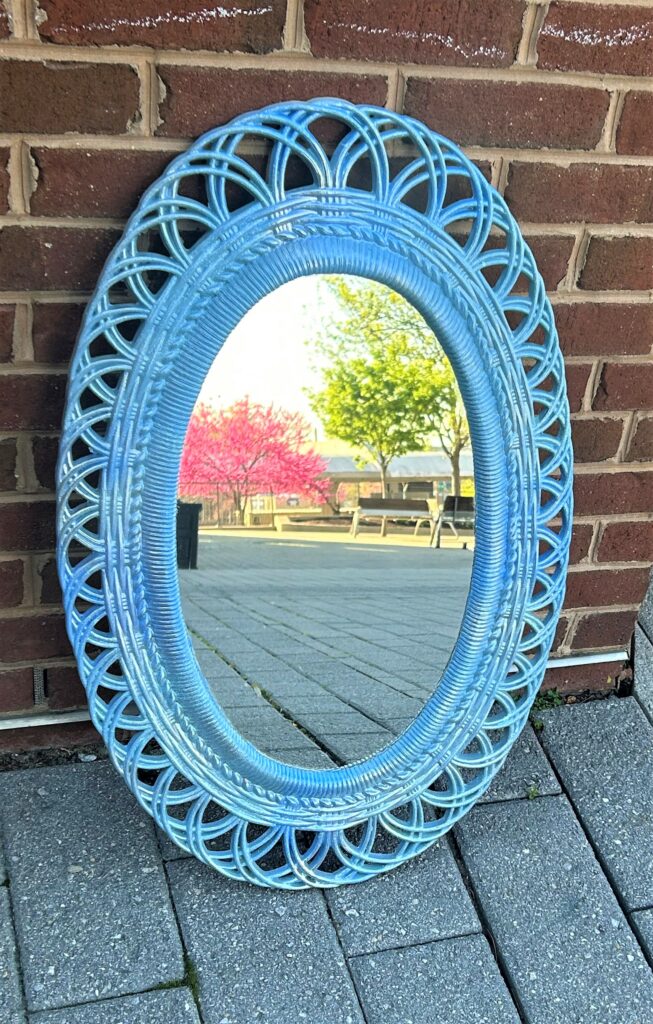
The two oval mirrors were given their respective transformations using spray paint.
- Place your mirror frame on a drop cloth and outside, if possible, to ensure lots of airflow and ventilation. A base coat of paint was applied lightly to freshen up its look and provide a foundation on which to build. One mirror was given a couple of coats of ivory, then green, yellow, lavender, blue, and pink were added to parts and pieces, overlapping and flowing from tone to tone. The other oval mirror got a base coat of sky blue, again focusing on several light layers getting every nook and cranny.
- Layers of blue and silver were added to make this dull mirror frame sparkle like the sky.
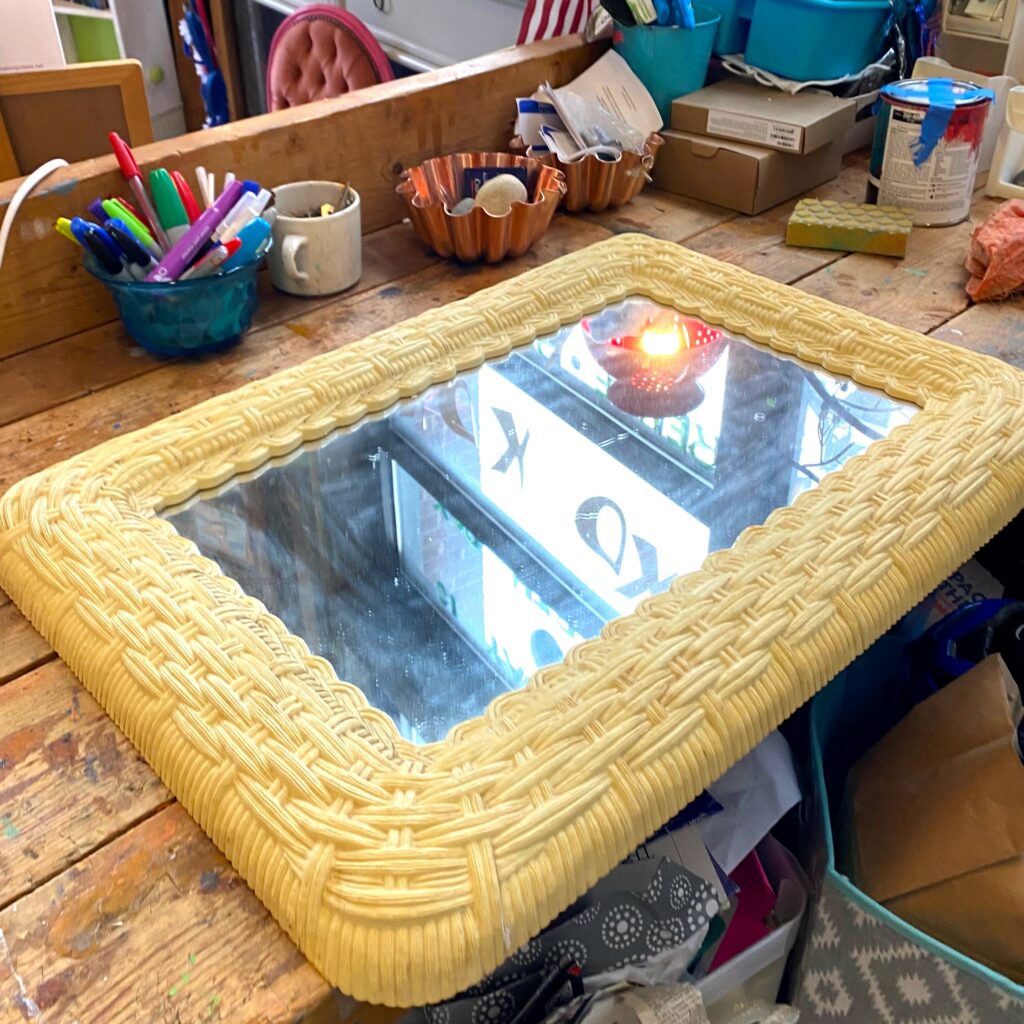
The rectangle-shaped frame got the Spring-tone treatment, too, but the approach for it was to brush on the paint rather than spray. Sometimes you make this decision based on your supplies; other times, it’s based on the location. This frame was being painted inside, and I had two young helpers, so brushing on paint as a team seemed to be the best—and most fun—approach.
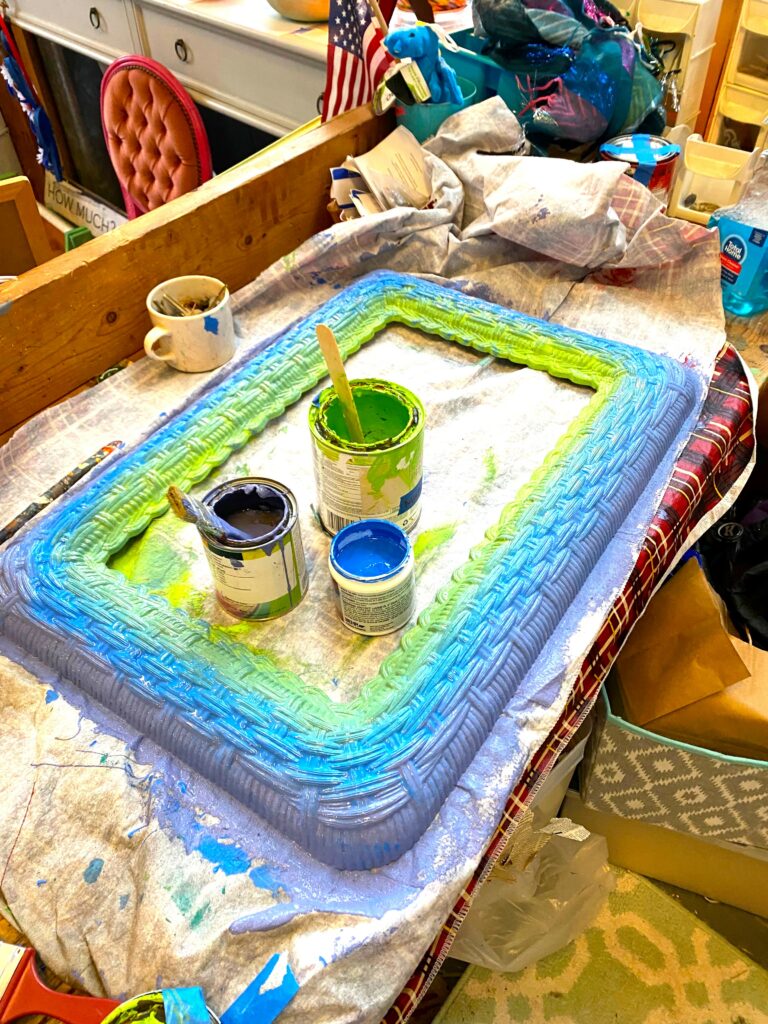
Working from the outside edge, a deep lavender tone was brushed on, followed by an ocean blue, and lastly, applying a bright, cheerful green tone. The organic, flowing look was easy to make happen with my two young helpers since there was no wrong way to add paint. Let your mirror frame(s) dry well overnight.

4. Make your mirror bloom
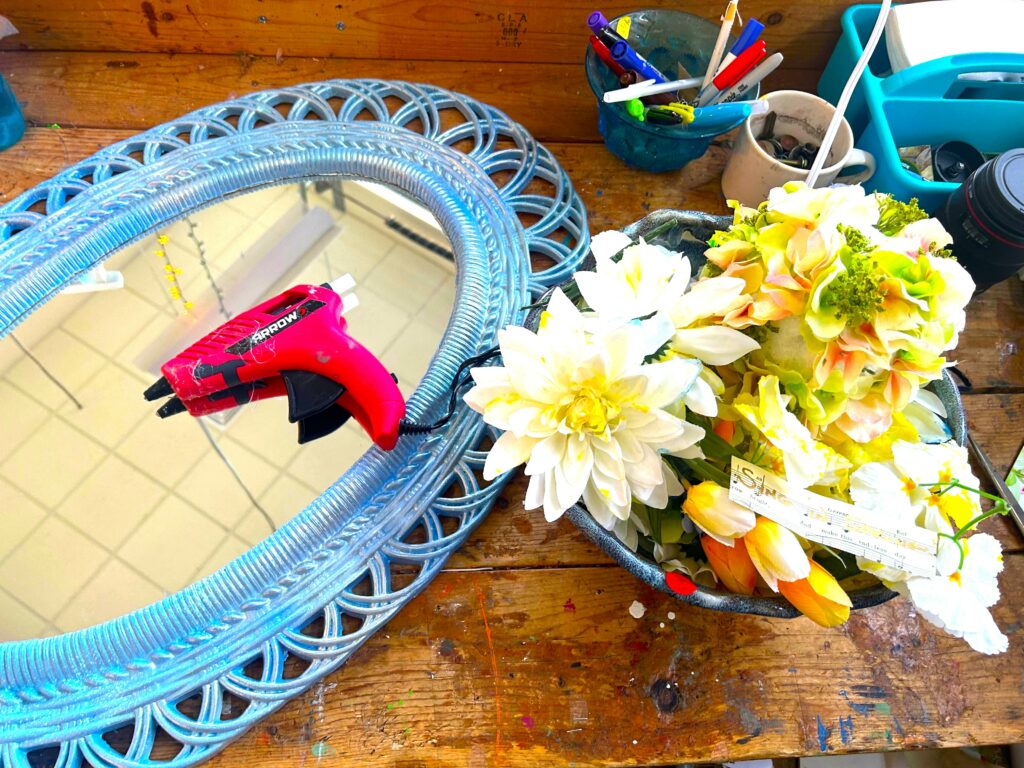
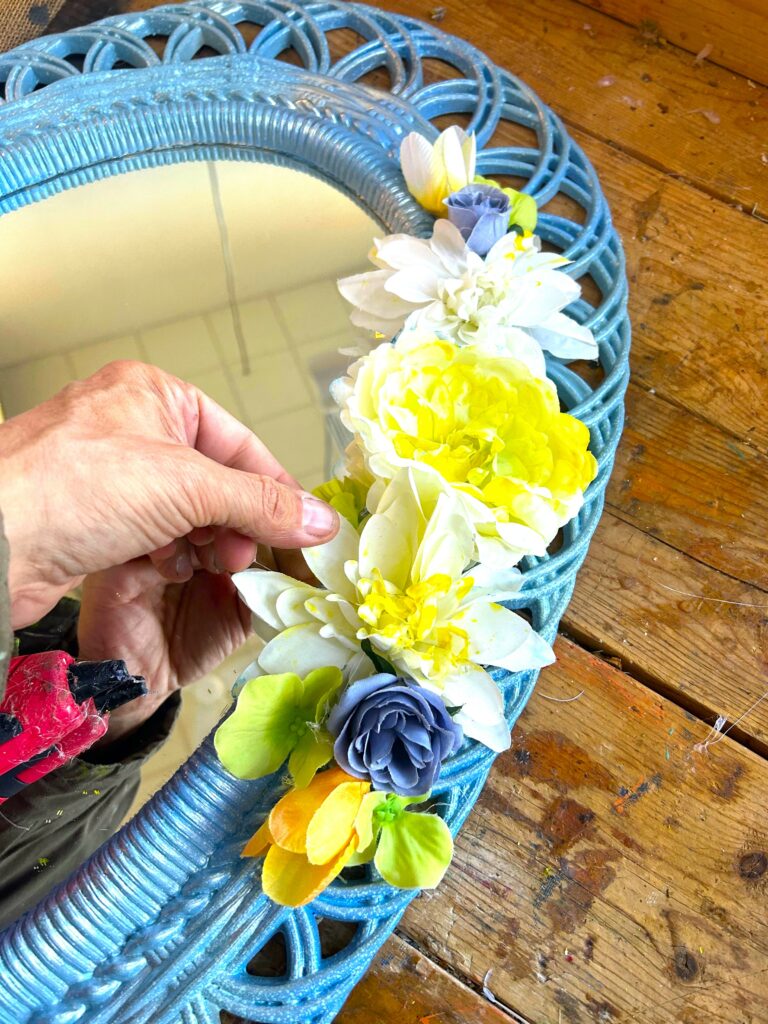
From my artistic perspective, the blue mirror looked lovely but could benefit from a little extra pop and pizzazz. Tying into the Spring feel, silk flowers (also picked up at Goodwill) were added along several edges. You can do the same by using your glue gun to adhere them to your mirror, too. This simple touch transformed the whole look and feel of the mirror—and was so easy to do!
Design Idea 1:
The flowers used for this mirror had colors that looked great when clustered together. However, if you have silk flowers in colors that don’t complement each other well or don’t match your décor, you can always spray paint them, too.
If you are thinking about this approach, I encourage you to glue gun your flowers to the mirror frame before you spray paint it. Then follow the spray painting step above and add several light layers to the frame and the silk flower on it. Add more colors and ensure to hit your flowers with those, too. The final look will be lovely as you won’t be focused on the silk flower’s colors but rather drawn to their shapes and textures.
Design Idea 2:
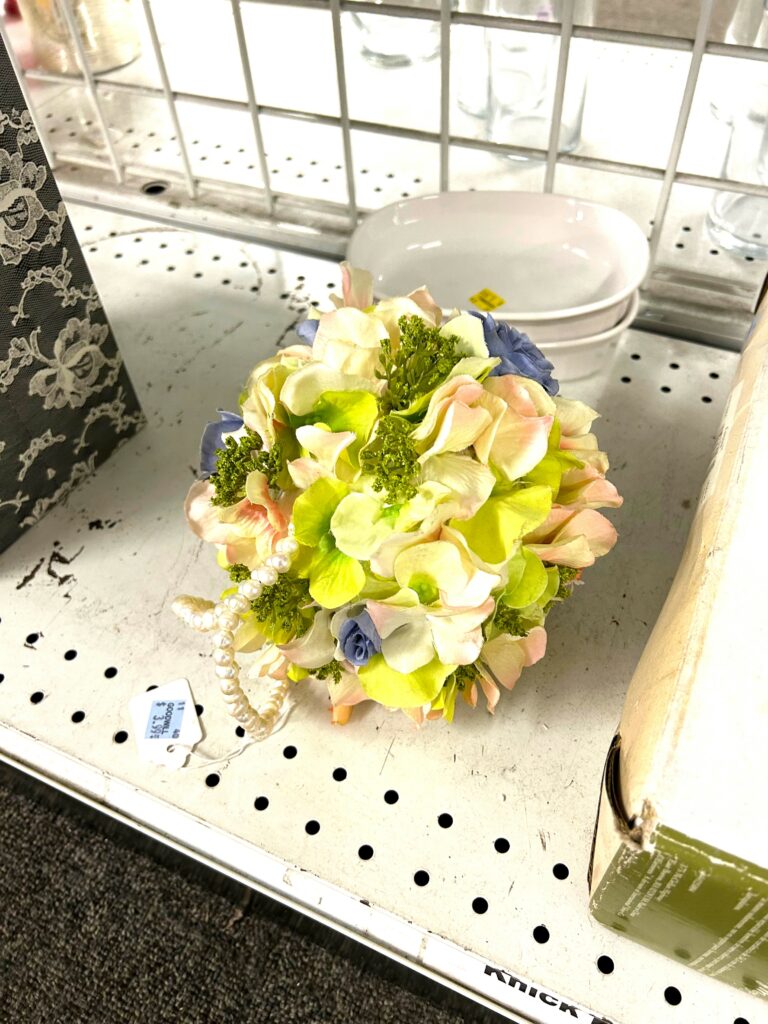
Do you have a silk flower arrangement that belonged to a loved one no longer with us? Did you have silk flowers as part of your wedding bouquet? If so, you might want to consider repurposing them by adding them to a mirror frame.
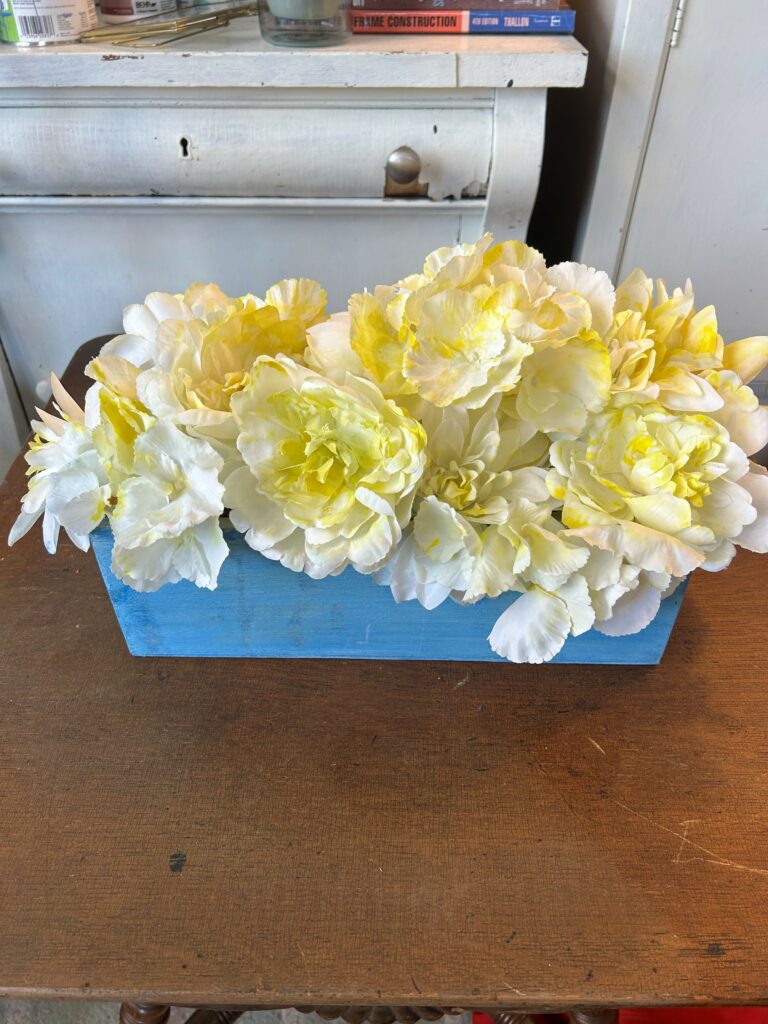
This gives them an eye-catching new purpose and will help them be featured in detail on your mirror rather than hidden away or stashed on the back of a bookshelf.
5. You’ll be happy wherever you hang it
Position your Spring-toned, happy mirror by your front door to ensure your smile looks nice when you step out. Place it in your bathroom for some welcomed vibrancy and style. Hang it over a dresser painted in one of the mirror’s colors so it looks like a connected set. The reflection you see will make your face happy, knowing you transformed a mirror while celebrating and honoring Mother Nature!
Thanks to Finding Your Good for all the ways you celebrate and honor Mother Nature—and all residents in our community!
Similar Reads:
- How to Upcycle Thrift Store Finds into Happy Spring Vignettes
- Upcycle a Mirror to Reflect Your Style
- DIY: Cherry Blossom Upcycle Ideas
- These Spring Mini Masterpieces Were Made with Inexpensive Thrift Finds

Tim Kime
Artist, Motivational Speaker, Life Coach


