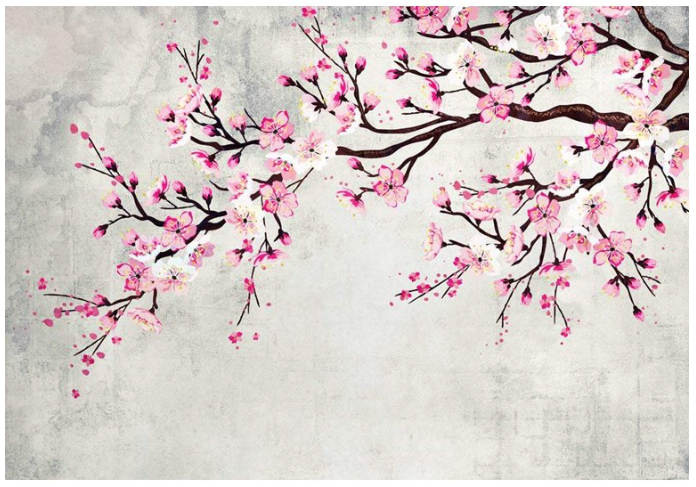
You’ll Bloom when You Use Cherry Blossoms as DIY Inspiration
Given that it’s officially Spring and DC’s National Cherry Blossom Festival is taking place this week (www.nationalcherryblossomfestival.org), the inspiration for this week’s DIY project was simple: cherry blossoms! The cherry blossoms were first given to the US from Japan in 1912 (www.nps.gov/subjects/cherryblossom/history-of-the-cherry-trees.htm) as a symbol of friendship and grace the spaces around our national monuments. So let them grace your home and celebrate friendship, too.
Supplies Needed:
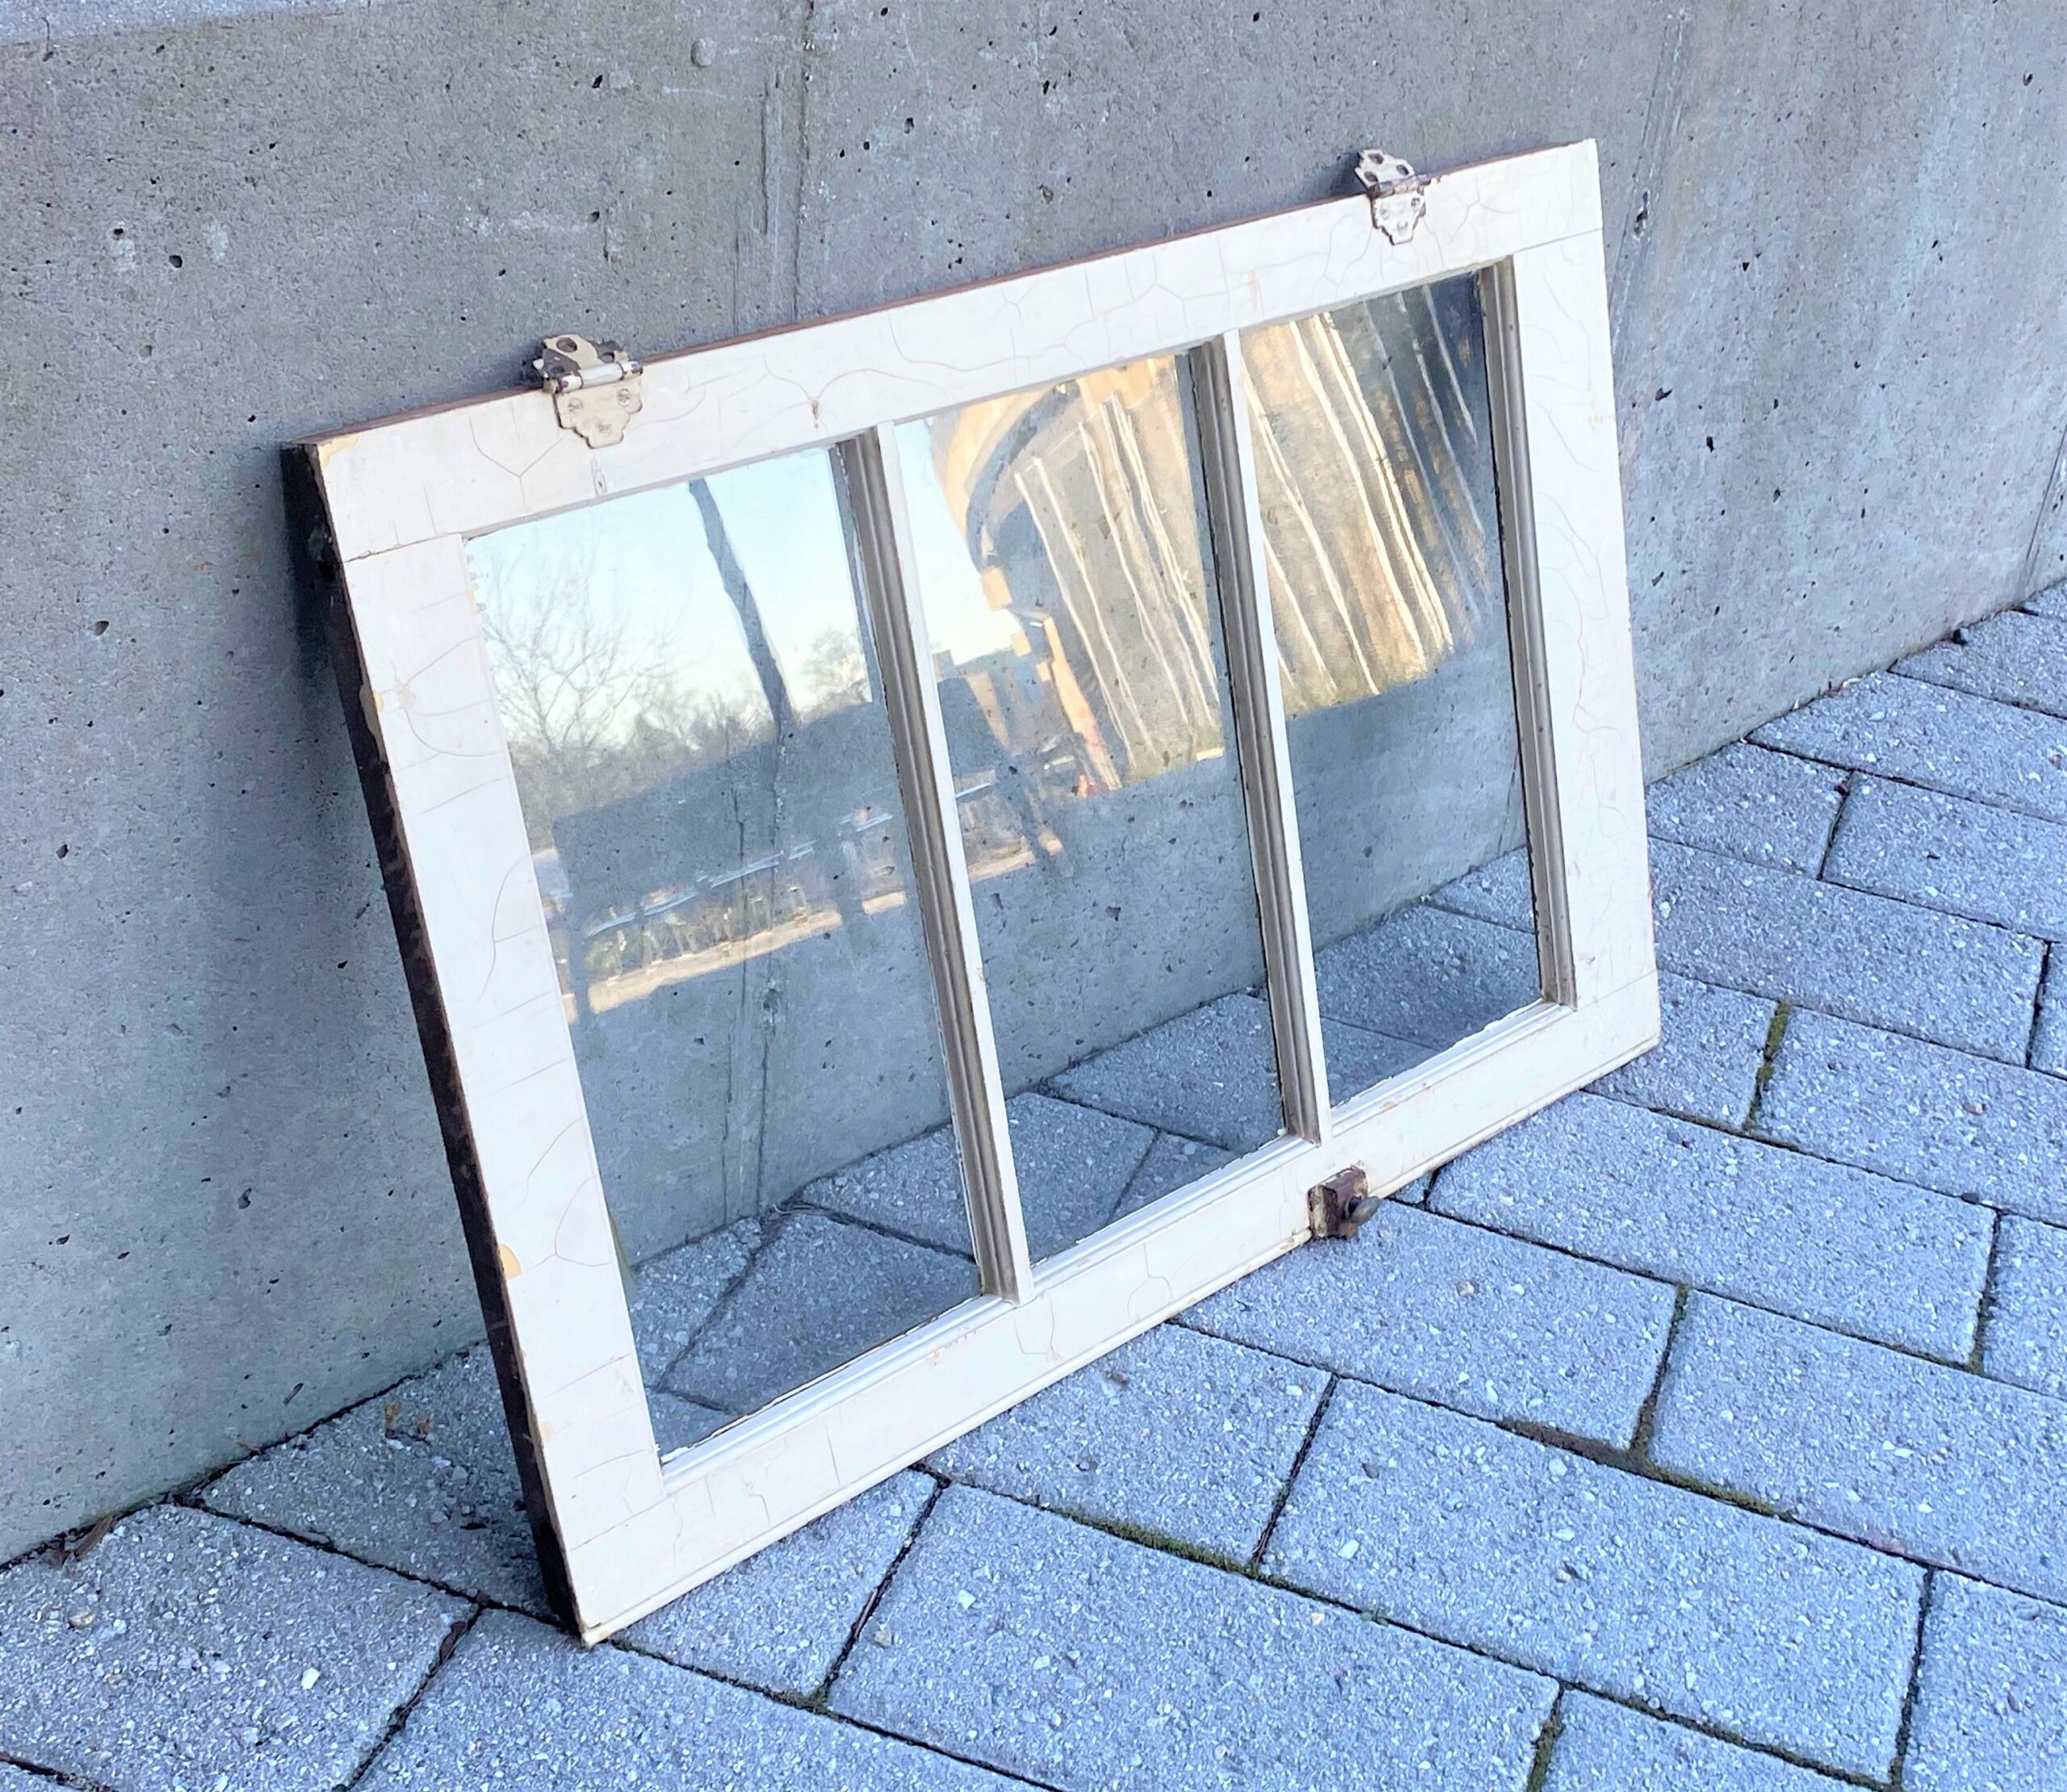
1. Coffee table, side table, window sash
2. Paints in shades of pink, light yellow, brown, black, and gold
3. Various sizes of artist/craft paint brushes
4. Painter’s tape
5. Wider paintbrush
6. Polyurethane
Step 1: Hit Goodwill & look for items as a canvas for your creation
For those of us who do upcycling, I consider the pieces we transform as “functional works of art.” This DIY project certainly supports that perspective, so when you stop by Goodwill this week, look for items that could be your canvas on which to express yourself.
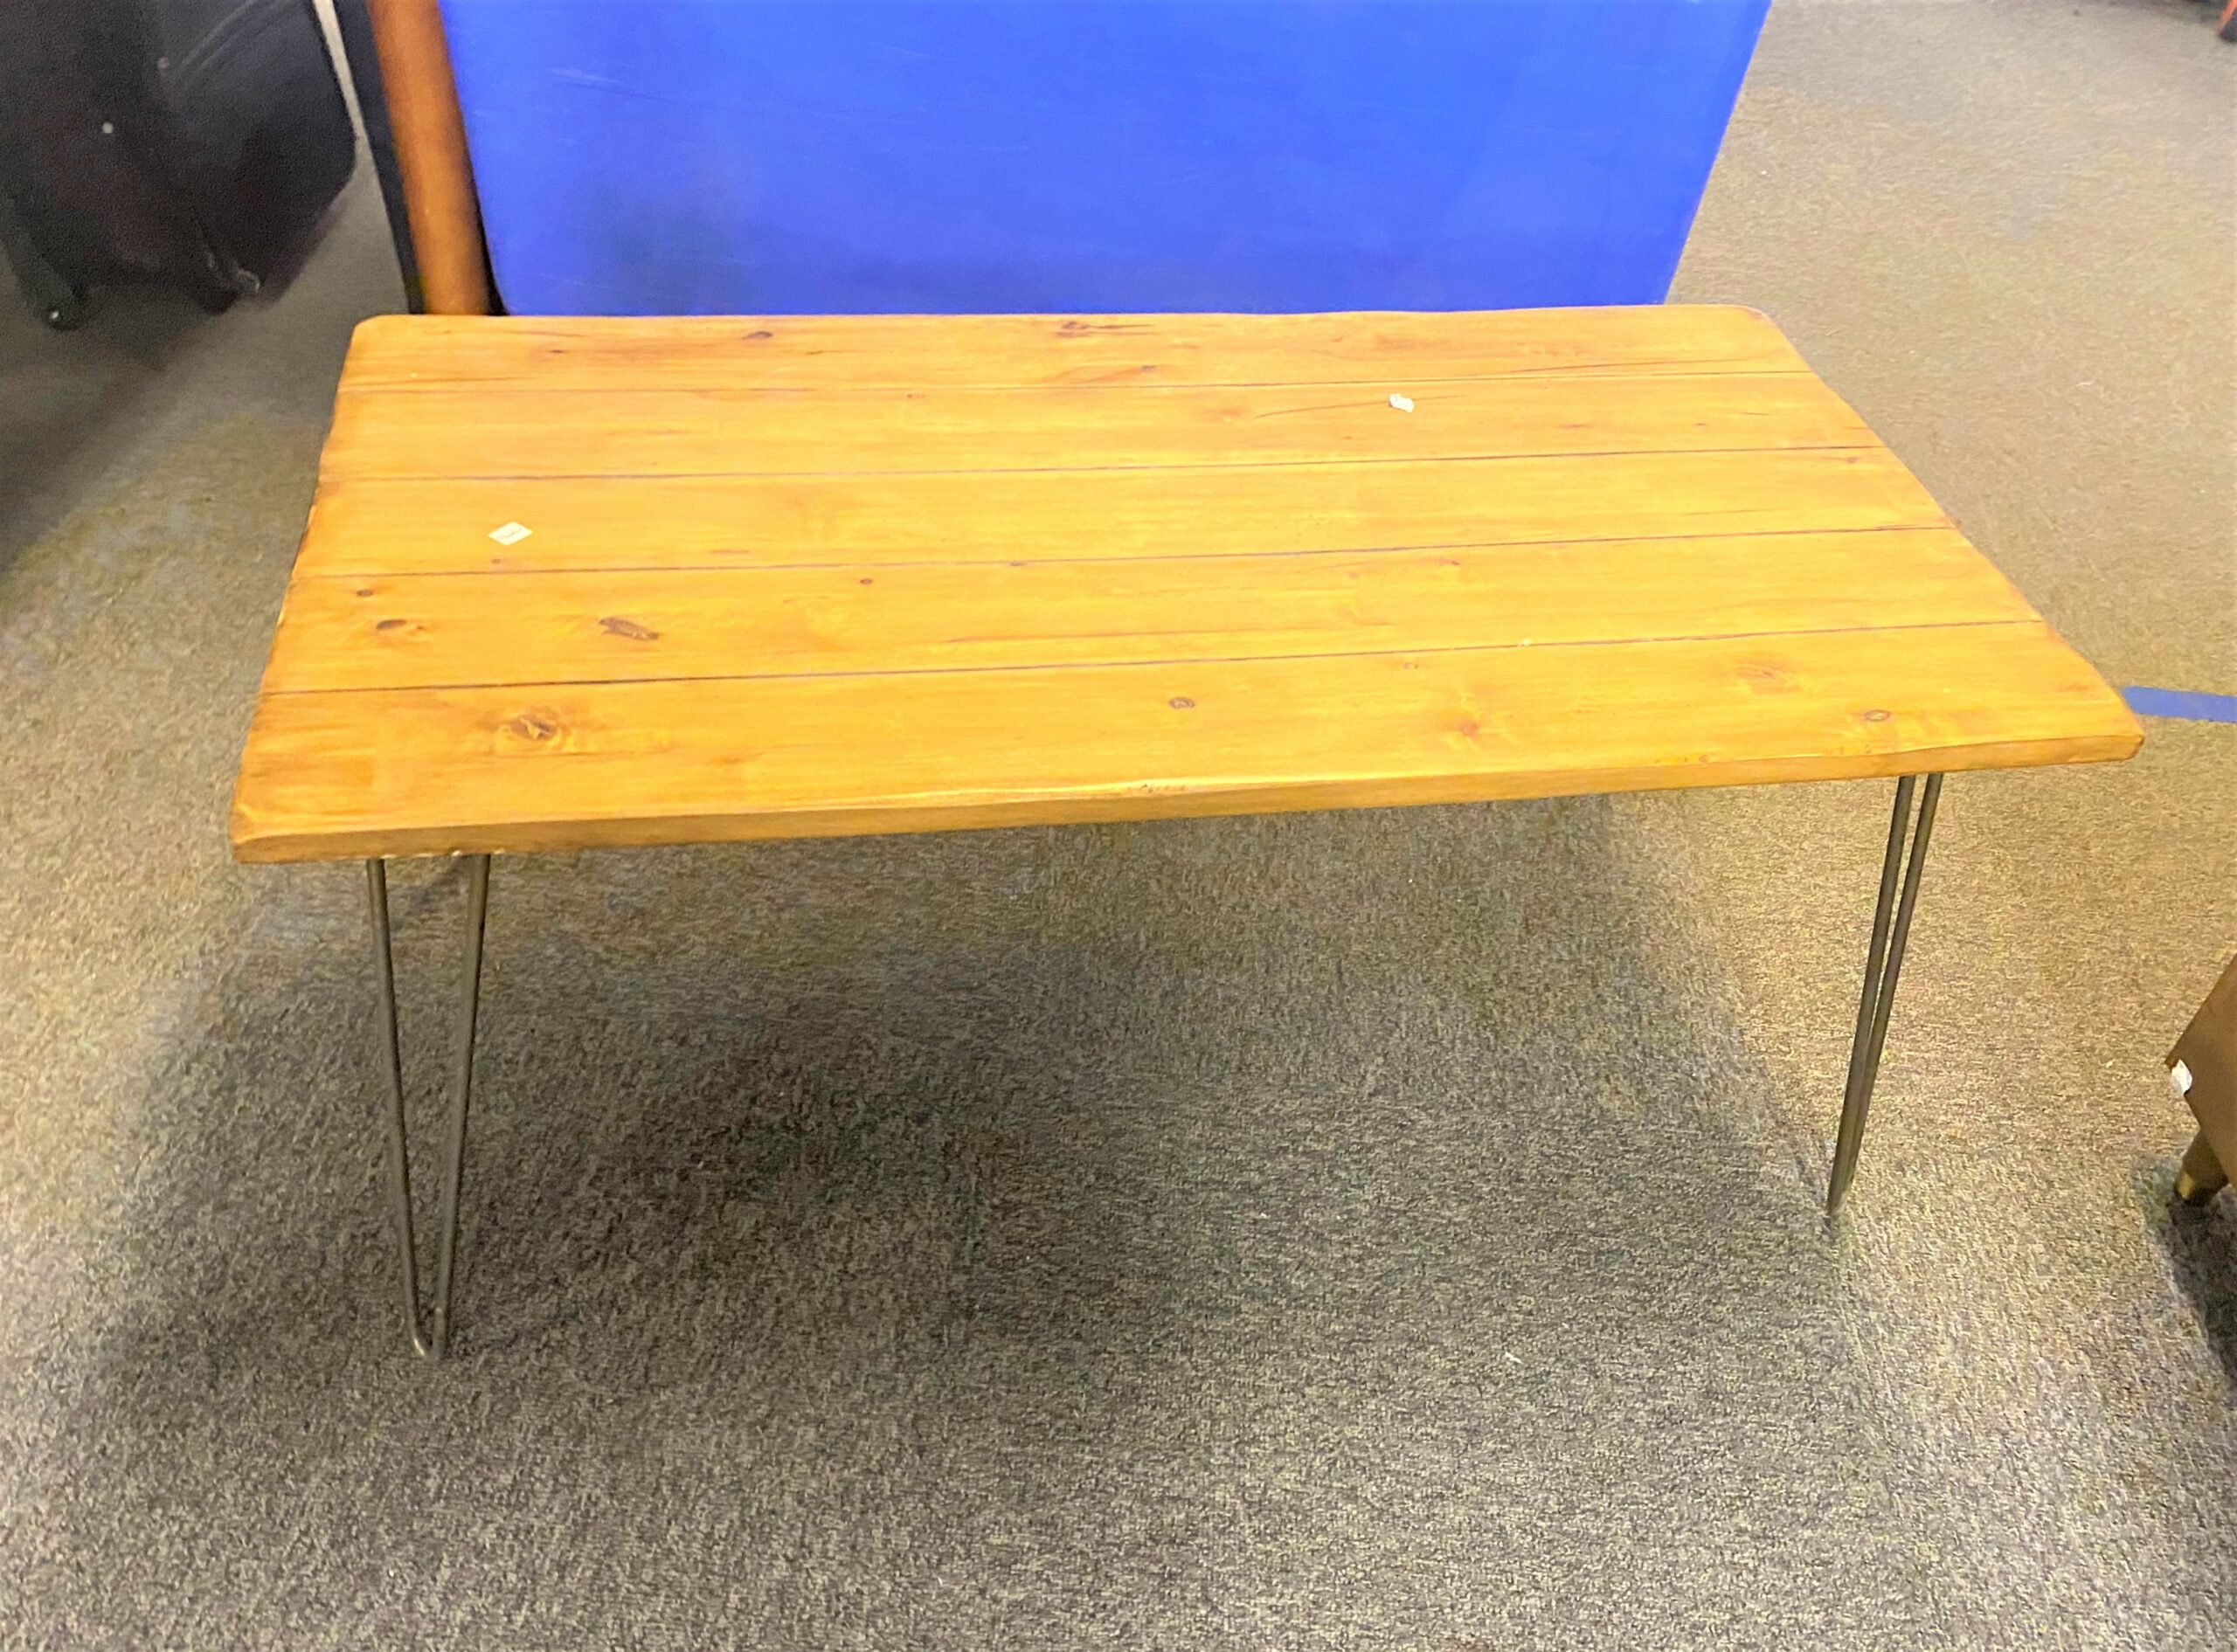
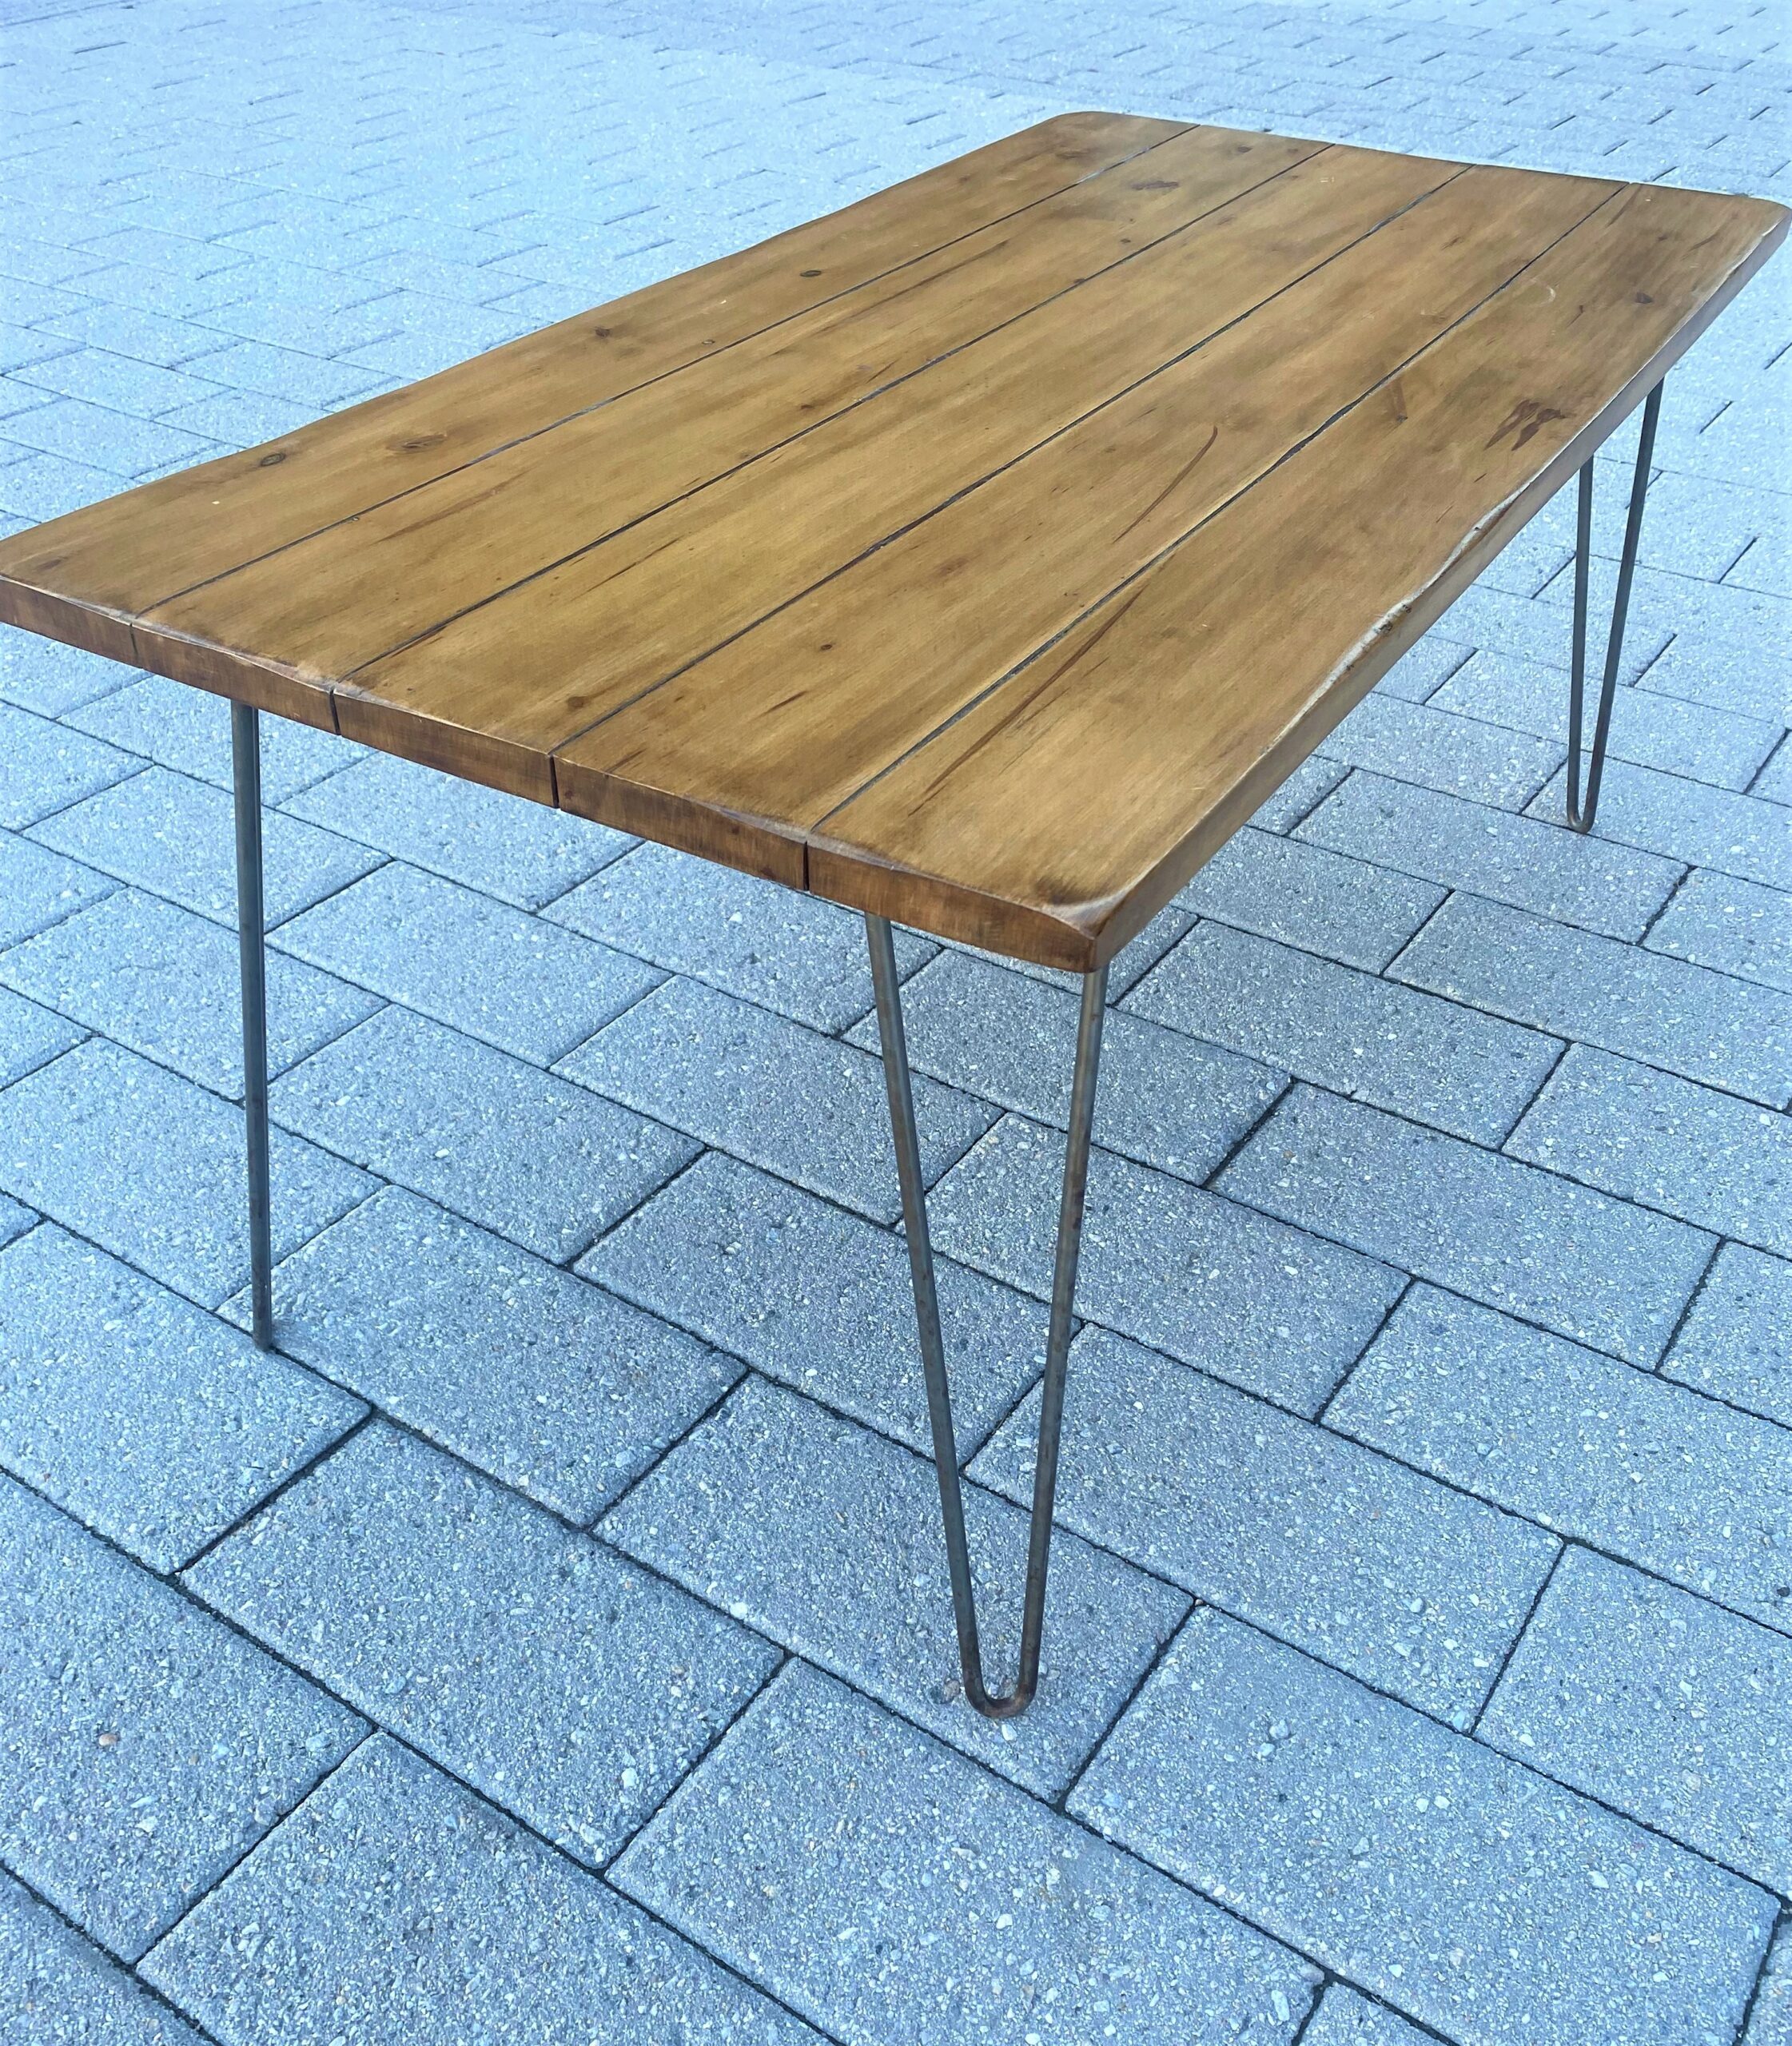
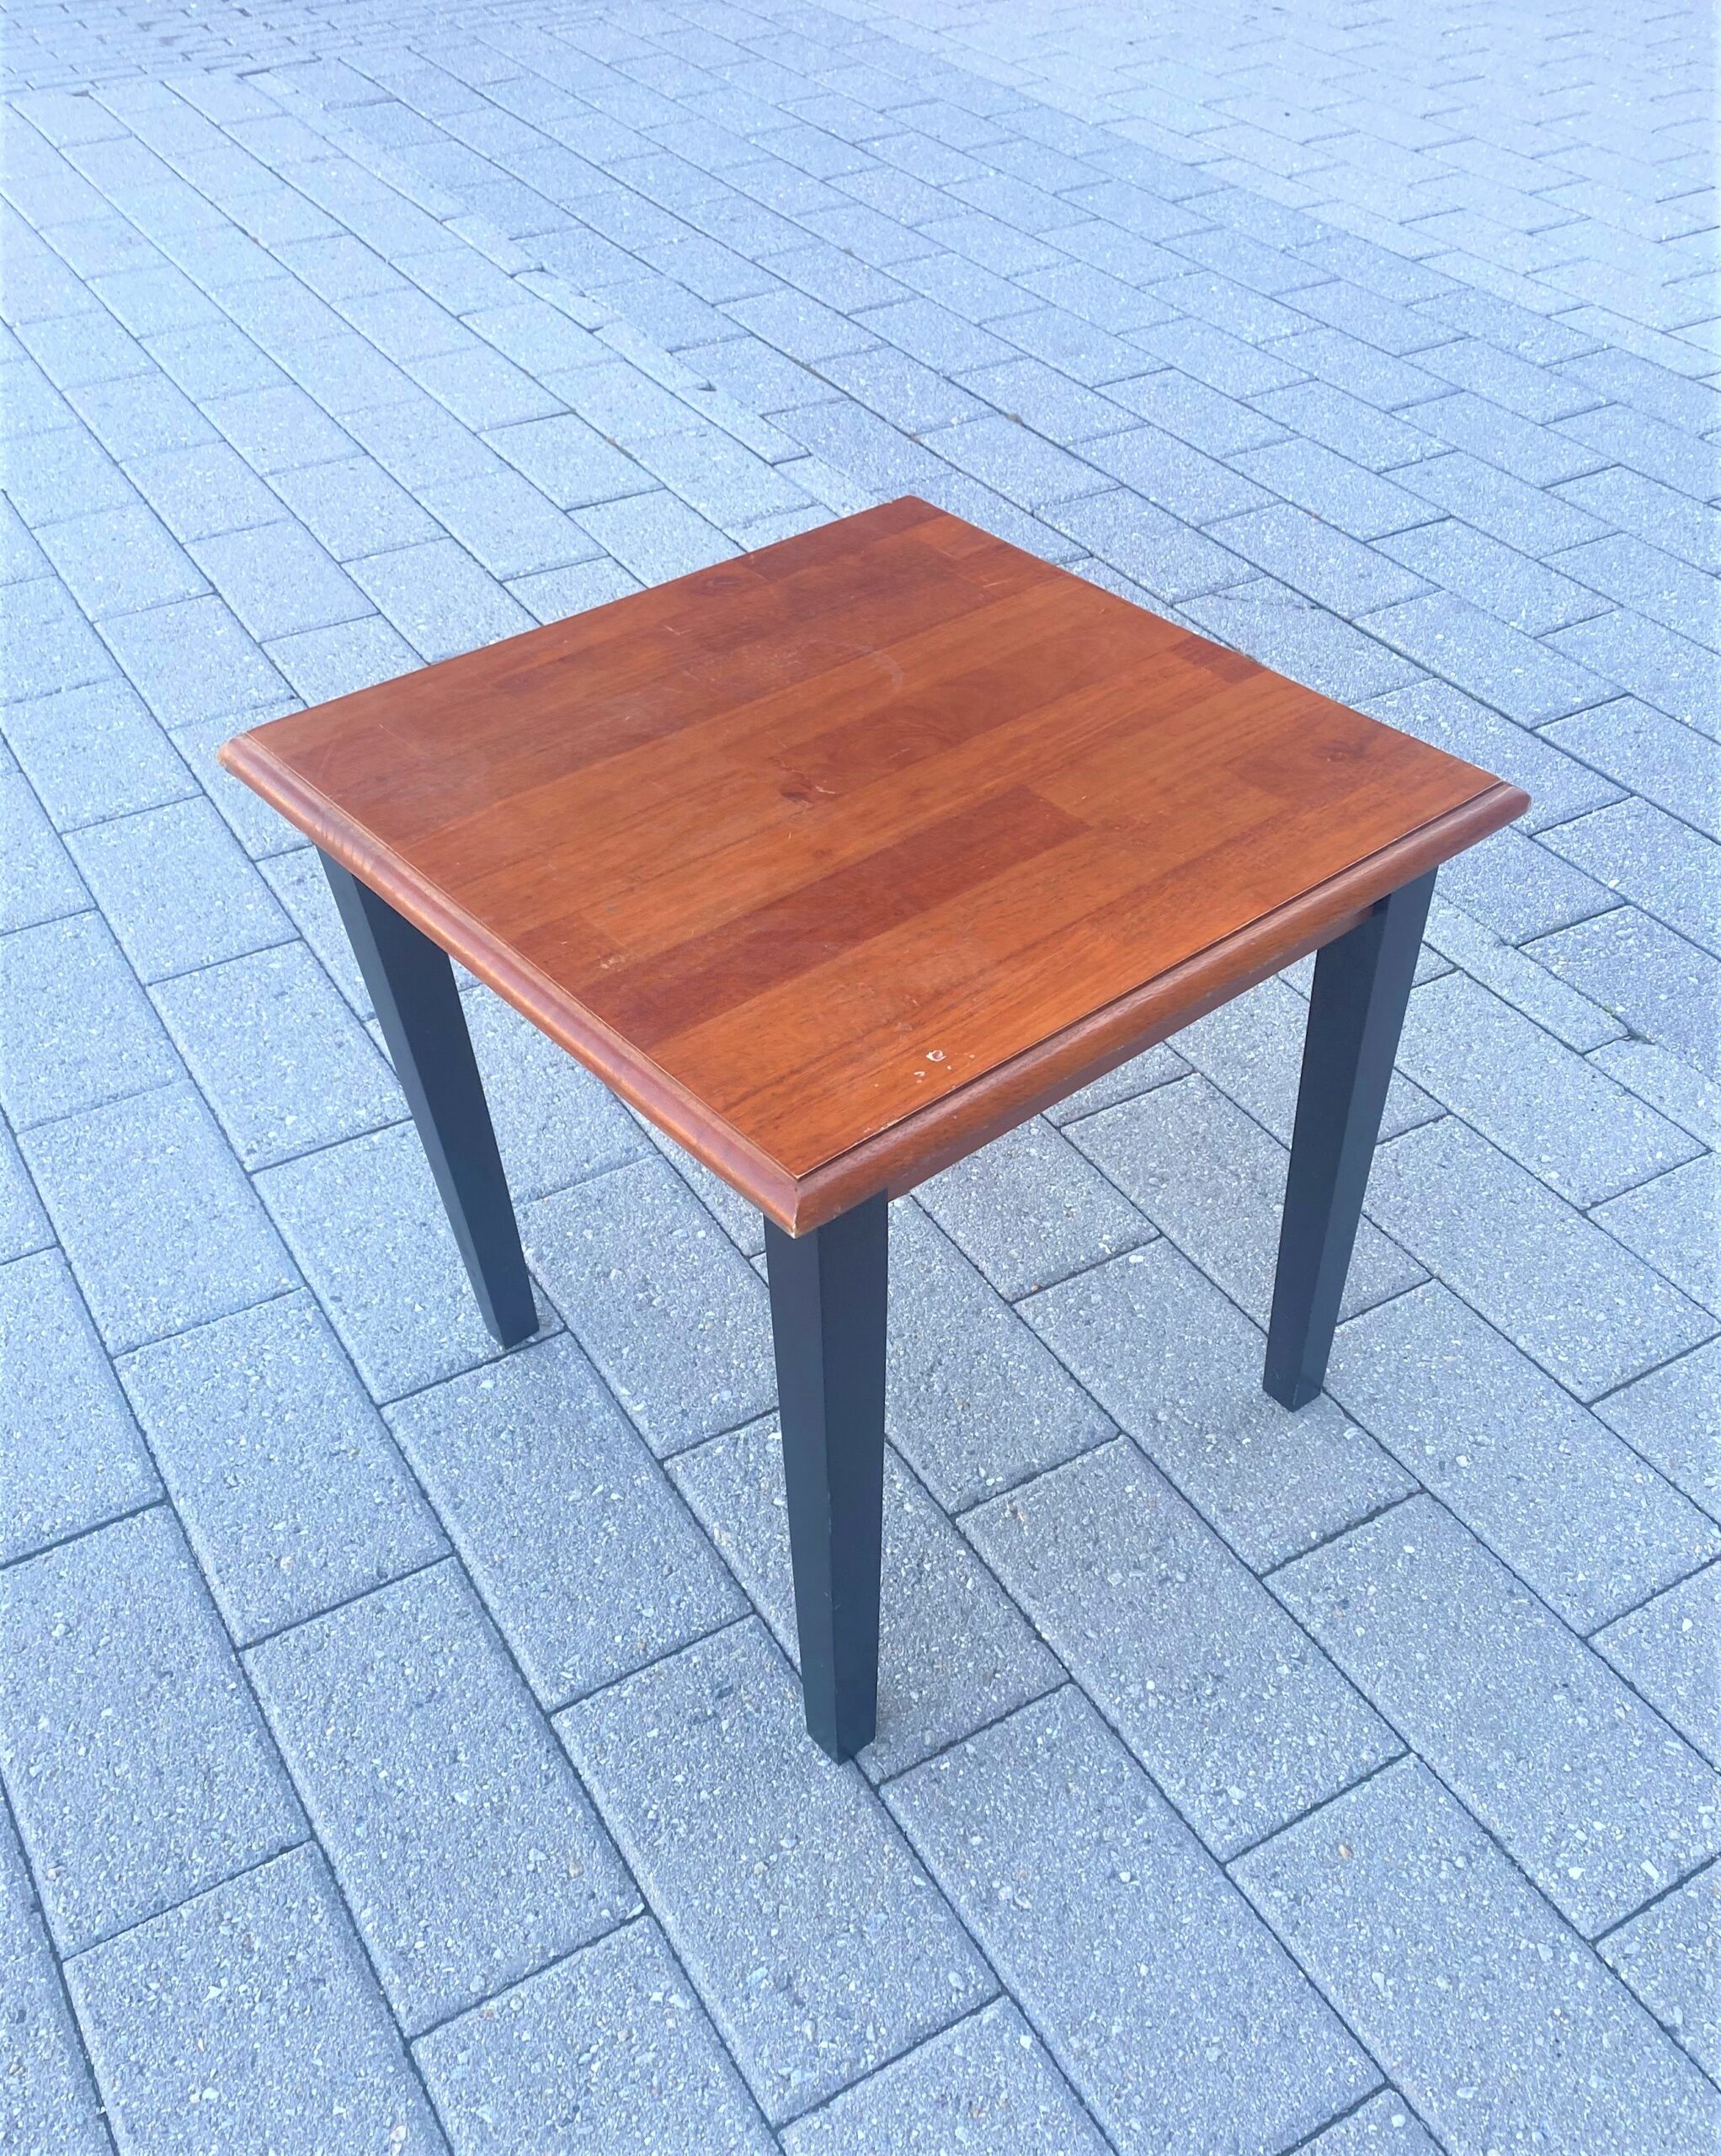

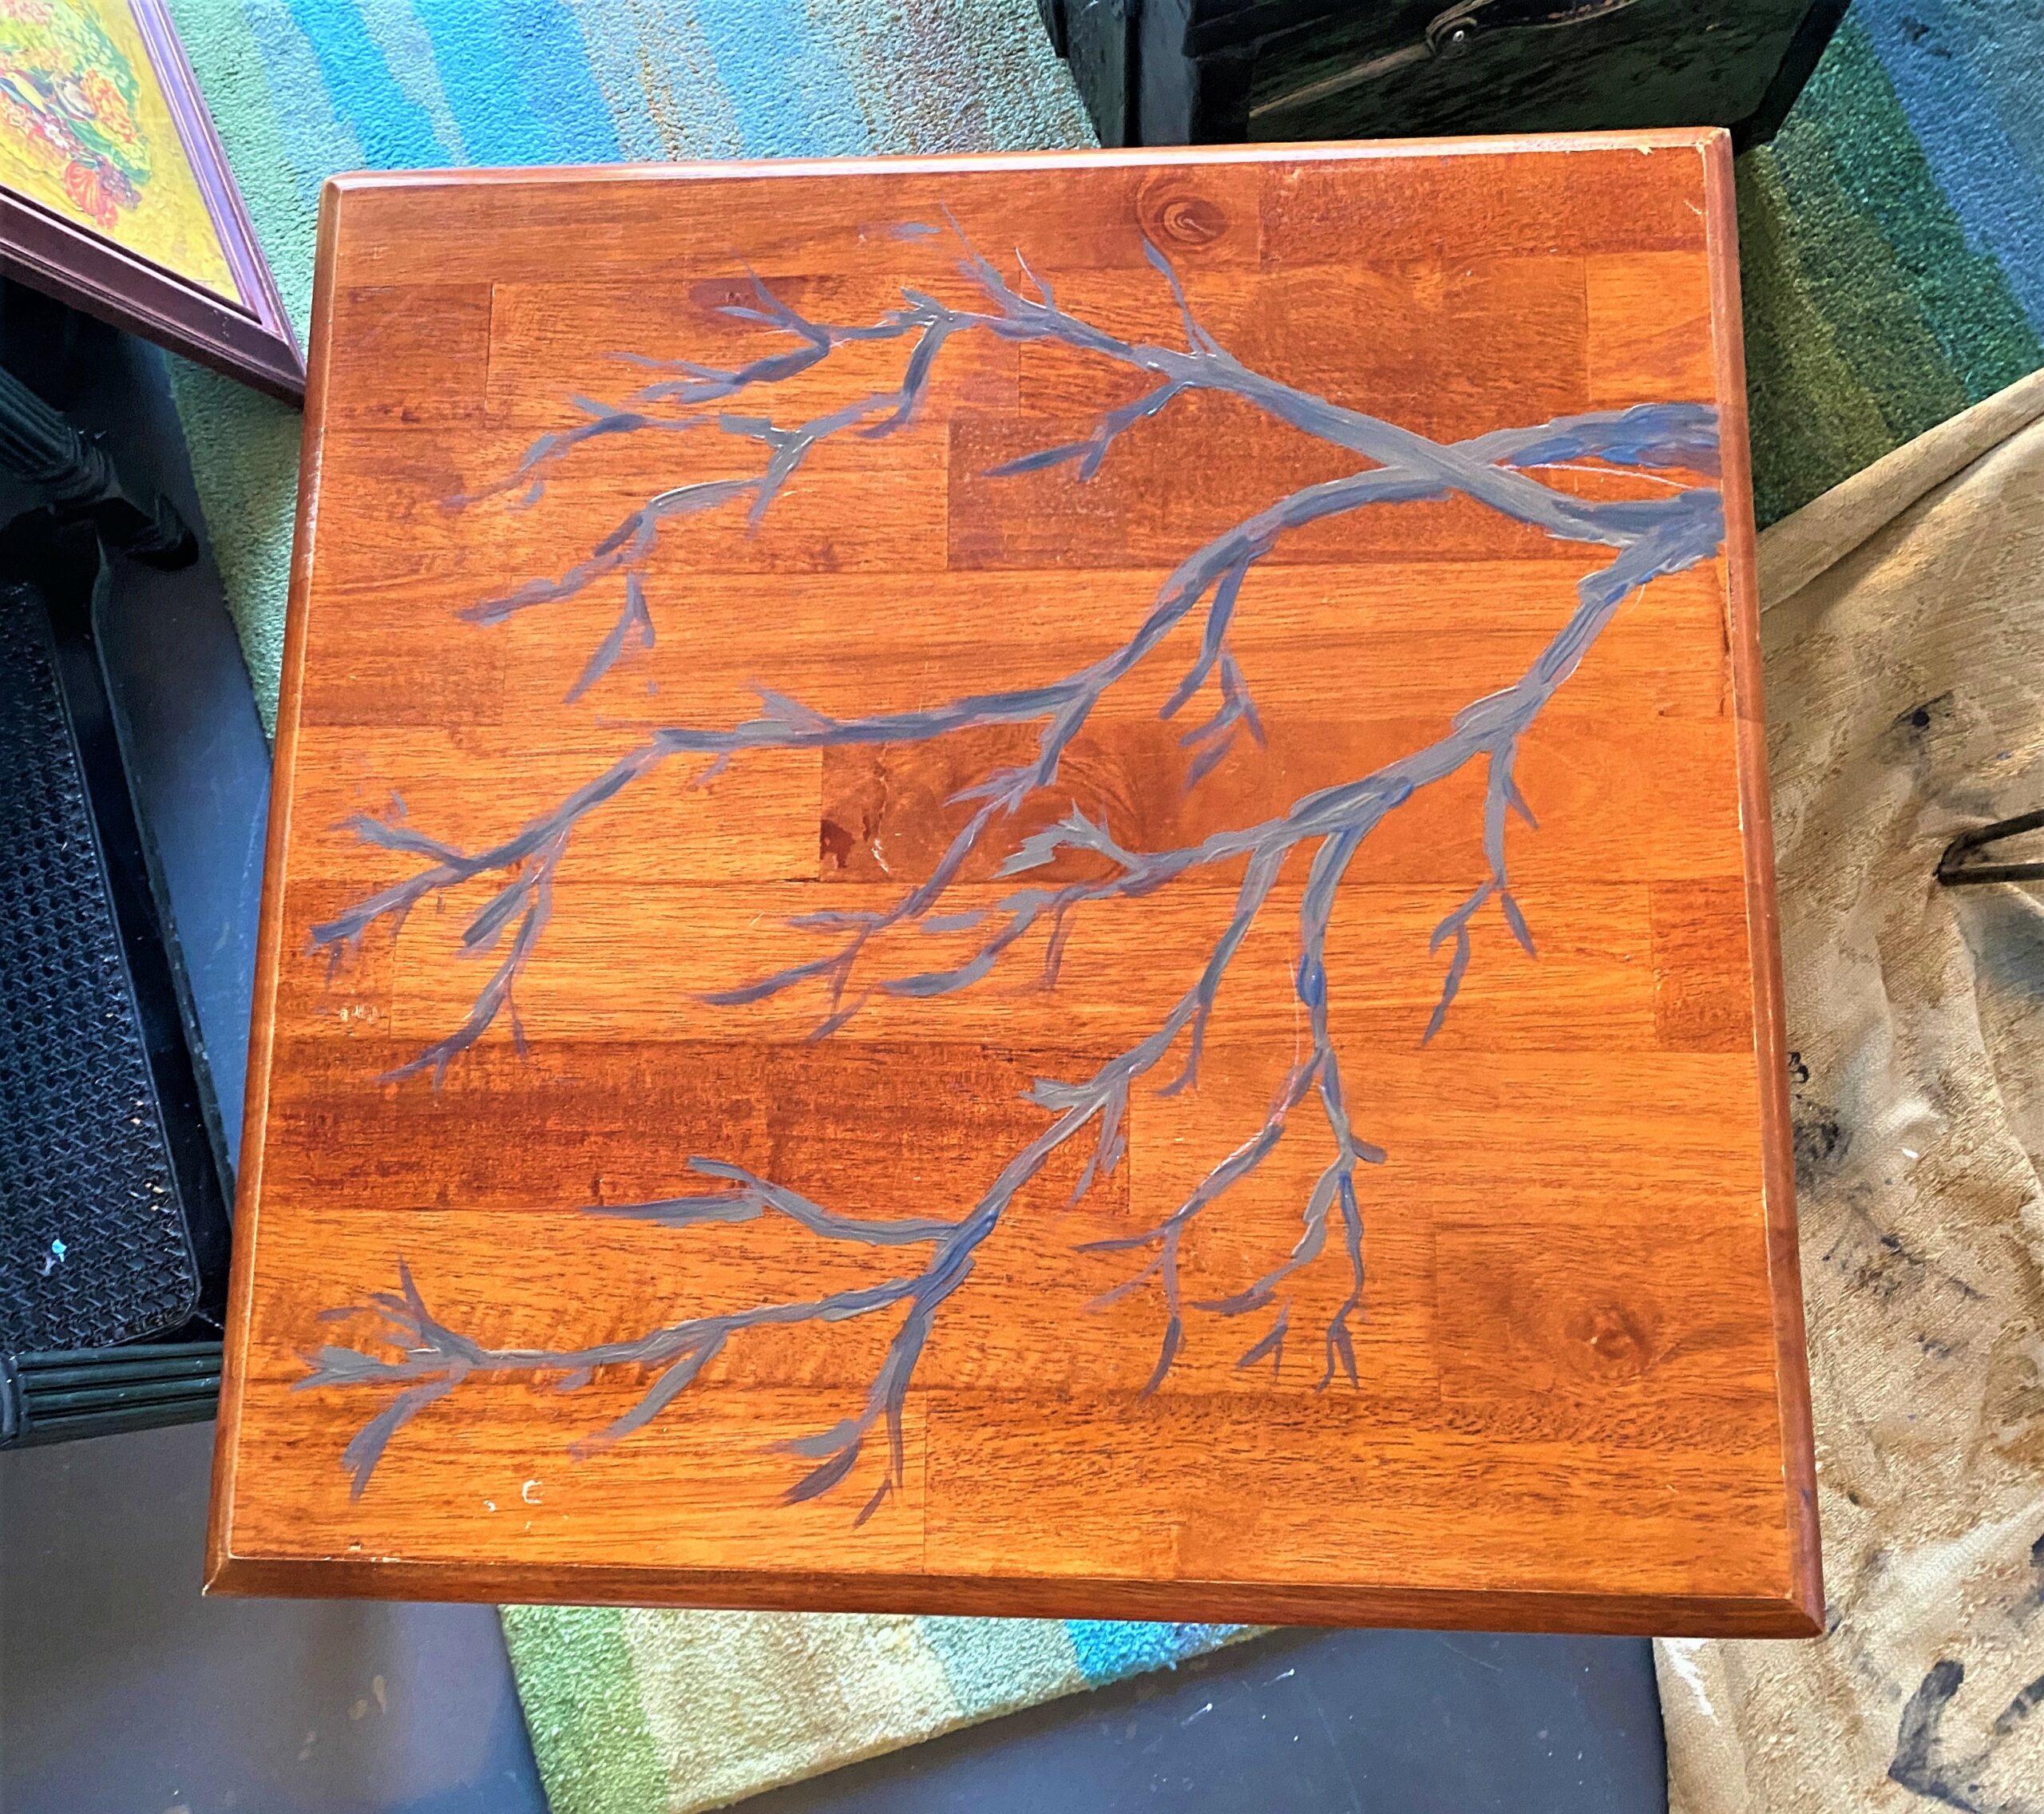
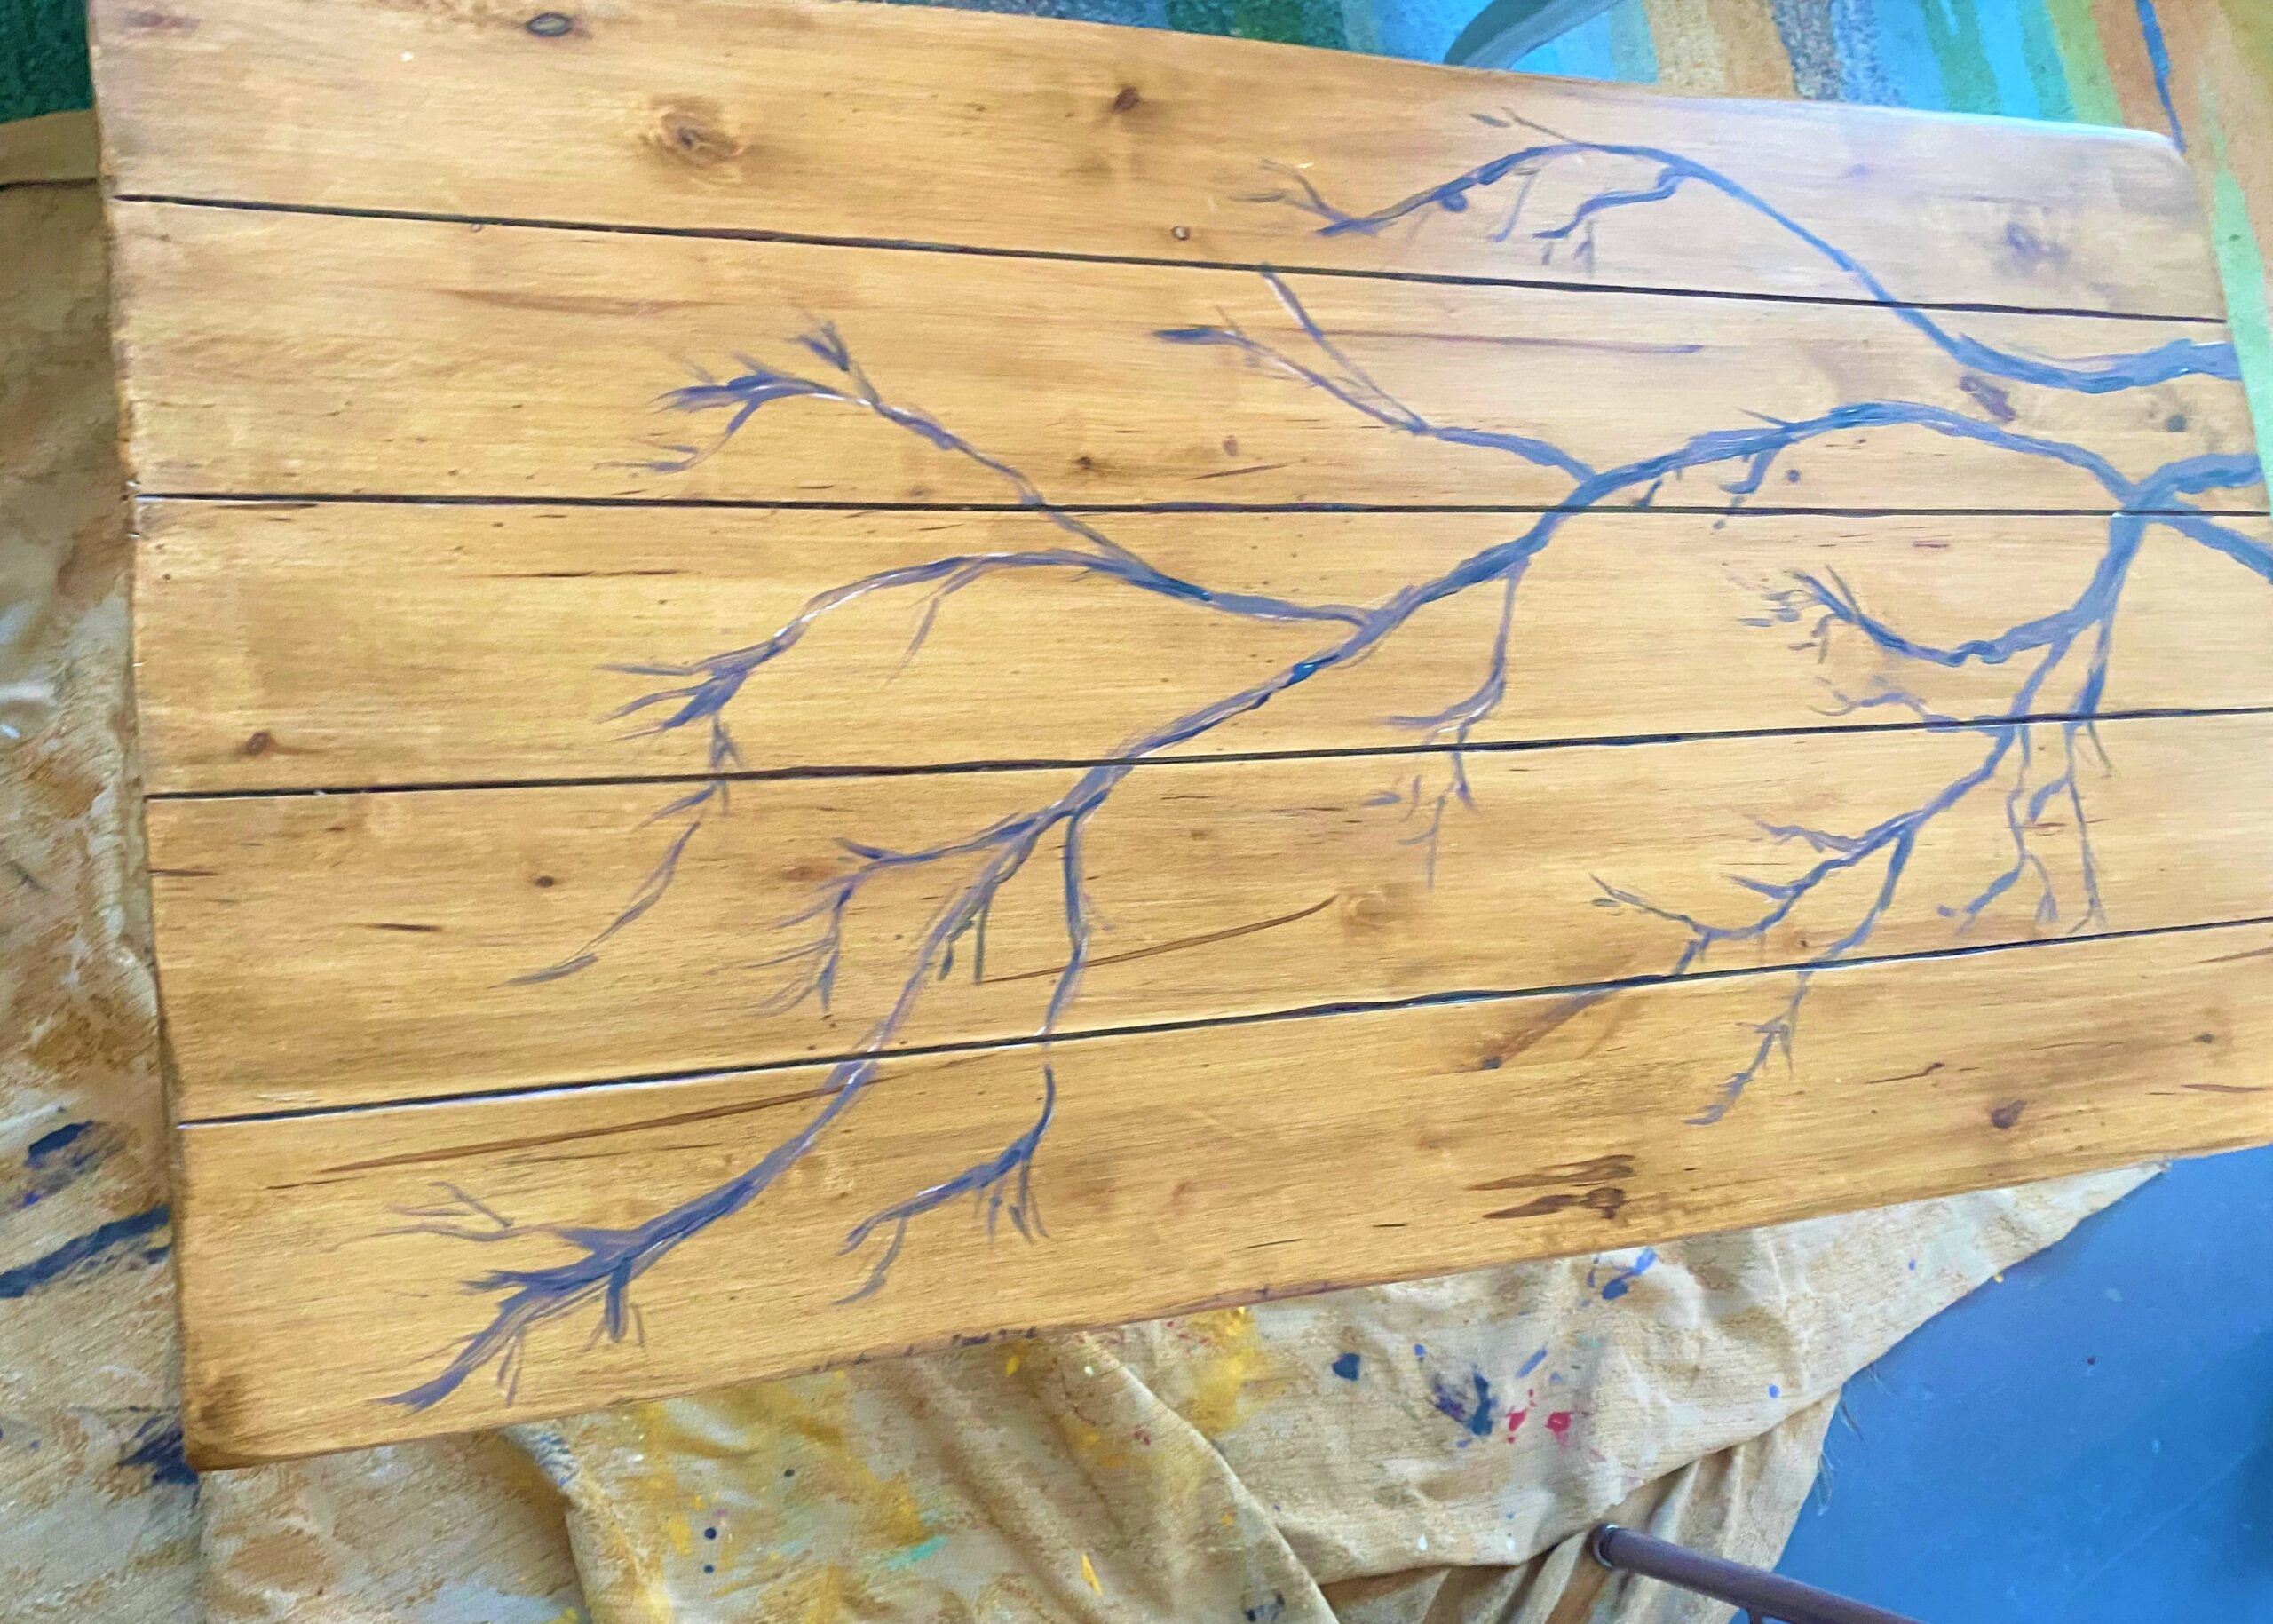
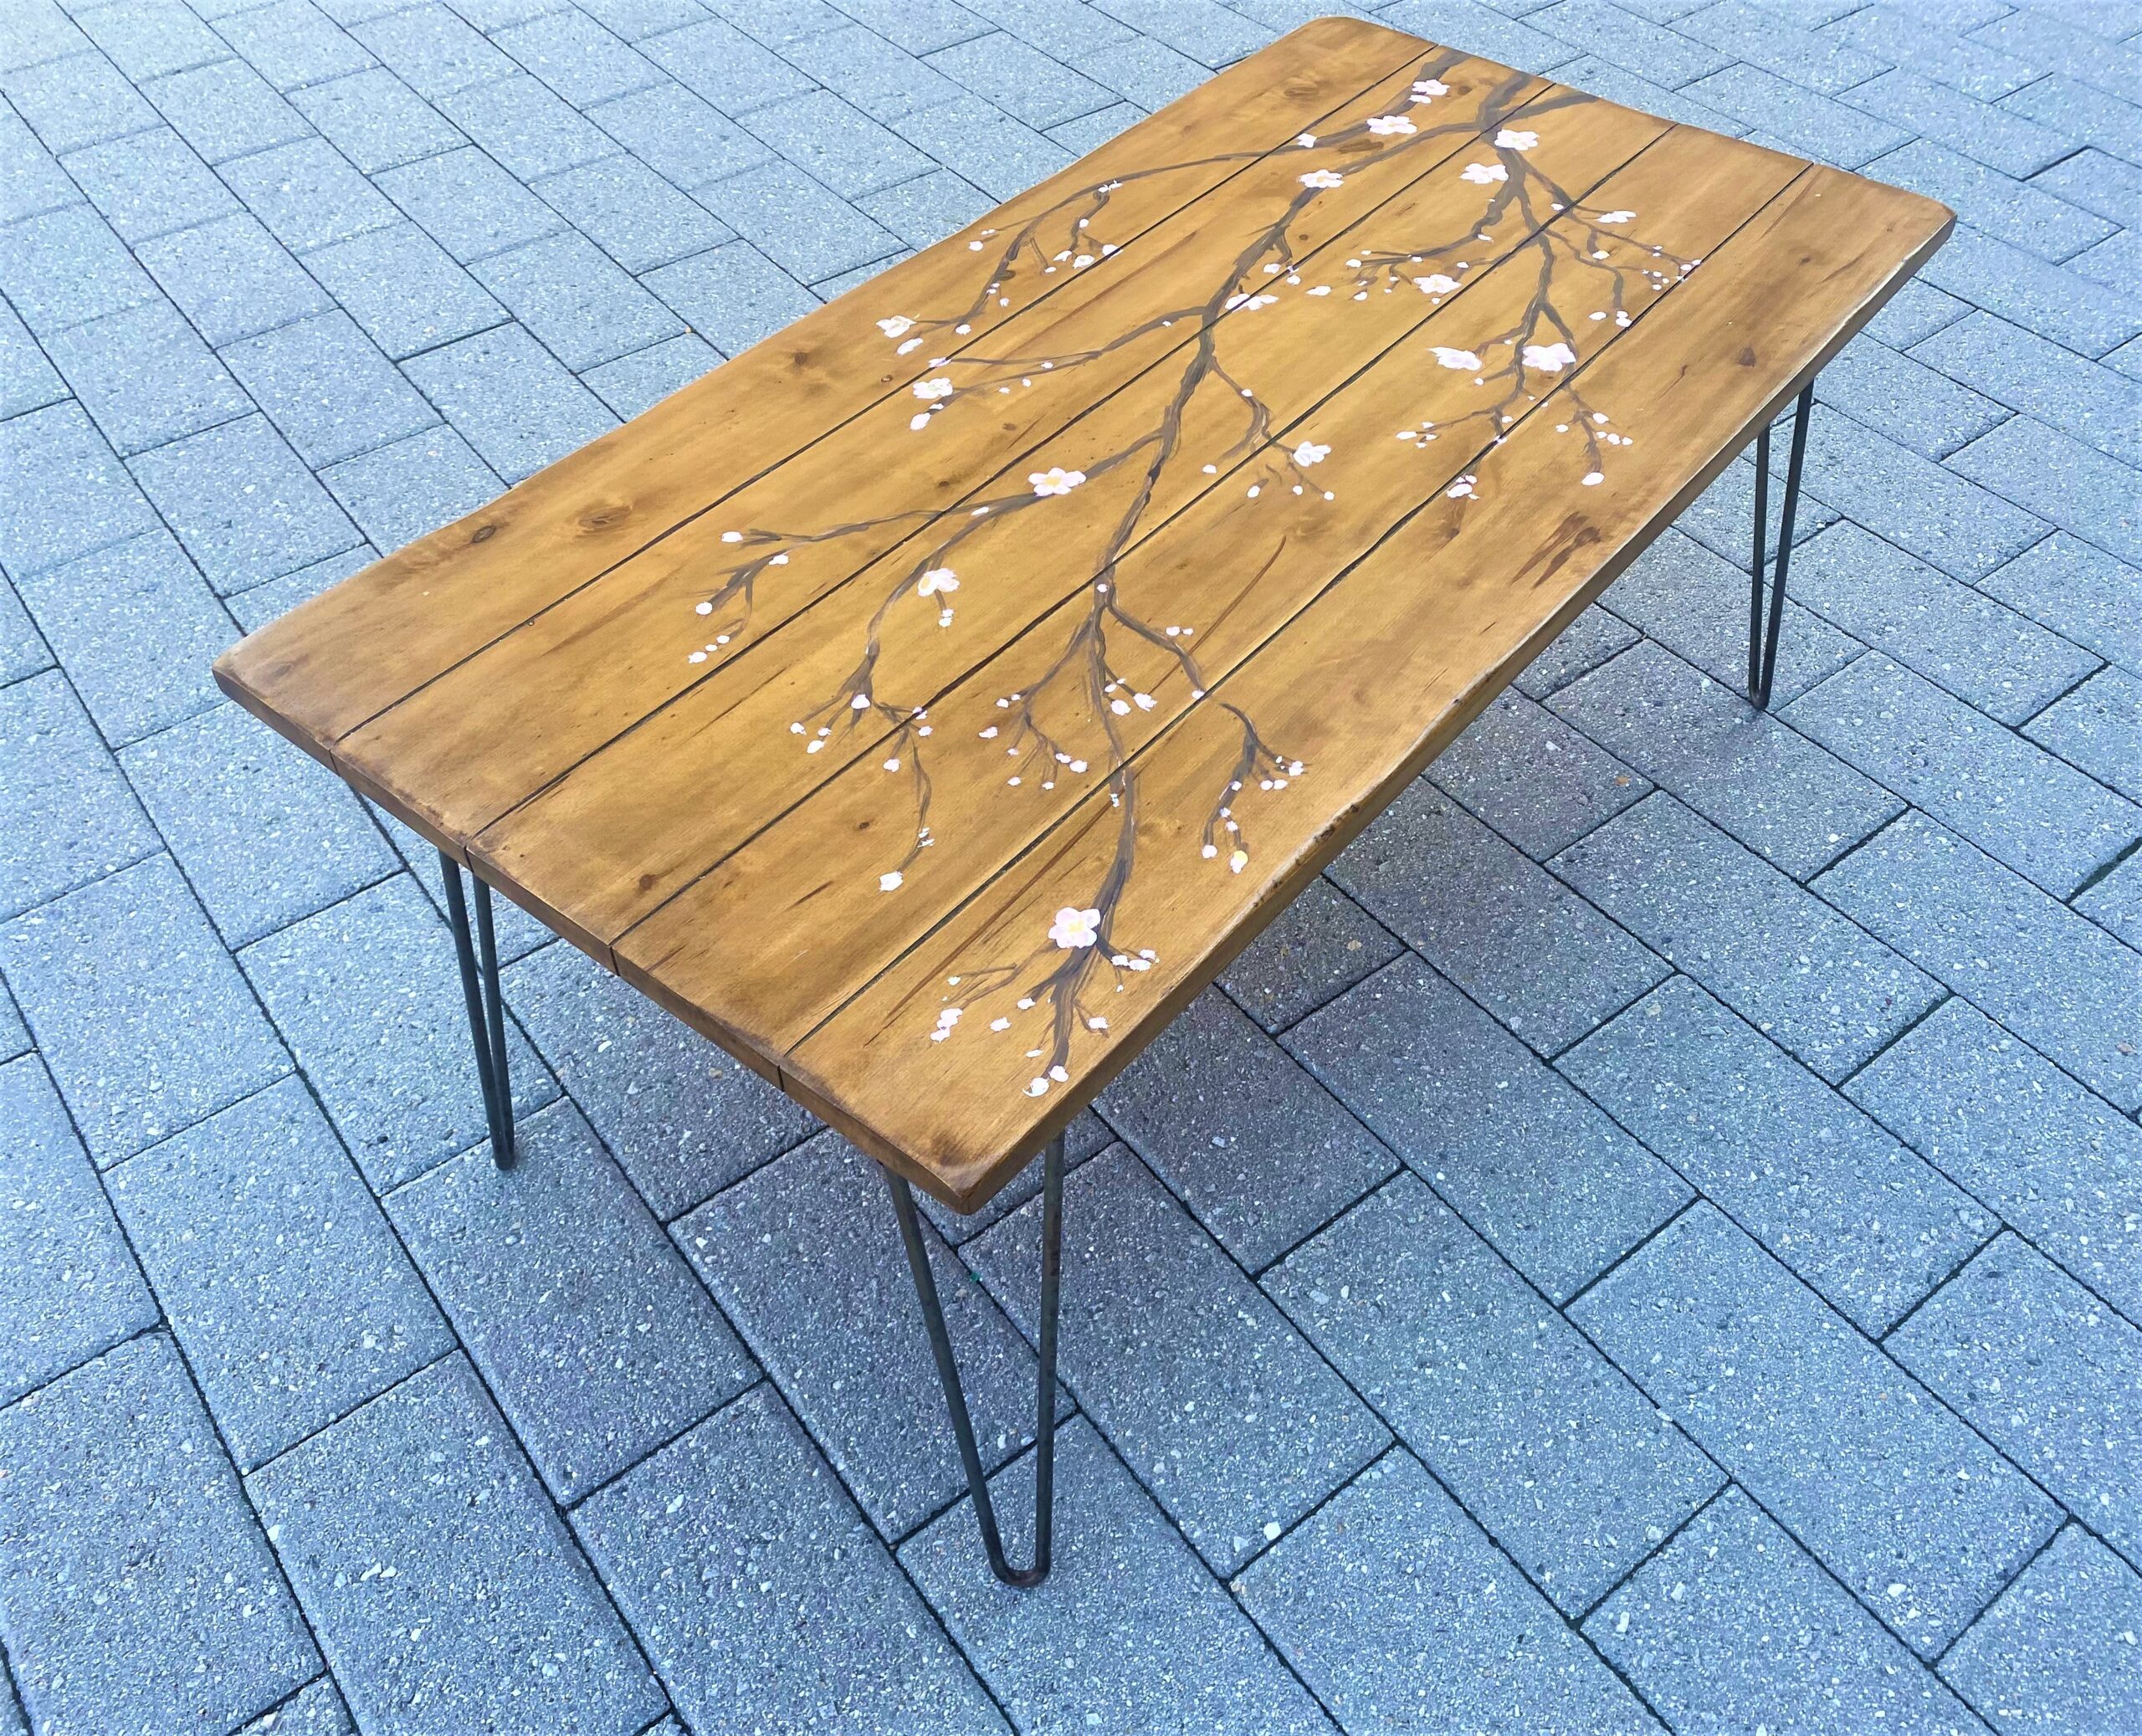
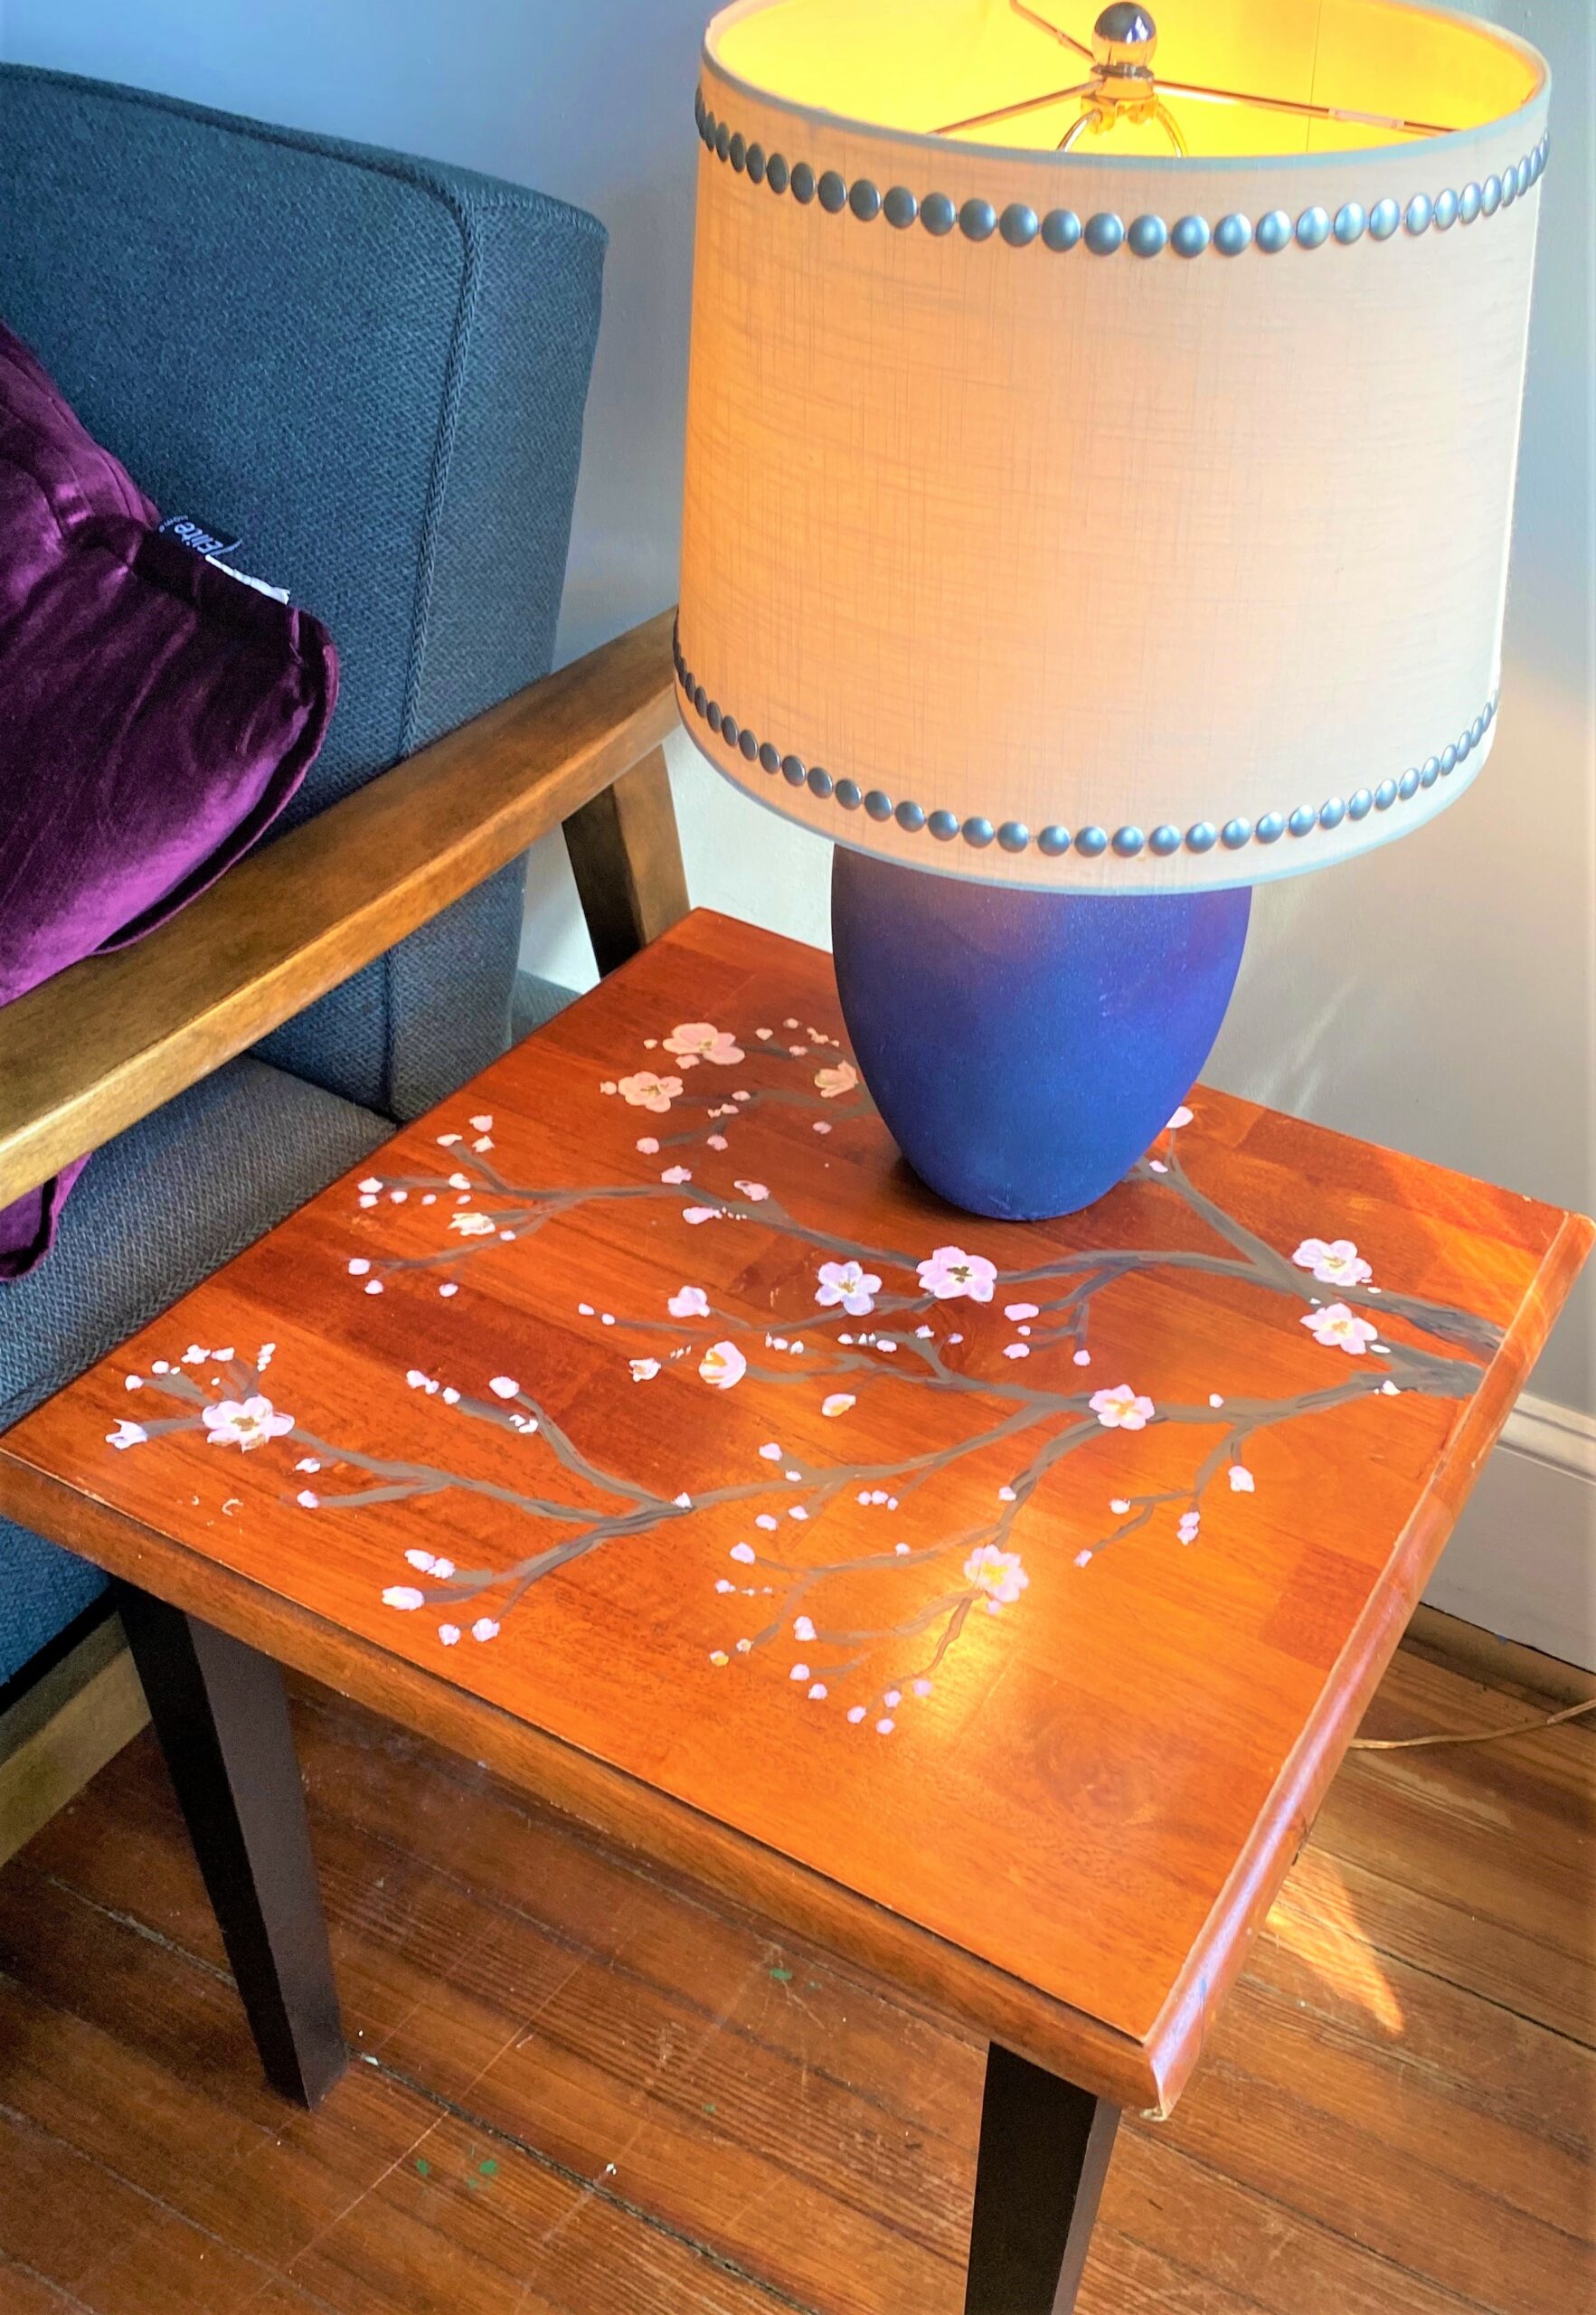
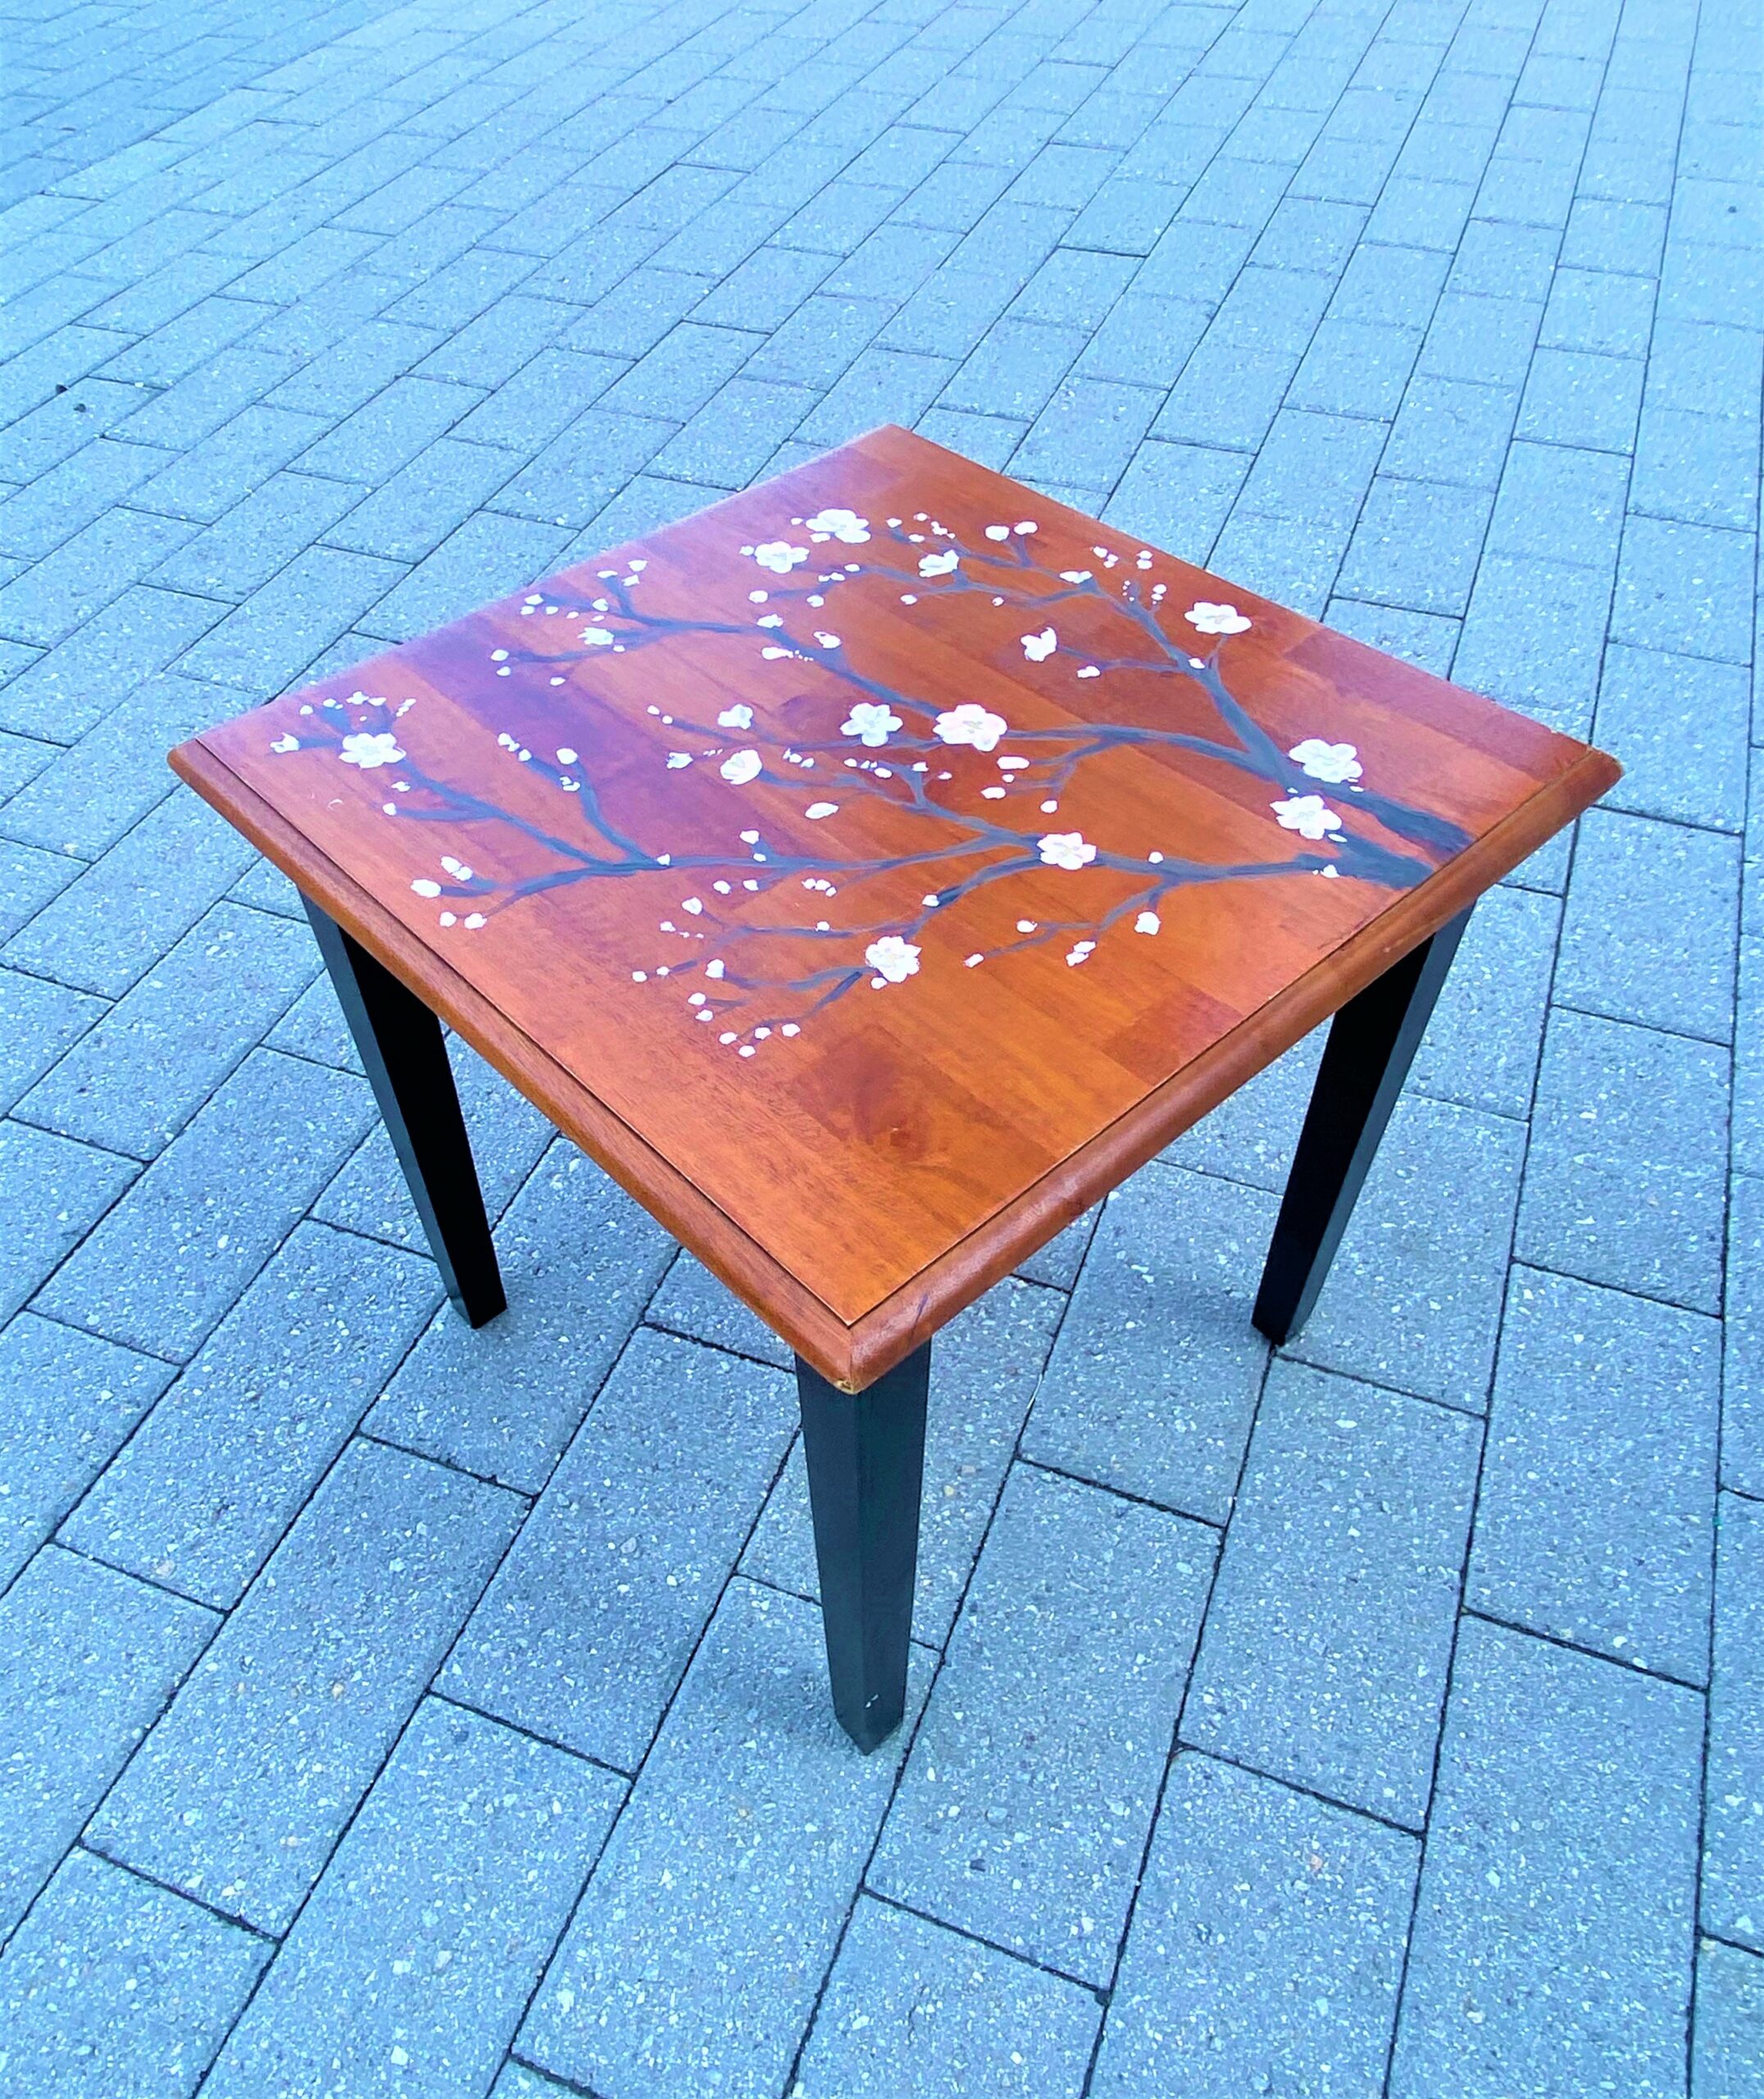
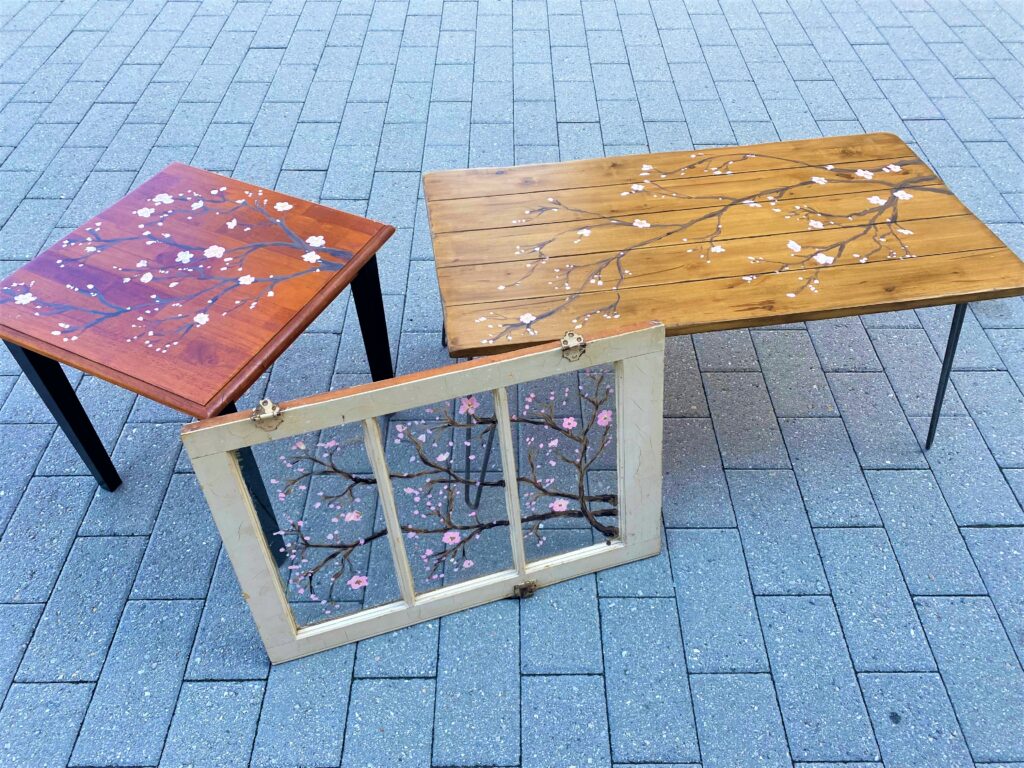
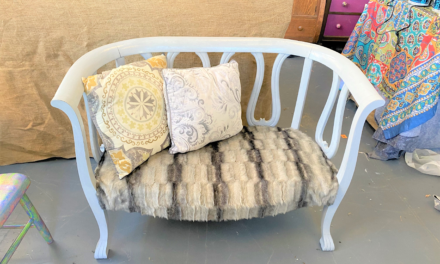
A wooden coffee table with great hairpin legs, a square, and solid side table, and a weathered but wonderful window sash were all ideal for a flowery transformation. In addition, they were all great just as they were, so there was no need to add a base of color before starting.
Other items that would work really well and look lovely with this process are wooden side chairs, serving trays, and even a small dresser. What have you seen at Goodwill that would be a great backdrop for this happy transformation?
Step 2: Sketch out your branches
- With a piece of chalk or pencil, very, very lightly sketch out your branches. As you know, the branches get slimmer and slimmer as you get to the end.
- Also, approach the branch sketches like they are the letter “Y” so one Y leads to several small Ys and those lead to smaller ones.
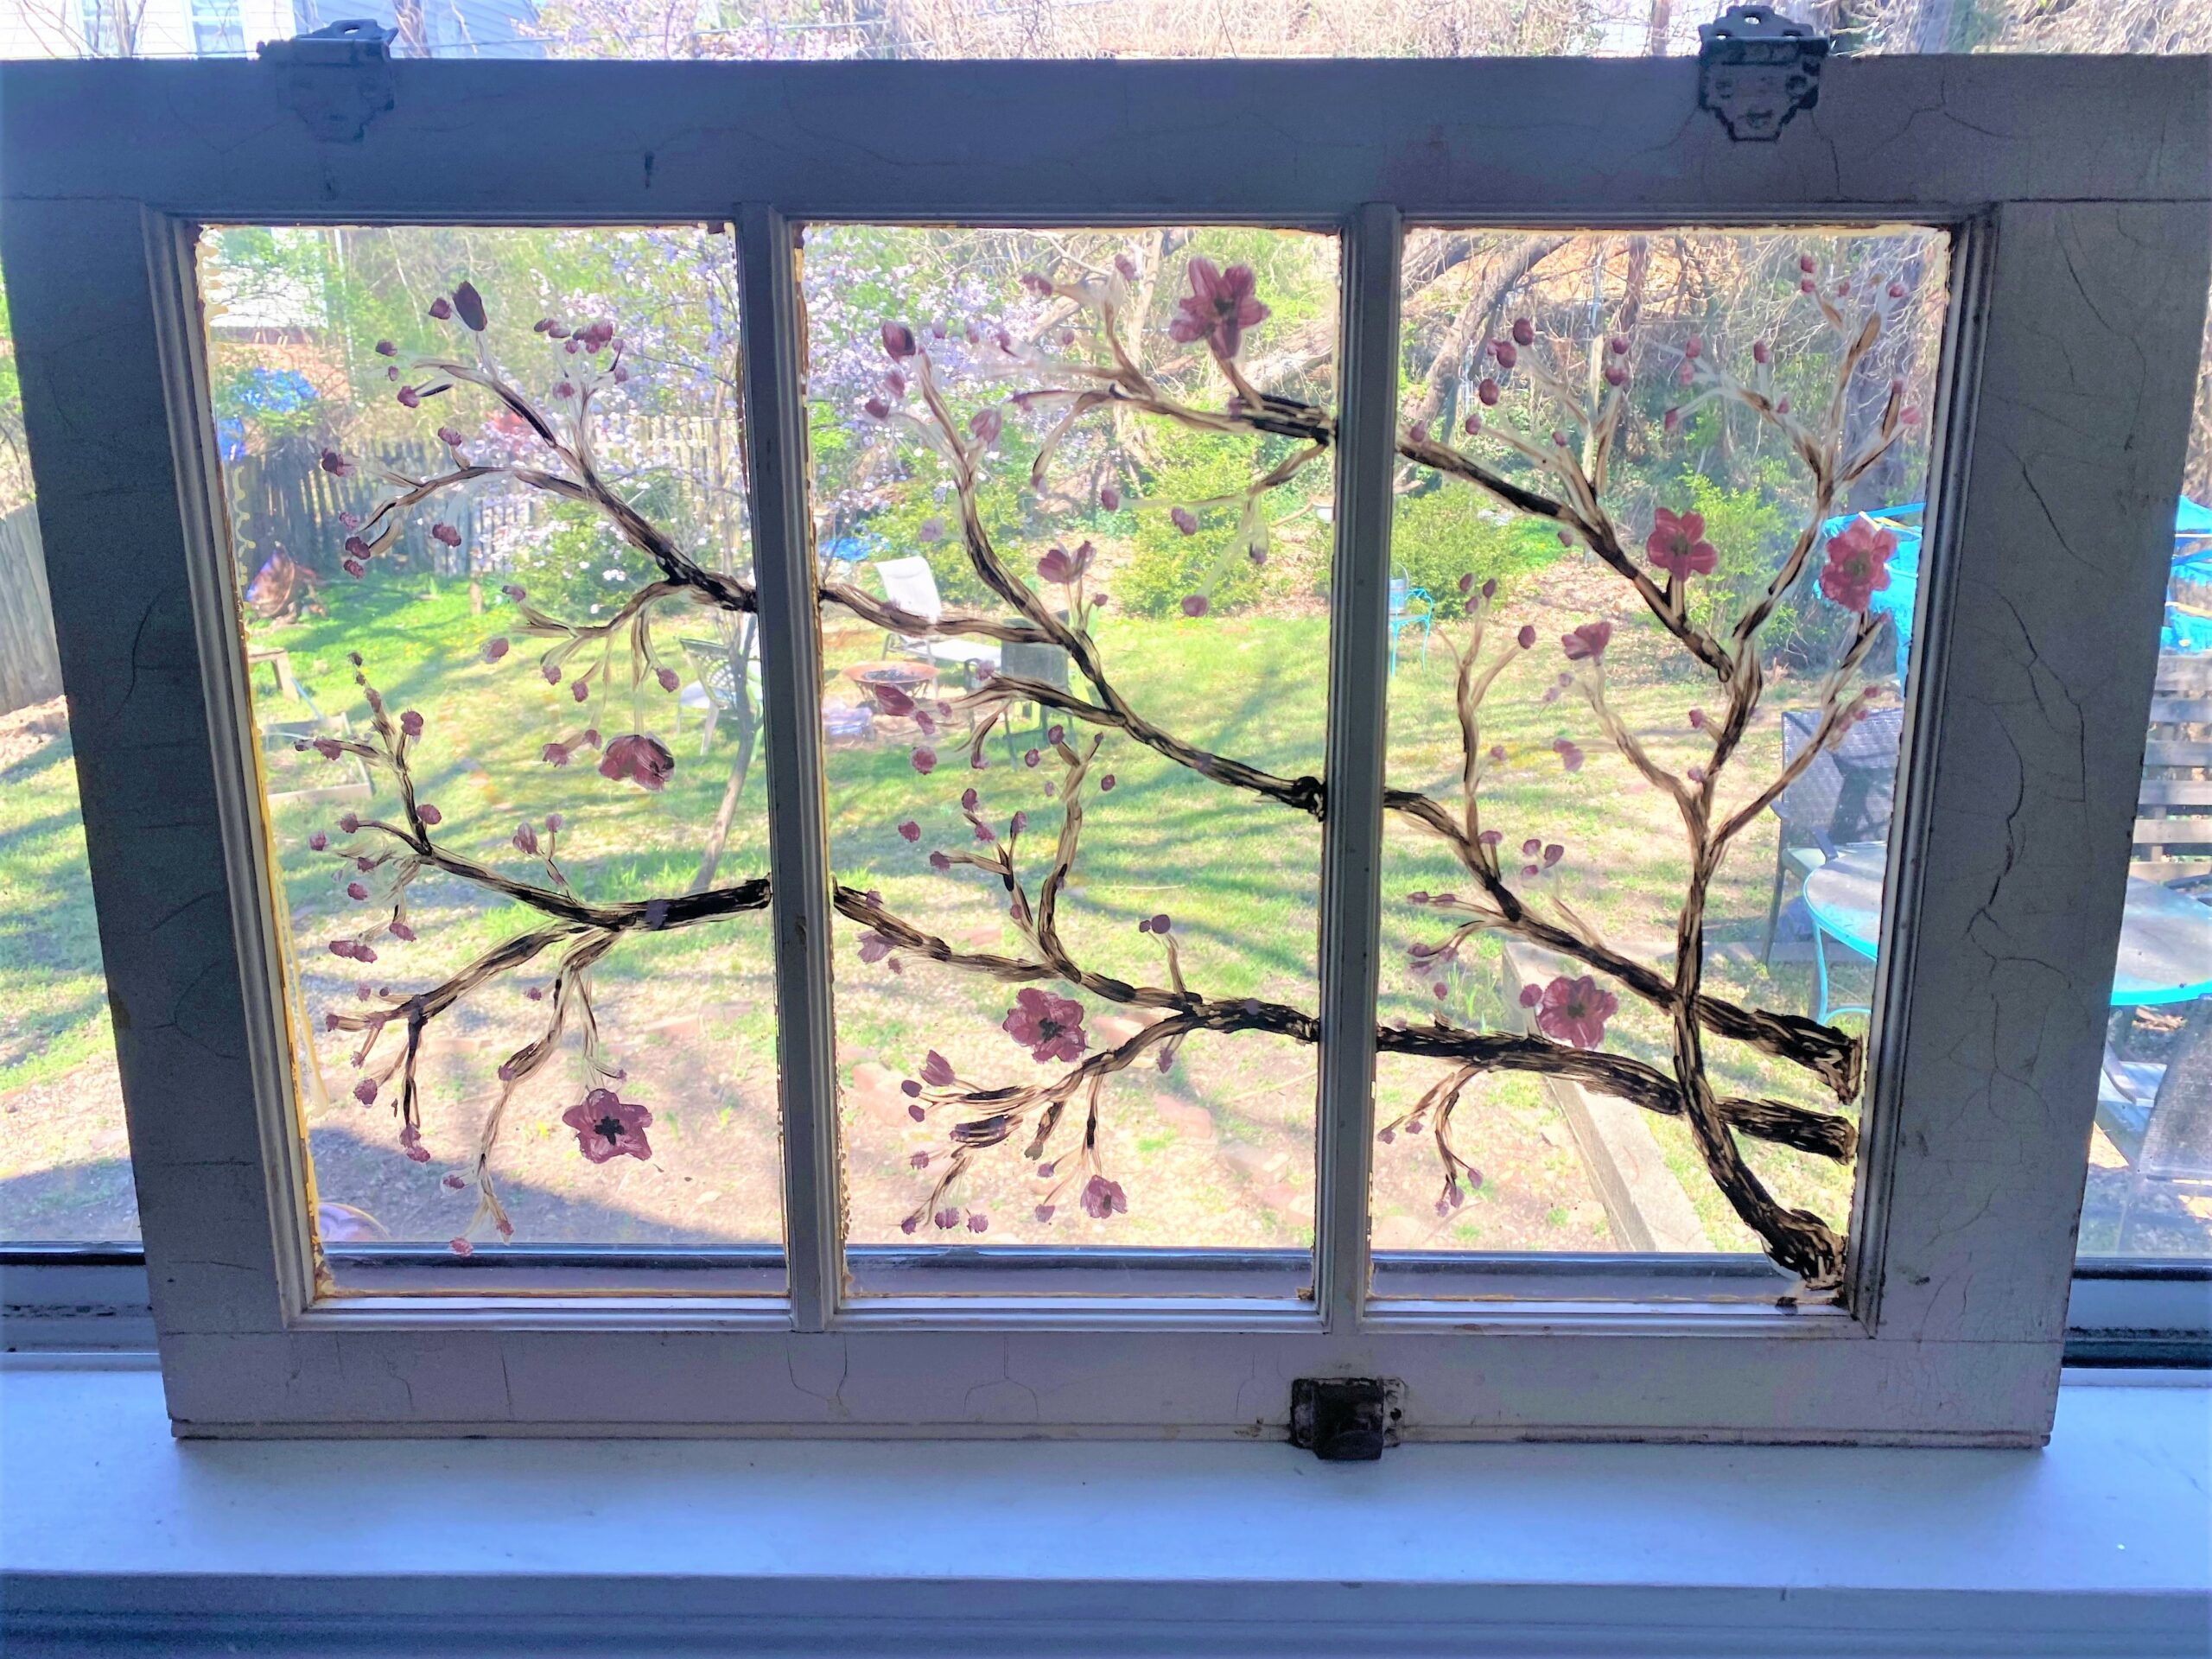
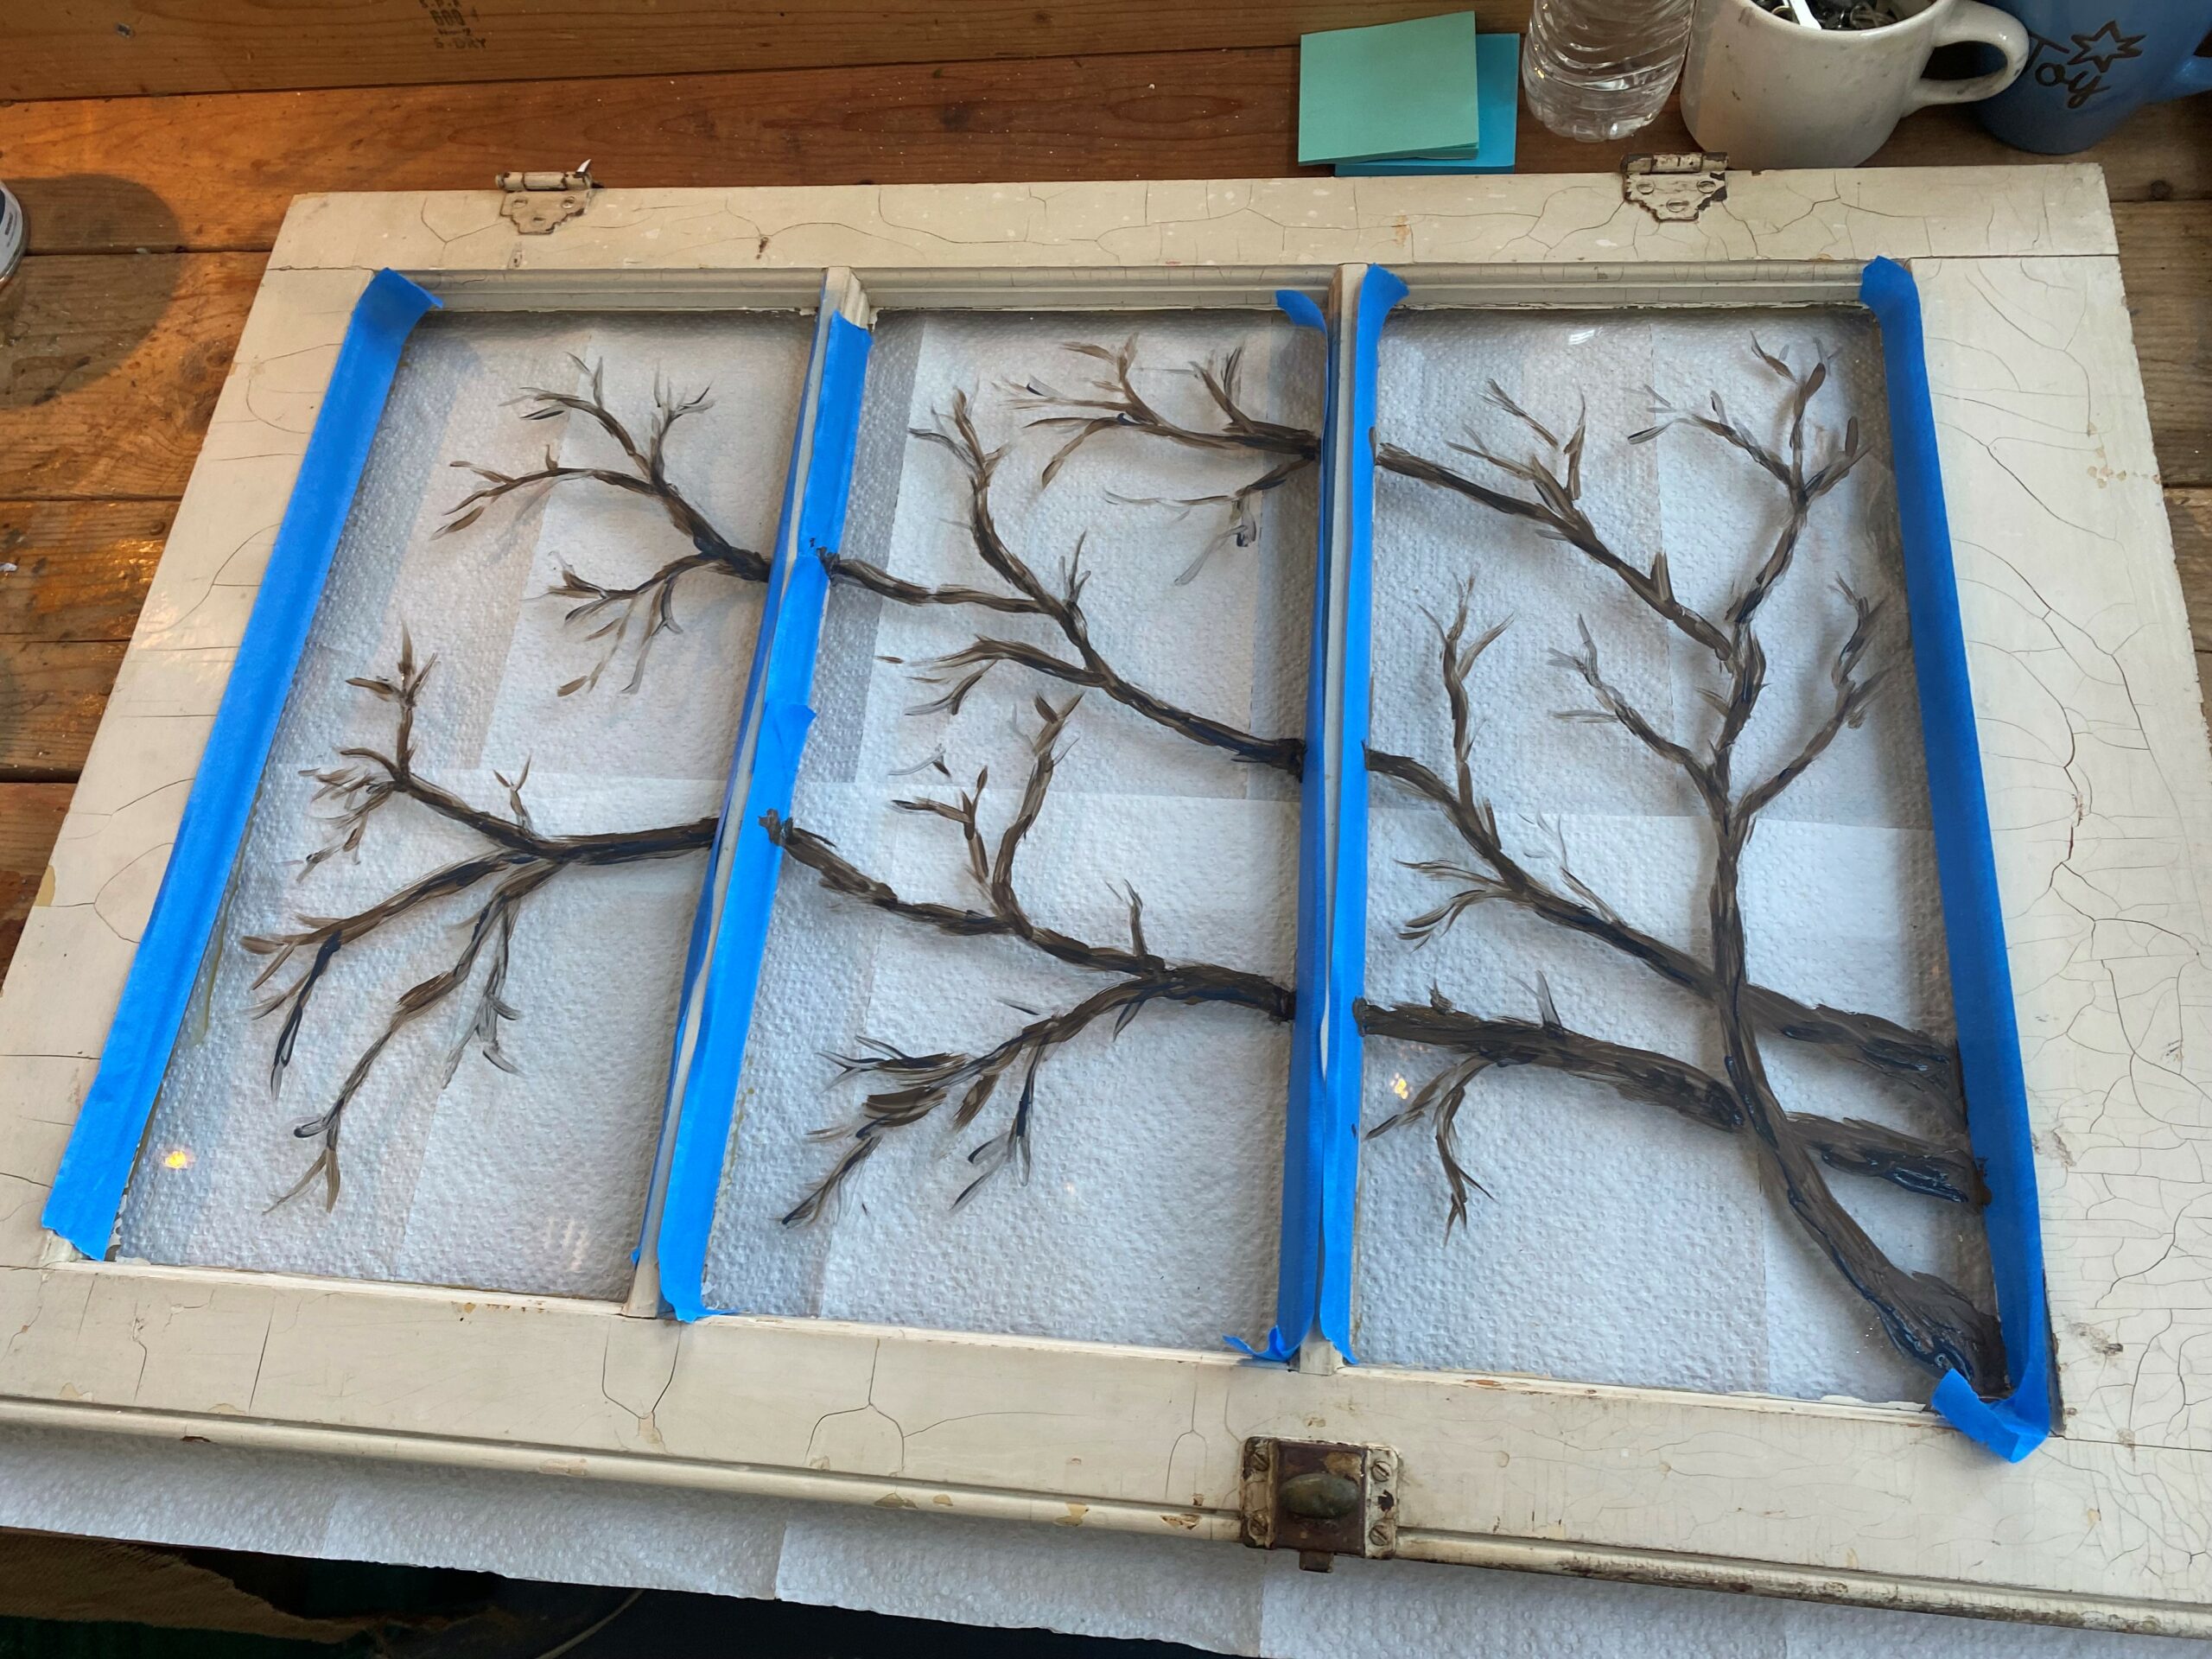
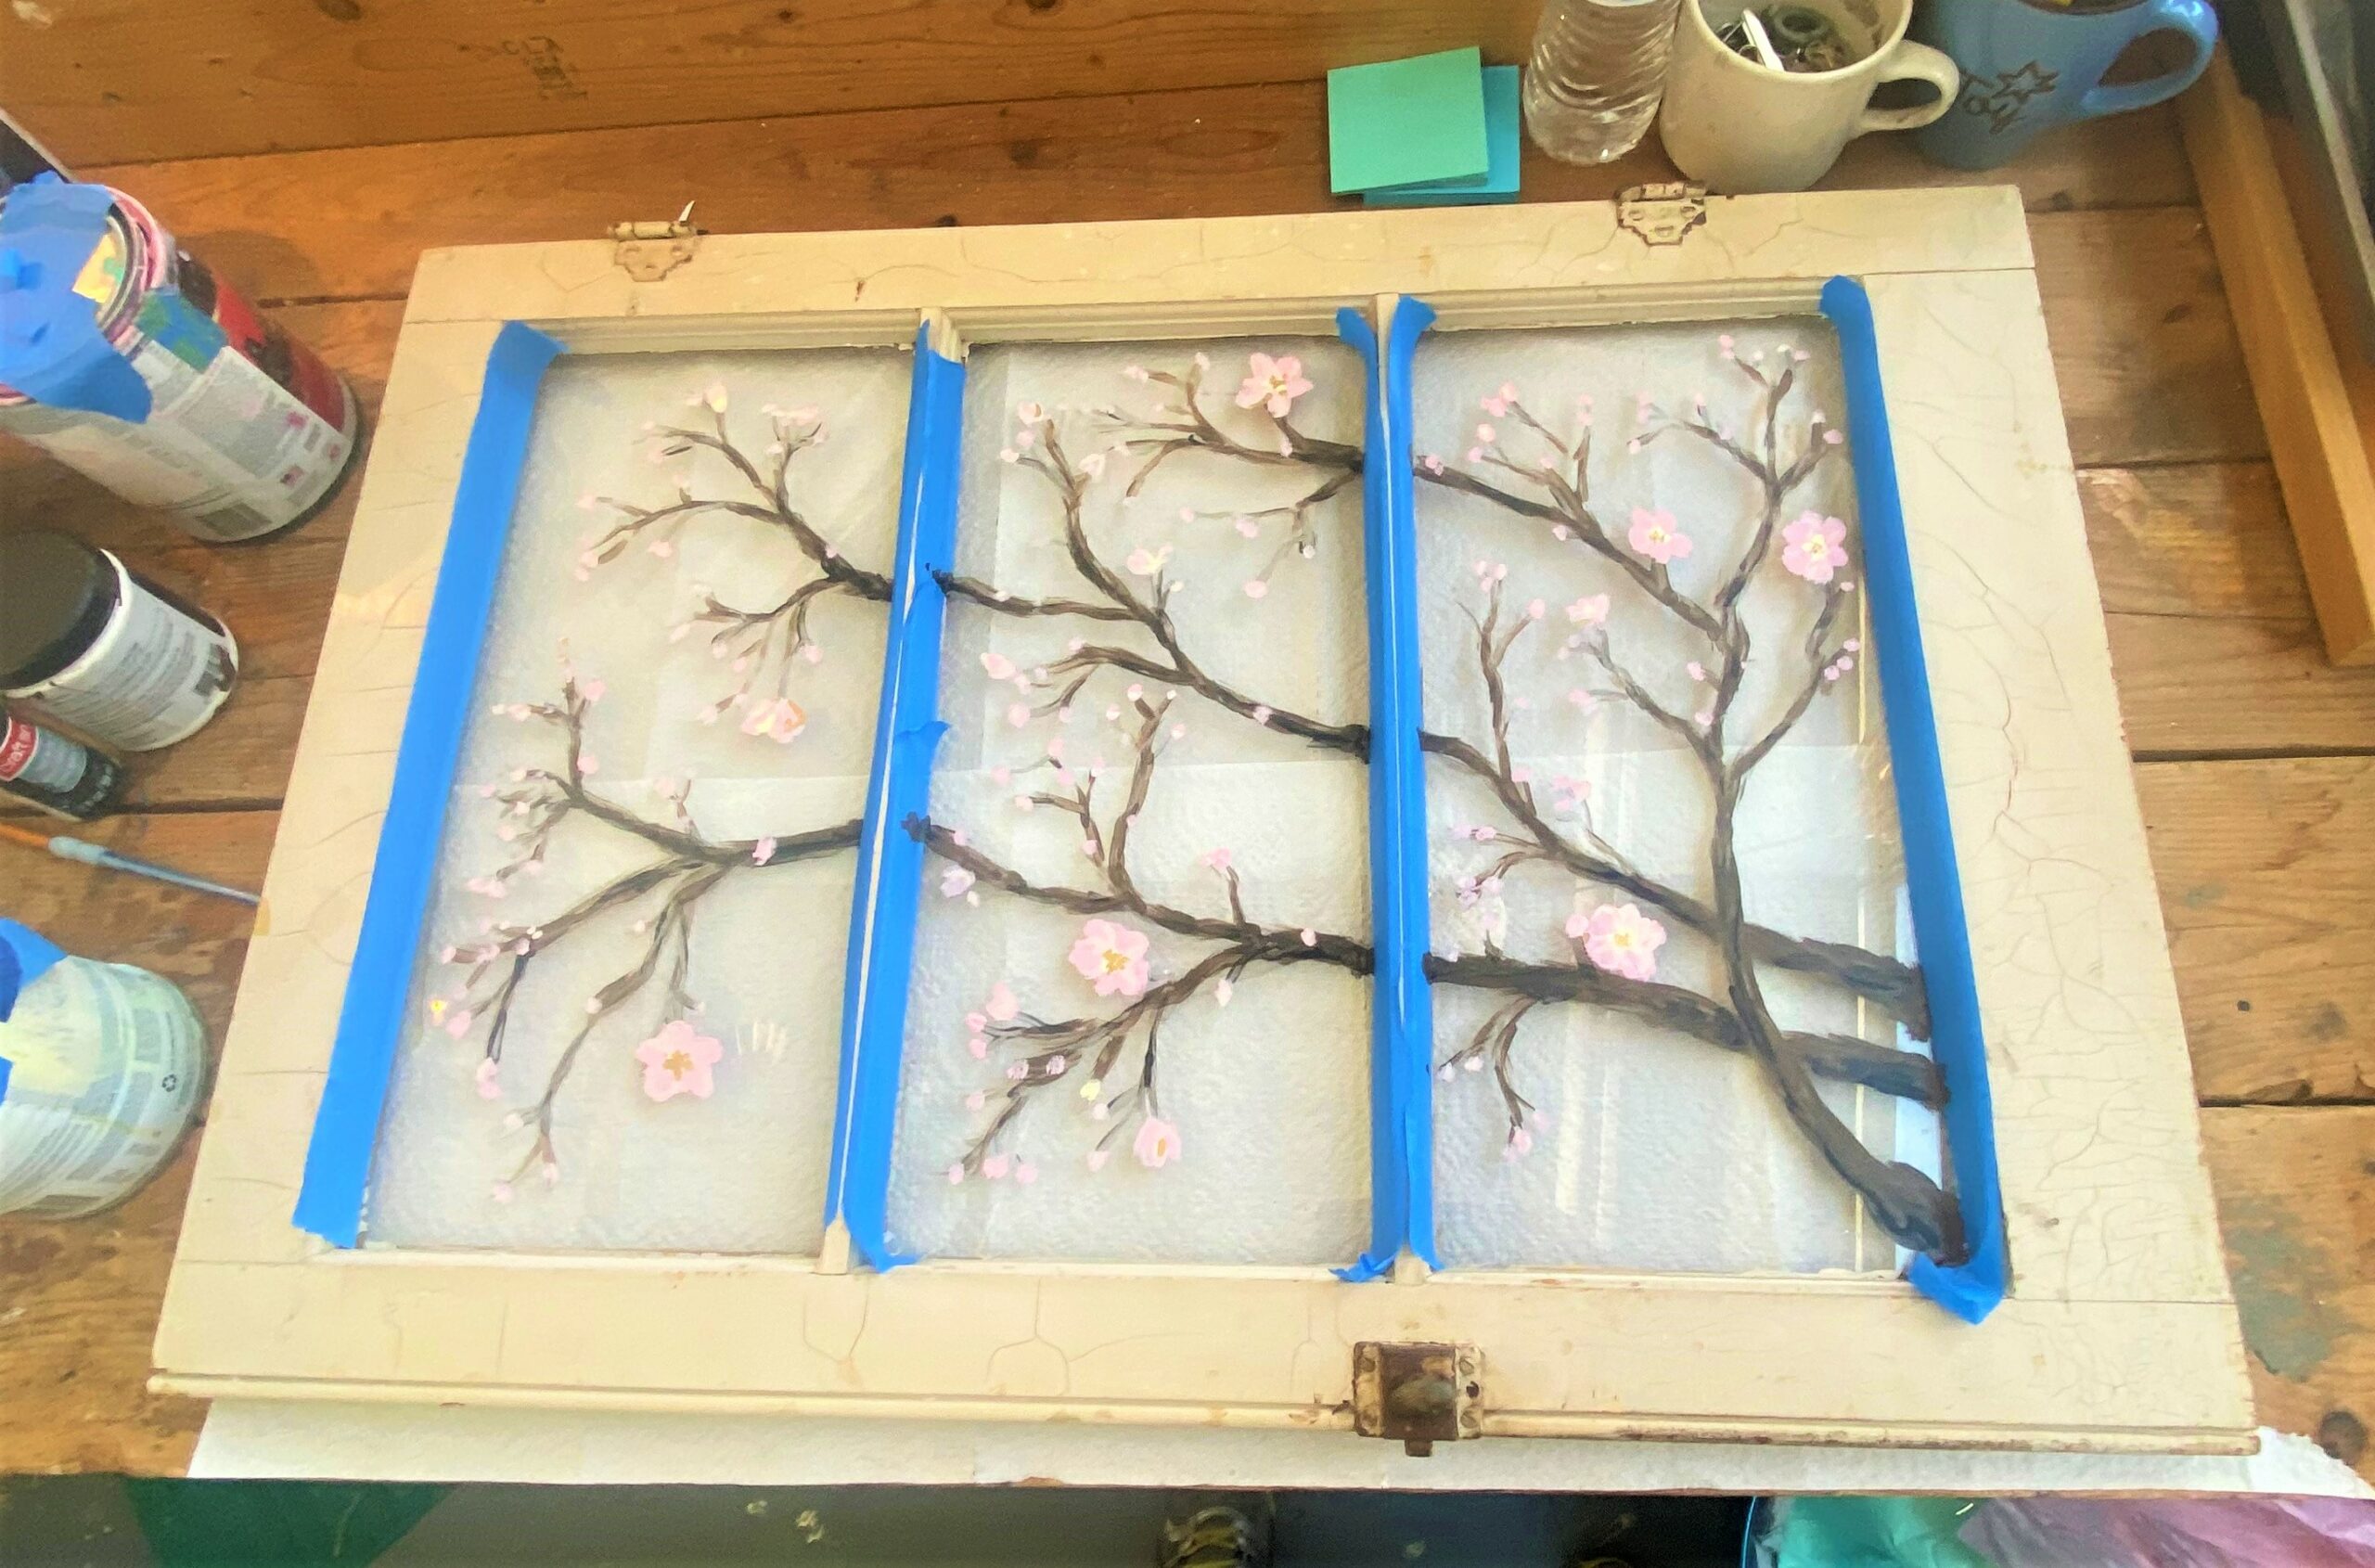
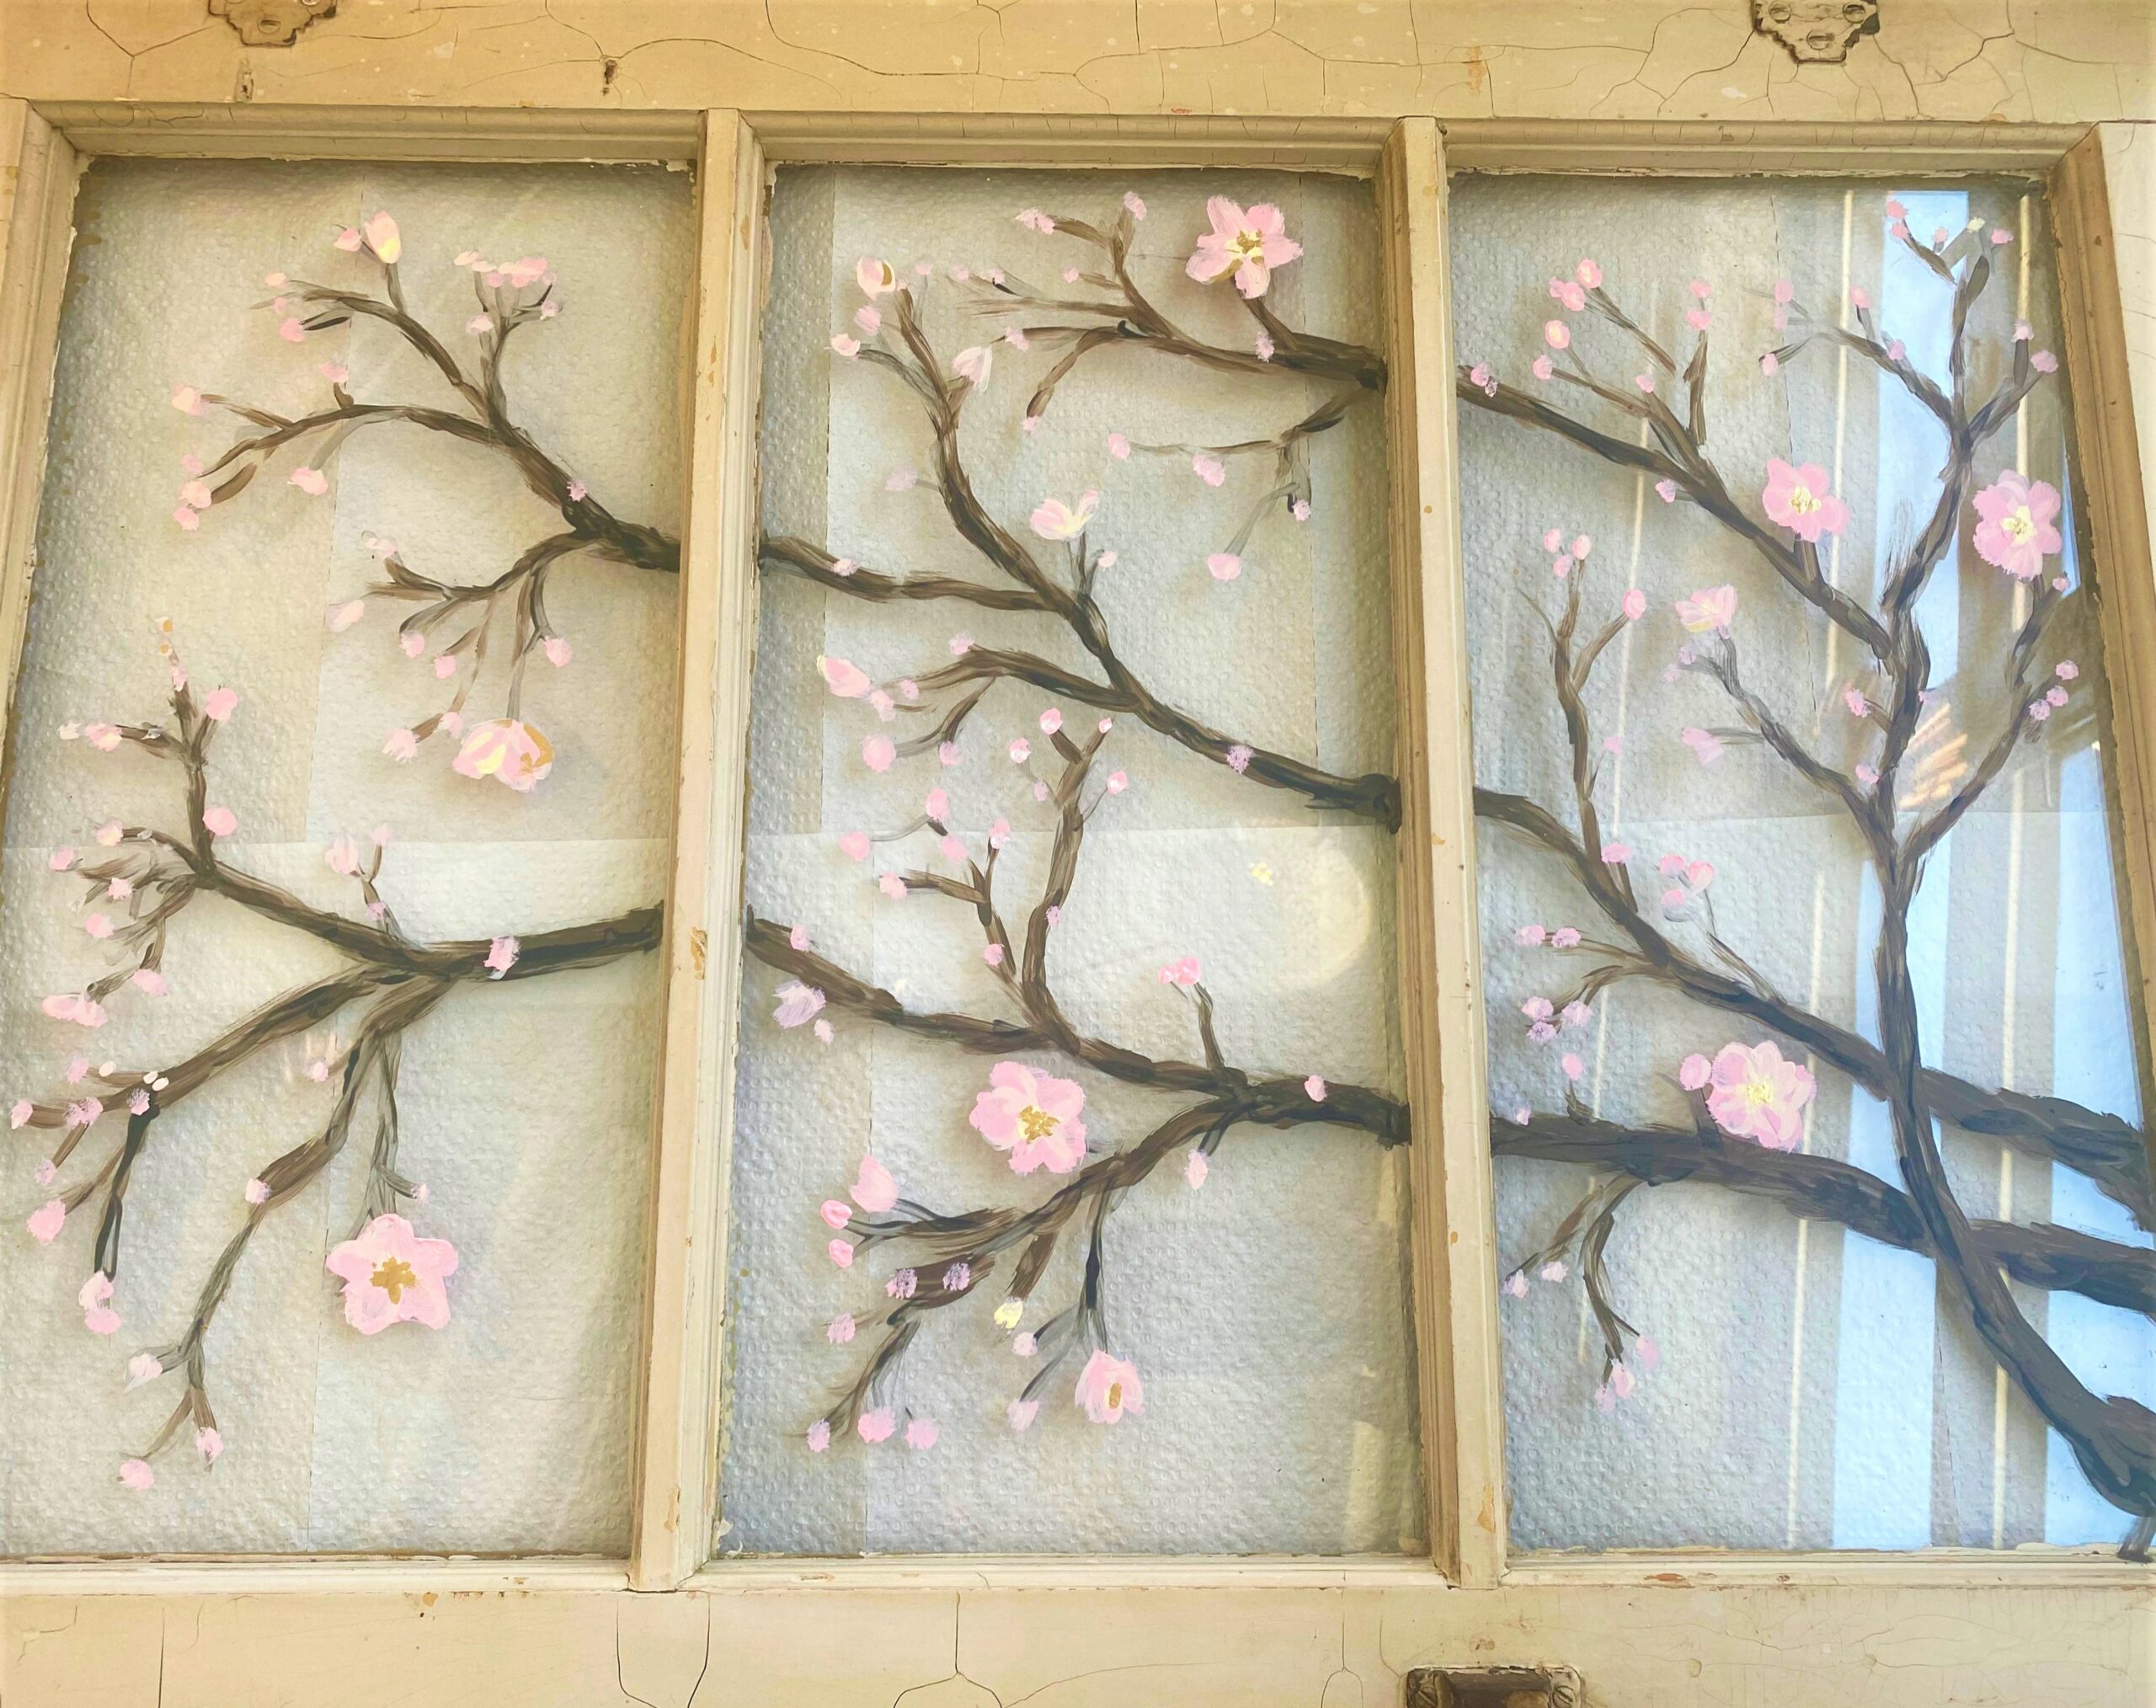
Step 3: For window sashes only
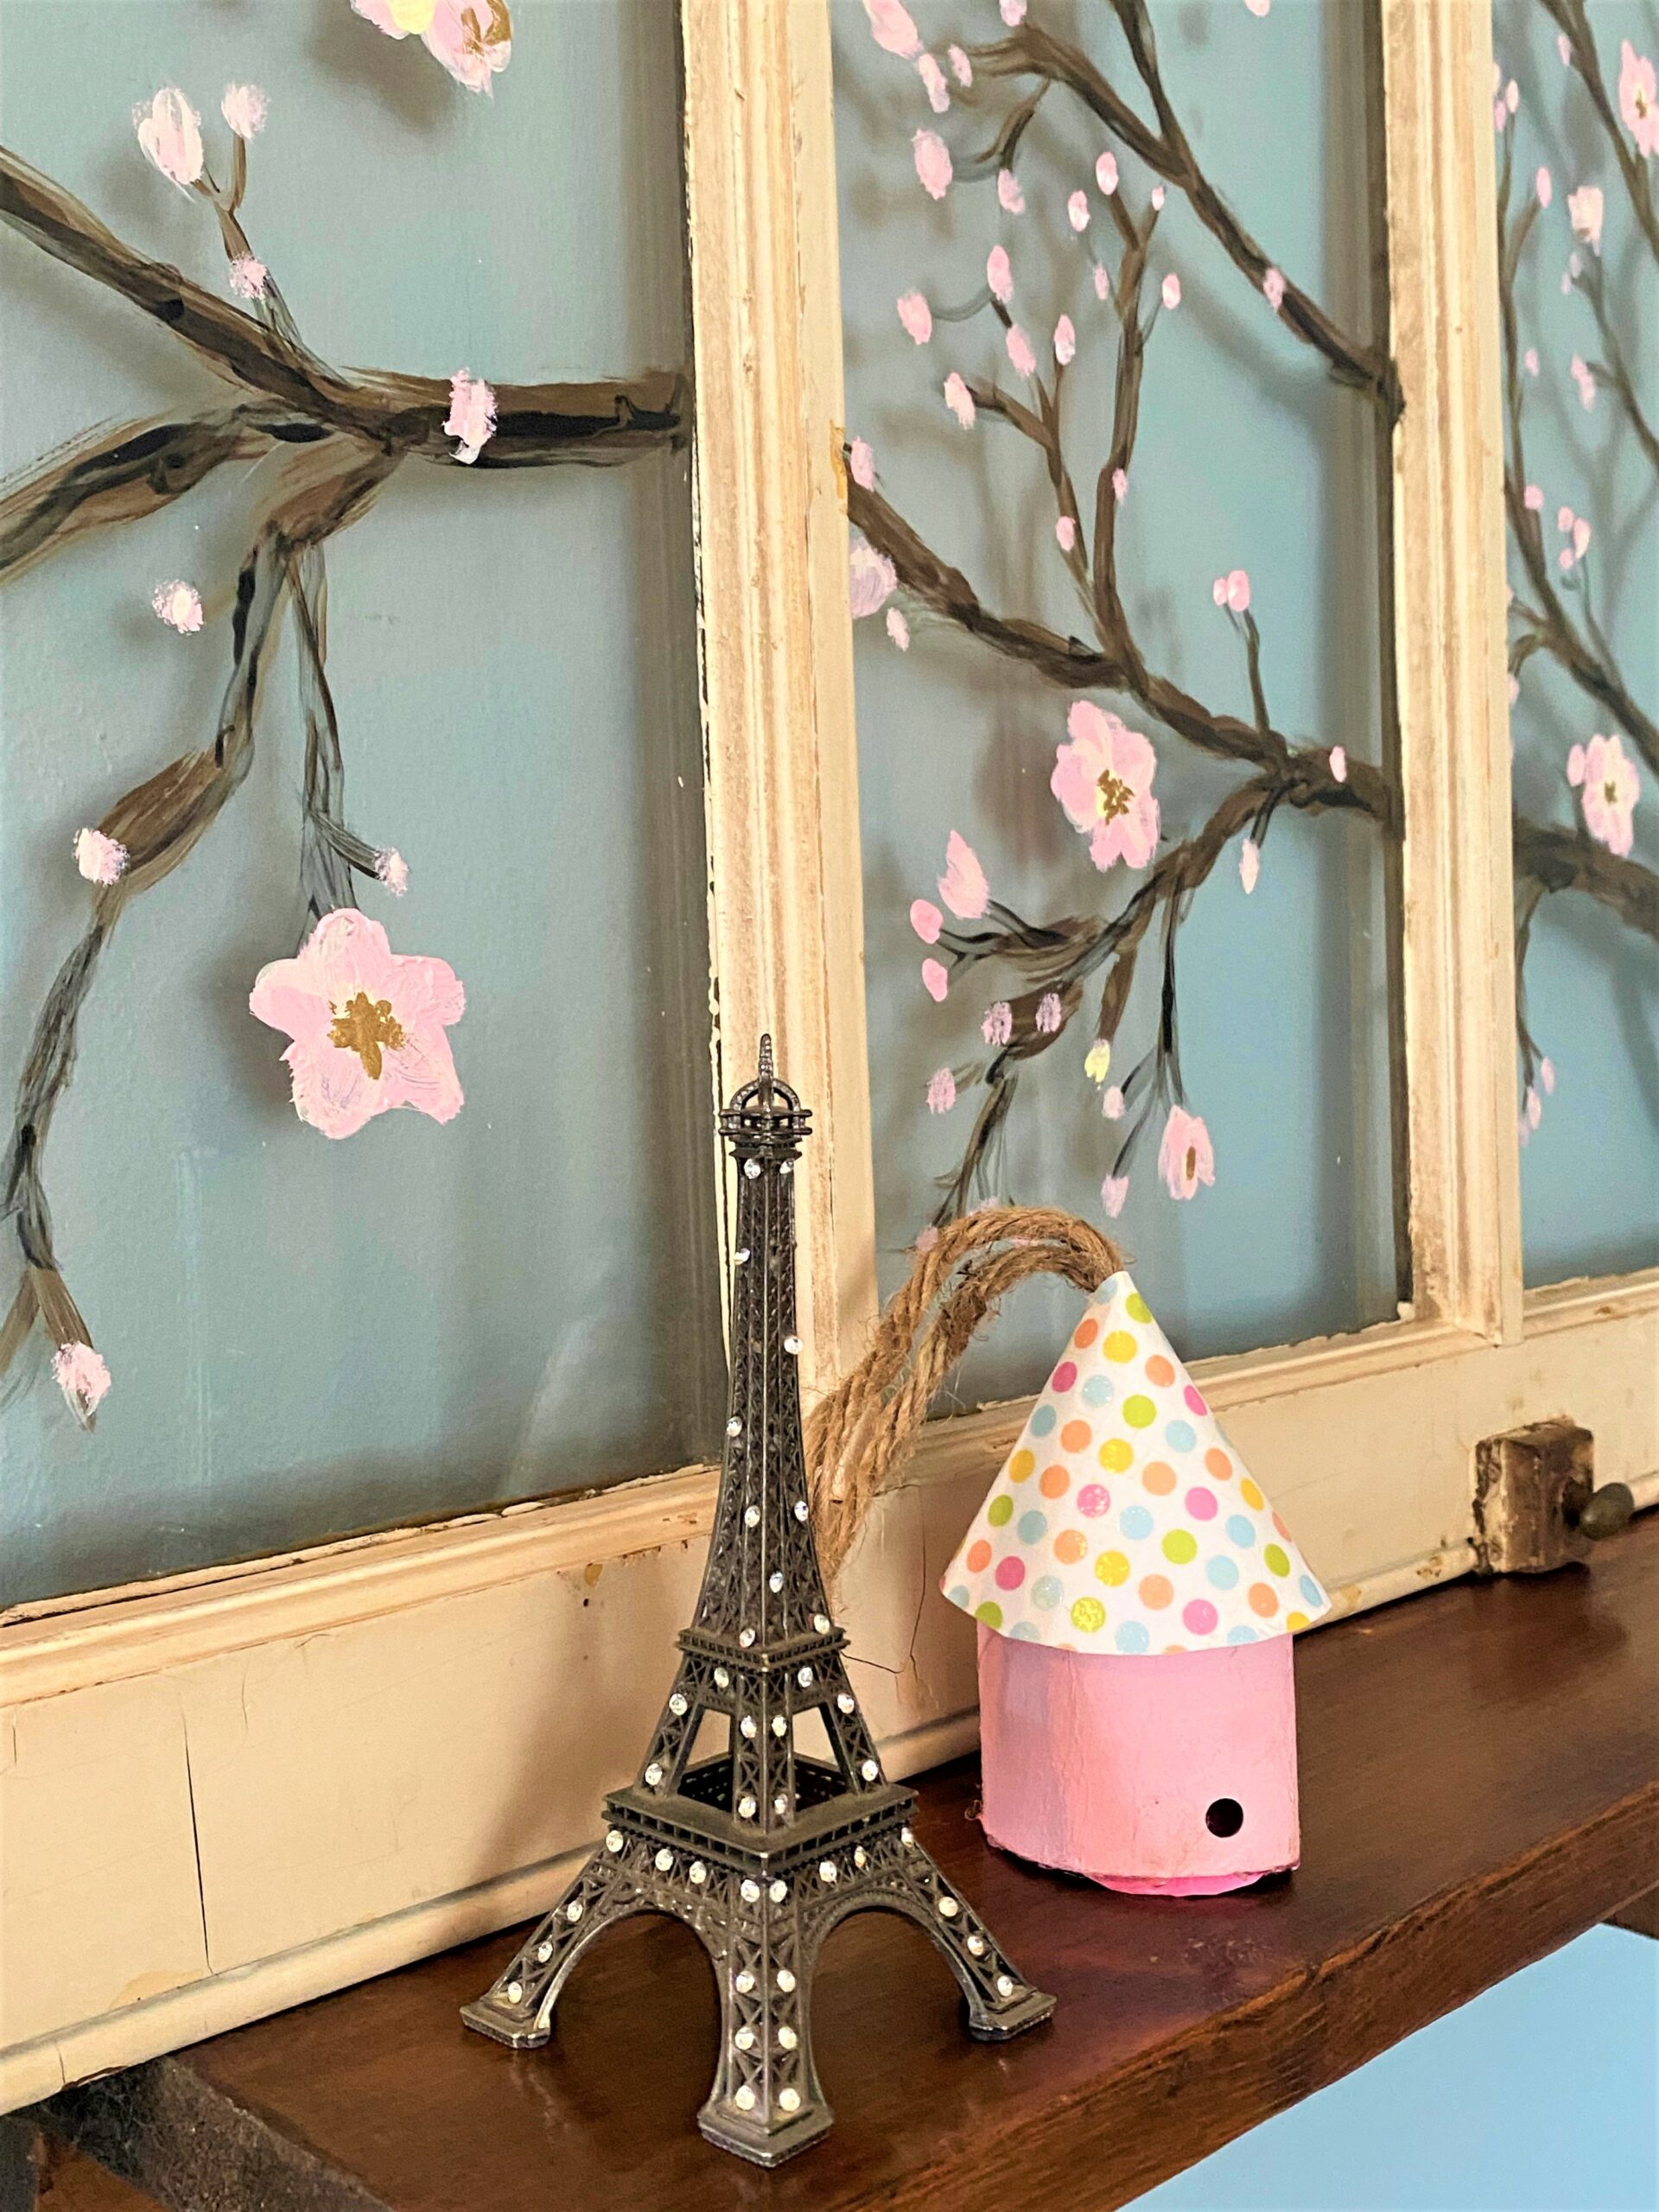
If you score and find a window sash to transform, then use your painter’s tape to protect the inside edges. This will allow you to get your paint strokes up to the edge and give the appearance that one branch continues unbroken from window to window.
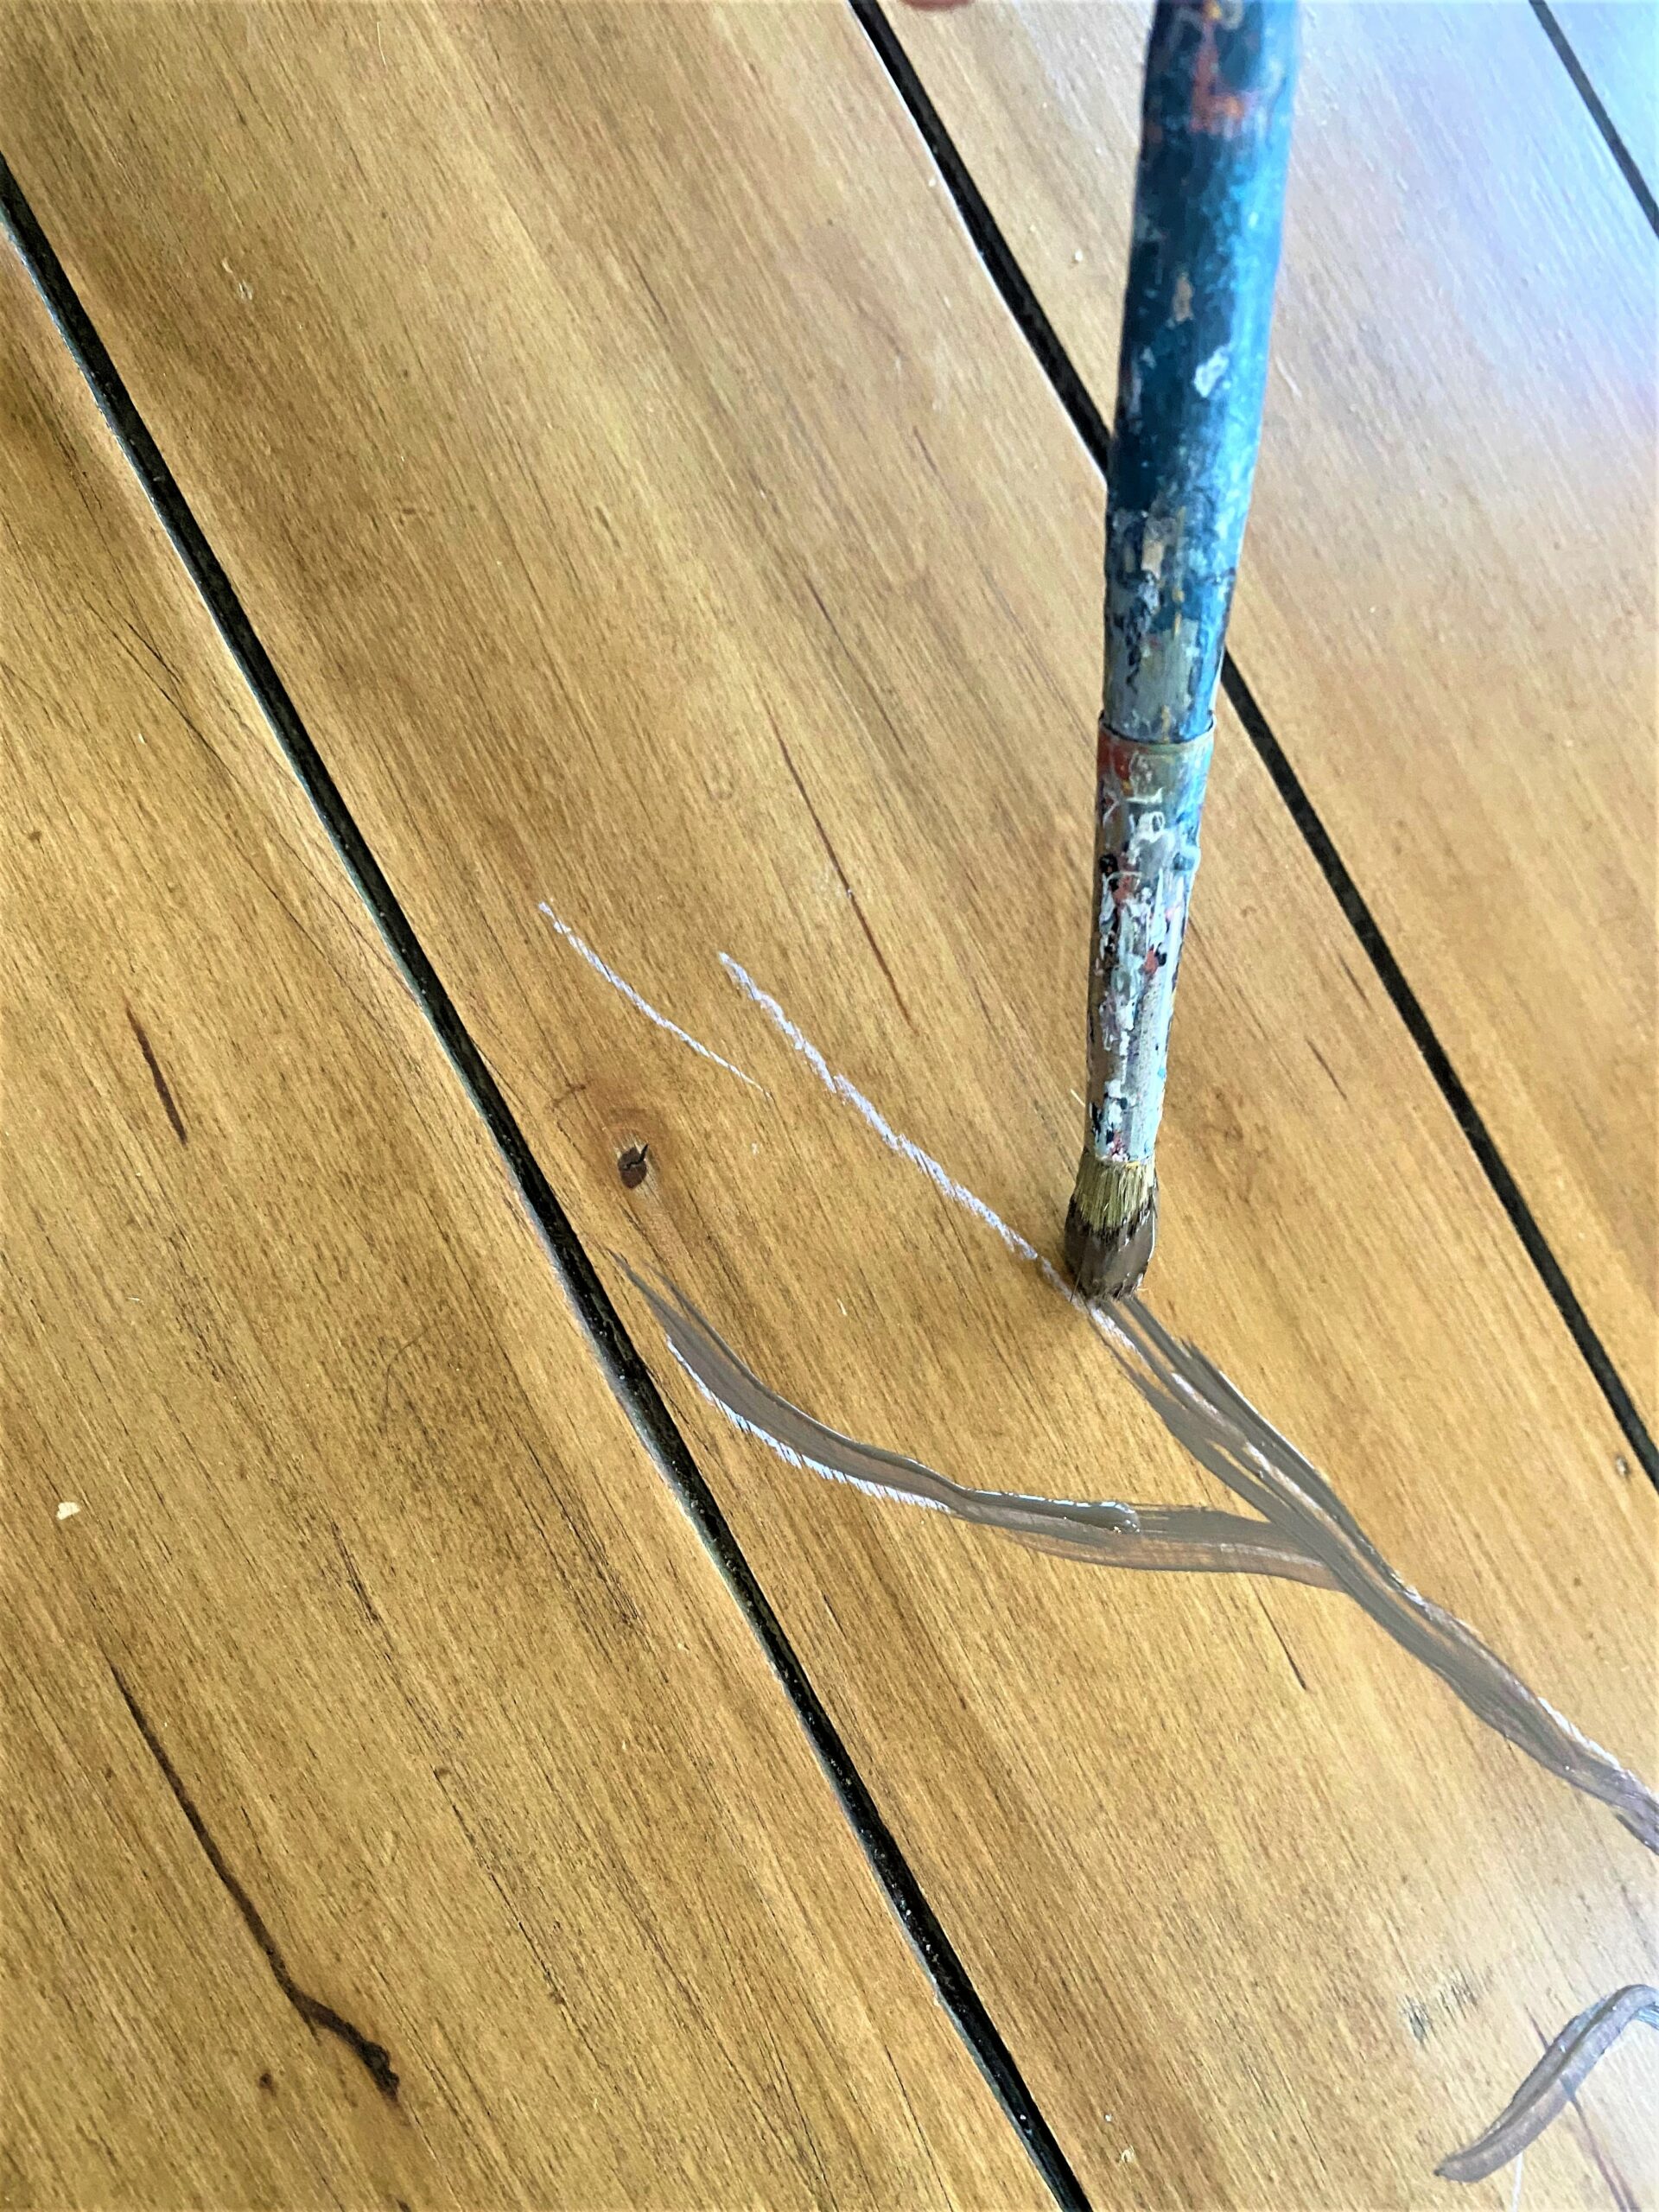
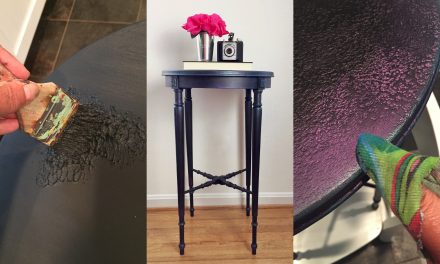
Step 4: Brush on the brown, then the black
- With a medium-sized artist’s paintbrush, apply your paint working from the right to the left. The thicker branches are to the left so add more paint and make them wider. As you move to the left, the branches will get smaller and thinner, so ensure your paint strokes are lighter to the touch, too. So that your lines look like branches, keep them flowing and organic AND ensure one line touches the next.
- While your brown paint is still wet and/or drying, use a smaller, detail paint brush and apply black. You are not adding a black layer on top of all of the brown, you are just adding it along the sides and edges to give it depth and visual interest. You can’t go wrong with where you add the black – just add some next to the brown so it feels and looks like part of the branches.
- Let this dry well.
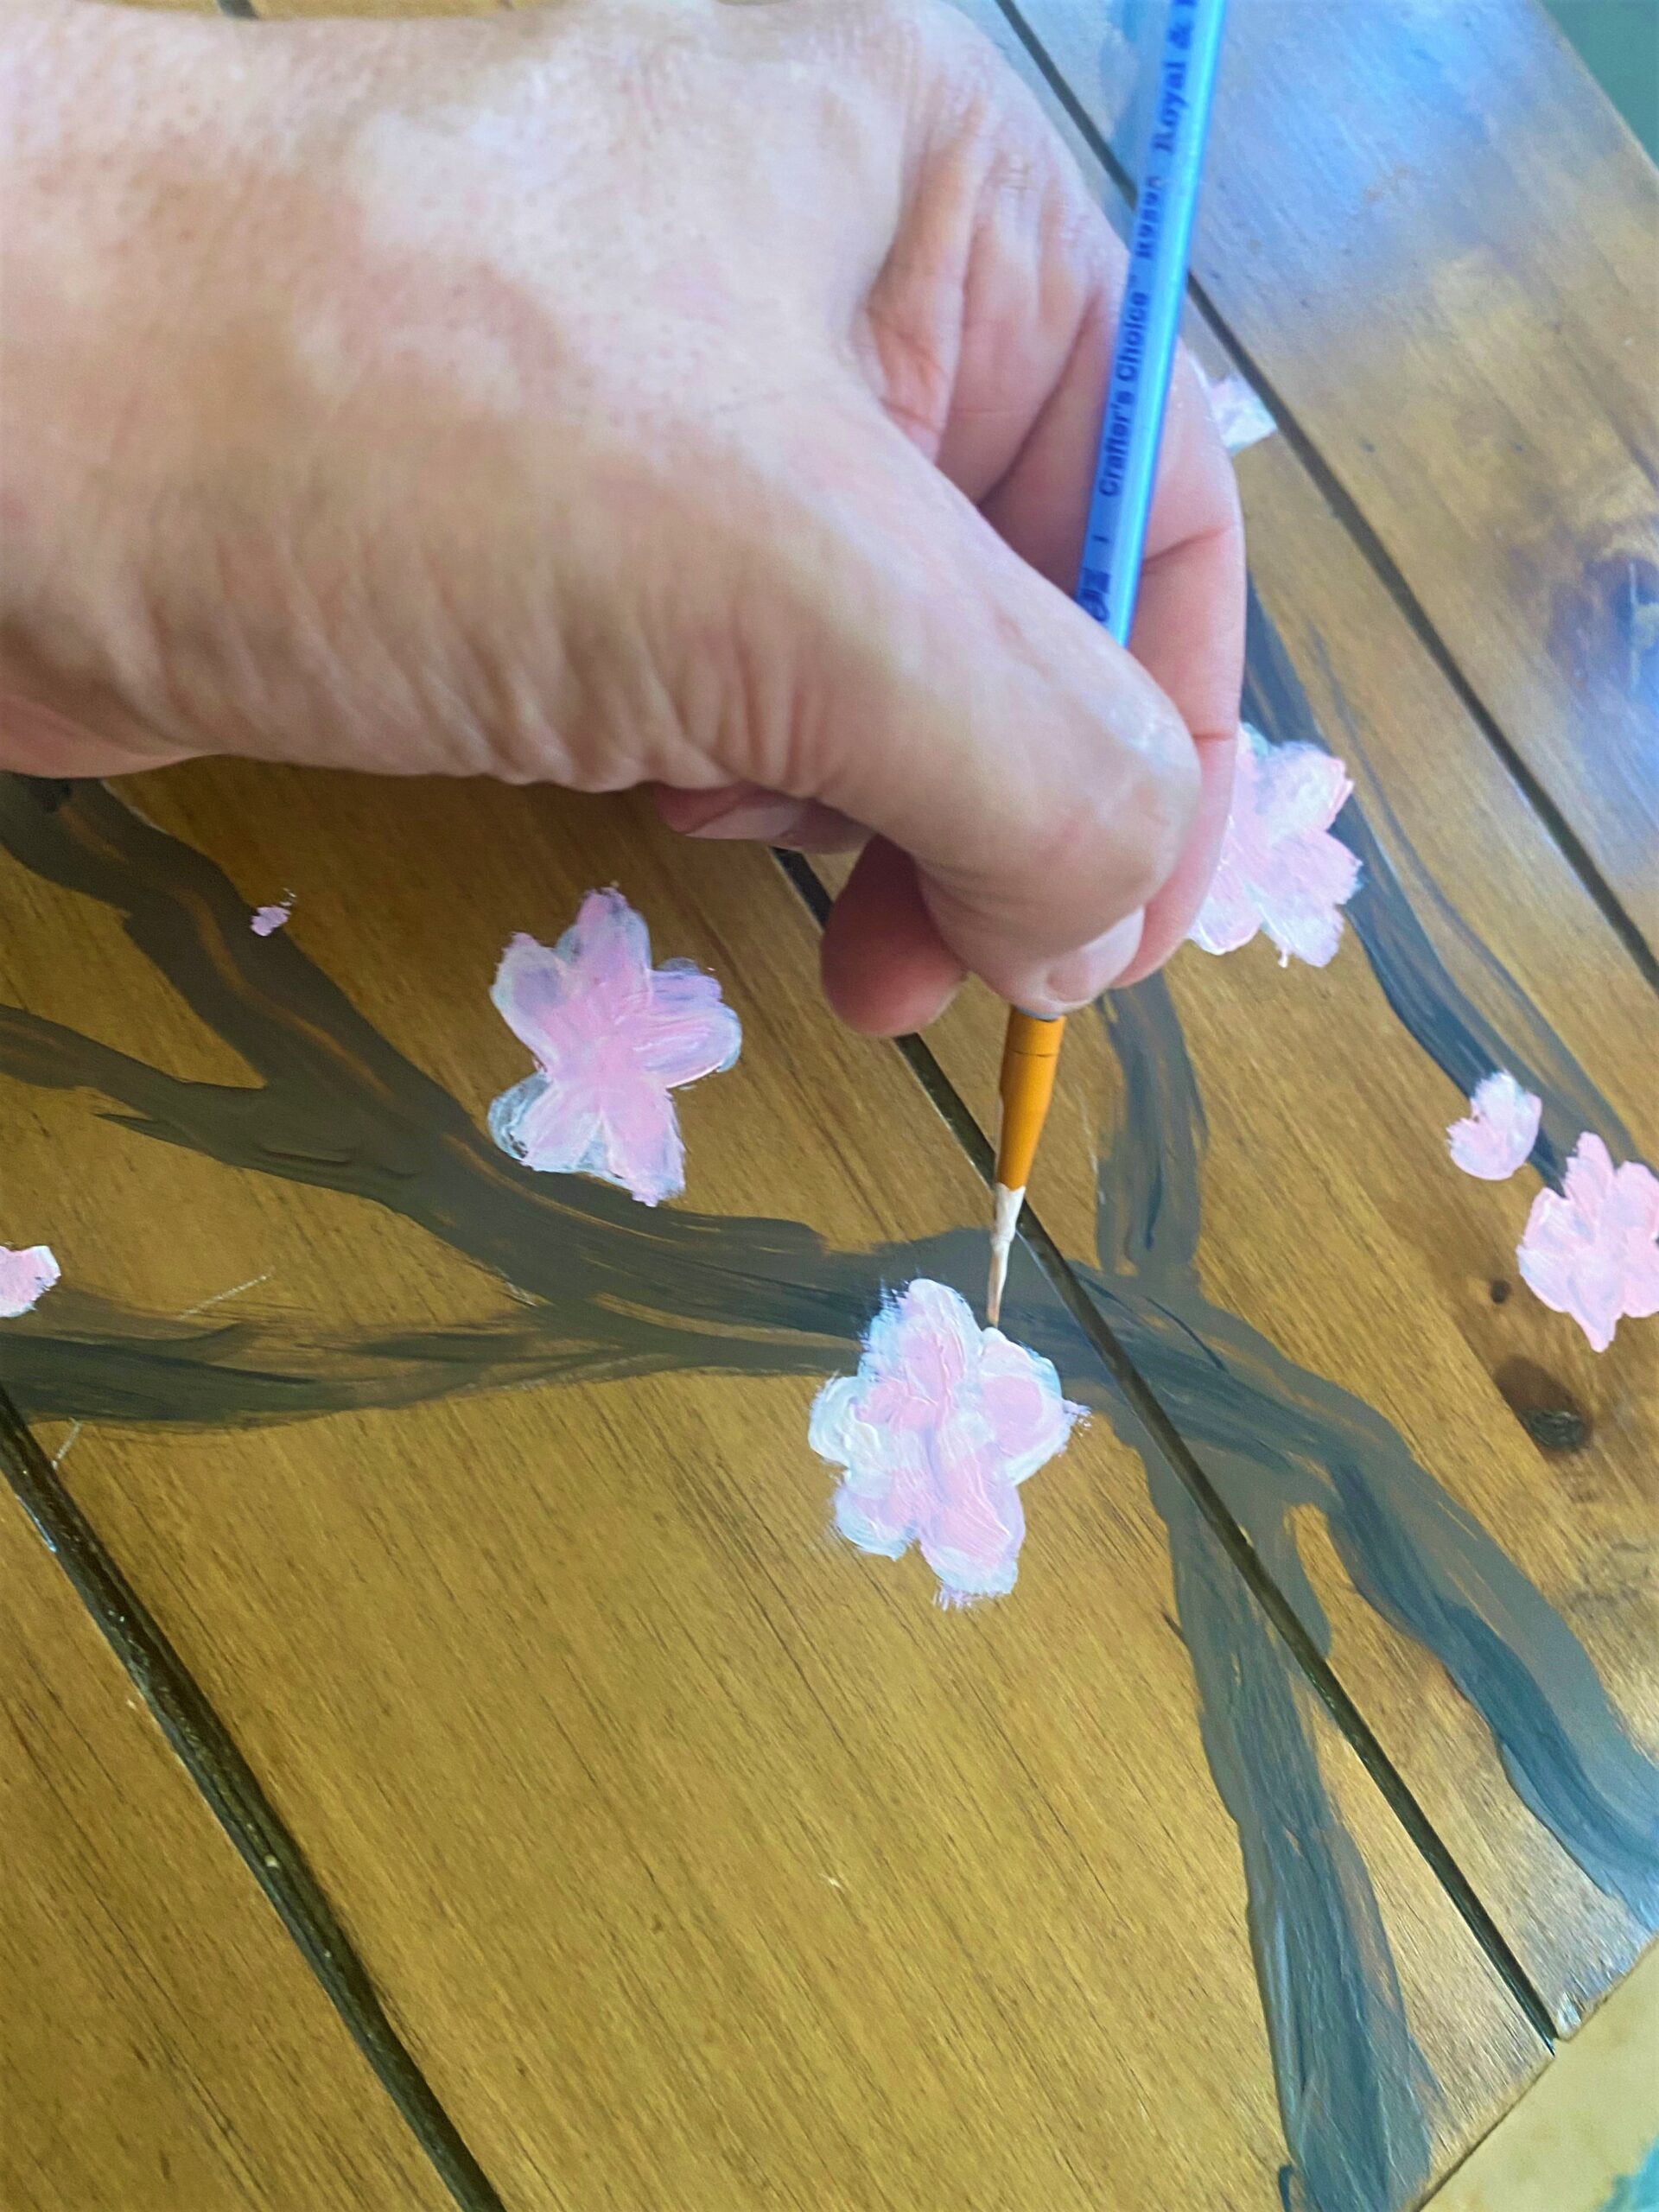
Step 5: Begin with the buds, then blooms
- Using your medium-sized detail paintbrush, dab on your cherry blossom buds. To mimic the look of a flowering tree branch, the added dabs must be on your brown and black painted branch.
- Do the dabs in various small sizes and in a variety of round and/or oval shapes.
- Ensure the end of every branch has a bud or two.
- Cherry blossoms have five round petals. Paint fully blooming flowers at random spots on your piece, ensuring they touch a branch or limb. Do your best to keep them a similar size throughout your tabletop or window pane.
- Consider painting a couple of blooms from a side view which would be three petals coming from a branch.
Expert Advice:
Have fun with this step and don’t overthink where each bud or bloom will go. As long as they are touching a branch, they will look perfect!
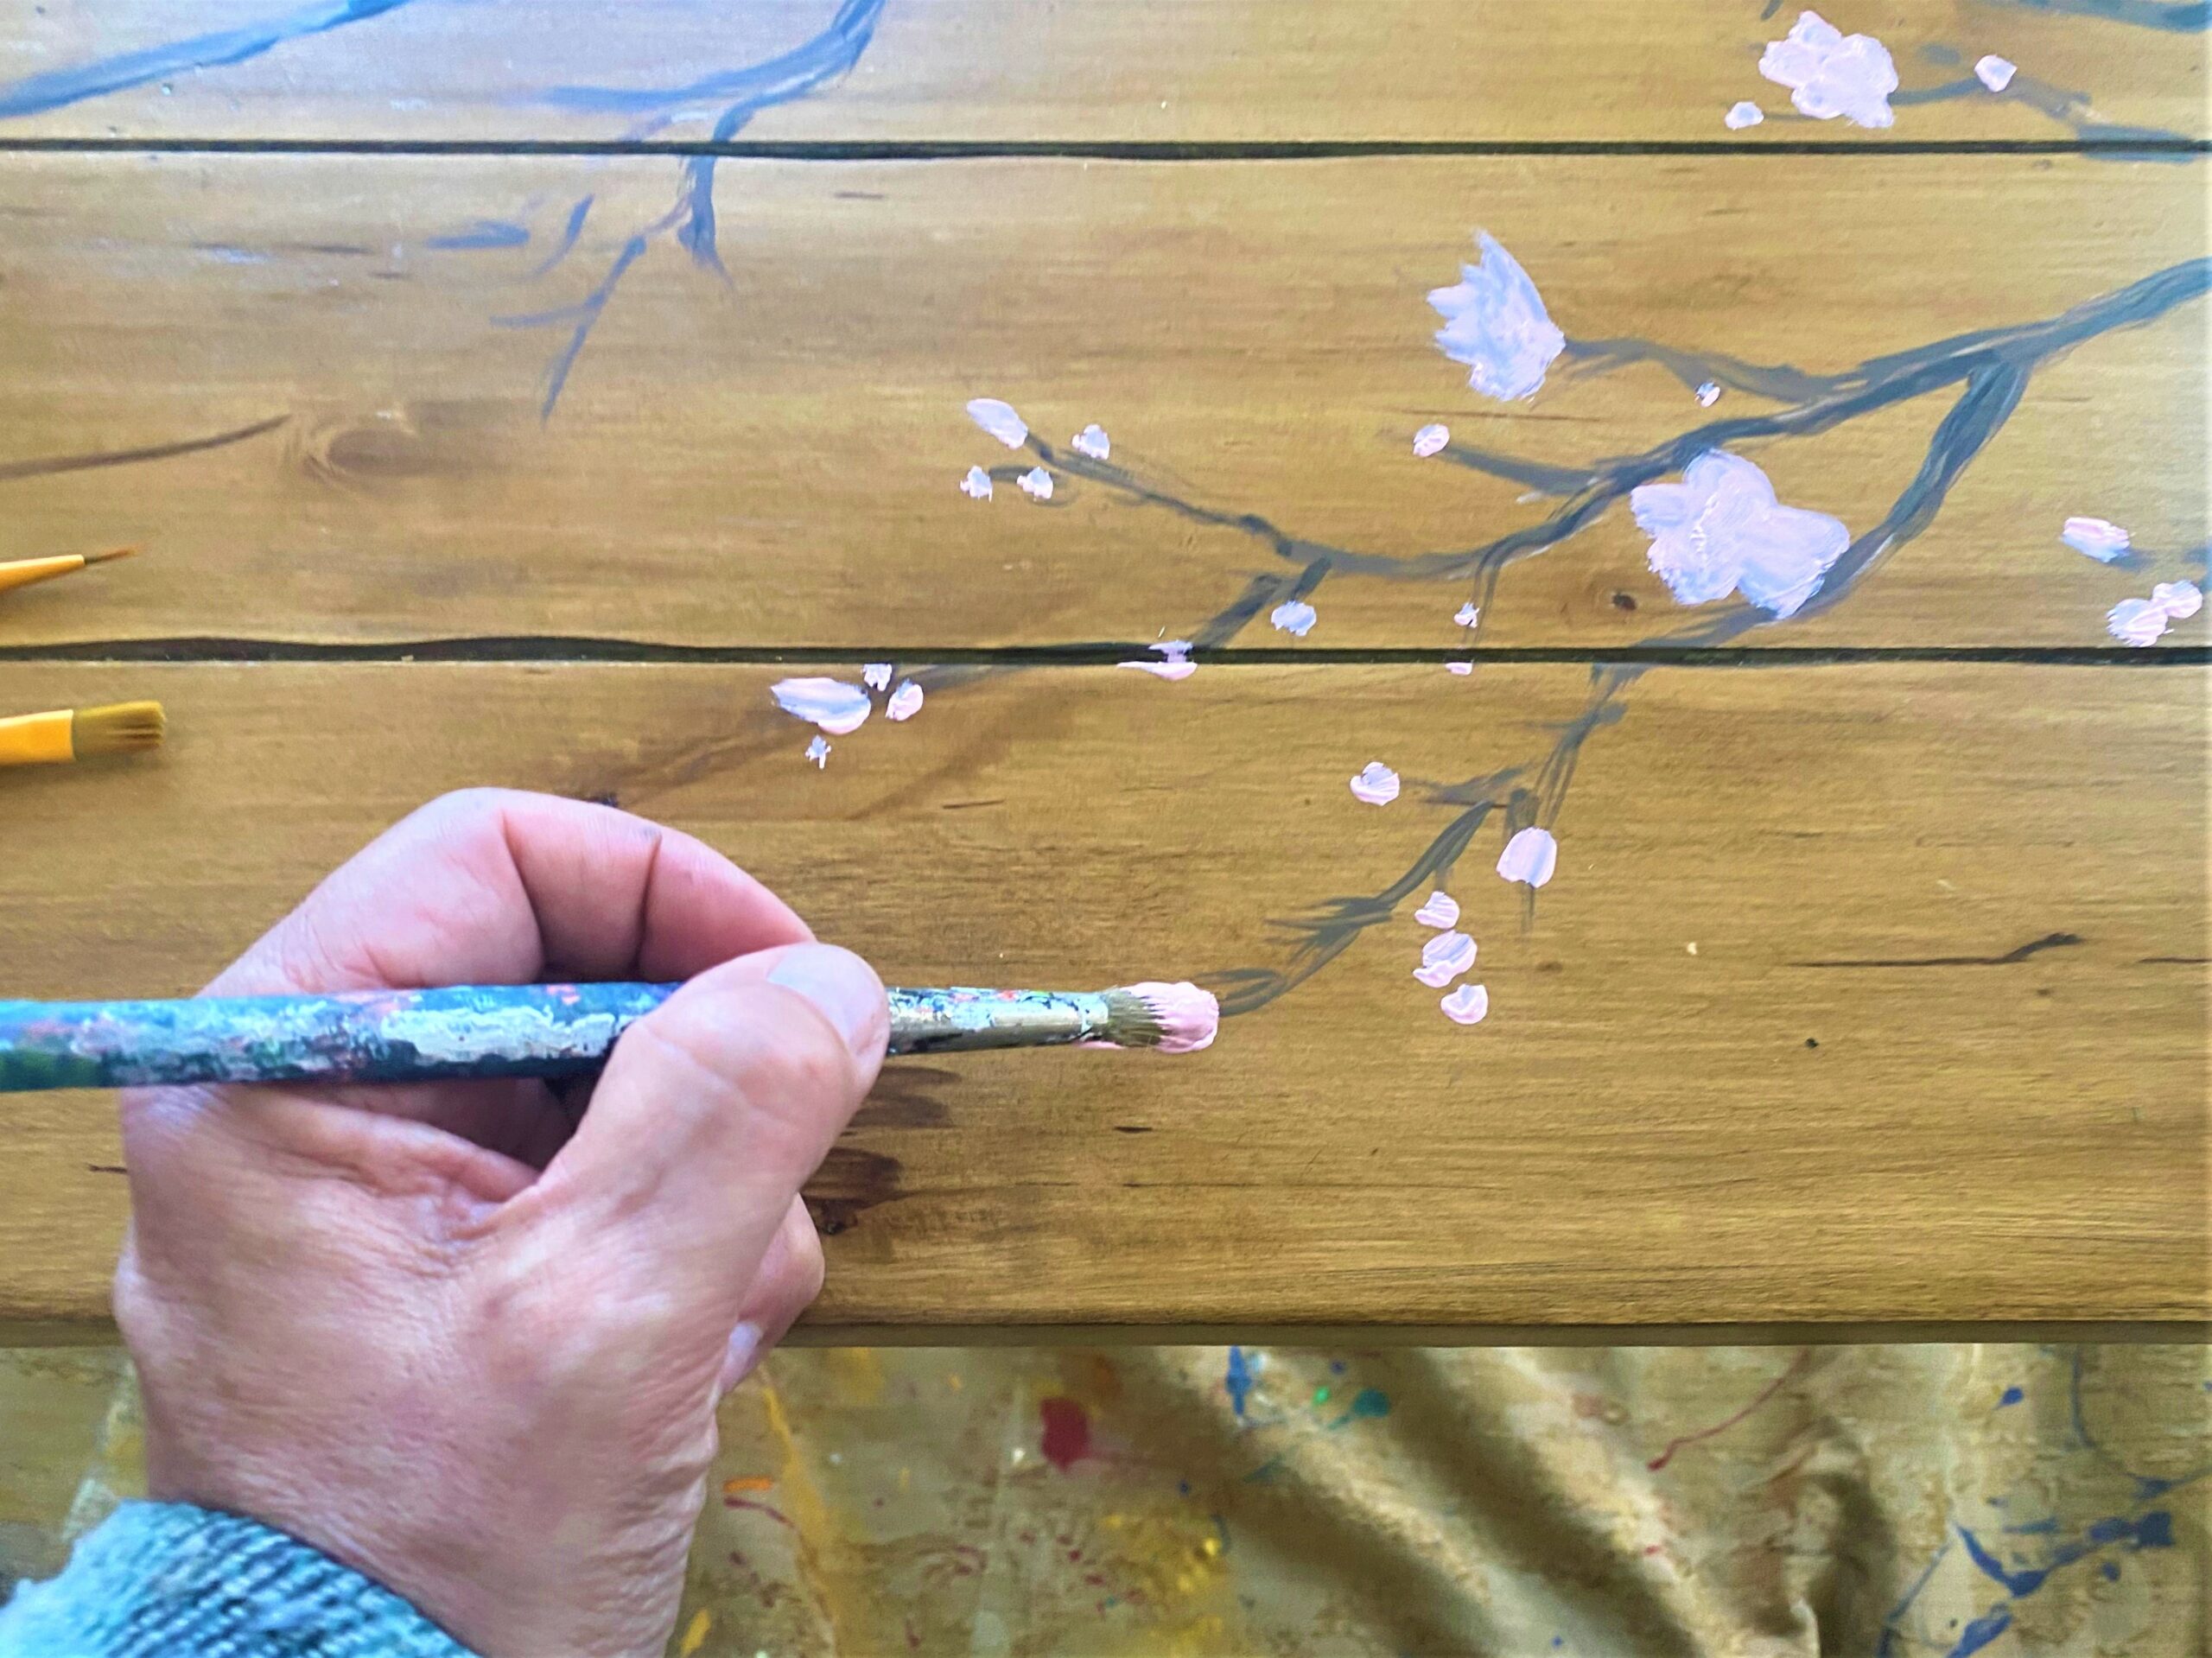
Step 6: Add more pink, light yellow, and gold tones
- Before your painted-on buds and blooms totally dry, take a very, very small detail paintbrush and add additional layers to them.
- Start with another pink tone, ideally in a little lighter hue, and add highlights to each bud and bloom.
- For the flowers that are wide open, add the lighter pink as well as a very pale yellow to each center.
- If you have it on-hand, add some gold paint highlights to the center of each wide open bloom for an additional touch of color and visual interest!
Step 7: Use poly to protect your precious painting
While not needed for the window sash transformation, you will want to protect your tabletop with its happy, festive, and flowering image. Brush on a layer or two of polyurethane (satin or semi-gloss finish) to keep your artwork safe from spills, fingerprints, dust, and dirt.
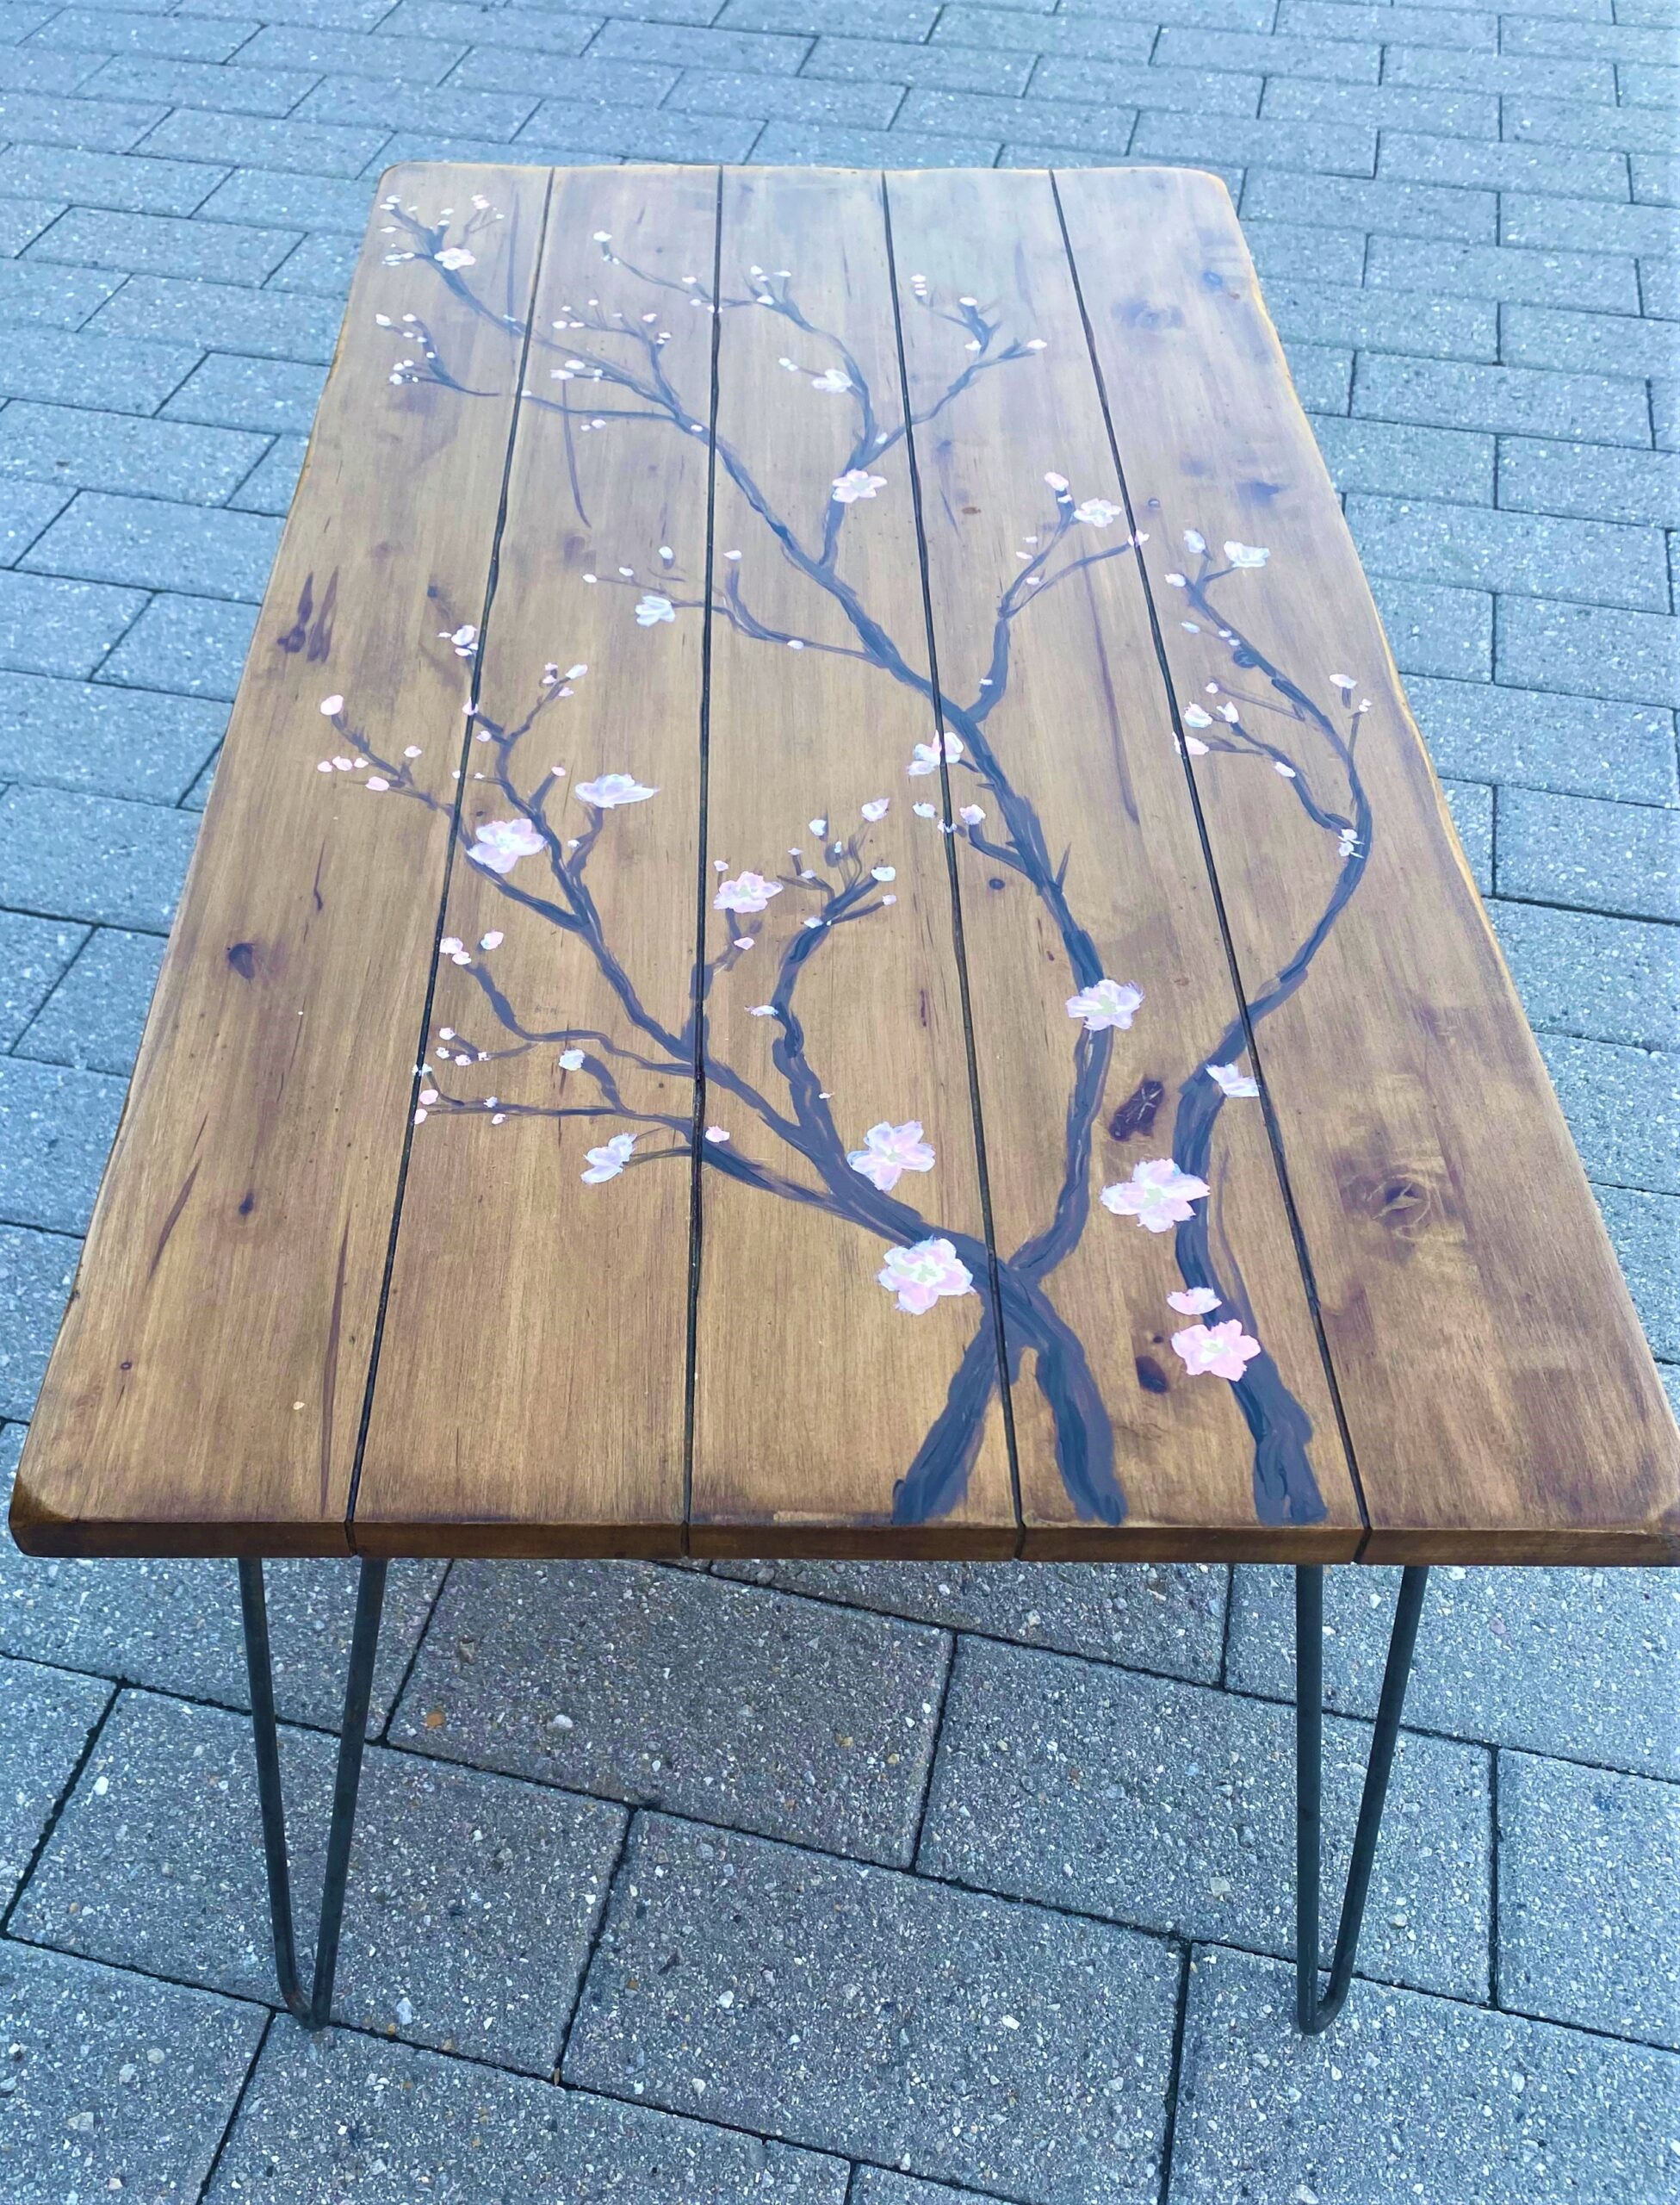
Step 8: Place and celebrate friendship, Mother Nature—and YOUR—artwork
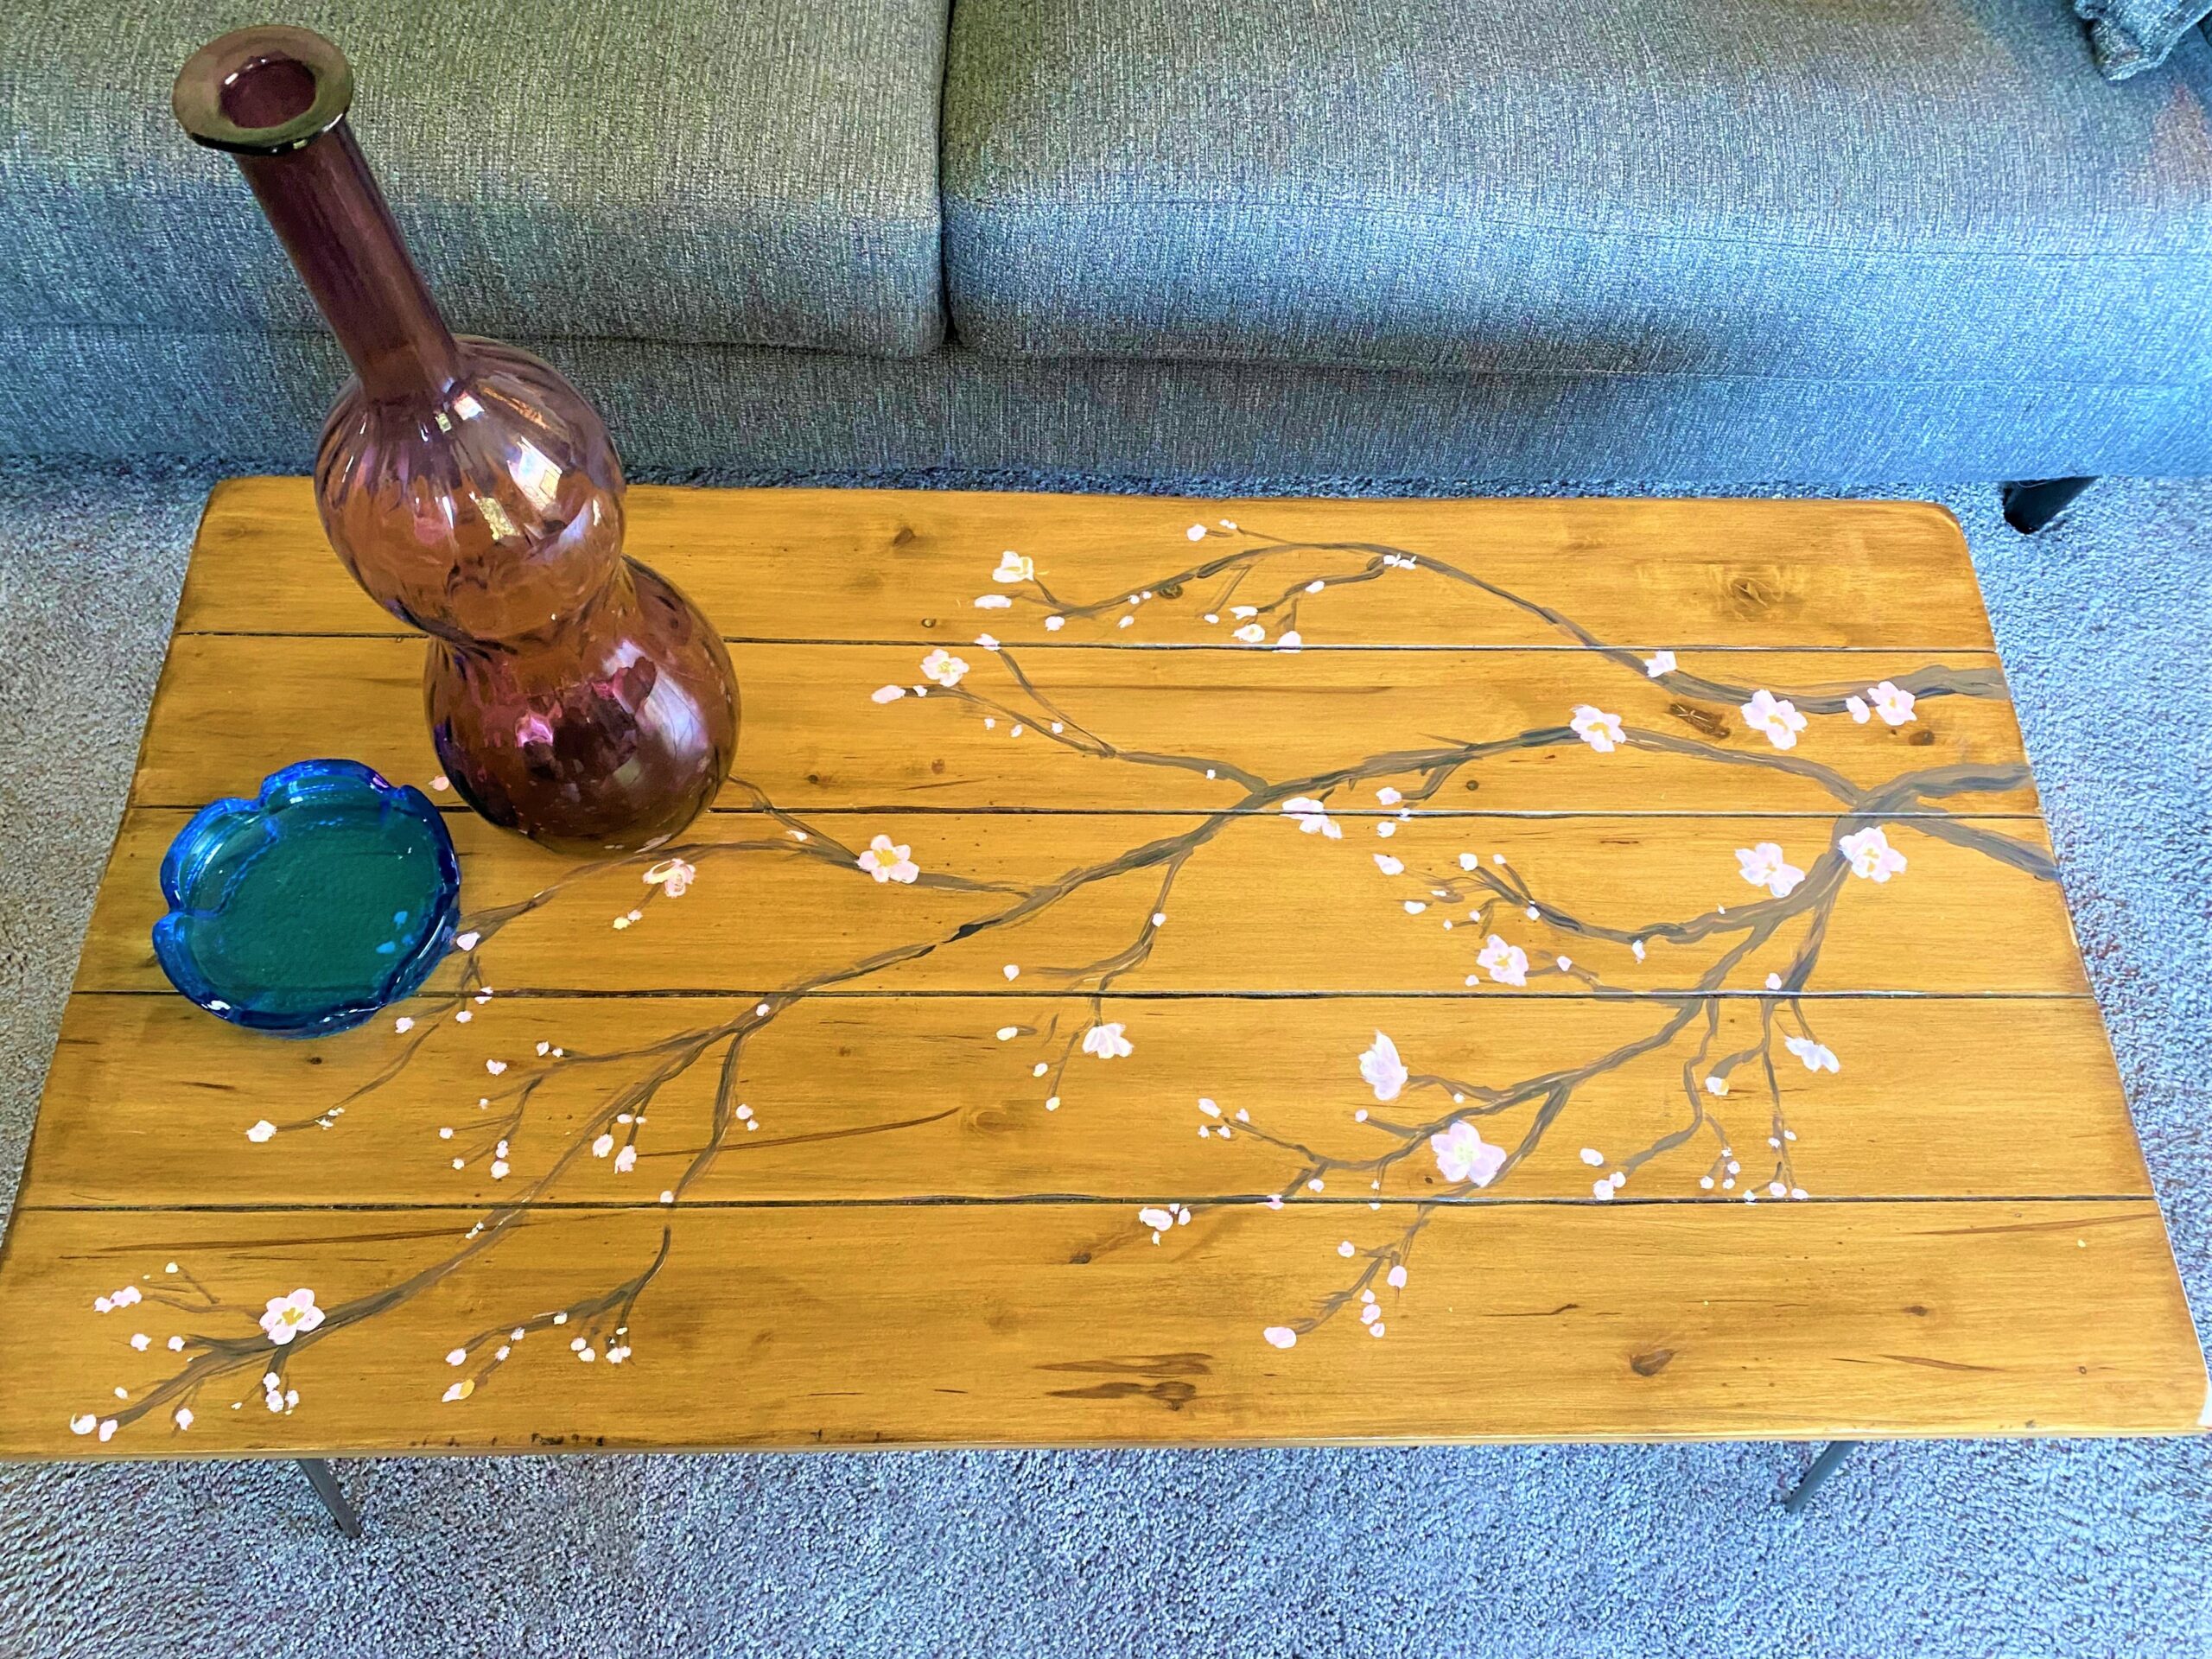
Position your cherry blossom-covered coffee table in front of your sofa and add a couple of accessories (not too many so you don’t hide your creation).
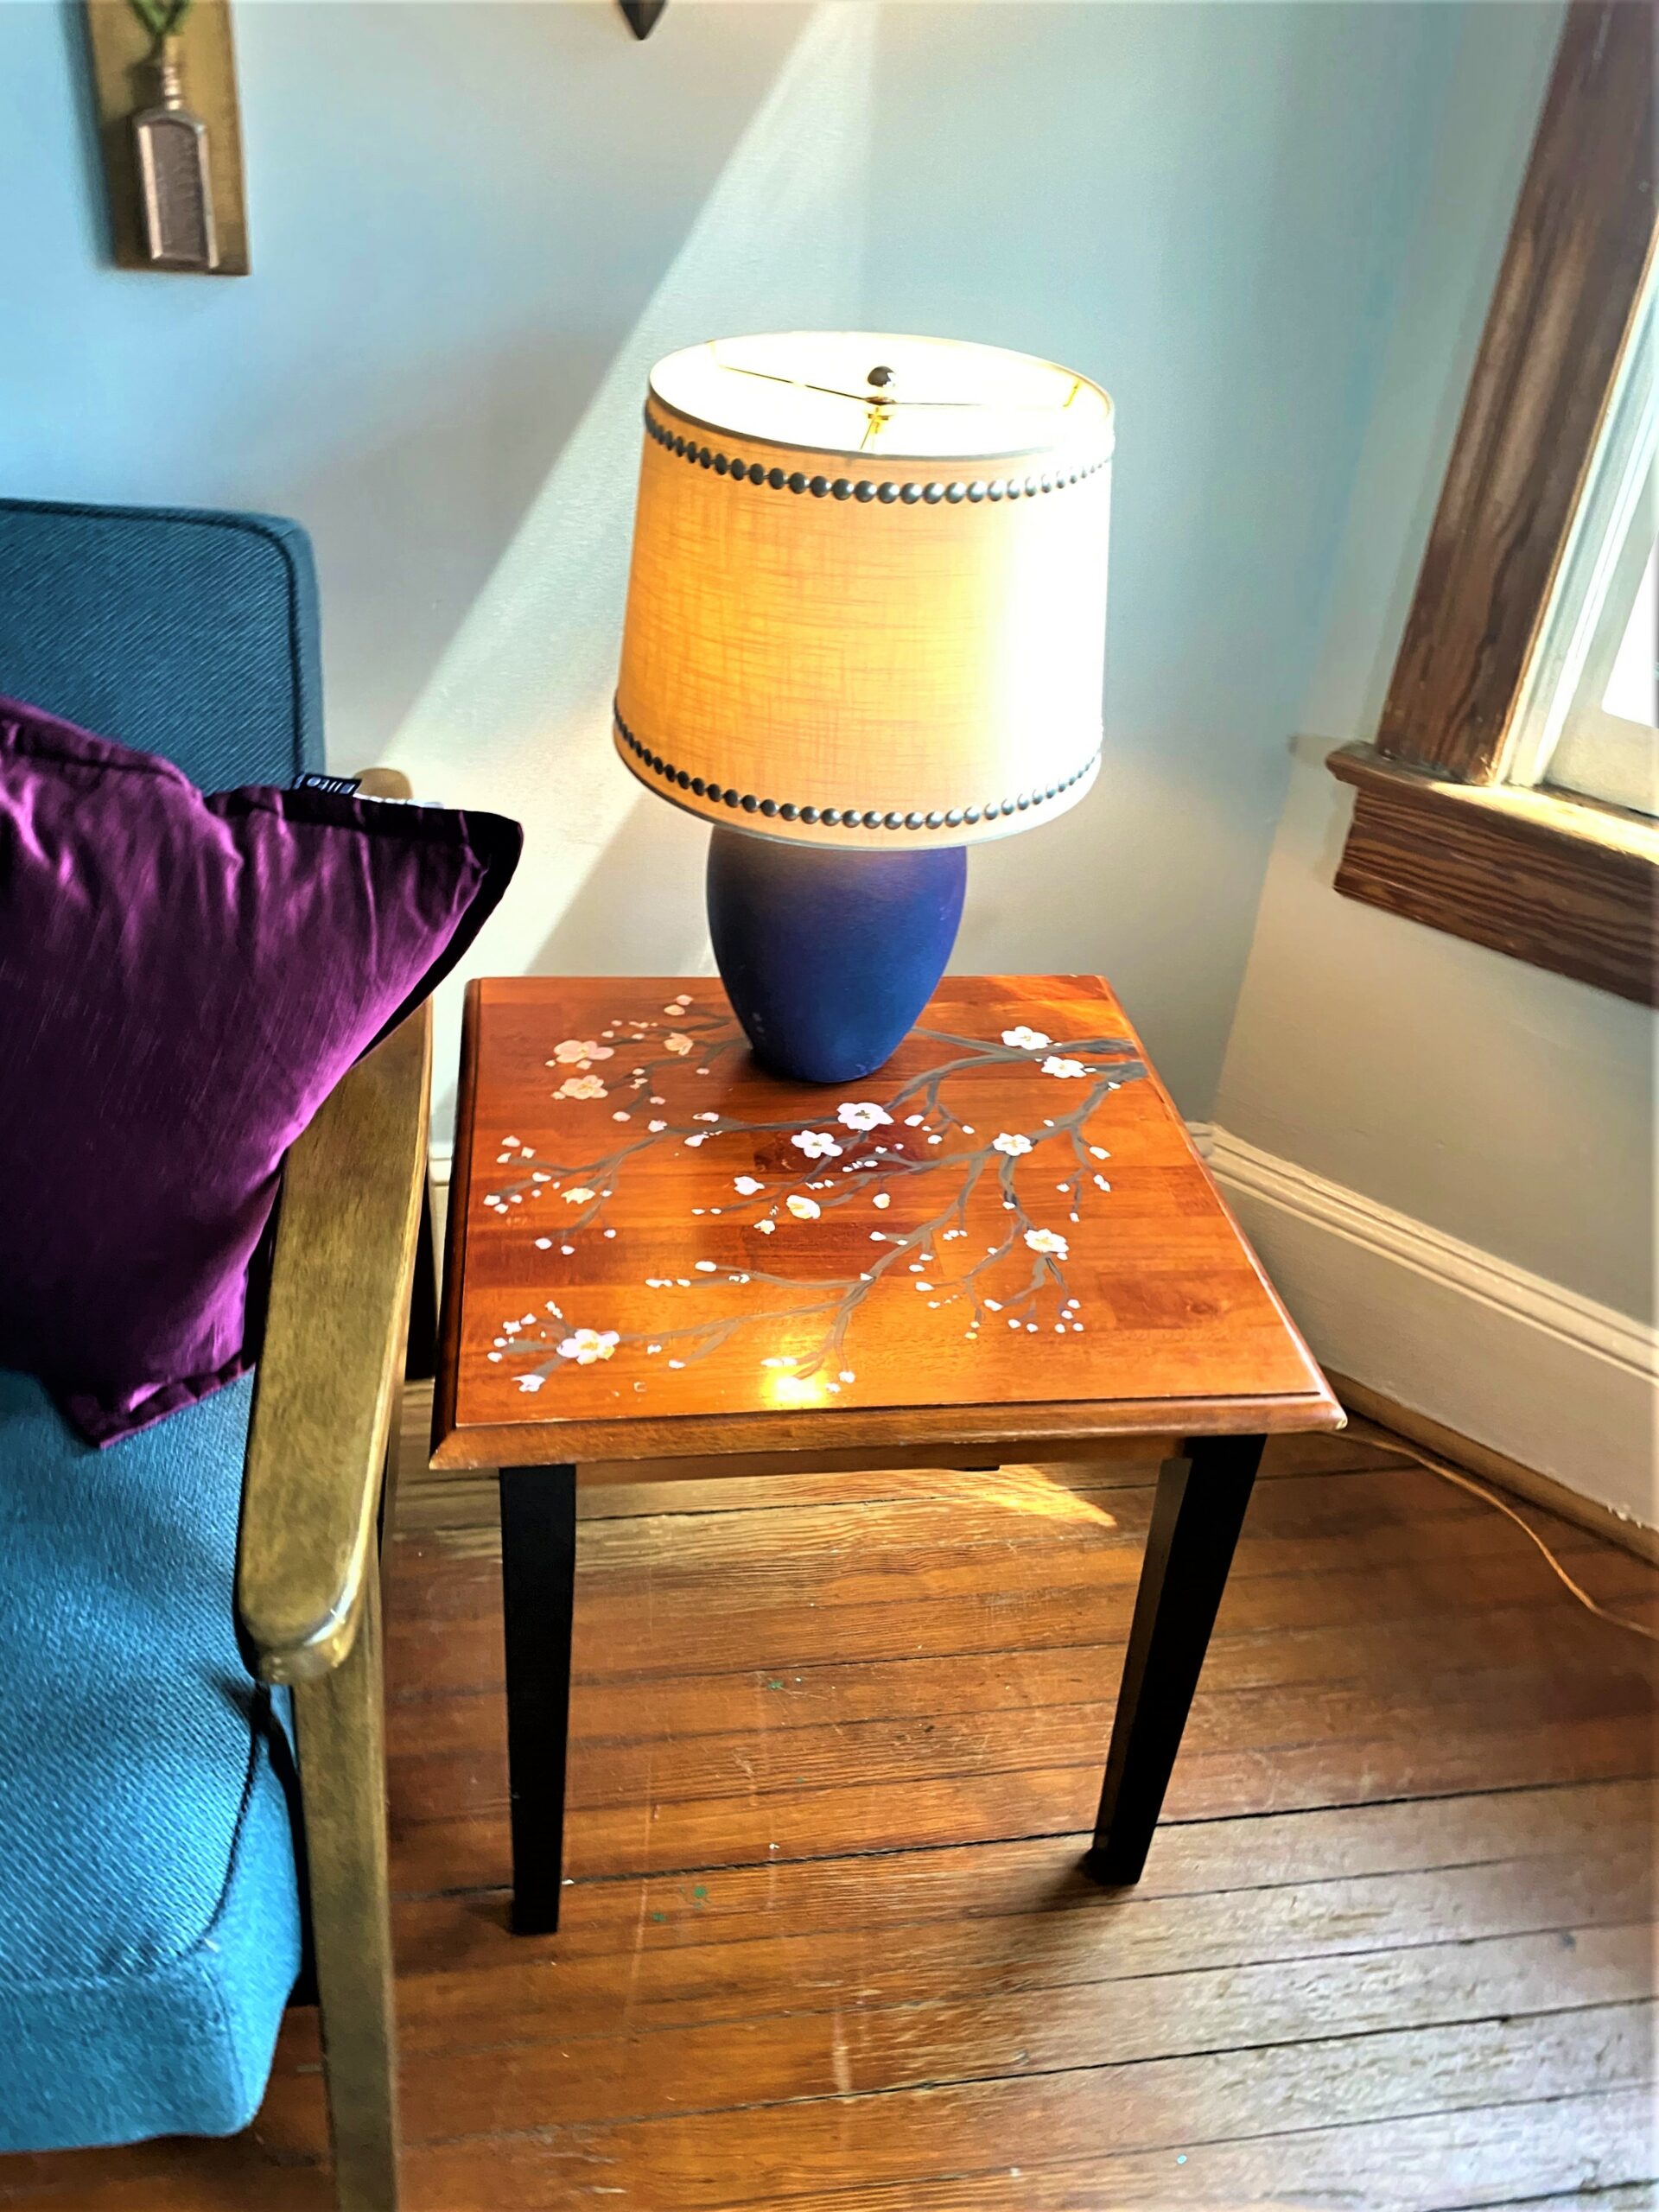
Set the side table next to a chair and add a small lamp.
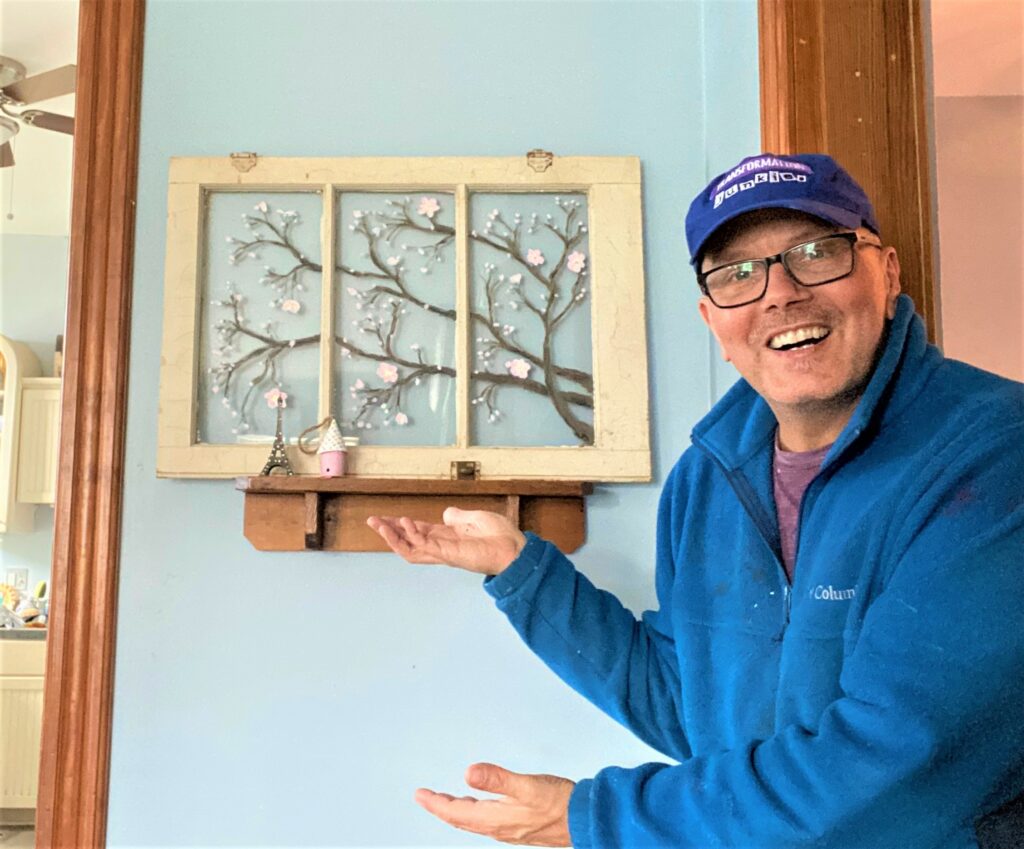
Display the blooming window sash by hanging it on the wall, placing it on a shelf or even propping it on a window sill.

You’ll love how cheerful it looks and will ensure your place has a sense of style—and Spring—all year long!

Tim Kime
Artist, Motivational Speaker, Life Coach
