Reuse & Rethink: See the Light by Using Tissue Paper to Transform a Shade
Sometimes, DIY ideas for projects just pop into your head; other times, they show up at your doorstep. This week’s blog is a little bit of both!
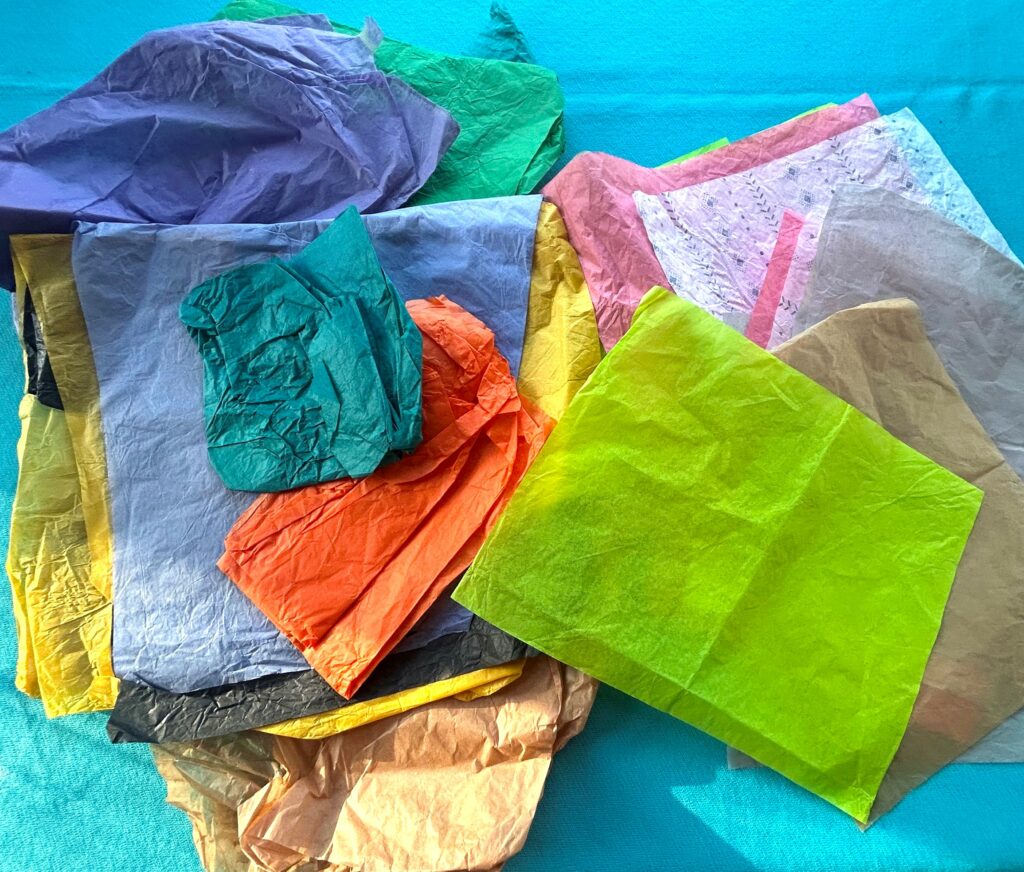
During the Art Supply Swap Event held in January in partnership with Finding Your Good and Tim Kime Art/Transformation Junkies, I was blessed with a colorful collection of tissue papers that someone brought to give away. At another time, someone dropped off a handsome lamp with a rope-covered base, knowing I could do something fun with it. And Ta-Da! This week’s blog was a merging of those two things with an idea that just came to me one day.
This is a super simple project that can be tailored to your unique decorative style and can be created to match your color scheme. Transform a plain Jane shade into a stylish, colorful one with tissue paper, scissors, Mod Podge, and a marker. Easy, inexpensive, with a big bang of charm and color, this is a great project to do with little ones who can help with cutting the paper.
`1. Shop for shades & look for your good at Goodwill
If you asked me what are one or two things I would never buy anywhere but Goodwill, I might have to share that they would be lamps and shades. Goodwill usually has an eclectic collection of lamp bases in all sorts of shapes, sizes, and styles—the same can be said about lamp shades found there. Often interesting, sometimes unusual, and always at great prices.
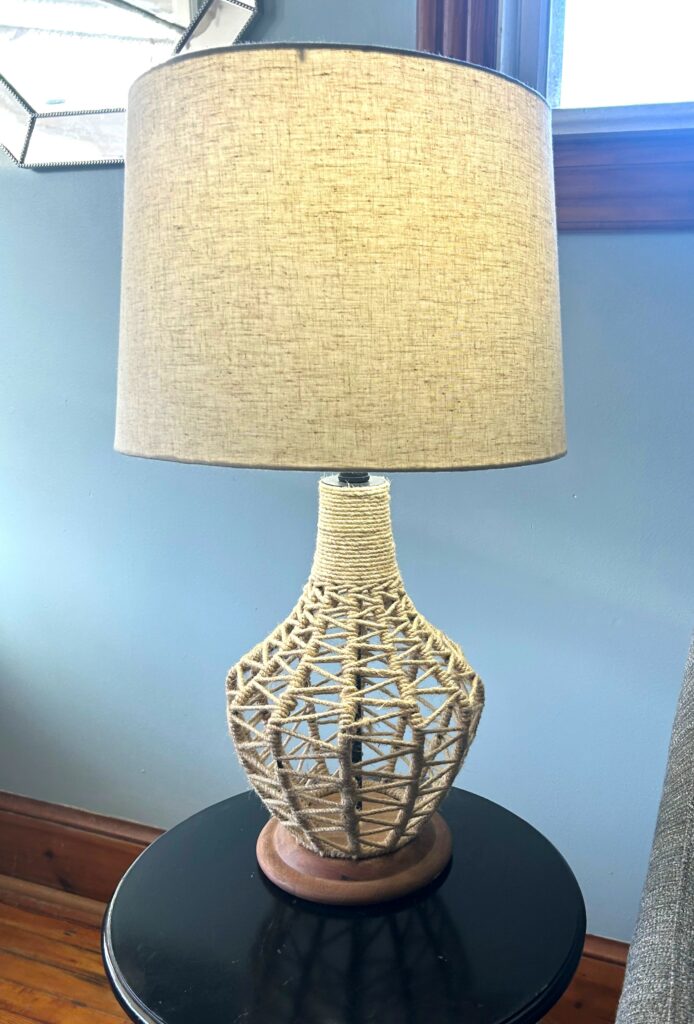
For this project, shop with the eye of an artist looking for a blank canvas on which to be creative. This time, the canvas just happens to be in the form of a lampshade! Given that you will be adding to the shade’s surface, hunt for ones made of plastic or fabric on plastic: not a cloth one this time. You are seeking the shade to be sturdy and flat. The shades here are curved, yes, but are free from ridges, bumps, and embellishments. Also, look for white, beige, gray, and other very light, neutral colors, and avoid shades with patterns or dark tones.
One Idea, Two Approaches:
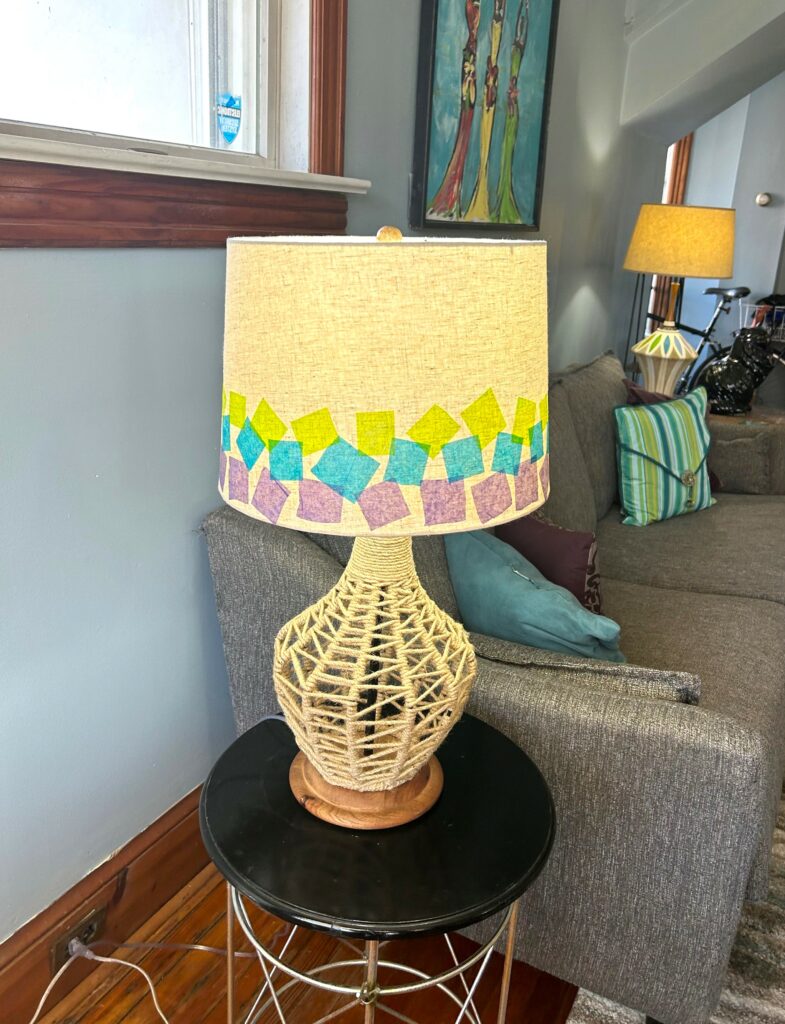
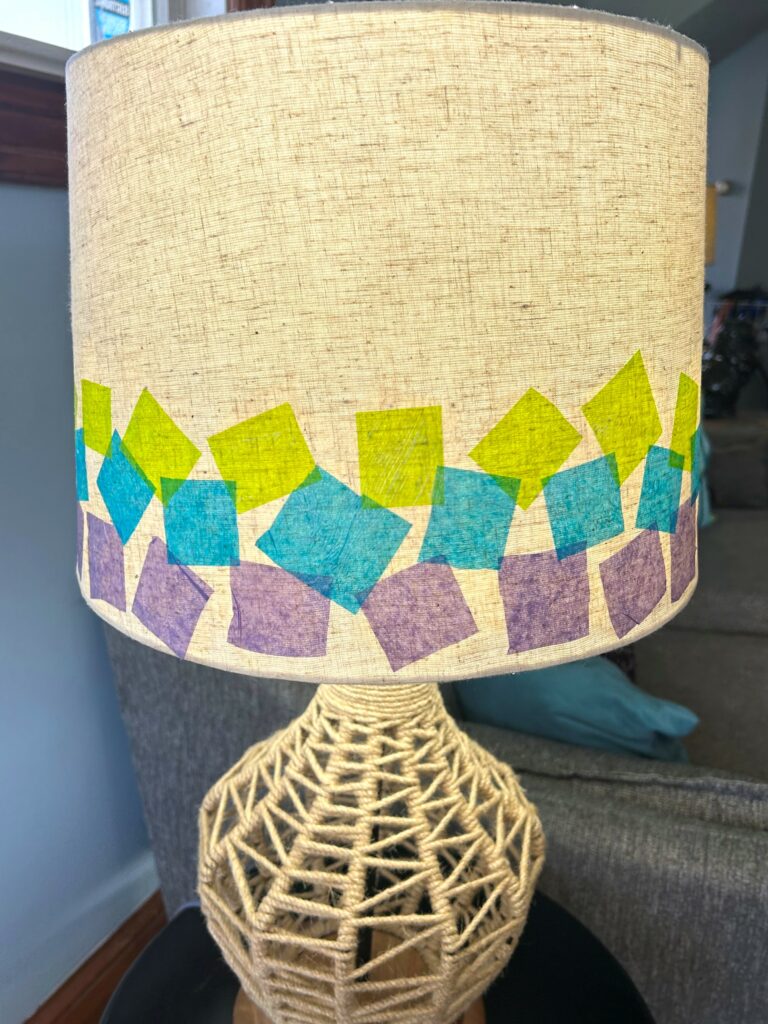
Approach 1: Colorful Cubes
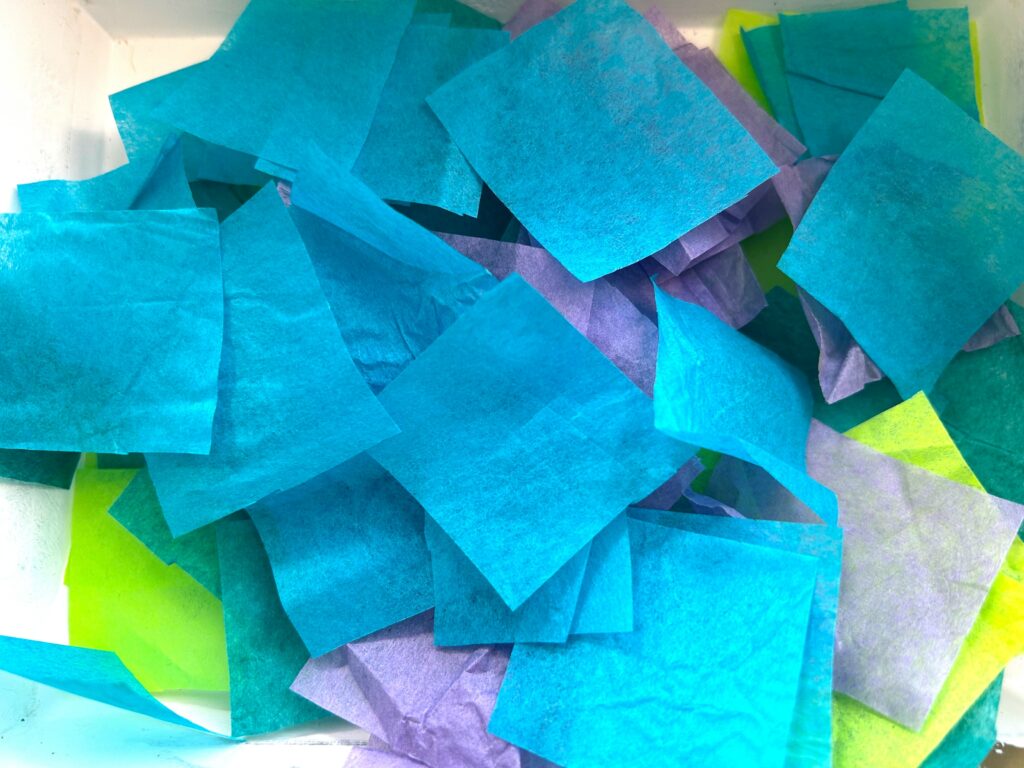
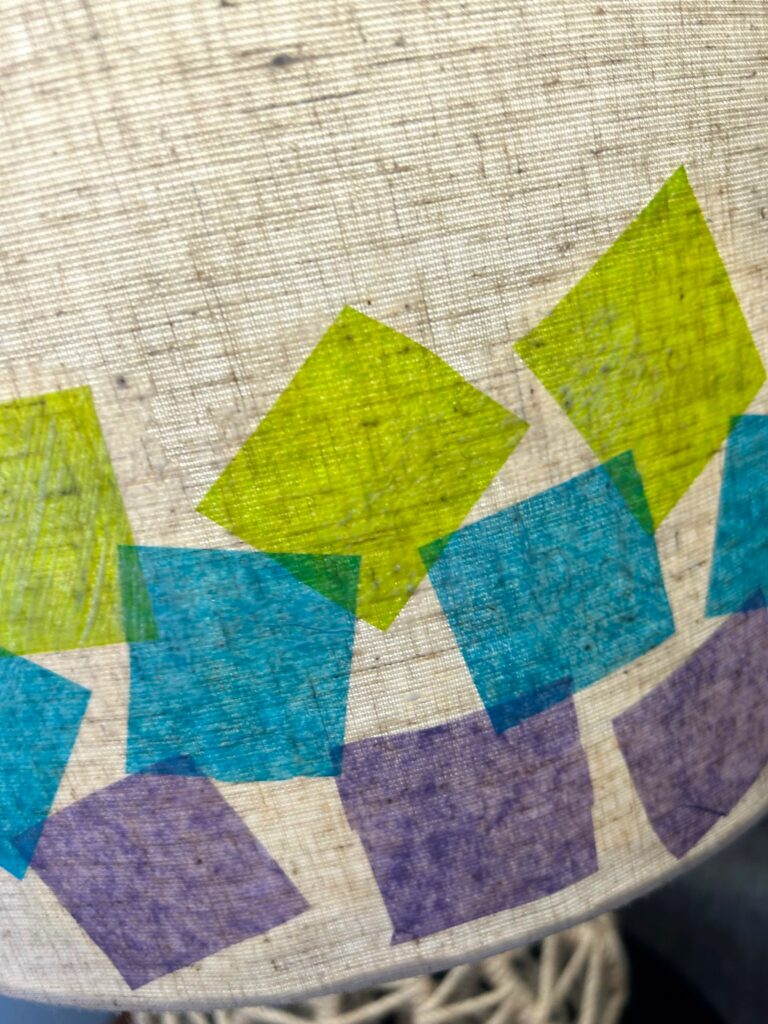
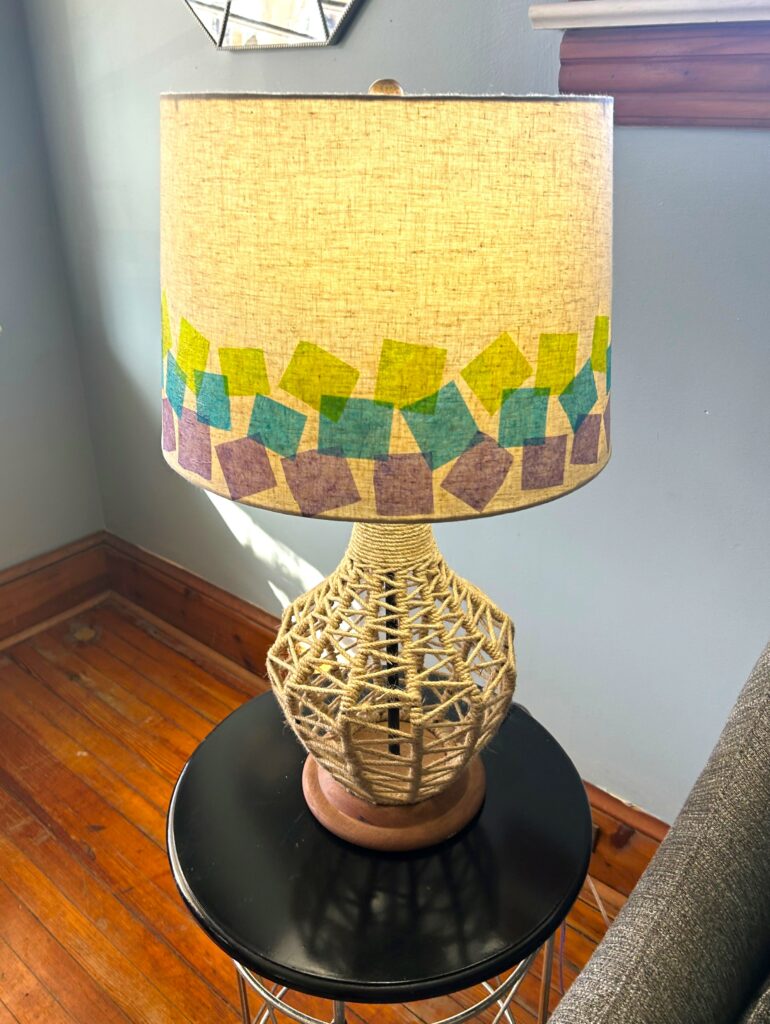
1. Use tissue paper in happy colors and your favorite tones. Cut them into one-inch cubes/squares with enough pieces to dance around the shade. In my home are lots of purples, teals, and bright greens, so the color decision was an easy one. Thankfully my swapped stash of tissue paper had plenty in those hues.
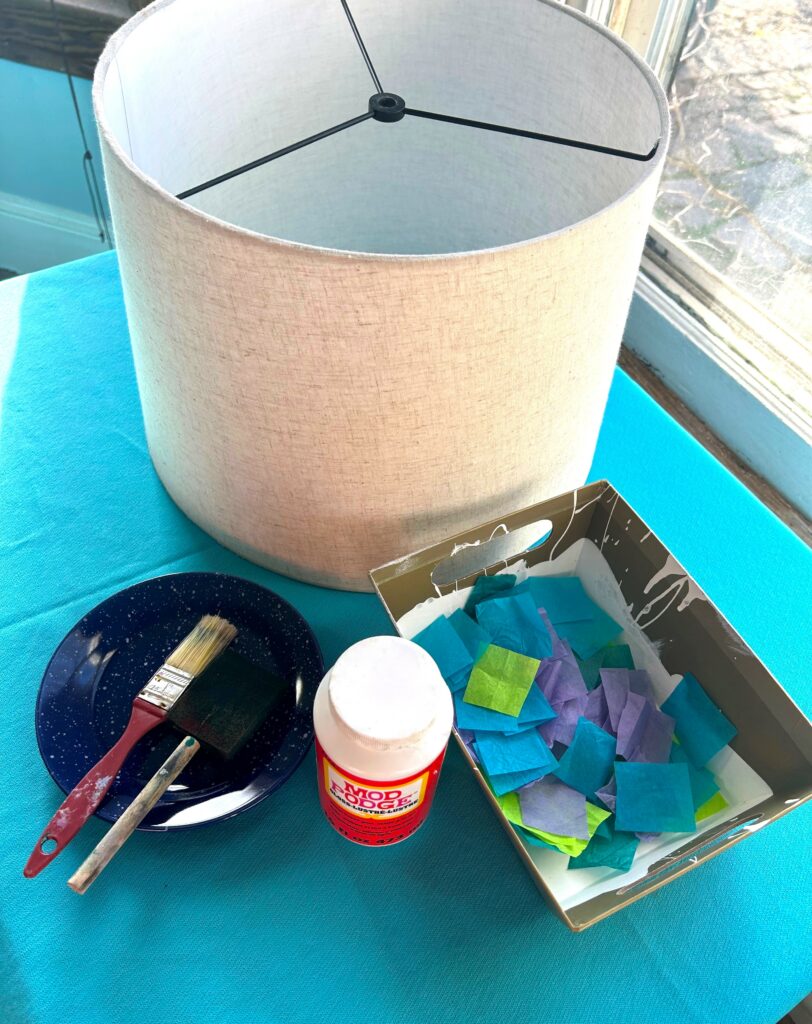
2. Use a paintbrush to apply a light layer of Mod Podge along a section of the shade’s bottom, outside edge. Carefully place a cube of one color (in my case, it was purple) and brush on a light layer on top of the tissue cube. Continue around, positioning the cubes in a strip along the bottom.
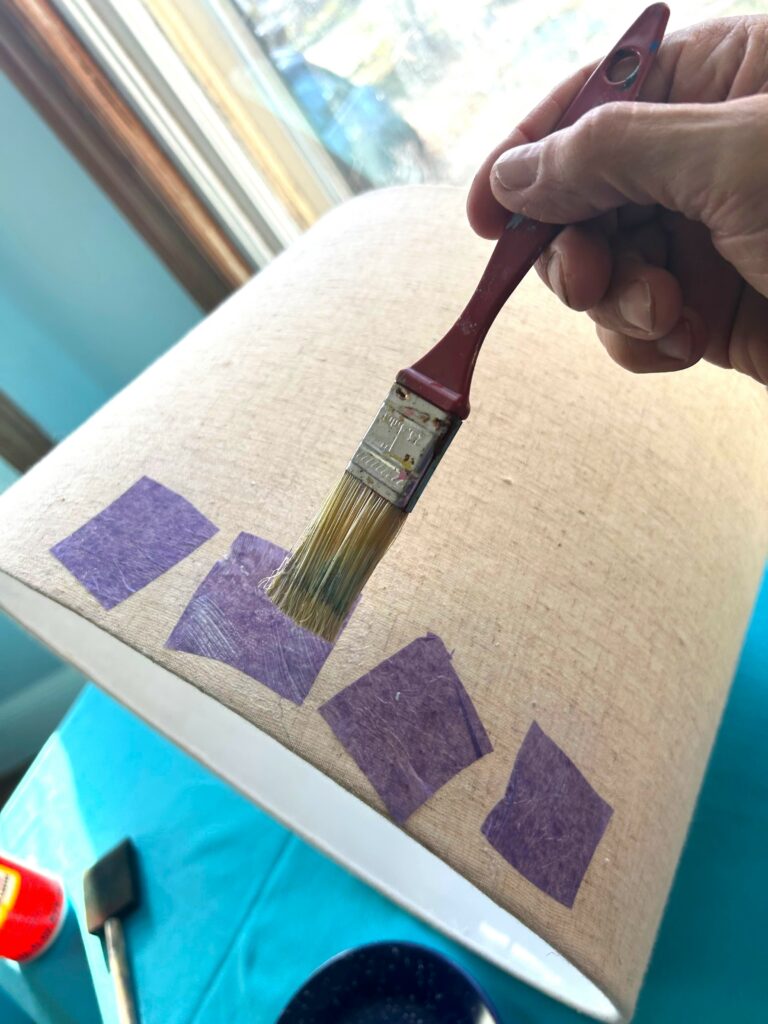
3. Repeat this step with the next color of cubes, again applying a light layer of Mod Podge on the shade, carefully placing the cube on top, then brushing on more Mod Podge.
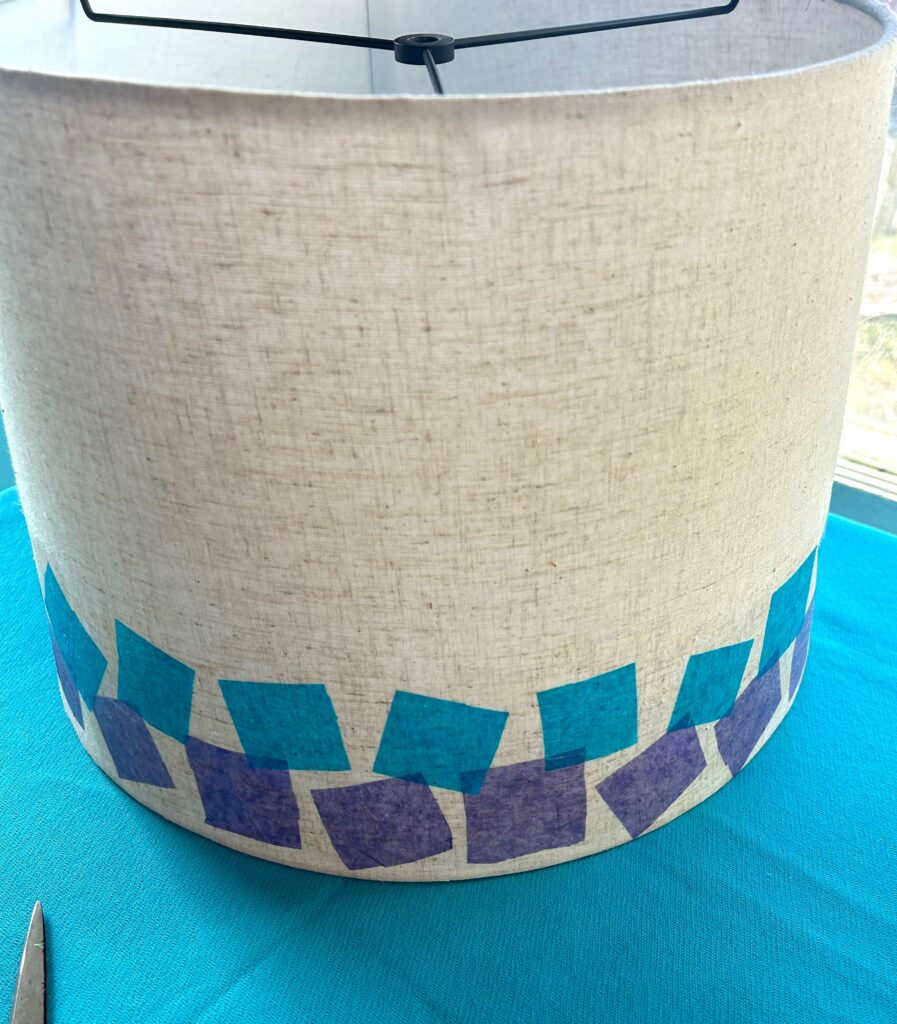
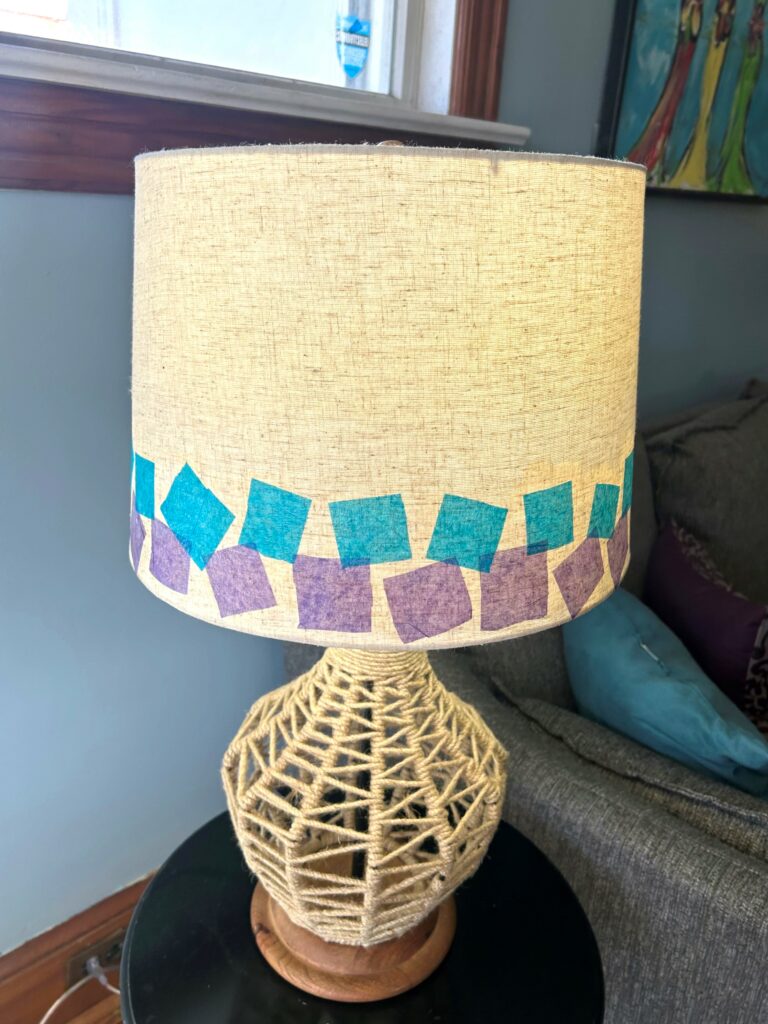
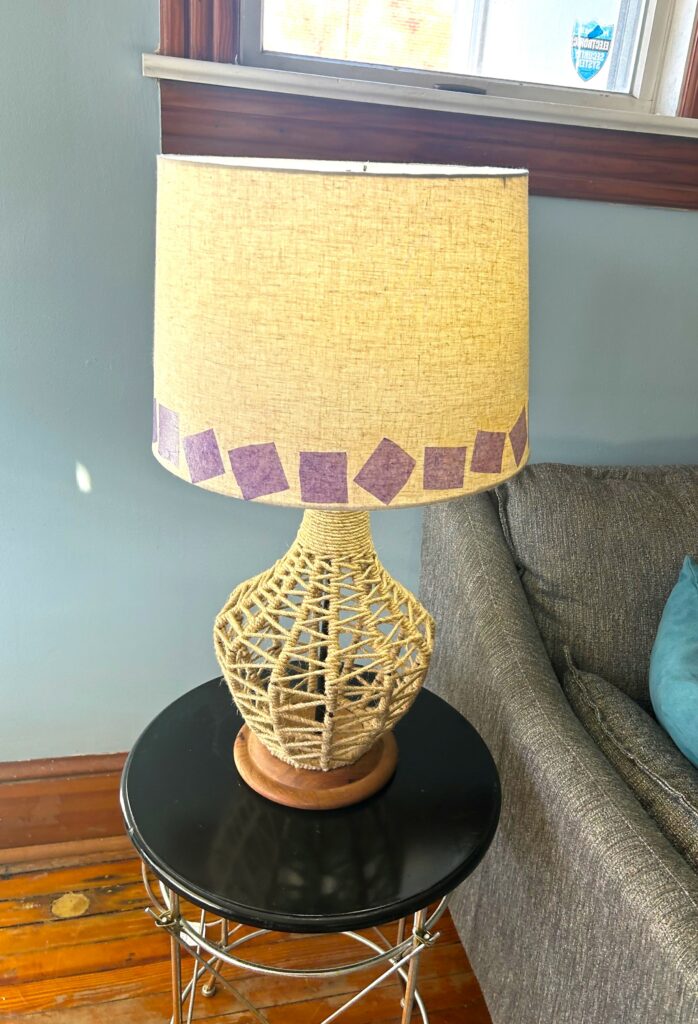
4. Finally, do the same with your third color. Let it dry, then place it on your lamp, and you are great to go!
Design Idea:
Given the translucent quality of the tissue paper, consider slightly overlapping your squares from row to row. This will provide additional visual interest and more color shades when the light is turned on and used.
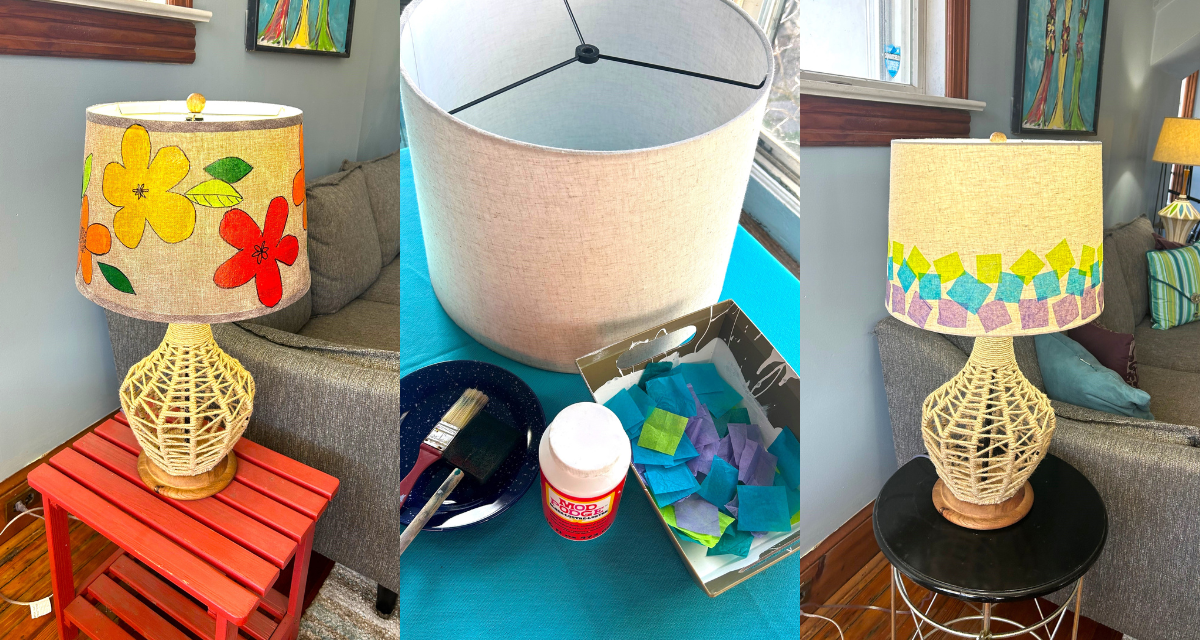
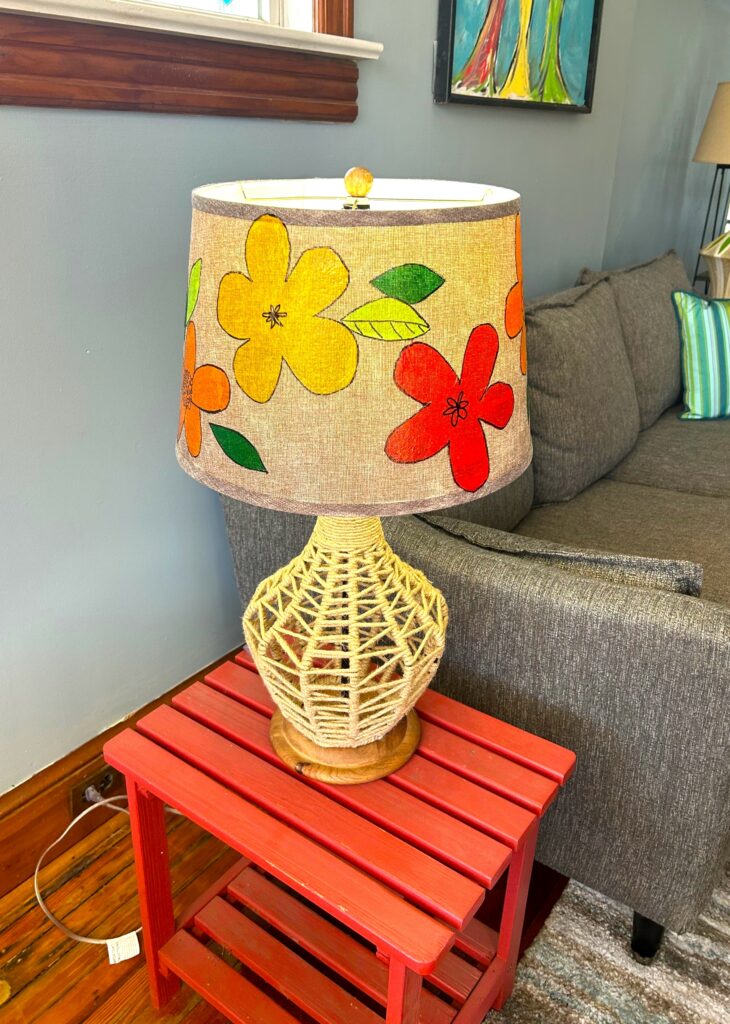
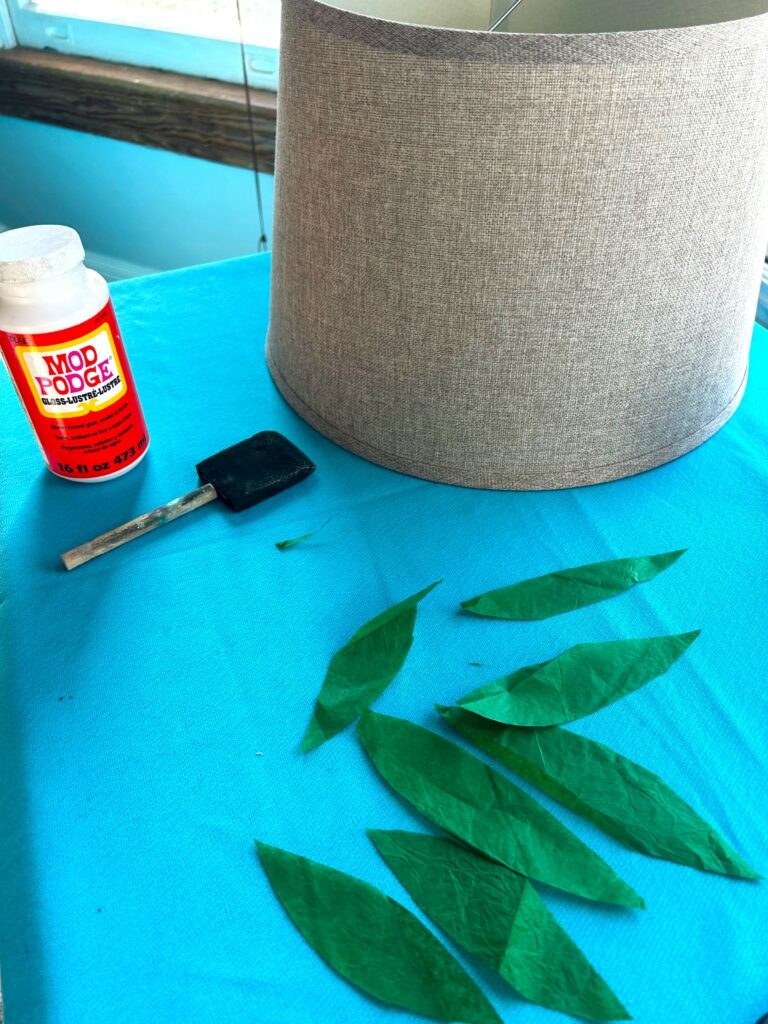
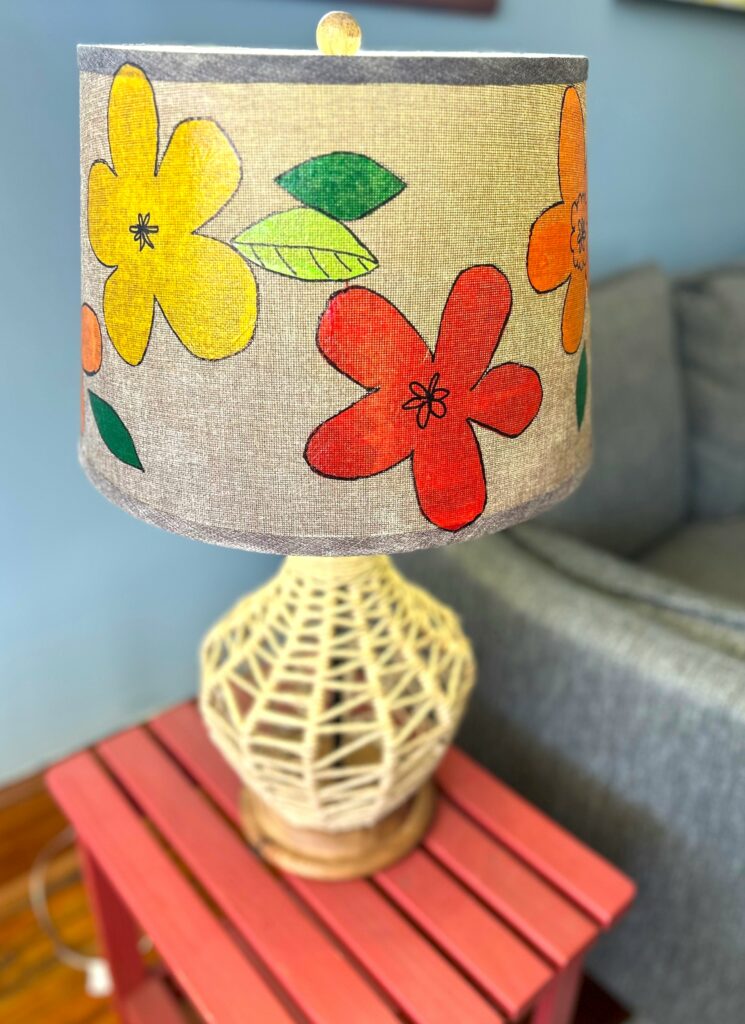
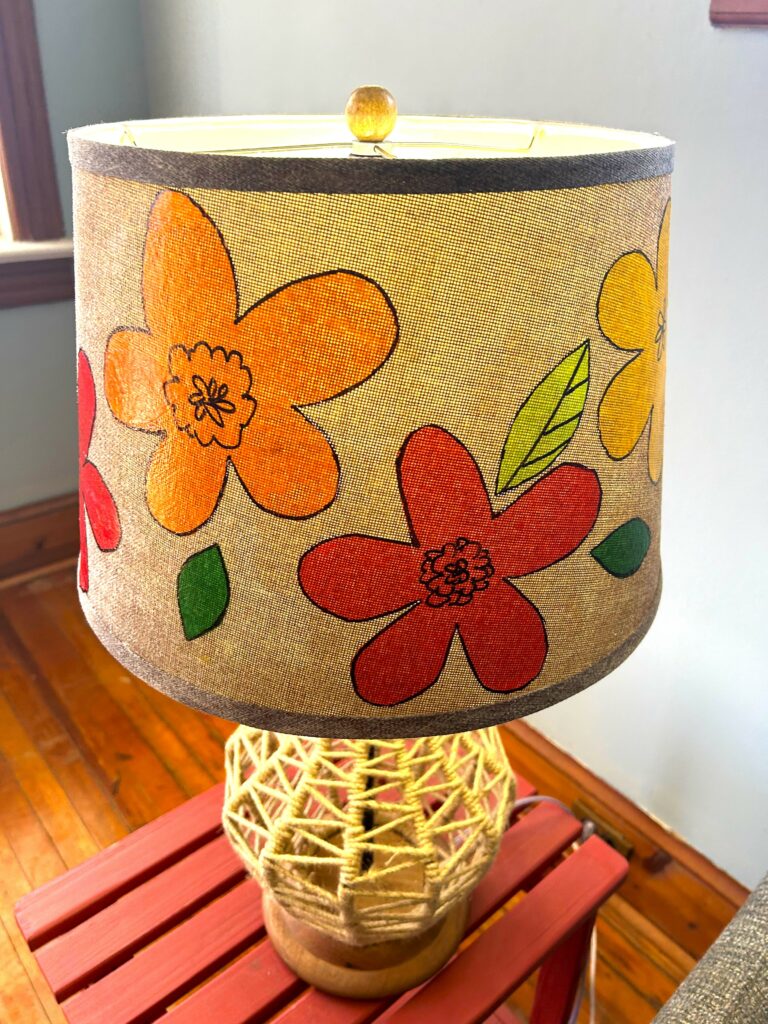
Approach 2: Bright Blooms
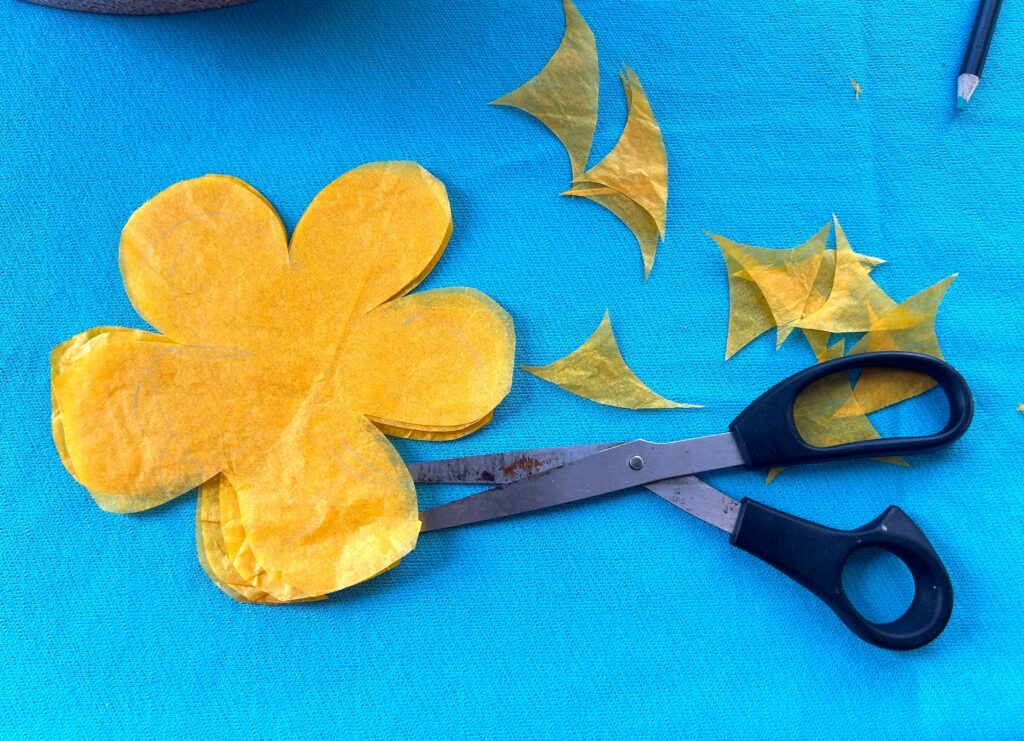
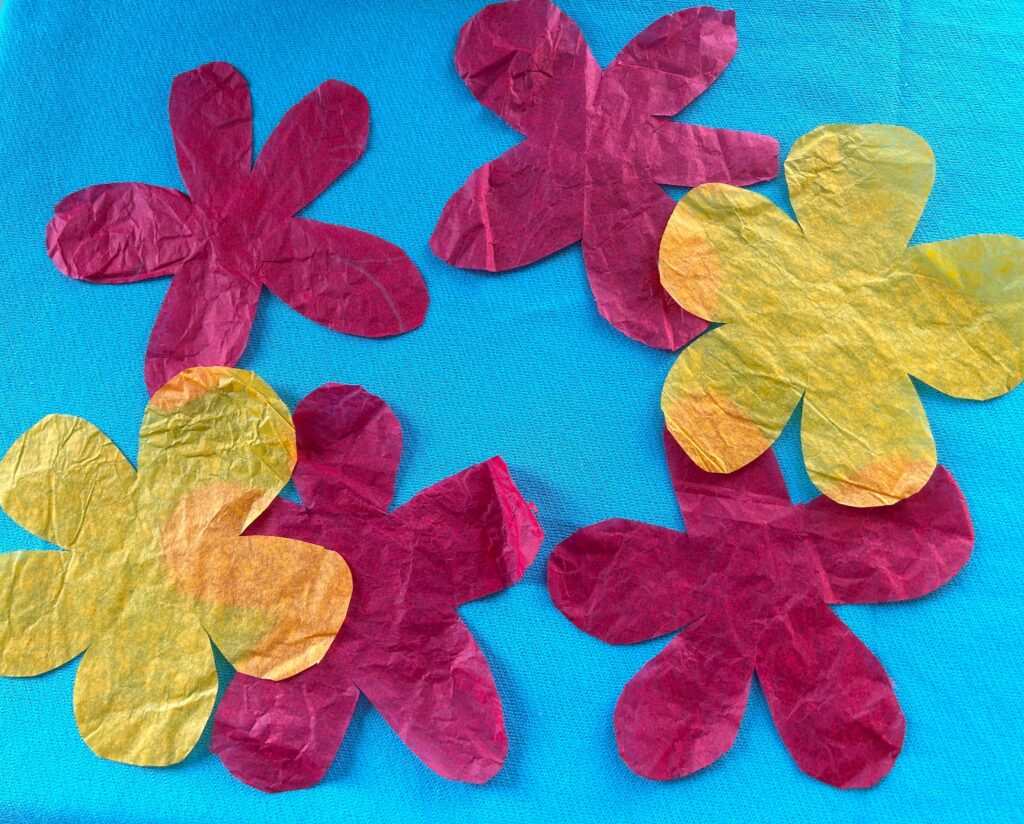
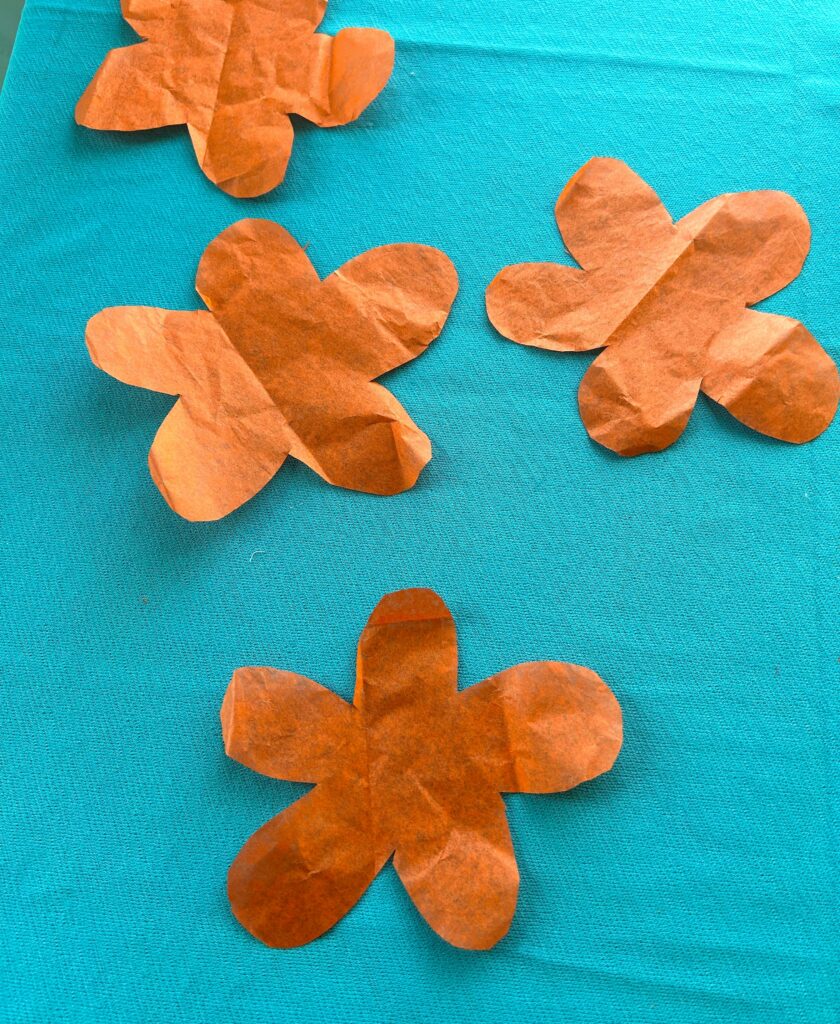
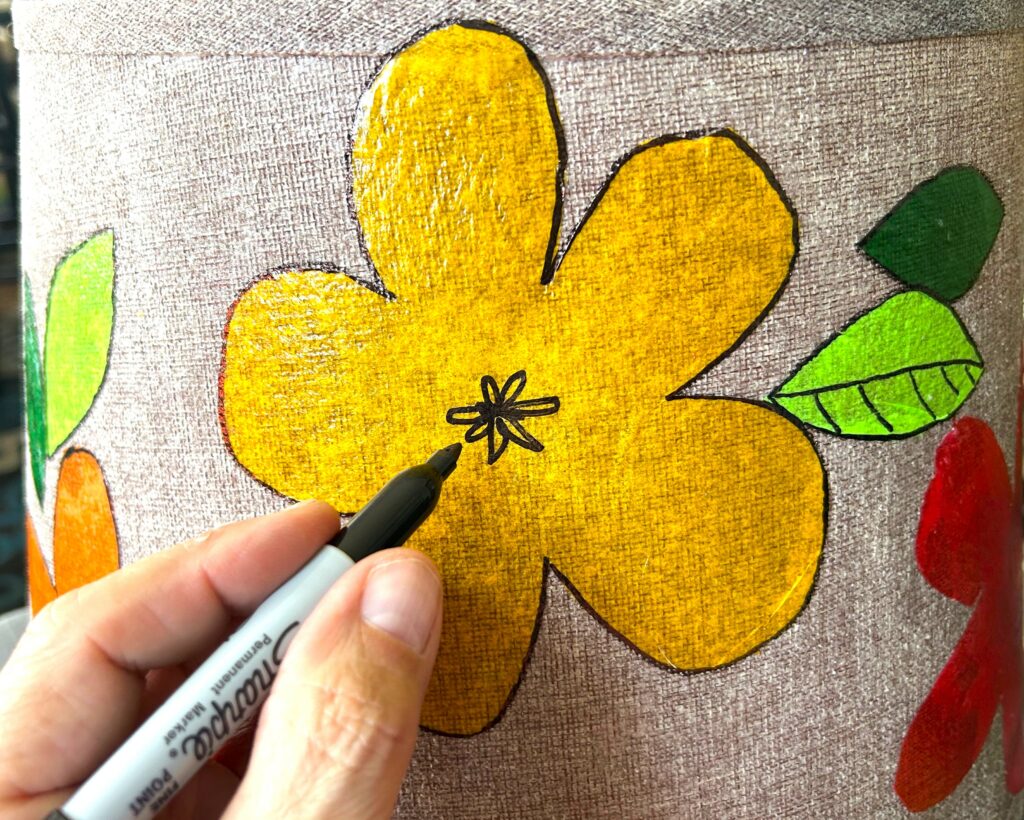
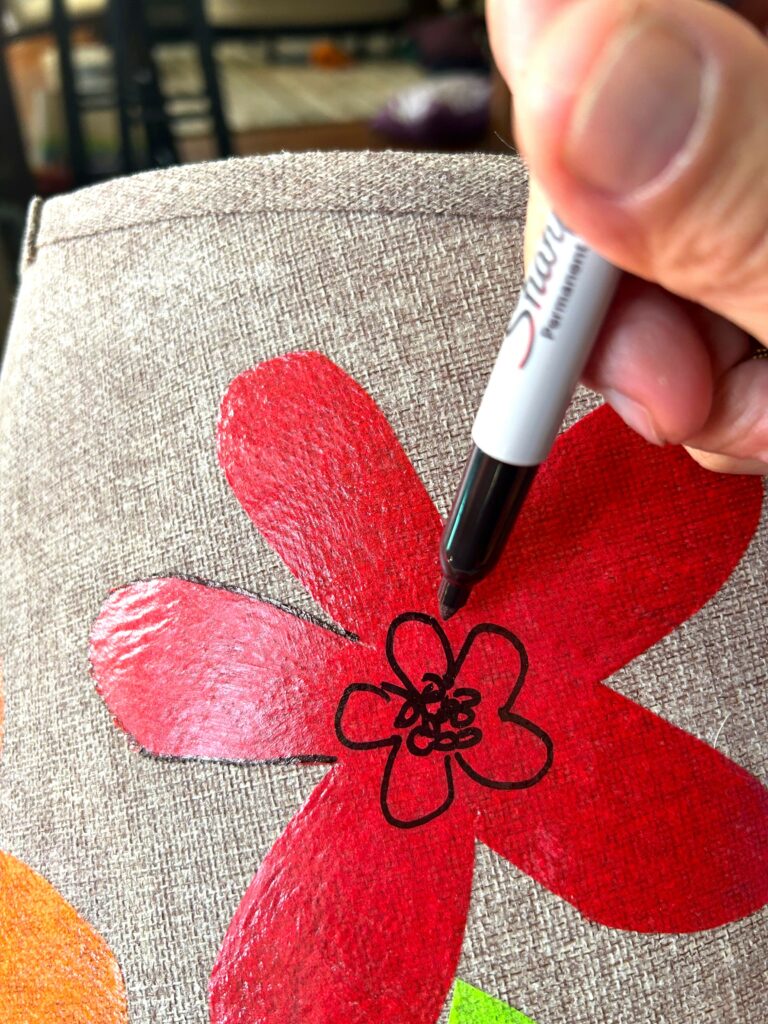
1. Select tissue paper in yellow, orange, red, bright green, and a deeper green. Pick a piece of yellow tissue paper and fold it over, then cut a circle out. Trim away parts and pieces so what is left is a five-petaled flower. Repeat this step in the orange and red papers, too.
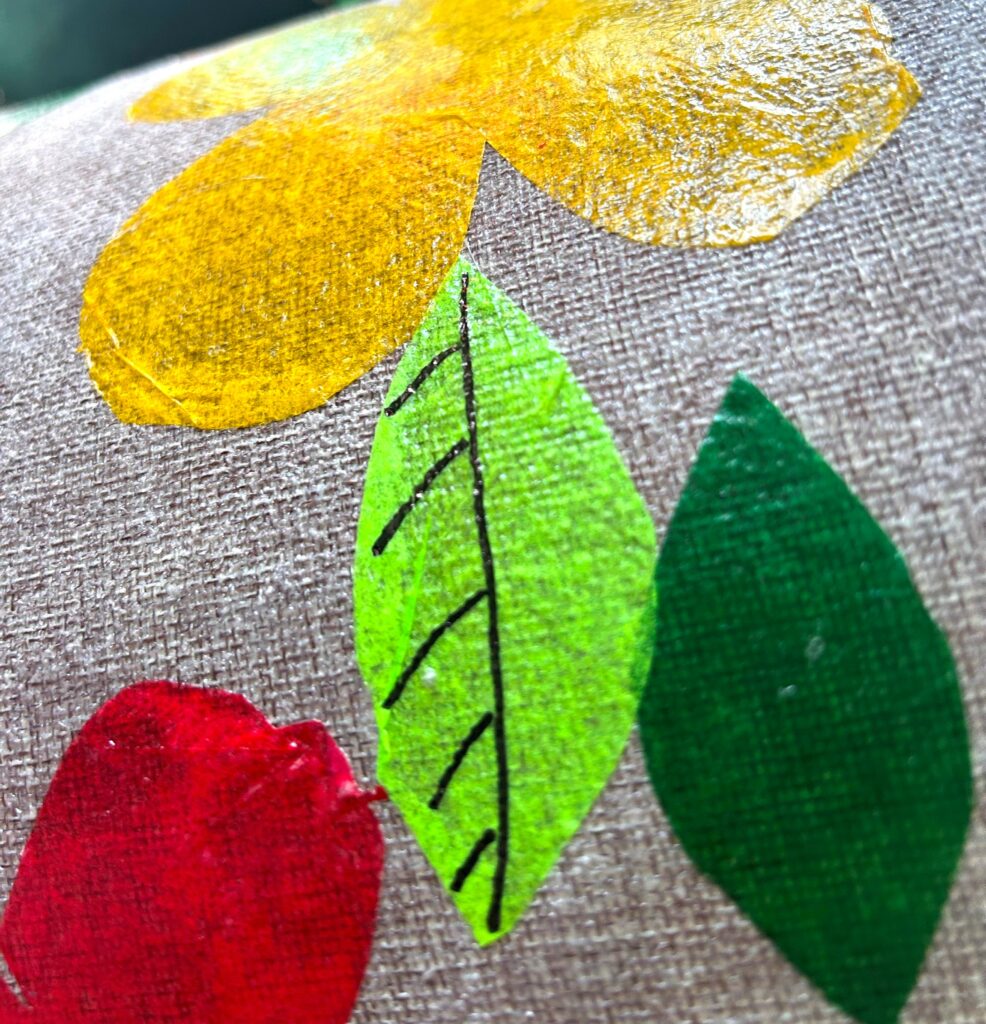
2. In your green shades, clip the tissue paper in leaf shapes with two curved, half-circle cuts.
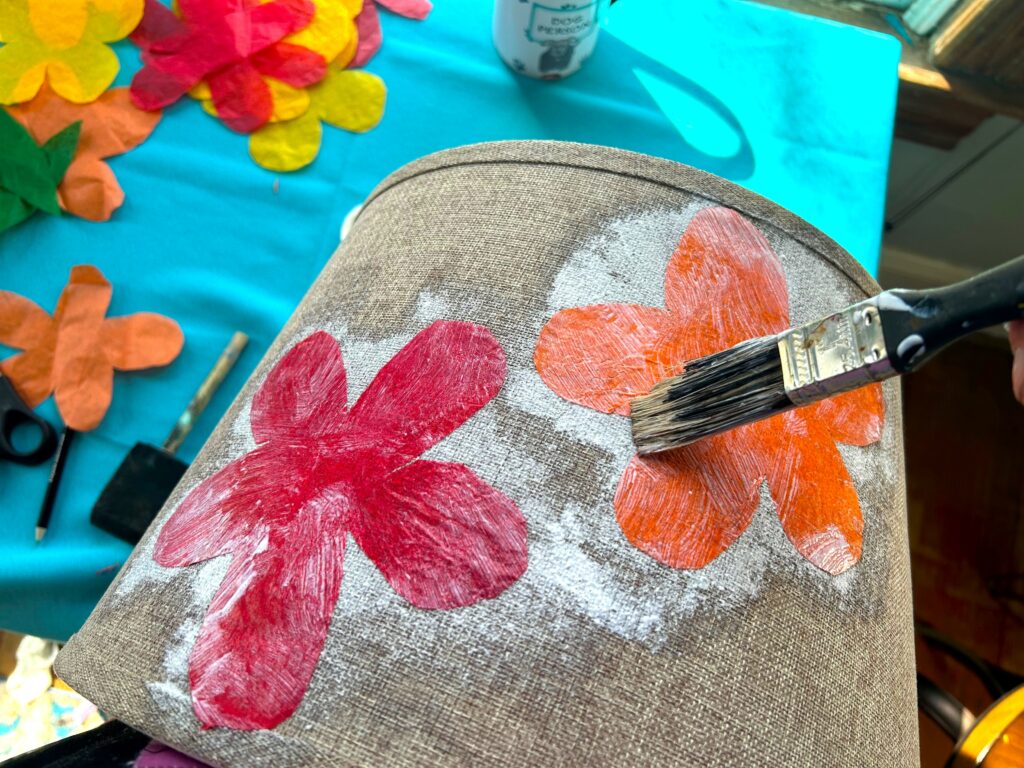
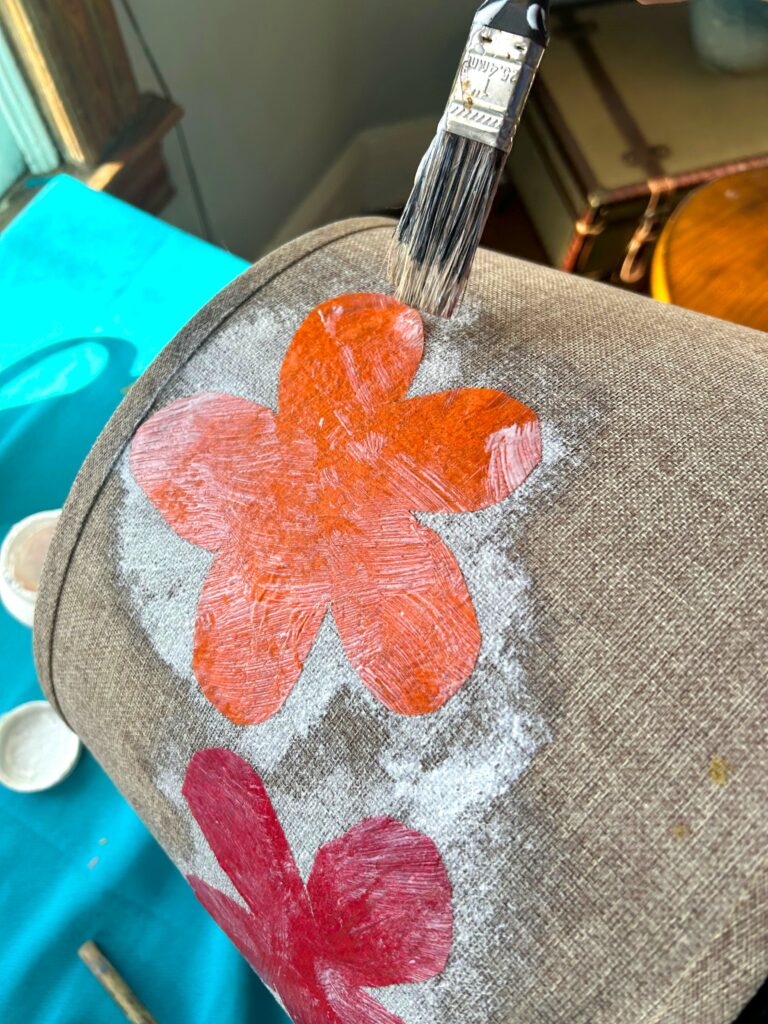
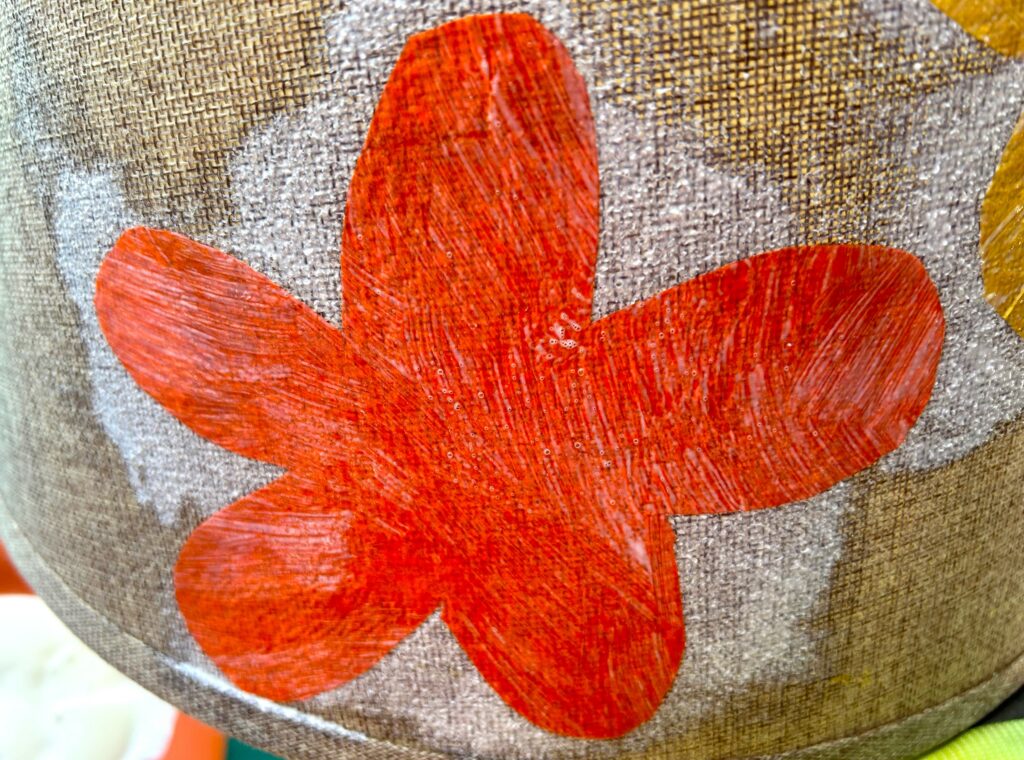
3. Use a paintbrush to apply a light layer of Mod Podge where you want to place your flower. Carefully put the flower in position and add a light layer on top. Repeat this step so there are flowers scattered on it in the three colors.
4. Position your leaf pieces and do the same by brushing on some Mod Podge, putting the green tissue paper on top, then applying another light layer.
5. Once done, consider applying another light layer over the entire outside surface of your lamp shade for a consistent look and feel. Let your shade dry very, very well before handling.
6. Use a black Sharpie/marker to outline each flower and leaf. Consider adding centers to the flowers with circles and looping lines; add veins to the leaves with a line down the middle and diagonal ones from the center to the outer edge.
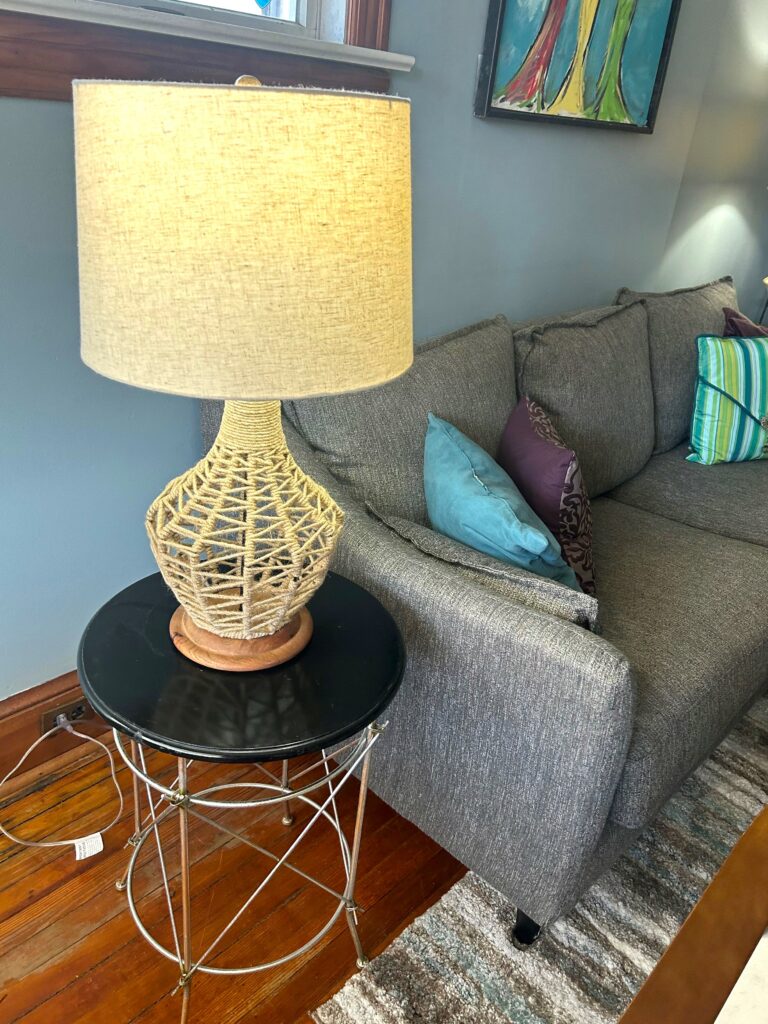
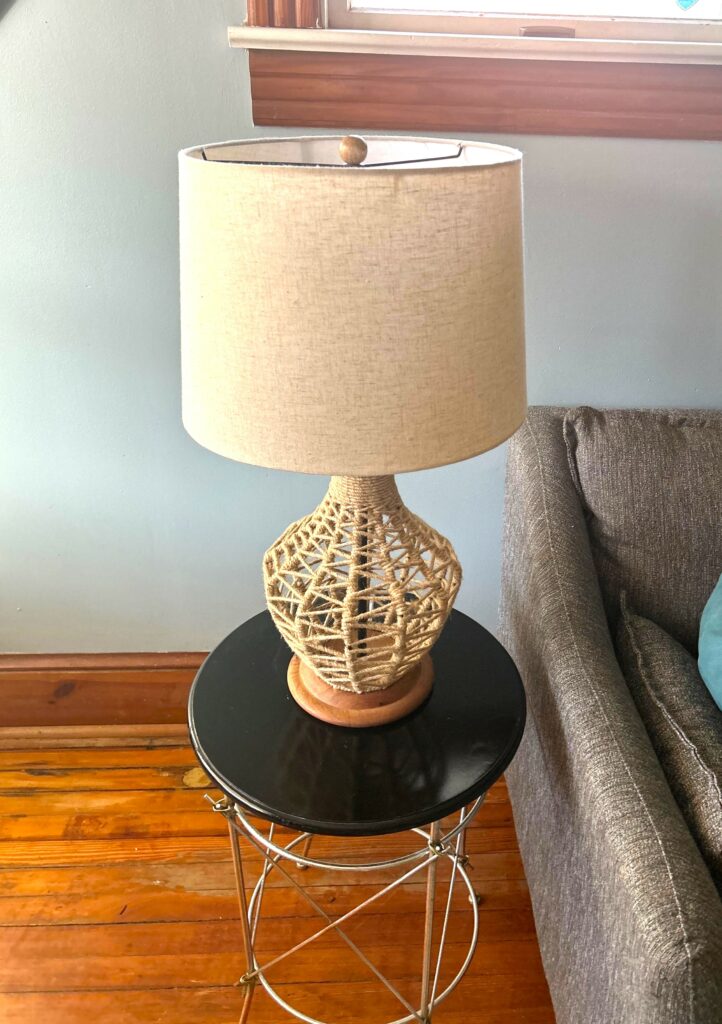
7. Place the shade back on top of your lamp base, turn it on, and watch it bloom!
Expert Tip:
The flowers’ larger size made them very fragile once the Mod Podge was applied and the flower-shaped paper was placed on top. Do your best to brush on a good, solid layer of the Mod Podge so you don’t have to try to get it back under the flower’s petals. I tried this and the paper tore easily, so I had to remove and repeat it. Also, when you apply the Mod Podge on top of the adhered bloom, be gentle, too, to prevent tears—and avoid your tears!
The possibilities are unlimited when you use colorful tissue paper to transform a lampshade or two. Consider heart and star shapes for wonderful whimsy. Cut the paper into long, skinny pieces and adhere vertically for the line-up of colors marching around your shade. Clip out letters to spell names or fun words. Dots will look delightful, too!
Join Finding Your Good and Tim Kime Art/Transformation Junkies on Tuesday, April 16, from 6:00 p.m. to 8:00 p.m. for our next Art Supply Swap Event to be held at the Arts Walk in Brookland, 716 Monroe Street NE. Maybe you, too, will score with some great supplies to use for your next DIY project! Everyone wins—you will meet great people, leave with cool supplies, and honor Mother Nature by sharing and swapping!
Similar Reads:
- Make a Roar with Rainbow-Ringed Lamp Shades
- Quick & Inexpensive DIY: My Thrifted Lamp Makeover
- How to Make a Colander Lamp

Tim Kime
Artist, Motivational Speaker, Life Coach
