Upcycle Items to Create Cool Halloween Masks
With Halloween coming up soon, no need to be scared about what you’ll wear to celebrate the evening’s festivities! Upcycle and reuse items to create masks that are unique, interesting, and good for Mother Earth – all at the same time!
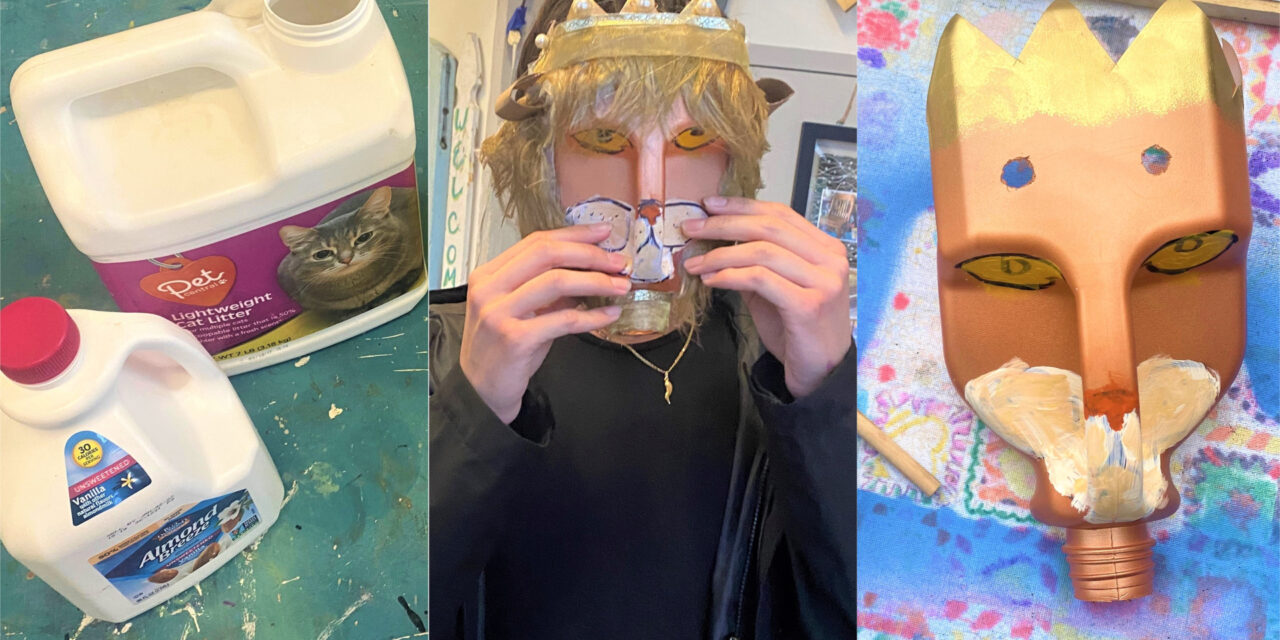
The masks featured in today’s blog started with old milk containers and plastic cartons that were rescued from the recycle bin. With a little vision and a lot of fun, you can make masks that you might want to wear long after the trick-or-treaters have headed home.
Items needed:
· Plastic milk/juice/kitty litter containers
· Sharp knife
· Scissors
· Sharpie
· Drill and large drill bit
· Craft paints, various colors
· Spray paints, various colors
· Glue gun
· Household items from your junk drawer, craft box and/or purchased at Goodwill
· Ribbon, twine, or string
1. Find a face in your recycling place
This project is another fun one because it gets you (and those joining you for DIY time) to look at everyday items with new eyes. Plastic containers that once held items were selected because their designs looked like faces!
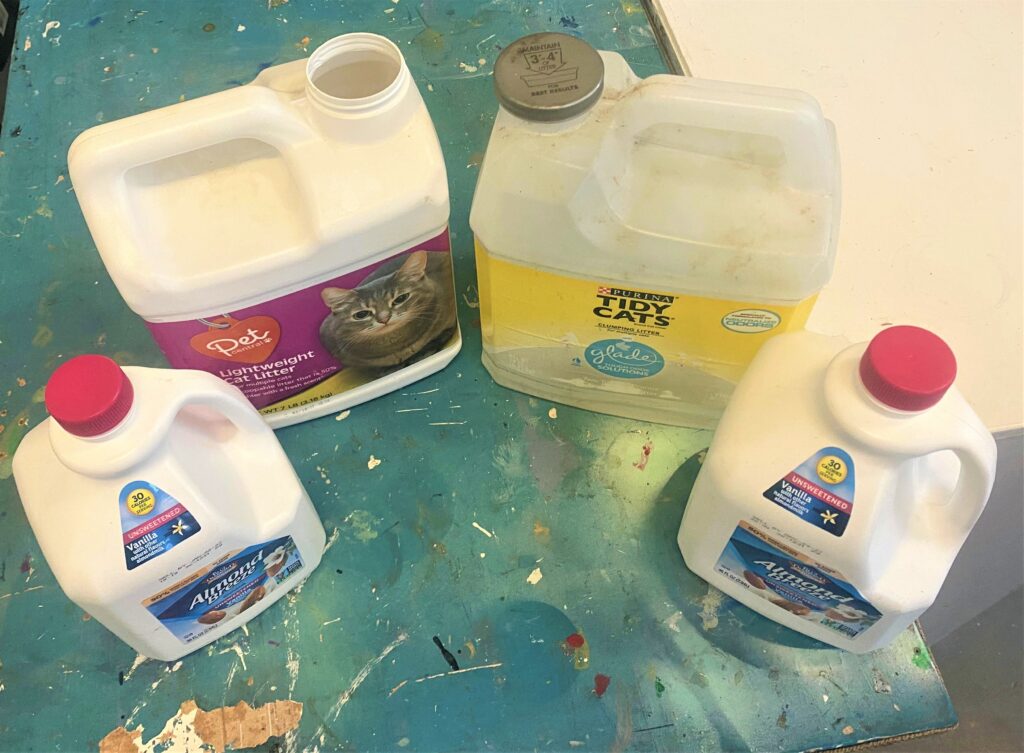
To start this project, wash and rinse the containers and remove any labels. Look at these items as three-dimensional canvases to unleash your creative talents!
2. Carefully cut to go from container to mask
- With a sharp knife and lots of care, cut the “face” part of your container from the other portion.
- If you are doing this engaging project with kids, this step is for adults only, please, please, please!
- Once removed, you may want to use your scissors to trim away any rough edges.

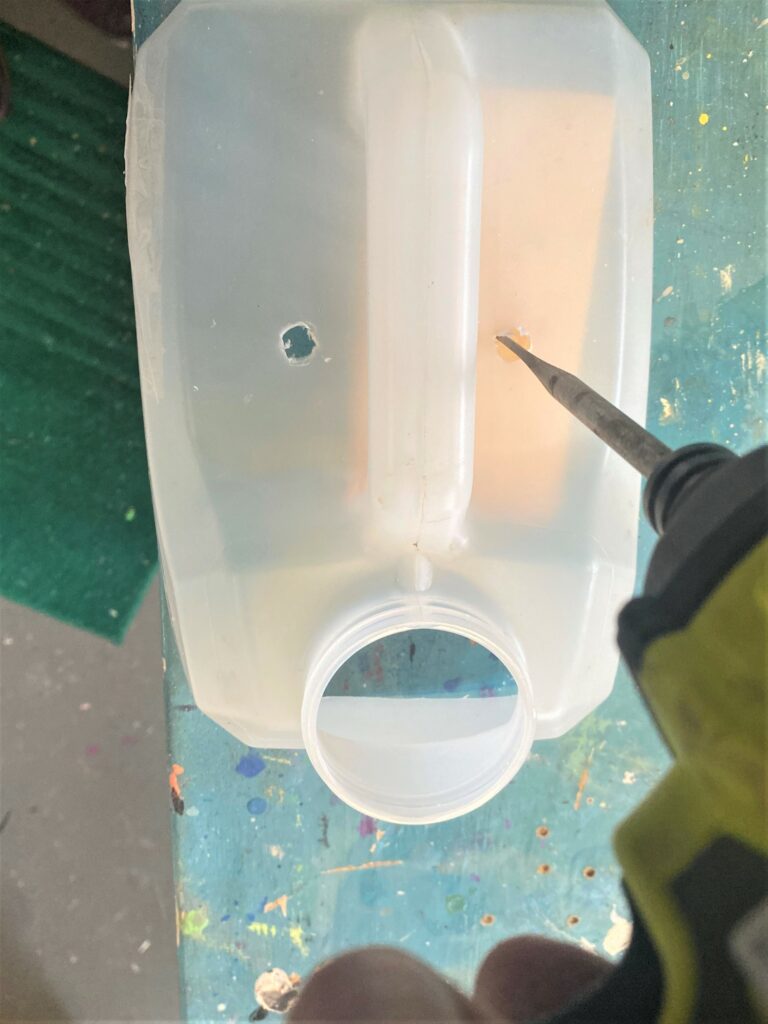
3. Drill in eye holes and strap holes
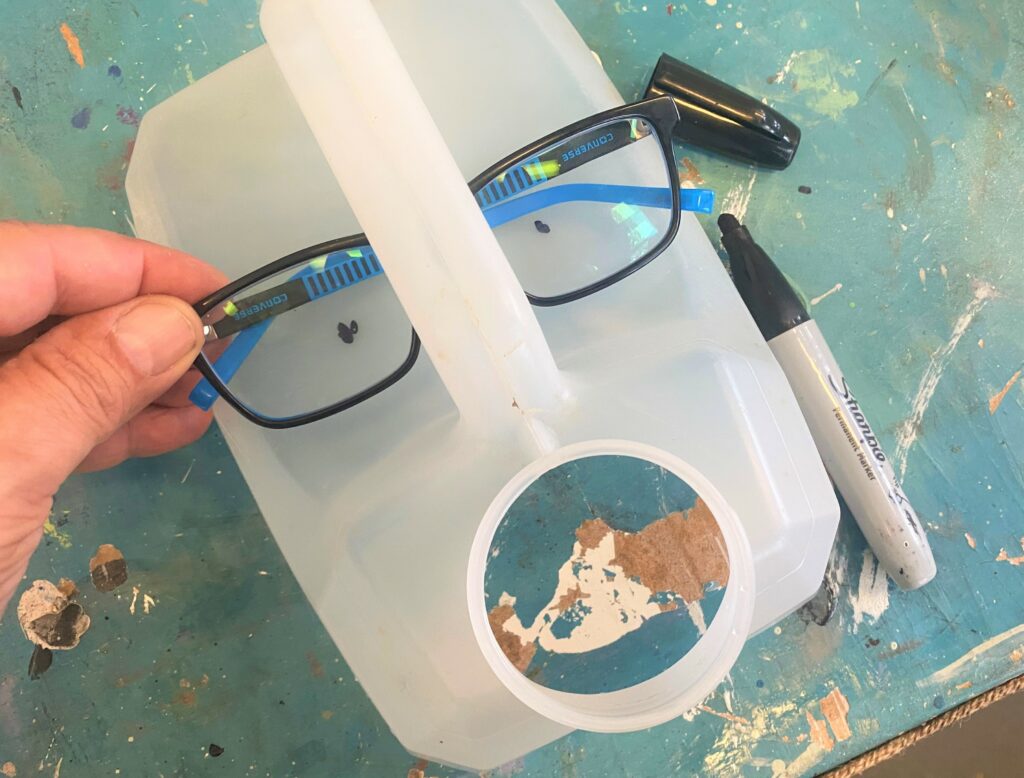
- Hold the mask to your face to determine where the holes should be positioned.
- After I did this, I placed the mask on my workspace and used my glasses to consider where the eye holes should go.
- A dot was added with the Sharpie.
- With your drill and a large drill bit, drill holes so you may see when you wear the mask.
- Also, add two holes on each side; these will be used to hold the mask in place on your face/head.
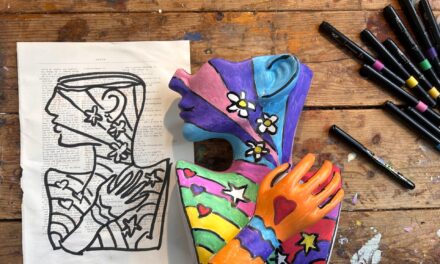
4. Map out your mask
- With your marker and on a scrap piece of paper, take a moment to draw out what your mask could look like when done.
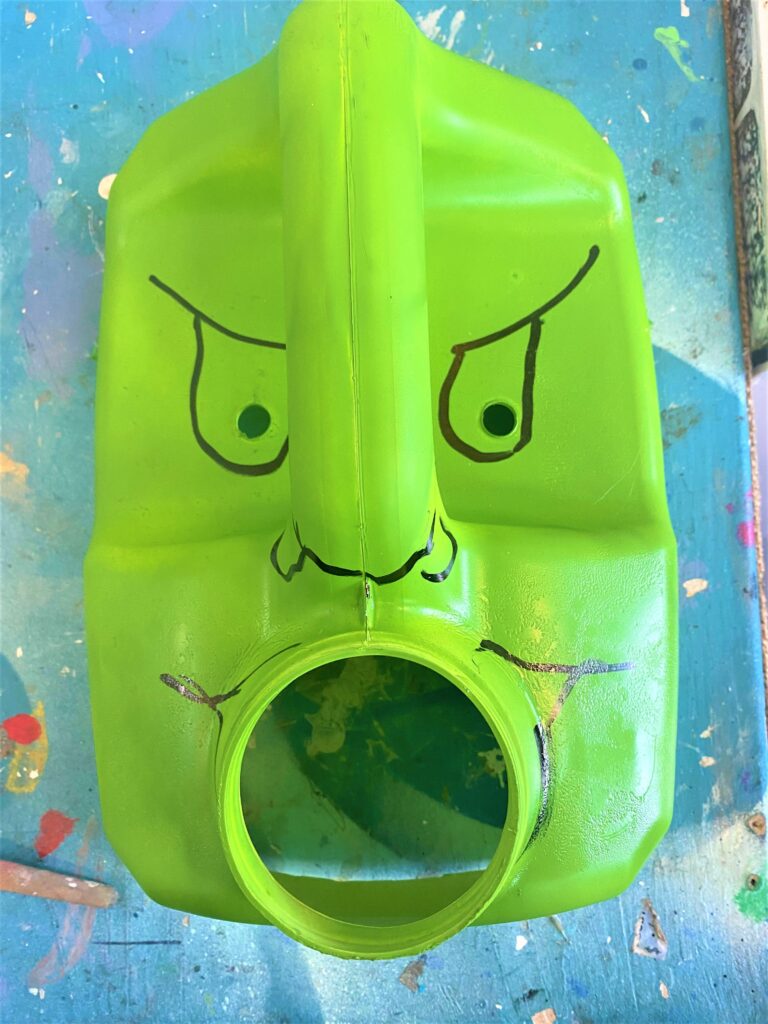
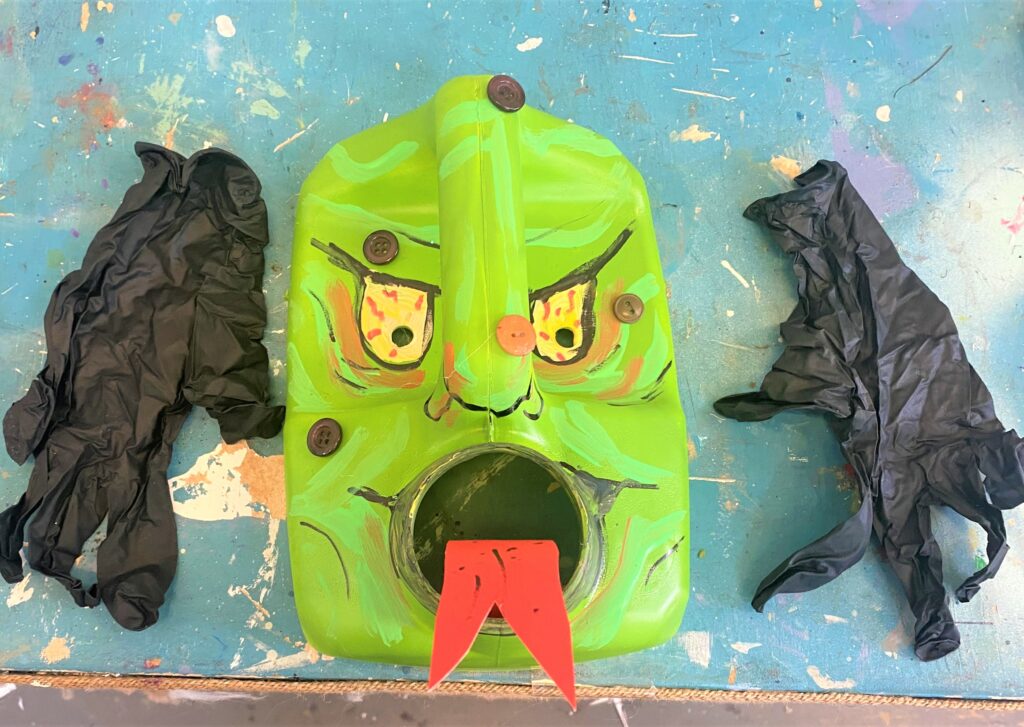
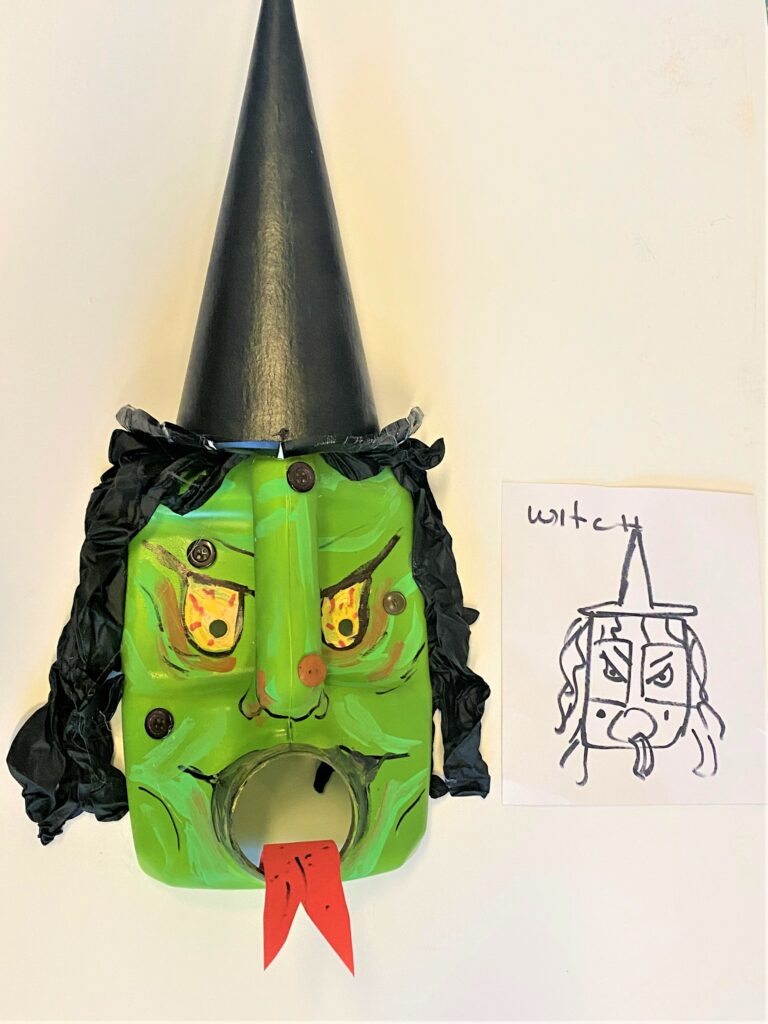
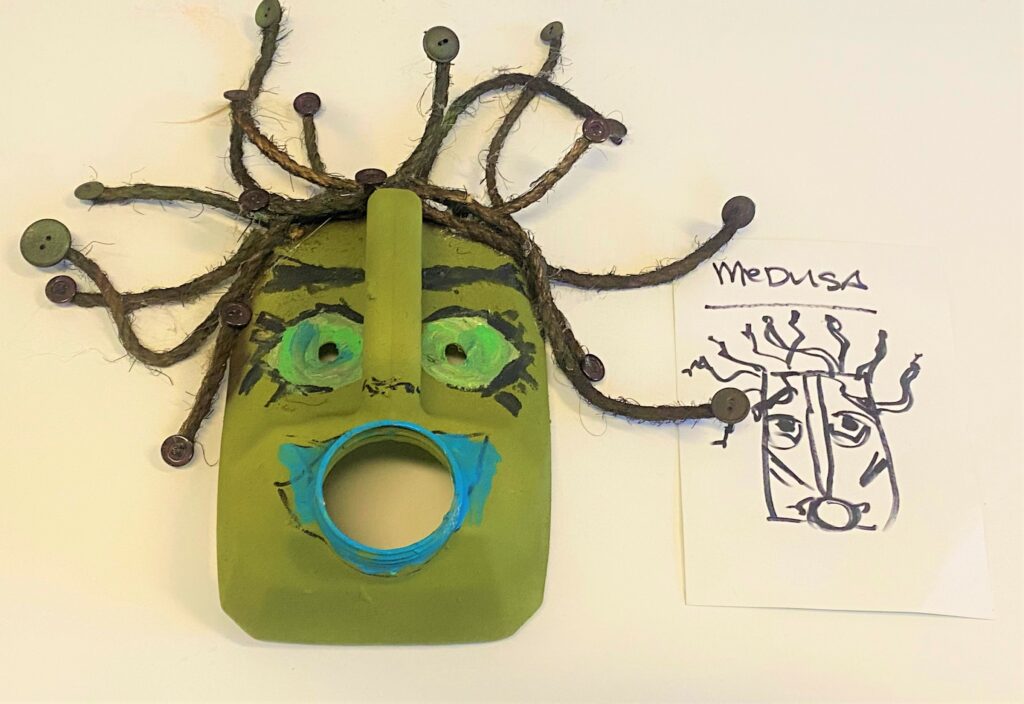
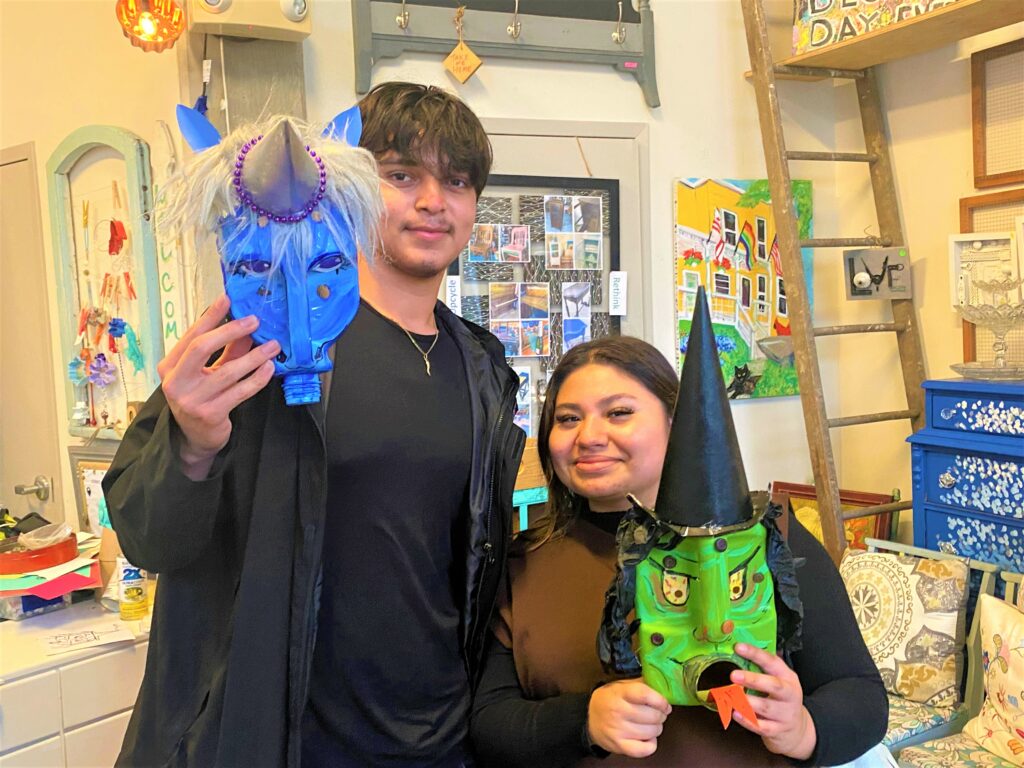
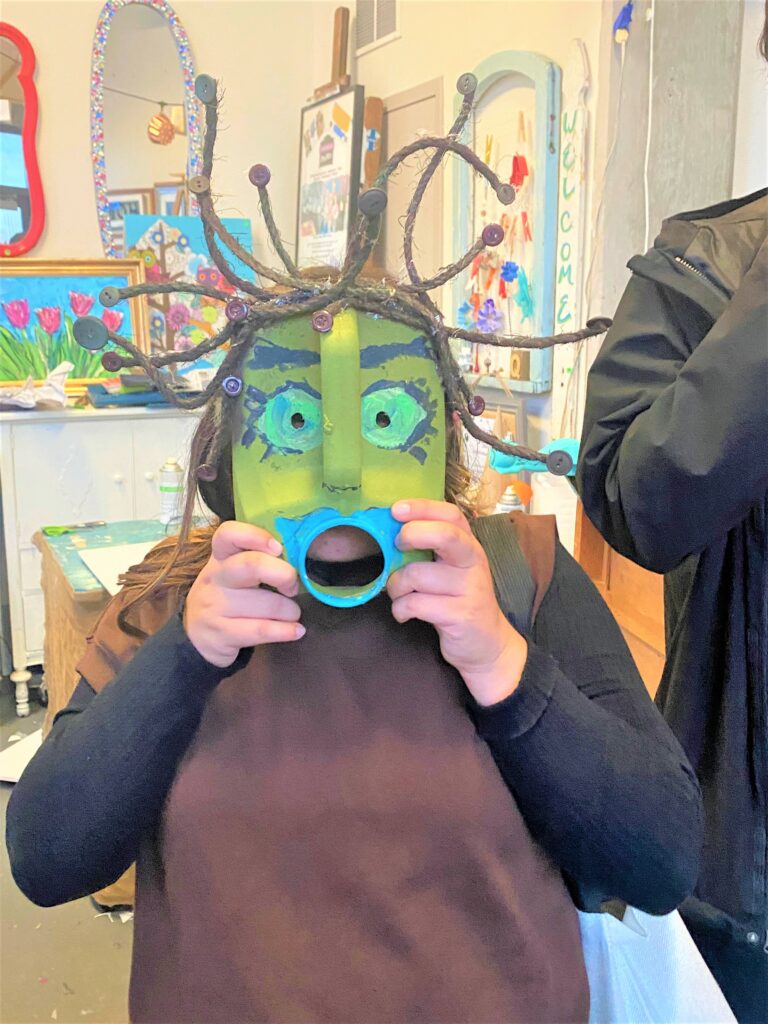
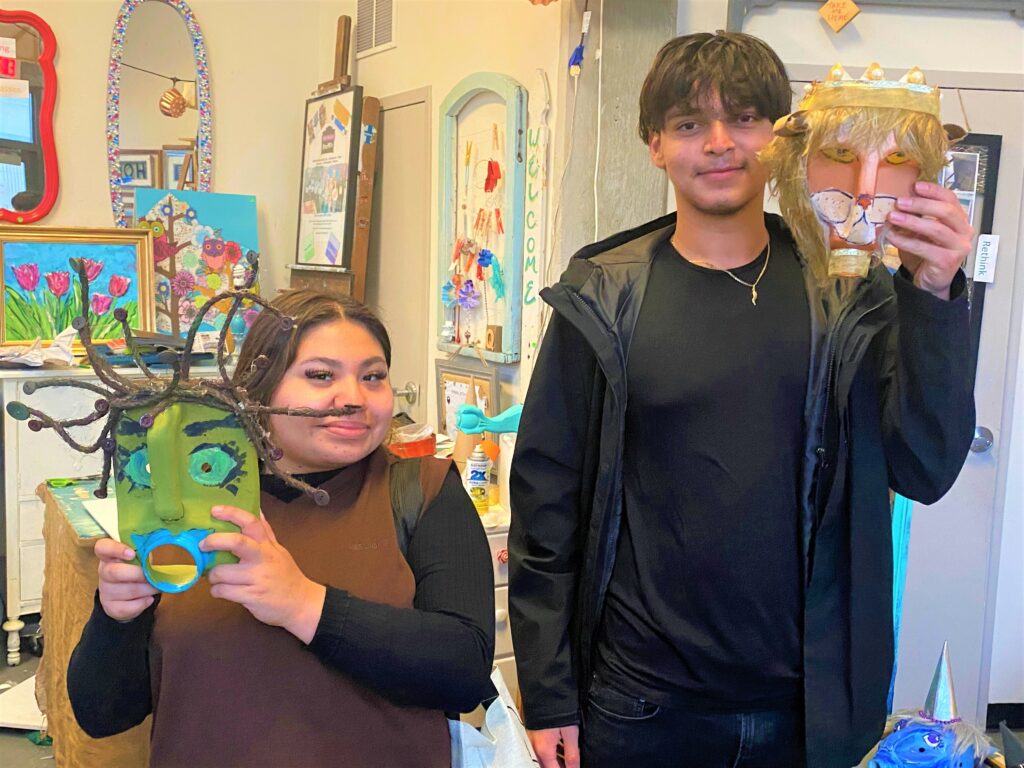
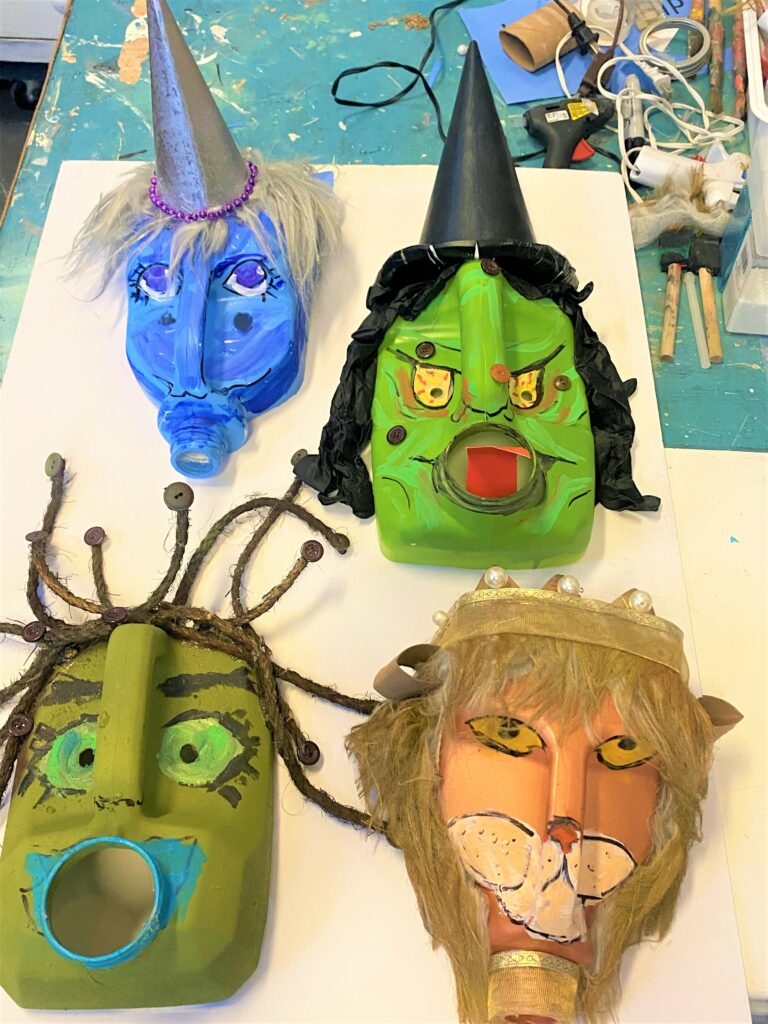
- The two masks cut from the kitty litter containers, had big, round openings where you would have poured out the litter for your favorite feline friend. It looks like a mouth that is screaming, don’t you think? And the handle looks like a big nose. Their looks inspired me to create a witch with one and Medusa, with her snake hair, for the other.
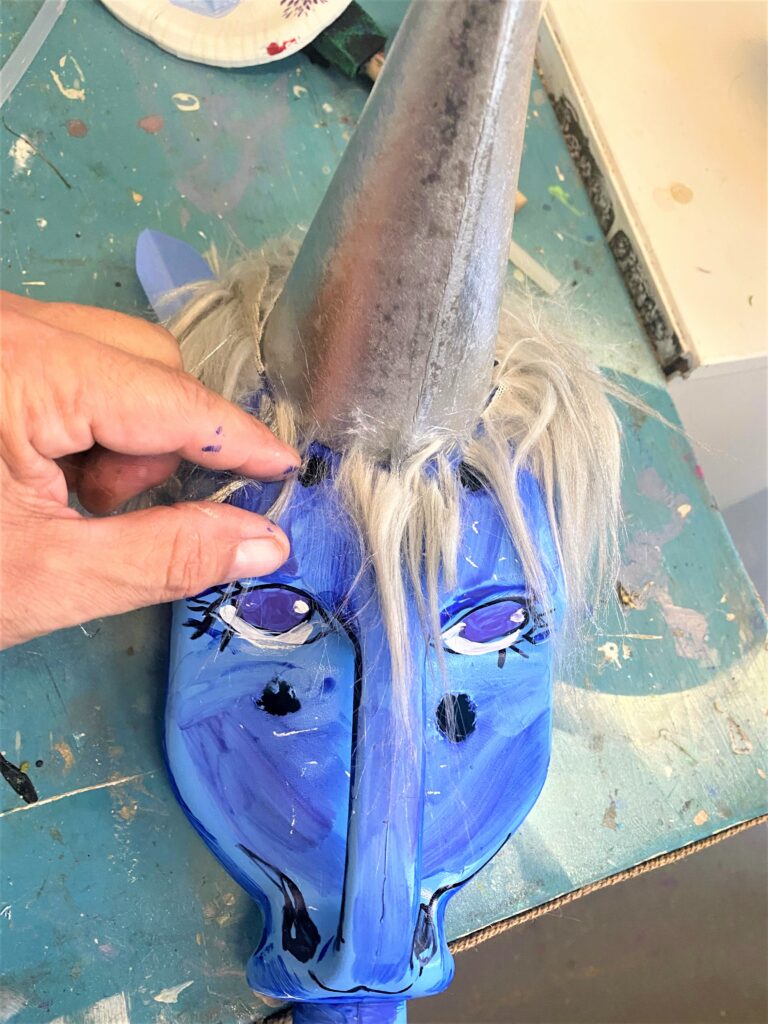
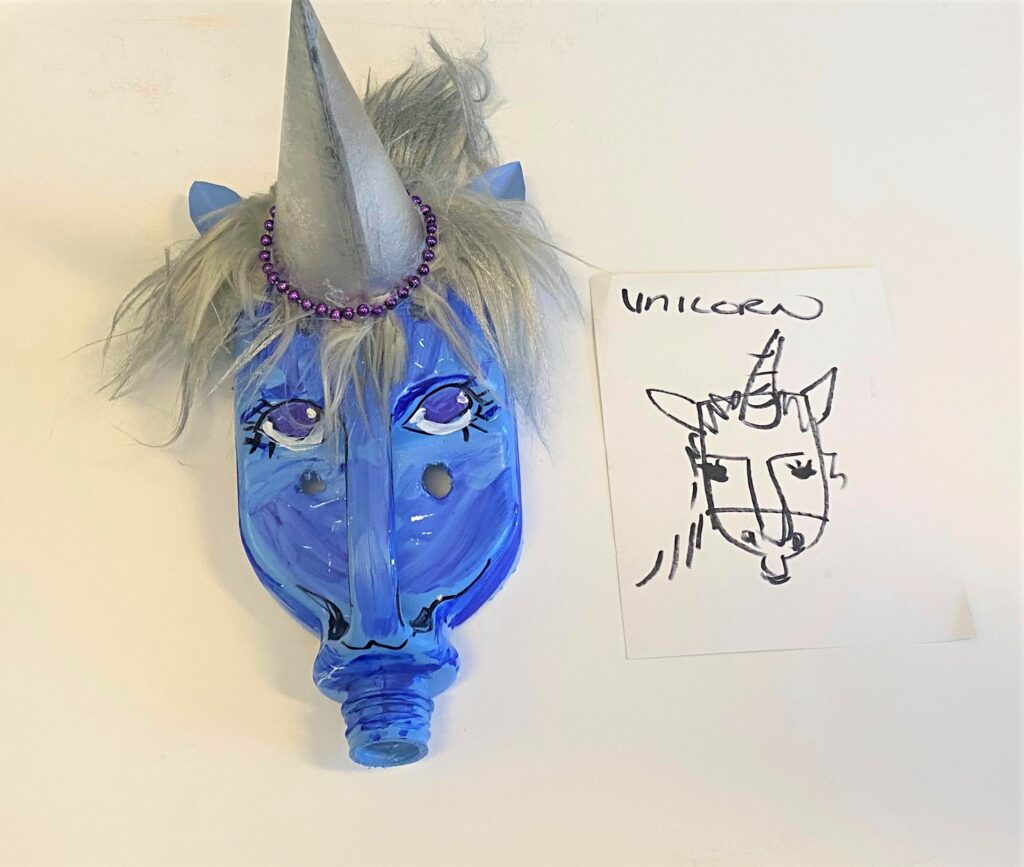
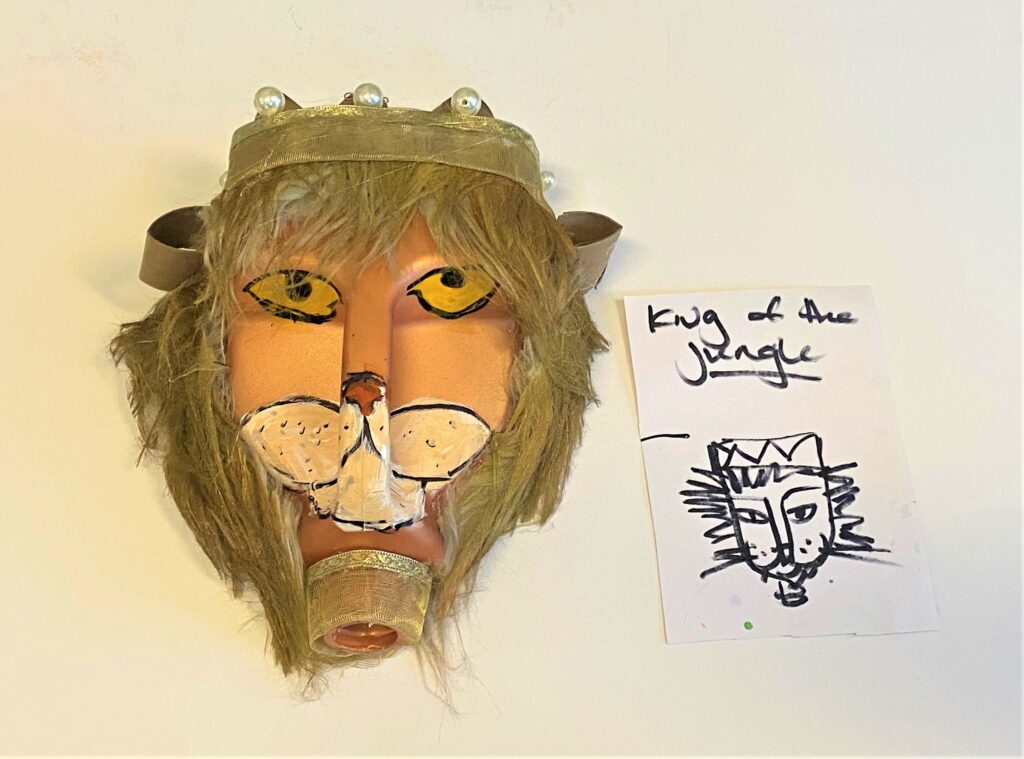
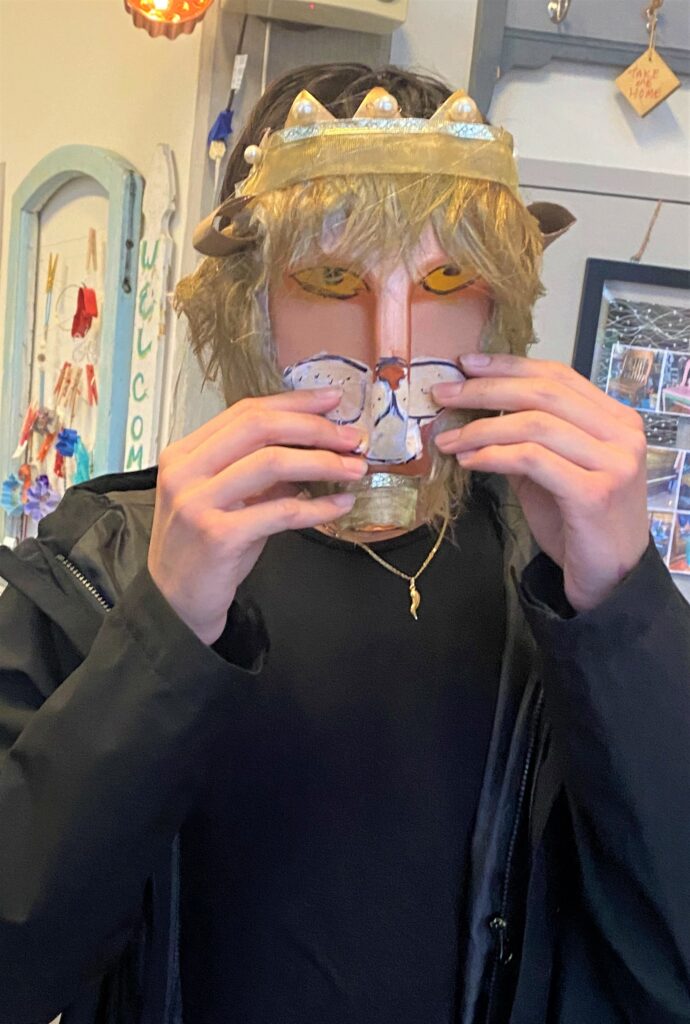
- The juice containers’ shape and handle looked like animal faces, so I sketched out a lion and a unicorn.
What faces do you see in your container’s shapes?
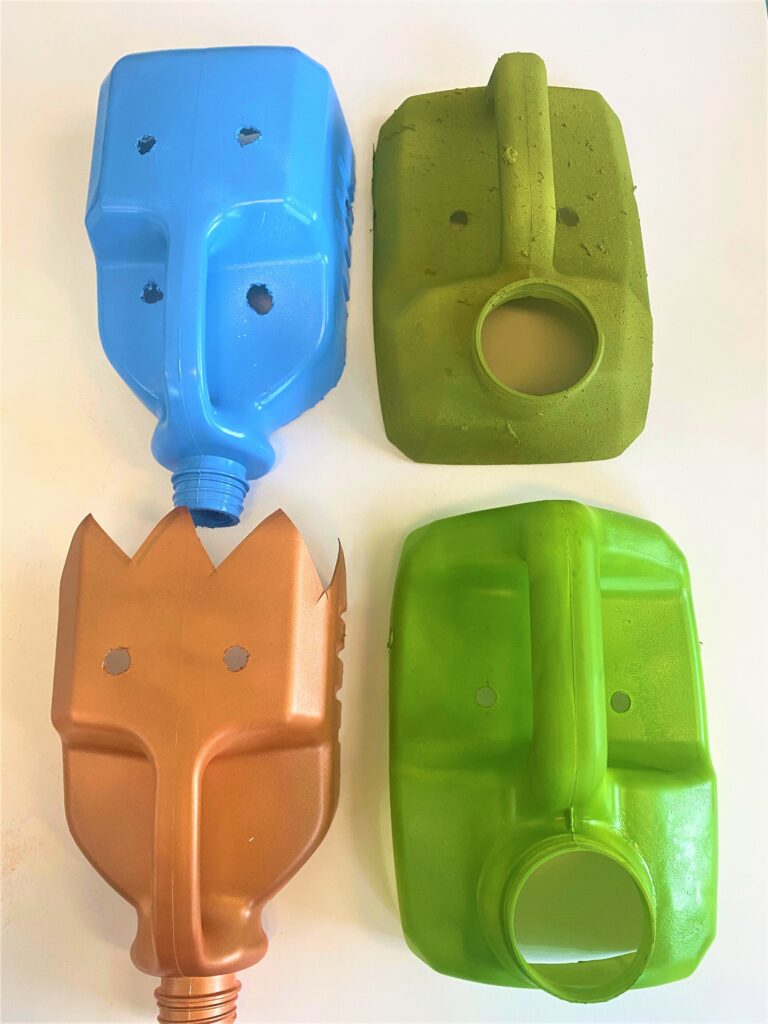
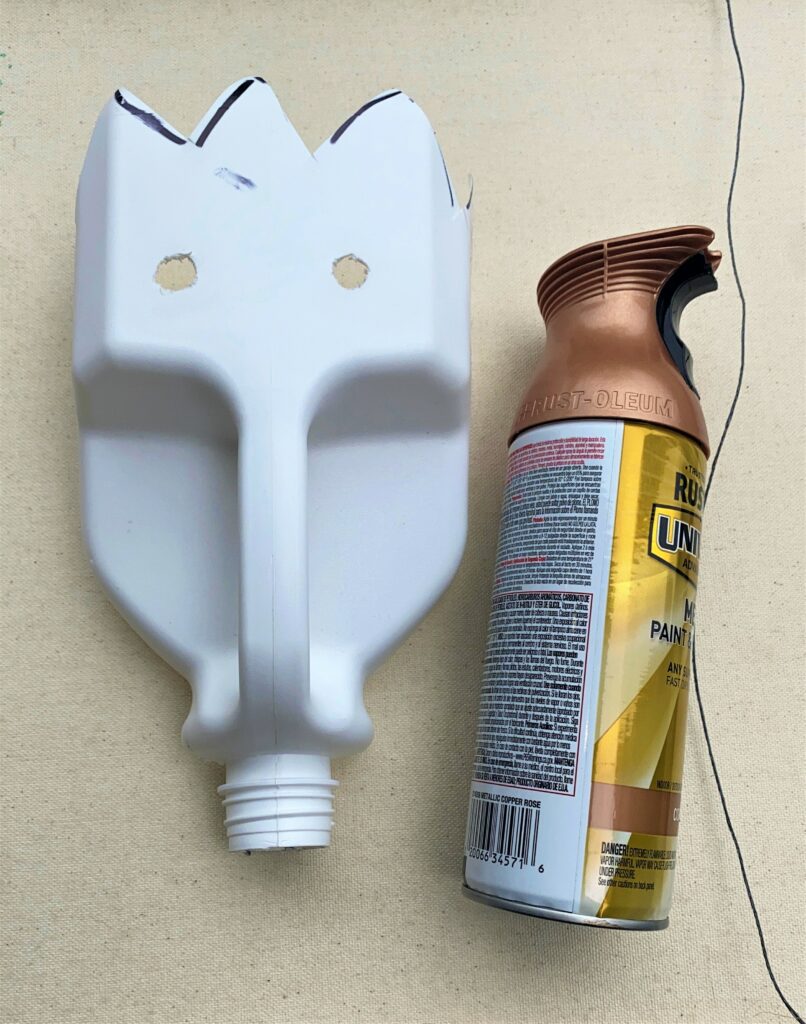
5. Spray on colors to go with your design
- Select a bright shade of green spray paint for your witch’s face; an olive tone worked for Medusa. For the lion, select a bronze, orange or yellow. The unicorn’s color was a light blue, however, a pink or lavender would have looked great, too.
- Place your “mask” outside, if possible, or in a well-ventilated space then spray on your mask’s color.
- Add a light layer and, if needed, to give it a second coat.
- Let your masks dry completely.
Design Surprise
When I was spraying the olive green for Medusa’s face, my can of paint was old and shot out globs of paint as the nozzle cleared itself. Normally, this would have been a problem. However, given the scary nature of Medusa’s face, the globs looked like facial bumps and blemishes which added a creepy look! Sometimes, mistakes work out for the better!
6. Mark on, paint in details
- To give your mask’s face visual interest, personality and character, follow your sketch and draw in eyes, mouth, and nose details.
- With small brushes and your craft paints, add color to these parts.
- Let dry, of course!
7. Repurpose items to make masks come to life
Go to your junk drawer, craft box, or knick-knack container to see what you have on hand that could be reused as a cool detail or accent for your mask.
Fake fur from a footstool was reused as the lion’s and unicorn’s mane (the fake fur was lightly spray painted too, to match the look).
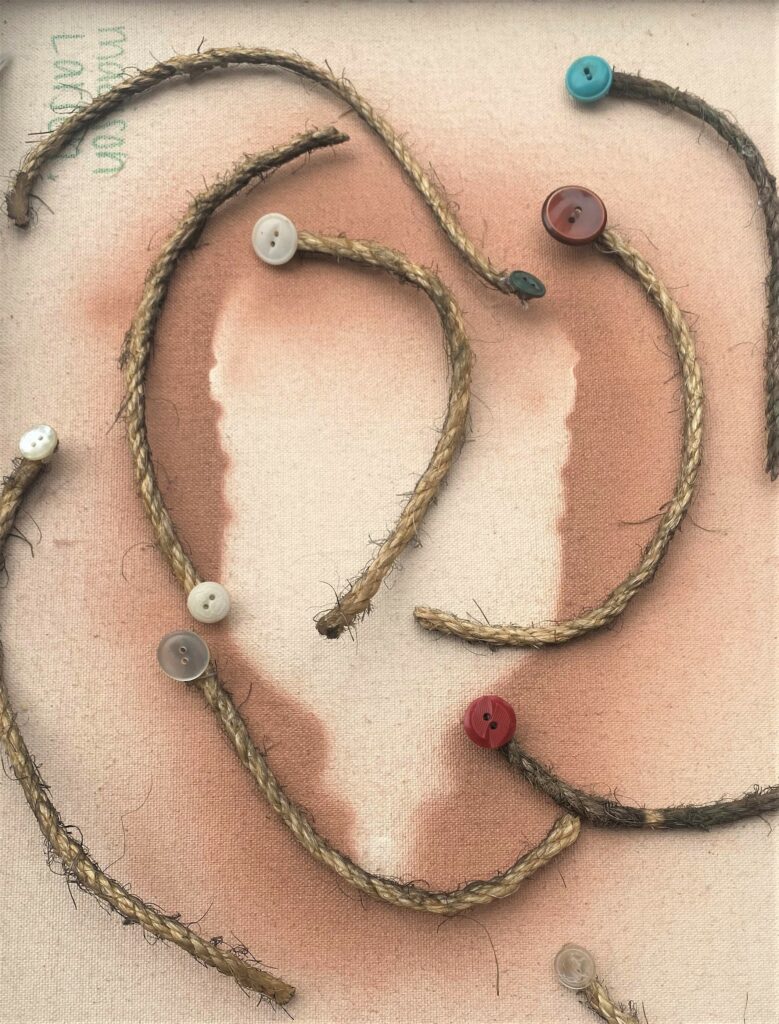
Buttons were used for moles on the witch’s face and to create snakeheads for Medusa’s hair.
Cardboard cones were transformed into a unicorn horn and a witch hat.
The rope became snake bodies.
Plastic pearls gave the king of the jungle’s crown some needed bling.
Black disposable gloves became hair for the witch!
What do you already have on-hand or could you pick up at Goodwill?
8. Tie one on to let the fun begin!
- To hold your transformed plastic container mask, with its cool and creative accents, in place on your face, you will want to thread ribbon, twine or string though the side holes you drilled earlier.
- Once this is done, place on your face (or the excited face of your kid, friend or colleague), tie the straps, then get ready for some totally festive Halloween fun!

Now that your mask is done and ready to show the world, you will want to hit Goodwill to see what clothing items you can find that go along with your mask. A black dress is an obvious choice for the witch.
A fuzzy “onesie” could go with the lion mask (of course with a tail added, too!).
You will be sure to have an adventure when you consider items to complete your look!

Tim Kime
Artist, Motivational Speaker, Life Coach
