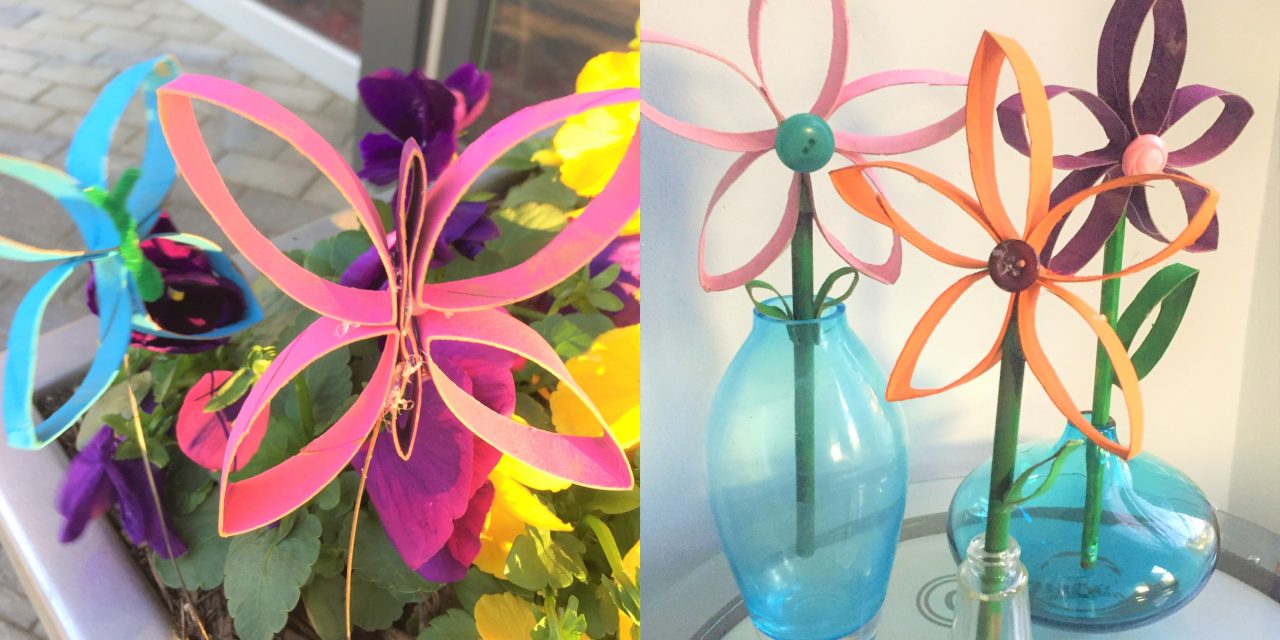
We are all familiar with the saying, “When life gives you lemons, make lemonade.” Well given all that is happening in the world, we can apply that phrase to staying at home AND having an overstocked supply of bathroom tissue. What’s the lemonade here? An easy and very kid-friendly project perfect for Spring: Flowers and butterflies made from empty toilet paper rolls!
It’s creative, good for the environment and will keep your kids busy for a little while. Also, it pretty much costs just pennies, too, so this is a budget-friendly project as well.
Supplies Needed
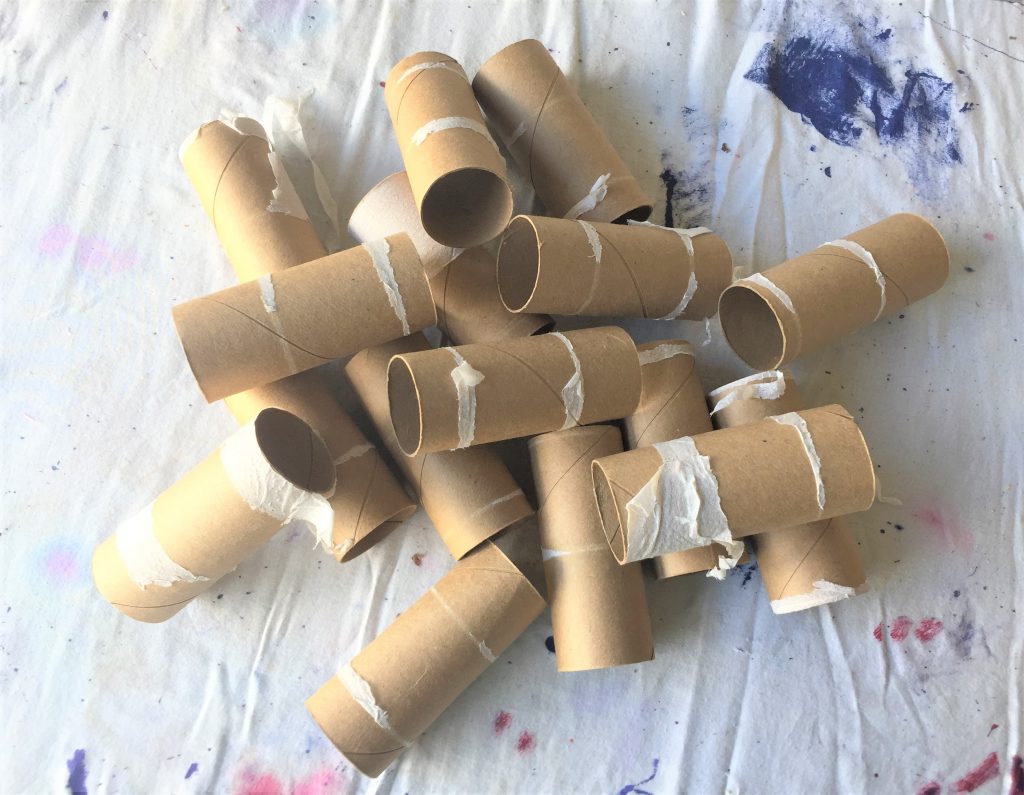
1. Cardboard toilet paper tubes
2. Colorful craft paints
3. Paint/foam brushes
4. Pencils
5. Scissors
6. Glue gun & glue sticks
7. Buttons
8. Pipe cleaners (optional)
9. Thin but sturdy wire
Time: I hour (not including paint drying time)
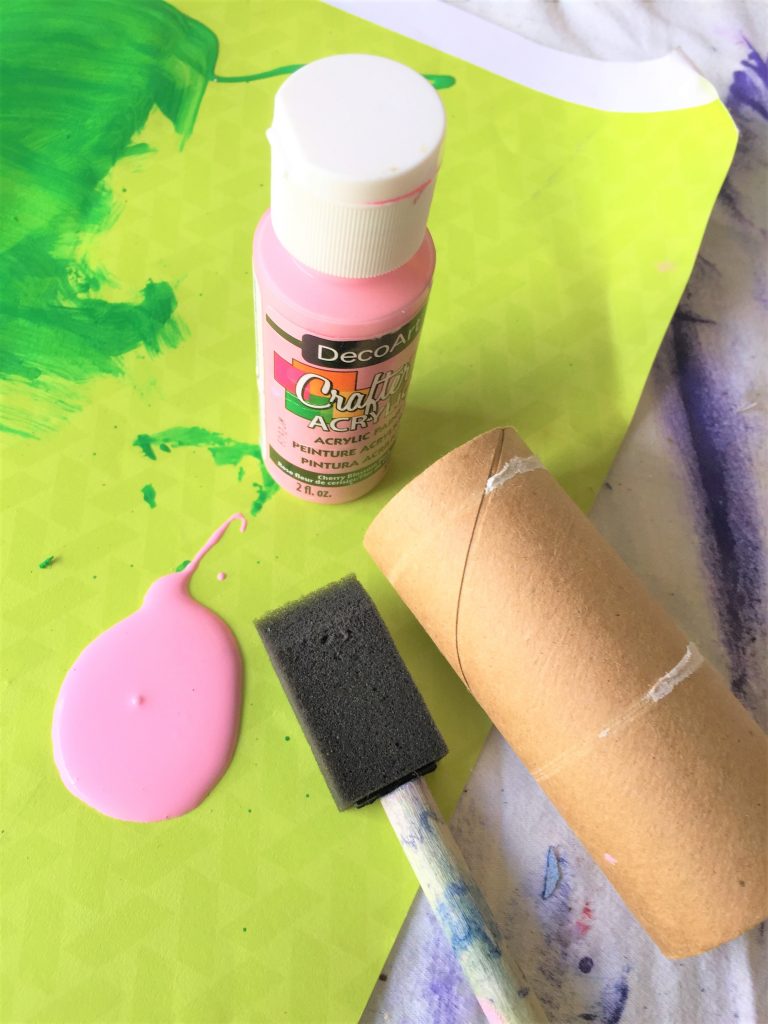
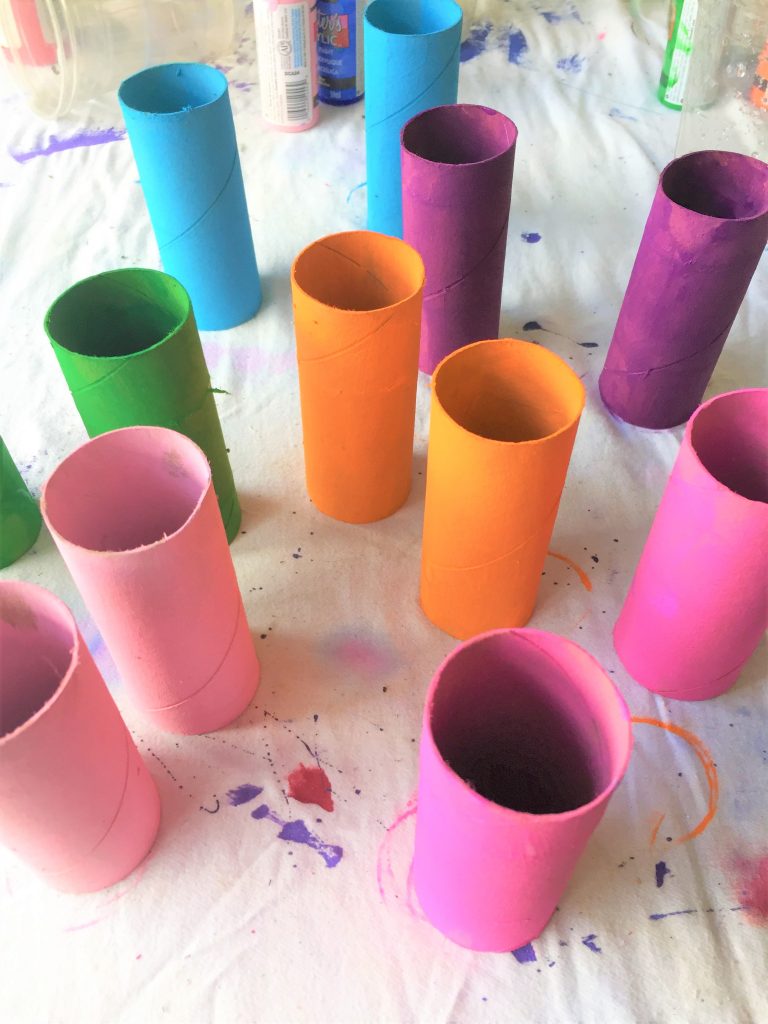
Step 1: Spring-ify your cardboard tubes with paint
- Using colorful craft paints and a foam brush, paint the inside rolls left over when all the toilet paper has been used.
- Pick bright, cheerful colors for the petals and butterfly parts; be sure to use green for the rolls that will become stems and leaves.
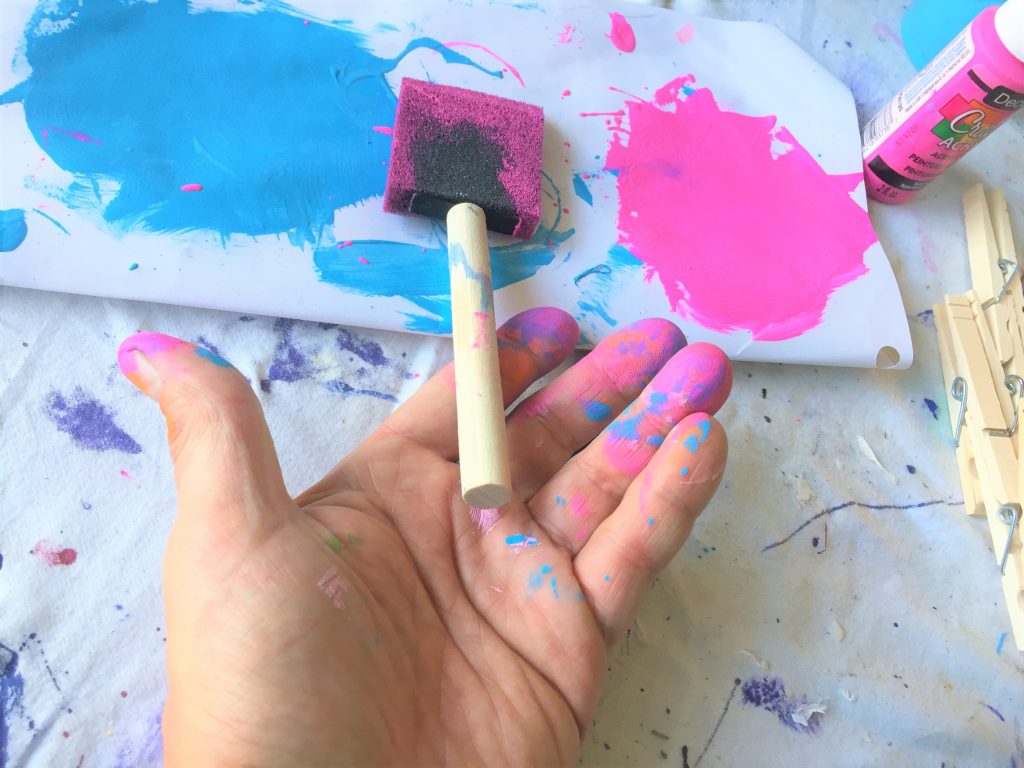
- Paint the inside the tube first ensuring good solid coverage then brush paint on the outside. This might be a little messy but no worries! It is kind of fun to really get your hands involved in the process.
- You might need to do two light coats to ensure a solid coverage.
Step 2: Create stems from pencils
Perfect for this project are pencils given their pointed tips.
- Lightly brush on a coat of green all over the pencil then place in a short cup or mug to allow it to dry before handling.
- You may need to come back to them and add a second coat, too.
Step 3: Let dry and get outside
After you have painted your tubes and pencils, set aside to dry. Thankfully, most crafts paints dry do pretty quickly, so if it’s a nice day out and your kids aren’t doing school online, then send them outside for some fresh air and exercise while things dry. I gave my pieces an hour which did the trick for the most part.
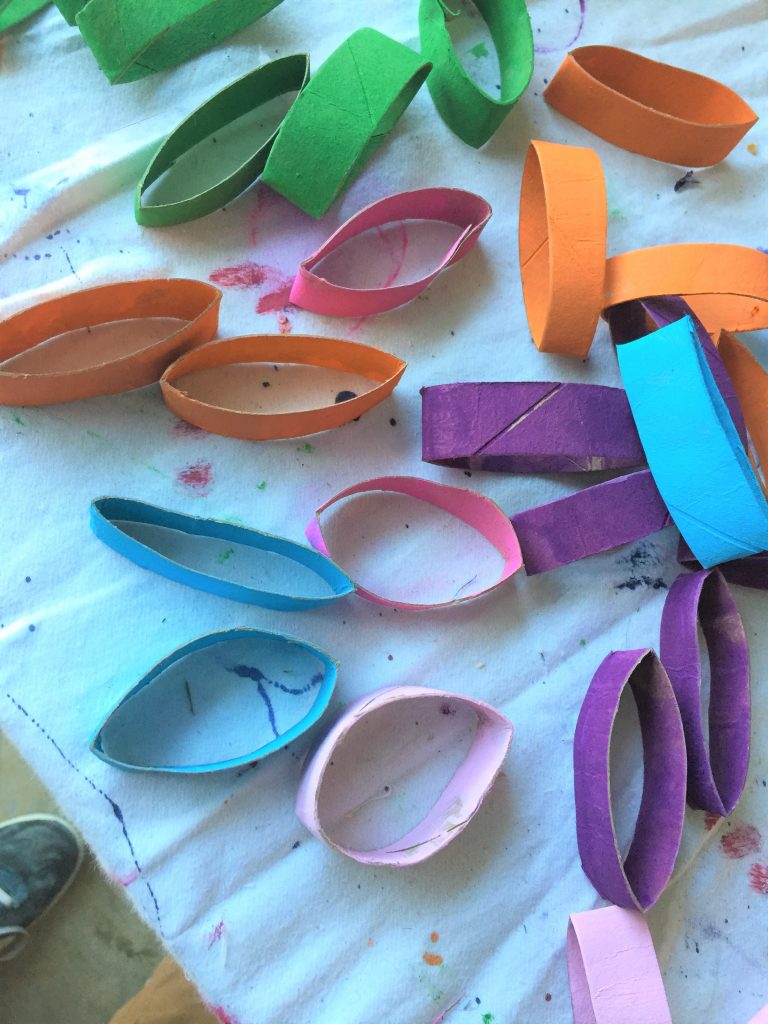
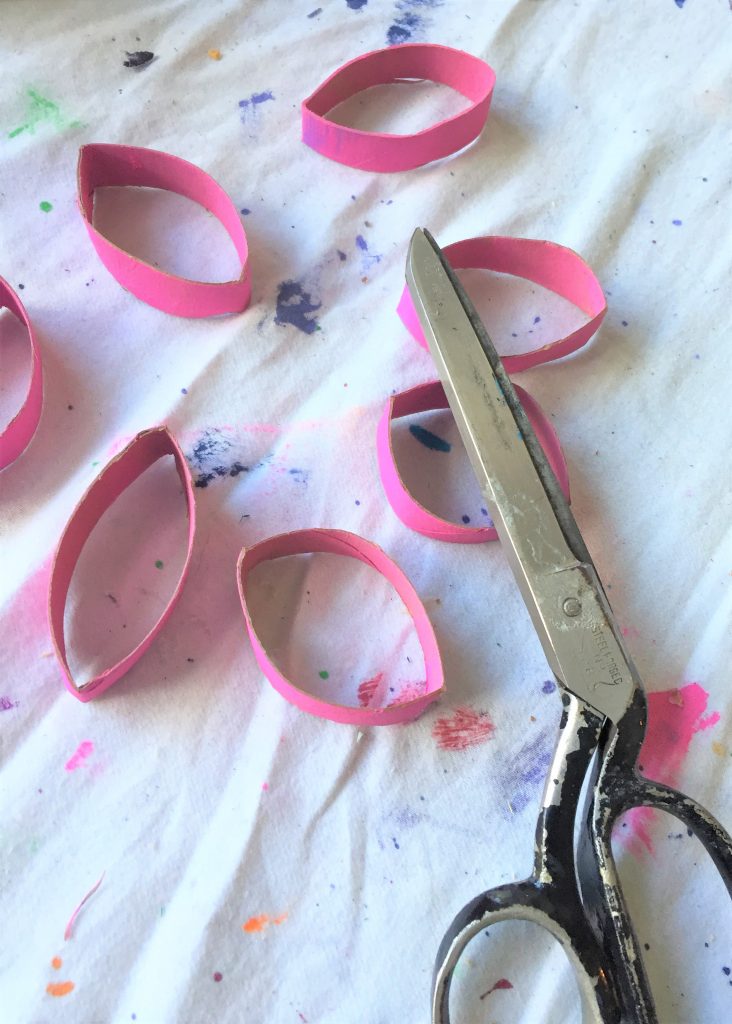
Step 3: Flatten and cut
- Now that your tubes are painted and dry, flatten them to make cutting easier. You should be able to get six pieces from each; cut in half first then cut the halves into three pieces.
- Once you cut them, you might want to pinch the ends for a crisper look; these parts will become the petals, leaves, butterfly wings and body.
Step 4: Grab that glue gun
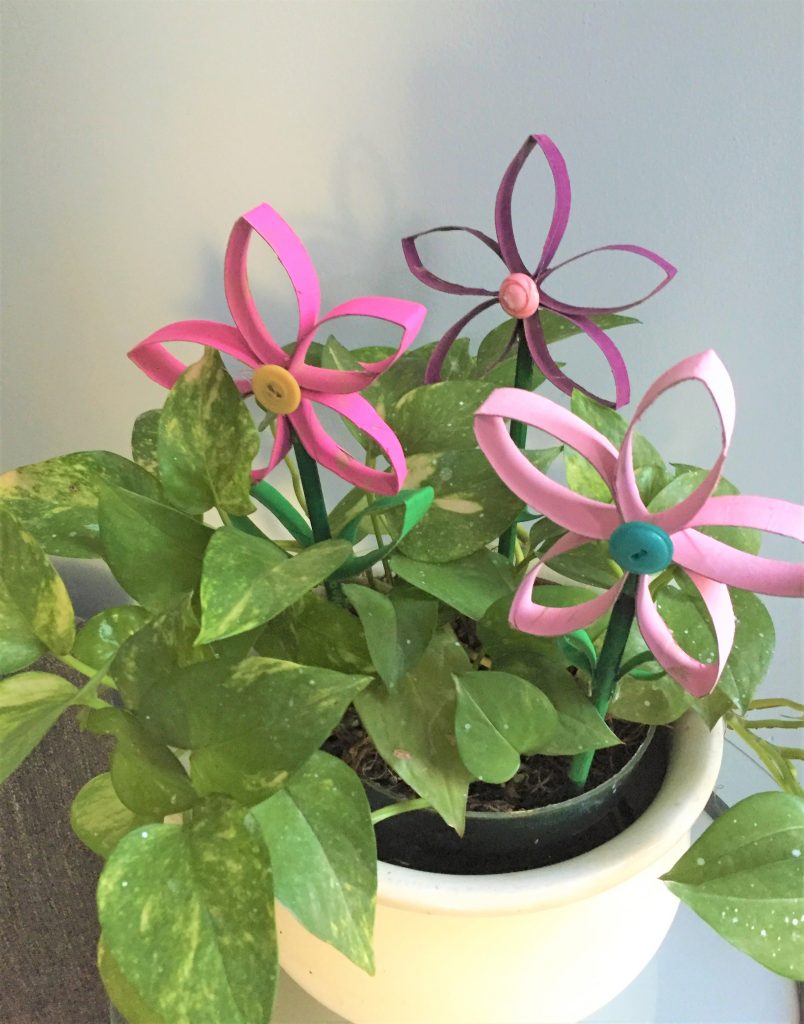
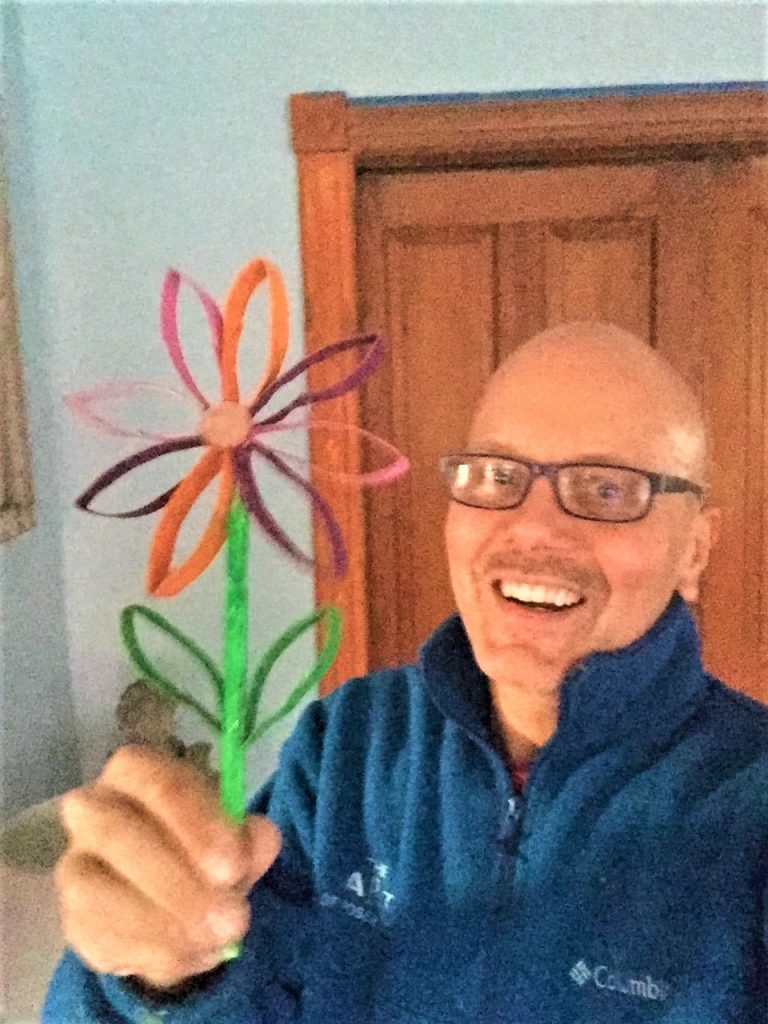
Option A: Flowers
- Collect five of your cut circles in the same color and glue each one of the pinched tips together. This will form your flower.
- Now that you have a “bloom,” attach it to the top of your green-painted pencil (the sharpened end) which will become your stem. Glue in place.
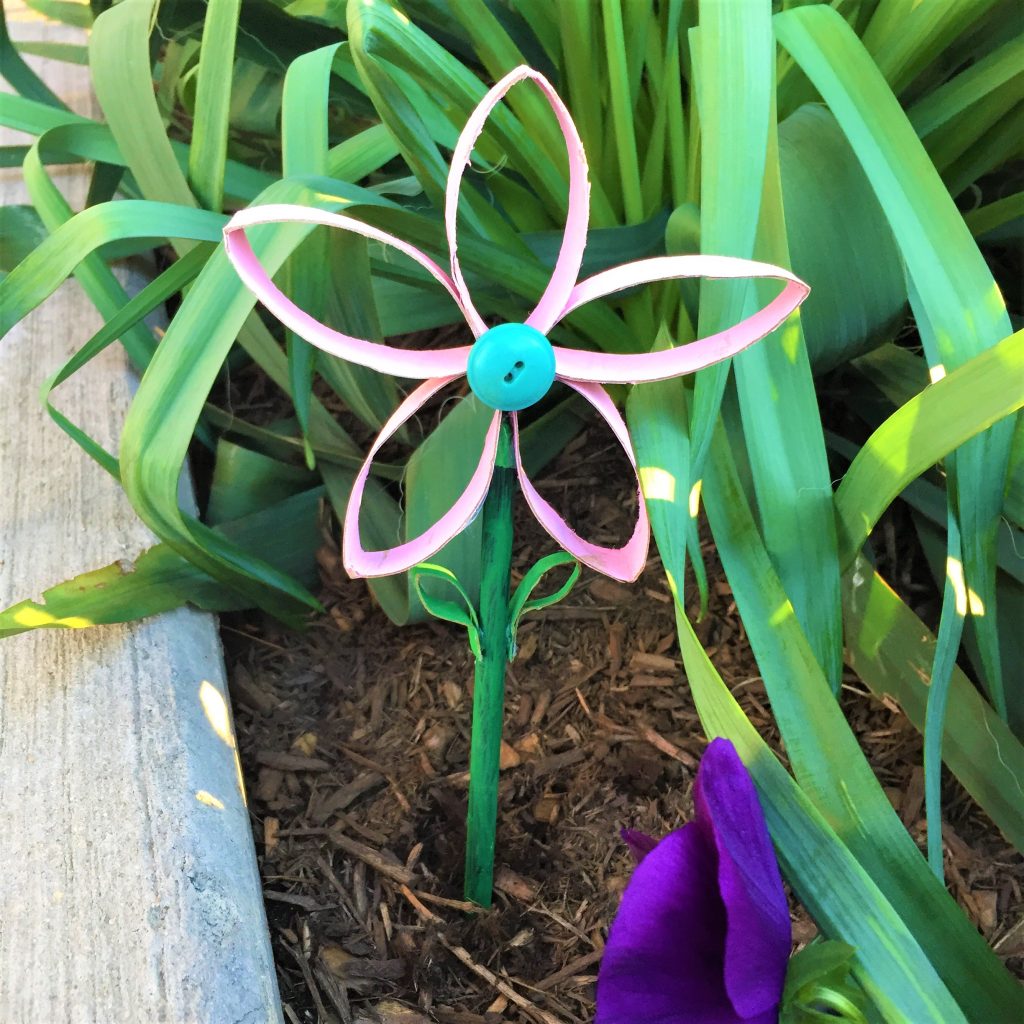
- Next, in the center of your bloom, adhere a button.
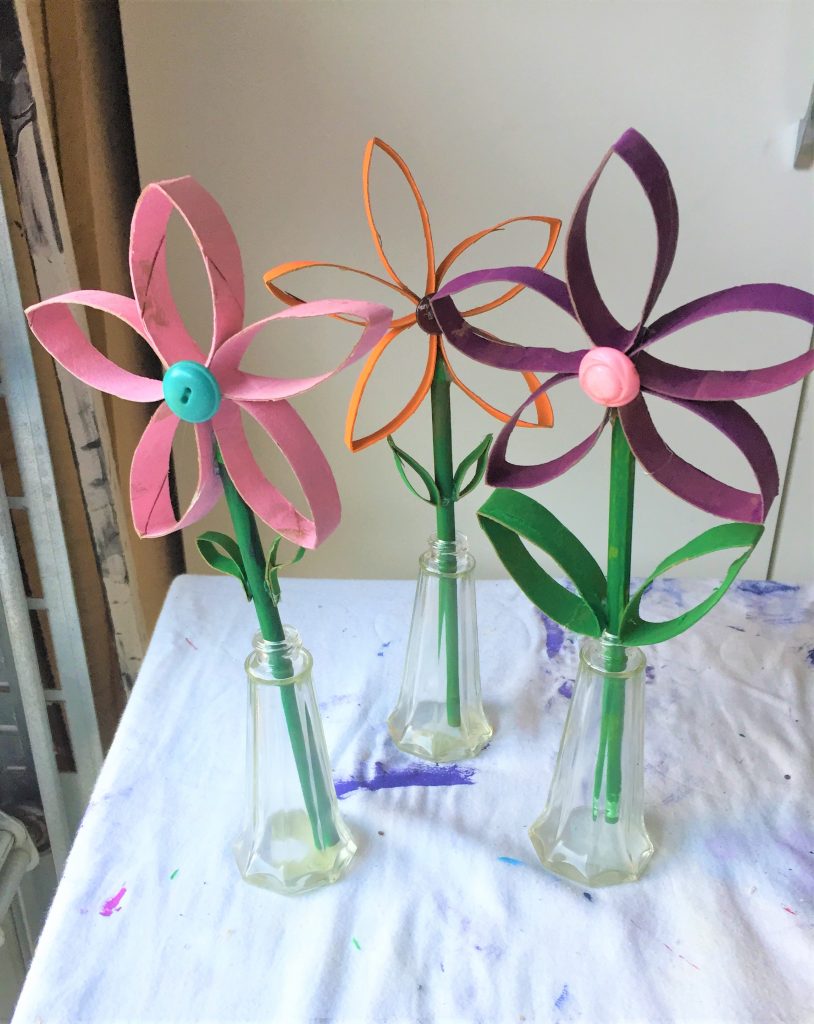
- About half-way up the pencil (your flower’s stem), glue pieces of your green tube in place, again putting glue on the end of one of the tips. Now you have its leaves in place.
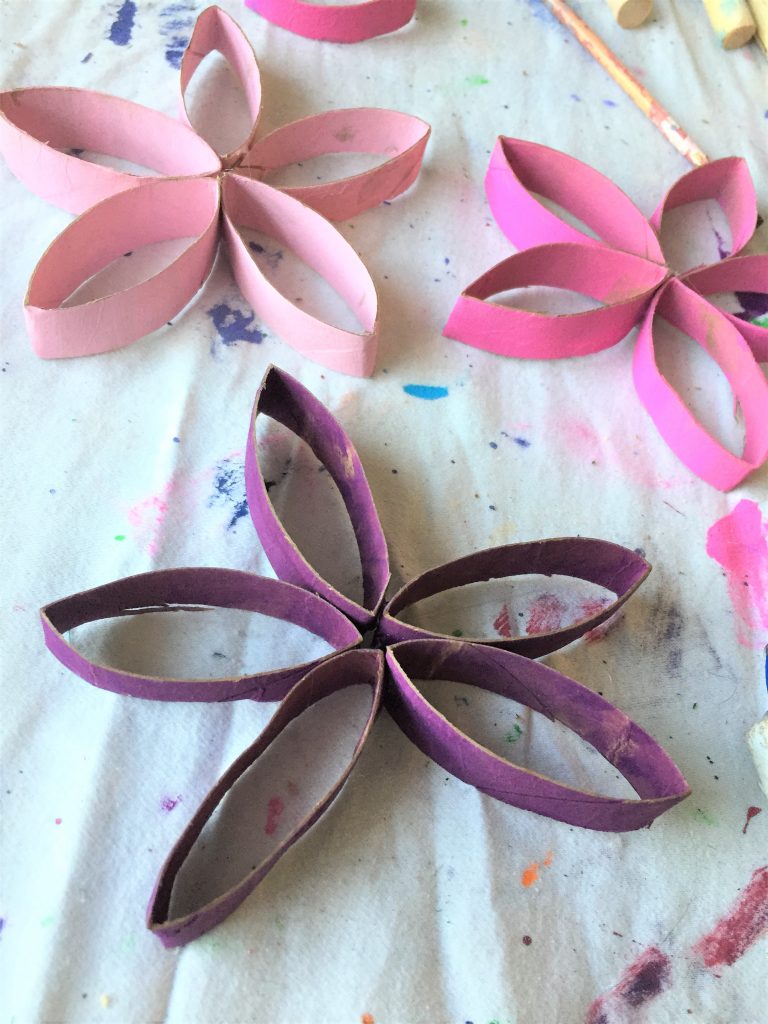
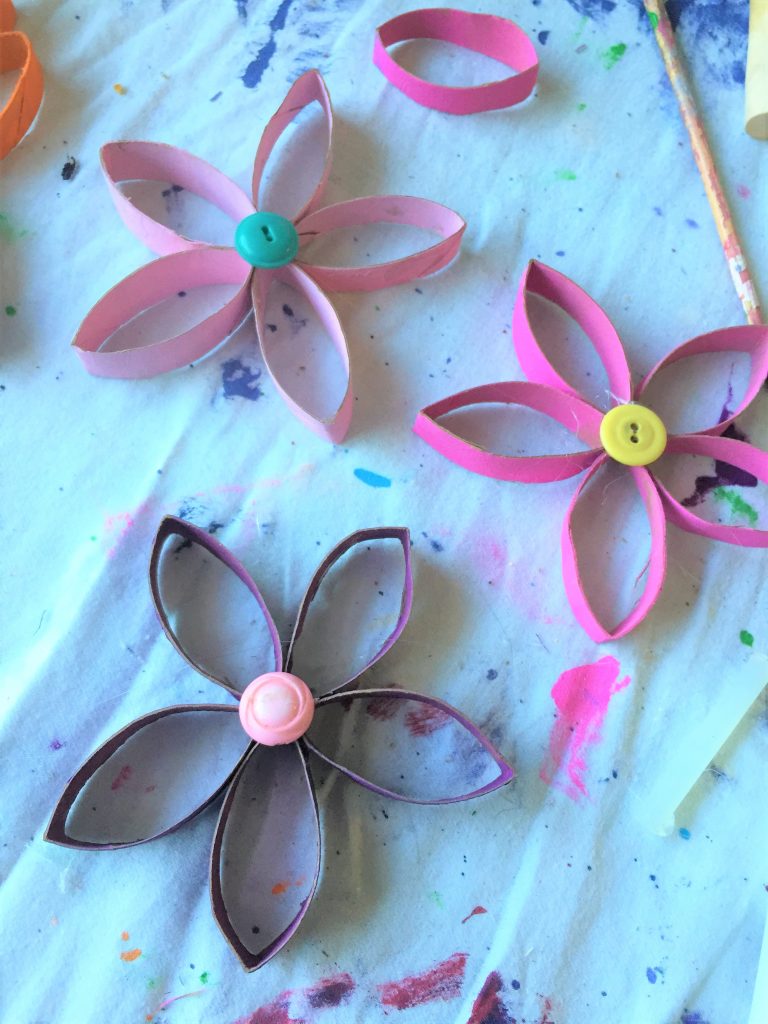
Design Tip: To create a very whimsical and happy looking flower, use five pieces of the cut tube. While I made one with more pieces and it looked too busy. The five allowed each piece to be opened-up slightly wider, giving the petals a rounder and more pleasing shape. Also, I thought the flowers with petals all out of the same color looked nicer, too.
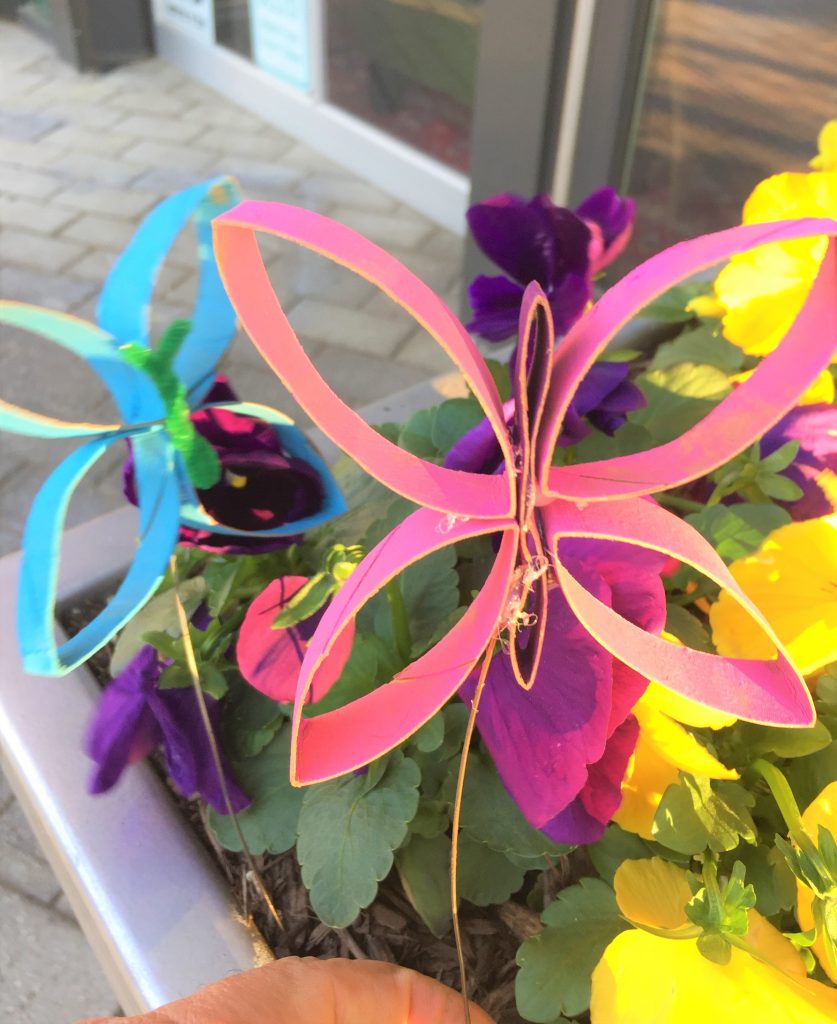
Option B: Butterflies
To accompany your flowers, butterflies are a joyful choice. To create the butterflies, there are two easy approaches.
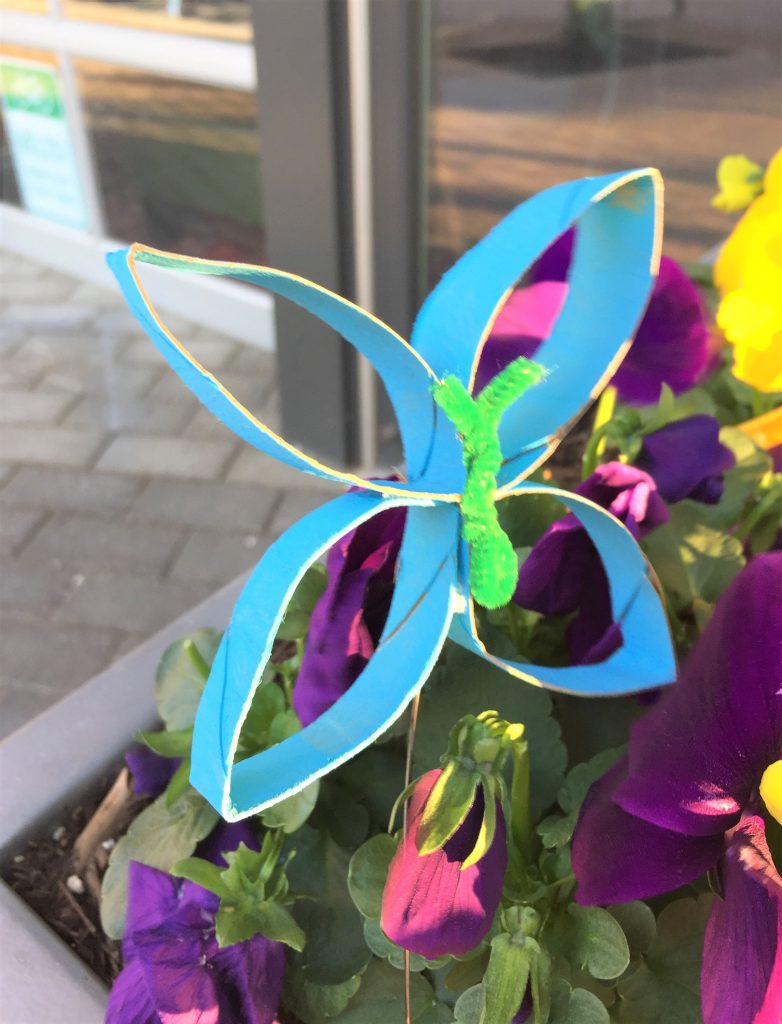
Route 1:
- If you have pipe cleaners on hand, then start by gluing four of the cut tube pieces together with the pinched ends coming together in the center. These are the wings for this most beloved of insects.
- You may want to open up the tube pieces after gluing them so the wings look bigger.
- Cut a three-inch piece of the pipe cleaner, fold in half and twist it together; leave the last little bit untwisted so it can become its antenna.
- Glue this in place with your glue gun, too, positioning in on the top, center of the four pieces
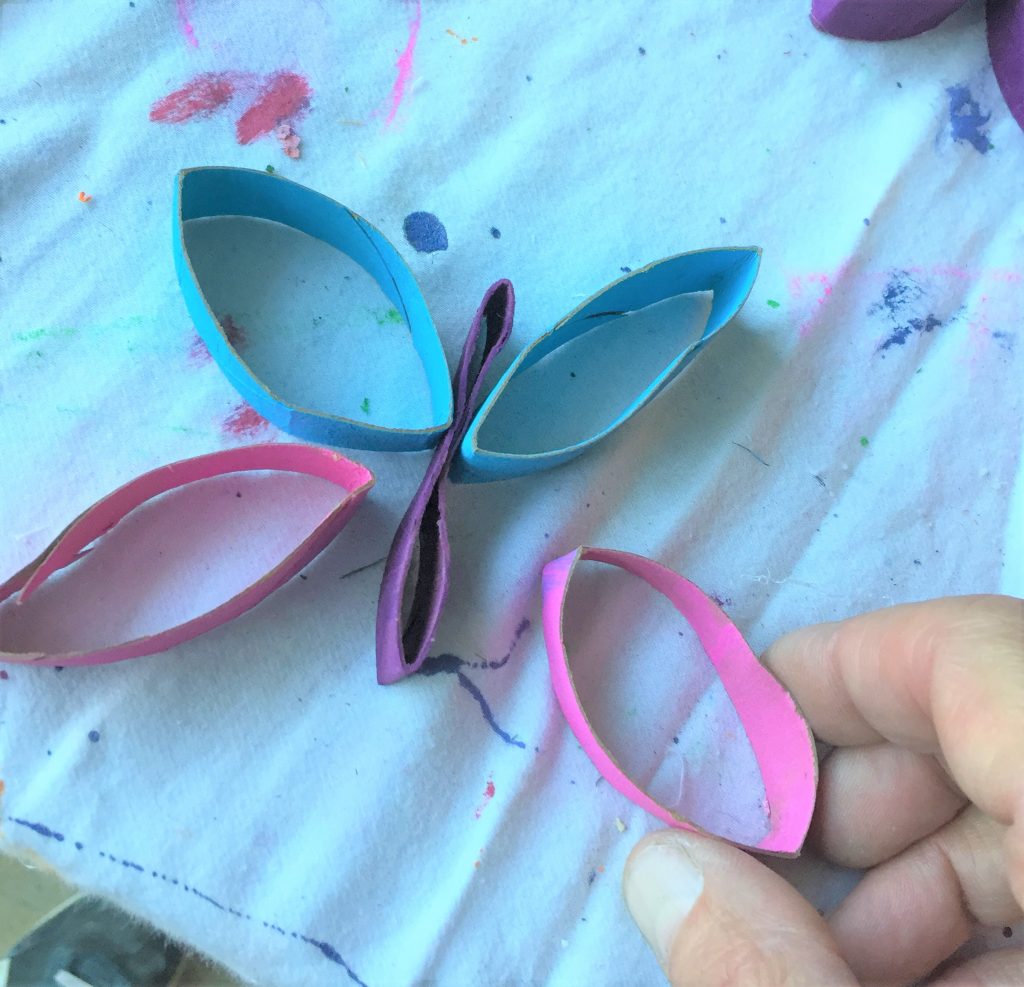
Route 2:
- If you don’t have pipe cleaners, you can make a butterfly using five pieces of the cut tube.
- Add glue to the inside center of one piece then press it together. You don’t want space to show as this will become its body.
- Glue two pieces to the body facing downward and two facing upward, all attached in the center of the body piece.
- Open up the four pieces so the wings of your butterfly look full and ready for flight.
- To allow your butterflies to fly, cut a piece of sturdy wire, then add glue to the end and insert it between the parts.
- You want your wire to be strong enough to be able to hold up the butterfly when displayed.
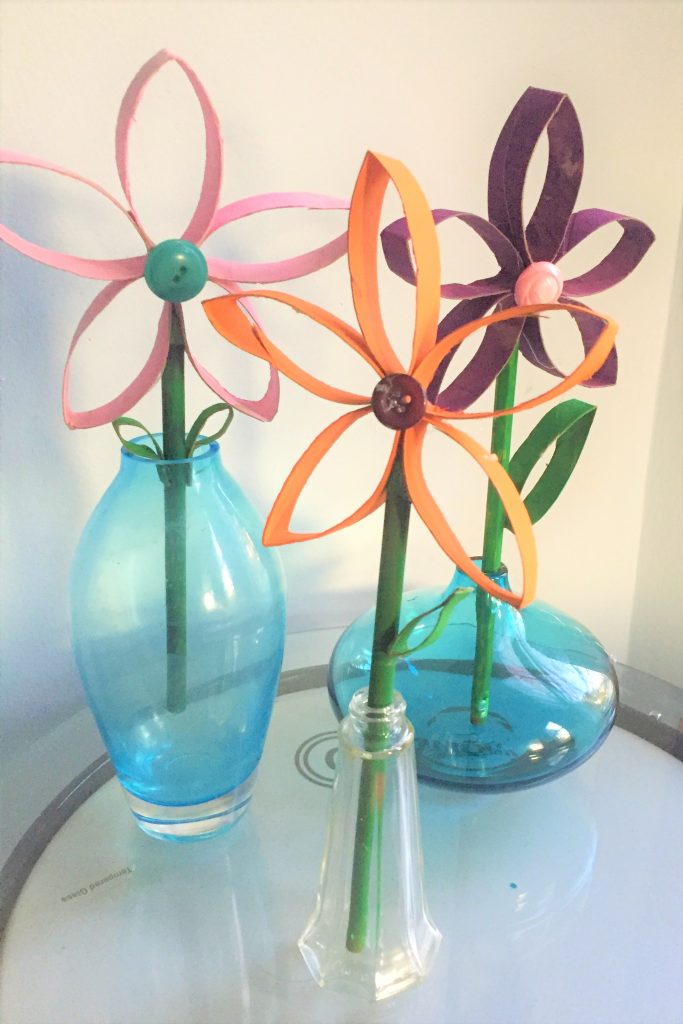
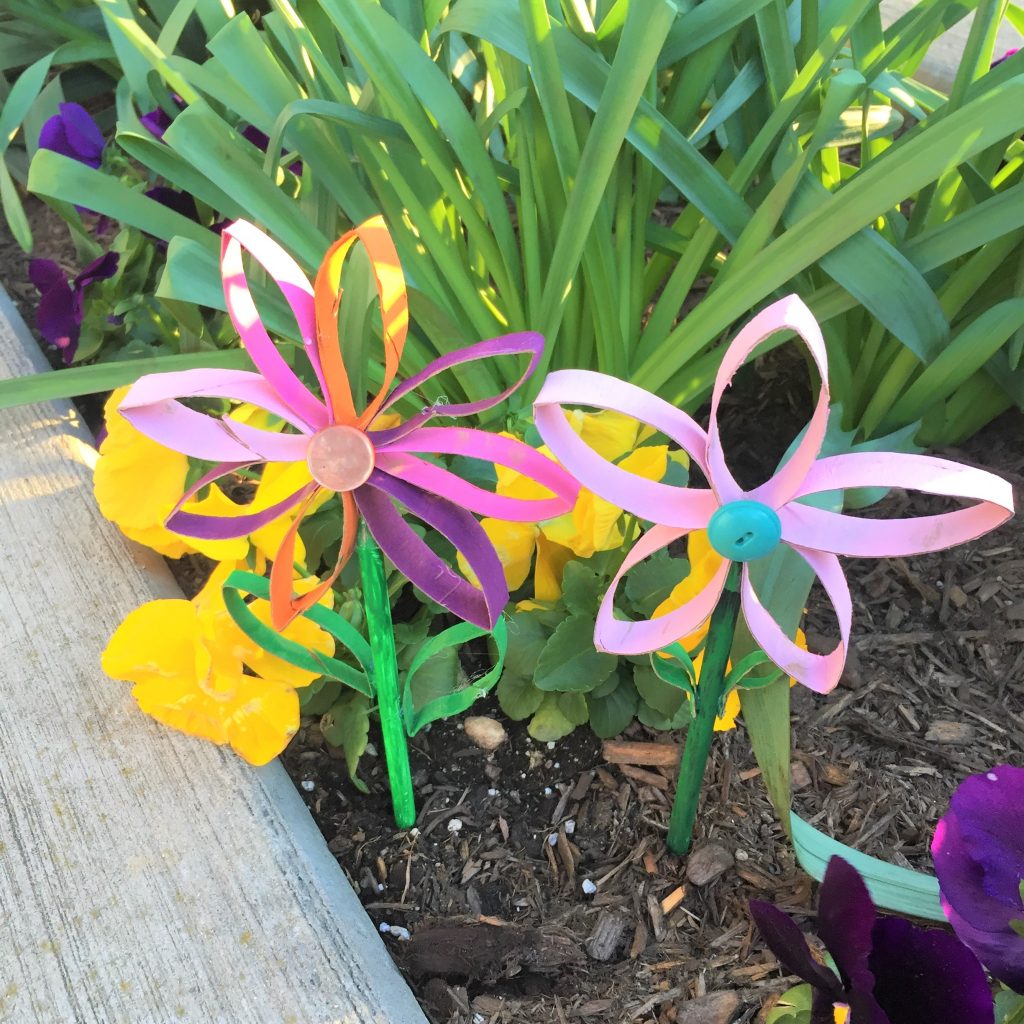
Step 5: Add to small vase or plant
Give instant charm to any potted plant by inserting the flower’s stem and/or butterfly’s wire into the dirt. You could add the flowers to a small vase or, given the reuse focus of this blog, repurpose a small salt & pepper shaker for this role.
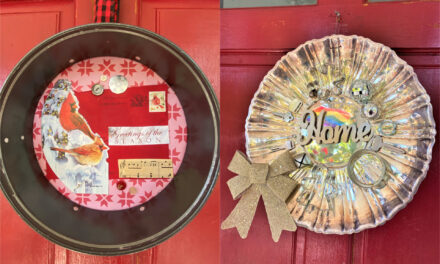
Design Idea: You could make a delightful front door wreath by gluing a bunch of these flowers into a circle and adding a piece of ribbon as a holder. Also, you could remove the glass from a small frame then glue several in it so it becomes a happy piece of art you will love to display or give as a gift to make someone’s day.
This so easy, so earth and budget friendly project will make you smile, I guarantee it! And you will welcome the chance to make lemonade—or at least flowers and butterflies—from what has been presented to you now. And always, always remember: Hope always blooms.

Tim Kime
Artist, Motivational Speaker, Life Coach
