Give your outdoor space style with unique fountain created from lamp base
A DIY light bulb moment—transform a “ho-hum” lamp into an “gotta have one” garden fountain that is sure to make you shine from inside! The birds and the bees (and your neighbors and family) will love it too!
Level: Adults (with more advanced DIY experience)
Items needed:
1. Lamp base
2. Small DIY fountain kit
3. Replacement plug
4. Wire cutter
5. Pliers
6. Thin PVC pipe
7. Silicone adhesive seal
8. And water, of course!
Time requirement: Two hours, not including Silicone seal drying time
Cost: $60
- $22 for lamp
- $17 for small fountain kit
- $5 for PVC pipe
- $6 for silicon gel
- $20~ for handyman help (optional if you are proficient with small electrical home repairs)
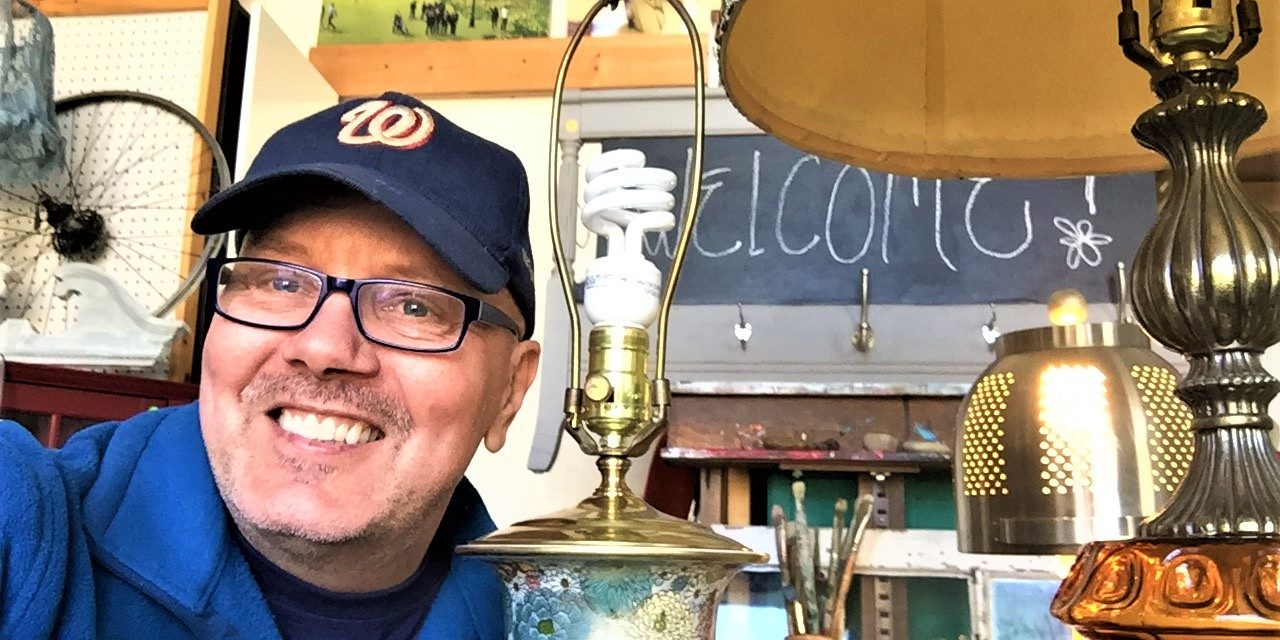
Step 1: See the light–and find your good—at Goodwill
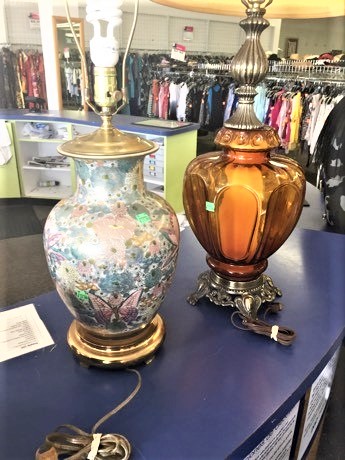
Thankfully, people donate their old lamps to Goodwill daily so get on over to your nearby store and look for a lamp with a base that is has a wide top -which will become your fountain space.
A larger lamp base is ideal to give you more room to work with for this more challenging (but beautiful!) DIY project.
Be on the lookout for ones on a base or slightly raised up with short legs; this will allow the fountain cord to easily slip under it.
The lamp featured today was perfect as-is because of its nature-related design and wide top.
While you can always paint the lamp’s base, consider one that is good to go just as it is so that you don’t have to worry about the elements impacting its lovely look.
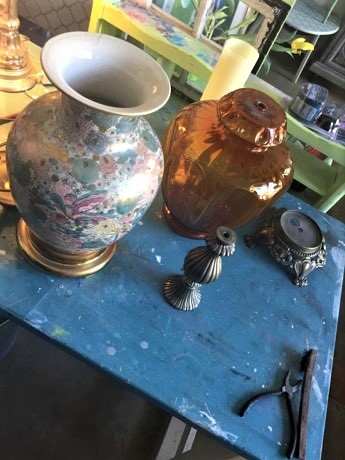
Step 2: Disassemble your lamp
- In your work area, remove the lamp shade and light bulb.
- Lay the lamp on its side to see how the cord is threaded through its base. Typically, a lamp has nuts and bolts that just need to be loosened to allow the pieces to come a part.
- Using your pliers, remove the nut from the bottom while holding the lamp on the top by the switch.
- Gently pull things apart; you will likely want to cut the plug off so you can pull the cord through it.
- Place all the other parts aside as you will use the main “body” of the lamp for this project. (And the other lamp pieces are ideal for future transformations!)
Step 3. Cut the cord, insert fountain unit/pump
One of the reasons that using a lamp base is ideal to turn into a fountain is that it already has holes in its top and bottom – so you don’t have to drill one for the plug and cord.
- However, based on your lamp, you’ll need to cut off the fountain/pump’s plug that will go into the wall/power source because it will probably be larger than the existing hole.
- Remove the plug, place the entire fountain unit inside the lamp base and thread the end of the cut cord through the bottom hole.
- Place the water pump flat so that the spout (where the water will come out) is straight up.
Safety Tip: If you need to remove the plug to get the power cord through the bottom hole, it is strongly suggested you have a replacement/new plug added back onto it by an expert. It will require a few more dollars and is well worth it to ensure your piece is safe when used. Consider taking your in-progress fountain to your local, smaller hardware store and have their electrical person replace it. Or call a handyman who is good with simple electrical projects to help.
Step 4: To PVC or not to PVC is the question
Based on the height of your lamp base/foundation body, you may need add a piece of thin PVC pipe where the water exits the pump.
This will force of the pump and the water pressure to come out of the PVC end in a spout or spray. Cut the PVC pipe so when it is attached to the pump, it is just below the water surface and out of sight. Use your Silicone adhesive here, too.
Expert Tip: To give your water stream more pressure so it comes out higher and in a thinner stream, you may want to insert a couple of small straws into the end. I cut several small pieces and pushed them into the end of the PVC pipe where the water comes out. It gave the water spout more height.
Step 5: Make it tight—water tight that is
To make your fountain water tight, use the Silicone adhesive to close the bottom hole around the cord and create a tight seal. Also, if the lamp has a base is a separate piece, use the adhesive here, too, to secure in place. Let this dry overnight.
Step 6: Place outside, add water, plug in and enjoy the beauty (for both your eyes and your ears!)
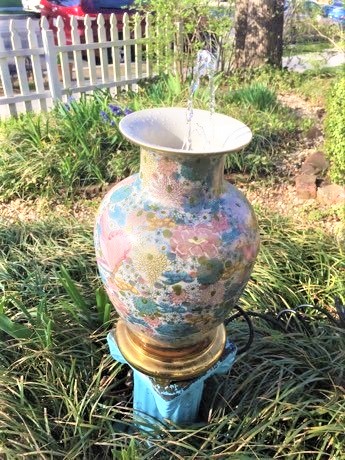
Position your one-of-a-kind fountain in your garden (or on your patio, balcony or other outdoor space), pour in water, then plug in to the power source. You may need an outdoor extension cord.
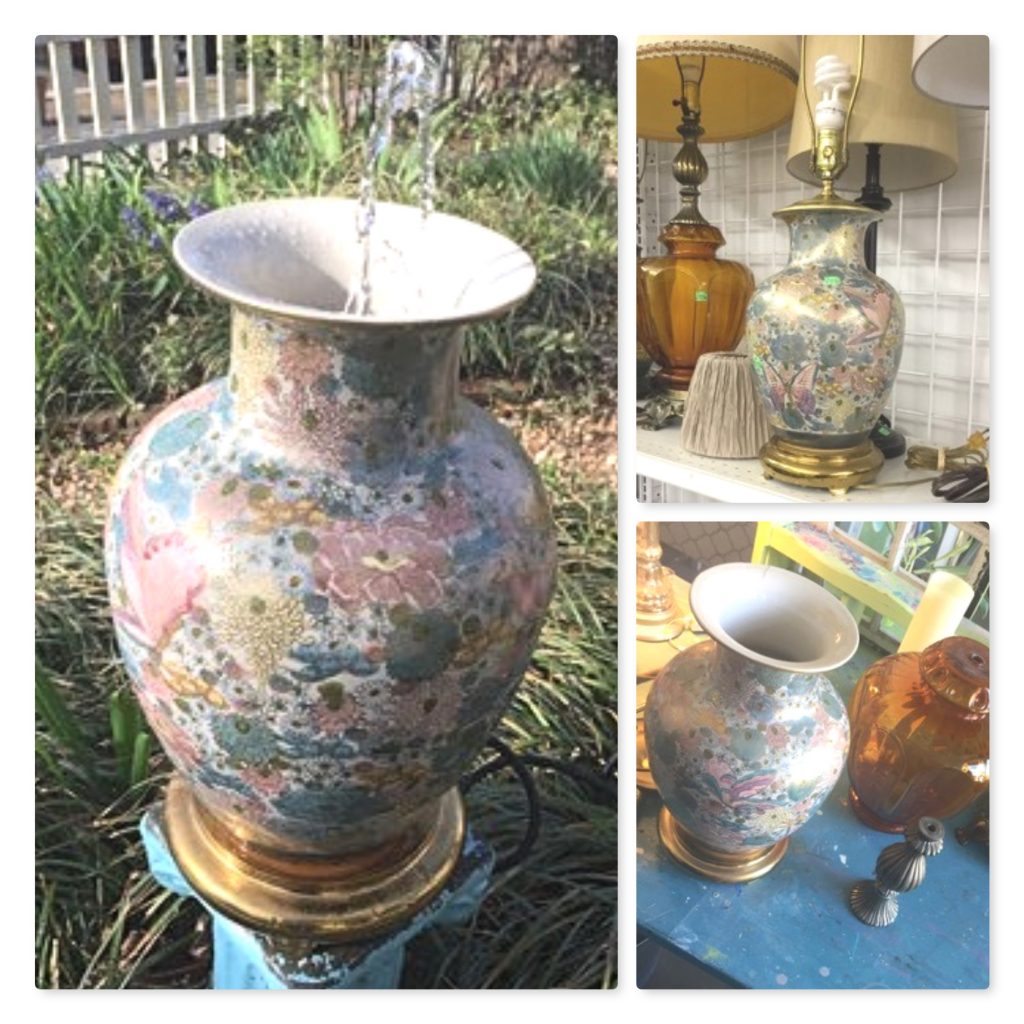
You will love, love, LOVE how it looks with the water stream splashing up AND you will love, love, LOVE how the bubbling water sounds.
This beautiful water feature will make your outdoor space truly feel Zen-like!


