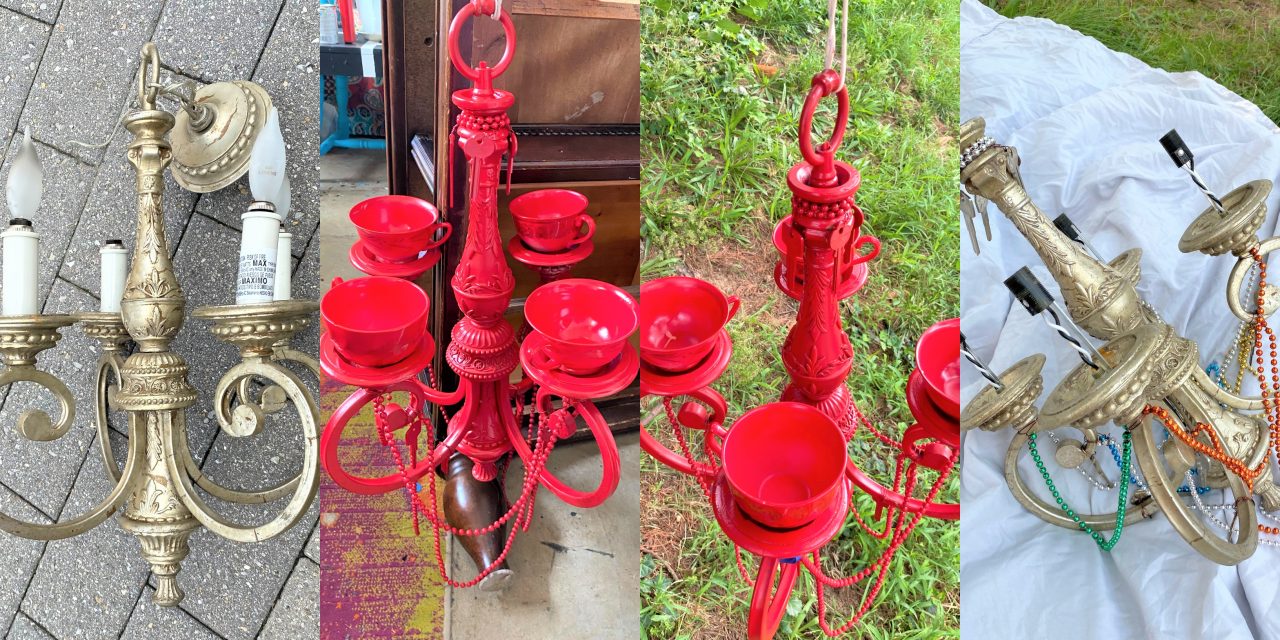
Give your winged friends the royal treatment by upcycling an old chandelier into a show-stopping—and feather-stopping—bird feeder! This week’s DIY project is all about creating a piece of art for your garden that also serves a great function. The birdseed you provide will be even more tasty in this glammed-up feeder. It will make your local birds invite others to join them in your yard!
Supplies Needed:
1. Old chandelier
2. Teacups
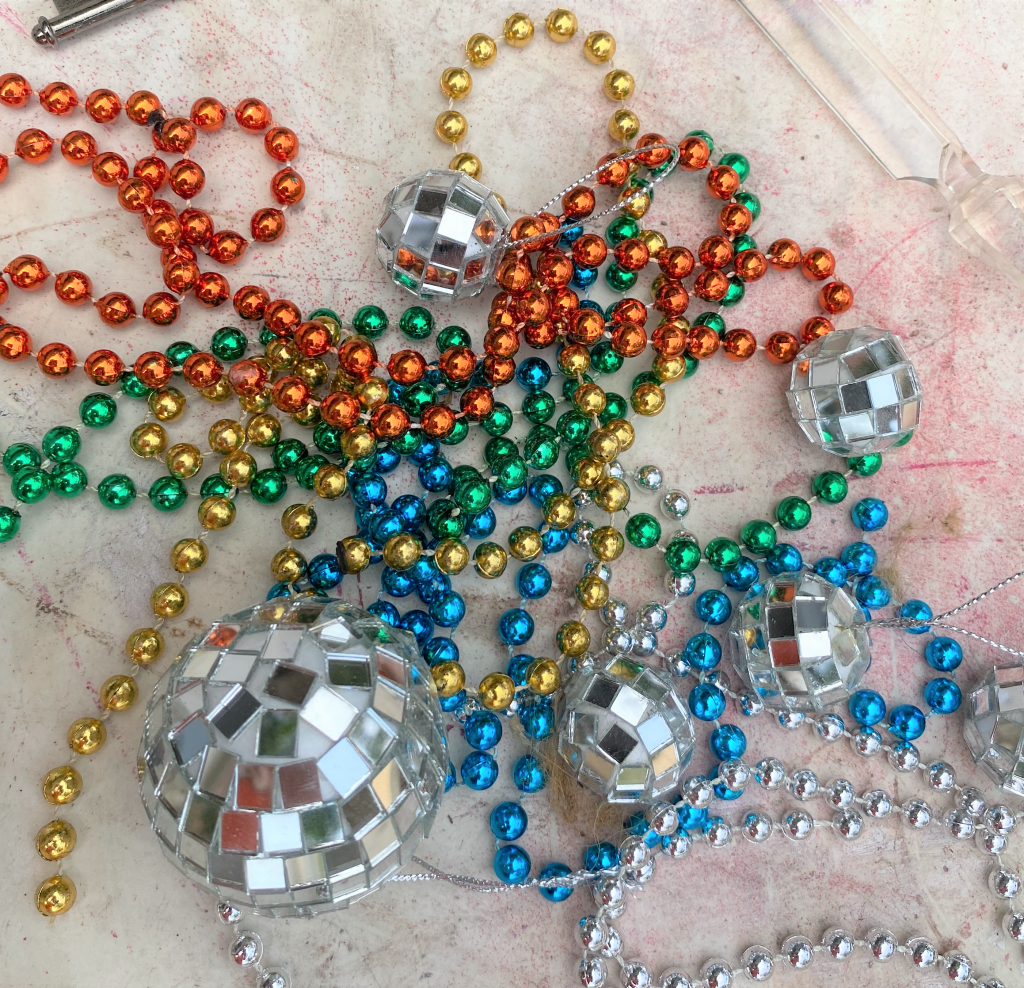
3. Mardi Gras/dollar store necklaces
4. Old keys
5. Art wire, 22 gauge
6. Scissors
7. Two cans of spray paint
8. Epoxy glue
9. Bird seed
Step 1: Shopping at Goodwill will make you see the light
While you will know exactly what you get when you order online, part of the fun experience of shopping at Goodwill is there are rarely the same items available for sale from week to week. Therefore, you never know what cool items you will come across as you look for your good there.
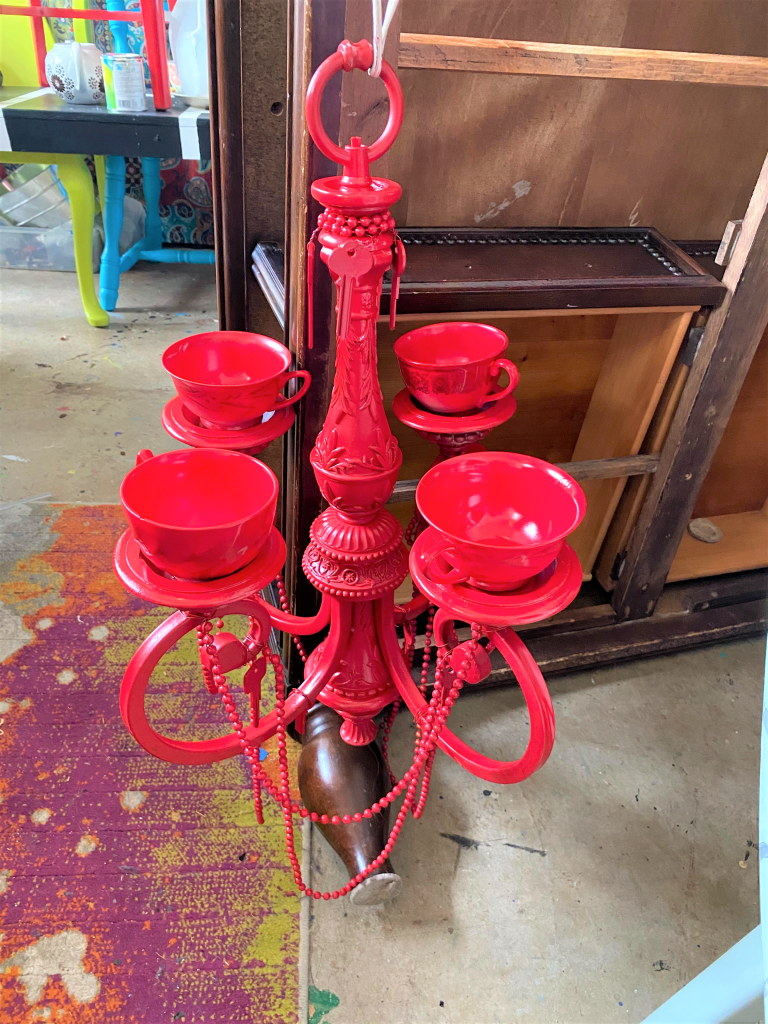
You might even come across an old chandelier that you could give a fresh new look and purpose. In addition to this lighting fixture used for this oh-so-memorable DIY project, you are likely to discover an array of teacups waiting to join it too. While I had the necklaces on hand at home, they do sell bags of odds and ends which might contain beaded necklaces as well.
Step 2: Remove hardware & cut the cord
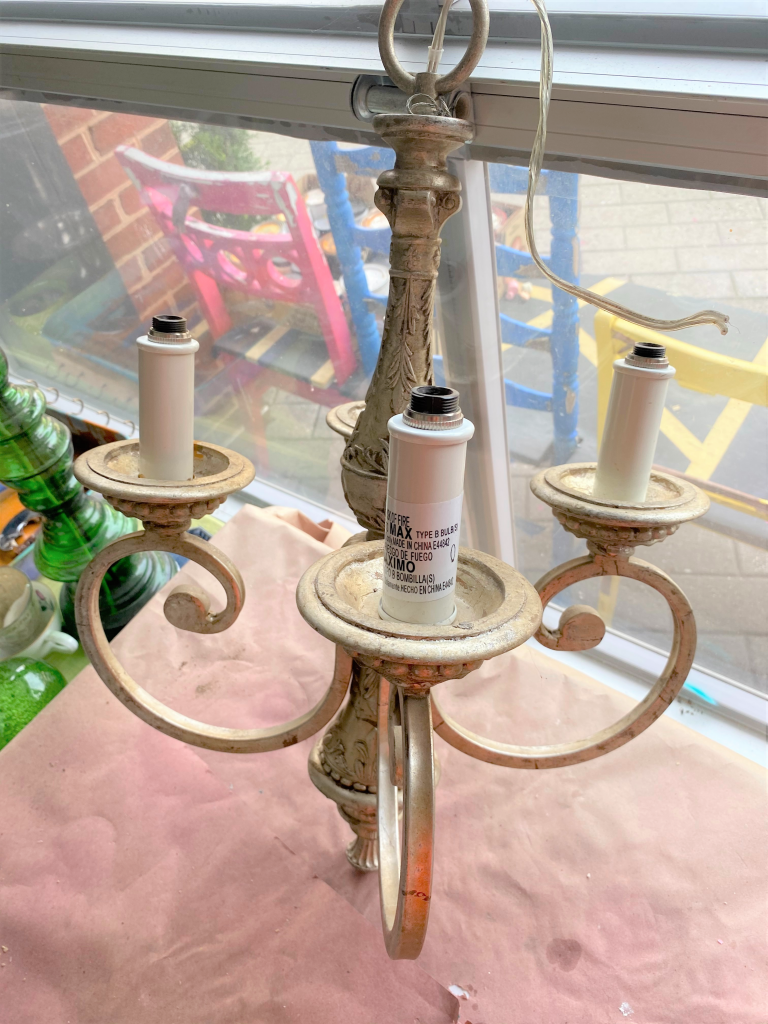
- Unscrew and remove any mounting hardware and screws from the chandelier.
- Cut the power cord then put aside any parts that won’t be needed for this project. You might want to keep them with the box that has all those miscellaneous items in it so they can be used for future transformations!
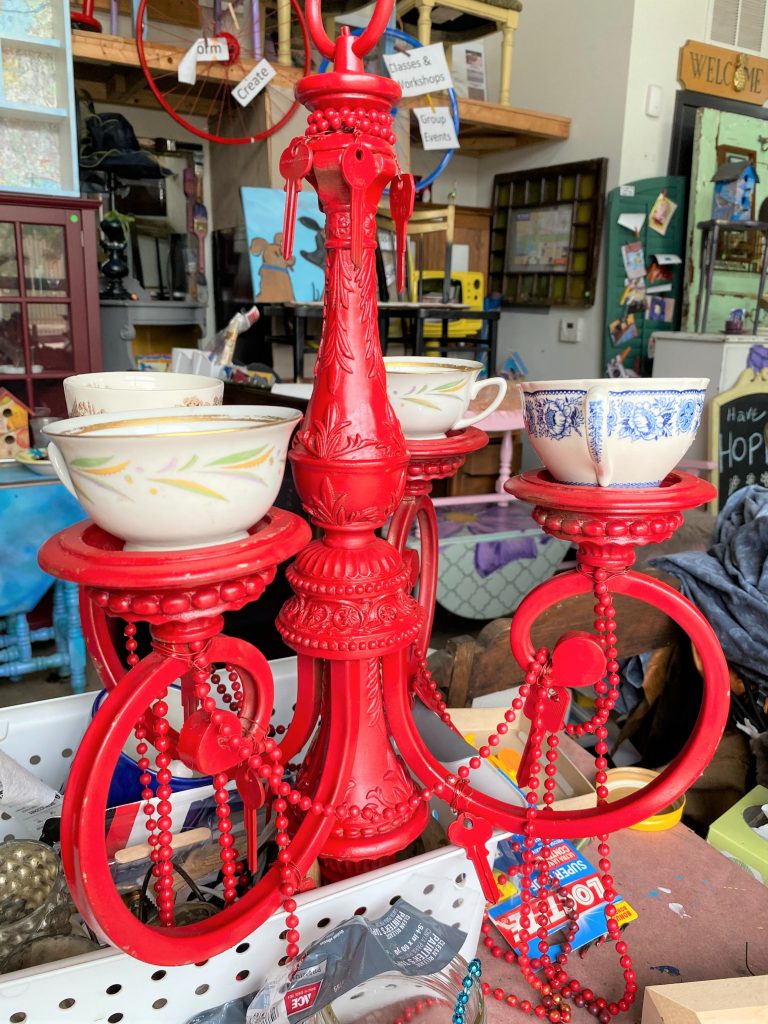
Step 3: Wire on the glam
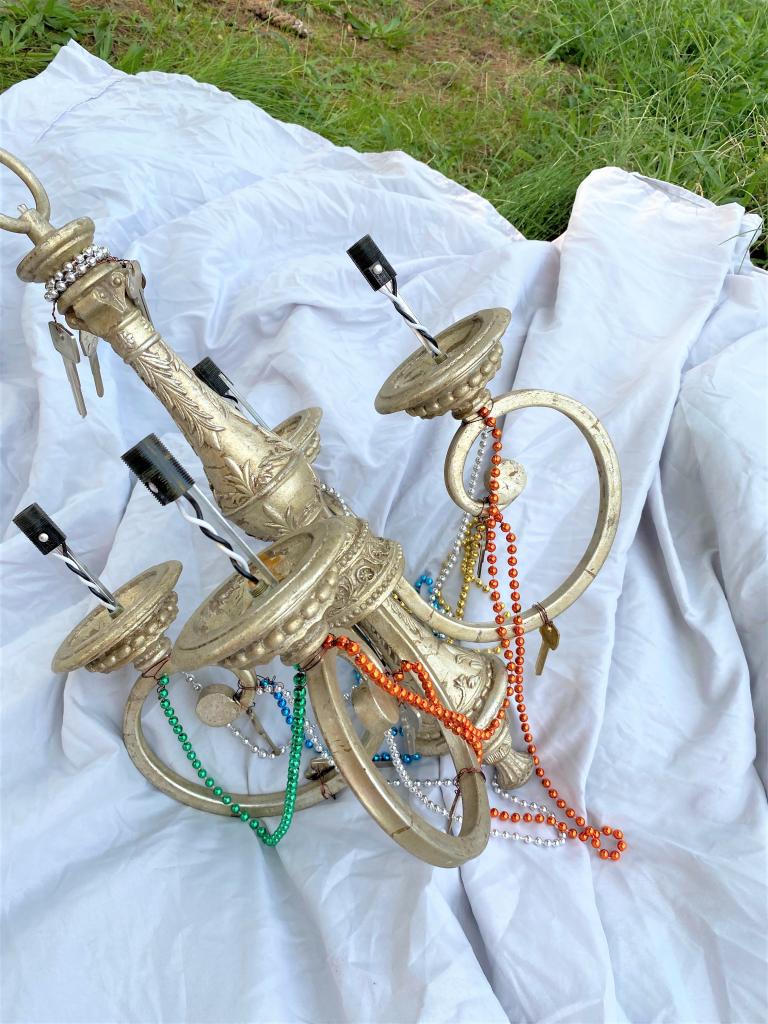
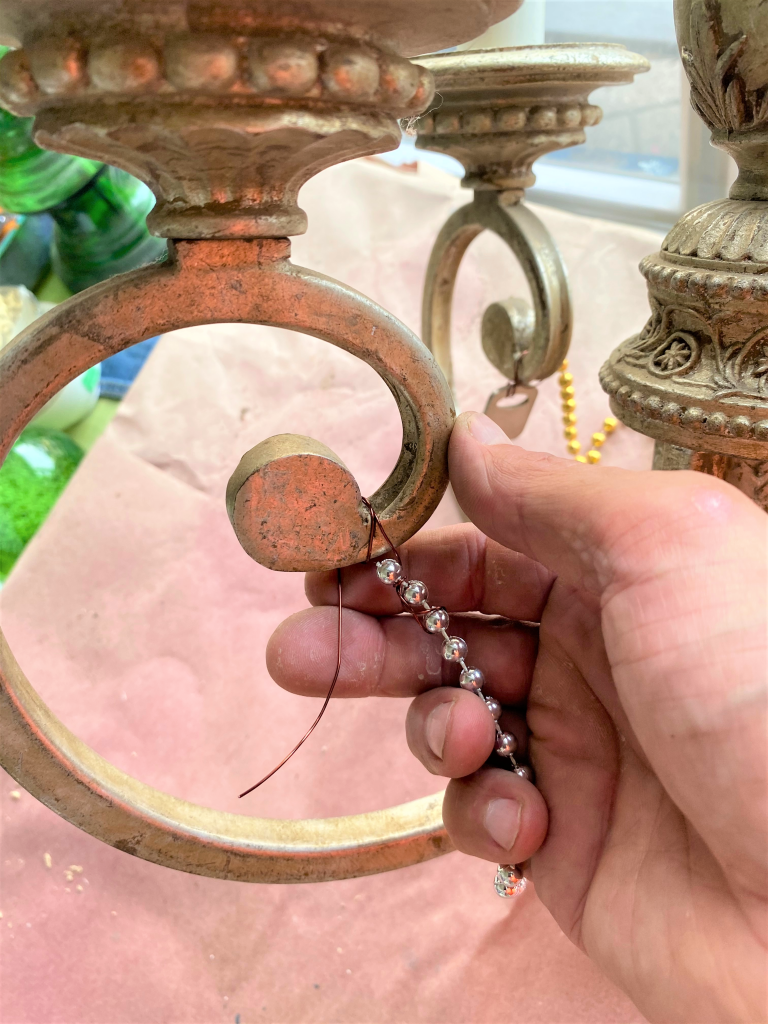
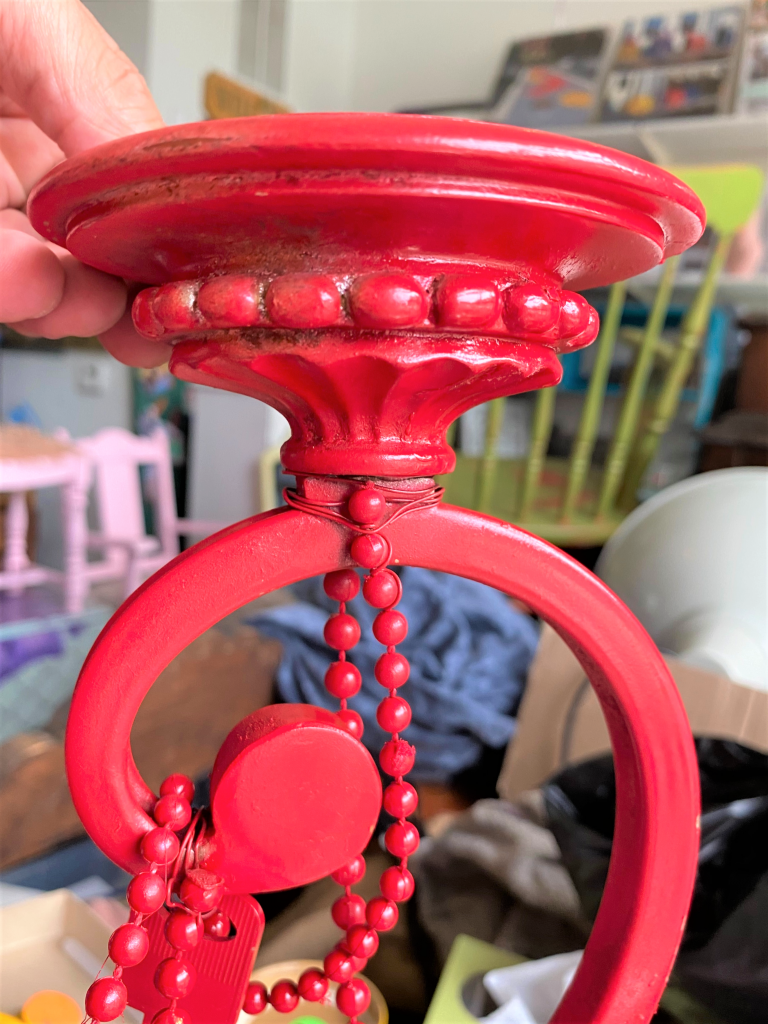
- To add more visual interest and charm to your soon-to-be bird feeder, use light weight wire to secure beaded necklaces in place.
- Around one end, wrap some wire then secure under one of its “arms” that hold the light bulbs.
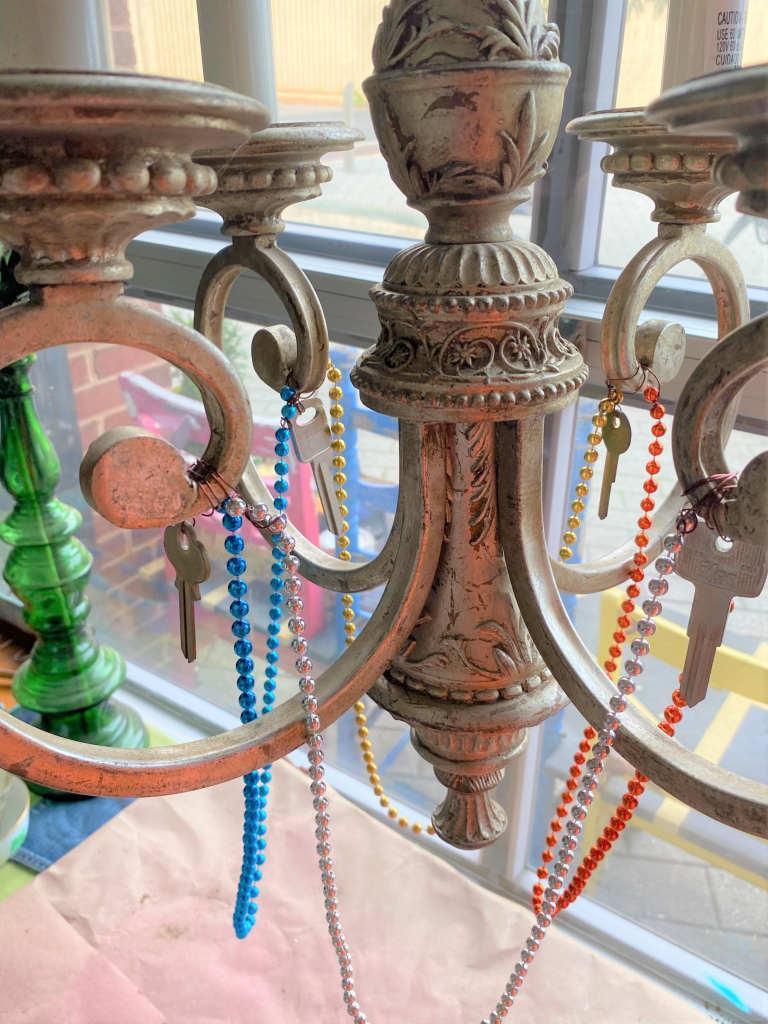
- Drape it and secure it again by wrapping wire to the next arm. Repeat this step from arm to arm.
- Along the lower part of the arms, more wiring and draping will take place to add another row of necklaces/beading. While you could measure each piece so that it is exactly the same between each arm, I just eye-balled it since I wasn’t aiming for perfection.
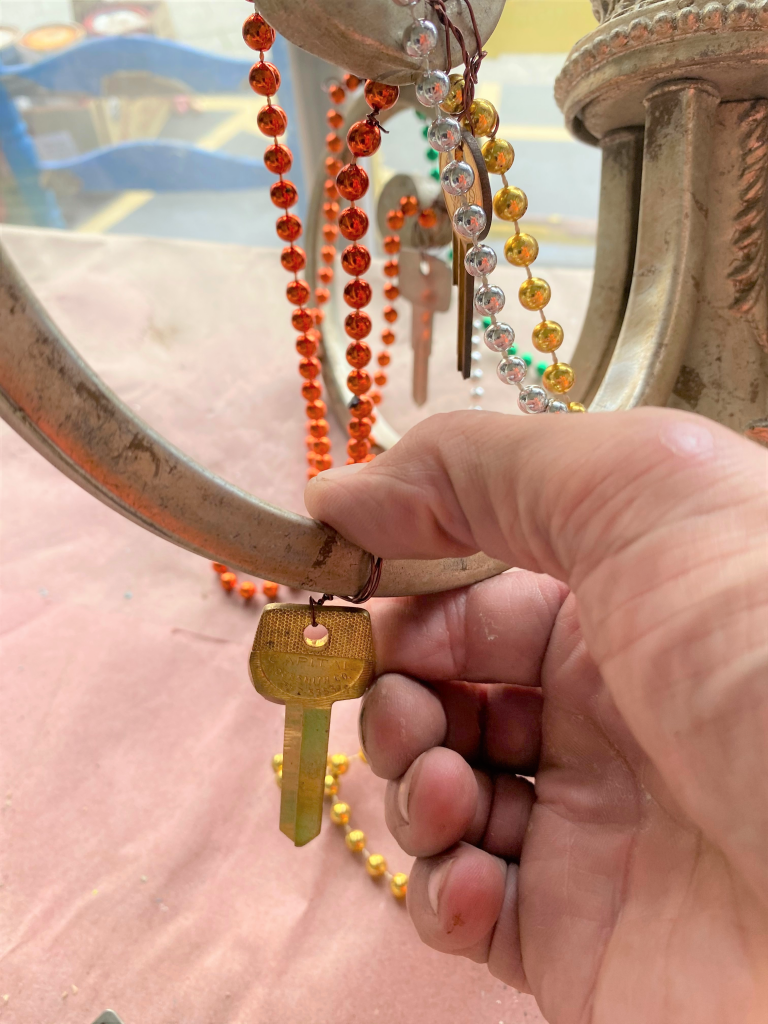
Step 4: The key to whimsy: add the unexpected
In my box of miscellaneous items, I had a bunch of keys that I thought would be really fun to add to this project. I also wired them at various levels throughout the chandelier.
What items do you have already on hand that could add?
Old nuts & bolts would be interesting, too, or small, round Christmas ornaments. Consider selecting durable items that will hold up well outside and will be okay when exposed to the elements.
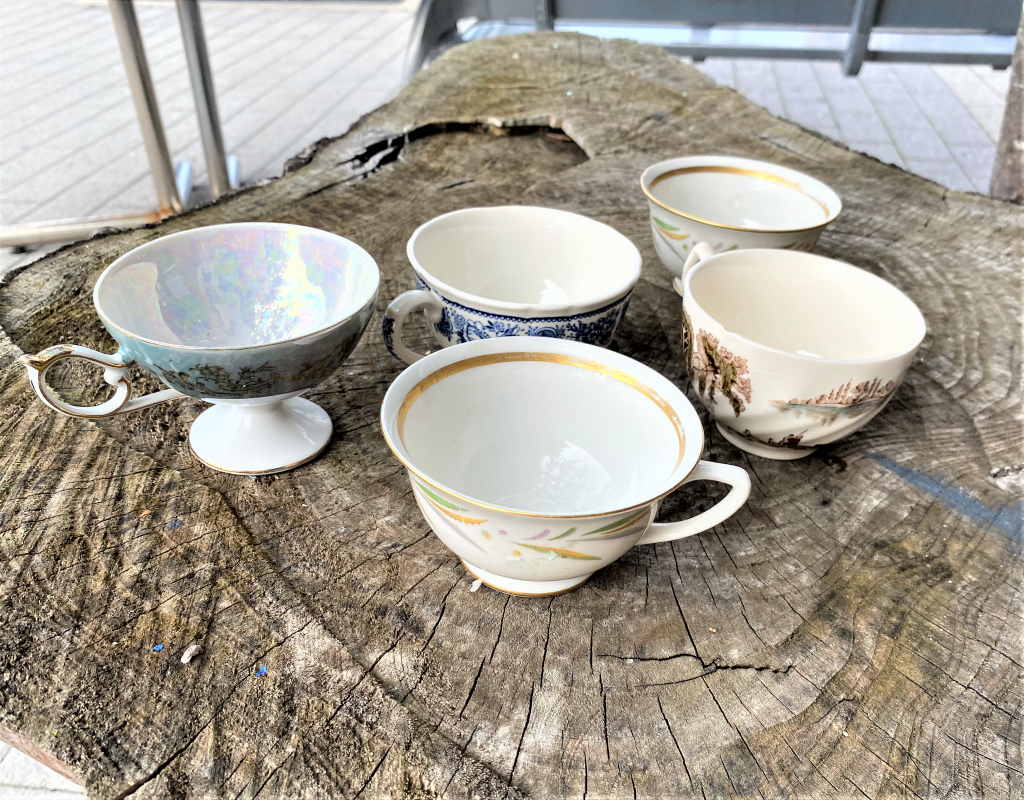
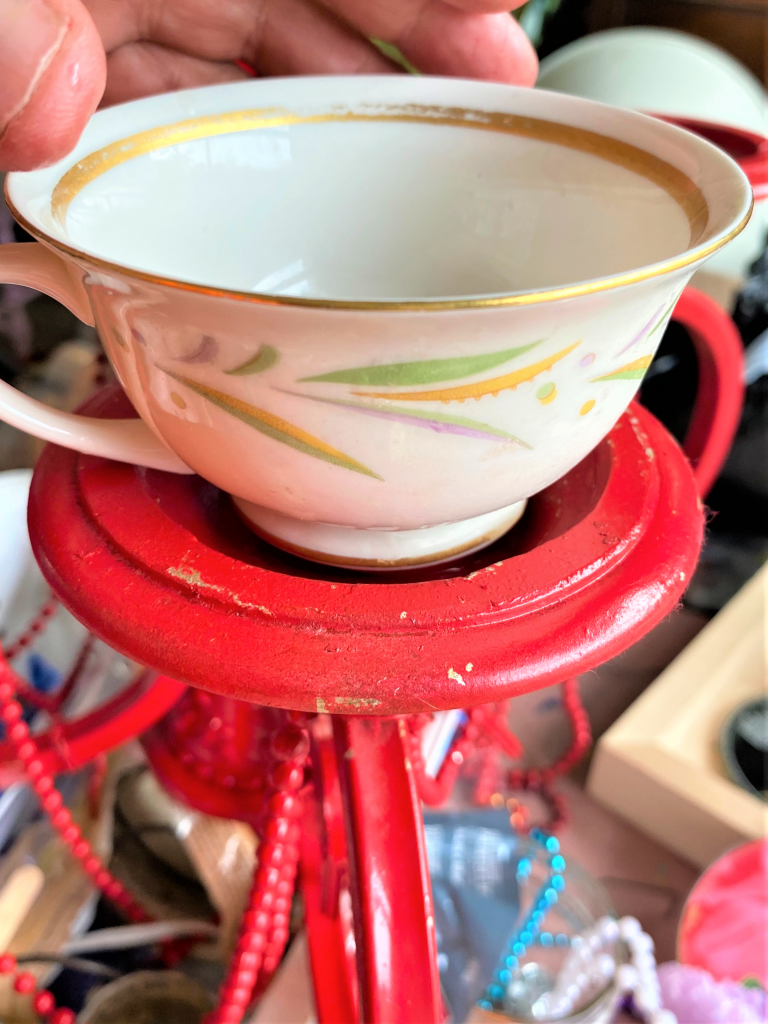
Step 5: Time for tea
To provide a holder for the birdseed, use quick-drying epoxy glue to secure your teacups into place. Be sure to have the handles all facing the same direction.
Expert Tip: As my approach to this project unfolded, I considered small candle holders or little jars to be placed where the light bulbs were previously positioned. When I decided that teacups were the best way to go (because they’d be easy to fill with seed), more chandelier parts were needed to be removed. This resulted in needing to use more epoxy to hold the remaining parts in place. It was very simple and a good lesson learned. So my tip is to determine what you will use (teacup, candle holder or jar) before you start your project.
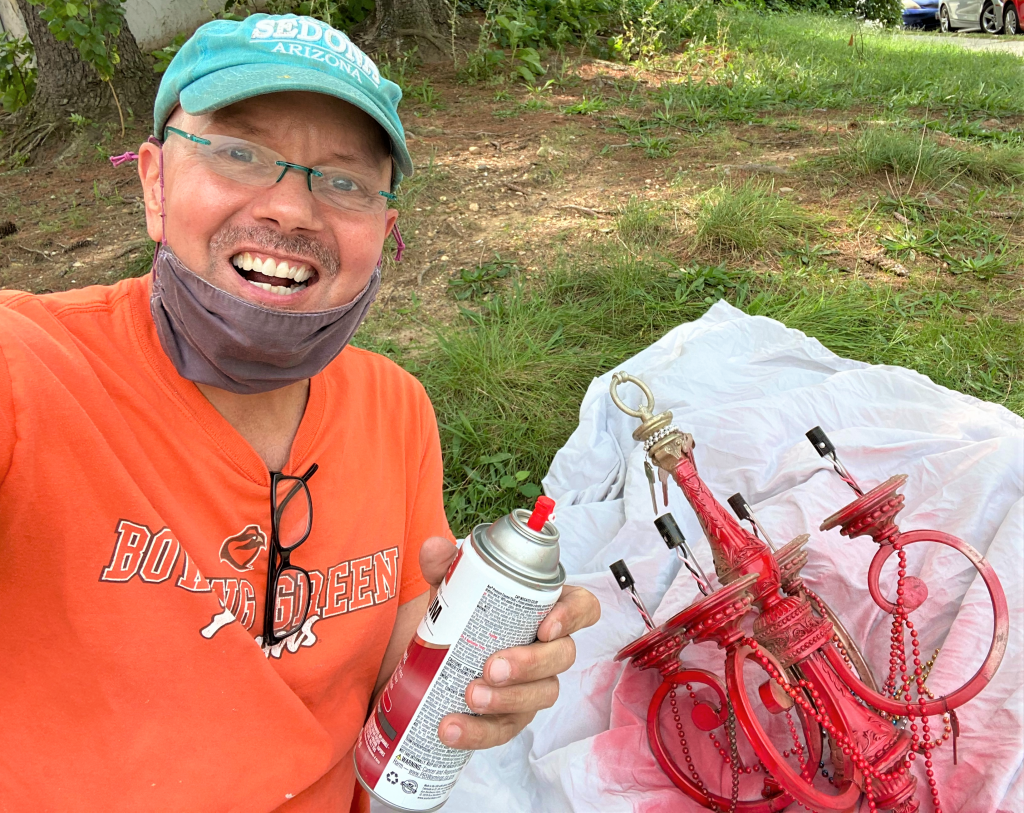
Step 6: Paint on the pop
- Very carefully place your chandelier bird feeder outside on a drop cloth.
- With a very bright color, spray on light layers from top to bottom, allowing time to dry before moving and covering more of your piece.
- A cord was inserted into the chandelier’s top hook which allowed me to cover it well with final coats of paint. It also made it easy to hang while it dried! This was the trickiest part because there are many small parts to cover and you want to get it from every angle.
Step 7: Place in your yard and invite the bird neighbors over
Place your chandelier bird feeder in your yard where you will see it often.
If you have a tree branch, you could use a piece of rope or chain to secure it in place. I had a metal garden hook that used to hold a hanging plant, so it was enlisted to display this very unique and cool bird feeder.
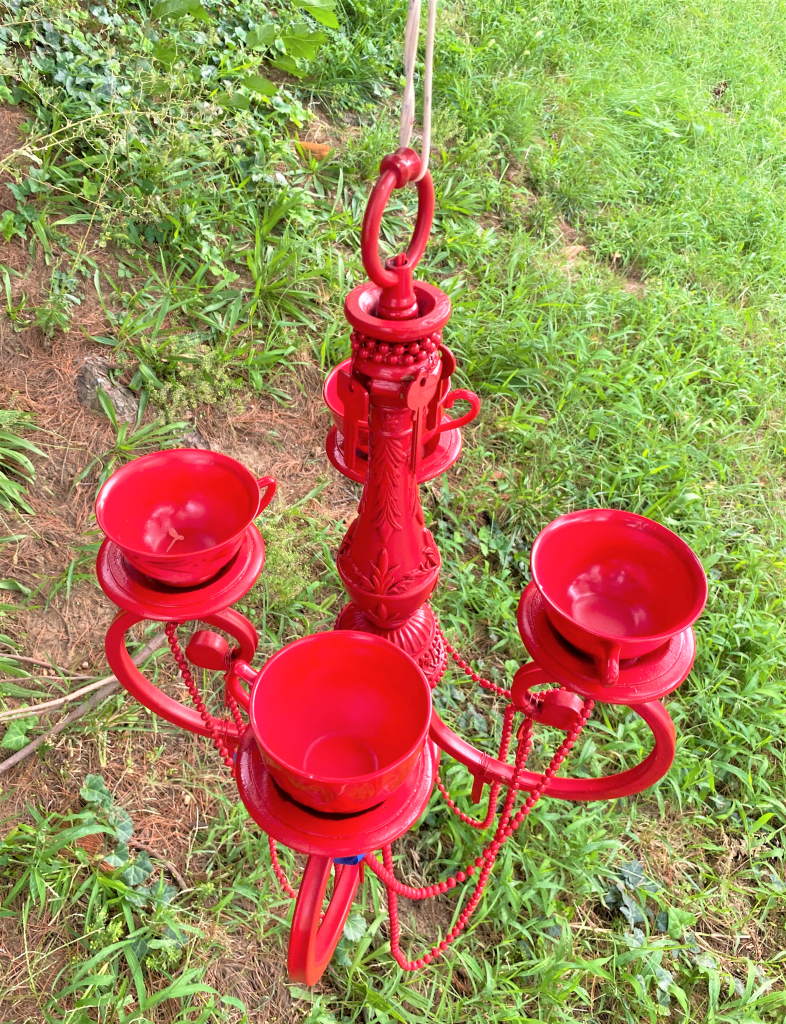
As the weather cools and the seasons change, this will be a great hangout of your bird buddies and its colorful finish will add charm to your yard when the flowers fade.

Tim Kime
Artist, Motivational Speaker, Life Coach

