DIY Project: Use a Flag to Inspire Your DIY Design
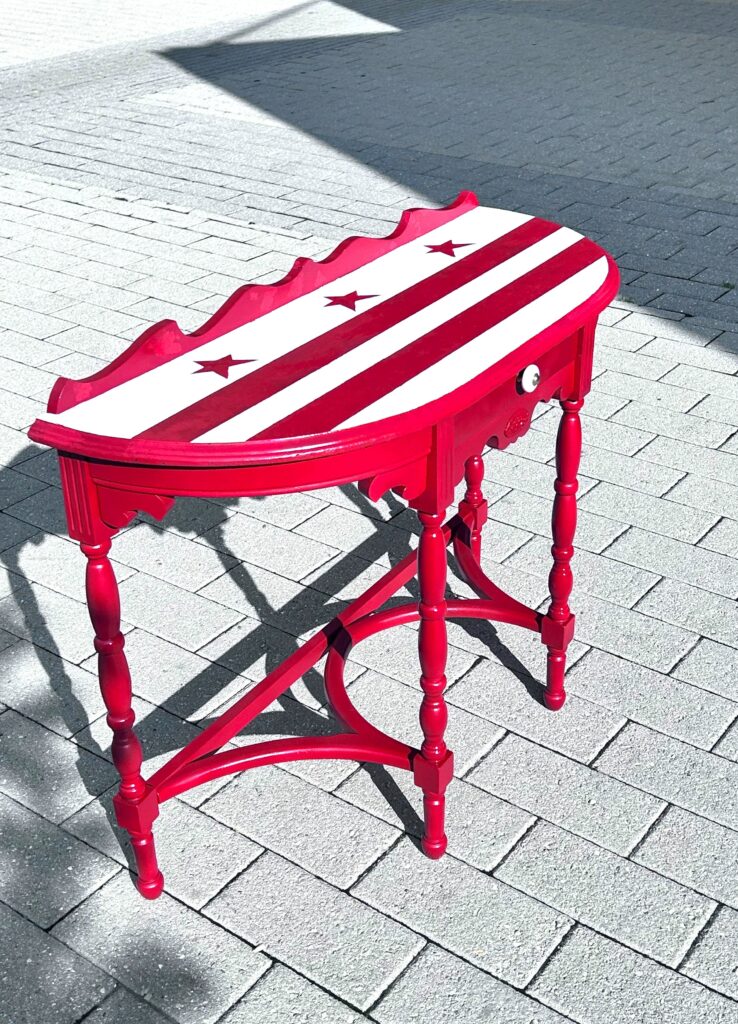
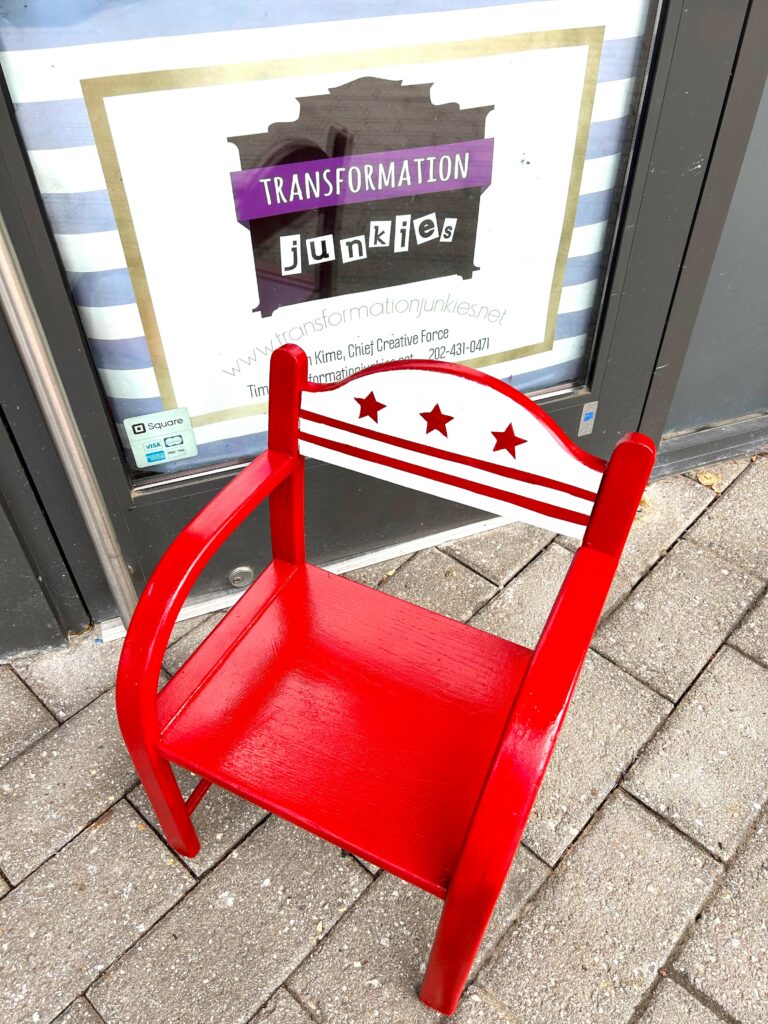
If you are a resident of our Nation’s Capital like me, you likely take great pride when you see our city’s flag with its three red stars and two red stripes. This simple and eye-catching design is the perfect inspiration for upcycling a side table and a child’s chair. And no matter your décor aesthetic, a DC flag piece is always a great addition and will look right at home.
Did you know DC’s flag is based on George Washington’s coat of arms and has been used since 1938? True!
A design competition was held resulting in the selection of the current look. There are three stars that represent a city-state within the three-city empire consisting of Washington, DC, London, and Vatican City. Interesting. The two red stripes represent the Senate and House of Representatives, where DC residents were not represented. Makes sense. For me and my neighbors, it represents the wonderful, diverse, and welcoming place we call home.
Items needed:
· Wooden side table, wooden child’s chair
· Spray paint, “Red Royal” color, glossy finish
· White craft paint
· Small detail paint brushes, foam stamping bush
· Painter’s table
· Sanding paper or sanding block, medium to coarse grain
· Screwdriver
– Chalk or pencil
· Drop cloth
· Damp rag
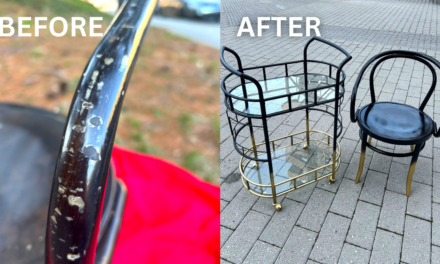
1. Find a piece to represent your city, so get over to Goodwill
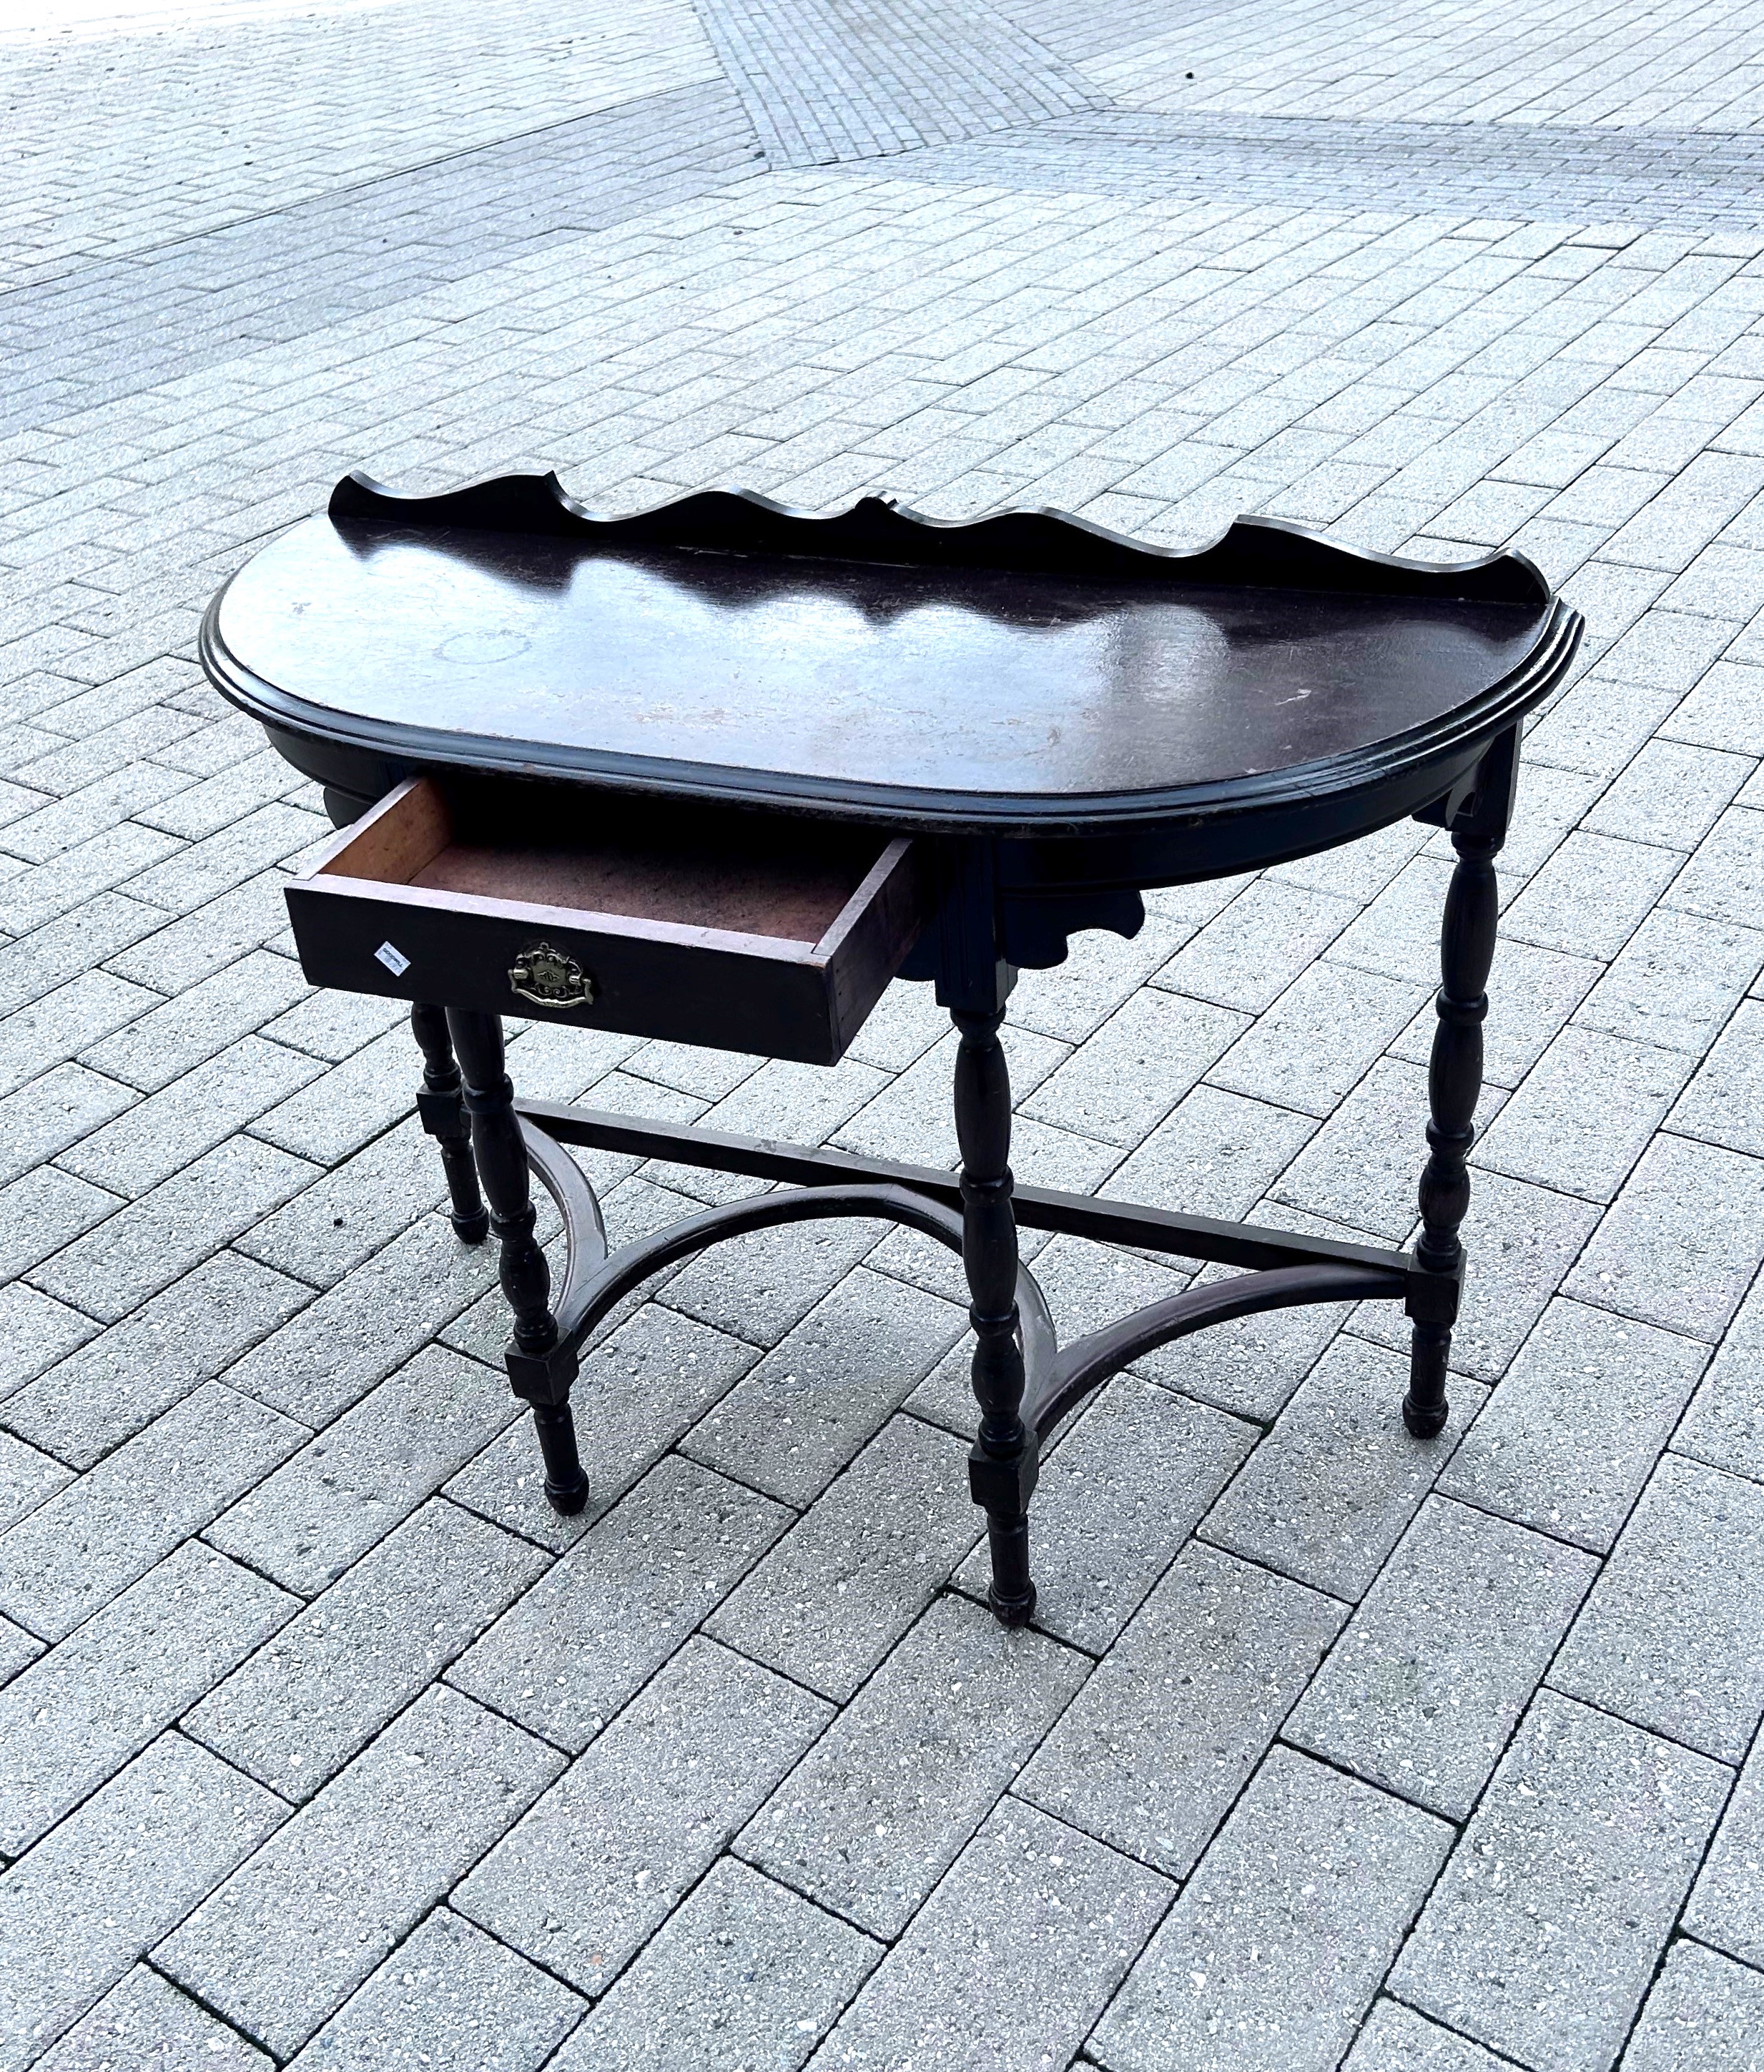
Truly, any furniture item will look sharp with the DC flag on it, so shop at Goodwill to find your good there and a great deal or two. During various excursions there, a small child’s seat and a curvy side table were picked up for a few dollars.
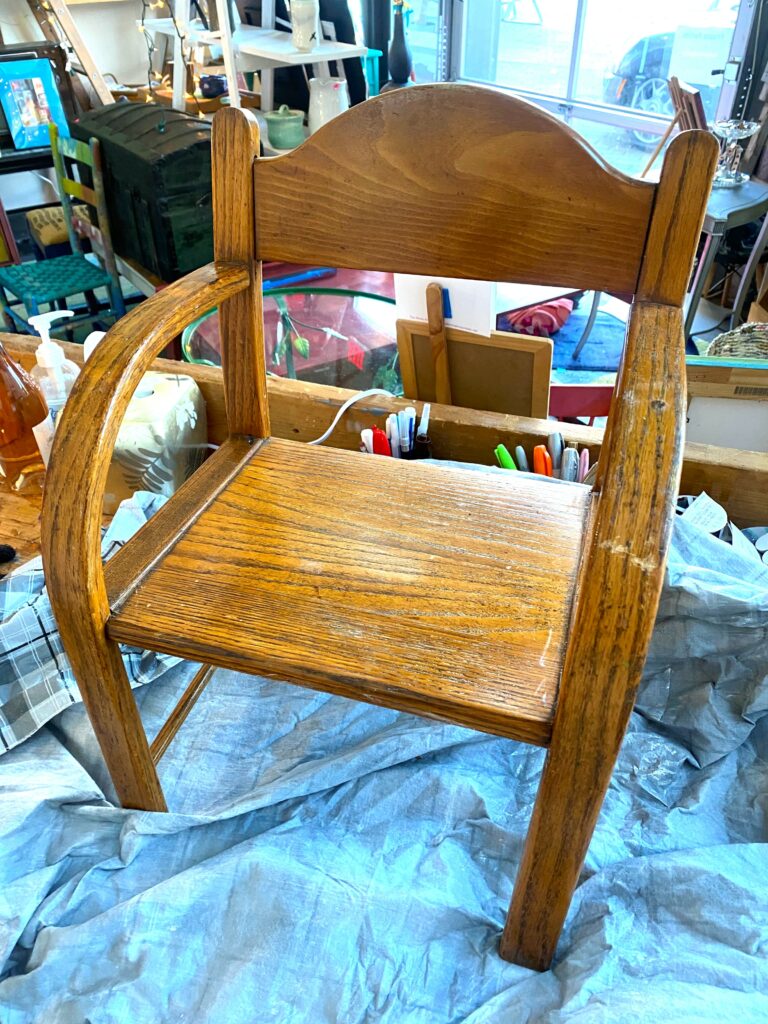
Both were unique pieces, truly one of a kind, so they just had to be transformed and upcycled in some way. Look for good and solid construction and for items with flat surfaces on which to be creative.
A coffee table, bar stool, or serving tray are excellent options, too, to get this DC-spirited look.
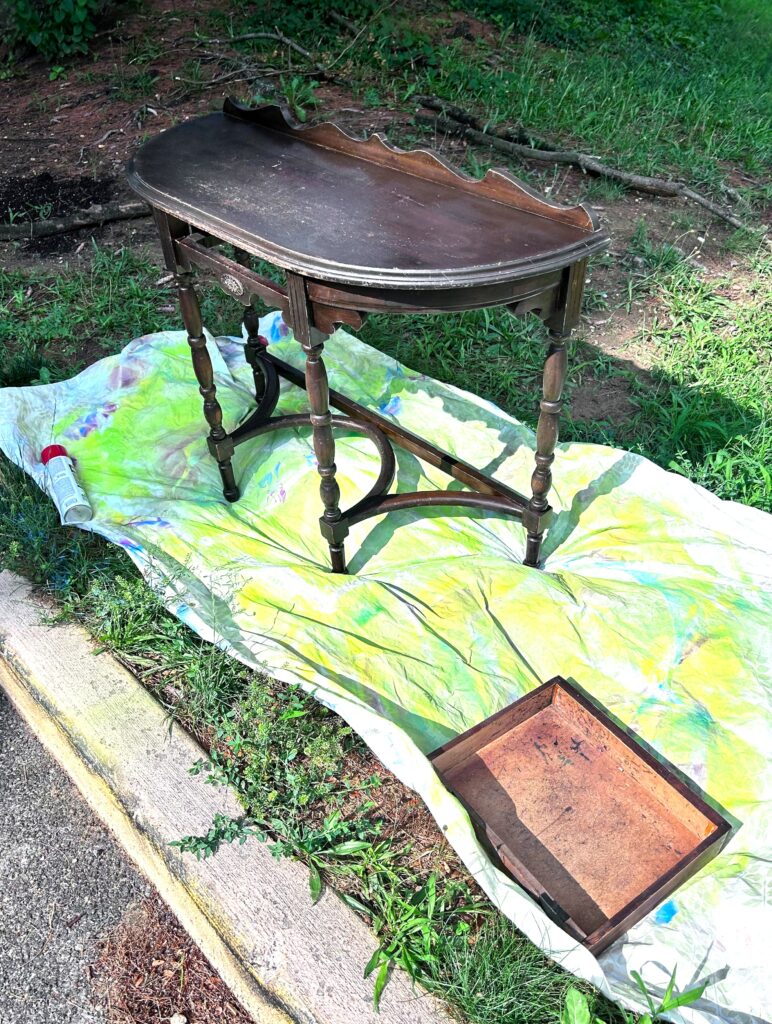
2. Start with removing any hardware
Based on the item you select to transform, you might need to remove its hardware.
Only a small handle needed to be taken off the side table; it was put aside safely since it could be reused. You might consider reusing another knob or handle from another piece; as you are able to see, a white knob was used to match the flag. The little chair had nothing to be removed, so she was good to go.
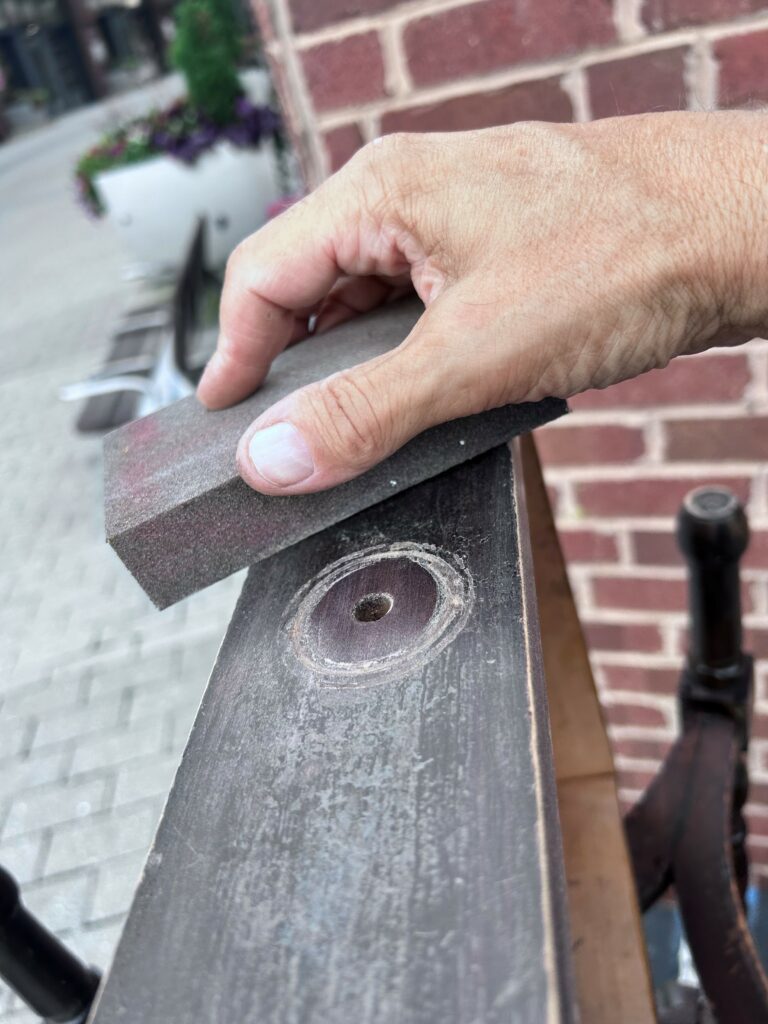
3. Rough it up a bit
- You will want to help the paint to hold more tightly to your piece, so use a medium to coarse-grained sanding block or paper.
- Go over your piece from top to bottom to rough up its current finish.
- Both pieces featured here had a shiny finish, so the sanding helped dull it and make it more painting-friendly.
- Use your damp rag to remove any dust from the sanding or any dirt on it from previous use.
- This will help your transformation to start as a truly clean slate!

4. Spray on some red
Given that the DC flag has just two colors, you have two options: paint it all red and add white details or paint it all white and add red.
Given the smaller sizes of these pieces and wanting them to look as vibrant and bold as possible, red was the easy choice.
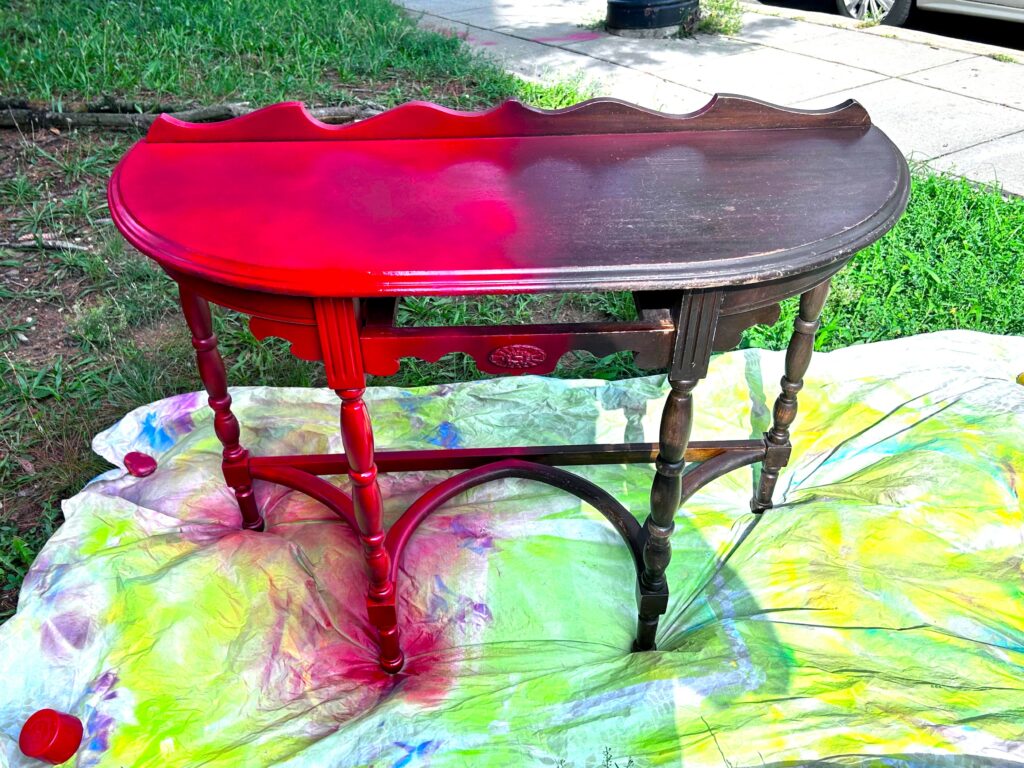
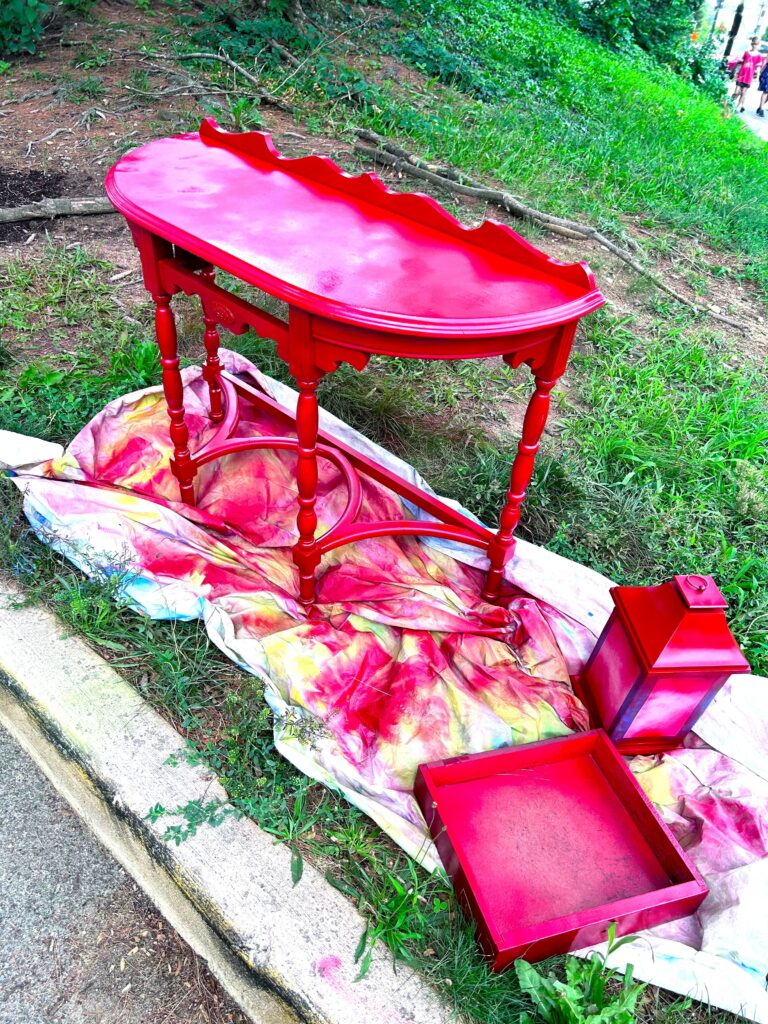
Place your pieces on a drop cloth outside and spray on several light layers, allowing drying time between each one.
Also, to ensure solid coverage on every part, place your piece on its back and sides—or even upside down—then add a couple more coats.
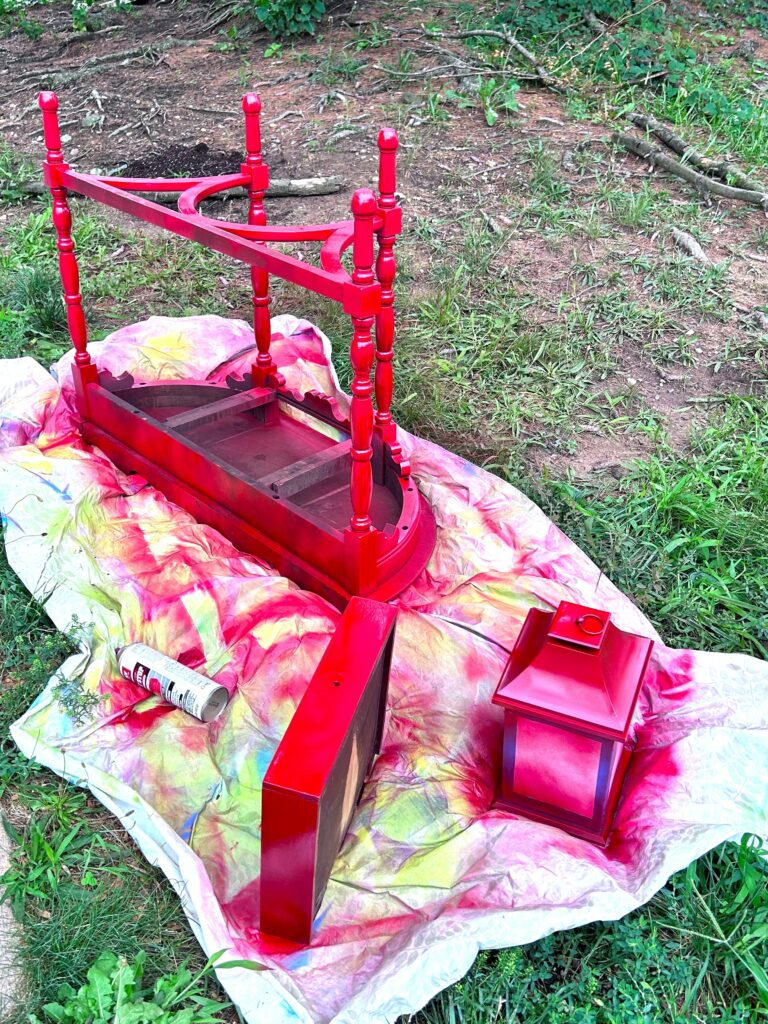
In a few sprays, you will get so excited by how great your pieces are going to look!

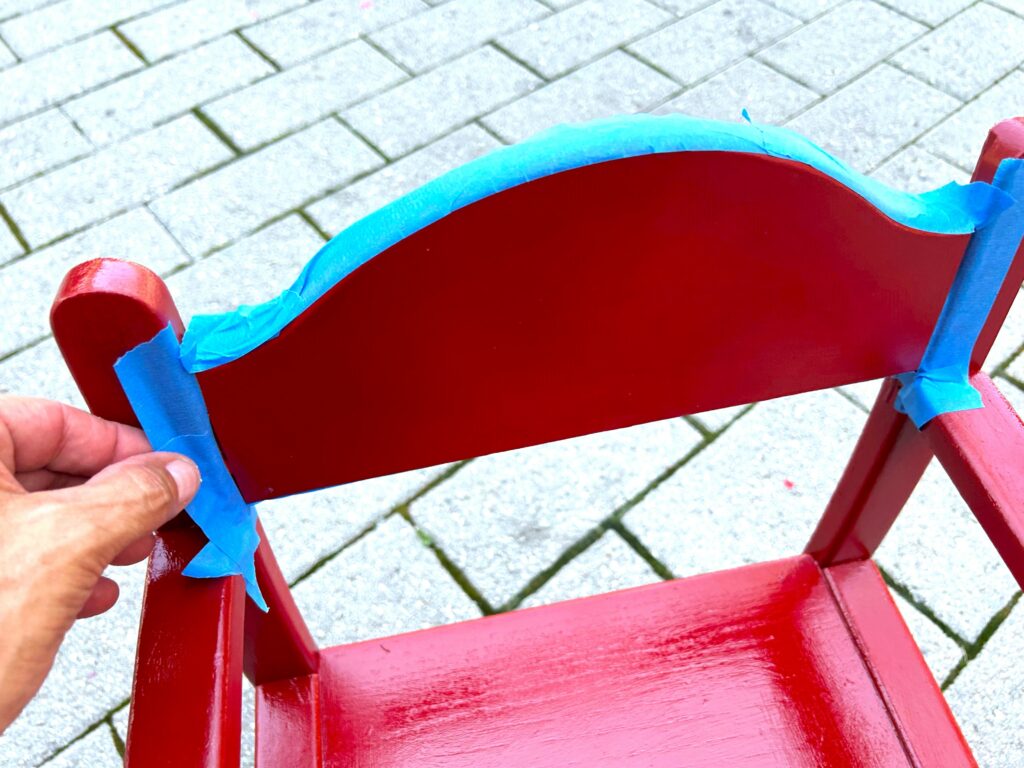
5. Apply painter’s tape to create your look
It’s stars and stripes time, so map out what stays red and needs to be protected by painter’s tape.
Consider enlisting a ruler or tape measurer to keep the stripes the same width and ensure they are straight.
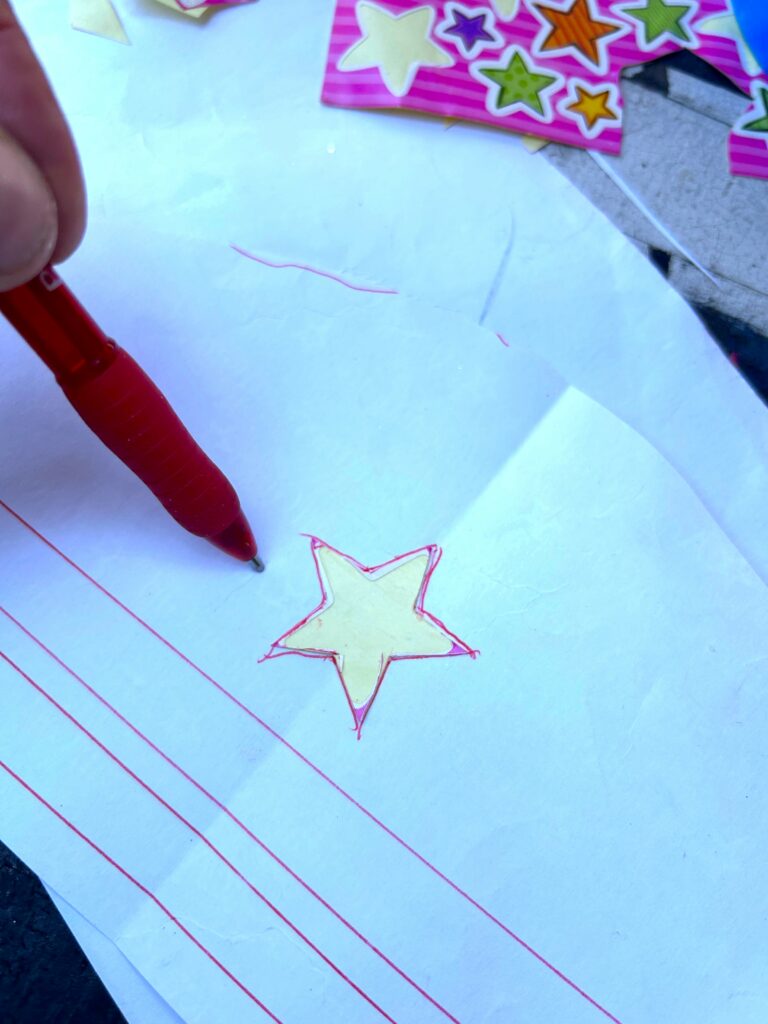
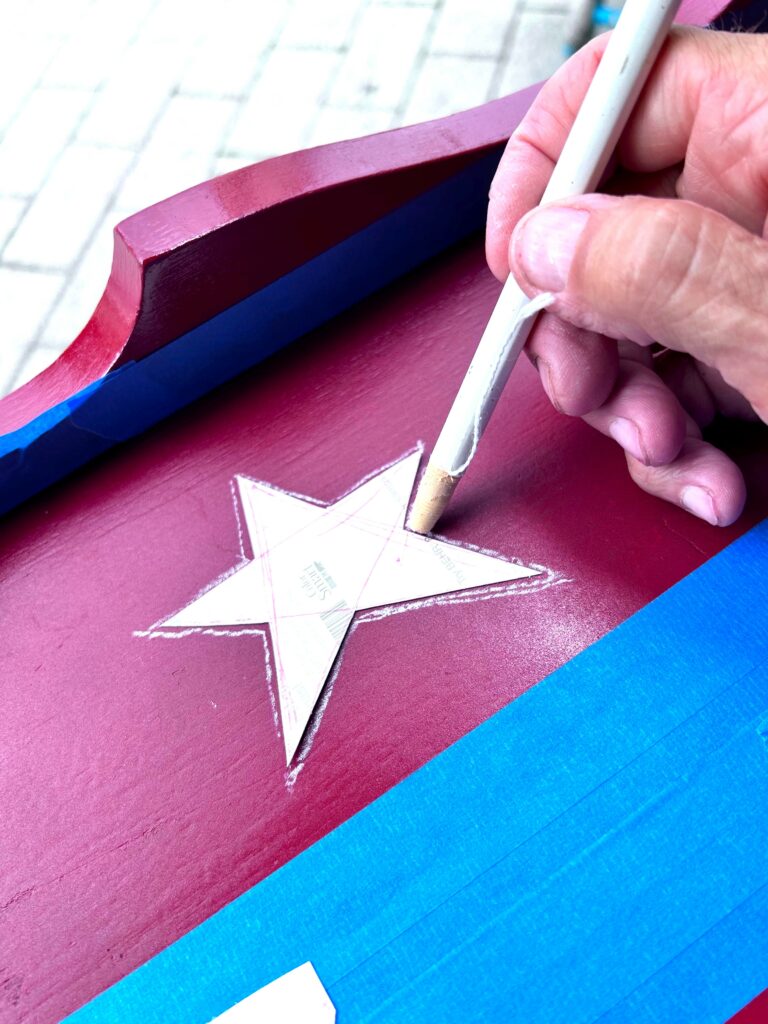
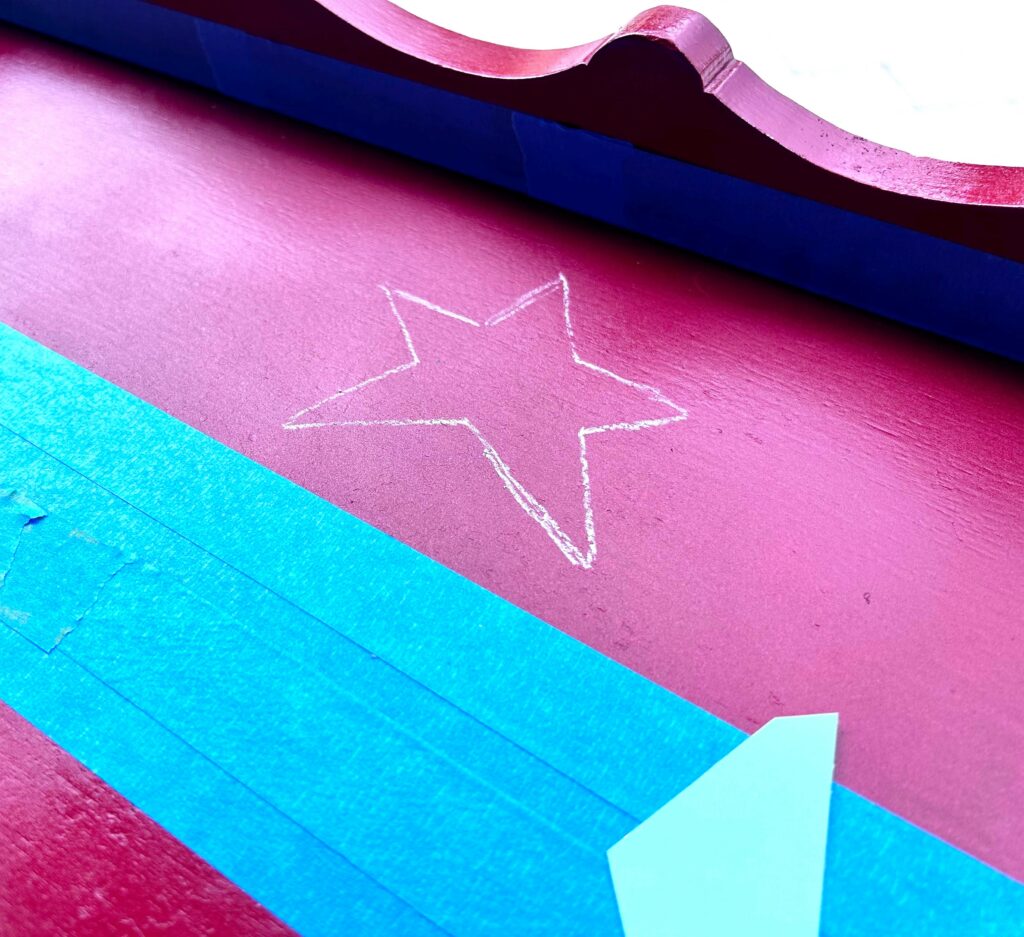
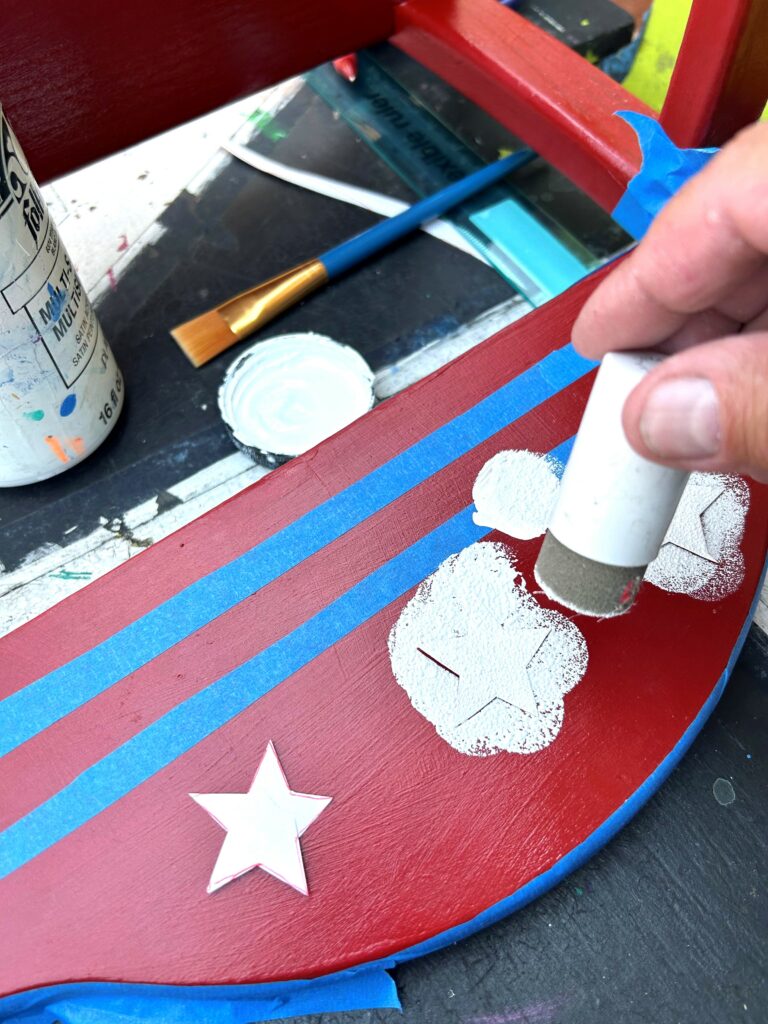
Apply painter’s tape where you want the red stripes to be when done. For the stars, draw one on cardboard or heavy paper, cut it out, and trace it.
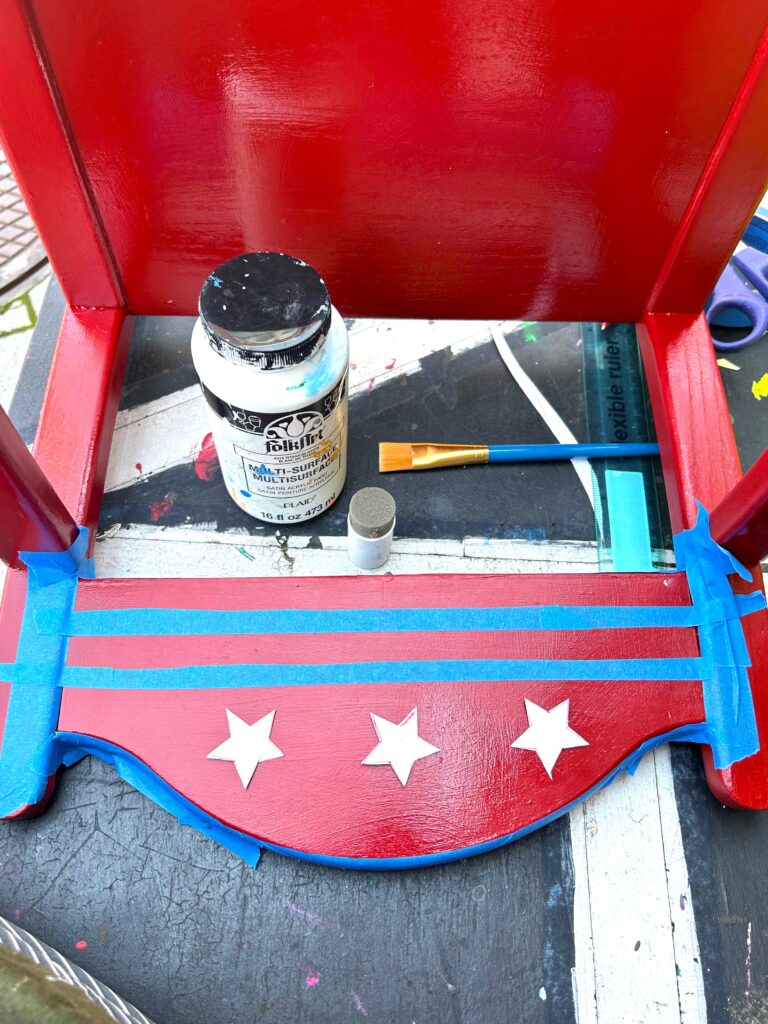
Chalk was used for easy removal; a pencil would be fine, too. For the chair, small stars were cut from paper and taped into place.
6. Carefully brush on white paint
With a small, straight-edged paint brush, apply your white craft paint. Carefully outline your stars and fill in the gaps.
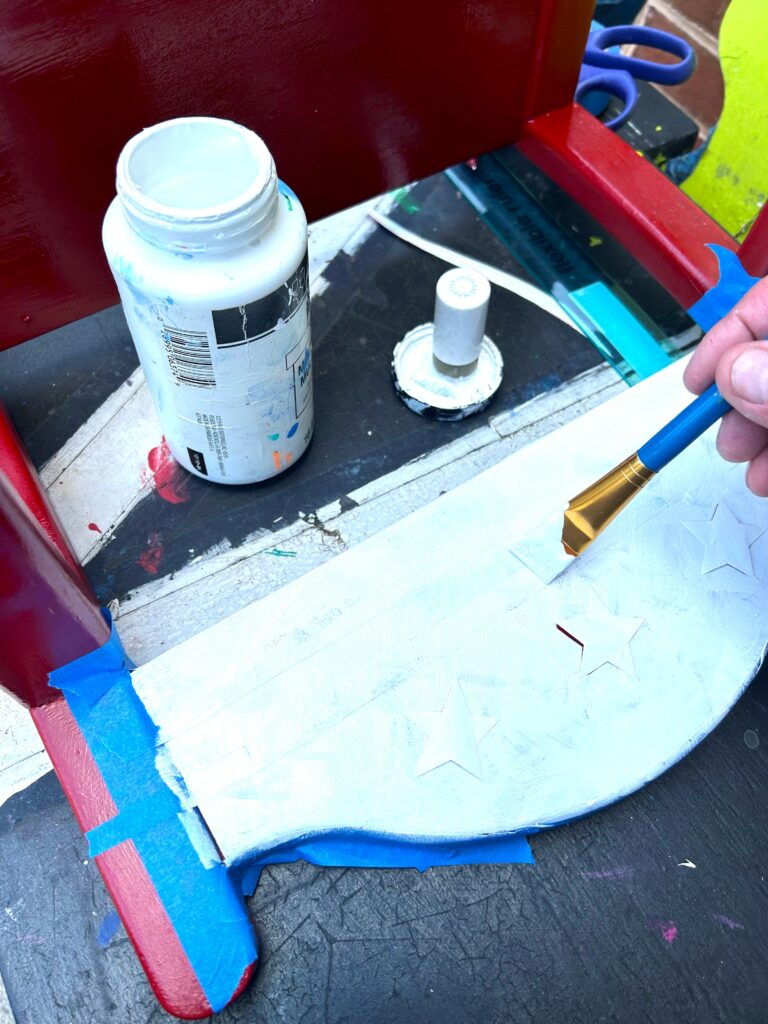
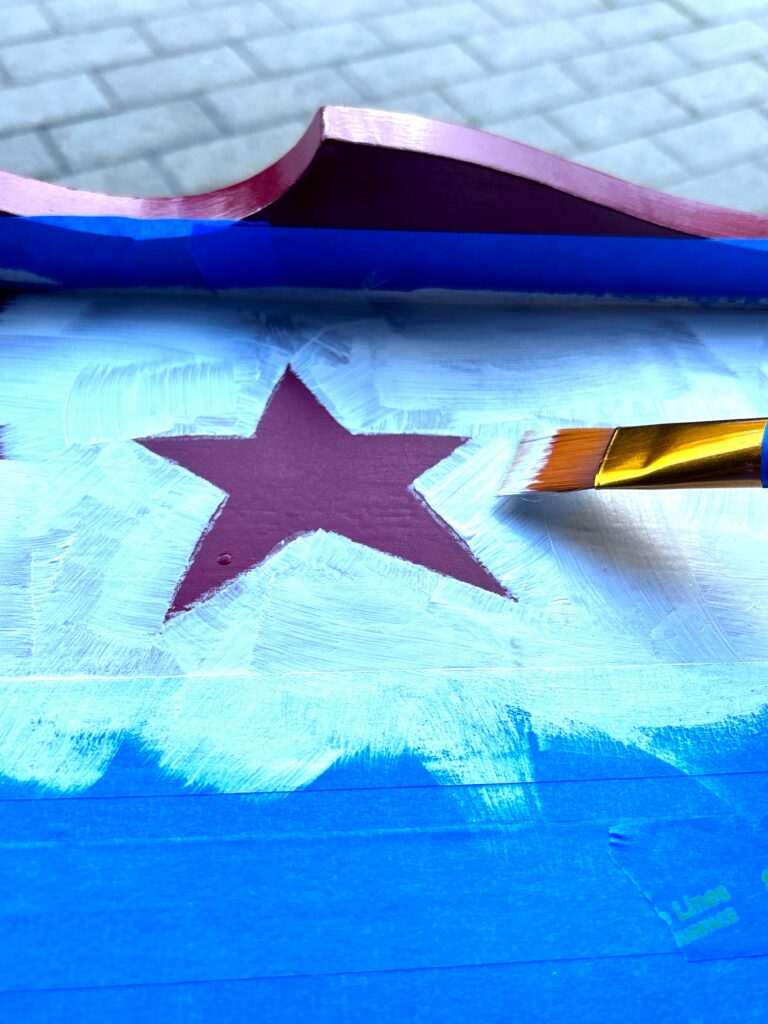
Then hit the stripes and do the same. A foam stamping brush was used on the chair since the stars were positioned with tape.
Apply two to three coats of the white paint and let dry.
Carefully remove the painter’s tape and touch up any lines or parts with a small brush to “clean” it up.
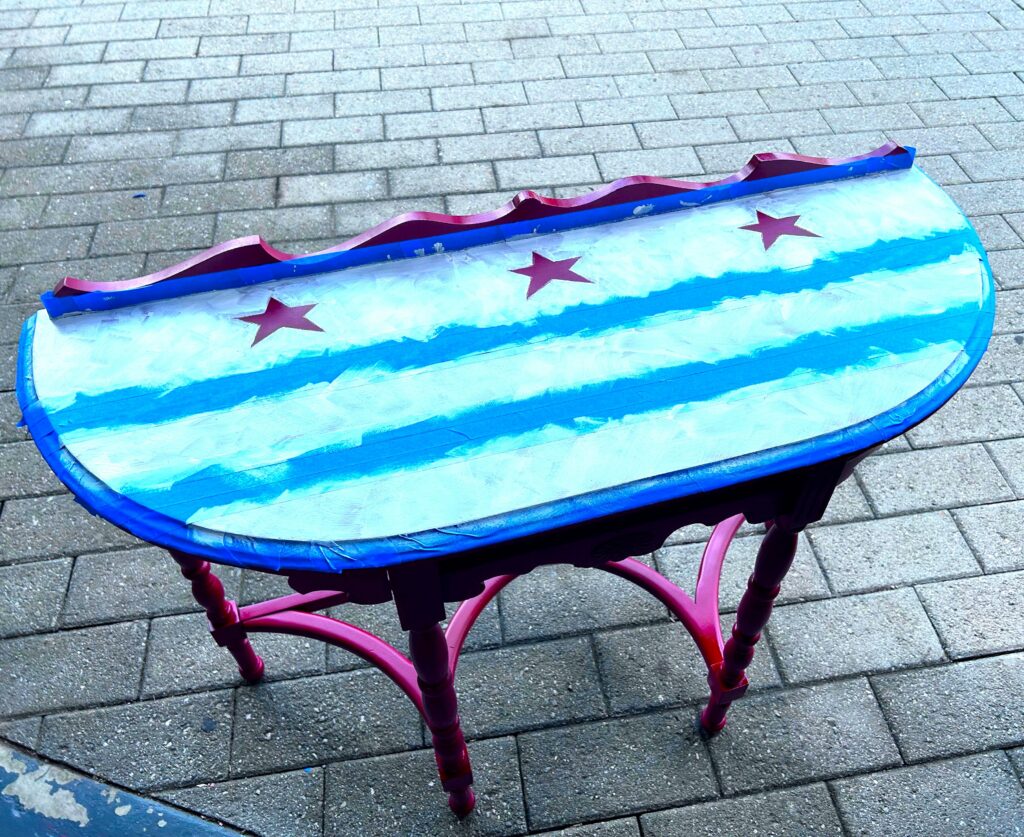
Design Idea: Given that these are hand-painted pieces, part of the charm is seeing brush strokes and “imperfections” in the white section. Personally, I love this look because it adds dimension and visual interest. As an artist, I love seeing the strokes and how they blend together to make a masterpiece!
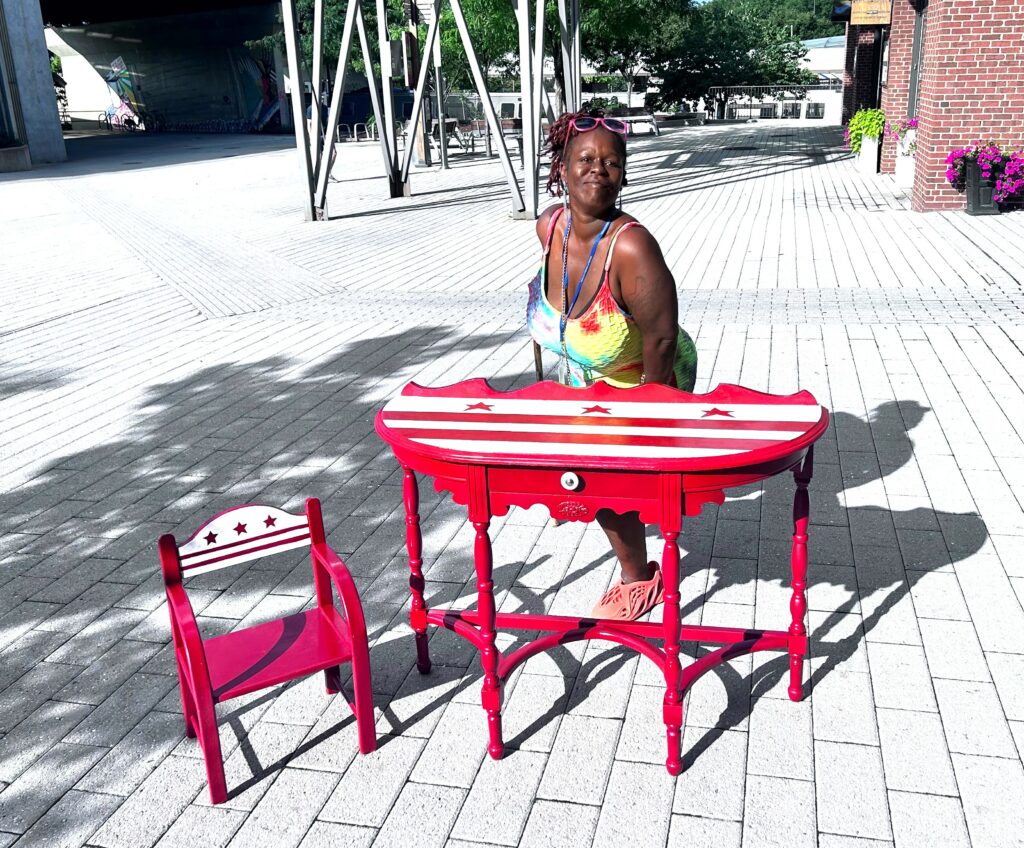
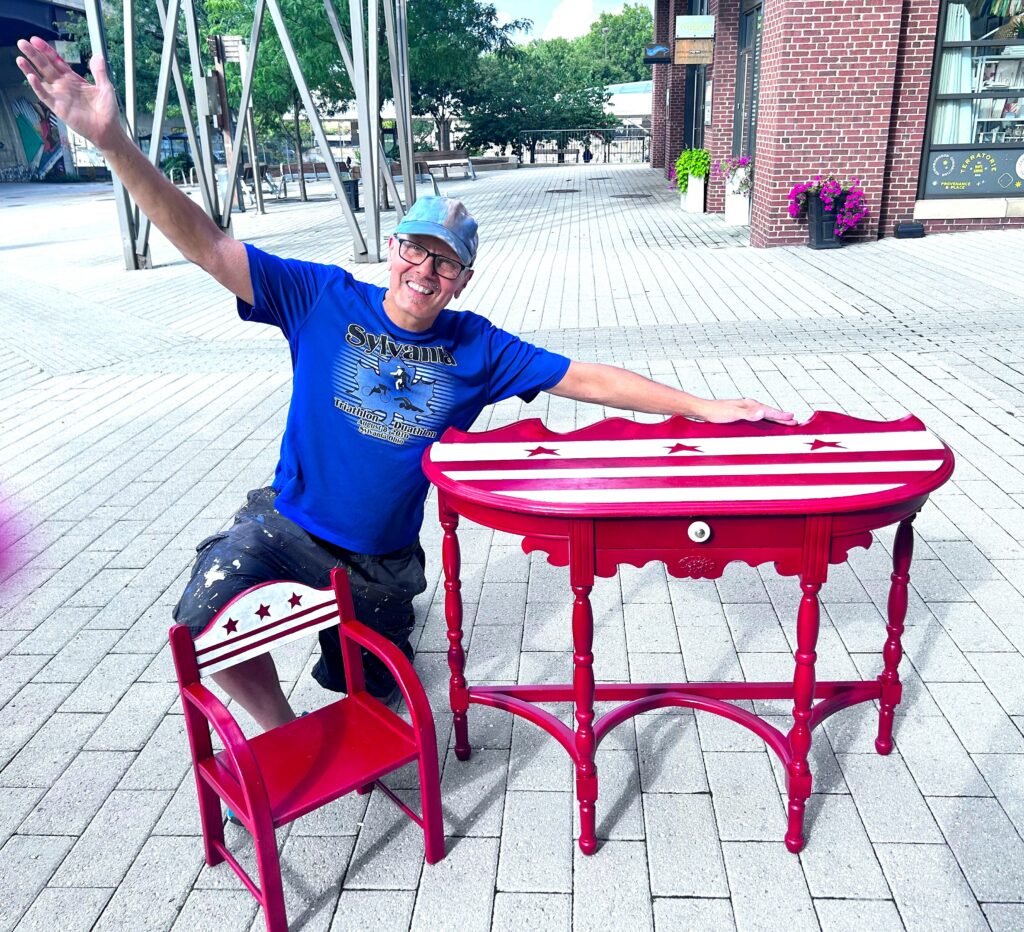
7. Place, share & show your city pride
The side table will look great by your front door to greet you as you come and go. Simply add a small lamp for some light and place a bowl or small basket to collect your keys. The child’s chair will look nice in your living space as an adorable accent when not being used by a little one.
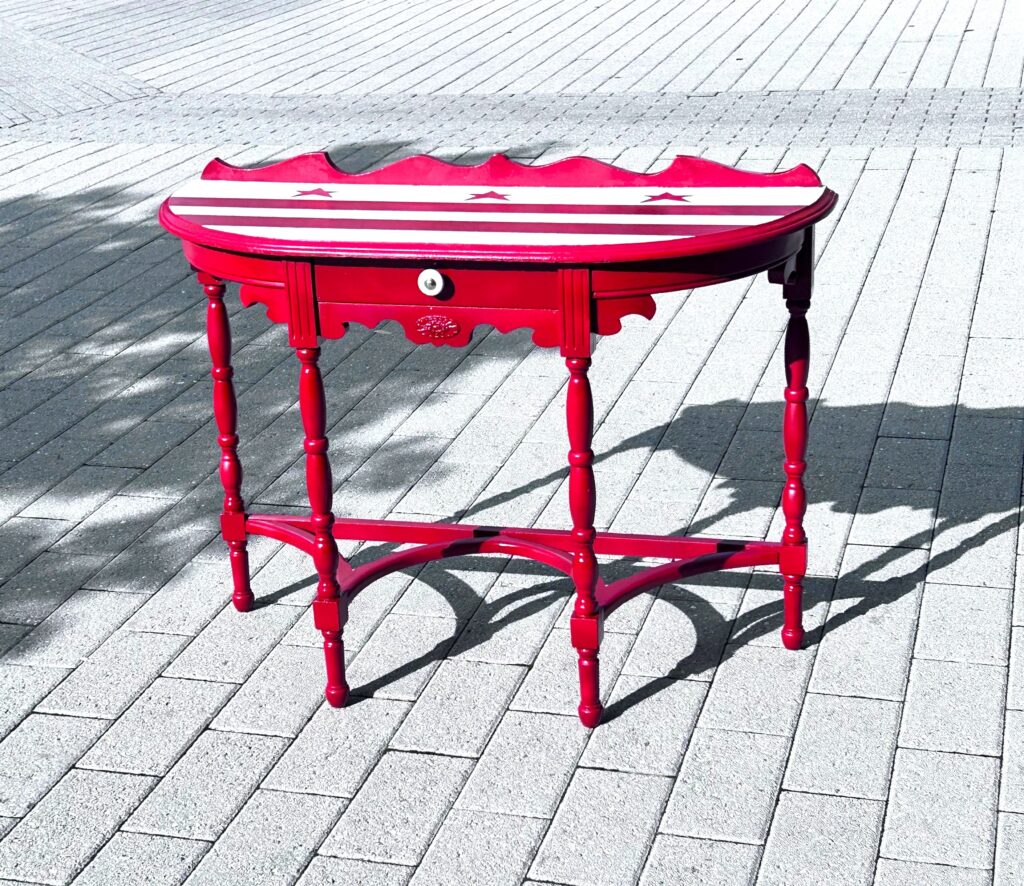

The pop of color and bold design will add pizzazz wherever your place these pieces. And they will remind you that you live in a truly remarkable place!
Similar Reads:
- DIY: Transform a Goodwill Canvas into a DC Flag Art Piece
- DIY: Transform a Clock with a DC Flag Look In No Time

Tim Kime
Artist, Motivational Speaker, Life Coach