A DIY project that’s no “pane” at all—repurpose a window sash!
Here’s one of my favorite repurposed projects that will add instant charm and whimsy to any room. Take an old window sash and give it a new life in your home or office.
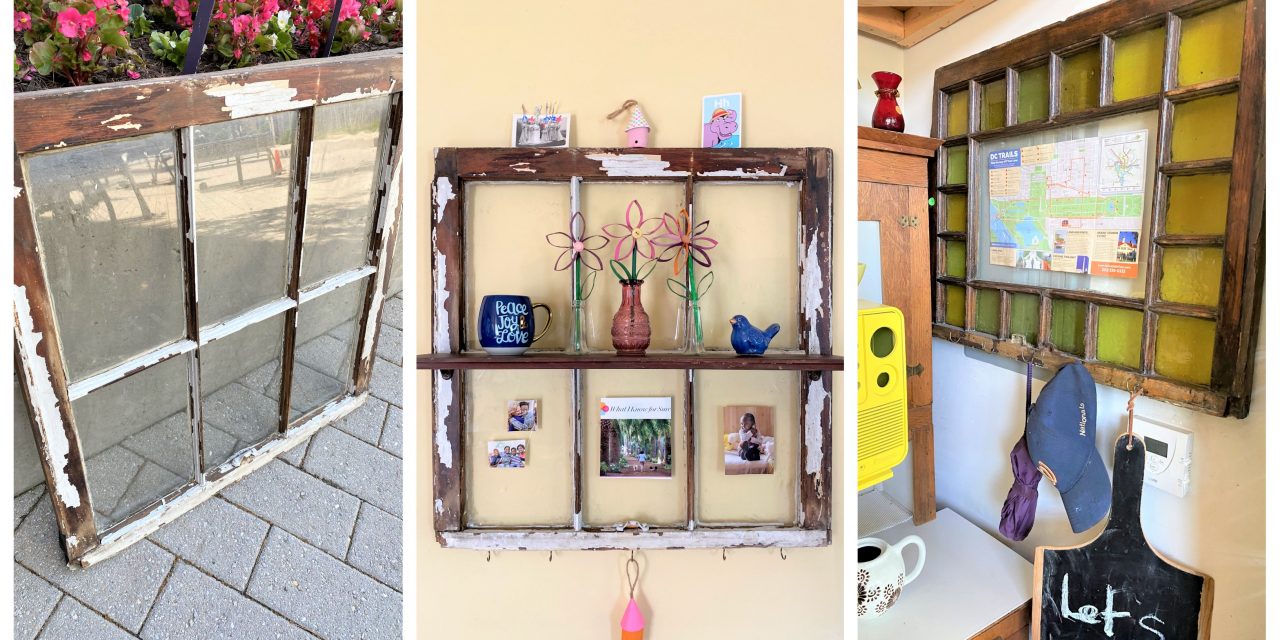
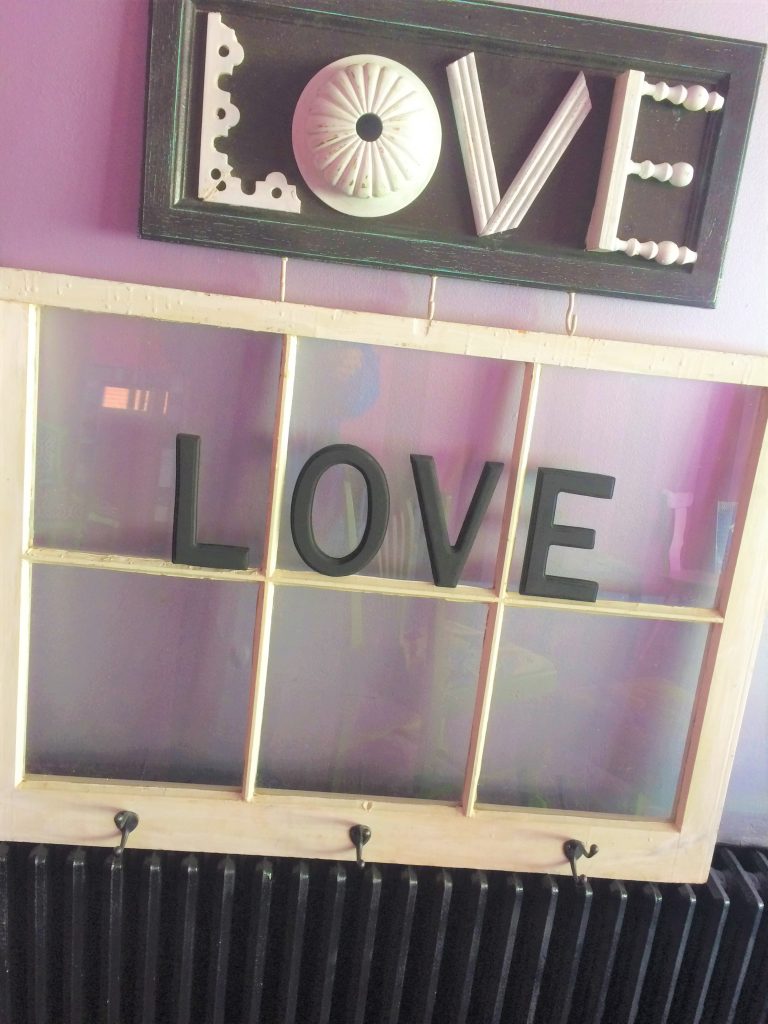
There are a number of ways to make it an eye-catching, functional piece including as a place to hold keys and hats or as a colorful memo holder. It can also become a truly unique shelf ideal for holding kitchen items or your favorite family photos. What makes this project so special to me? I love projects that connect with everyone—and we all appreciate windows.
Wooden window sashes often become available when homeowners replace old windows with new, more energy efficient and better functioning ones. However, new windows certainly don’t have the charm and warm appeal of their older sisters and brothers. I’ve come across window sashes being discarded when a developer or homeowner is making updates to their place. Yes, I am proud to say I am a “Dumpster Diver” because of the lovely result of this project that is also Earth-friendly by keeping things out of landfills.

Supplies Needed
1. Wooden window sash
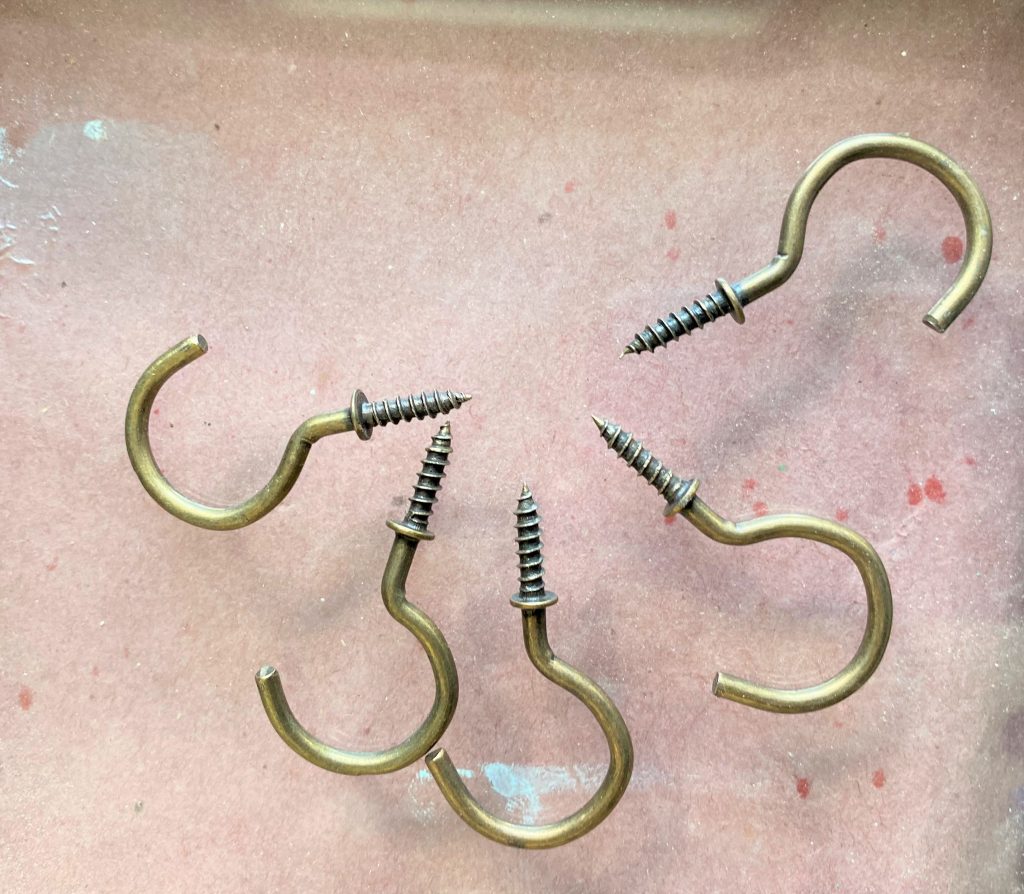
2. Hooks of various sizes based on use
3. D-shaped picture hooks
4. Scrap wood
5. Paint
6. Drill
7. Screwdriver
8. Saw
9. Small brackets
10. Wood glue
Time: One hour (not including paint drying time)
Step 1: Clean & prep your window
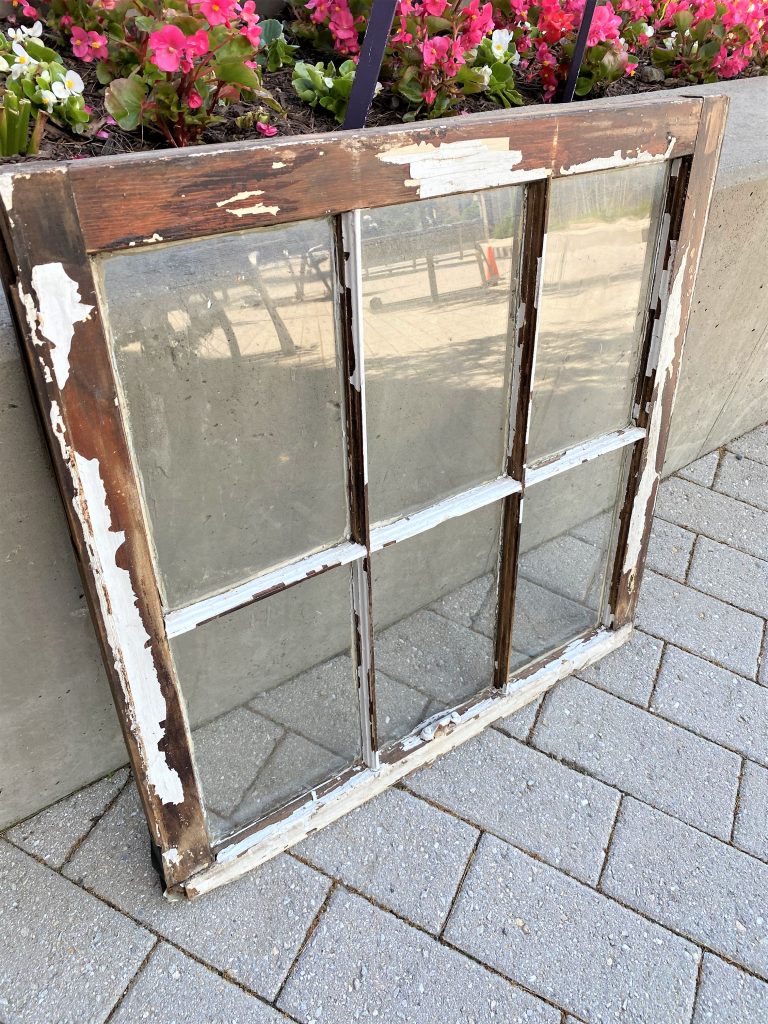
- Given that your window sash was likely outside for years and exposed to the elements, you will likely need to wipe down your piece. Good old soap and water will do the trick and erase years of grime. Also, depending on the condition of your sash, you might need to scrap away any peeling paint. For the windows featured in this blog, the side of the window that faced inside the house is used with the outdoor side facing the wall when displayed.
- Some of the grouting that holds the glass panes in place may need to be removed as well using a screwdriver.
- If possible, do this step outside so you aren’t breathing in too much dust and debris. And you can wear your mask to keep you safe from Covid now, too. A double win!
Step 2: To paint or not to paint is question
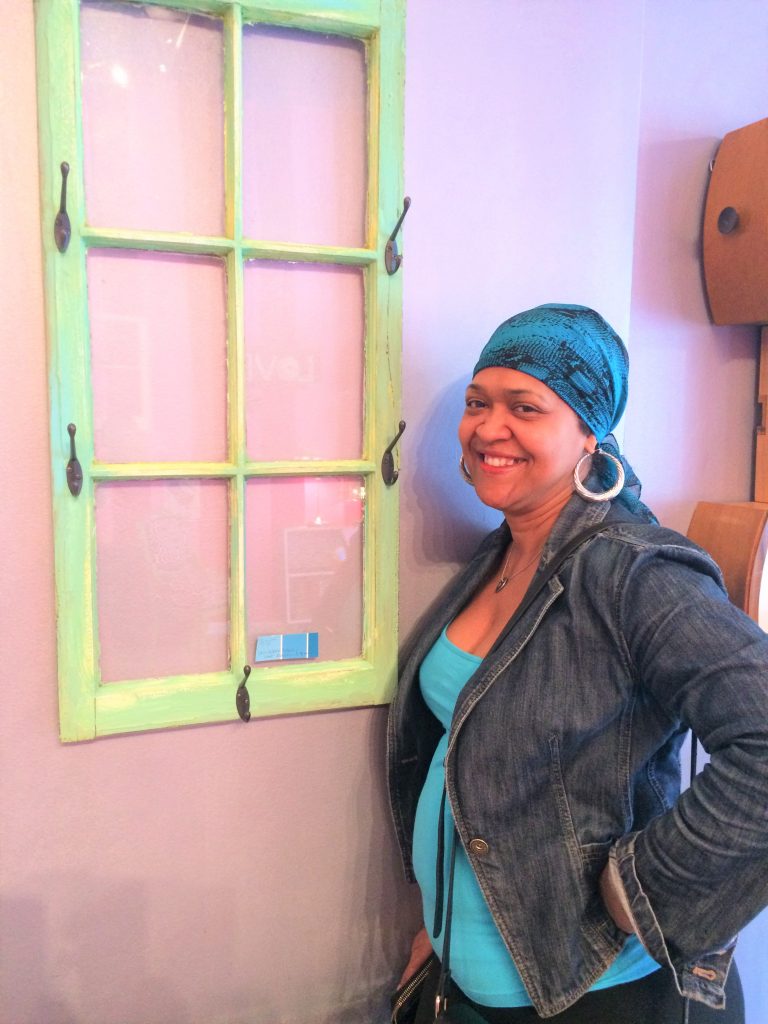
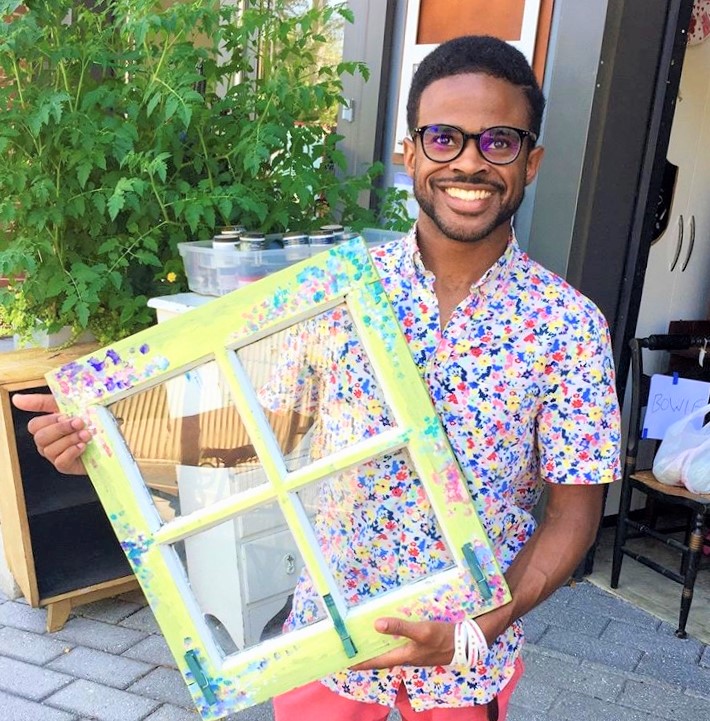
Part of the beauty of transforming an item is that some of its natural distressing can be lovely and part of its story. For the window sash featured here, I loved that just some of the layers of paint came off so you could see the original wood tones. I wanted my project to feel more masculine and earthly so I kept it that way. However, as you are able to see by some of the other examples, I have used a window sash as a canvas creating an impressionist feel for one and adding blues and greens to another to make it stand out from a white wall. And another time, the sash was already white so I just brushed on a light coat of that hue to refresh it a bit. There truly is not wrong way to do this; I always trust my gut and haven’t been let down yet!
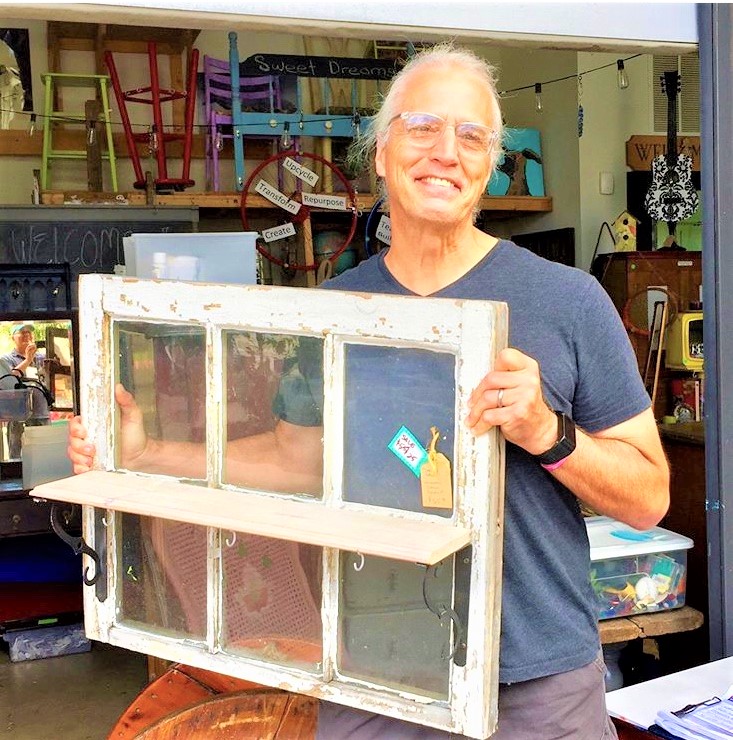
Step 3: Make it functional—add a shelf and/or hooks
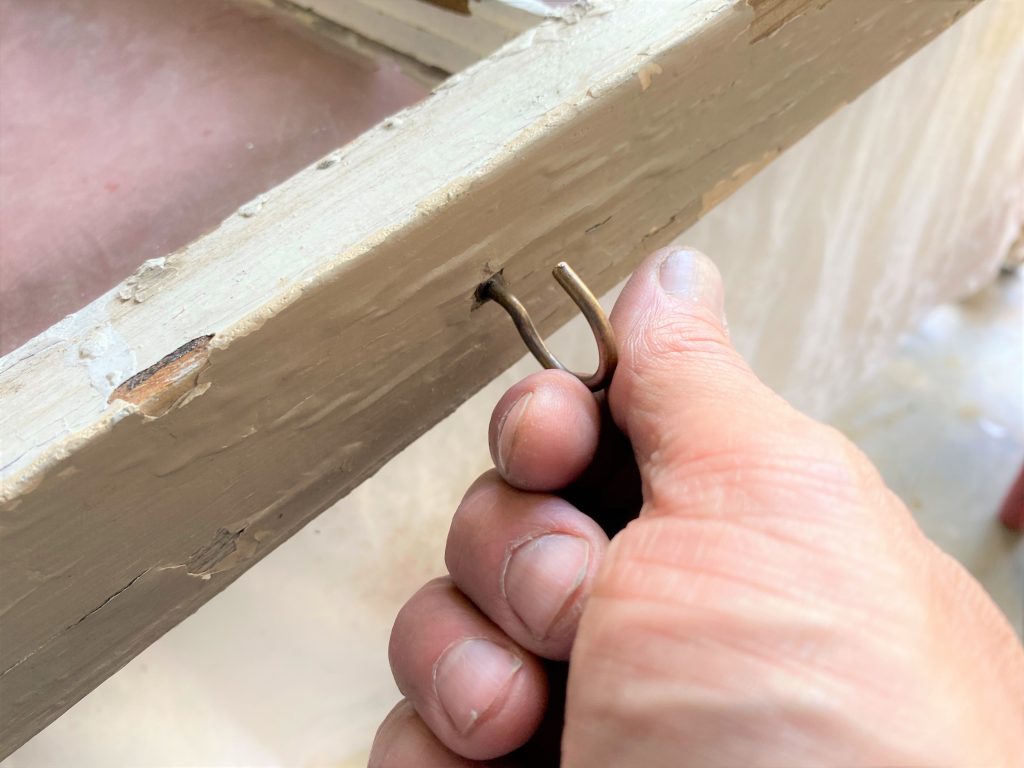
To make your piece both eye-catching and functional, you will want add hooks to it to hold keys, coats or even coffee mugs. Keeping with the overall look of the piece, brown-toned metal teacup hooks were secured to the bottom edge after I drilled some holes.
Given its size, I thought it would be sturdy enough to function as a shelfing unit.
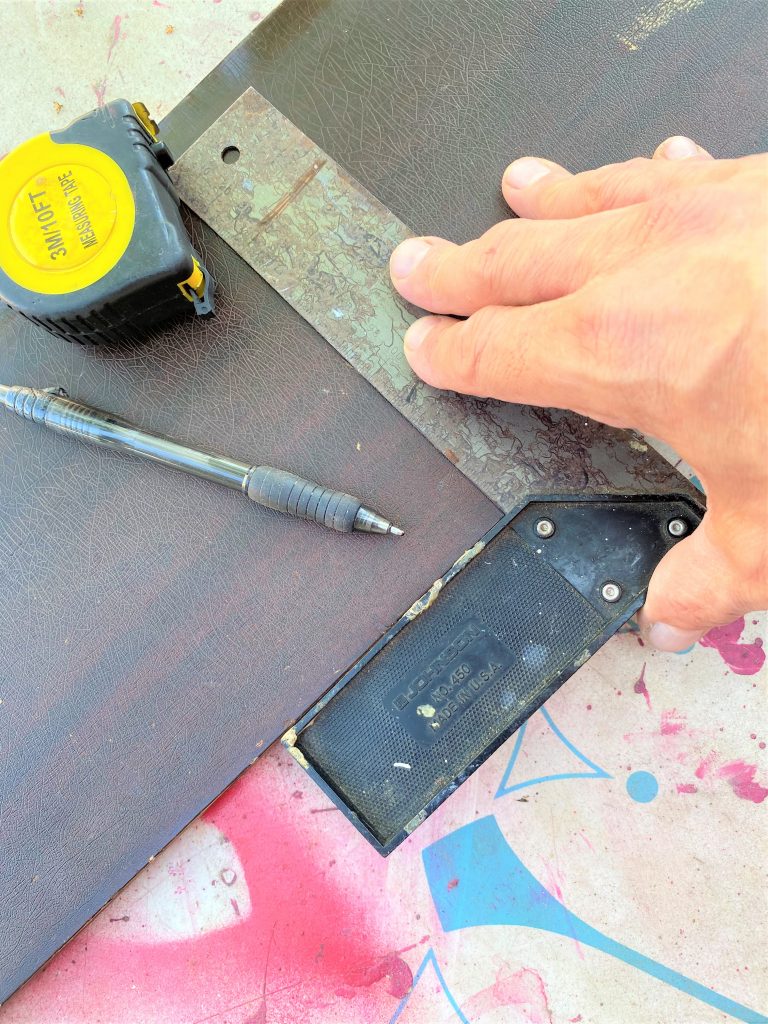
- Using a piece of scrap wood I had on hand (always one to reuse pieces, my wood was from my piano-turned-bar project and had a lovely beveled edge), I measured then cut it to size.
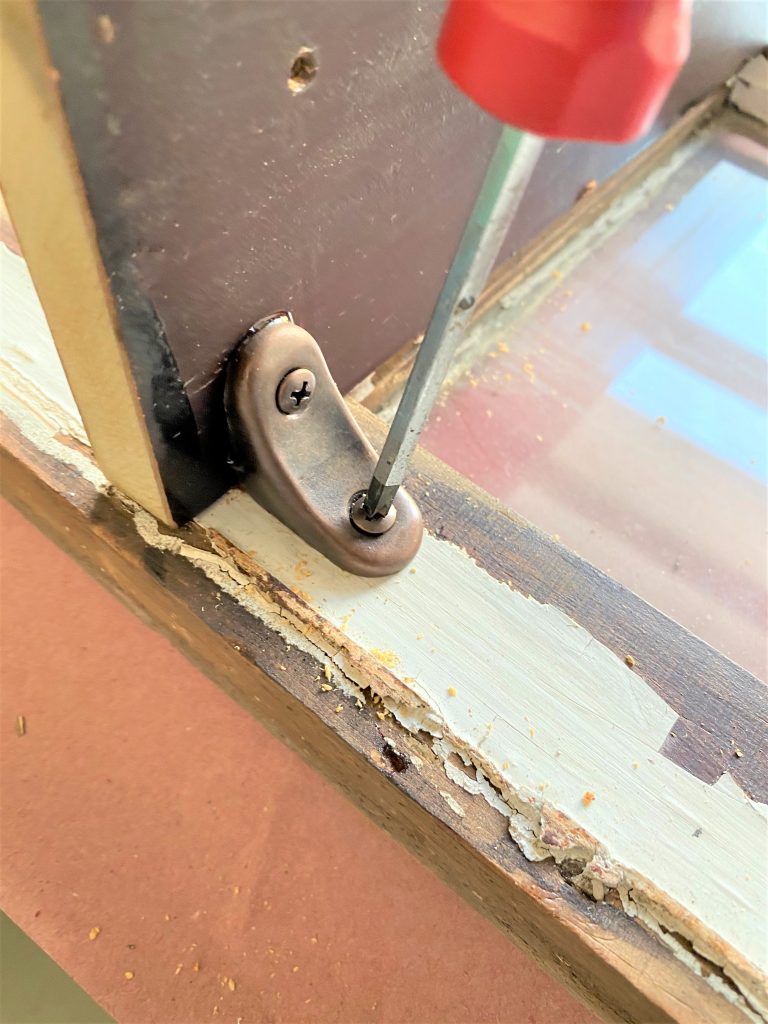
- Using a small furniture bracket, I secured the wood in place after lining in up horizontally along one of the rows of panes.
- To provide extra support, wood glue was added along the part of the scrap wood that would touch the window sash.
I loved the darkness of the wood piece used which connected to some of the hues of the original sash that were exposed beneath the layers of paint. On the cut ends, I dabbed some old brown paint to make them blend in, too.
Step 4: D-shaped picture hooks are a must!
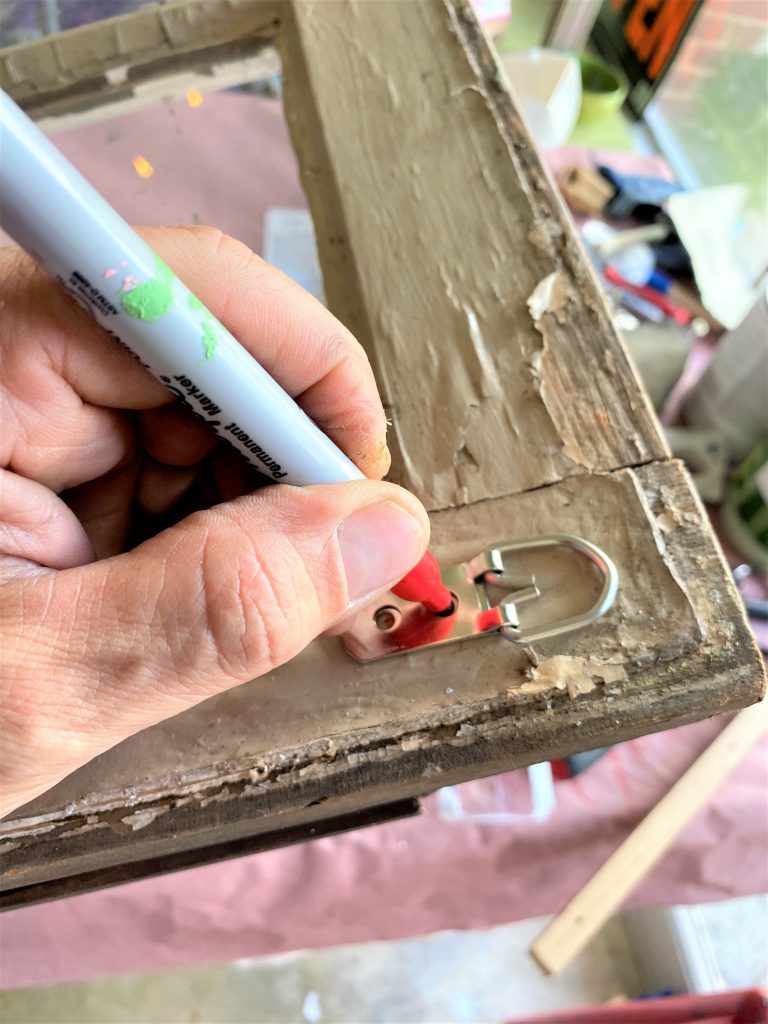
You will want your window sash to stay securely in place on your wall and not shift side to side as you hang items on the hooks or set treasured items on the shelf. Your solution to keep things balanced? D-shaped picture hooks.
In the upper corners on the back of your window sash, drill holes and screw them in place. Be sure to position them just below the edge so you don’t see them when your window sash is hanging up.
Step 5: Hang it up, grab your glass cleaner, add accessories
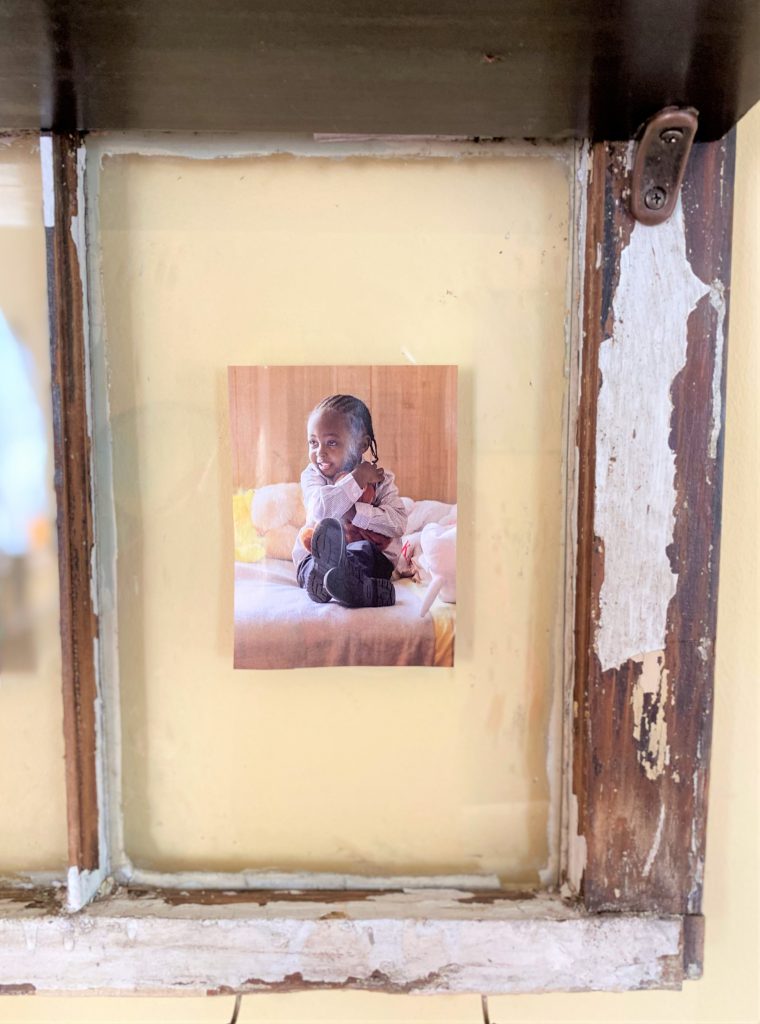
This transformed piece will look friendly and inviting in any room and given the hooks and shelf, it will serve a useful purpose in addition to looking good. Hang it in your foyer as a place to hold keys, your dog’s lease, umbrellas and caps. Make it a coffee station and a place to display mugs, tea boxes, sugar bowls and bottles of honey. Put it in your kid’s room to hold their athletic trophies and school art projects. Add it to your home office and place photos of loved ones on the shelf.

This truly makes the perfect Father’s Day, graduation, birthday or anniversary gift because everyone will love it and it can be truly used anywhere. And transforming it from trash to treasure is helping the planet. Gotta love that, too!

Tim Kime
Artist, Motivational Speaker, Life Coach


