
Here’s a DIY project that is right on time: upcycle a thrift store clock into a flag-themed, functional art piece! For a few dollars and with a couple of hours, you will count down the minutes until you’re able to hang this cool and eye-catching clock in your home or office.
While the DC flag was selected since that is where I work and live, you could easily follow these steps and create one for your own city, state, or country. This makes a great gift for any Washington, DC resident or visitor—maybe I should give this as a gift to our Mayor?
This project is also PERFECT for some clock-related jokes! Here’s one:
Why did the man sit on his clock? He wanted to be on time. (Groaning allowed!)
Items needed:
· Battery-powered wall clock
· White spray paint, satin-finish
· Red poster board or thick craft paper
· Painter’s tape
· Screwdriver
· Scissors
· Yardstick or tape measurer & a straight edge
· Mod Podge or craft spray adhesive
· Paintbrush
· Glass cleaner
· Paper towels
1. You won’t waste time—or money—when shop for a clock at Goodwill
Each visit you make to your favorite Goodwill store will certainly pay off handsomely with deals on interesting and usable items.
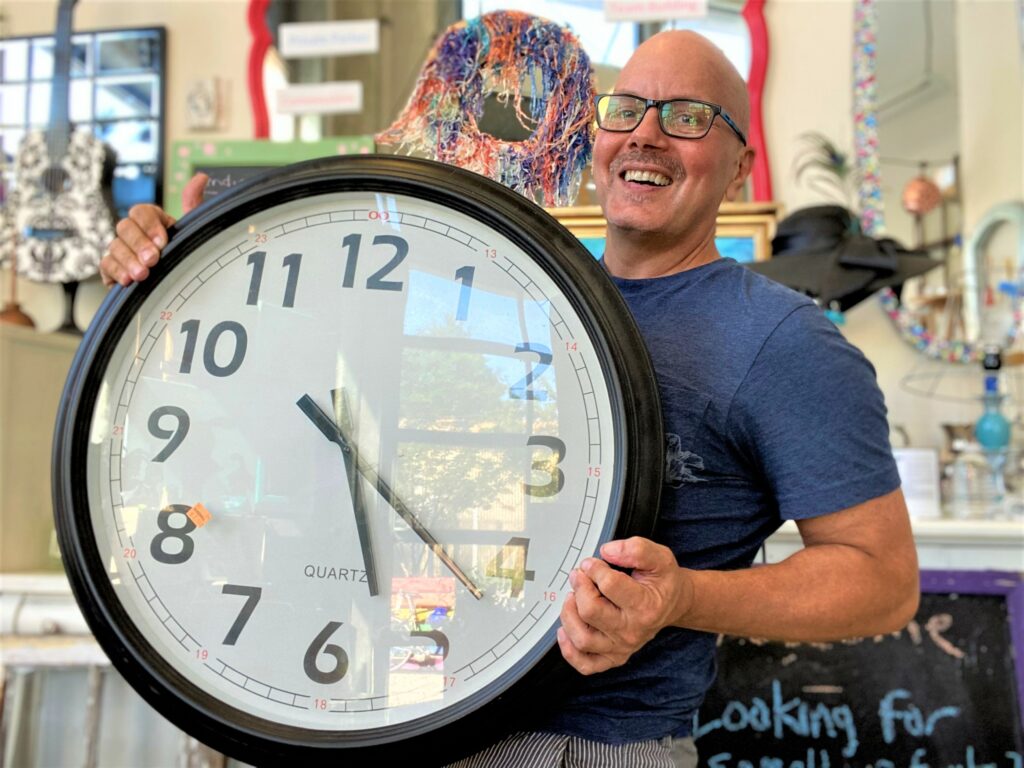
No trip to Goodwill is ever wasted when you are open to finding your good there. On a recent excursion, I came across a large wall clock that was perfect to get a DC flag makeover. If you look at the latest design trends for interior decorating, super-sized clocks are all the rage. For a few bucks, this one was ready for a unique look.
2. Dismantle, if needed, to prep for painting
- This clock had a layer of glass on its front, so it only required a small screwdriver to take it apart to begin its festive transformation.
- All screws were put in a mug for safe-keeping.
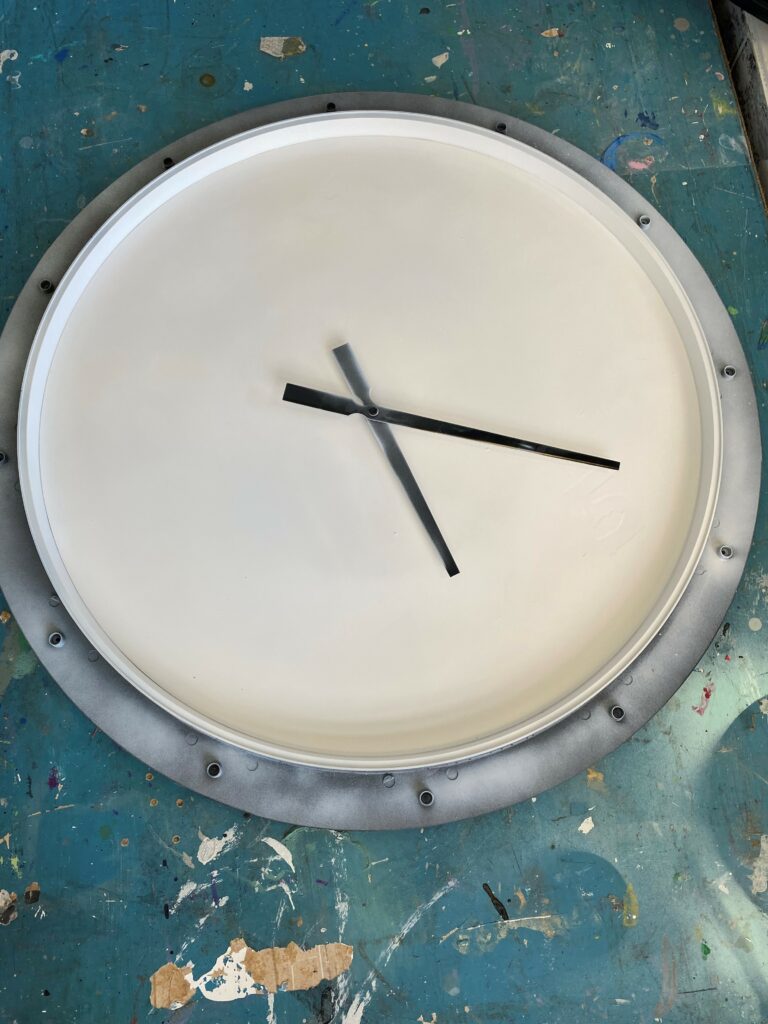
- Carefully remove the outer ring and glass then set aside in a safe place where they won’t get bumped. I liked the clock’s black “hands,” so covered them with painter’s tape to protect them.

3. Make time stand still—at least while you paint
- Place your clock on a drop cloth outside or in a well-ventilated space.
- Using a satin-finish white spray paint, gently add a layer over the entire clock face. Let dry then move the hands to another spot and spray away again. You want to make sure its numbers or other writing/details are erased for good with the white paint.
- It took three light coats to do the trick with the clock featured here.
Design Suggestion:
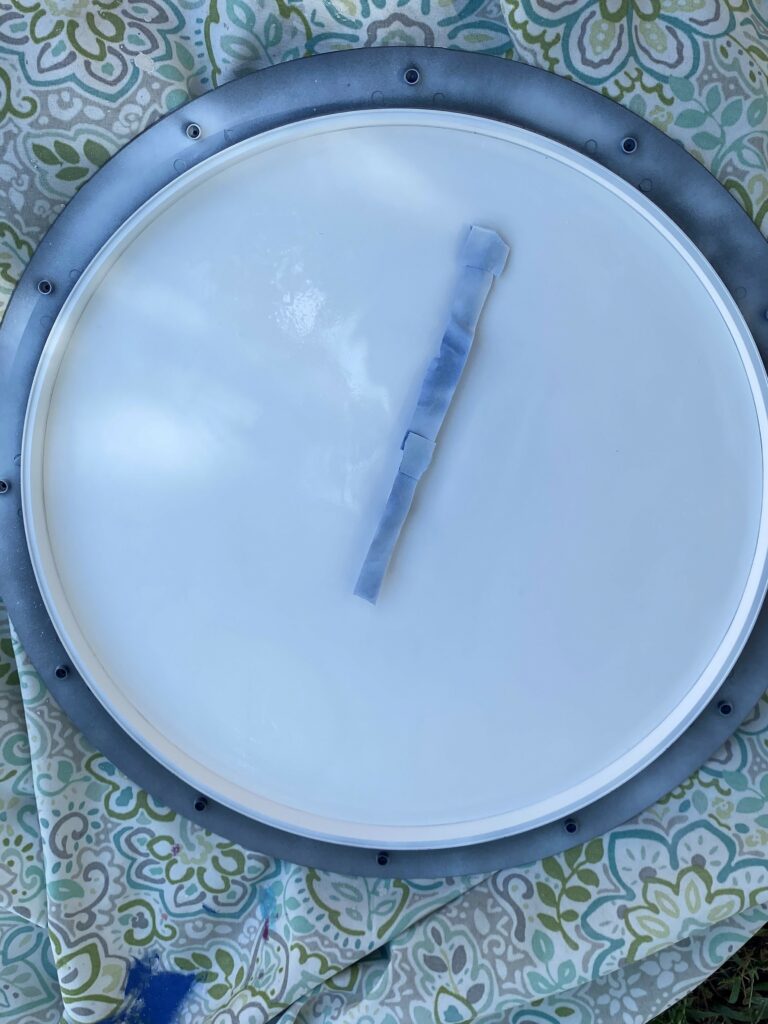
I thought it would be cool to paint over the entire face, but leave two numbers. I used painter’s tape to cover the 5 and the 1 (a reference to DC being considered the 51st state). However, after painting it and removing the tape, it didn’t look as nice as I wanted. Also, when I positioned the stripes and stars in place, the 5 was blocked. My suggestion: give your clock face a clean and fresh look with paint and skip trying to incorporate any existing elements.
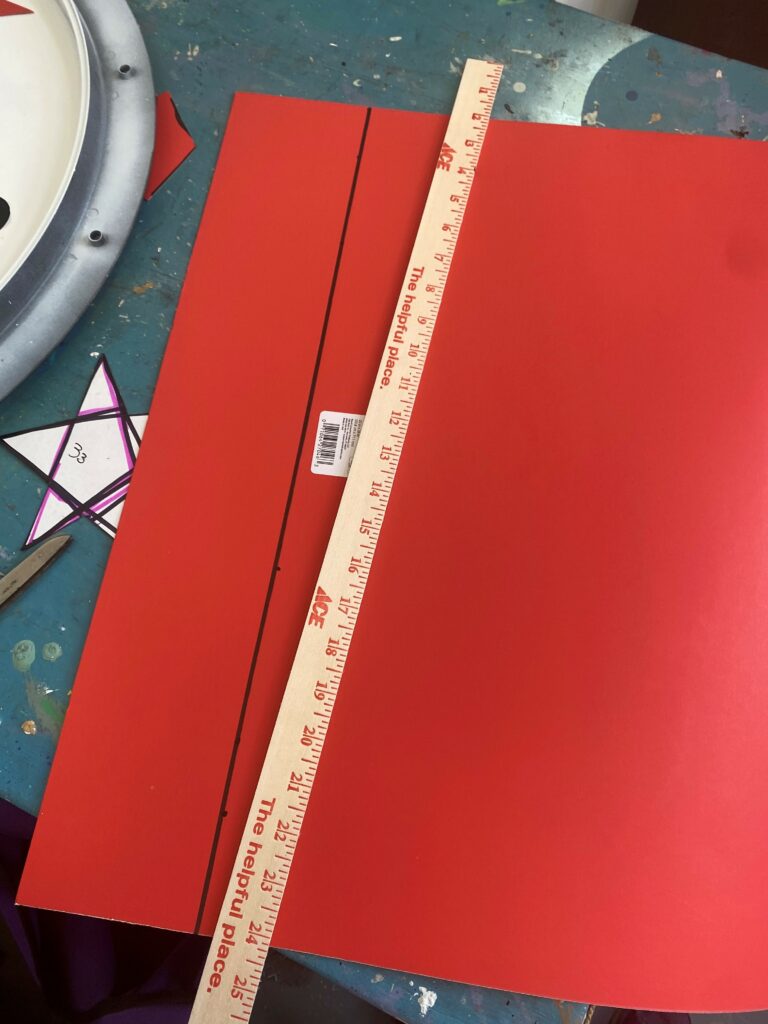
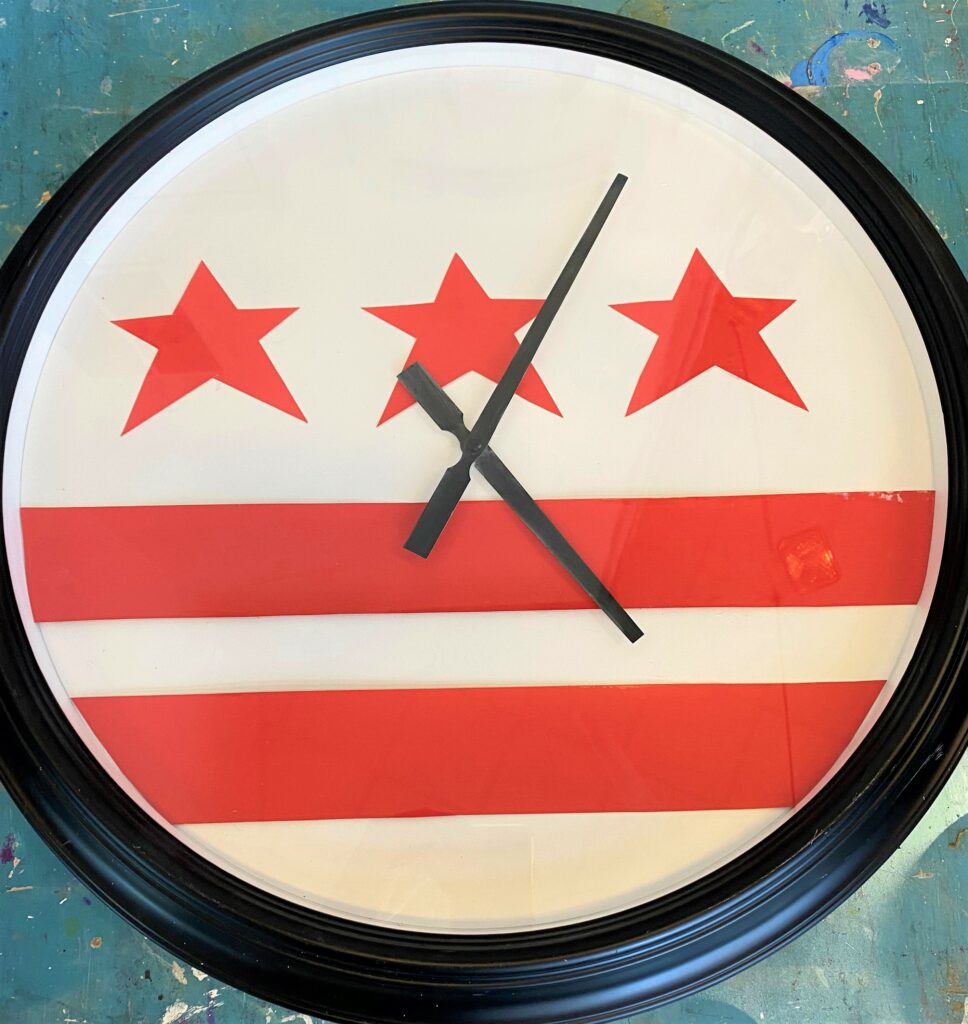
4. Trace your stars, measure your stripes
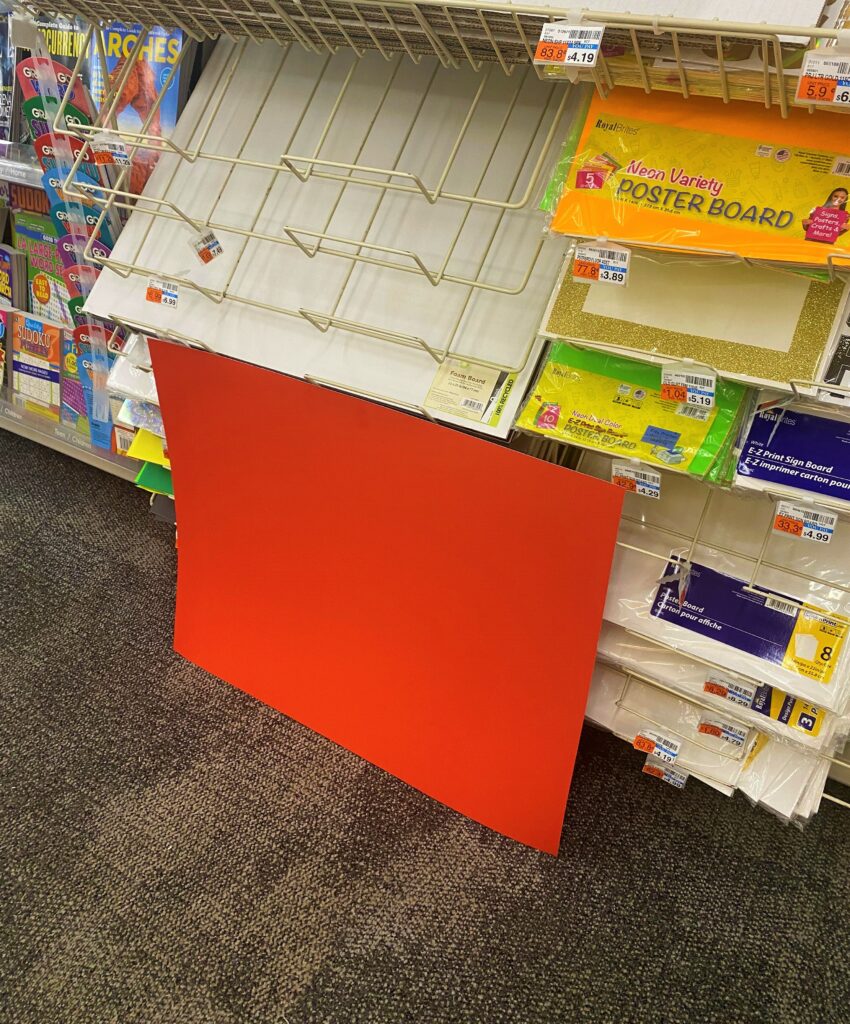
Since the DC flag is white with red, I decided to use a red poster board and cut it up, rather than taking the time to draw it out and use red paint. I thought the color would look sharper when cut out of the solid red poster board.
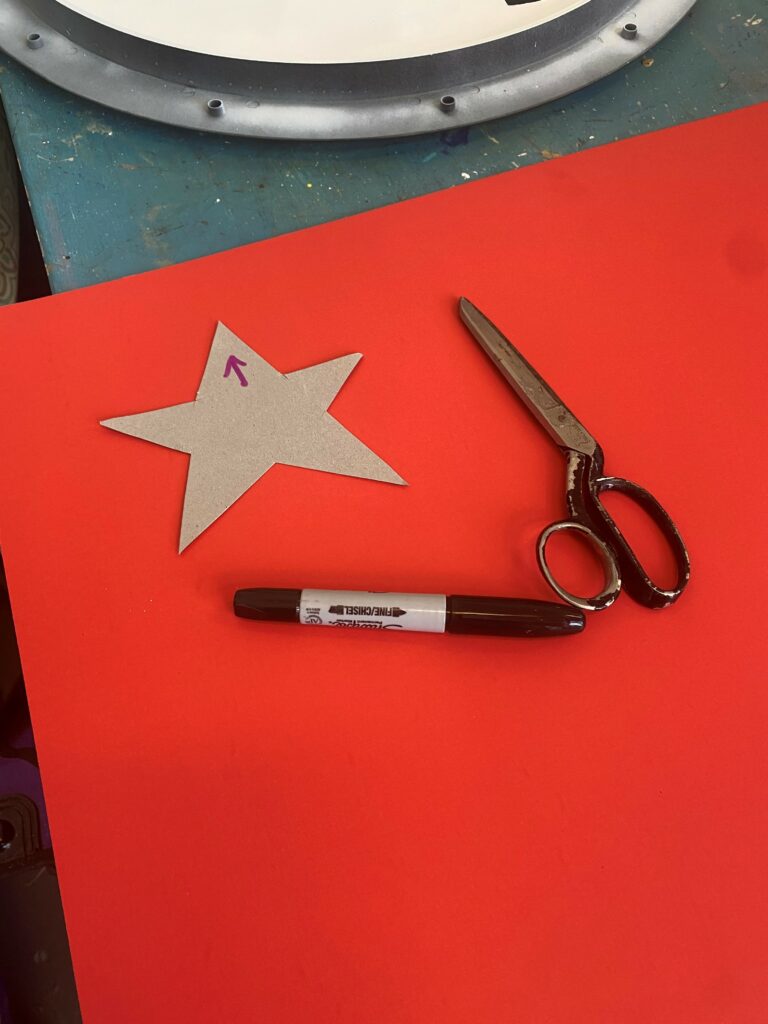
- Using a scrap piece of cardboard or thick paper, draw a star then cut it out. This will be your pattern.
- Trace around it on your red poster board.
- With sharp scissors, cut out your three stars being careful to do a very straight cut.
- Measure your two stripes using your tape measure or yard stick then mark it off with a straight edge.
- Cut your stripes.
- Now you are ready to pull it all together, however some advice first!
Expert Advice:
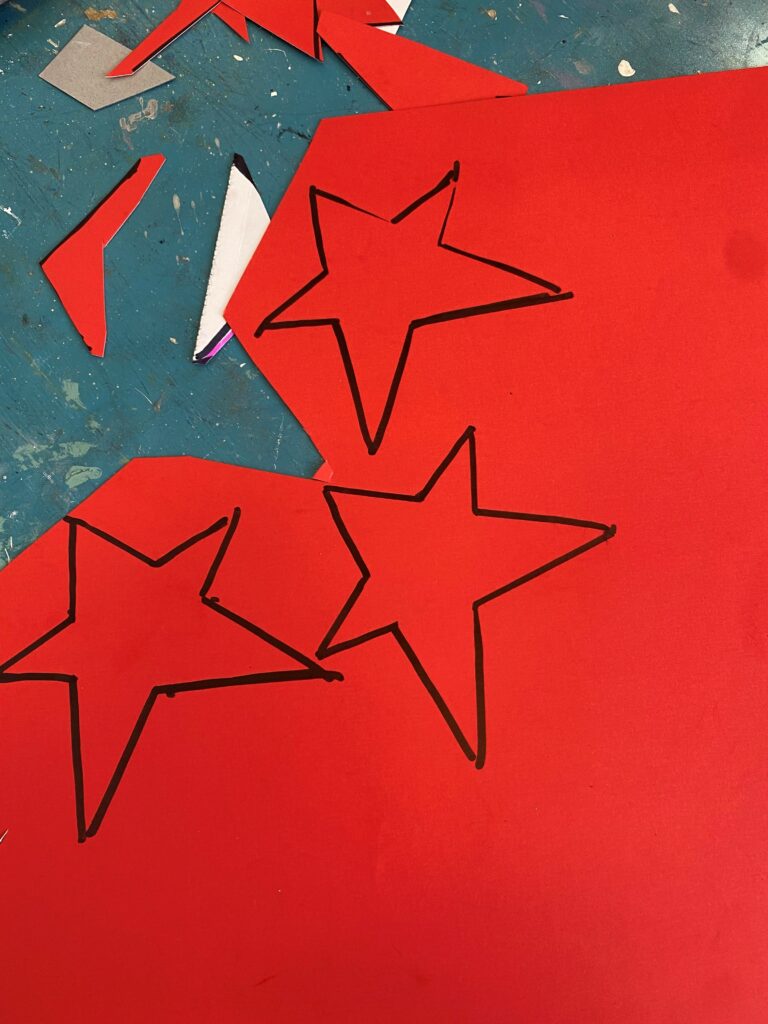
Save time by learning from my mistakes. The stars and stripes which appear on the final clock transformation were the second ones I cut.
When I positioned the first stars and stripes, the stars were too big and the stripes too thick for the clock face. It just looked too crowded. Therefore, I suggest you cut out one star and one stripe and see how it feels. I dropped the width of the stripes from four inches to two and a half and it looked much better! The first stars and stripes cut will be saved and used for a future DC flag-themed upcycle!
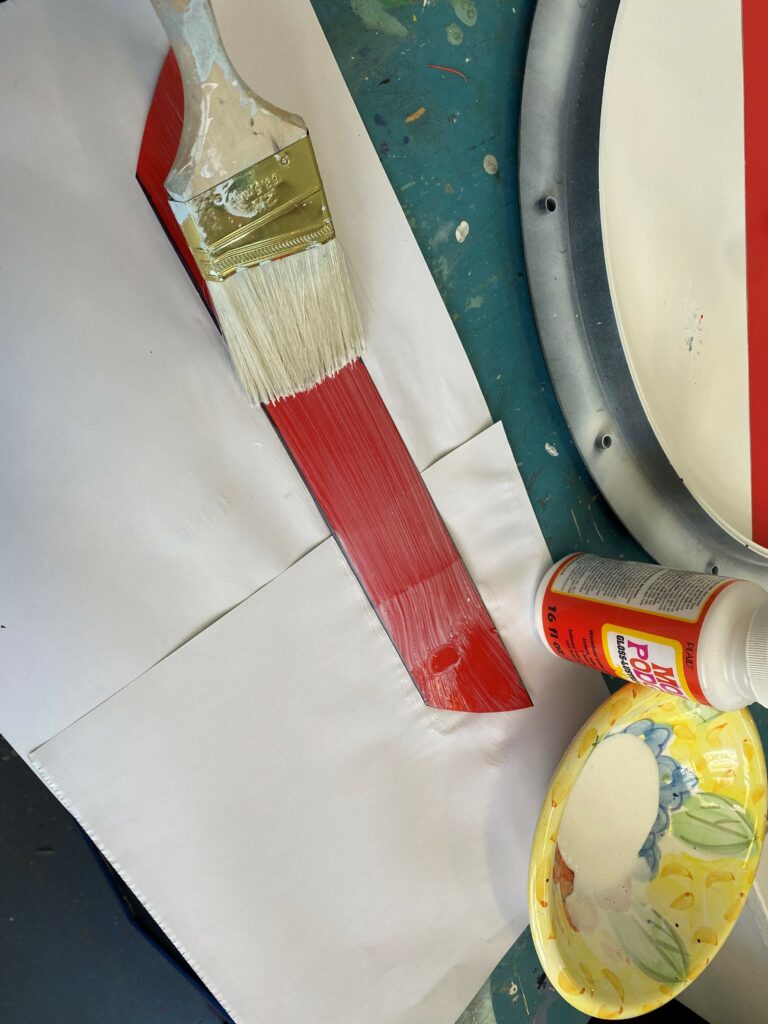
5. Secure your pieces
- After you position your stars and stripes where you want them and have trimmed the stripes so they fit on the clock’s face, use your Mod Podge or craft glue to adhere them in place.
- Be careful when handling the pieces as sticky fingers can impact the clean front of each piece.
Expert Recommendation:
Another lesson learned! The Mod Podge made my pieces curly up a little bit. Paper and cardboard will do that due to the water that is in Mod Podge. My recommendation is to do this step using spray adhesive for a clean and strong bond without them curling up.
6. Reassemble then assemble your family and friends
- After your clock face has dried well, then carefully put it back together.
- If you have a glass front clock, you will want to use a window cleaner to get rid of fingerprints and dirt.
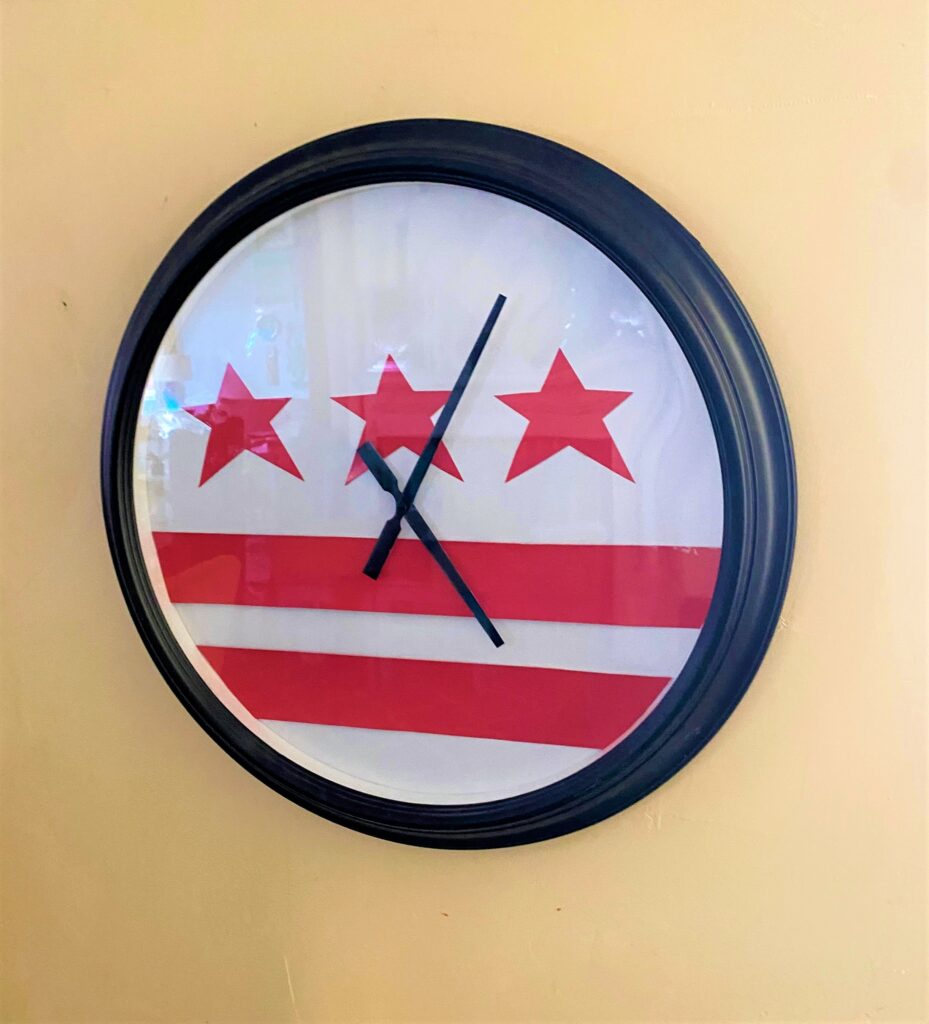
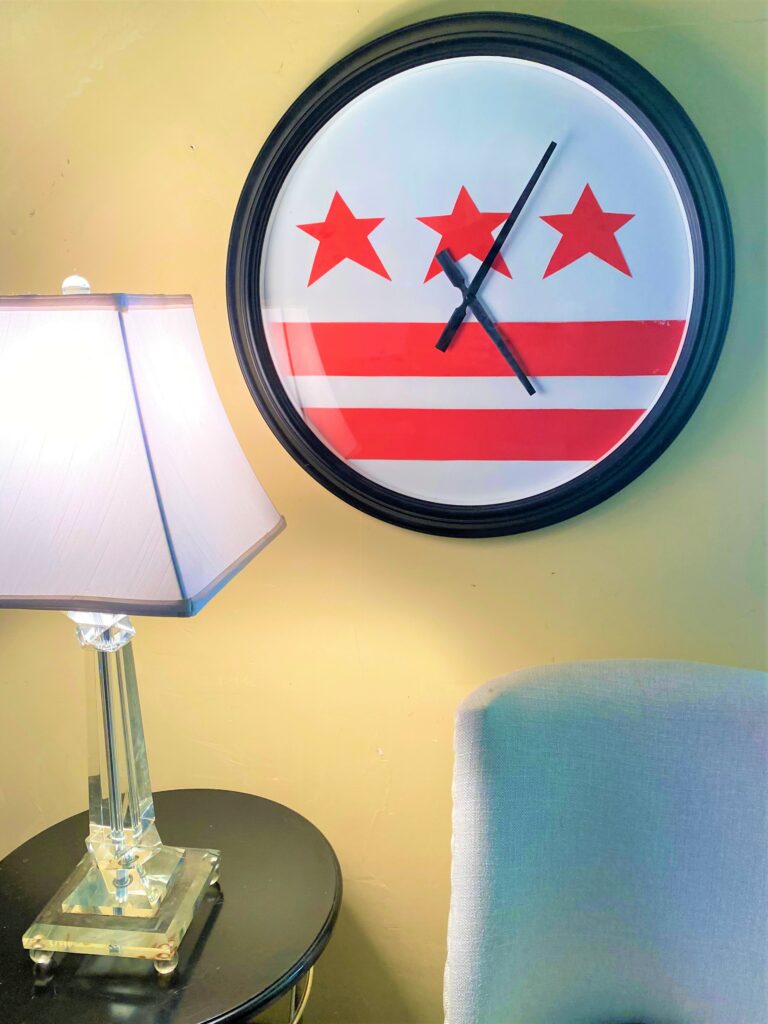
Find a spot in your place and your work area to proudly display your DC pride and your creative efforts. Then, invite your friends and family over for a meal or beverage and toast to your DIY talents! And take a picture to send to your councilmember or the Mayor to let them know you love Washington, DC, too!
To conclude, here’s another clock joke:
What do you call a story that one clock tells another? Second-hand information. (Are you smiling now?)
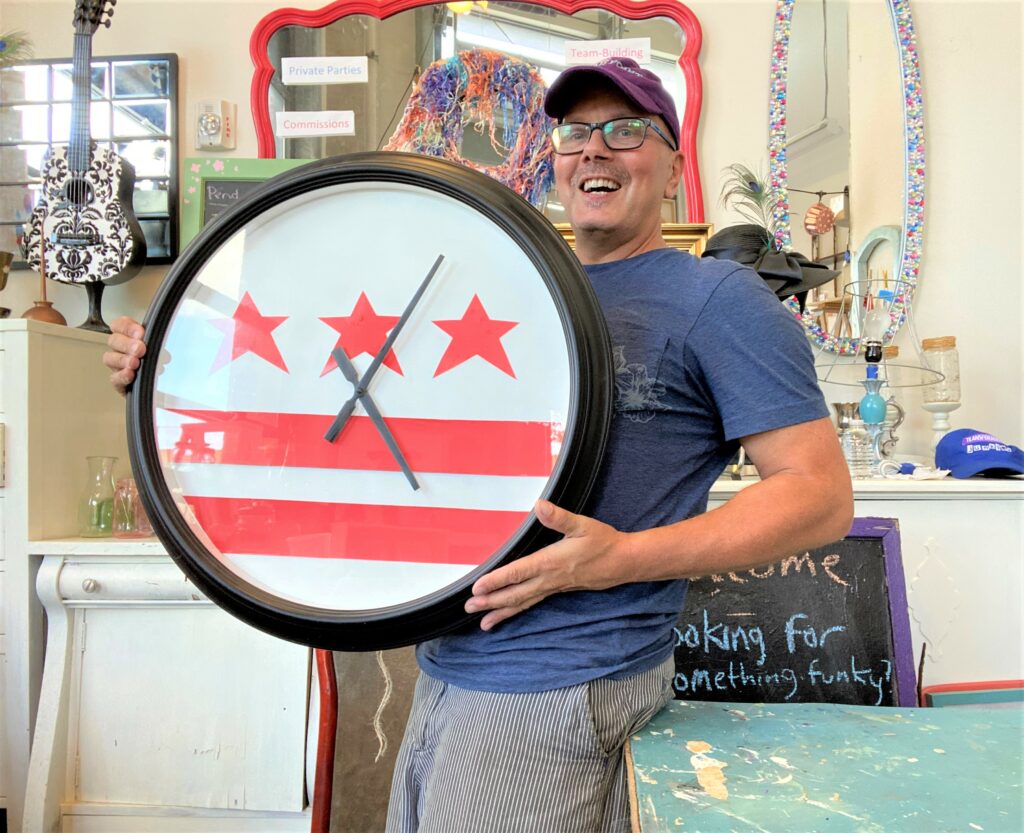

Tim Kime
Artist, Motivational Speaker, Life Coach
