Give a painted cabinet some pizzazz using a paint pen to add pretty and perky details. A paint pen provides a steady stream and consistent application, so you can easily draw on your design.
Supplies needed:
· Wooden cabinet
· White paint pen
· Green paint
· Brushes
· Sanding block, medium to coarse grain
· Damp cloths
· Polyurethane
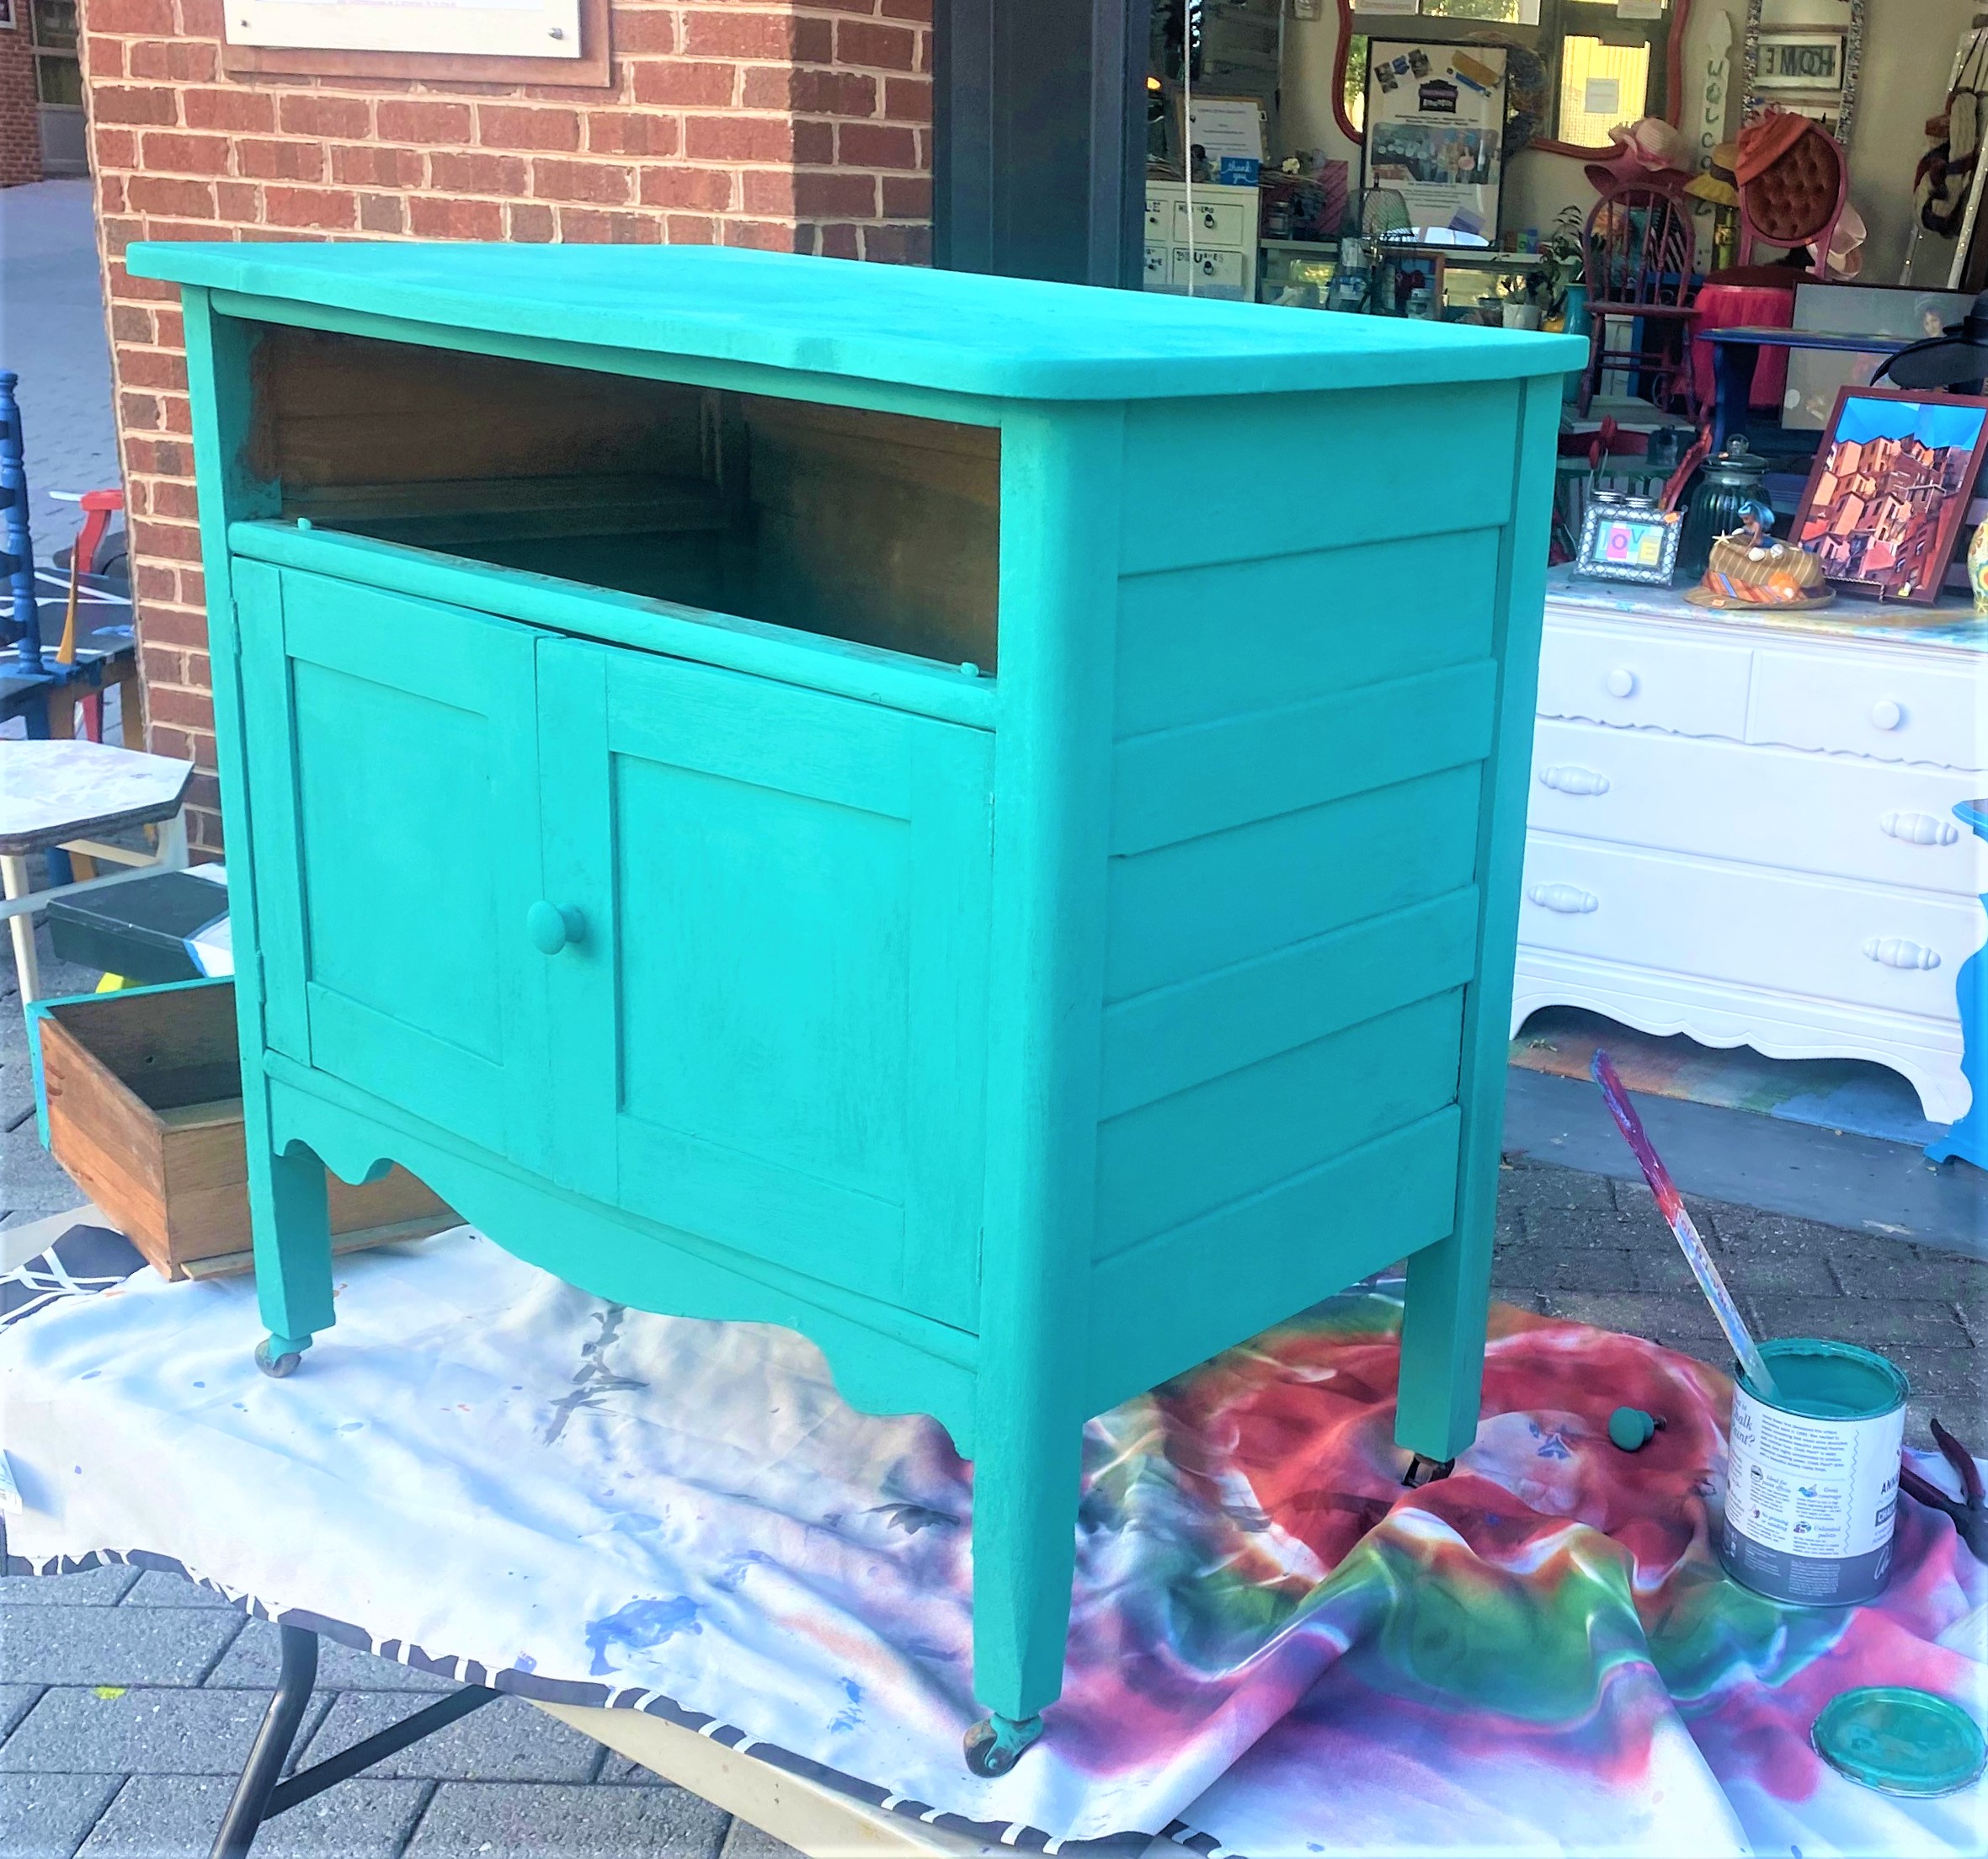
1. Find your good—and a nice piece—to transform at Goodwill
Goodwill stores are overflowing with great items and wonderful staff members. As people take time away from work in August, many are using the opportunity to clean and clear out their places. This is good news for Goodwill which receives their donations—and excellent news for you because of all the great pieces which await you.
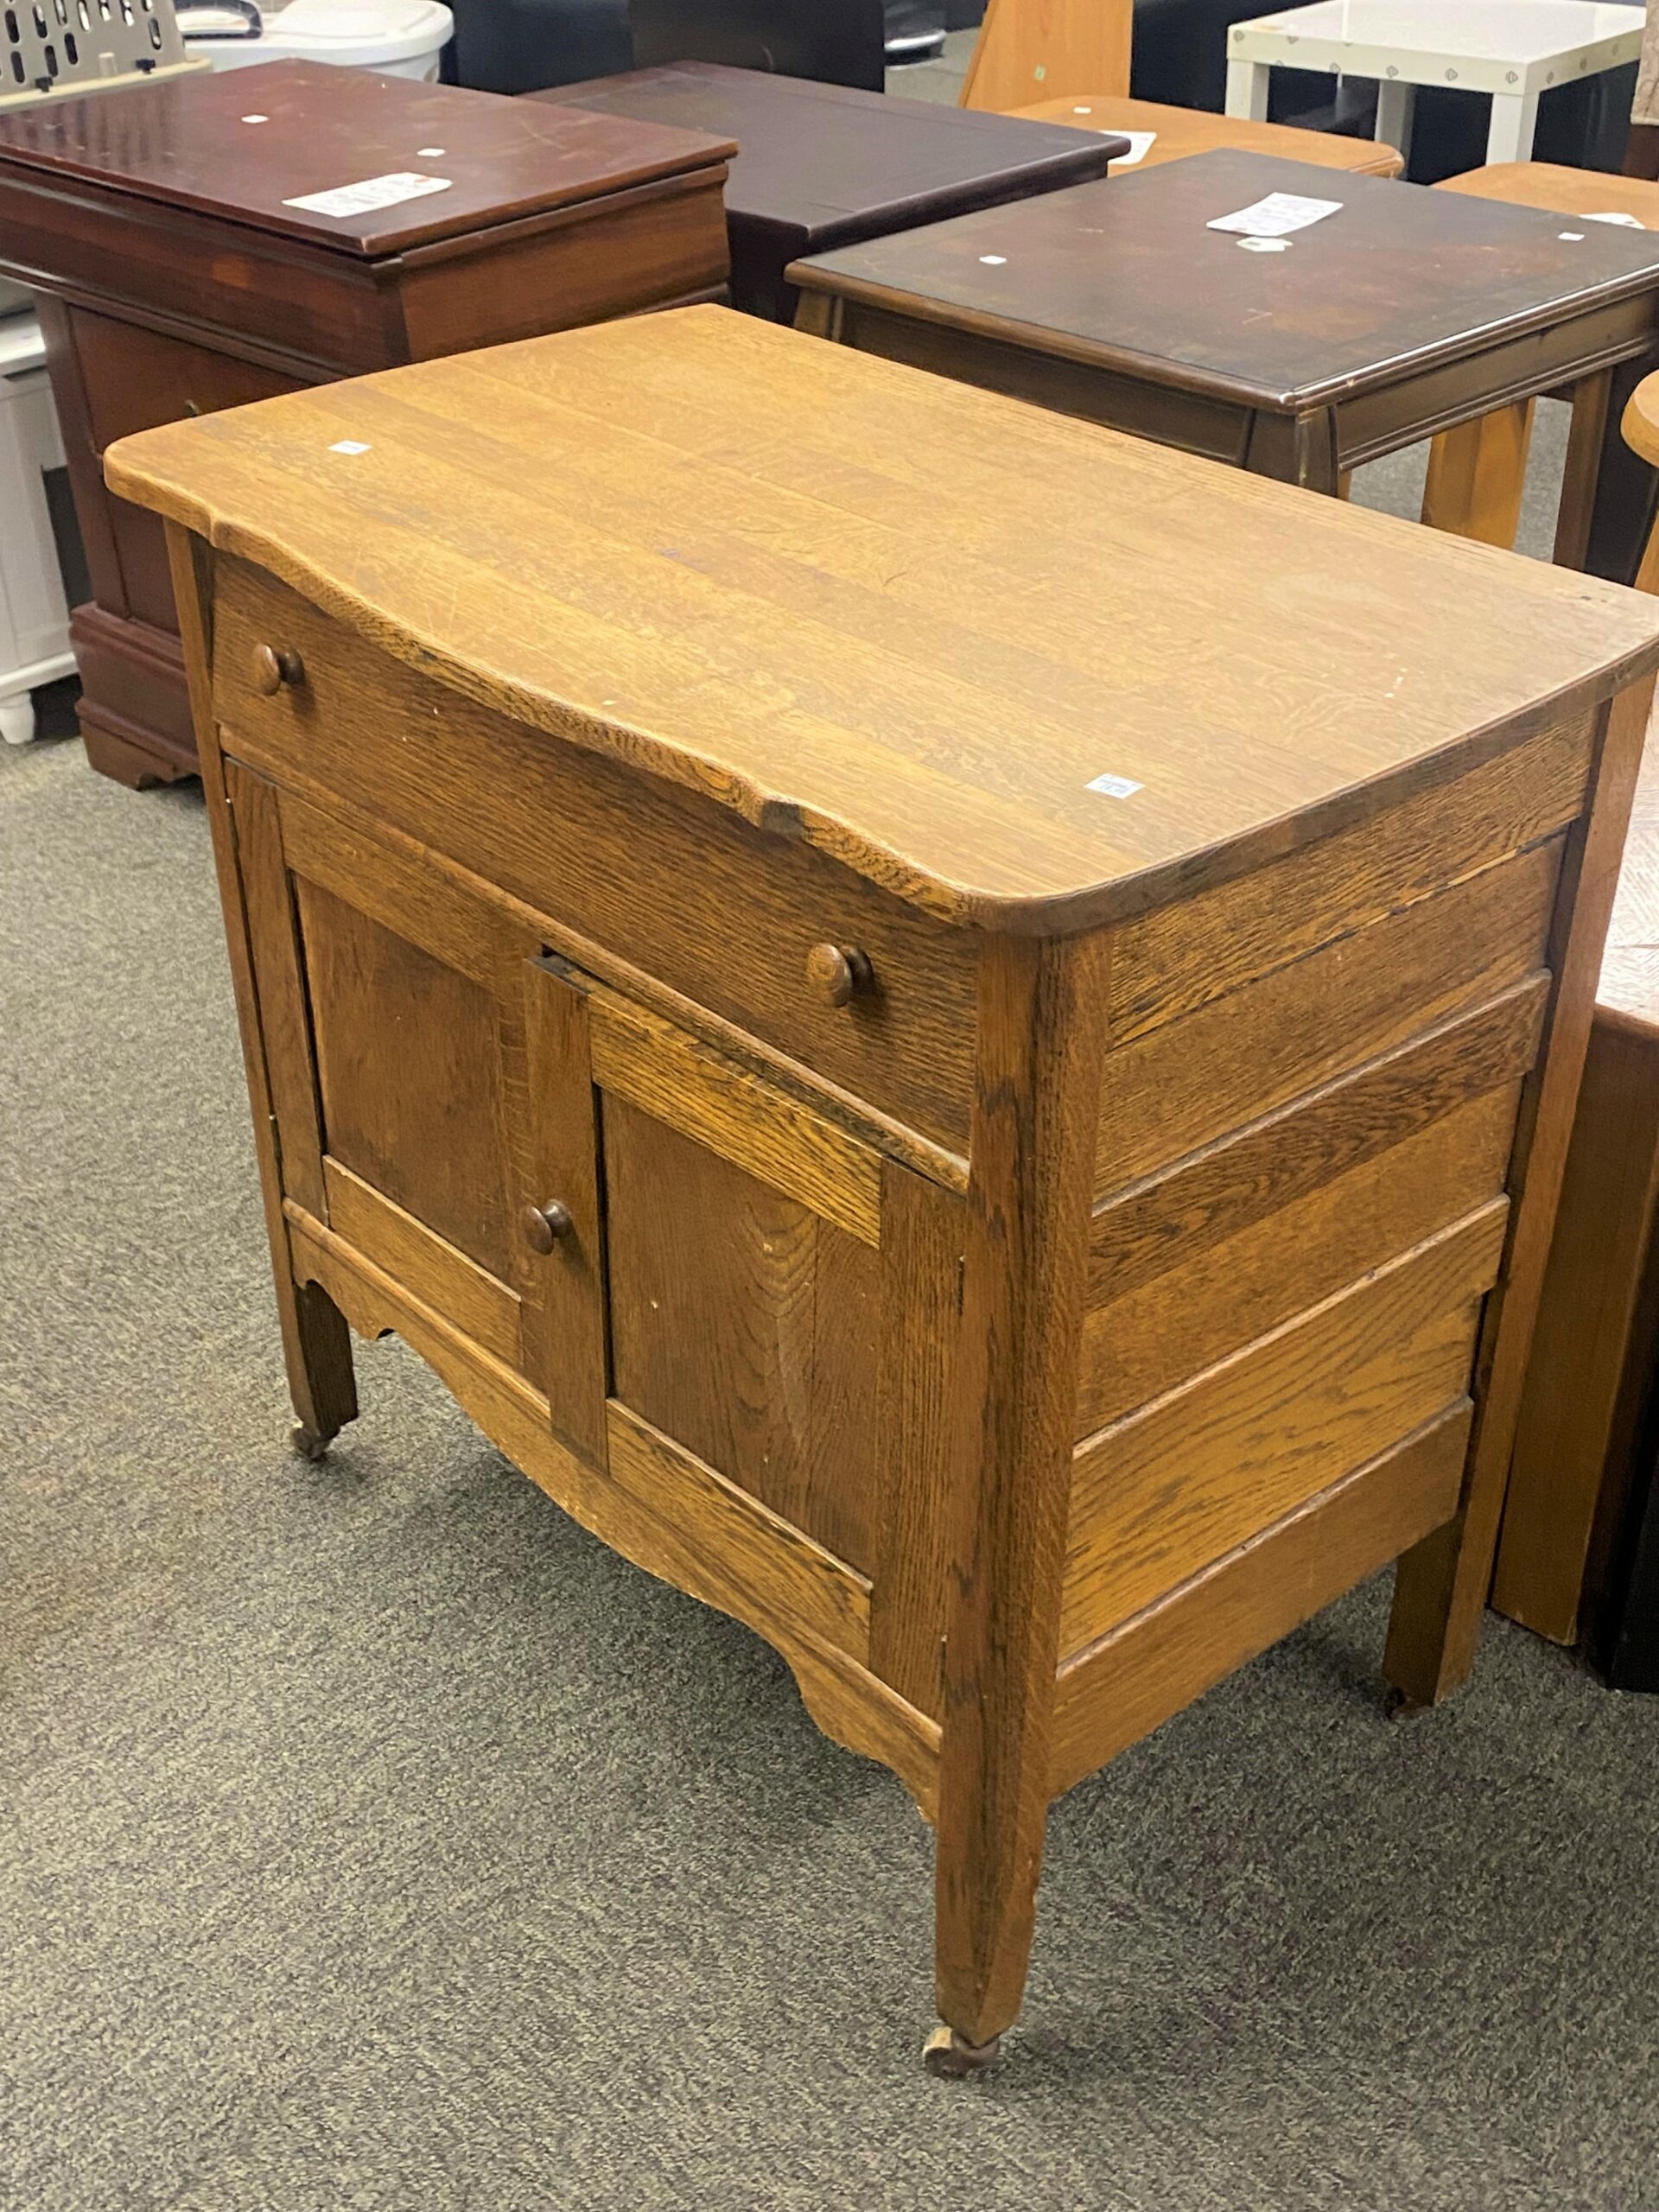
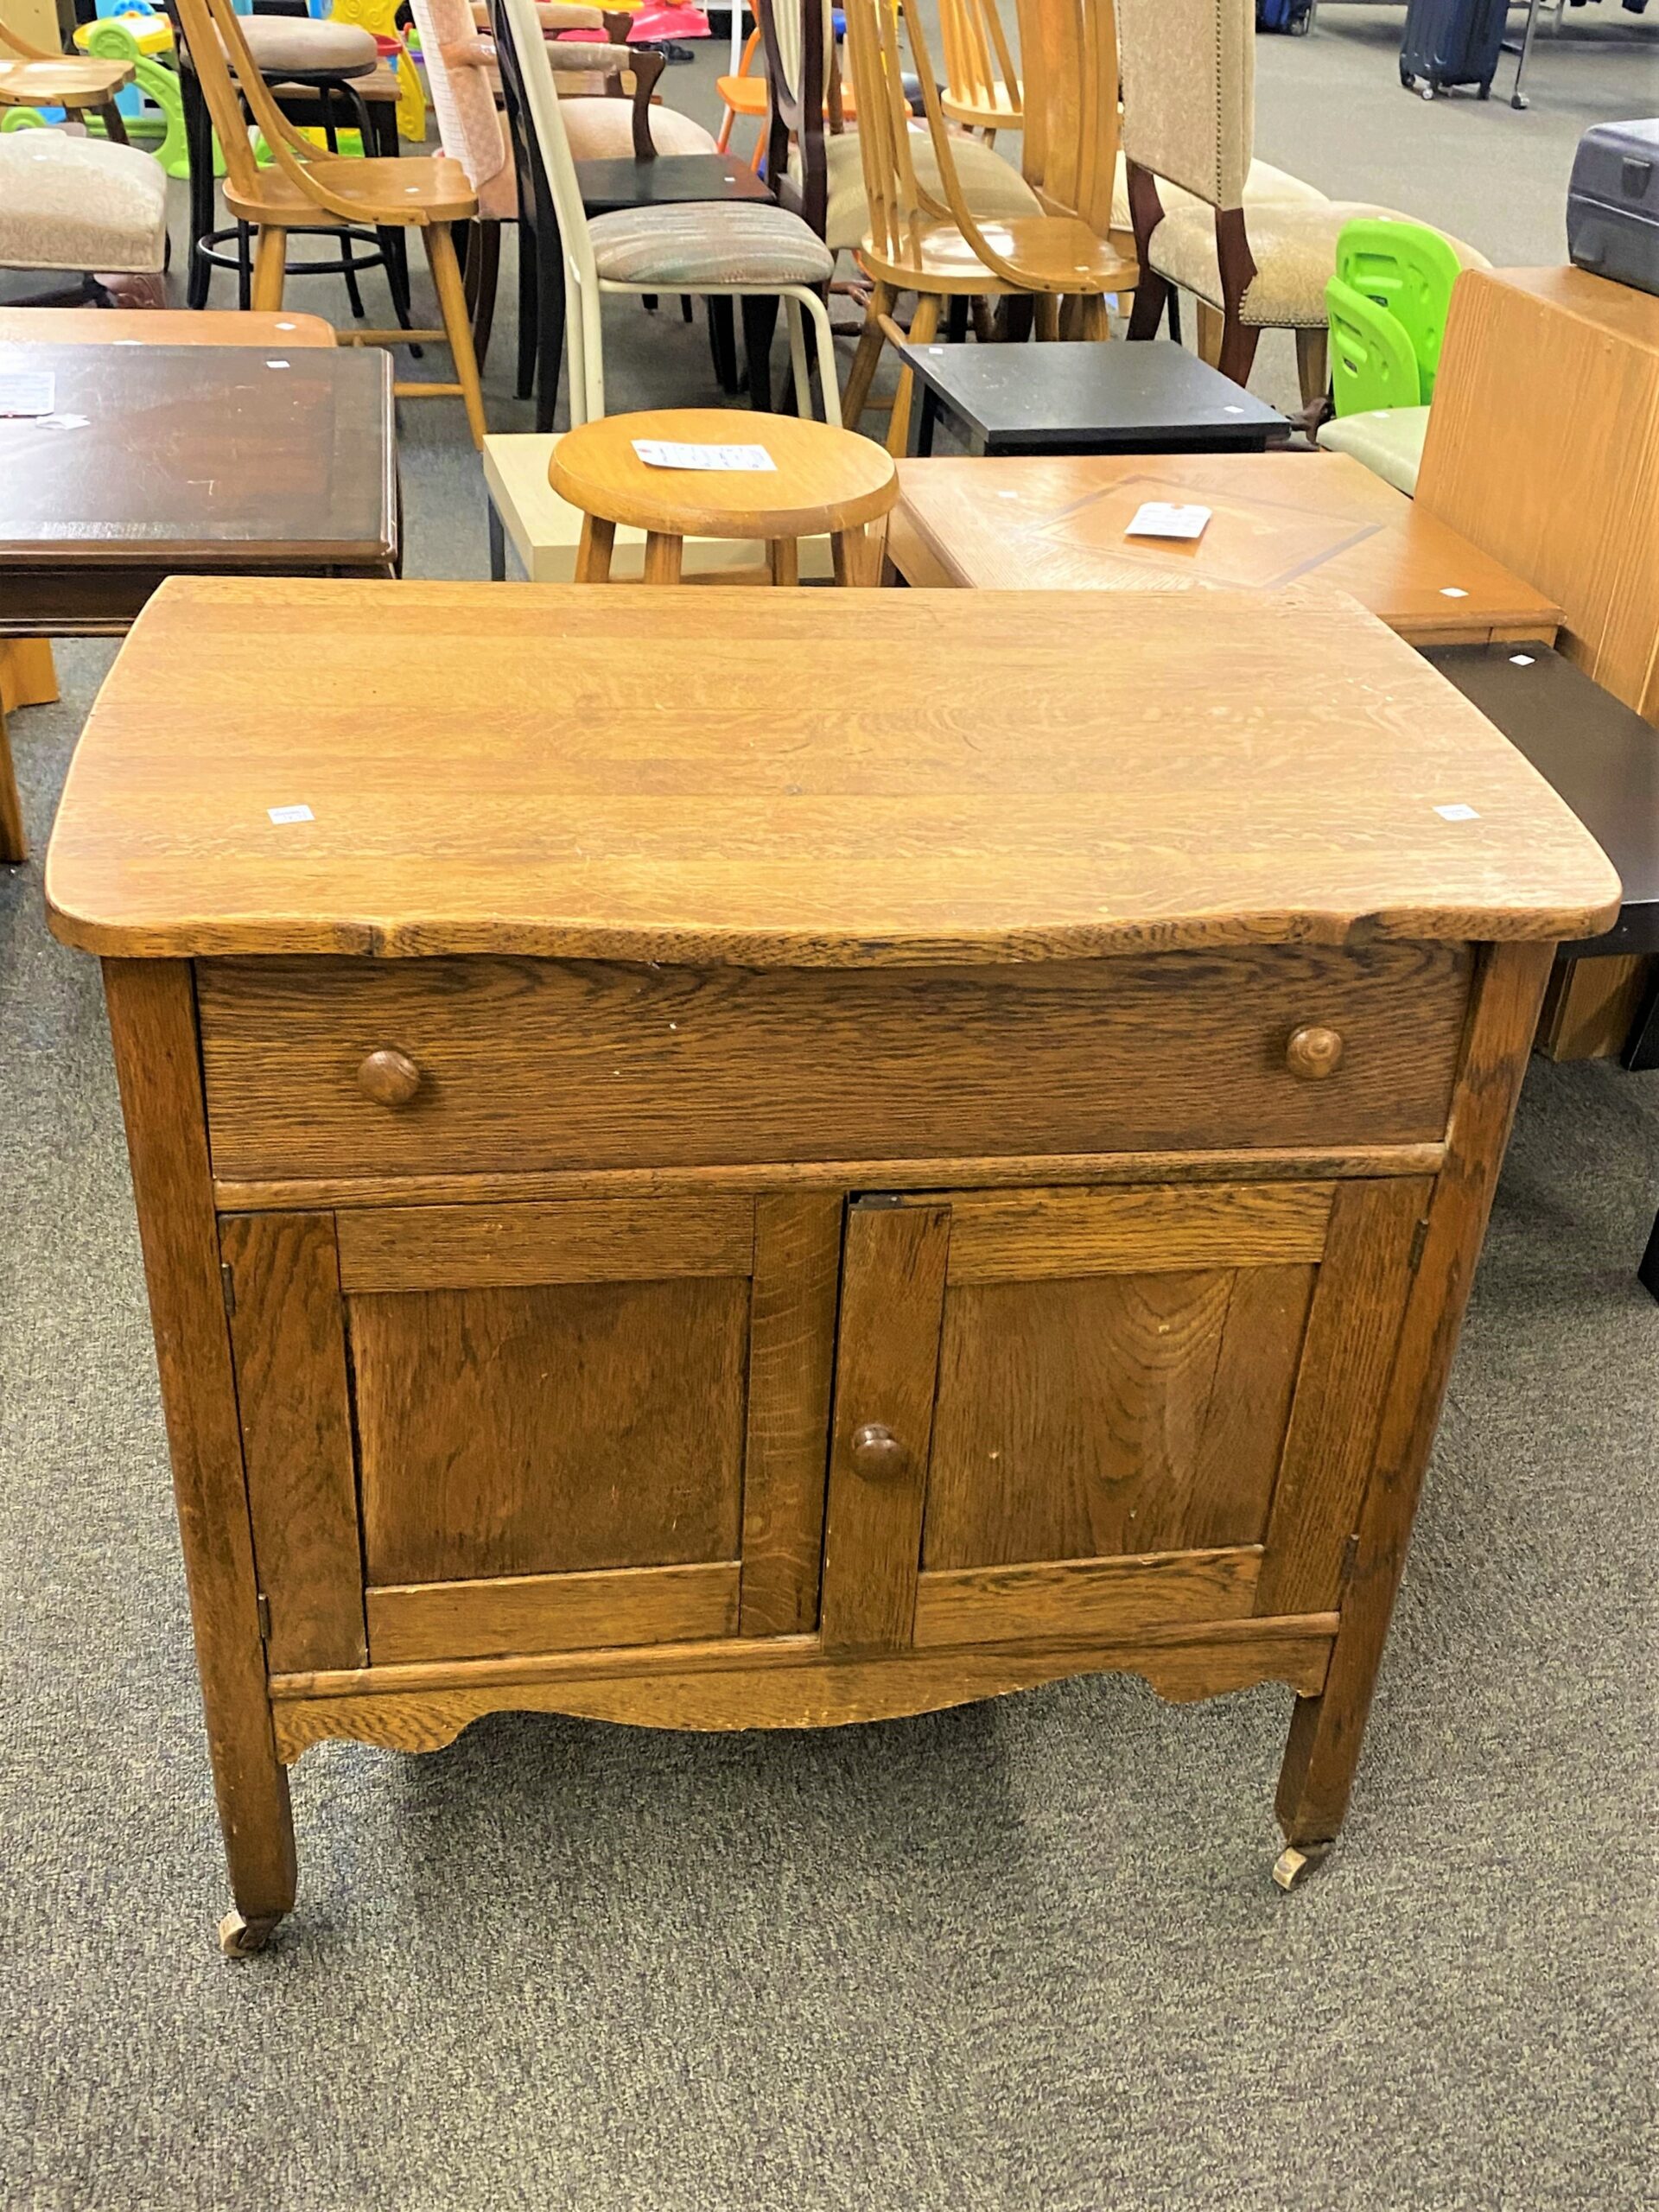
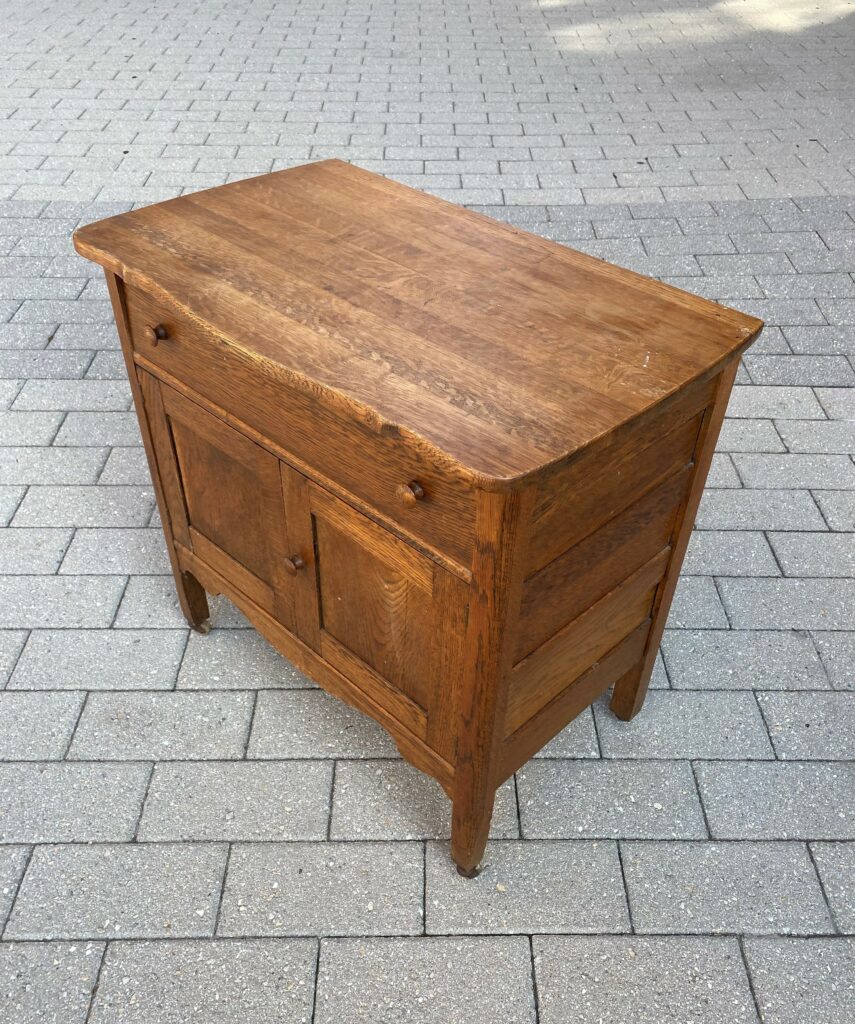
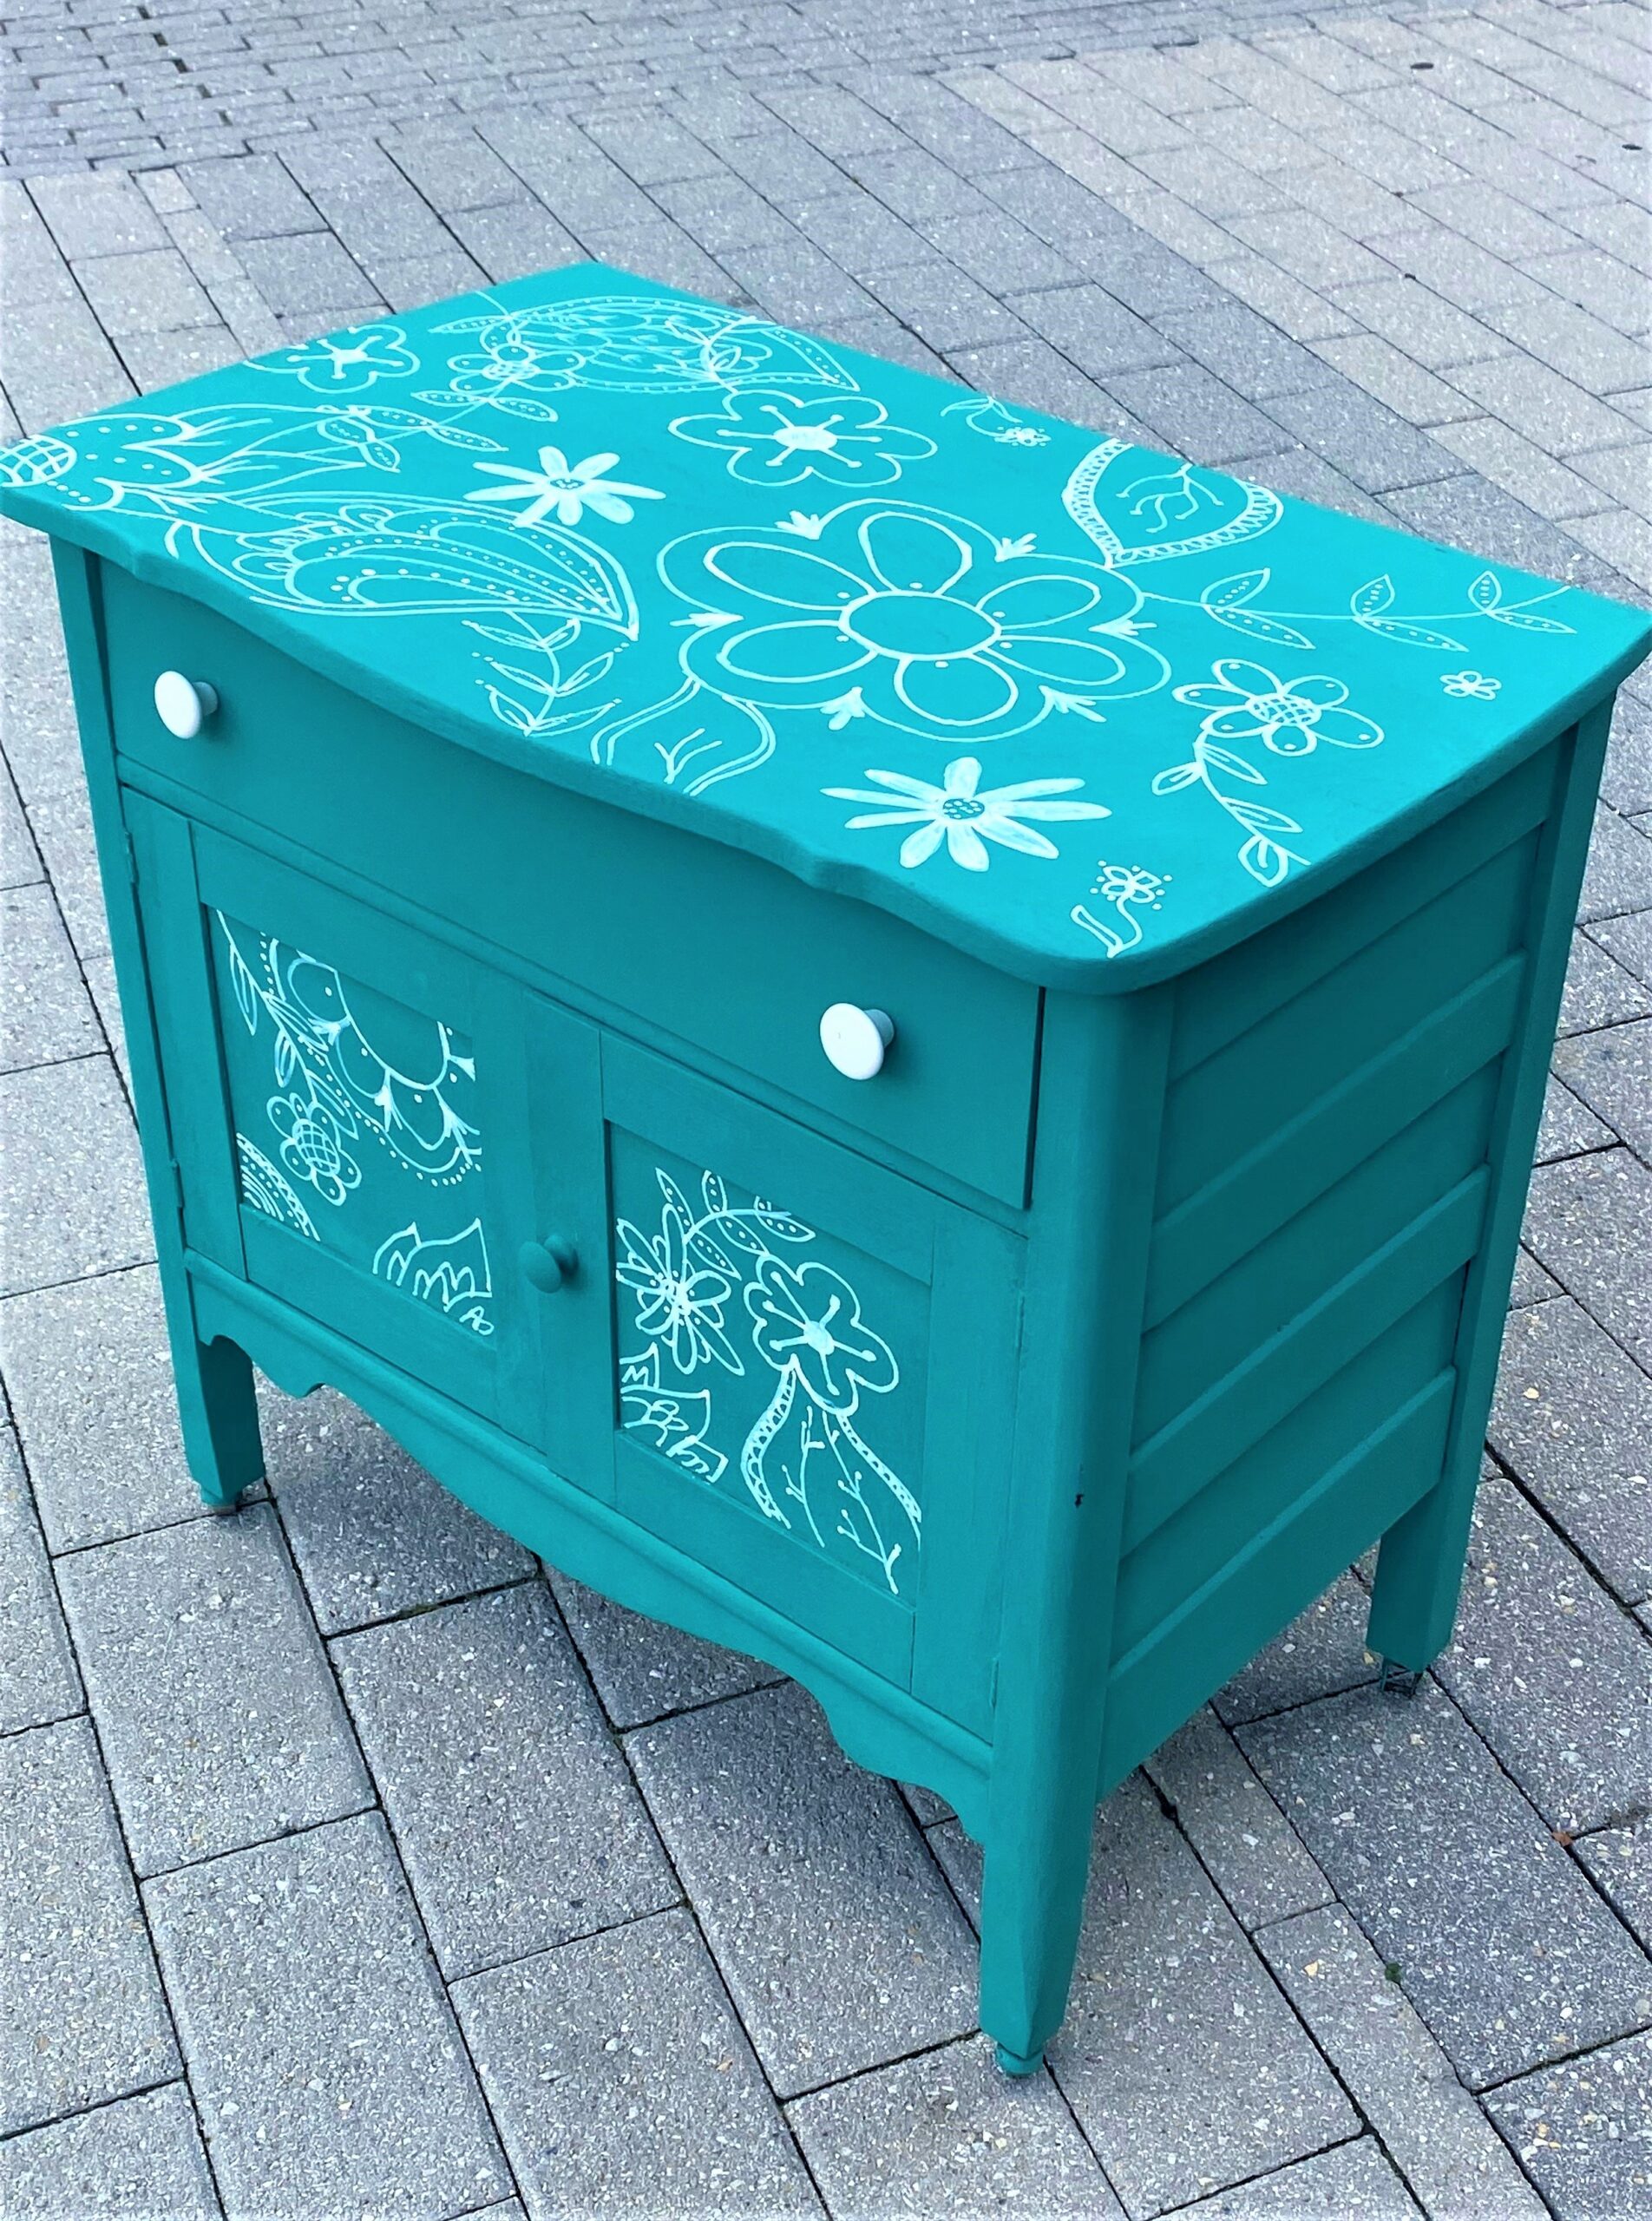
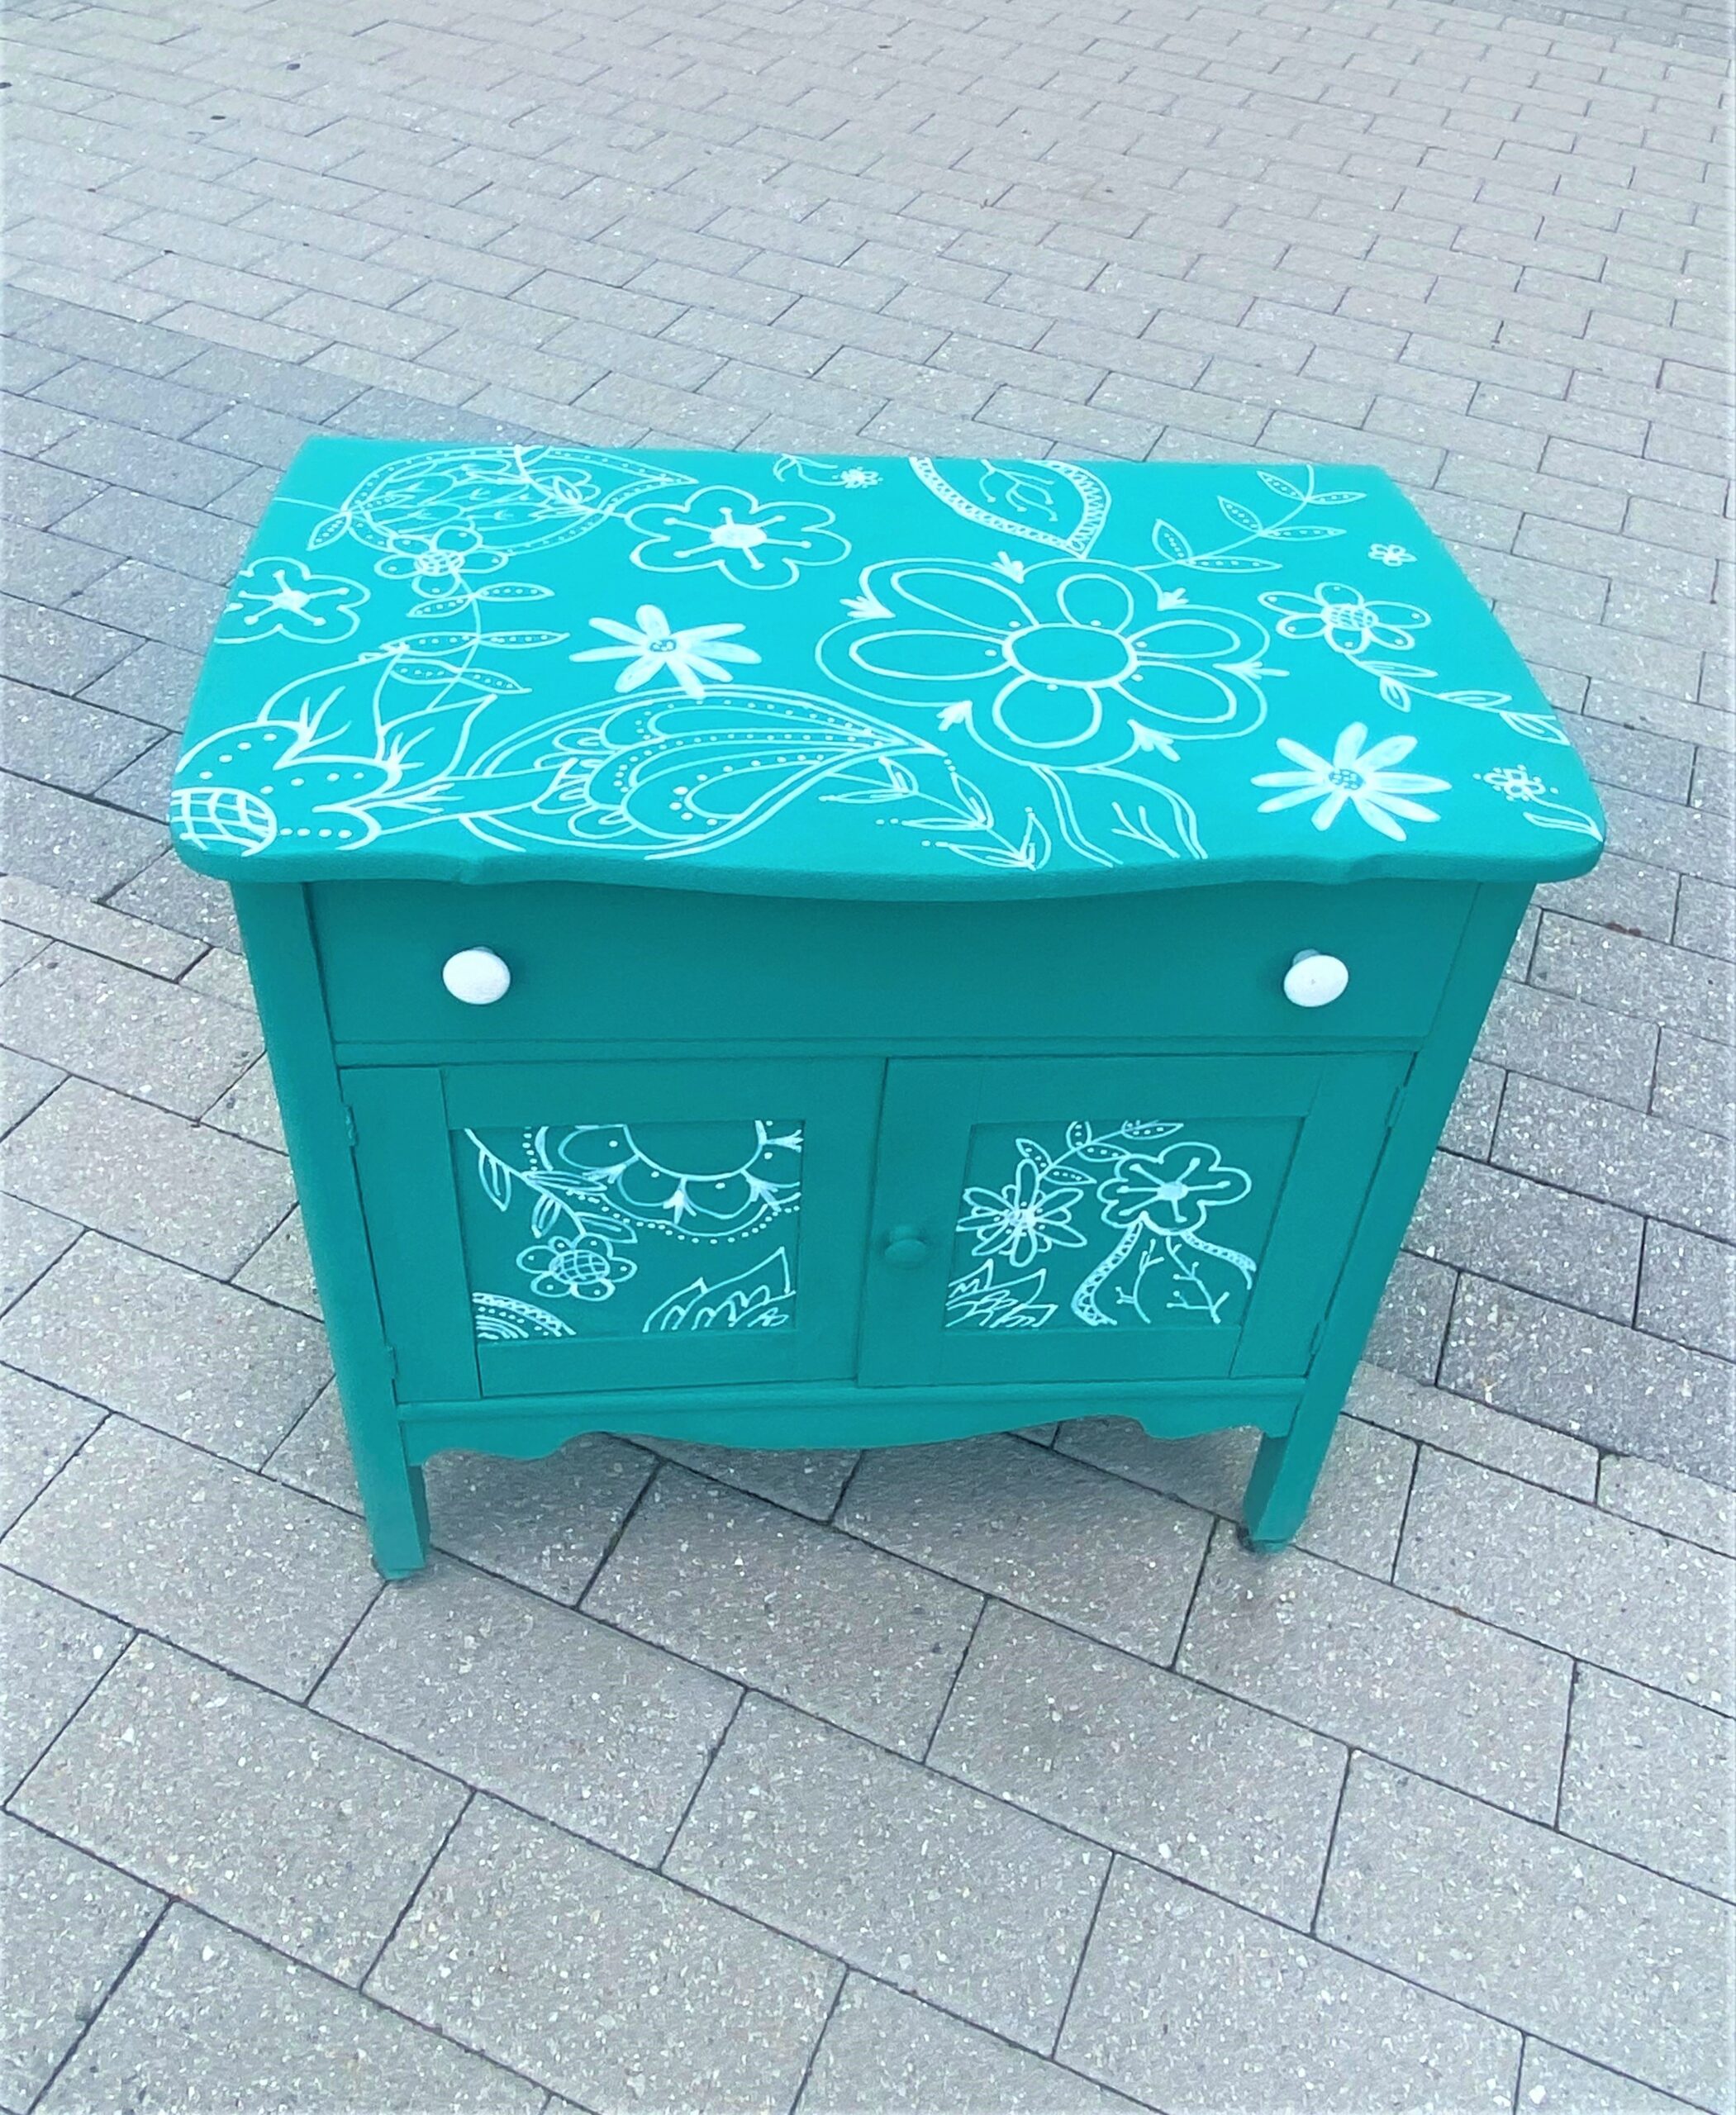
The cabinet featured in this blog was charming with its carved top. A long drawer and lower storage space offered places to stash treasures. And its little legs made a big impact on its overall look. Constructed of solid wood, this piece was a no-brainer to buy—and it even fit in my Mini Cooper!
While meandering around your favorite Goodwill store, stop by the section with furniture items to see what awaits you there. Based on experience, I know there will be a nice piece at a low price that you will want to take home, too.
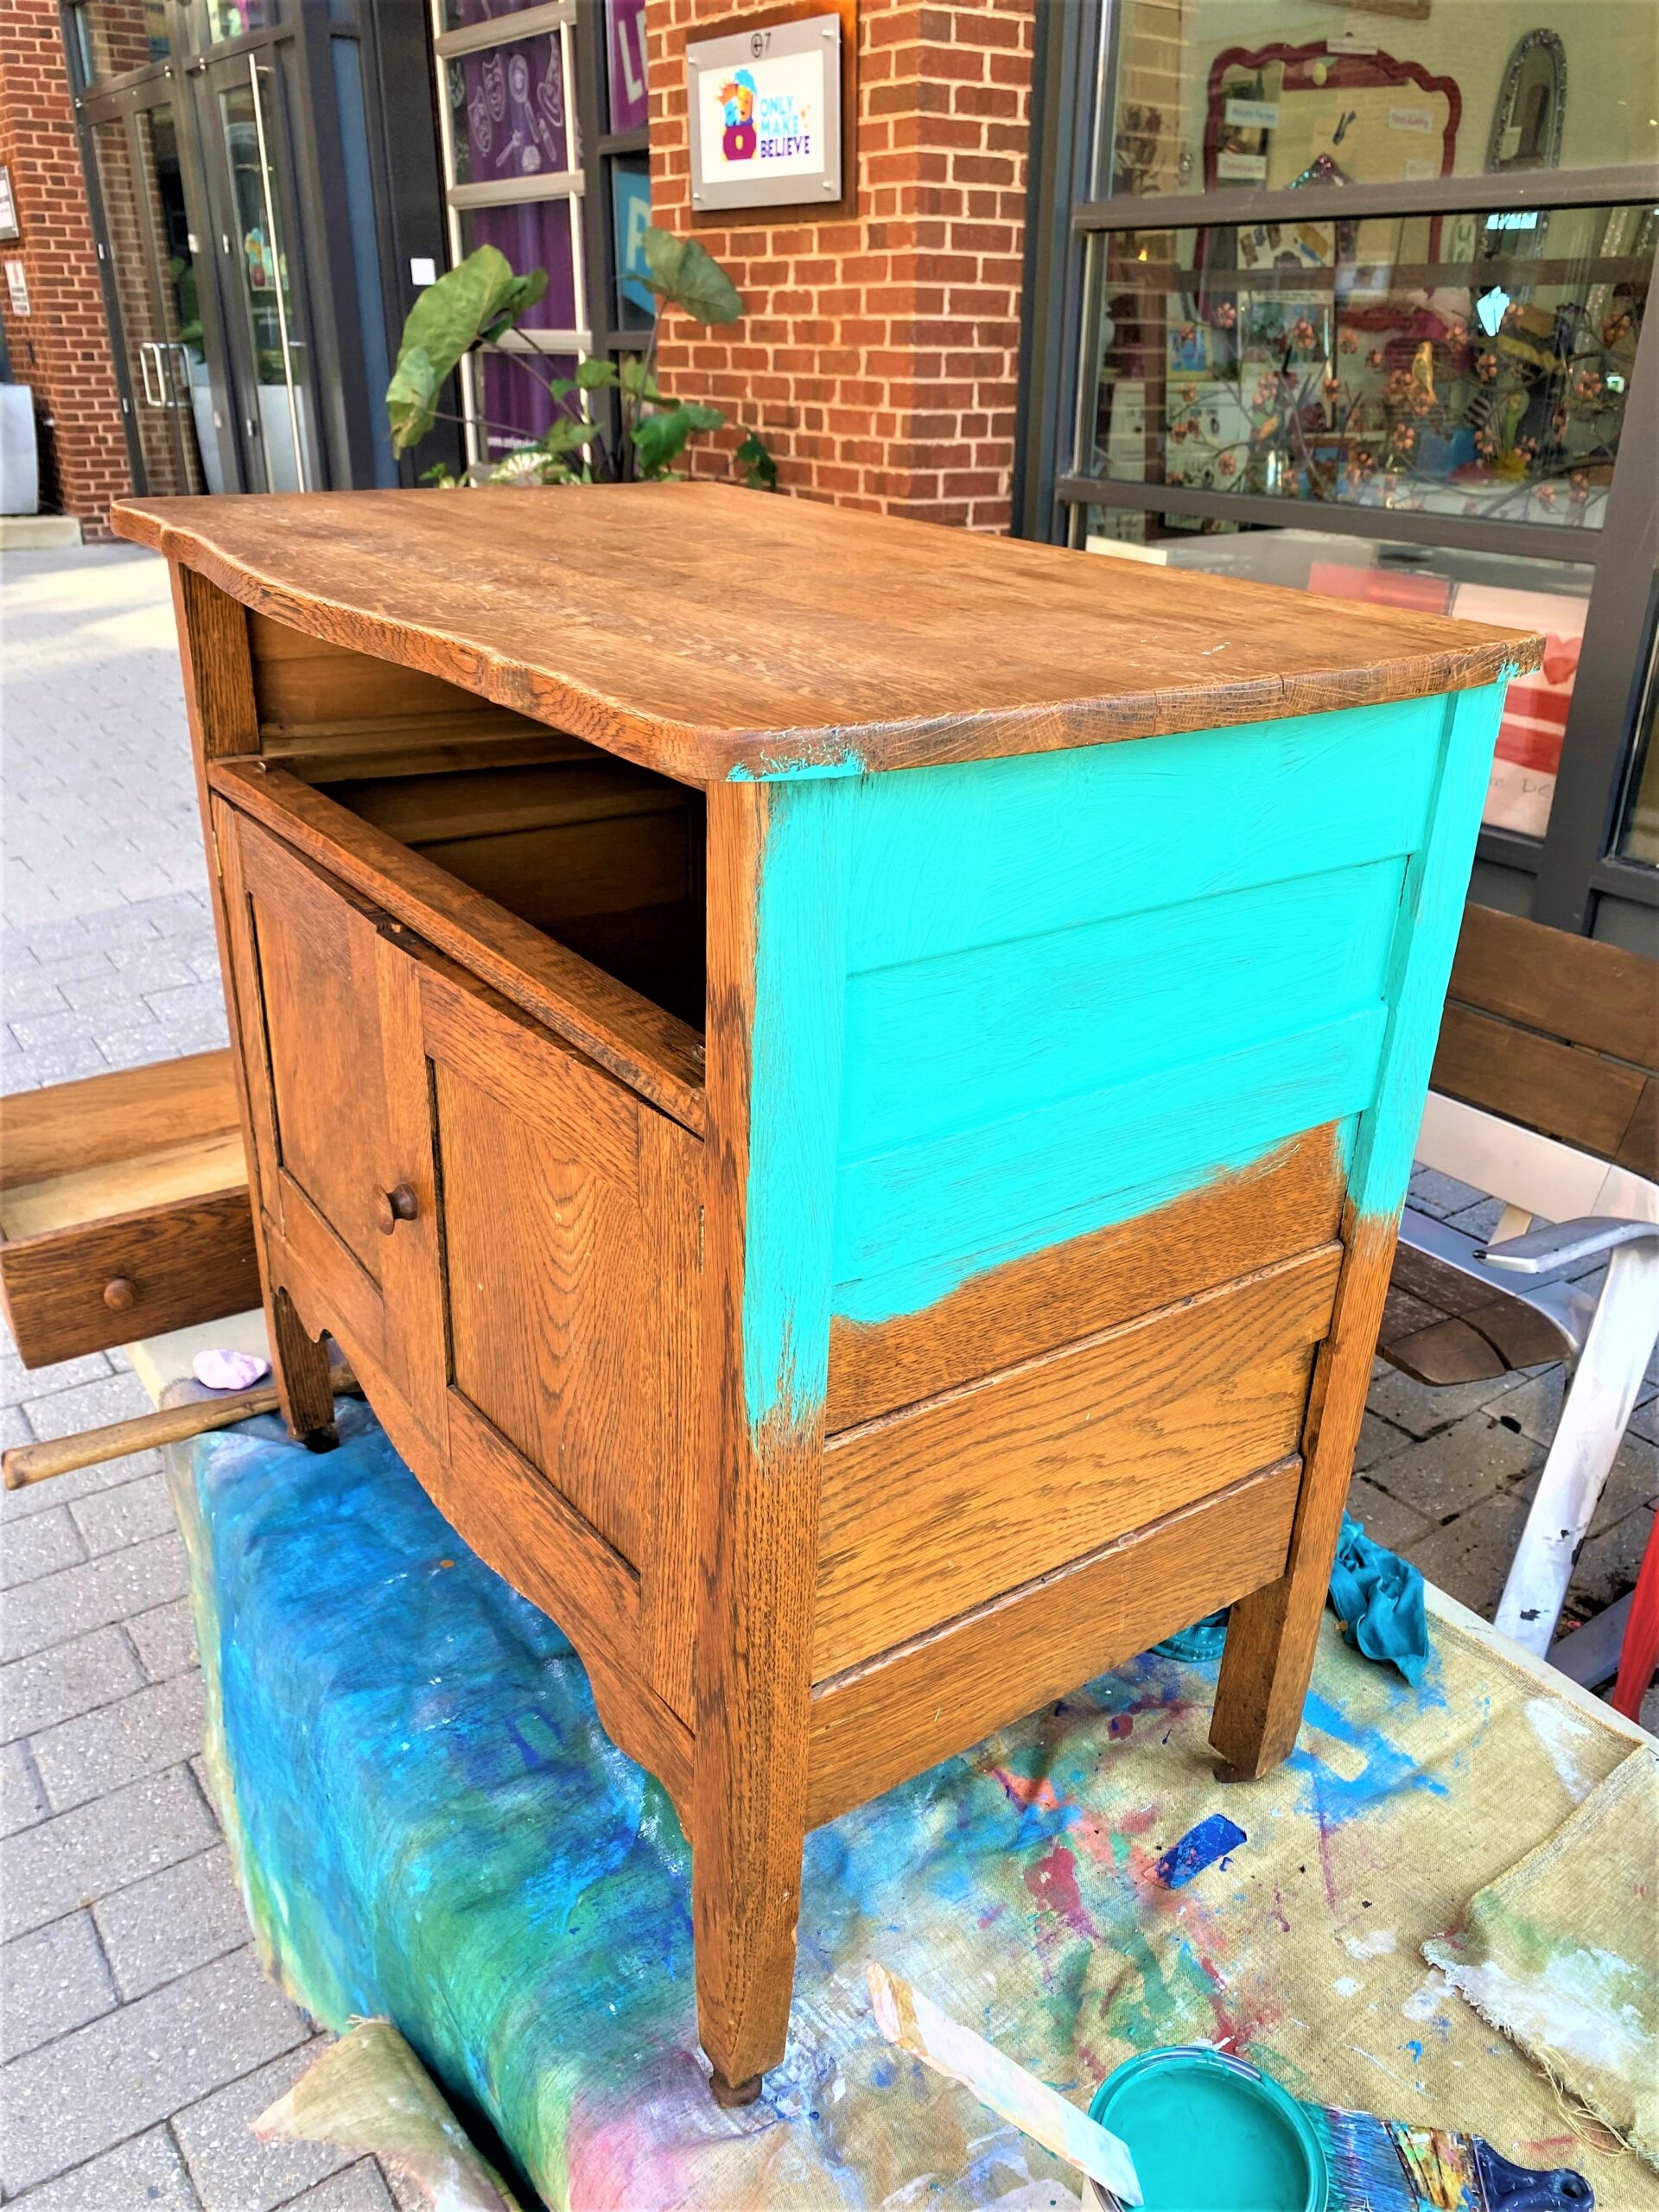
2. Prep for painting
- With a medium to coarse-grained sanding block or sandpaper, buff up your cabinet to make it more paint-ready and paint-friendly.
- Just give it a ruffing up to make the smooth finish more porous for painting.
- Take a moment to carefully wipe it down with a damp cloth to remove all the dust and debris from sanding and transporting.
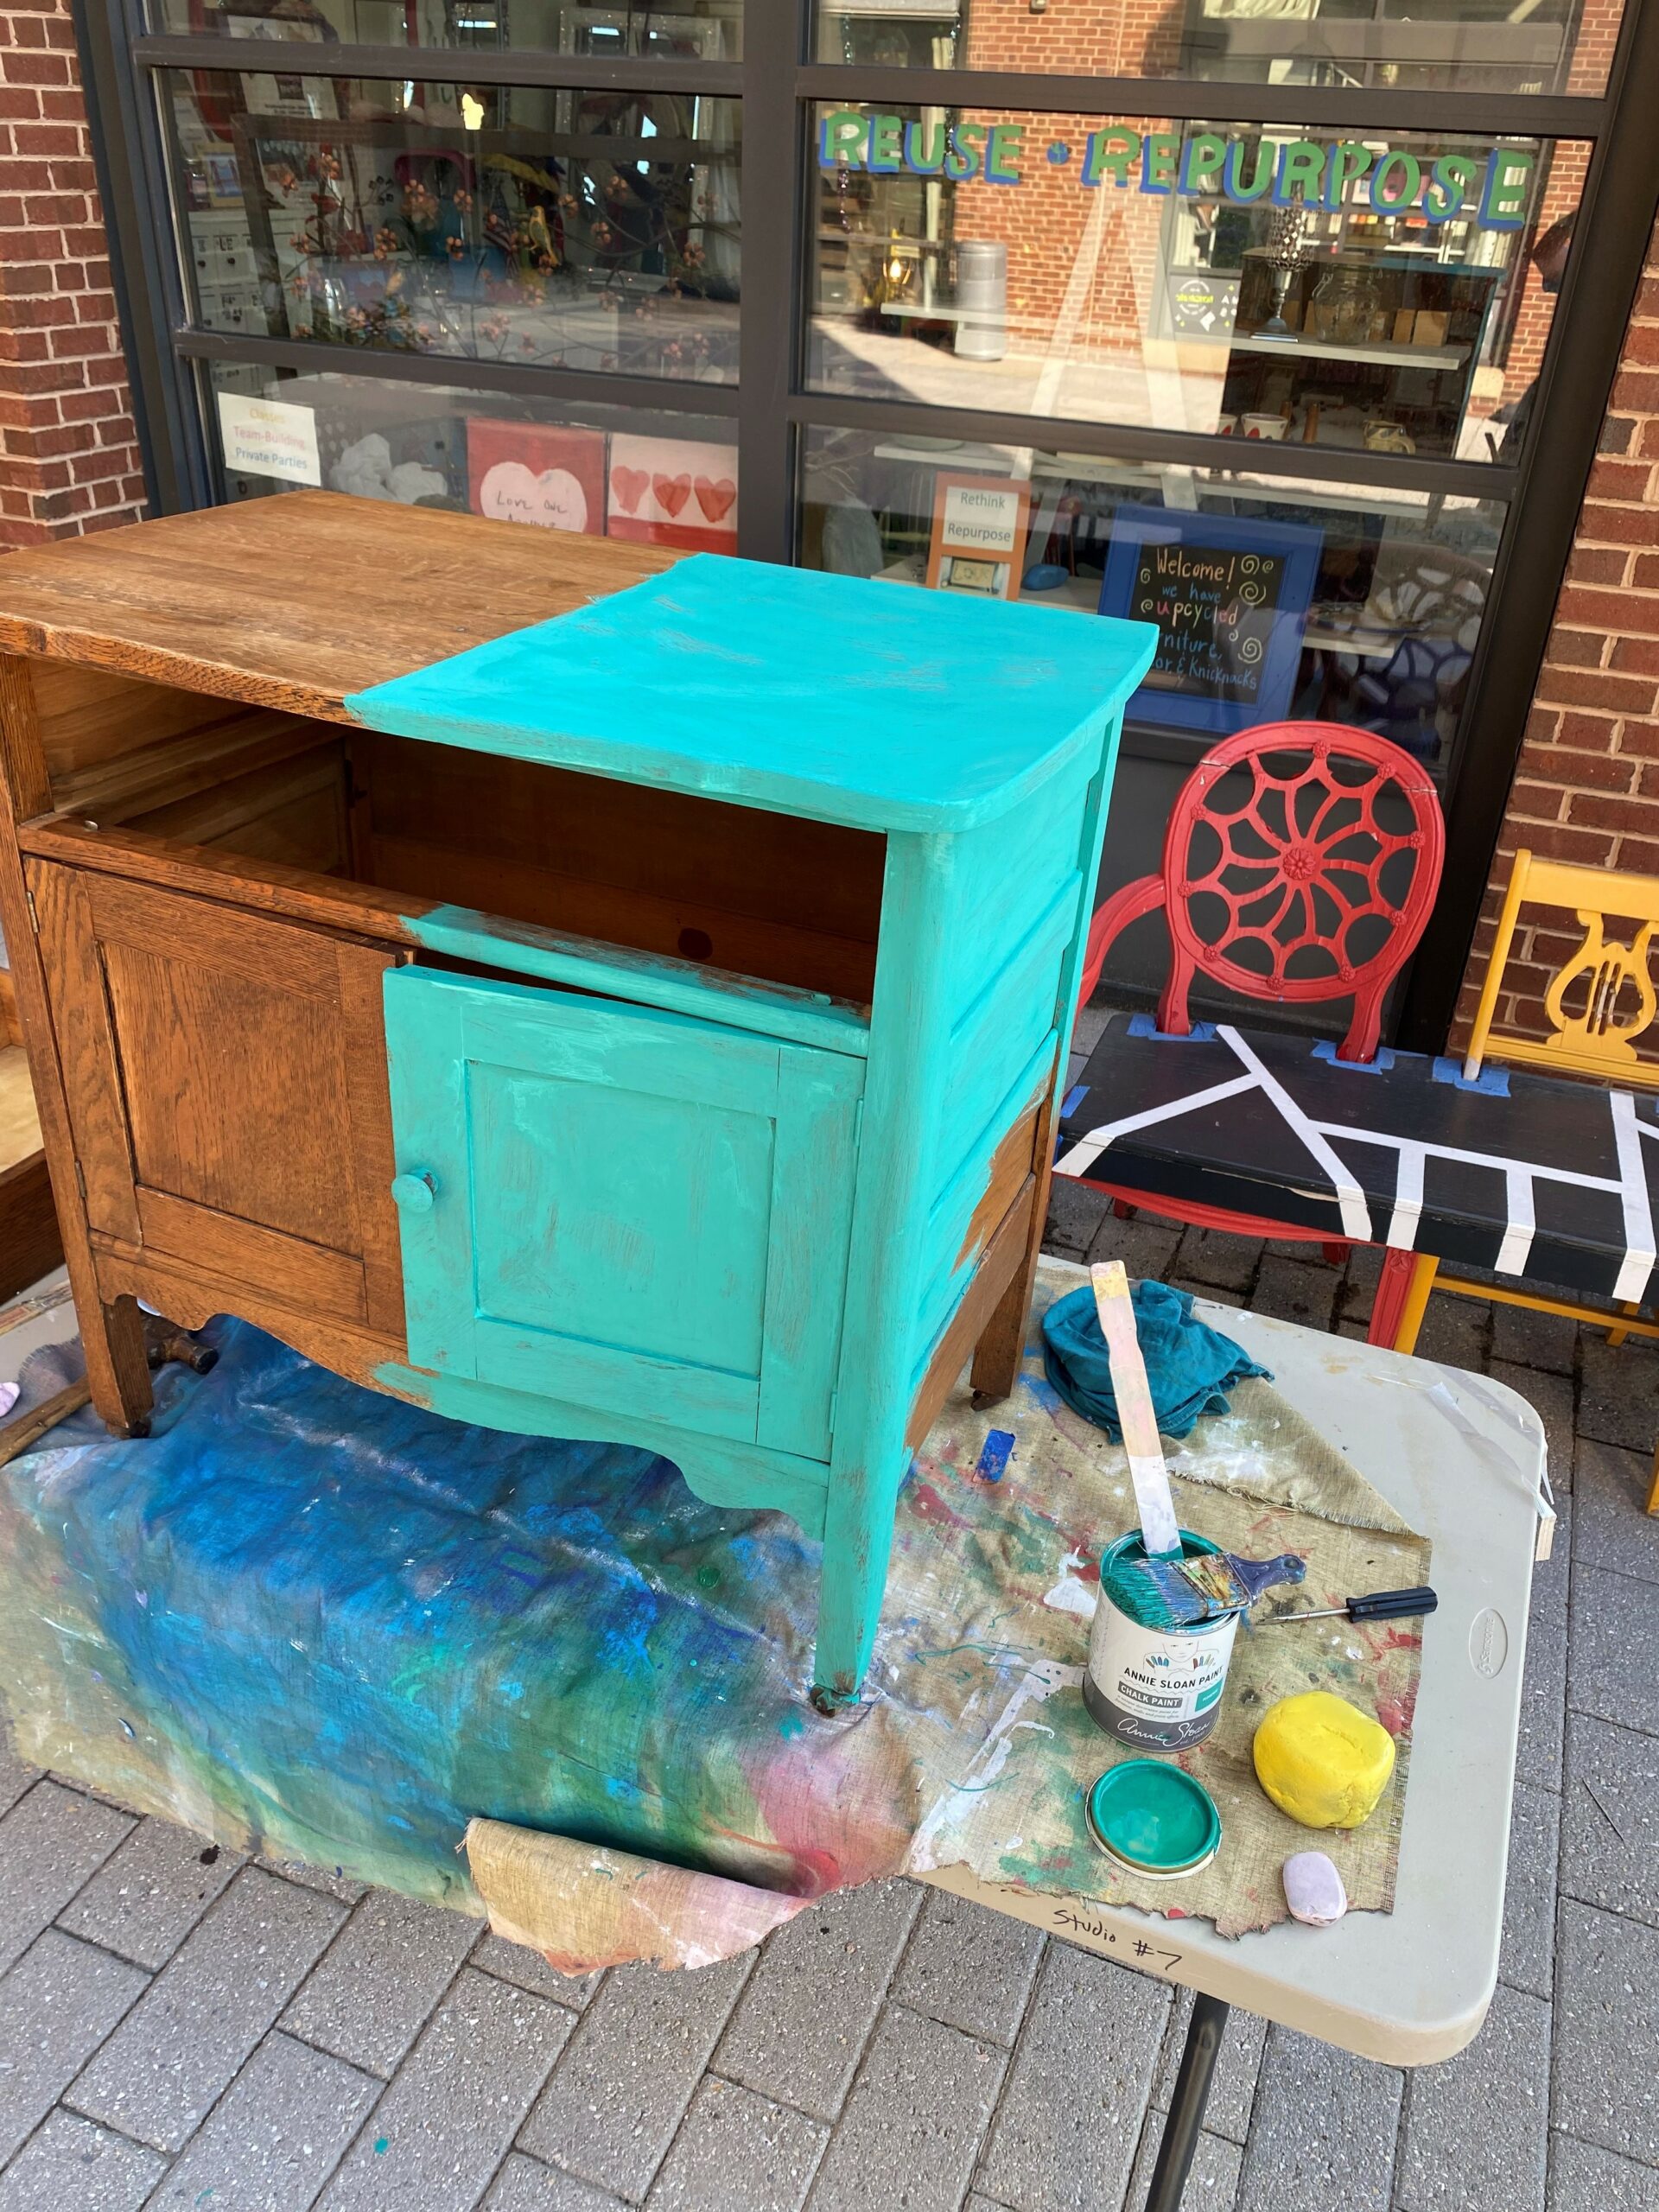
3. Pick a perky paint
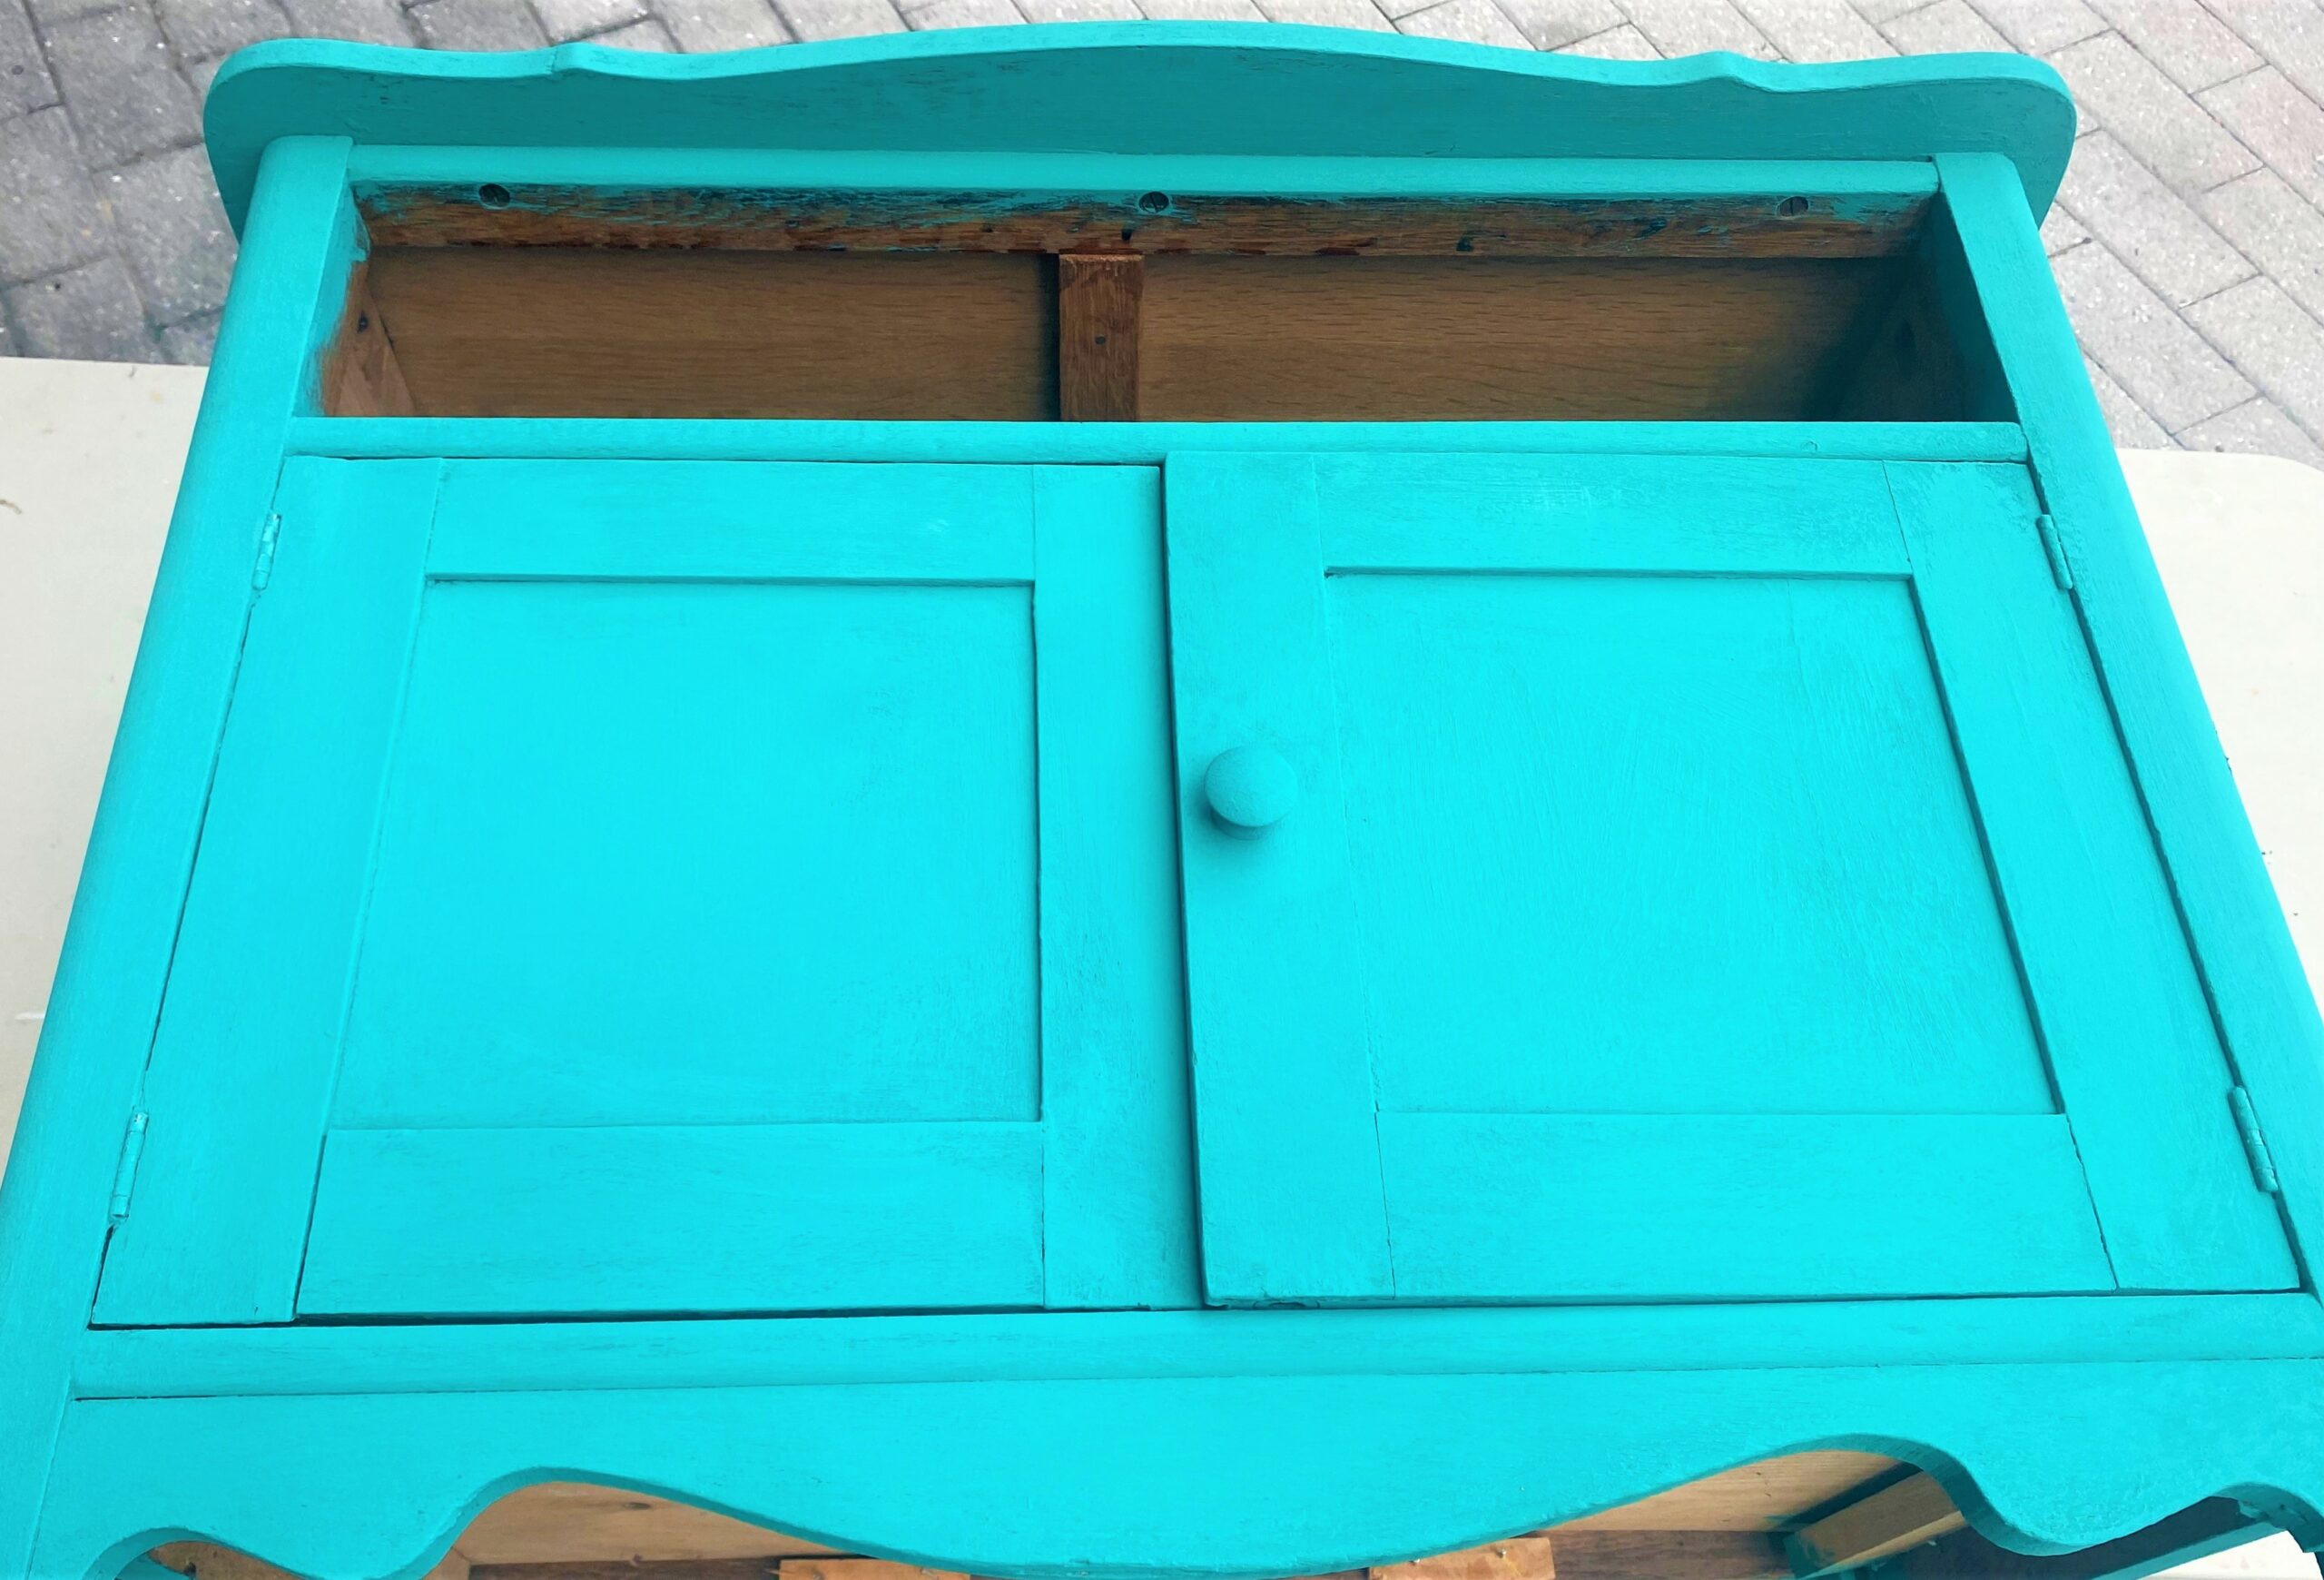
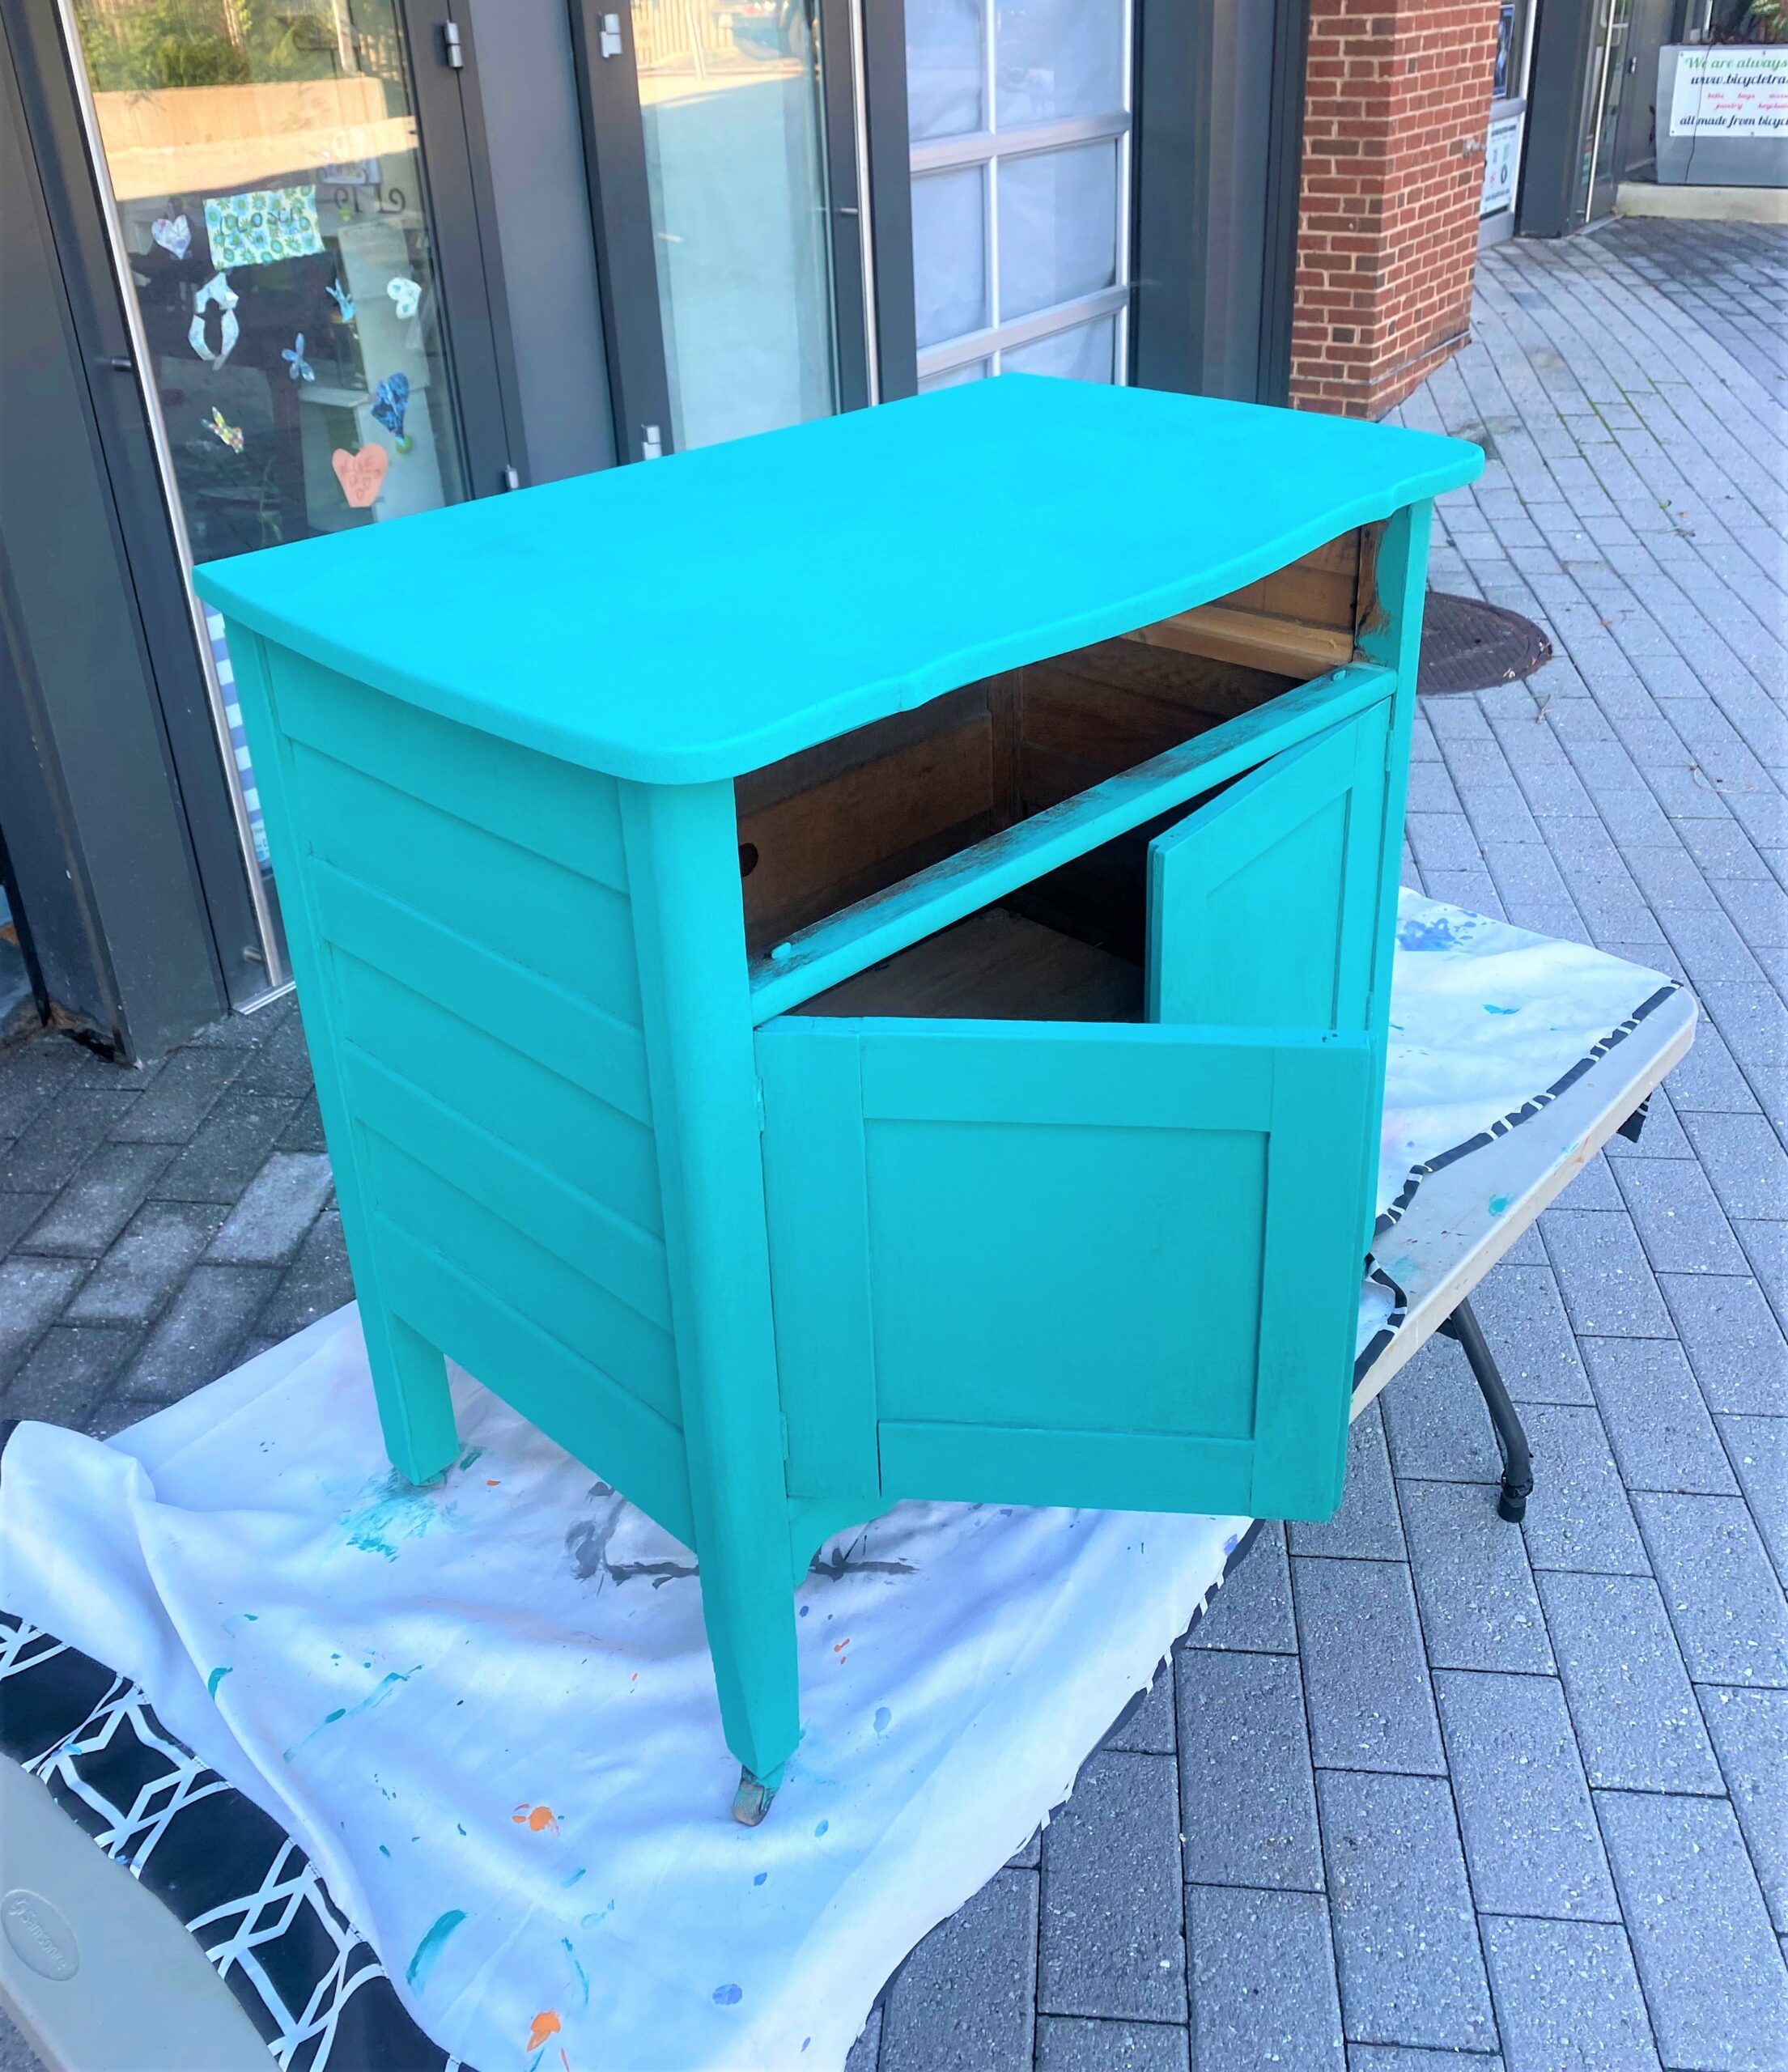
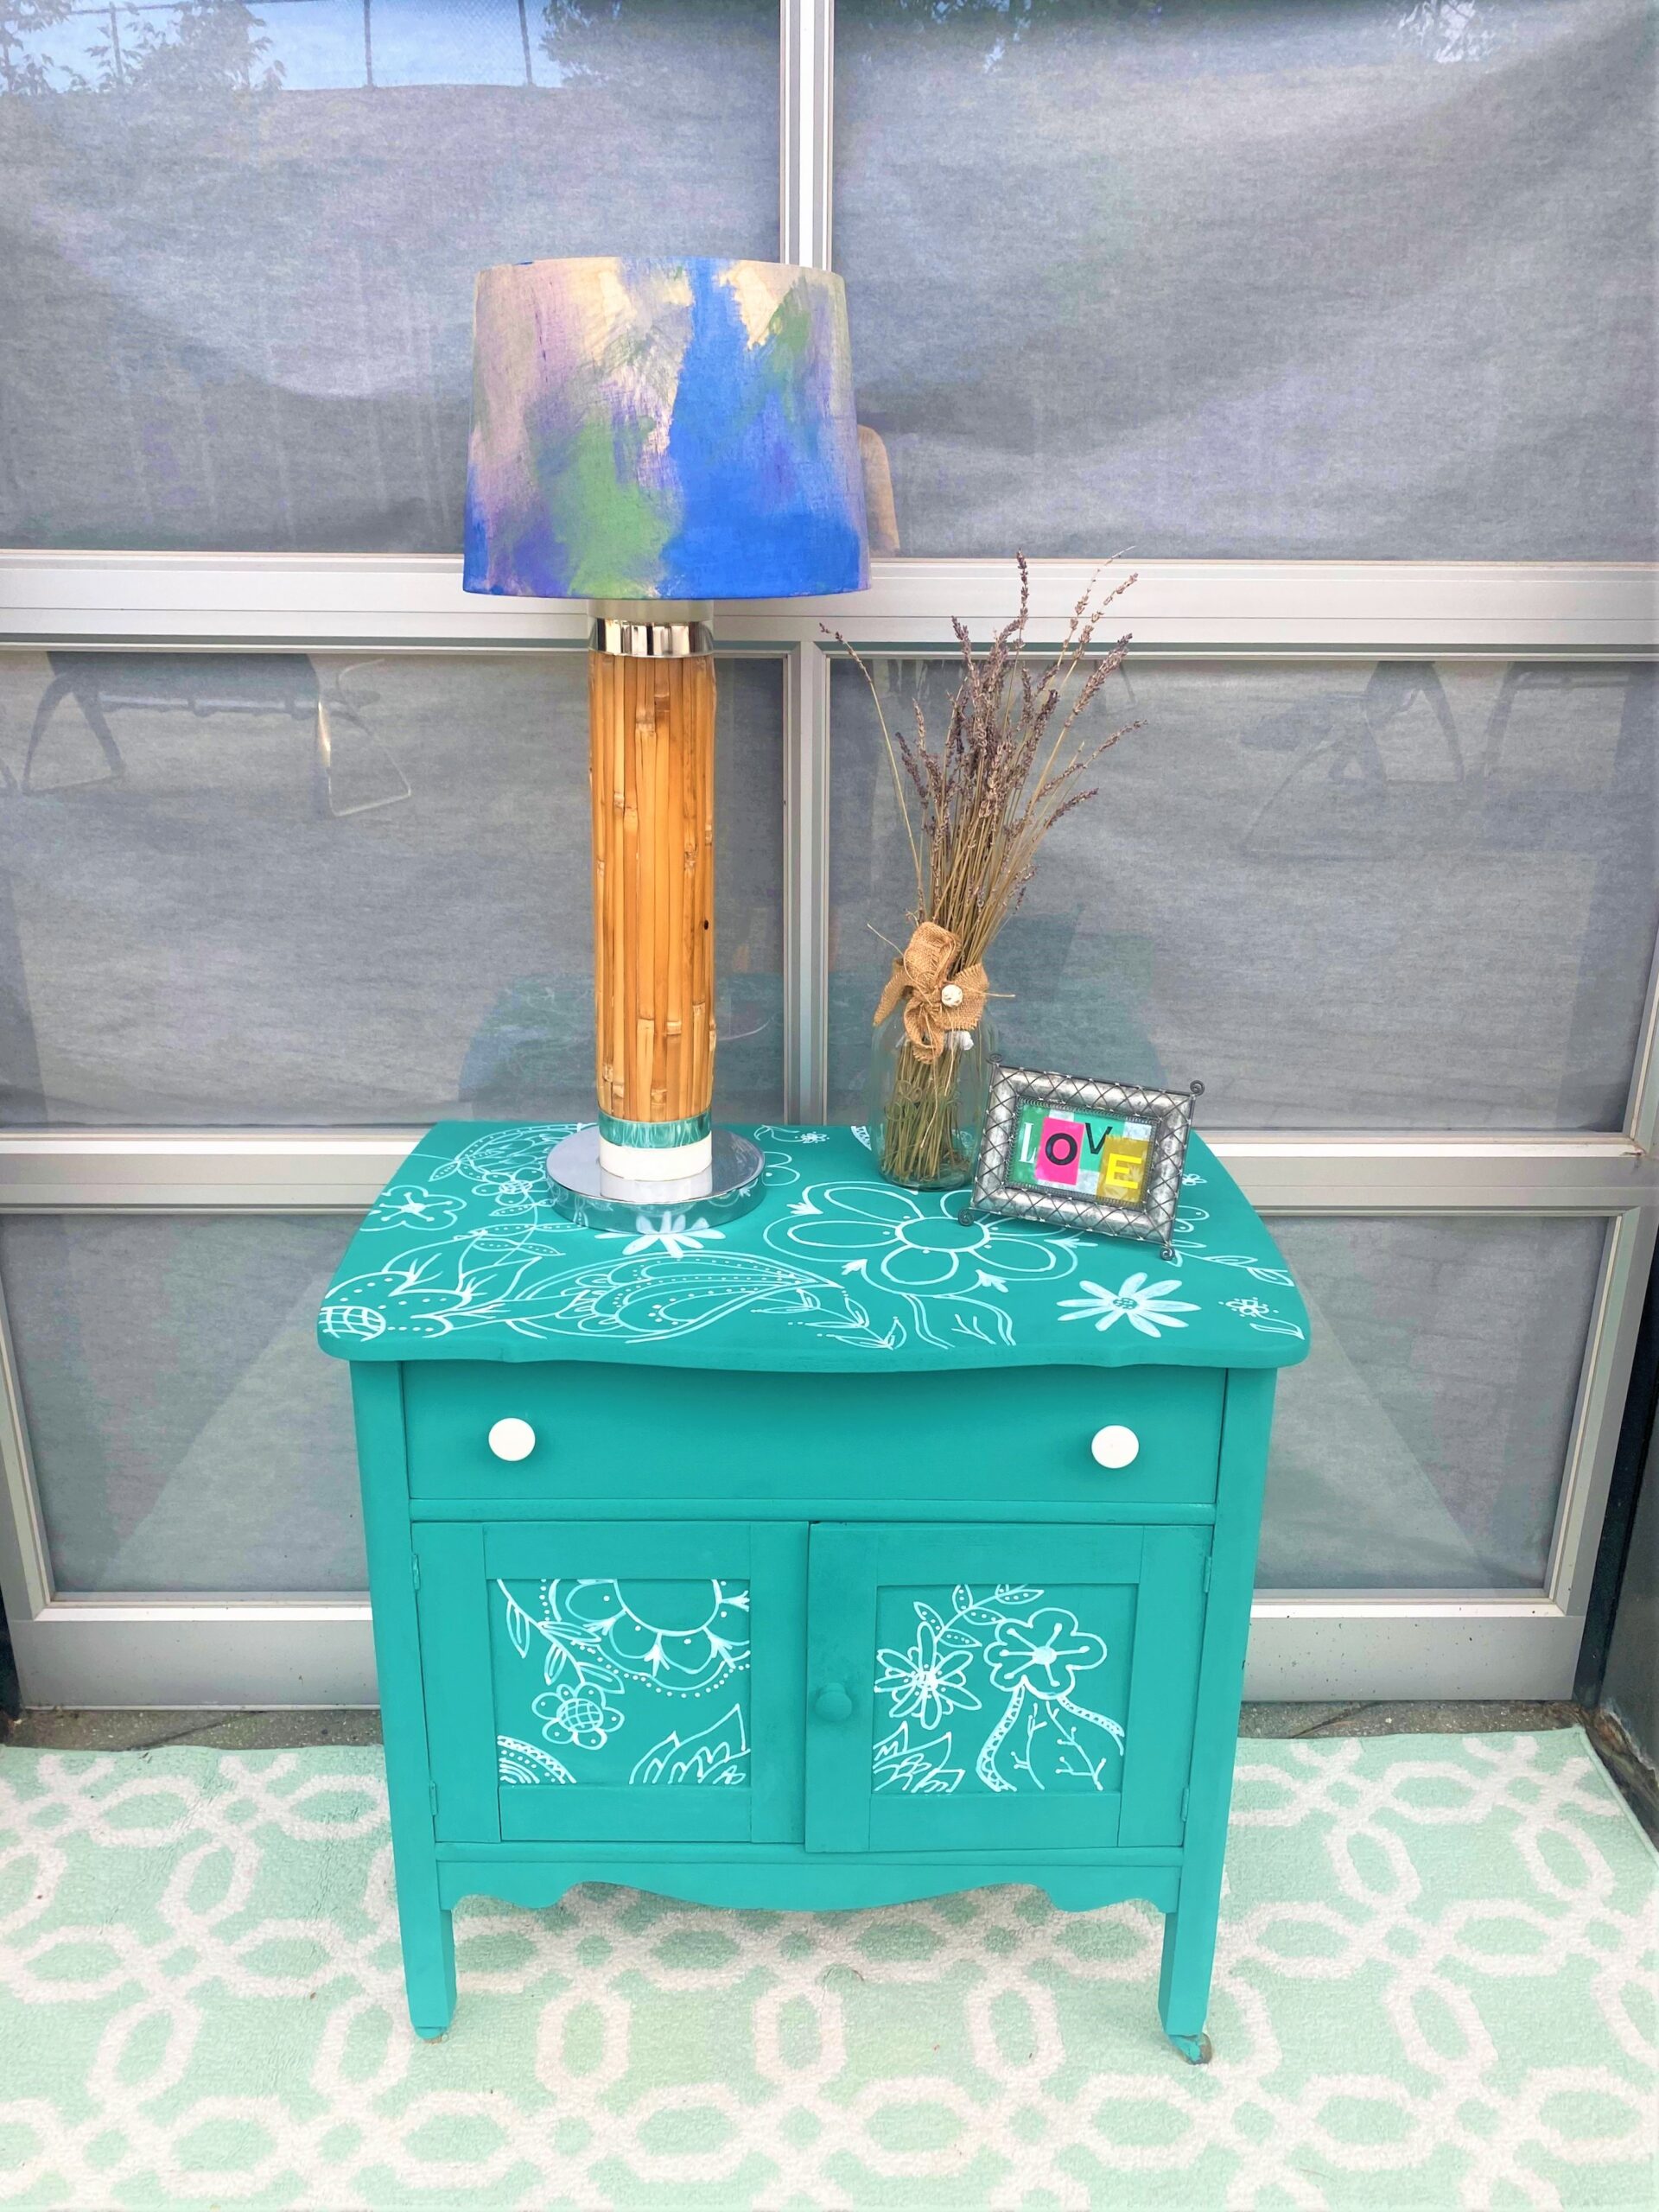
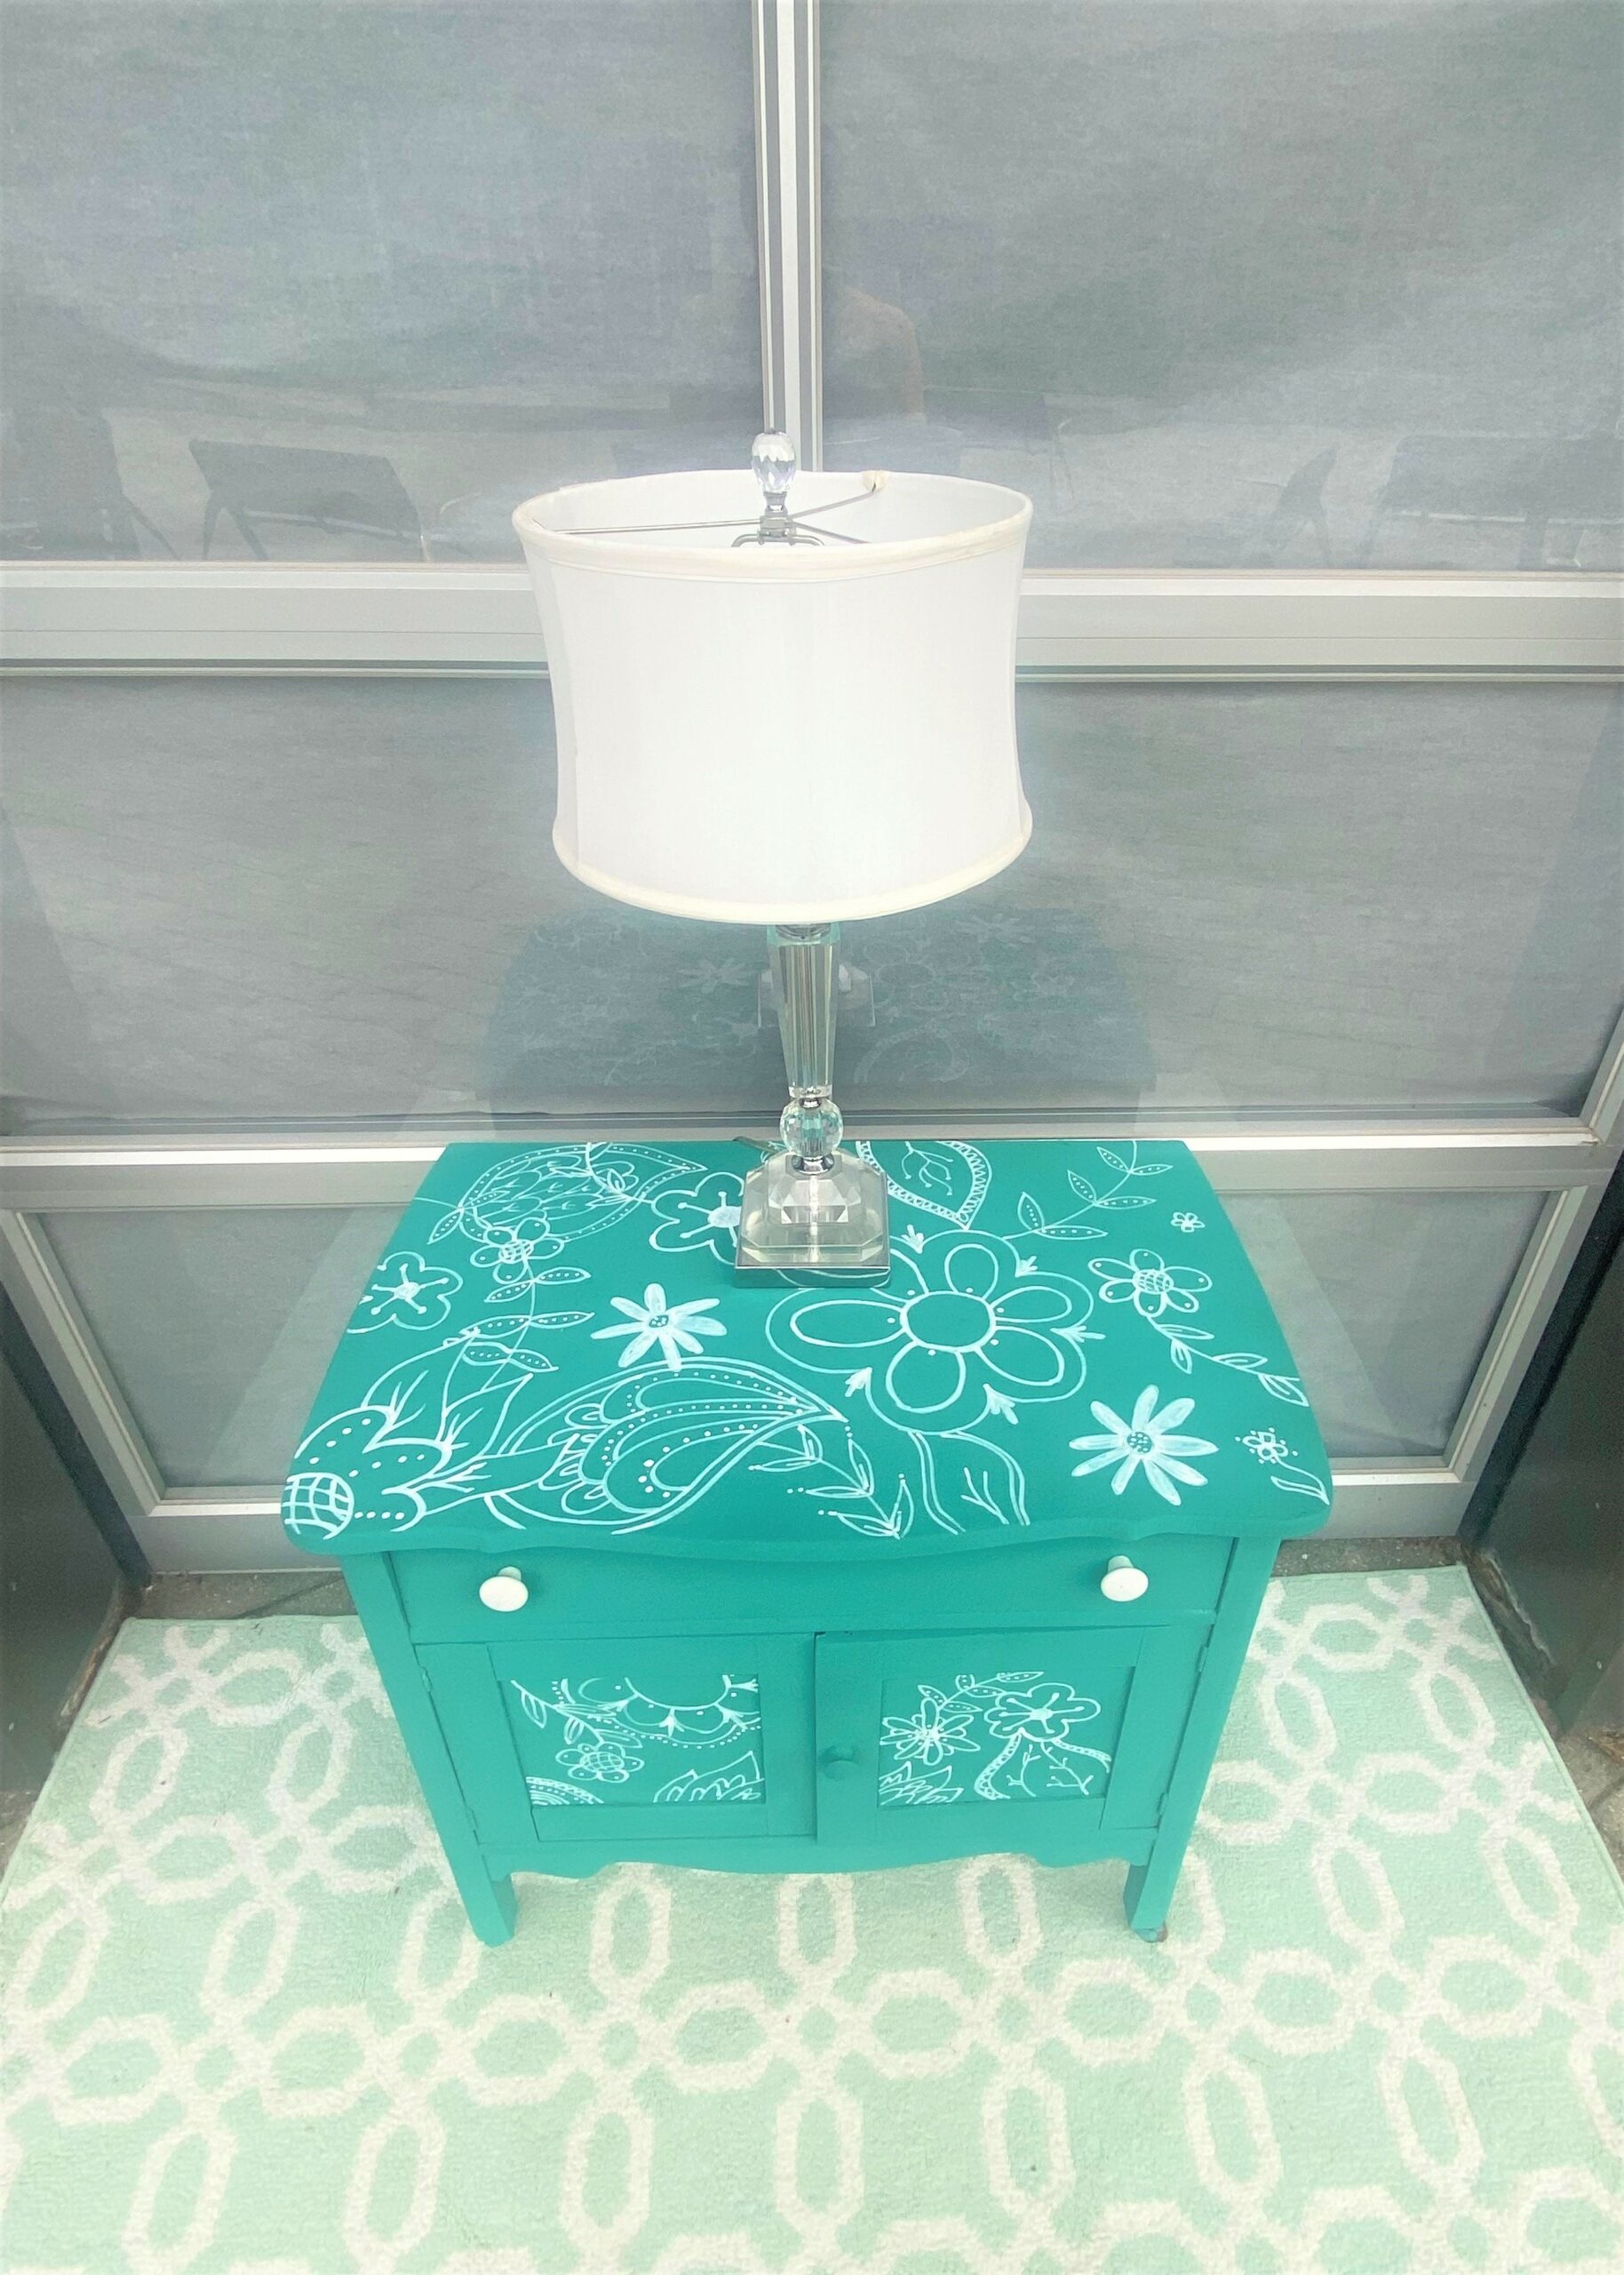
The color choice for this cheerful upcycle is called “Florence.” Based on the light, it sometimes looks very green and, at other times, it has more of a teal blue hue. Either way, it is a color that is bright and gave it an instant new look and transformation.
- Paint on a light layer over your entire piece.
- After the first layer, place your piece on its side or back and brush on some more paint.
- Keep moving around your piece to ensure you get every edge, side and part.
- You may need to move it around several times to ensure you get all pieces covered well.
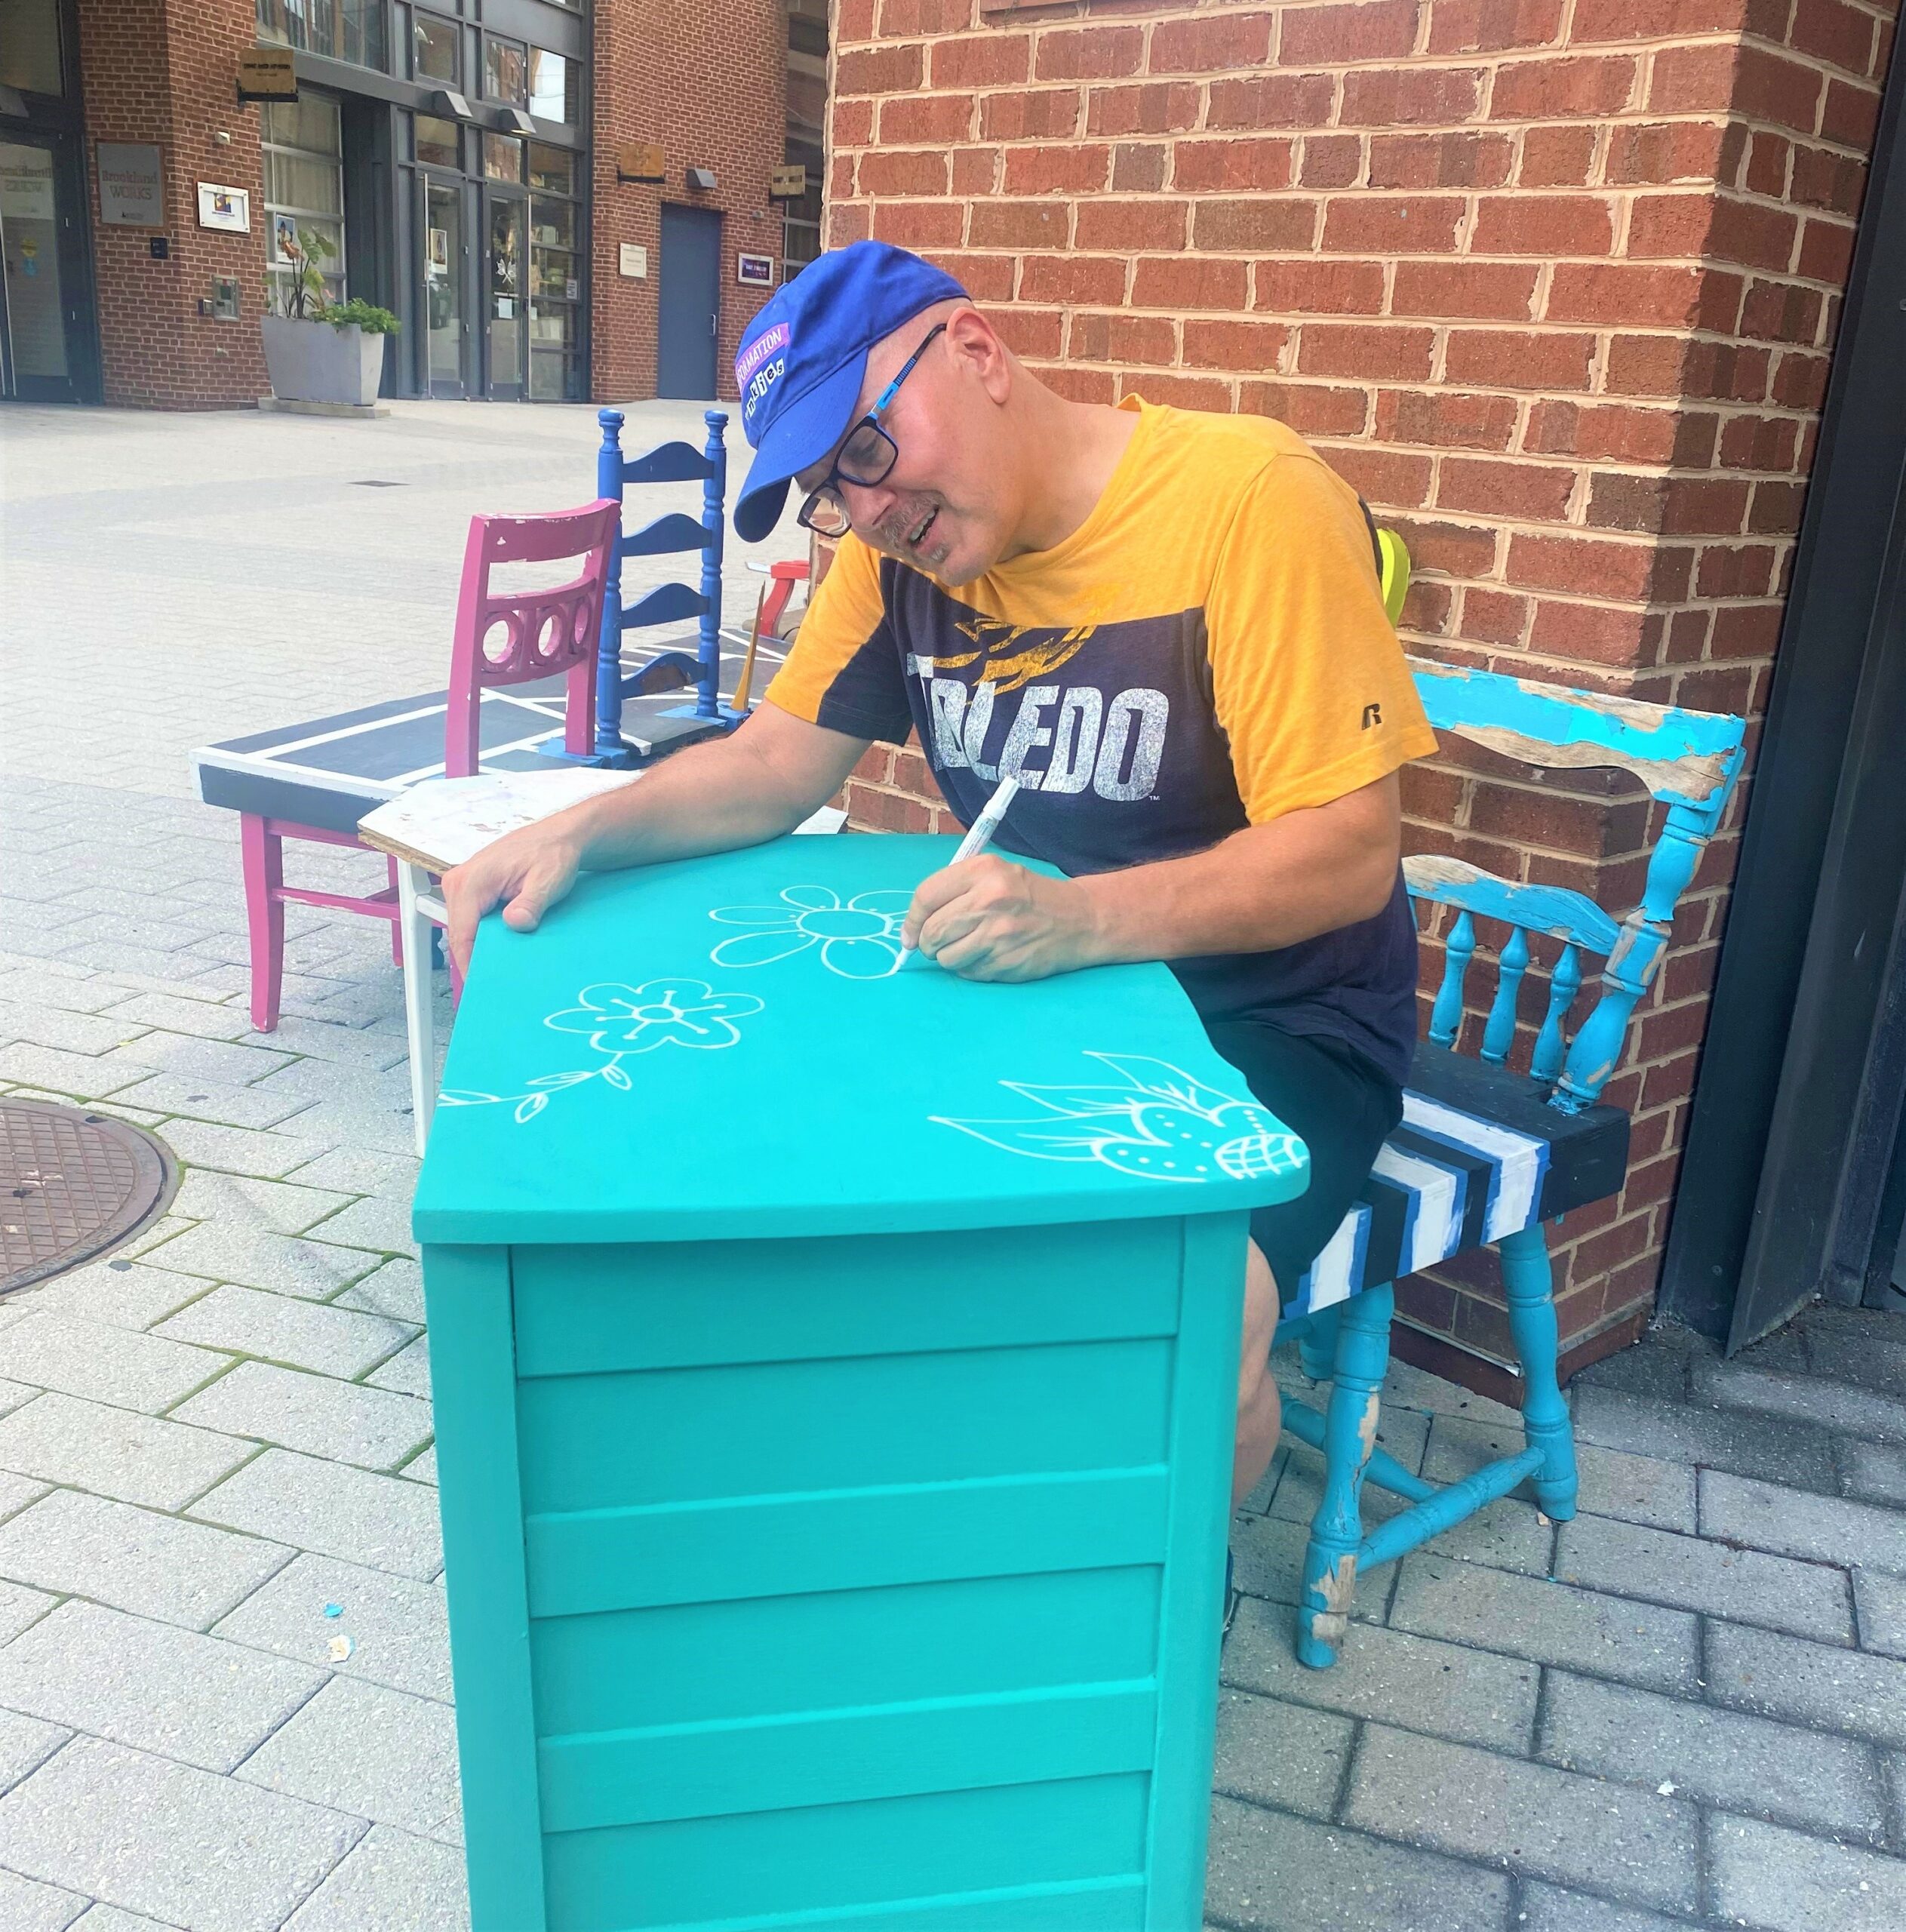
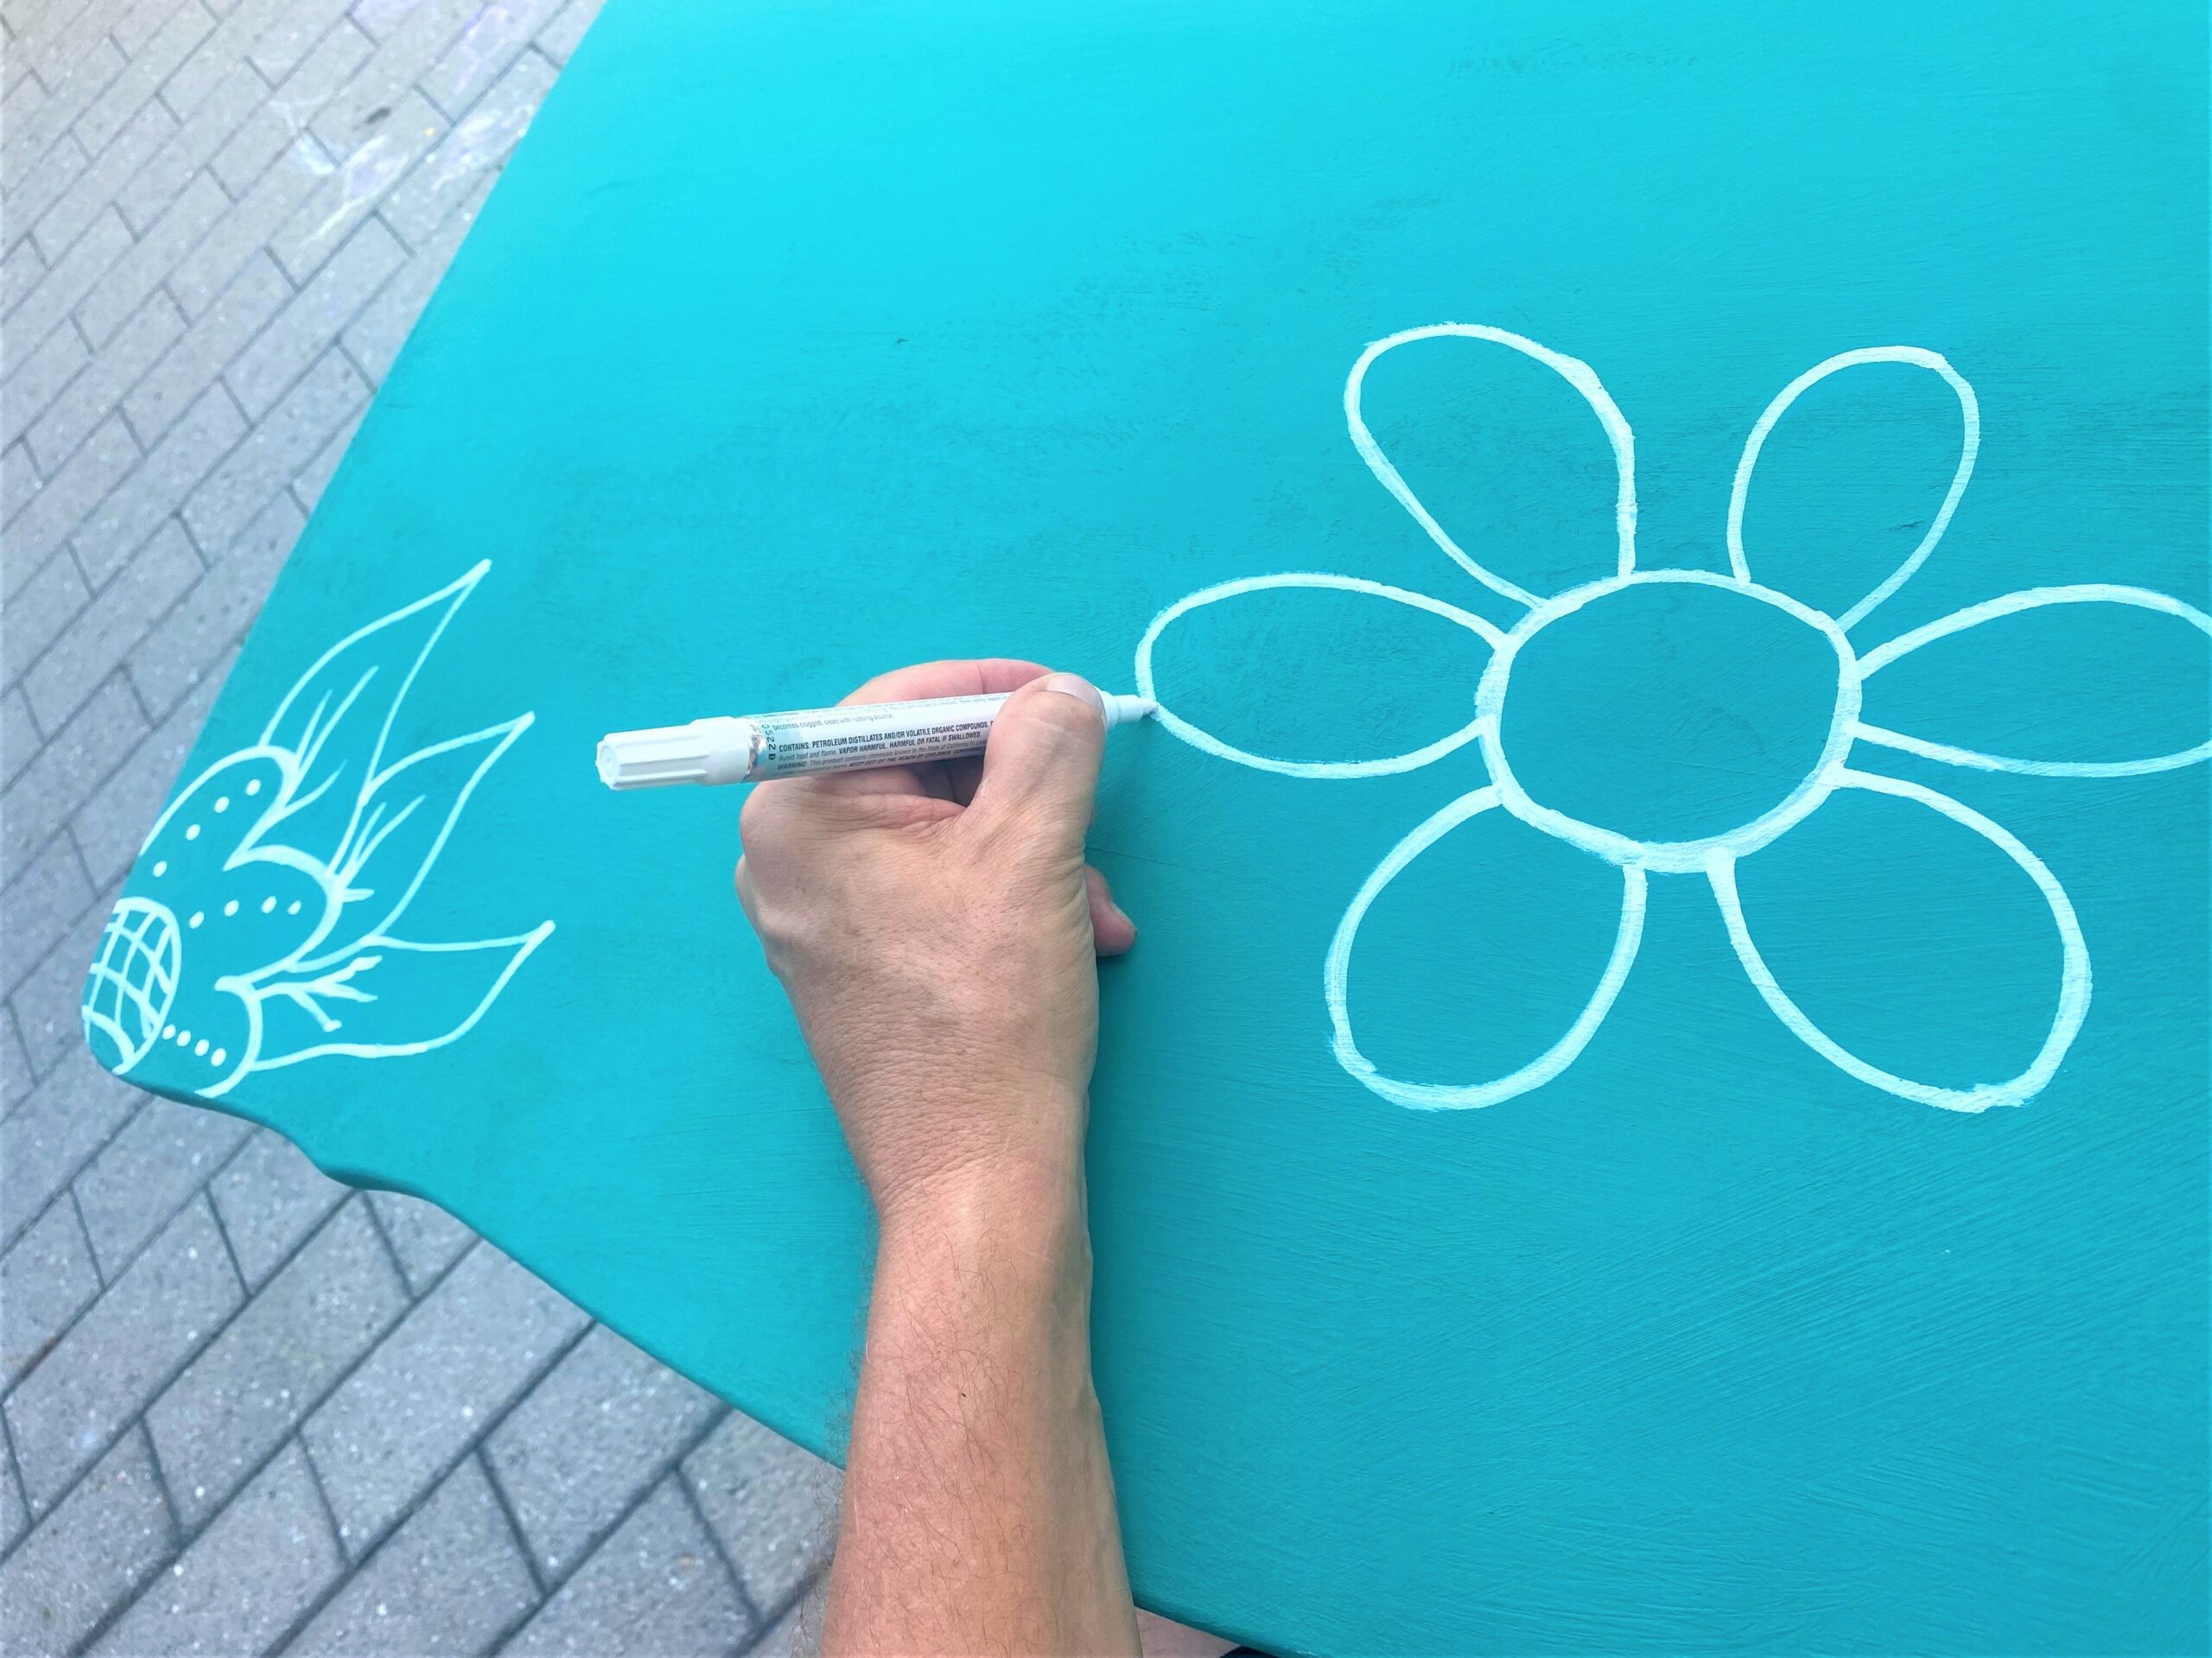
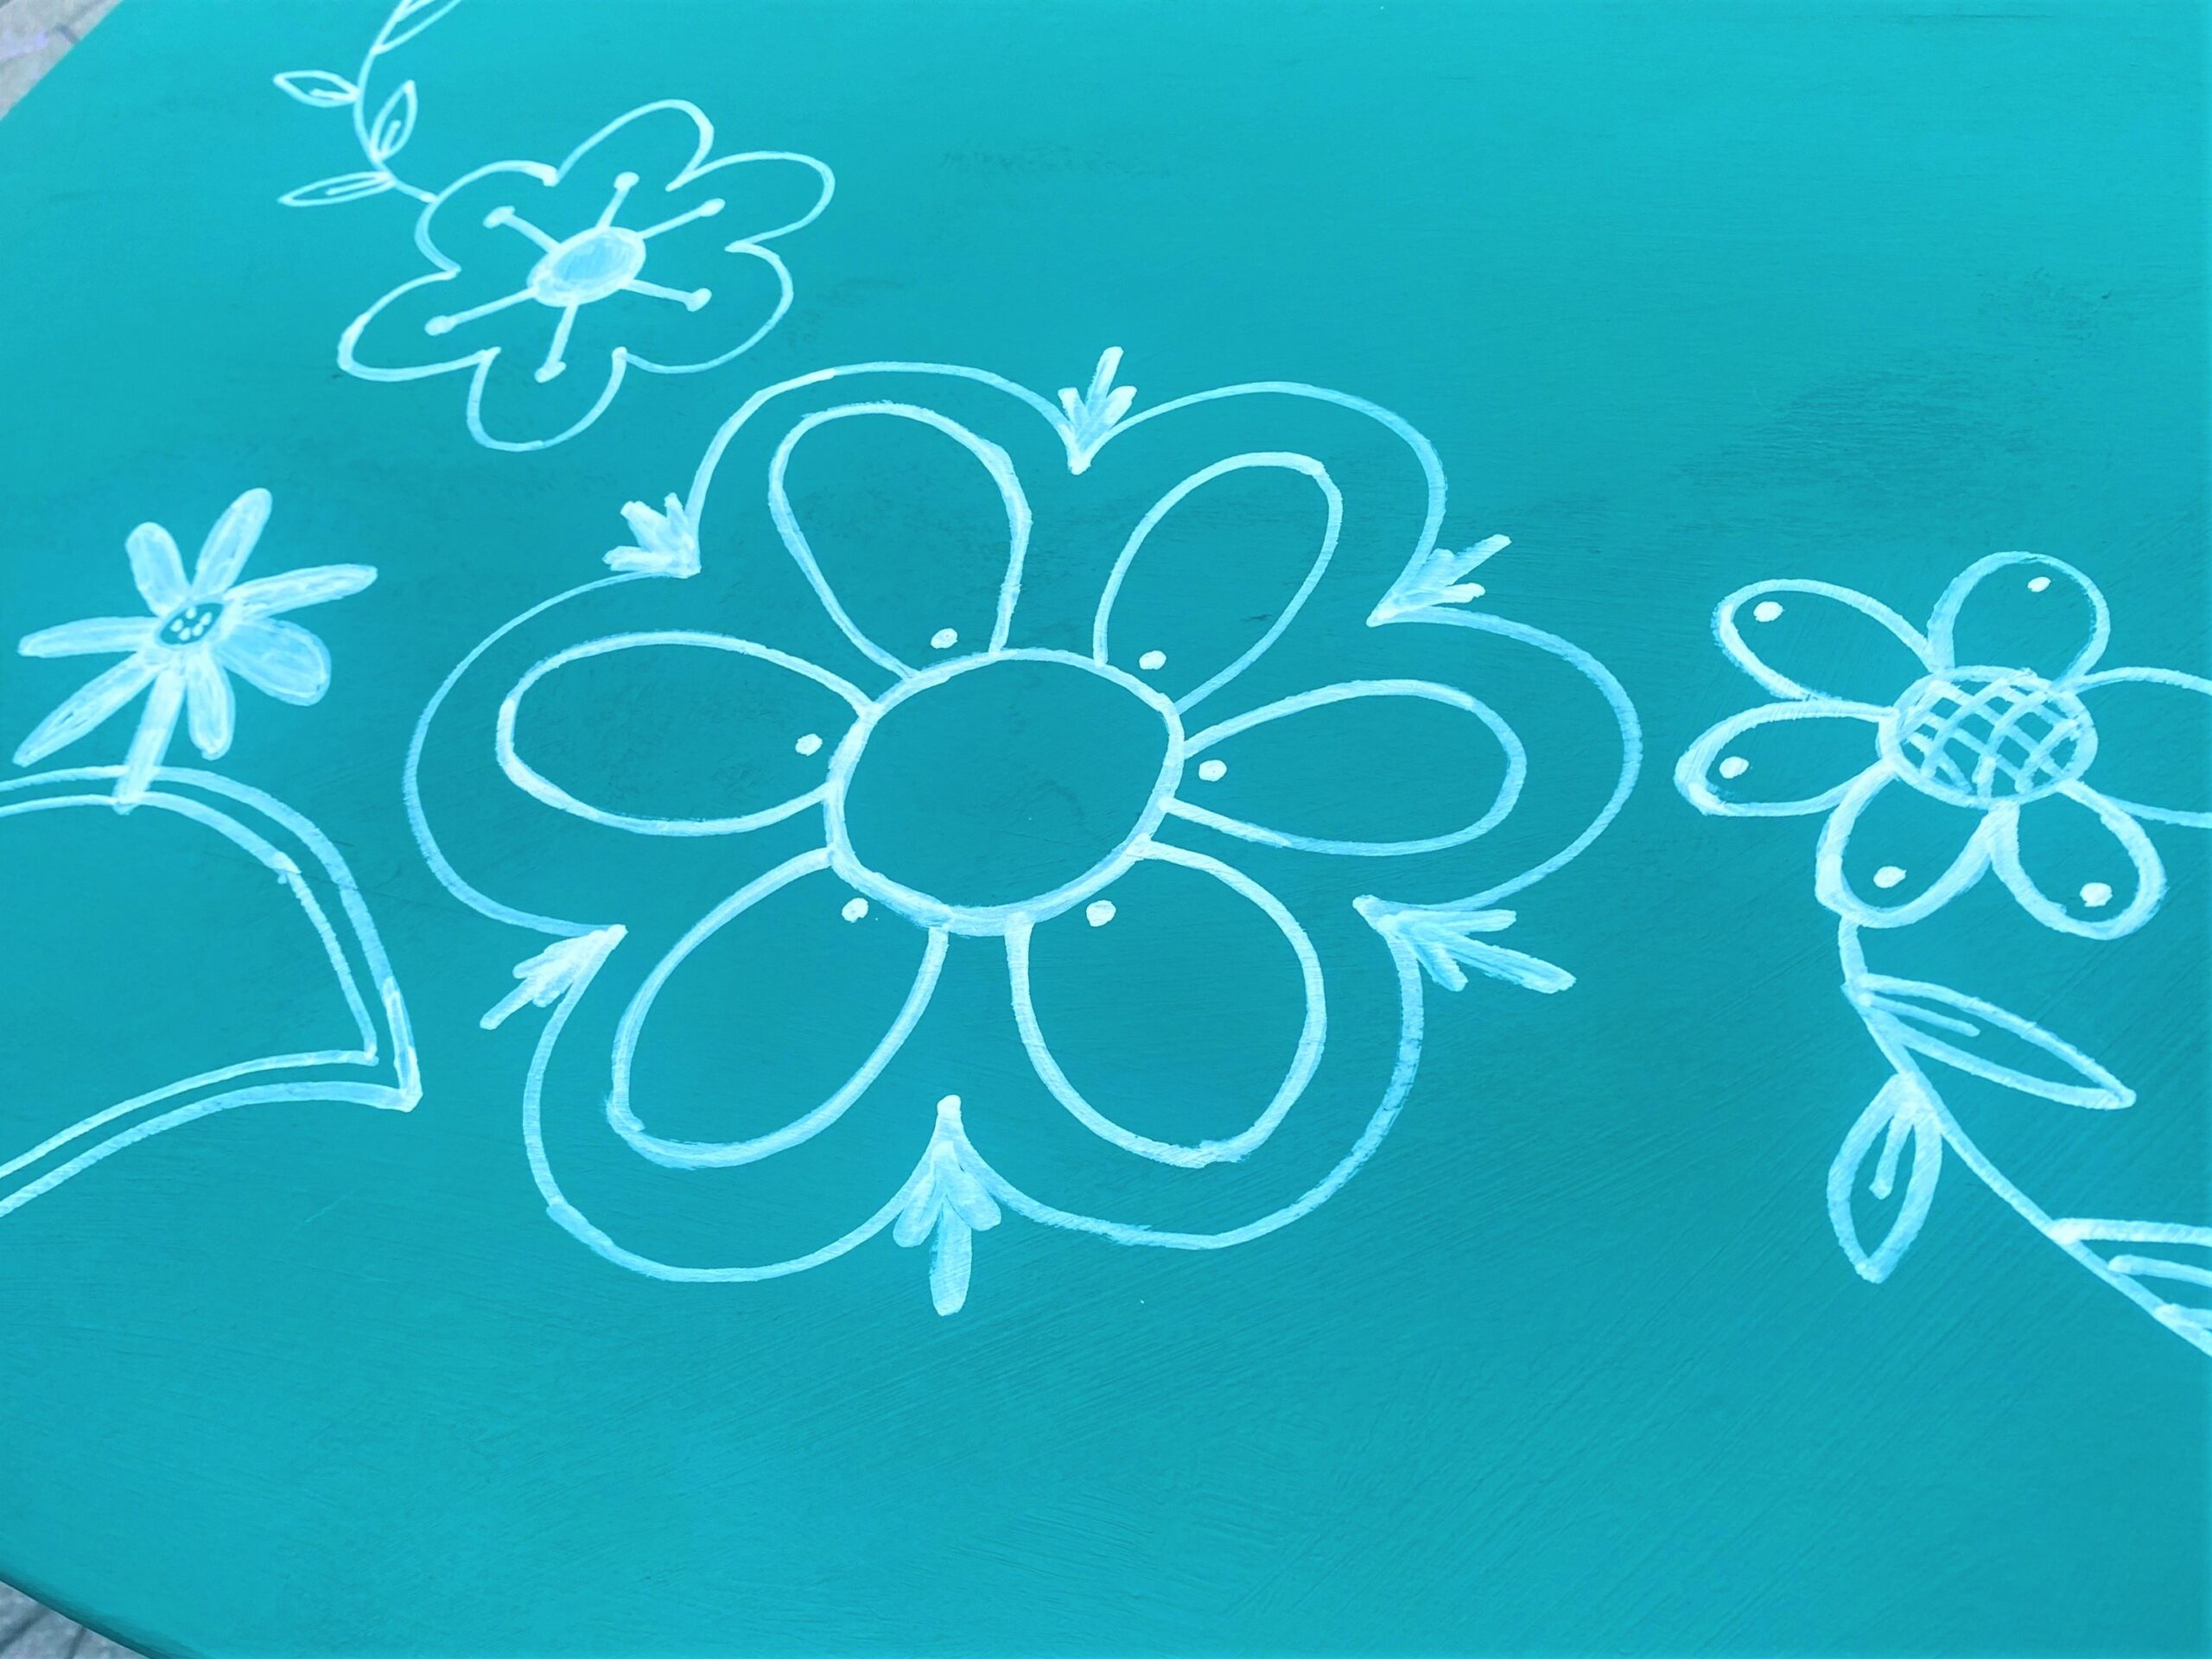
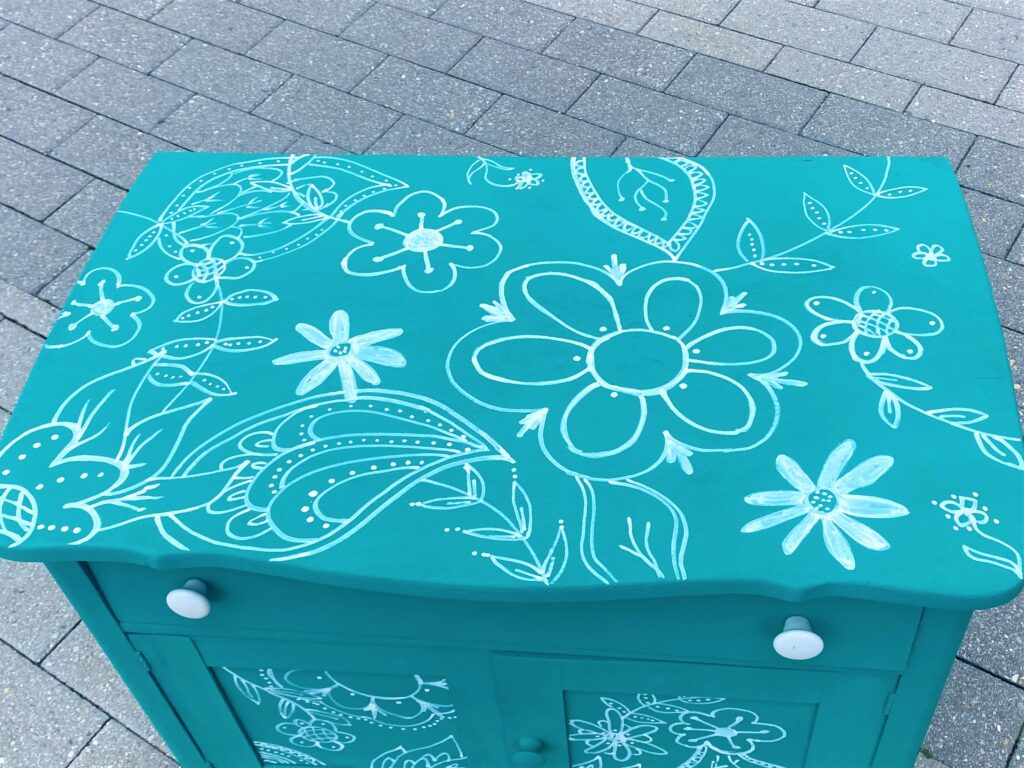
4. Draw on your design
The paint pen used here was white, obviously, and they come in a variety of colors for just $12! This was picked up at my nearby hardware store, Annie’s Ace Hardware, which, like Goodwill, has a wonderful and helpful crew of people ready to help. You may also find these paint pens at arts & crafts stores or online.
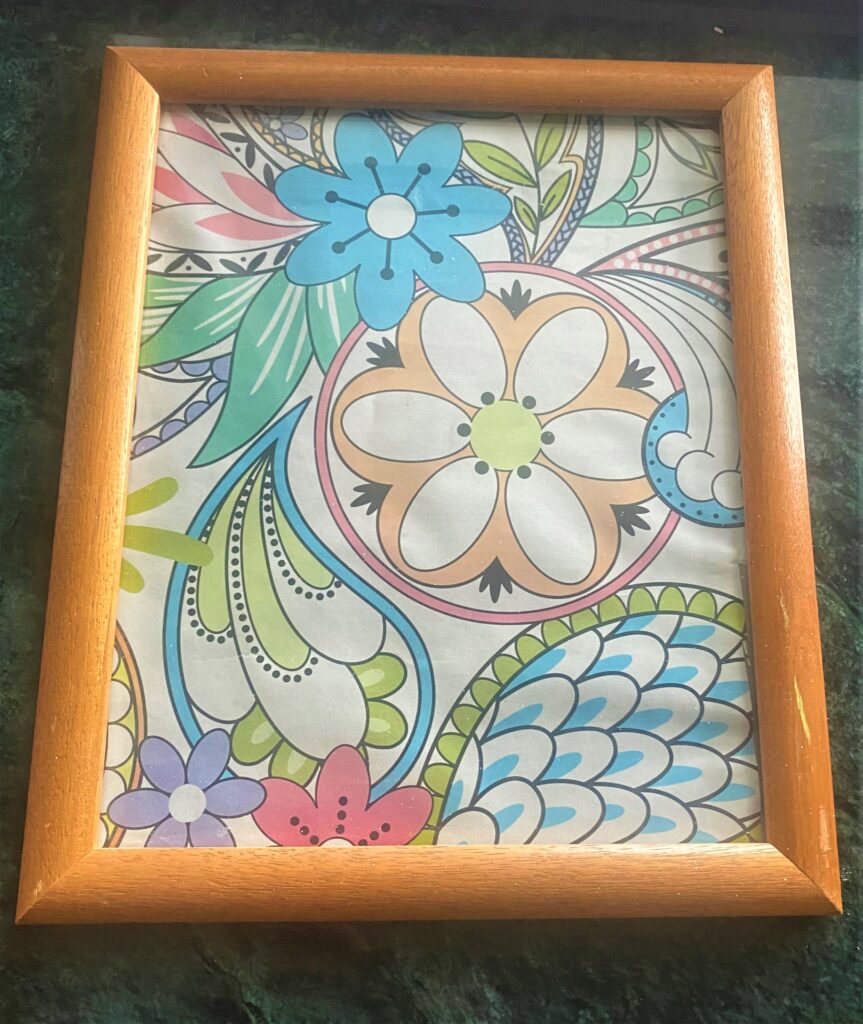
Consider your cabinet’s top as a canvas on which to be creative. My design inspiration was a funky piece of wrapping paper that I had framed (in a Goodwill-purchased frame) and displayed in a hallway.
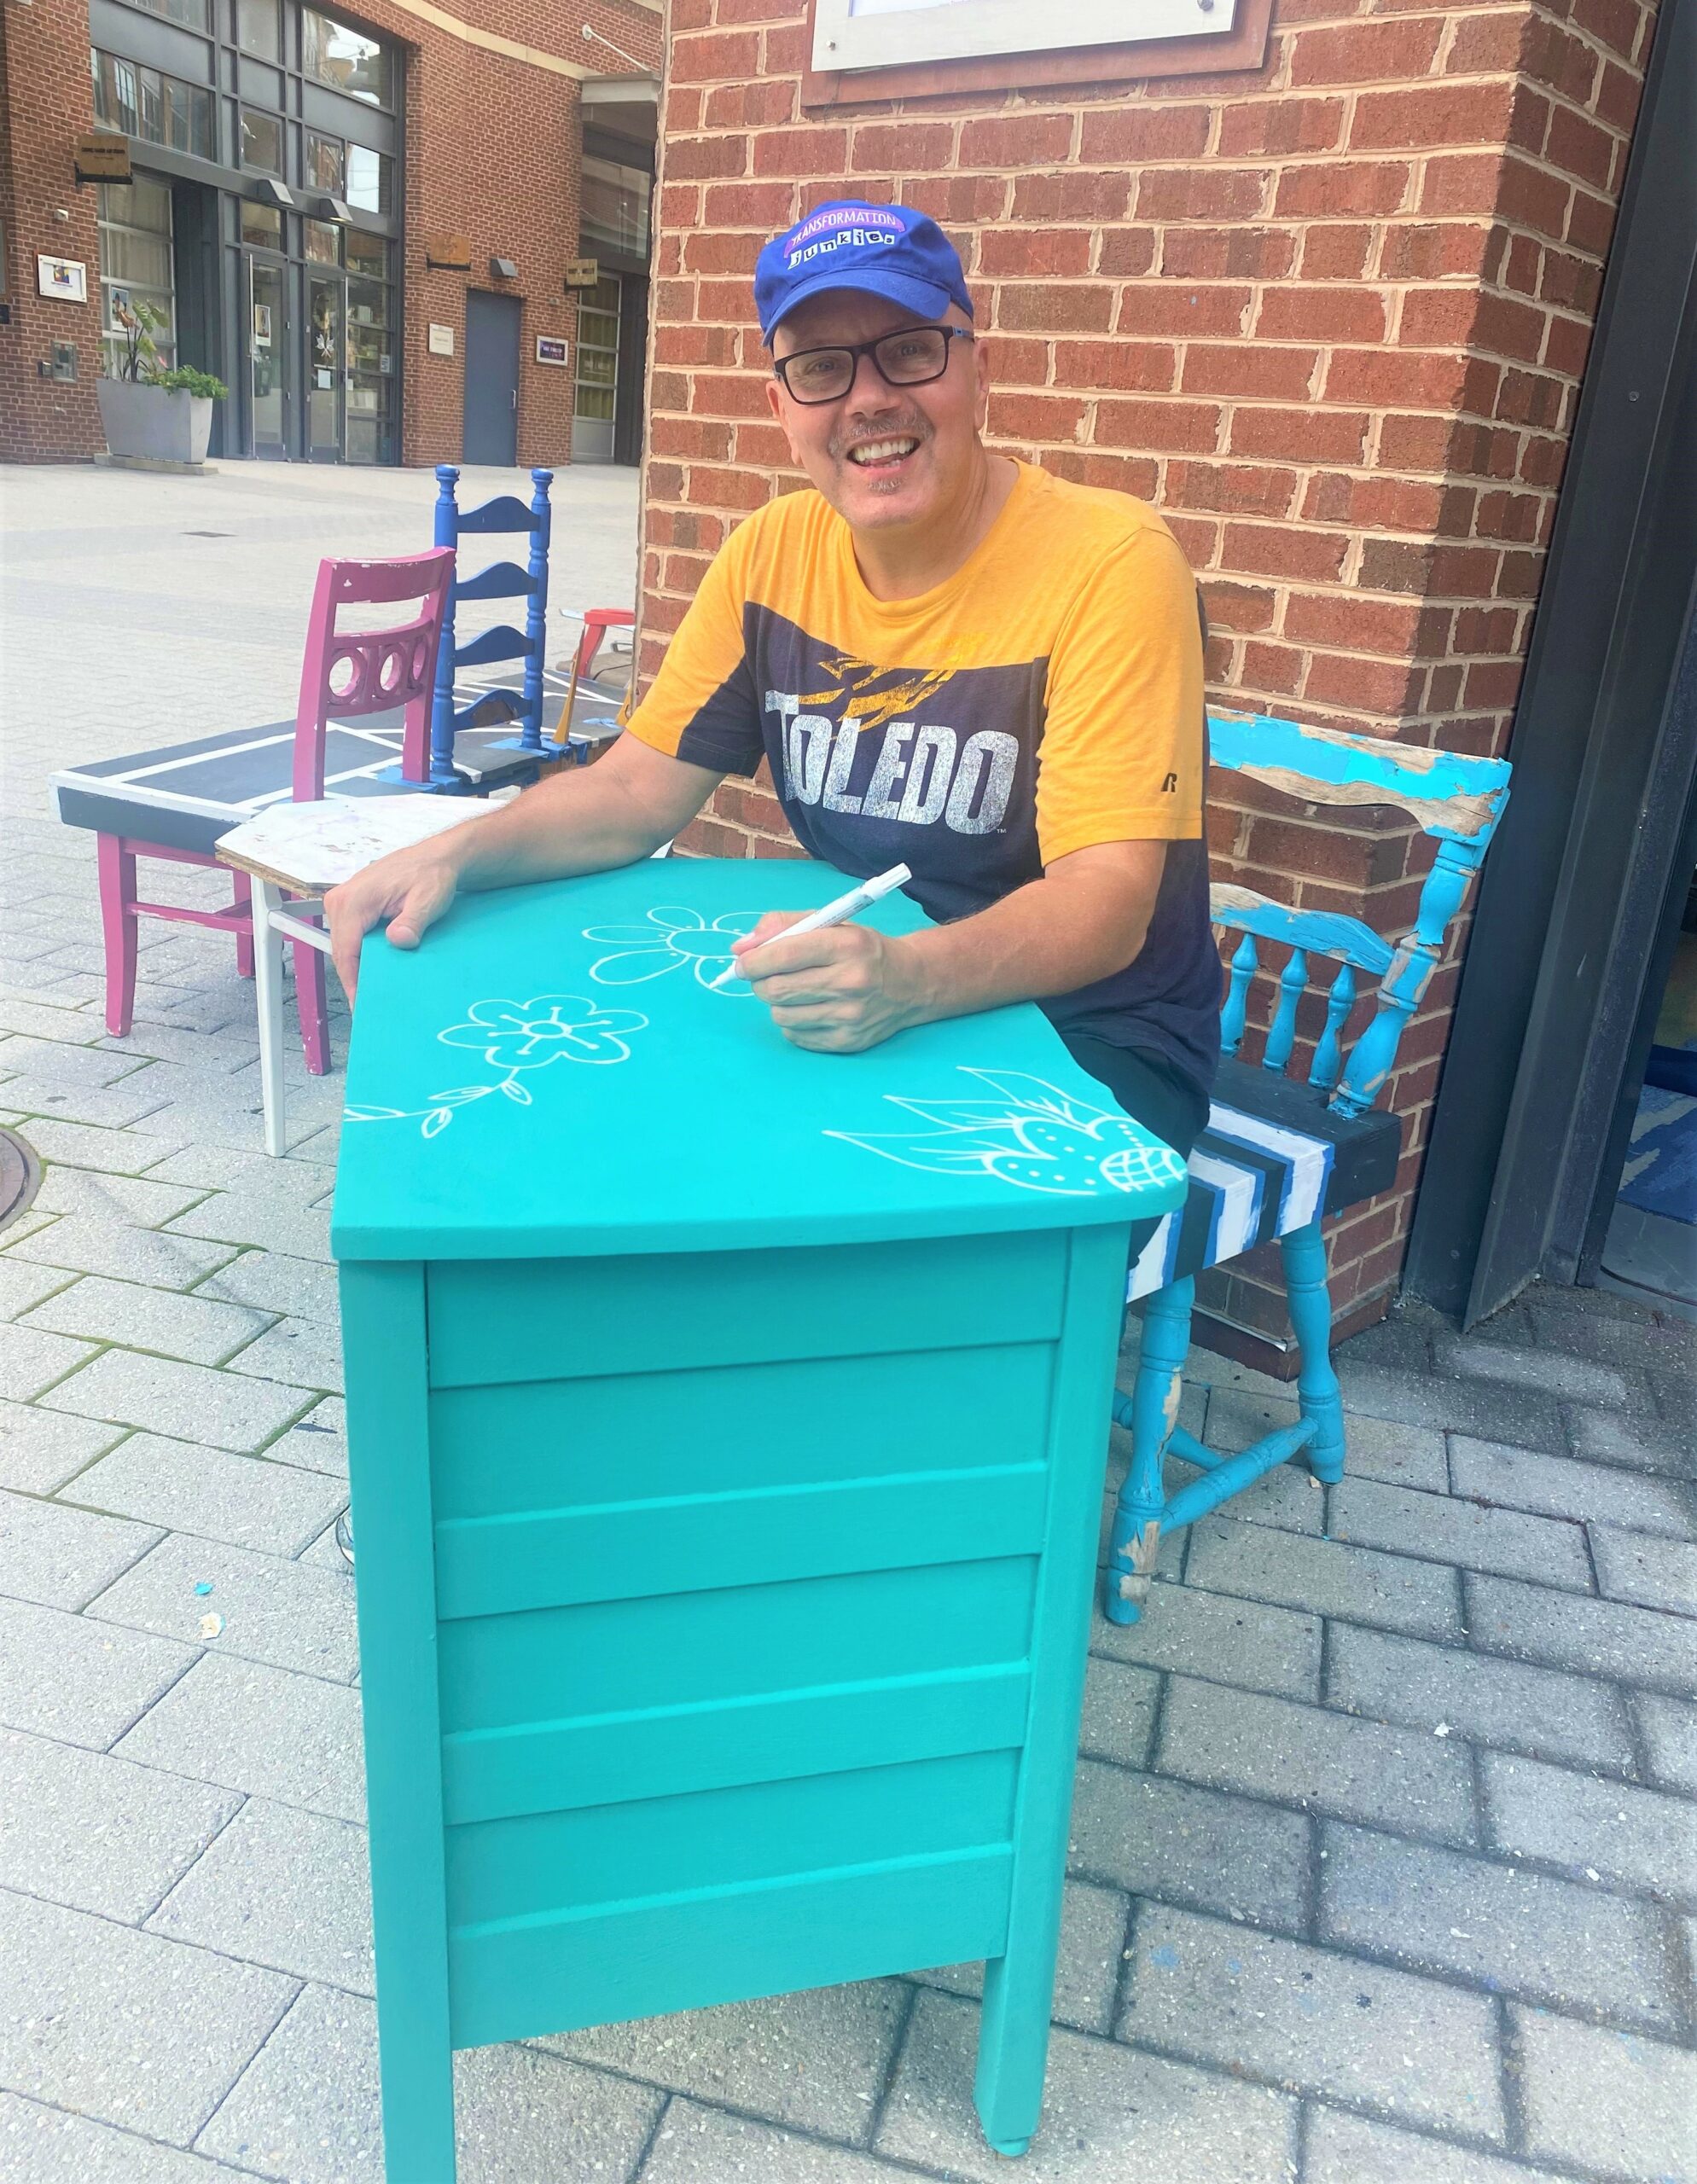
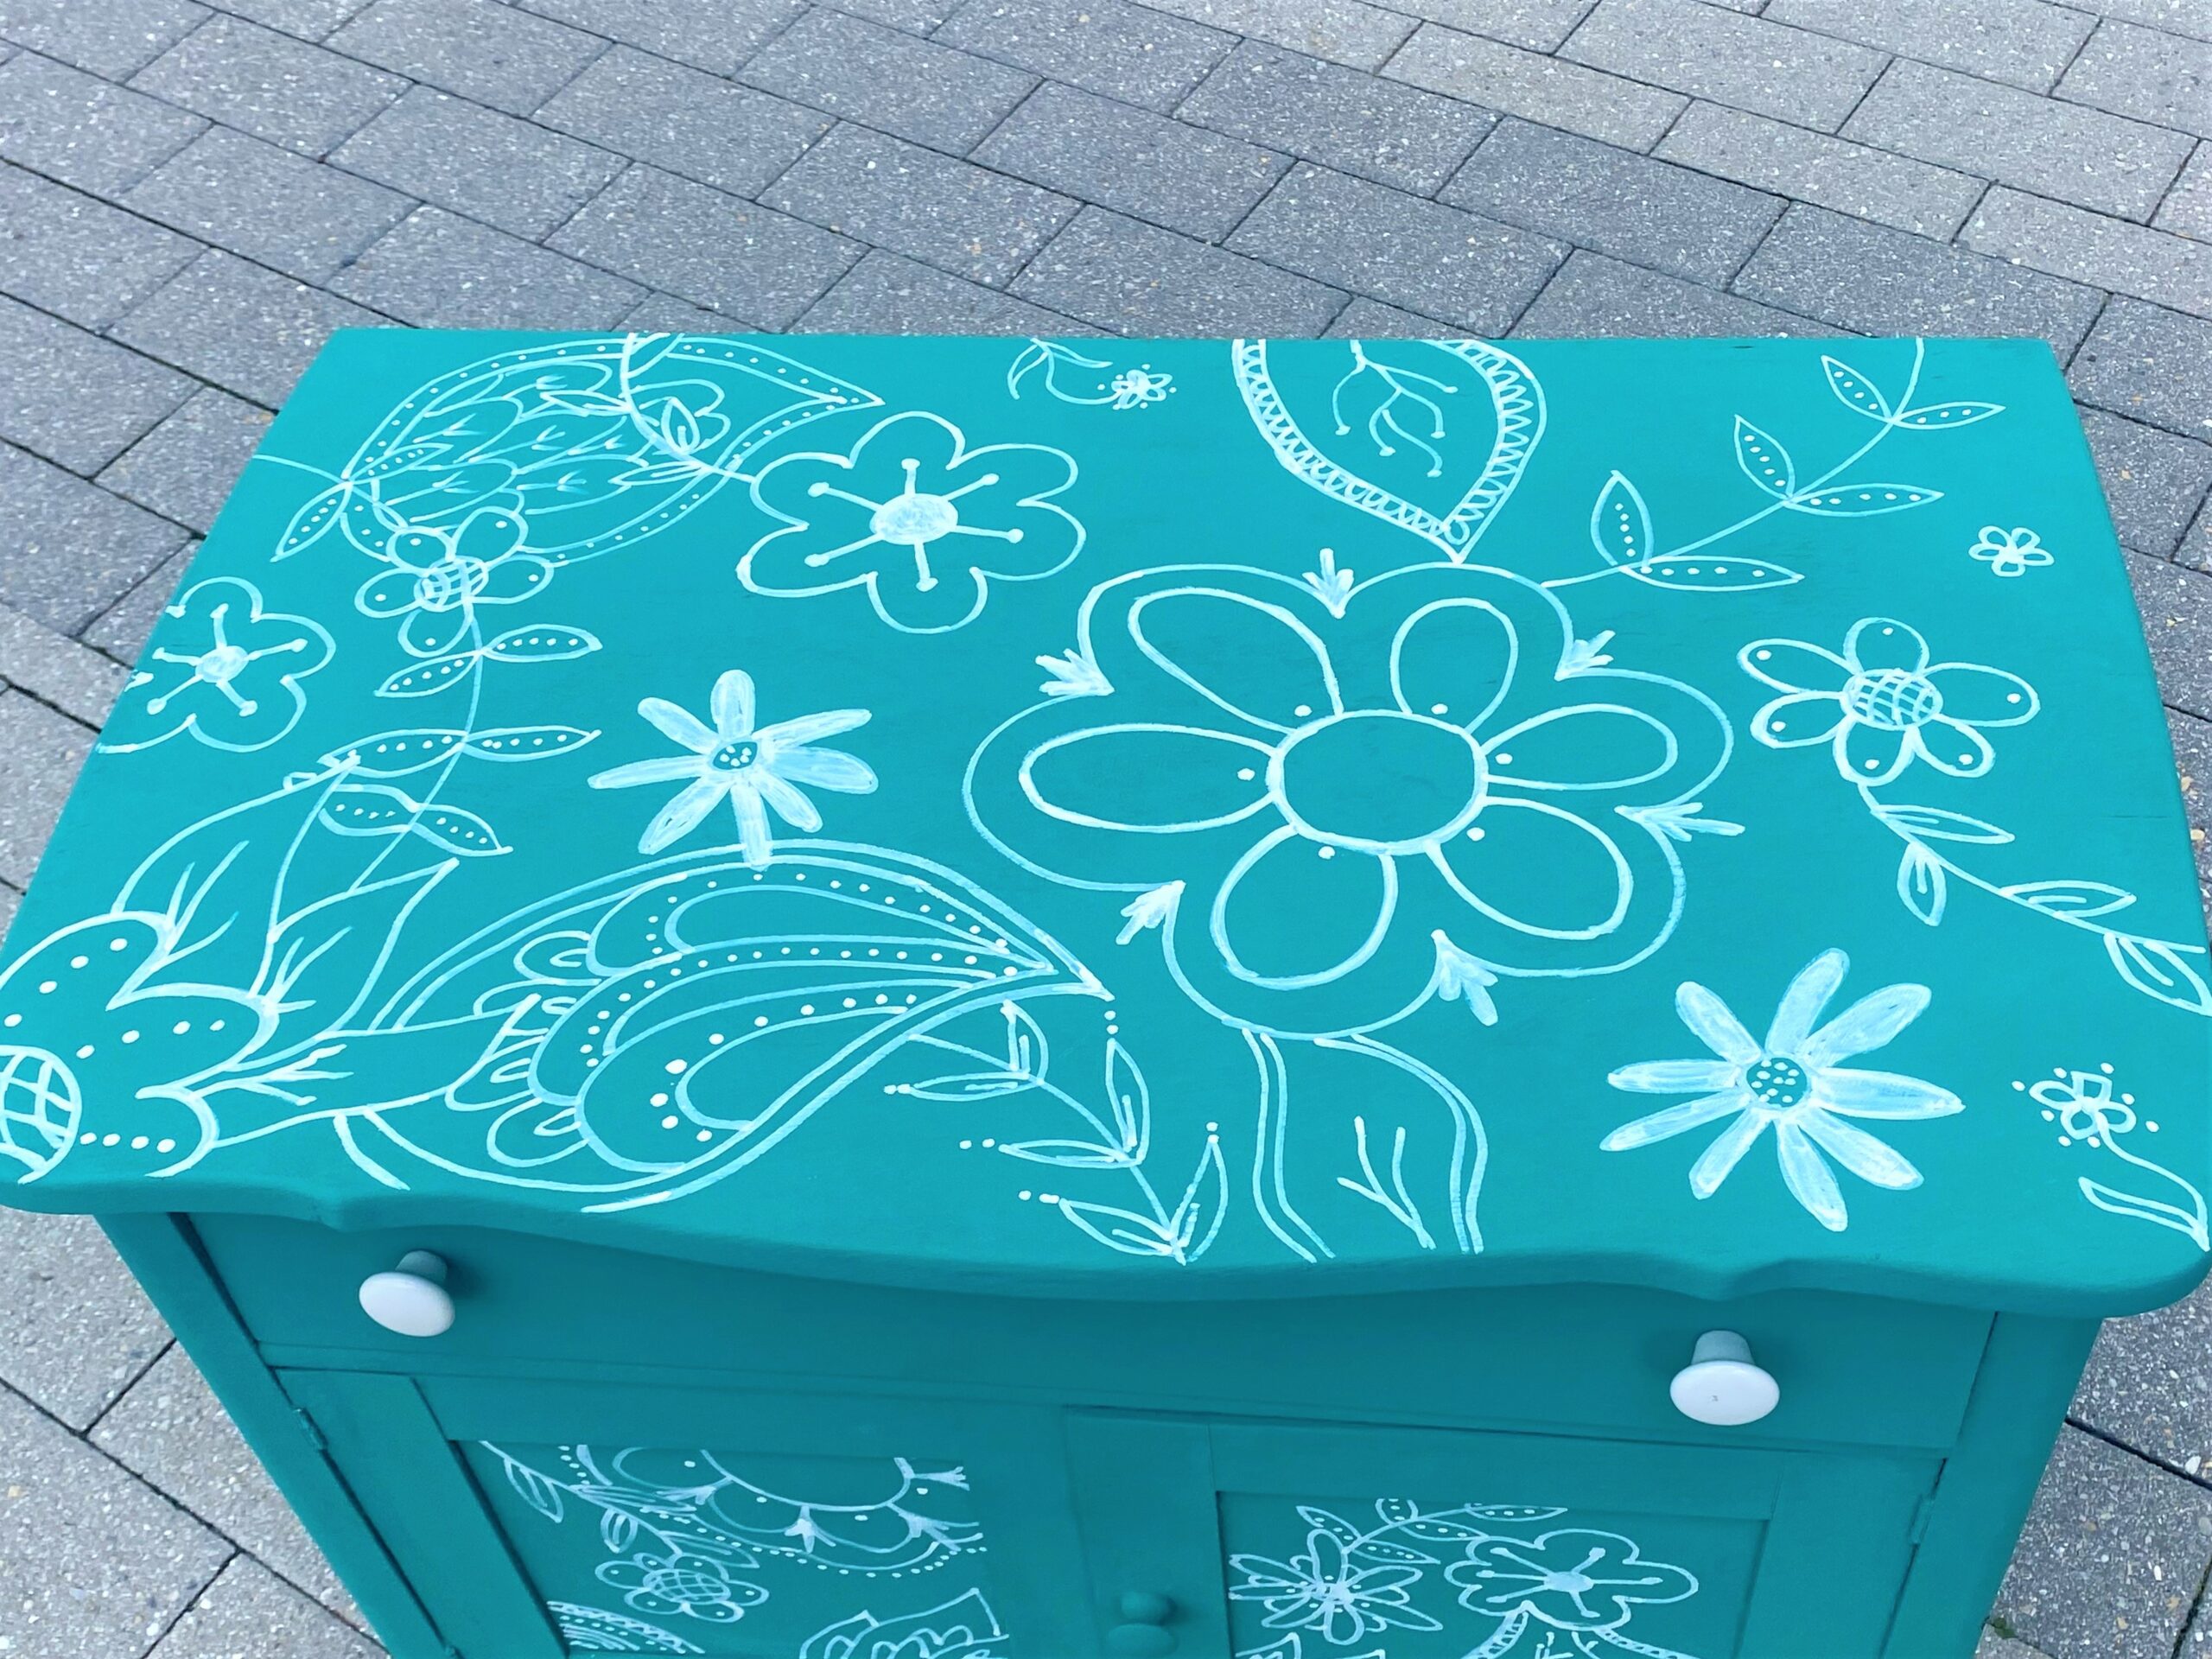
The idea of flowers and leaves done in a quirky way seemed very appealing so that this old cabinet would feel fresh and vibrant.
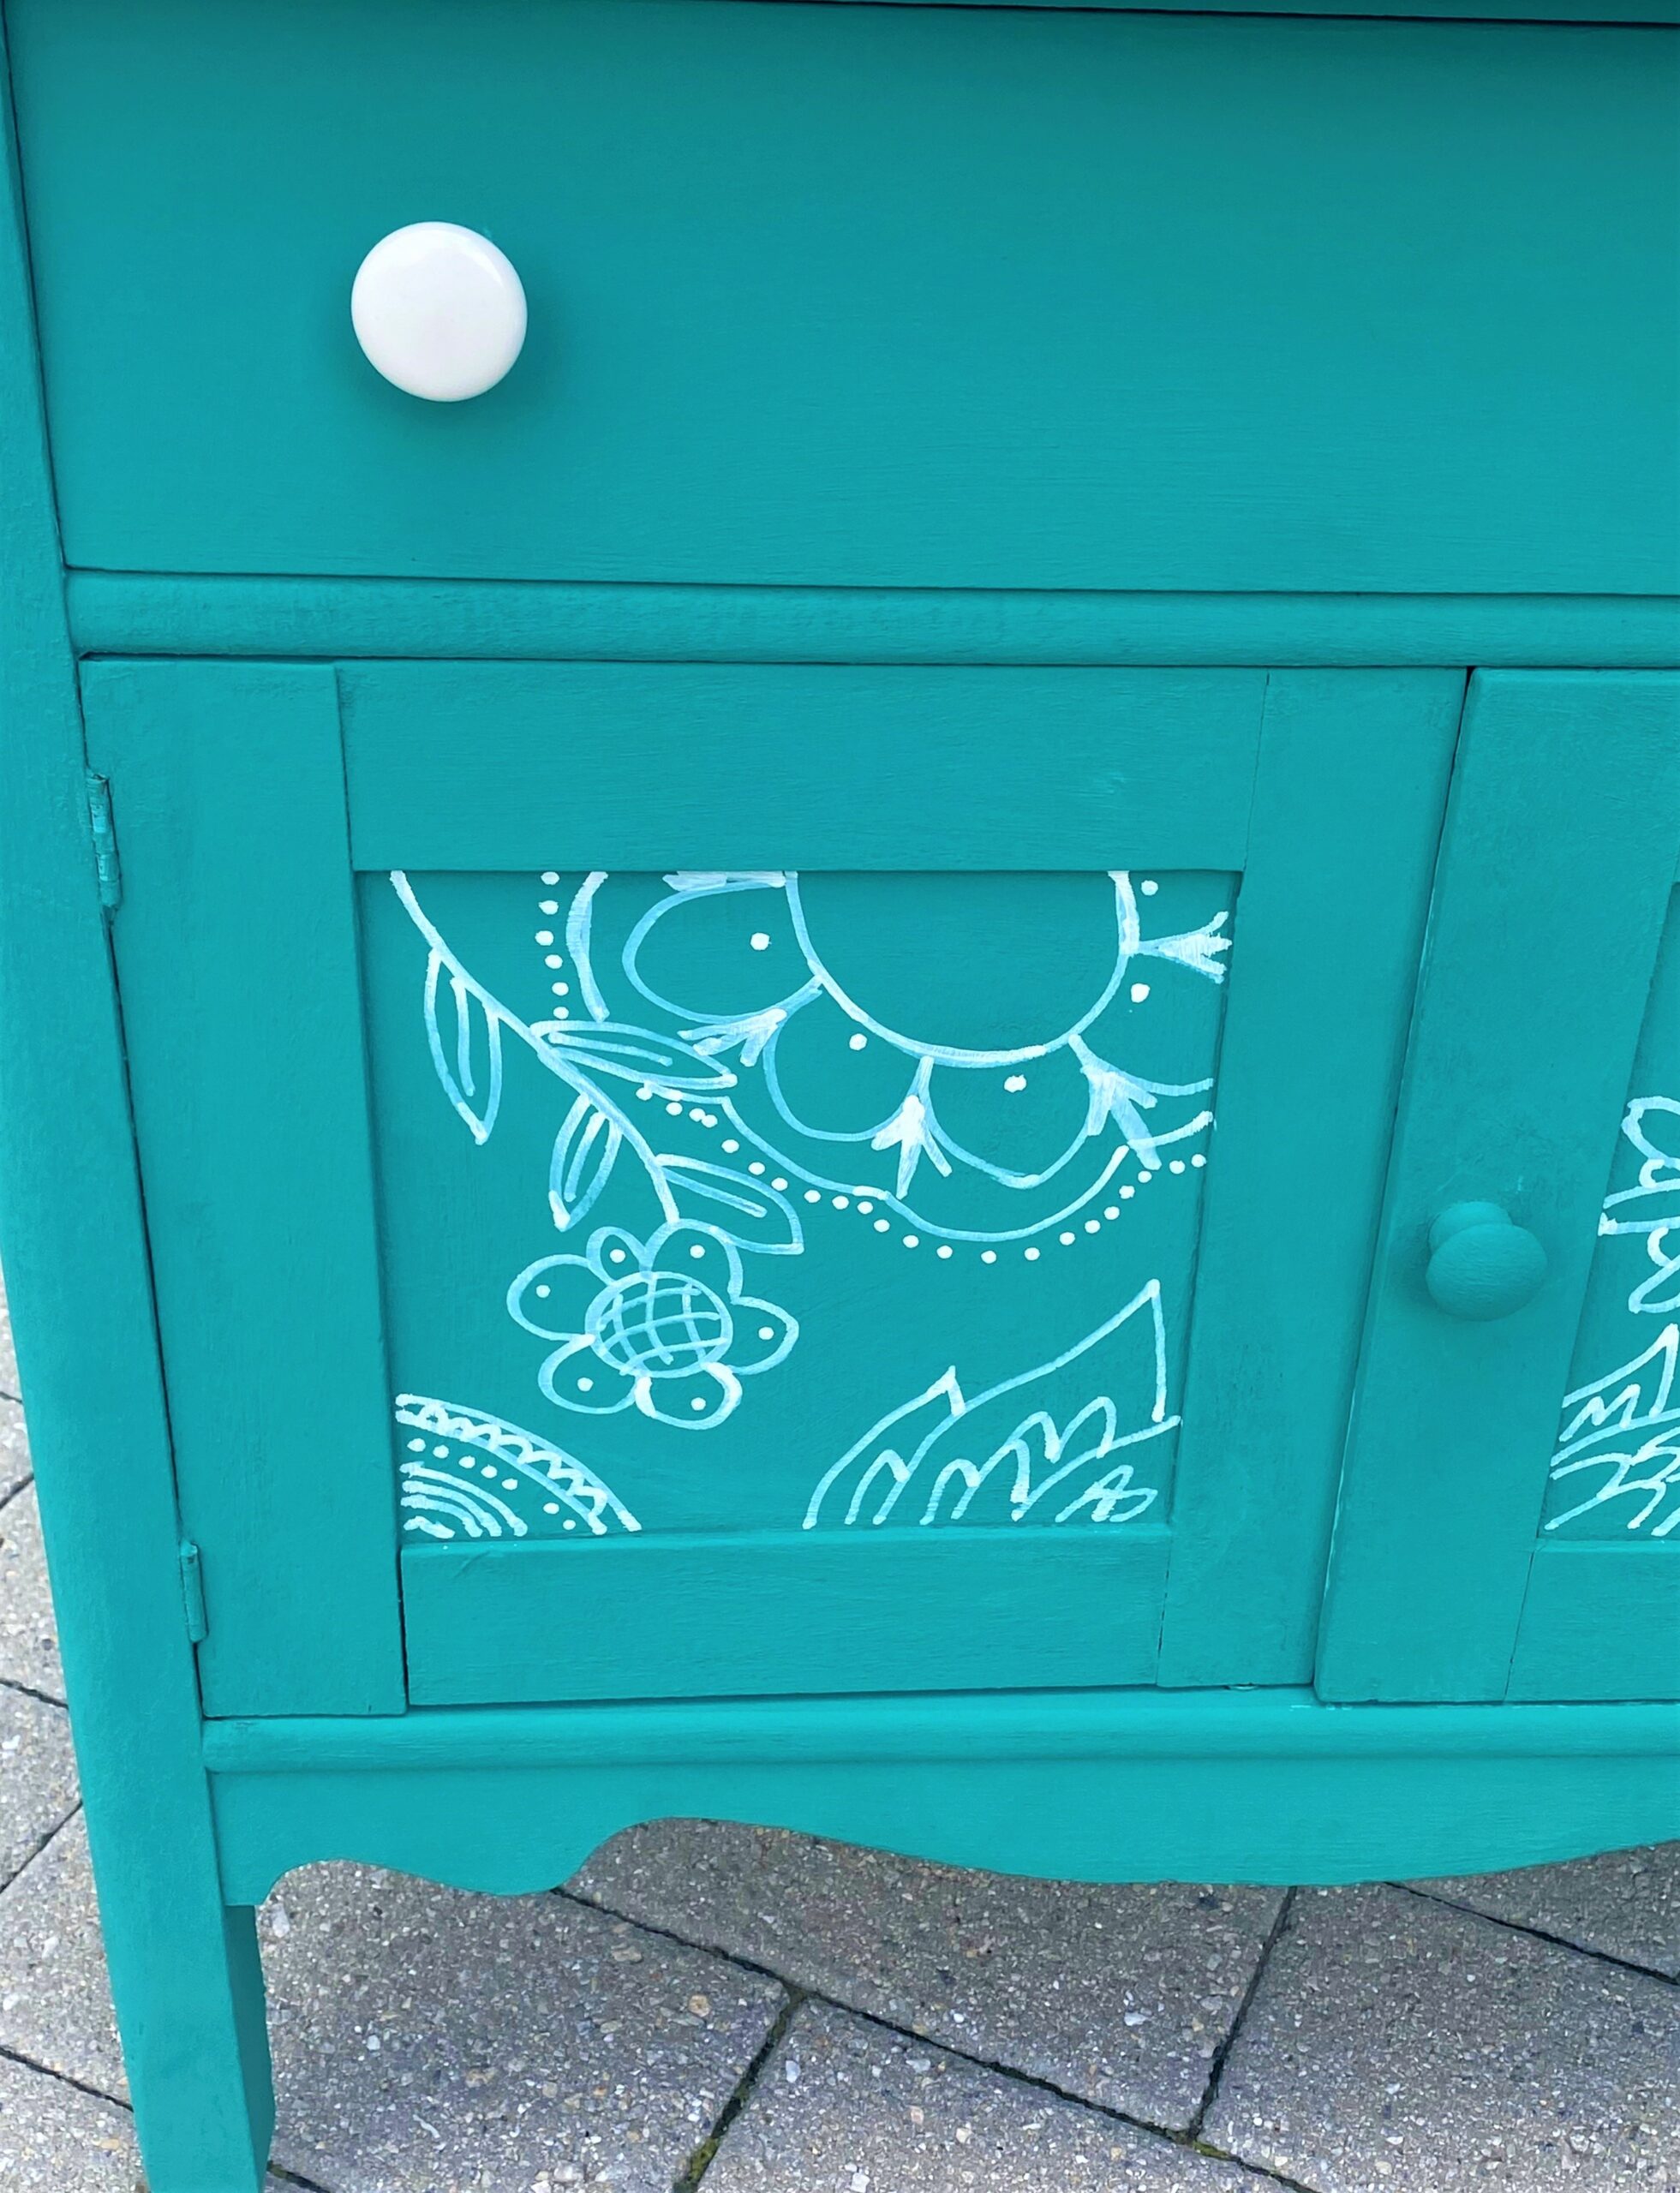
If you look closely, many of the images created are circles, flowing triangles, and oval shapes. Dots were added throughout it, too. It was fun and easy since the shapes are organic and not rigid and formal.
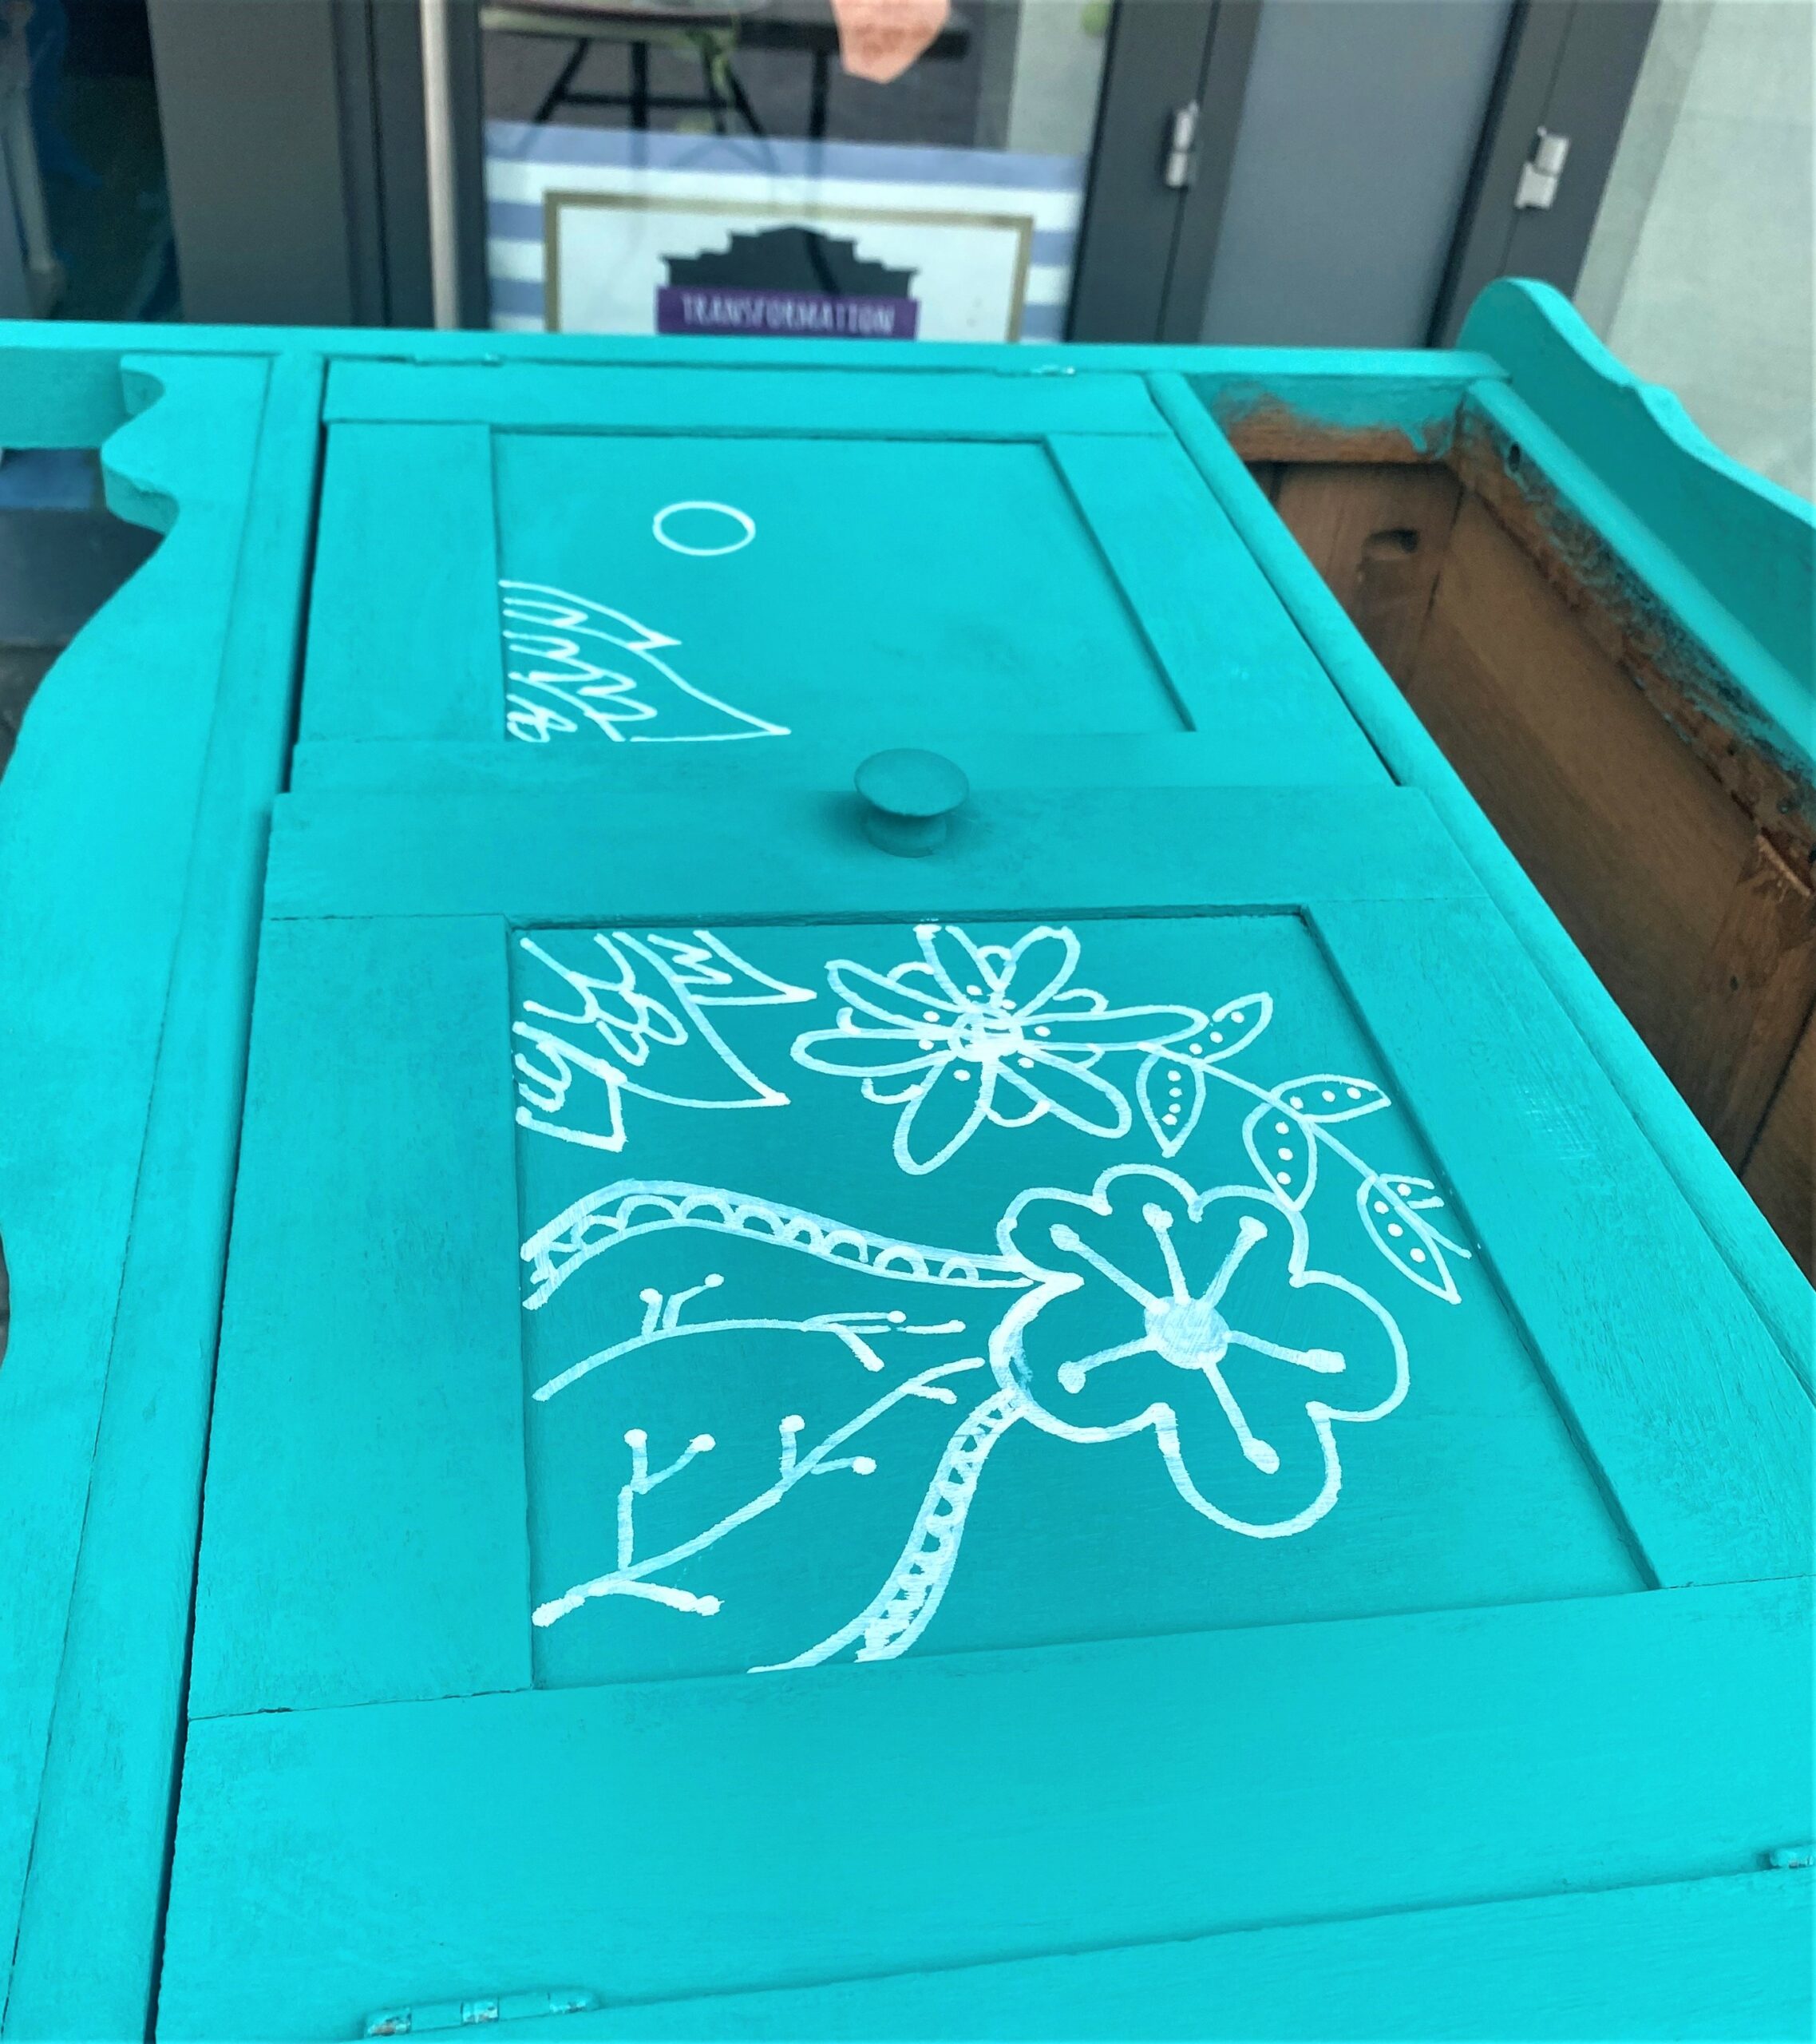
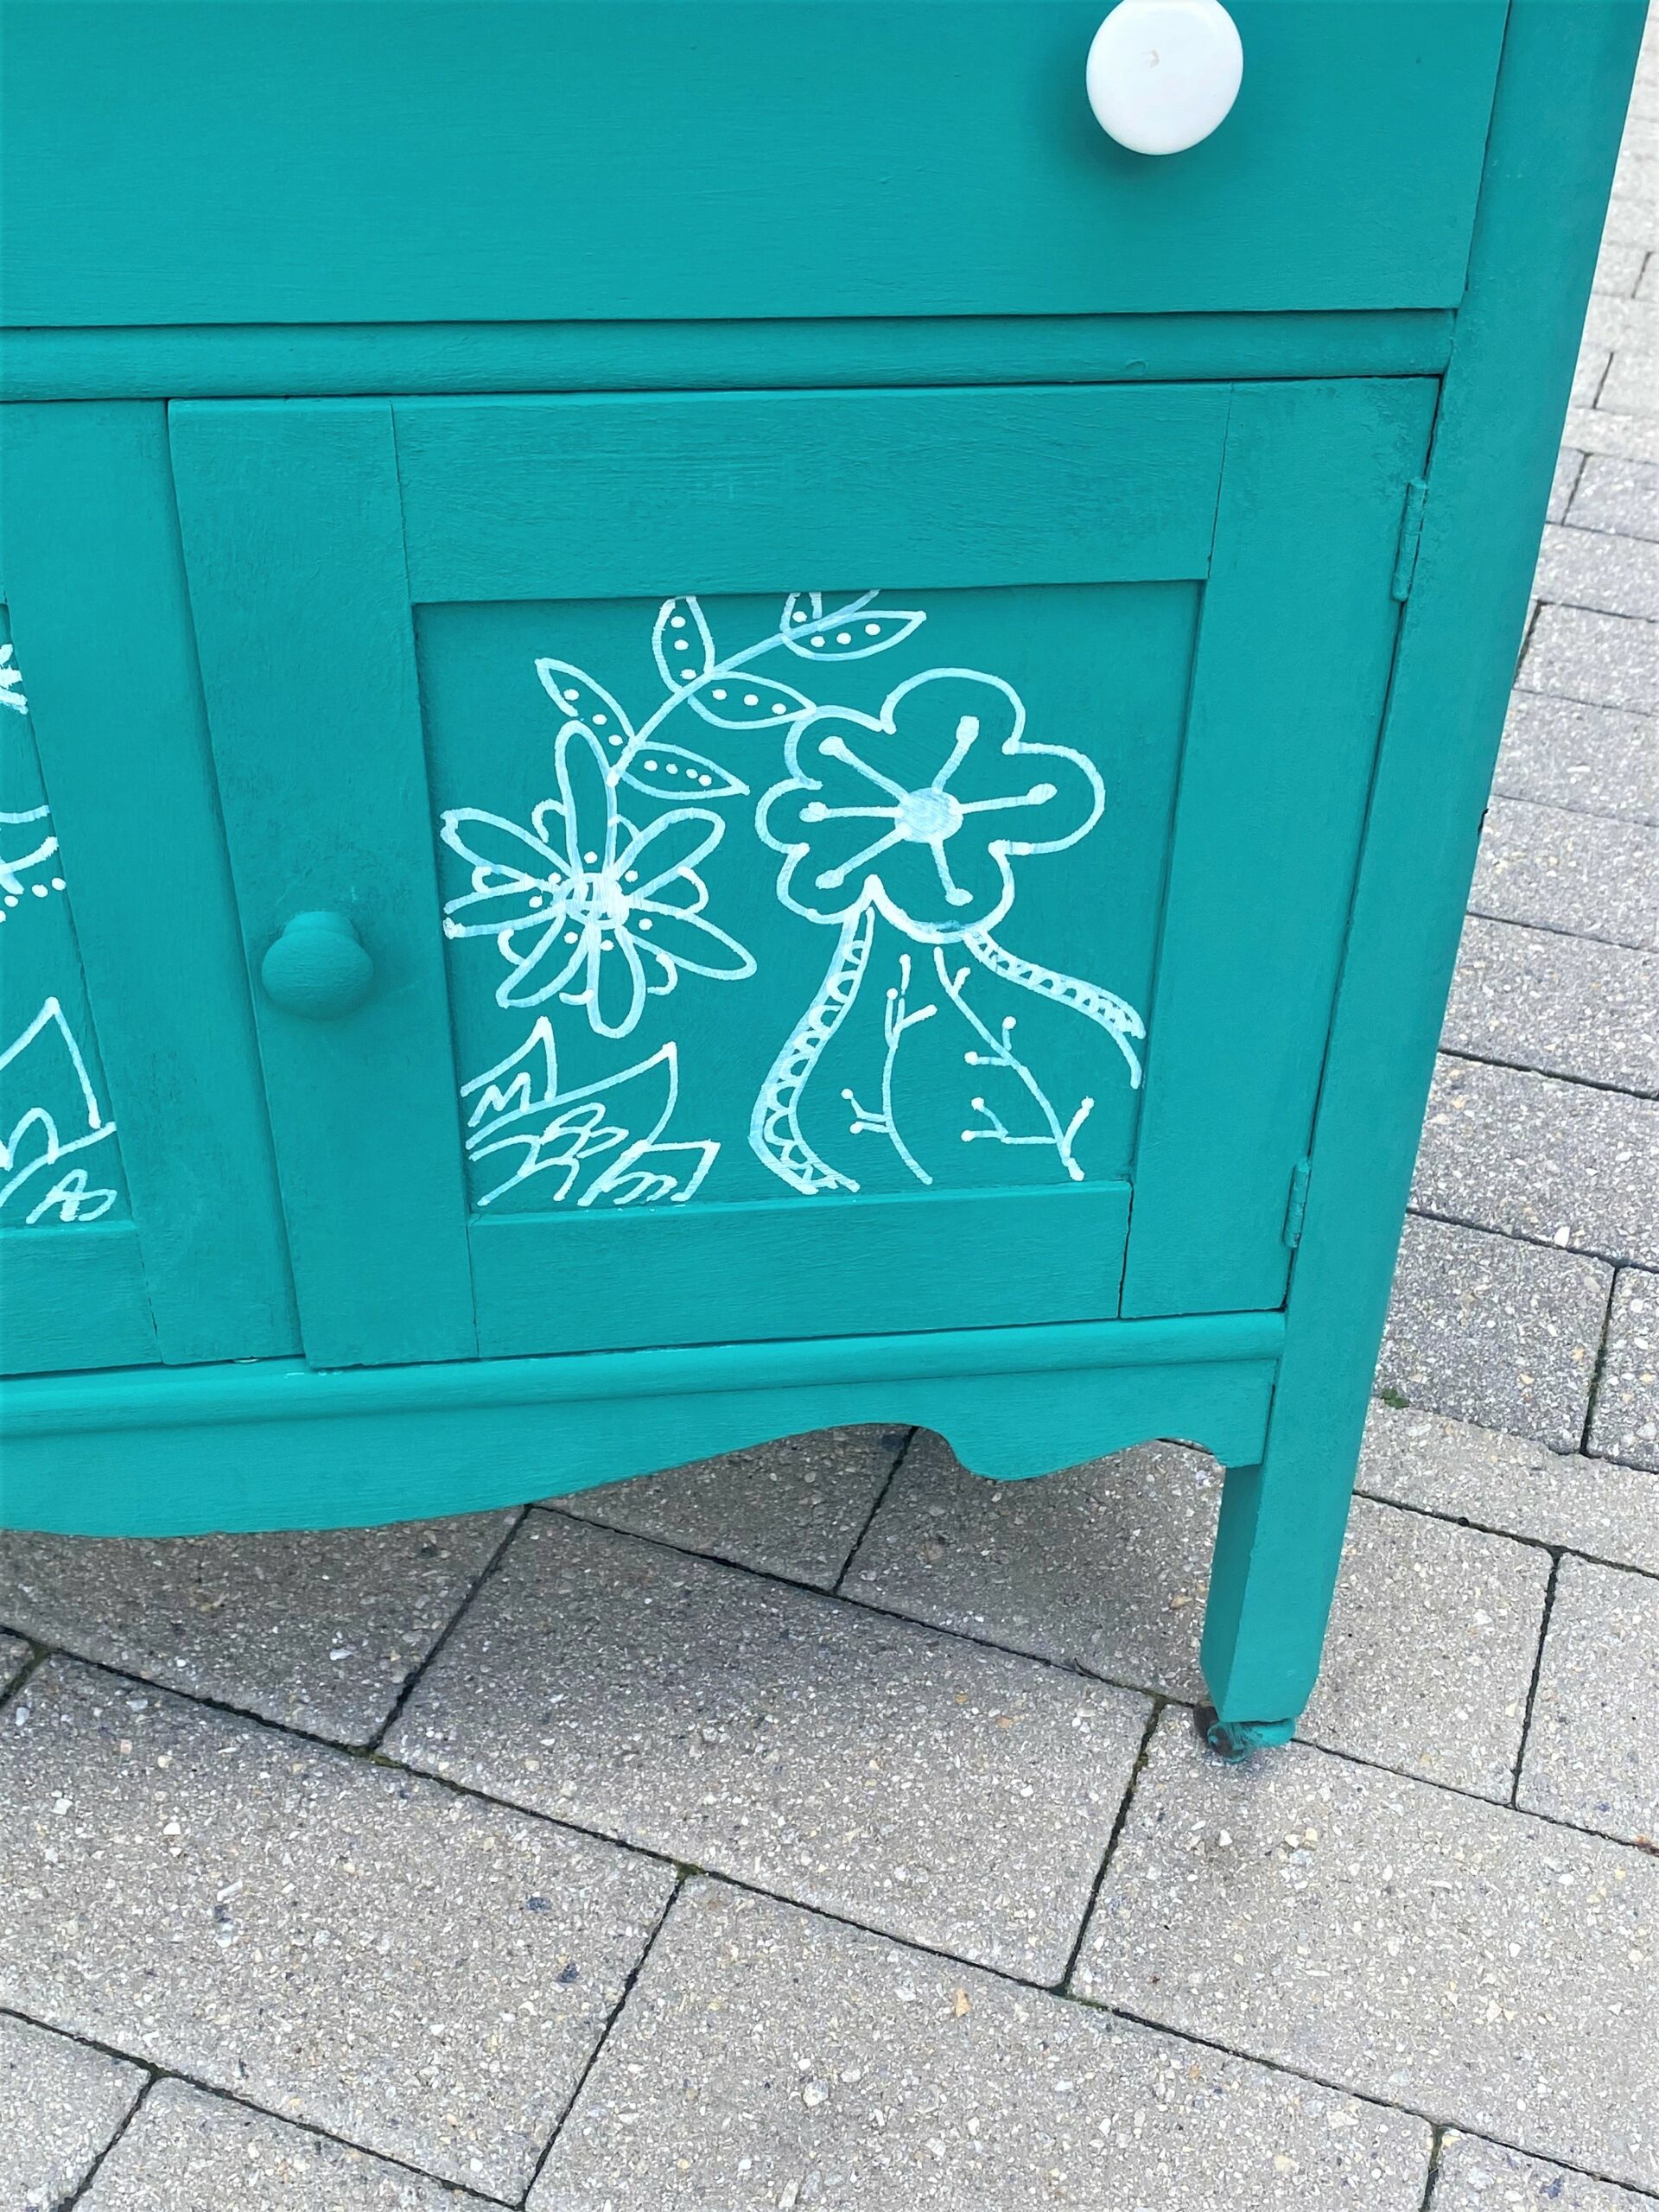
In addition to the top, the front of the cabinet doors received the paint pen treatment, too, to call attention to this unique detail and to make the design look cohesive and connected.
What designs inspire your creative juices? You could trace the hands of various family members and having them sign their name next to theirs. Based on where your cabinet will go might help you decide. Draw on fruits and vegetables if your cabinet will call your kitchen or eating area home. Clouds, stars and planets will give it a dreamy look if going in your child’s bedroom.
Expert Tip: You will likely want to let your design dry well and return to it with your paint pen. Go over your lines again to make them sharper and brighter.
5. A nod to your knobs
This charming cabinet had three knobs, two for the top drawer and one for the doors below. While I am a big proponent of using a piece’s existing hardware, I had two, white ceramic knobs left over from another project that I thought added the right contrast to the drawer, and the white matched the paint pen. Fun!
You can always paint your knobs to match the current paint color or go with a contrasting color.
6. Add poly to protect
Brush on a couple of light layers of satin or semi-gloss polyurethane to protect your design/artwork and allow for easy clean up.
7. Place and accessorize
Add your cabinet to your kitchen and position cookbooks (also purchased at Goodwill) on top held up by bookends.
Position it in your kid’s room and add a globe (often found at Goodwill). Place it next to your sofa and add a tall lamp with a pretty base (also picked up at Goodwill).

You could use this paint pen technique on picture frames, wooden chairs, and other household items. The sky is truly the limit!

Tim Kime
Artist, Motivational Speaker, Life Coach
